11 incredibly useful Snow Leopard Terminal hacks
Unlock the hidden settings in Apple's latest operating system
For reasons known only to Apple, useful settings for many of its applications remain out of the reach of typical users. But by using Terminal, you can tweak settings and use options that aren't available through standard preferences panes. Some of the best are below.
Note: unless otherwise stated, switch 'no' for 'yes' or '1' for '0' (or vice-versa in either case) to revert to the default settings.
1. Amend the stacks List view
The Terminal commands below replace the hierarchical stacks List option with a view that looks and functions more like Grids mode. Access a folder and it opens within the stack, and you go up one level in the folder hierarchy by using the arrow at the top-left.
defaults write com.apple.dock use-new-list-stack -boolean yes; killall Dock
2. Revert click-hold Dock icon behaviour
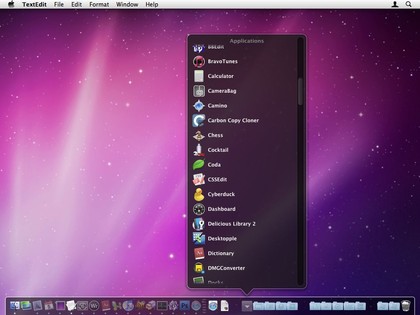
Annoyed that click-holding a Dock icon activates Dock Exposé? Hate having to hold Control when clicking to access Dock item menus? Use the following commands to bring back Leopard's behaviour.
Sign up for breaking news, reviews, opinion, top tech deals, and more.
defaults write com.apple.dock show-expose-menus -boolean no; killall Dock
3. Show the stacks highlight during mouseovers
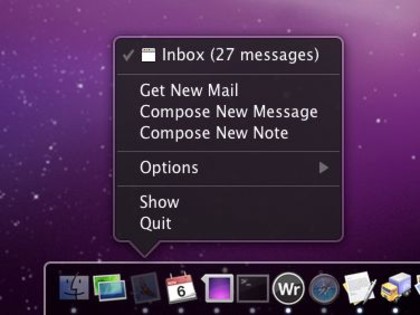
When navigating a Grid stack using the keyboard, the selected item is highlighted. Using the Terminal commands below, the highlight also appears when you mouseover an item in the stack.
defaults write com.apple.dock mouse-over-hilite-stack -boolean yes; killall Dock
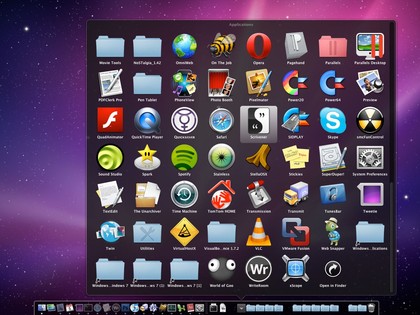
4. Enable X-ray folders in Quick Look
In Leopard, Folder.qlgenerator could be installed to enable you to peek inside folders via Quick Look. In Snow Leopard, this unceremoniously stopped working. Apple's rough equivalent is disabled by default, perhaps because it's more eye candy than genuinely useful. Still, run the command and the contents of folders are cycled in Quick Look via a neat but time-consuming animation.
defaults write com.apple.finder QLEnableXRayFolders -boolean yes
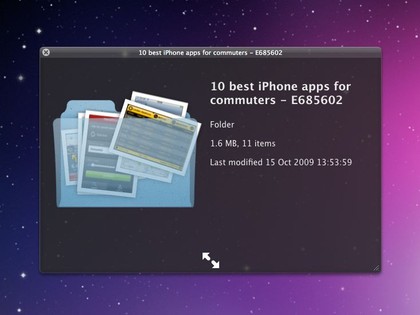
5. Lower screen-sharing image quality
This tip should also work with Leopard. Use the following command to drop screen-sharing quality significantly, making the observed screen black and white. Numbers 2 through 5 can also be used—2 for greyscale, 3 for 8-bit colour, 4 for 16-bit colour and 5 for full colour. 0 isn't an option for this command.
defaults write com.apple.ScreenSharing controlObserveQuality 1
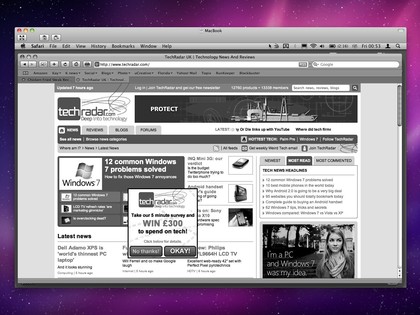
6. Change the screen-grab file-name string
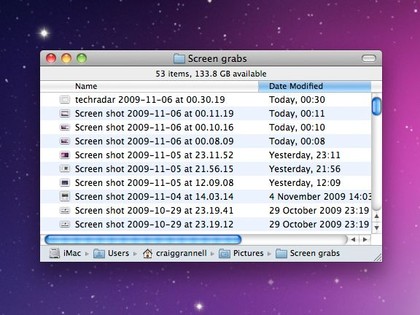
In Snow Leopard, screen grabs are labelled "screen shot" and date and time stamped. To change the string at the start of the file-name, use the following commands, replacing 'one or more words' with your chosen string.
defaults write com.apple.screencapture name "one or more words"; killall SystemUIServer
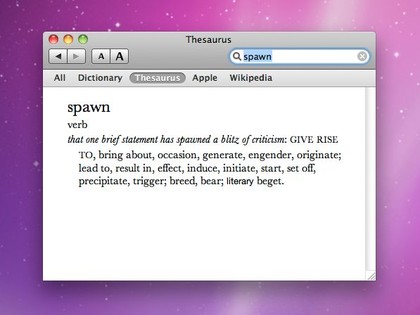
7. Bring back Leopard's Dictionary window behaviour
In Snow Leopard, Dictionary spawns new windows for terms requested in other apps. Use the following command to make the Dictionary app only ever use a single window.
defaults write com.apple.Dictionary ProhibitNewWindowForRequest -boolean yes
8. Turn on QuickTime X auto-play
Use the following command to make QuickTime X auto-play a movie as soon as it's opened.
defaults write com.apple.QuickTimePlayerX MGPlayMovieOnOpen 1
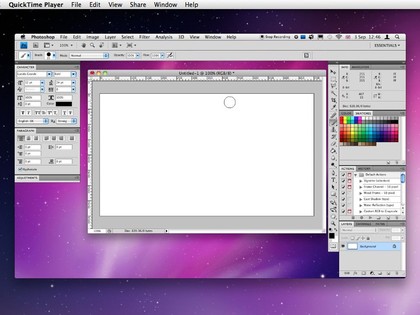
9. Amend the QuickTime X interface
The commands below enable you to disable auto-show controls and auto-hide controls, and to kill rounded window corners, so your movie's corners aren't 'hidden'. The auto-hide command isn't very useful, because QuickTime X's toolbar and controls partially cover the movie, but 'never auto-show' is useful if you use auto-play.
defaults write com.apple.QuickTimePlayerX MGUIVisibilityNeverAutoshow 1defaults write
com.apple.QuickTimePlayerX MGUIVisibilityNeverAutohide 1defaults write
com.apple.QuickTimePlayerX MGCinematicWindowDebugForceNoRoundedCorners 1
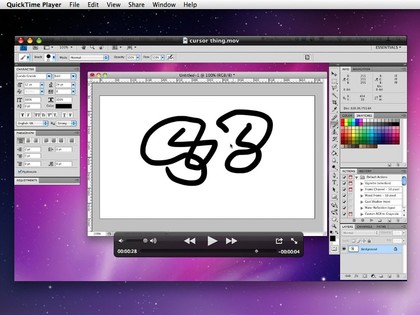
10. Force QuickTime X to remain in full-screen mode
In QuickTime X, play a movie in full-screen mode and switch to another app. Your movie will revert to a standard window. To stop this happening, use the following rule.
defaults write com.apple.QuickTimePlayerX MGFullScreenExitOnAppSwitch 0
11. iTunes 9 zoom button
This quickfire tip relates to the iTunes update that appeared at the same time as Snow Leopard. In iTunes 9, the zoom button worked in the default Mac manner, switching between a user and default window state. In 9.0.1, the old behaviour returned, switching iTunes between its standard and "mini player" views. The following command brings back iTunes 9.0's behaviour.
defaults write com.apple.iTunes zoom-to-window -boolean yes
