How to back up Gmail
Archive web services with Backupify
1. Register with Backupify
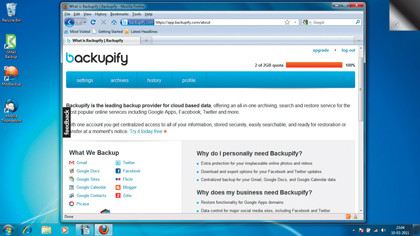
It might sound crazy to use a web-based service to back up data from another web-based service, but besides providing another copy of your data in case of an emergency, Backupify also rolls it into an easy to download form for some services.
2. Add online services
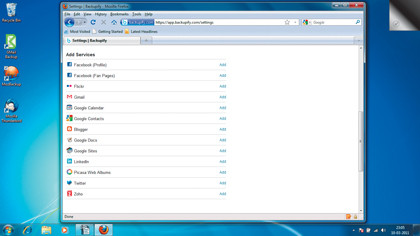
Once you've registered with the site, you're ready to log into your Backupify account and select the service you want to back up. Backupify currently supports Gmail, Facebook, Twitter, Flickr, LinkedIn and Google Docs, among others.
3. Configure each service
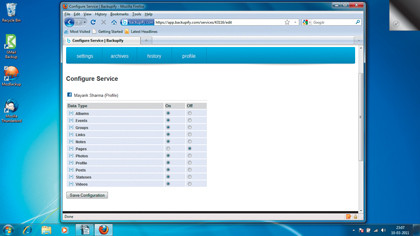
Depending on the service you've selected, you might need to carry out some additional configuration before Backupify starts storing your data. Once you account has been configured successfully, Backupify will get to work.
Sign up for breaking news, reviews, opinion, top tech deals, and more.
4. Browse archives
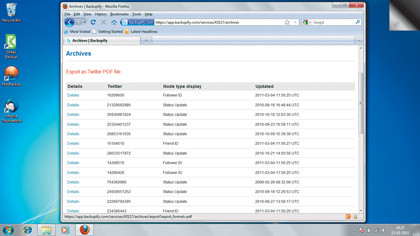
All stored data is accessible via each service's 'Archives' section. If you use Backupify to back up your Twitter account, it will also generate a downloadable PDF of your tweets, which is easier to read than a document in XML format..
5. Restore email
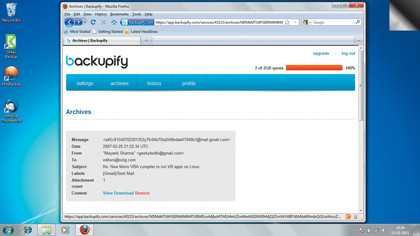
In addition to backing up your Gmail mailbox, Backupify also lets you restore deleted messages. Some services offer more comprehensive support for backup restoration than others. The restored messages will appear under a 'Backupify restore' label.
6. Upgrade
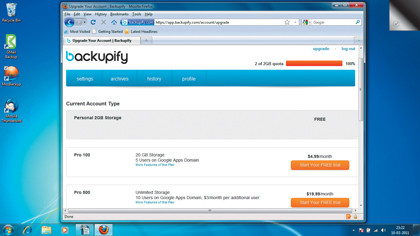
The free Backupify account lets you store up to 2GB of data online. If you want the benefits of more storage space, nightly backups, technical support and other add-ons, there are upgrade options starting at $4.99 (about £3.10) a month.