Do more with graphics: power up with GPGPU
Sign up for breaking news, reviews, opinion, top tech deals, and more.
You are now subscribed
Your newsletter sign-up was successful
The big guns are also turning their attention to GPGPU acceleration. Adobe has already rolled out Photoshop and Premier, while Sony offers its Vegas Movie Studio 11. A host of encoding tools also take full advantage of GPGPU. Freemake boasts video encoding that leverages CUDA and DXVA, but CyberLink Media Espresso is excellent too.
Finally, you can give 3D rendering a speed boost, using the powerful (but free) Blender and LuxRender combo. Even with GPGPU acceleration, ray-tracing remains an arduous task, but the results can be worth it.
One issue with rendering is that not all operations can be supported by pure GPGPU calculations. Memory access for the GPU remains an issue, and sometimes means that the CPU ends up holding the GPU through many operations.
GPGPU encoding
If you have an old or slow CPU, your GPU can cut encode times:
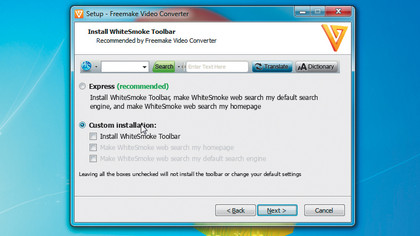
Freemake
Available (as the name suggests) for free, Freemake Video Converter uses CUDA and general hardware acceleration via DXVA. When you install it, remember to deselect all the adware bundled with it. There's quite the lot in there. Hardware acceleration is enabled by default, so all you need to do is load up a suitable video file ready for converting.
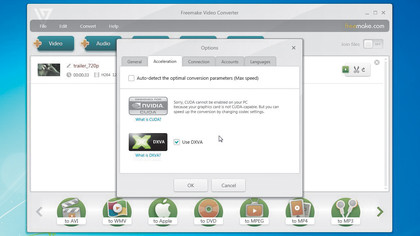
Set and go
Now you just need to drag your video to the interface and select one of the preset options that run along the bottom of the window. We're going to encode our own custom video for an Android tablet, so we chose the 'MP4 > Add your preset' option to give us custom options across the board. Start by setting the resolution to that of the device, such as 1,280 x 720 or 800 x 480.
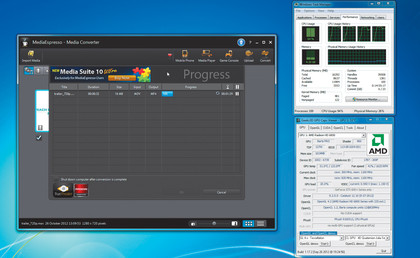
Damn you Intel
The issue for GPGPU encoding in the modern world is that Intel came along with its Quick Sync technology. That's dedicated hardware for encoding media right on the processor. Offloading to the GPU when there's something on the processor makes no sense and isn't as fast, so if you're running an Intel Sandy Bridge Core processor or later, this will be the best option.
Sign up for breaking news, reviews, opinion, top tech deals, and more.
Blend it like Blender
GPGPU acceleration for the über-powerful but free renderer:

Downloads away
For our project we're using the 64-bit version of Blender. The GPGPU-accelerated 64-bit LuxRender is available too. You should also install the 64-bit version of Microsoft Visual C++ 2008, or the 32-bit version.
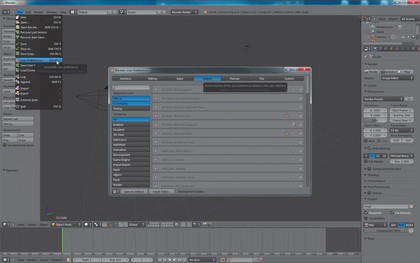
Fine blending
We're not going to look at Blender in any detail – you could write a whole book about just configuring its interface. We need to add LuxBlend as an external rendering plug-in. Click the 'File > User preferences' menu. Select the 'Addons' tab, then click the bottom 'Install addon' button and find the LuxBlendXX_64bit.zip file in the Program Files/LuxBlend Install directory. Select this and click "Install".
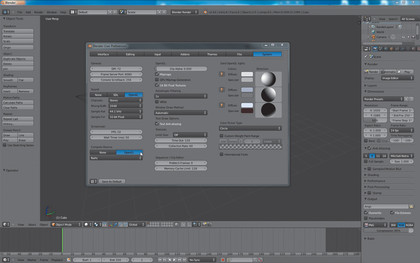
The Luxor
This installs the plug-in that enables Blender to send render jobs to LuxRend, but we need to enable it before it will work. First, in the 'User preferences > Add ons' tab, select the render categories on the left and check the 'Render: LuxRender' tick box. It can take a few seconds to register. Select the 'System' tab, and over in the bottom left select 'OpenCL'. Save as 'Defaults'.
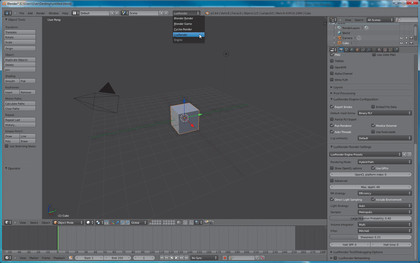
Set Blender
From the top Info bar, open the central pull-down menu that lists the available render engines and select 'LuxRender'. Over on the right, a number of interface menus will change. Open the 'Render' tab and set the Path to point to where LuxRender has been install within Program Files. Scroll down and find 'LuxRender render settings'. Under 'Rendering mode' select 'Hybrid path'.
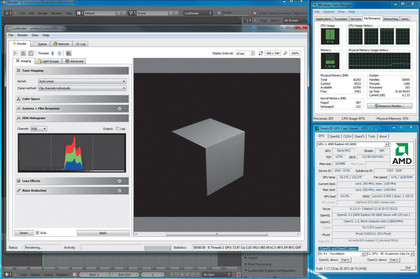
Engage with GPGPU
Make sure 'Use GPUs' is selected. The bar below will enable you to select the OpenCL device to use if you have more than one graphics card or an OpenCL capable processor installed. At this point you can scroll back up and click the 'Render' button. All being well, LuxRender will open and render the slowest cube you've ever seen.