How to sign up for NordVPN
We guide you through every step of the signup process
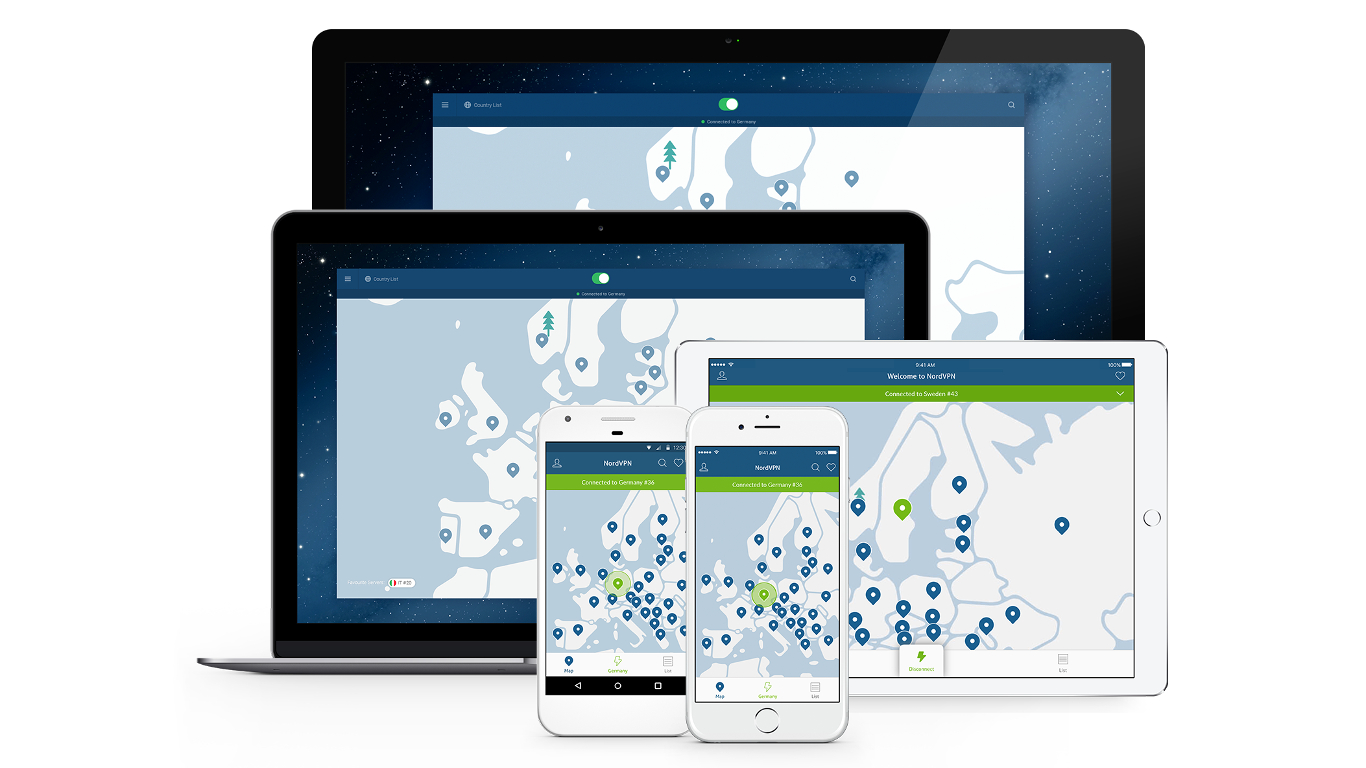
With military-grade encryption, an automatic kill switch and advanced payment methods that include cryptocurrency, it's no wonder NordVPN is considered to be one of the better Virtual Private Network (VPN) services out there. The icing on the cake is the competitive pricing.
With access to over 4,600 servers in 60 locations worldwide and a strict no logs policy, NordVPN allows you to connect as many as six devices simultaneously and has extensions for Firefox and Chrome. All this comes with a 30-day money-back guarantee.
Sounds interesting? This is how you can sign up for the service.
- Check out our list of the best VPN
1. Navigate to the NordVPN website

2. Click on the red ‘Get It Now’ button
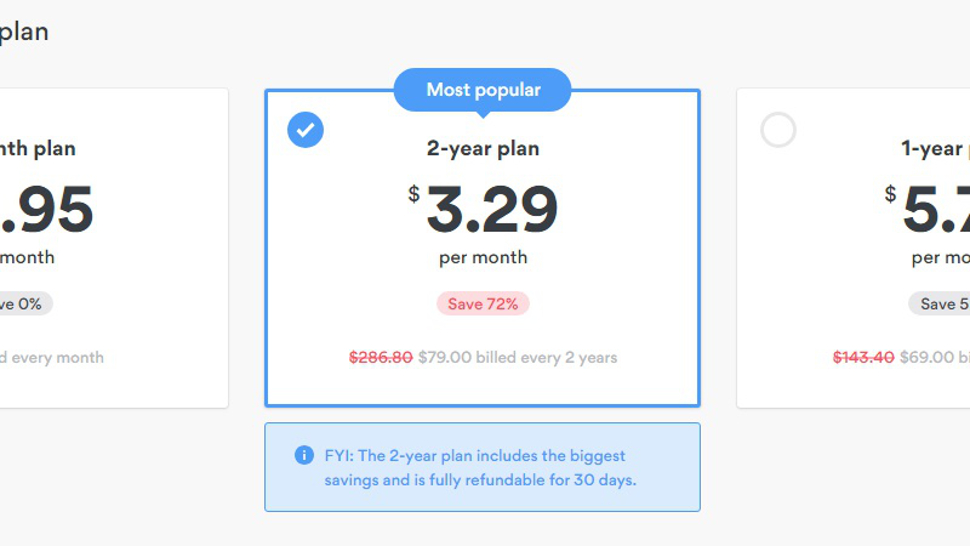
3. This will take you to a page where you can choose your plan
There are three plans available: a 1-month plan which will cost you $11.95 (£9.10) per month, a 1-year plan which costs $5.75 (£4.40) per month, and a 2-year plan which comes at a price of $3.29 (£2.50) per month. The 2-year plan is already pre-marked as the most popular option.
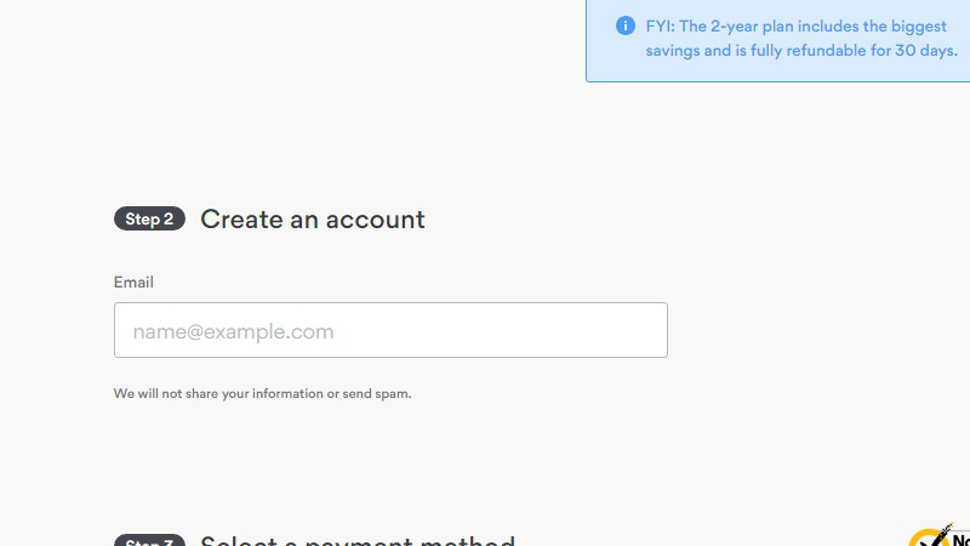
4. Now you must create your account
This step is quite simple as NordVPN only asks for your email address and promises not to share your information with anyone or to send spam.
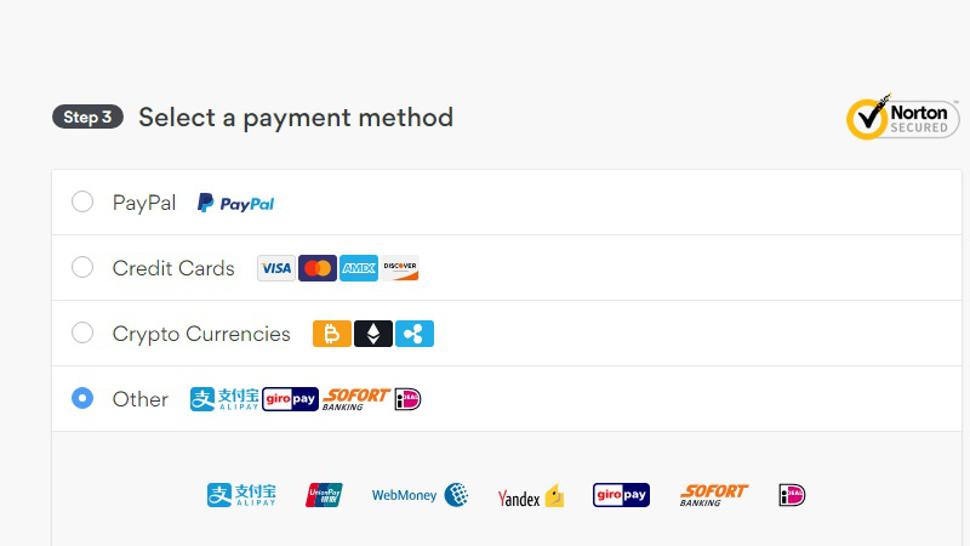
5. You will now be asked to select a payment method
You get to choose between four options: PayPal, Credit Cards, Cryptocurrency, and Other (Alipay, Yandex, WebMoney, GiroPay, Sofort, and more). After you select one of the options, you will see the selected plan listed, with the discount (if any), VAT amount for your country (the latter of which you select here), a total amount you need to pay, and a ‘Got Coupon?’ link which opens a field for entering your coupon code, if you have one.
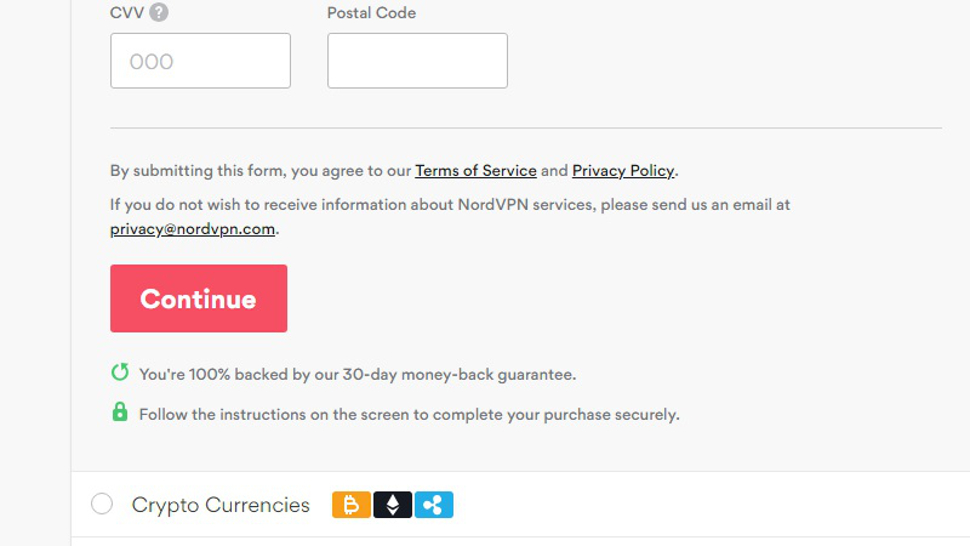
If you selected Credit Cards, you will see additional fields for entering your credit card details (first and last name, card number, expiration date, CVV code, and postal code). Be sure to first read NordVPN’s Terms of Service and Privacy Policy to avoid any confusion and eventual regrets.
6. Finish your transaction
Depending on which payment option you choose, there will be a ‘Continue’ button below the Terms of Service and Privacy Policy links. The button will be yellow if you choose PayPal or red if you decide on any other payment method. The wording on the button also depends on the payment method chosen. Clicking on this button will take you to a website for the payment option you selected.
7. Purchase complete
Follow the steps on the website for the payment option you selected and that’s it: you’ve completed your NordVPN purchase. Your NordVPN app will begin downloading.
8. Confirmation
Now you just need to go to your email account and open the message from the NordVPN team asking you to verify your email address and set up your password. Follow the instructions given to do this.
If you can’t see the email from NordVPN, be sure to check your junk mail, spam, promotions and possibly other folders in your email account, as these emails are sometimes mistakenly marked as spam or promotional.
9. Log in to NordVPN
You can now log in to the NordVPN website any time and check your subscription, change your plan if you wish, change your password, or download NordVPN apps and extensions.
Sign up to the TechRadar Pro newsletter to get all the top news, opinion, features and guidance your business needs to succeed!

Désiré has been musing and writing about technology during a career spanning four decades. He dabbled in website builders and web hosting when DHTML and frames were in vogue and started narrating about the impact of technology on society just before the start of the Y2K hysteria at the turn of the last millennium.