77 photography tips and tricks for taking pictures of anything
There's a lot to sink your teeth into
Sign up for breaking news, reviews, opinion, top tech deals, and more.
You are now subscribed
Your newsletter sign-up was successful
Street photography techniques, tips and tricks
Tip 1. Choose shorter lenses
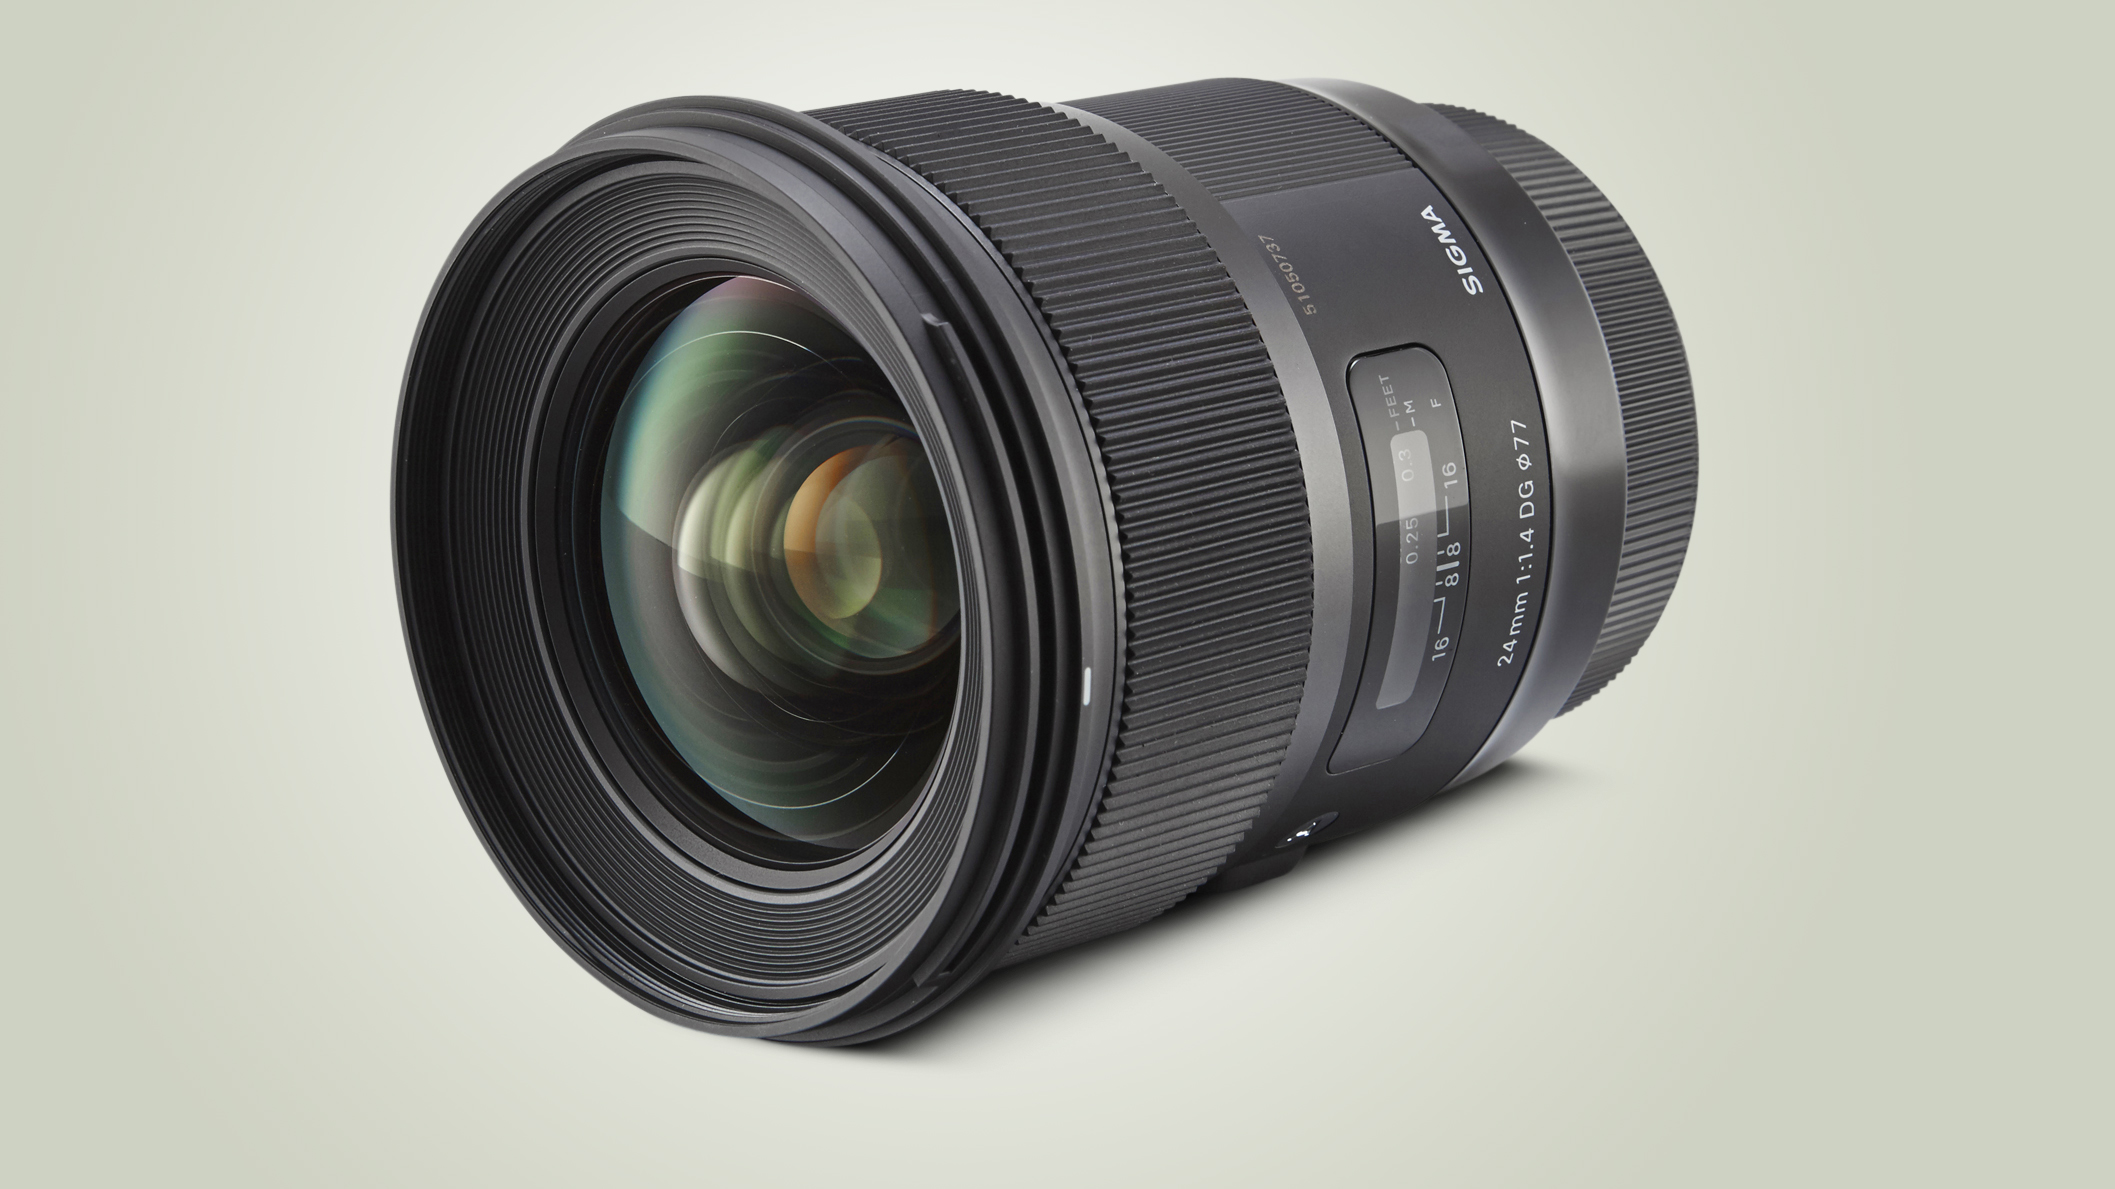
Avoid using long zoom lenses for street photography. Rather than making you inconspicuous, these will actually draw attention to you. If someone clocks you 'sniping' from a distance, they're more likely to confront you.
A small, standard zoom lens that offers focal lengths somewhere between 24mm and 50mm forces you to get closer, and this can have a positive effect on your street photography. Getting 'in amongst it' allows you to react to situations faster.
Tip 2. Camera settings for fast reactions
Don't walk around with a camera pressed to your face. Not only will you look conspicuous, but you'll miss potential pictures. Take the time to absorb yourself in your surroundings before you start taking pictures.
That said, you'll need to react quickly to the fleeting moments that make for the best street photography. Use continuous drive mode so that you can burn through frames when needed (although time your shots to capture the 'decisive moment').
Continuous focus will allow to track action, although you'll need to manually select a focus point to prevent the camera locking onto something you weren't expecting.
Finally, start shooting in Program mode as the camera will set both the aperture and shutter speed (and ISO in Auto ISO mode), so you can concentrate on grabbing the shot.
If you need more depth of field or a faster shutter speed, turn the camera's control dial to enter Program Shift mode.
Sign up for breaking news, reviews, opinion, top tech deals, and more.
- Learn more: The A to Z of Photography: Program AE
Tip 3. Best locations for street photography
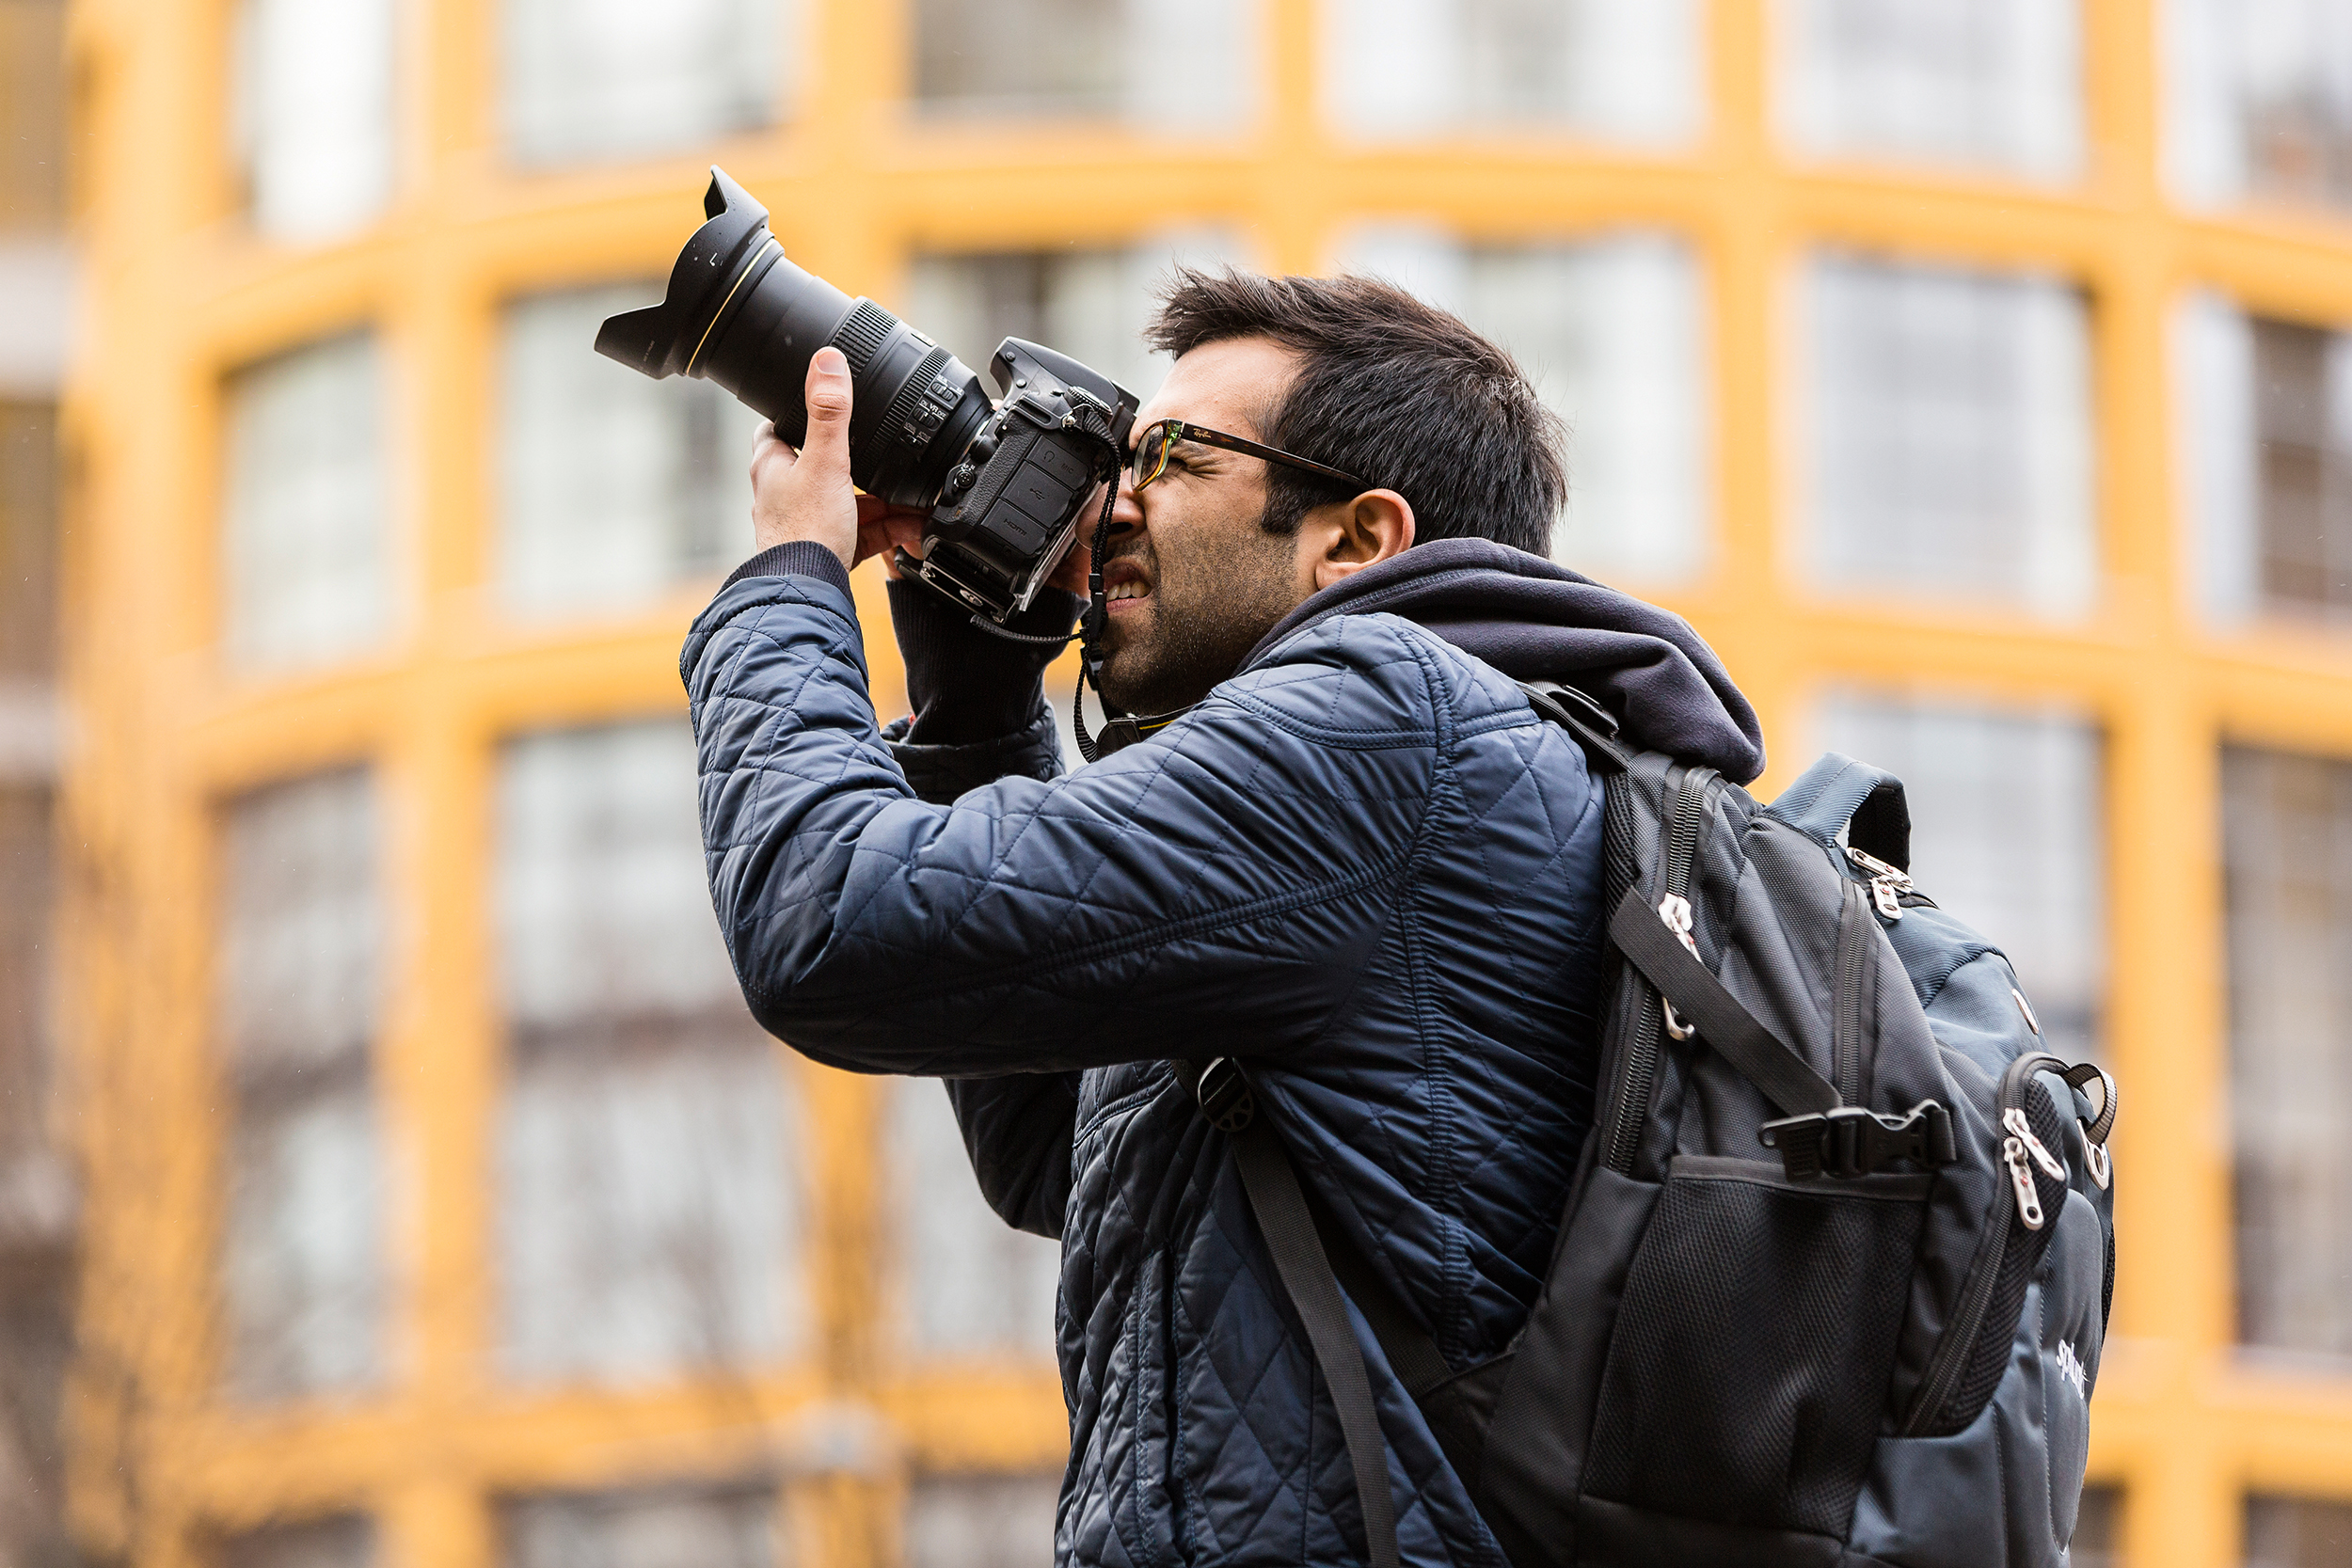
Rather than running around a town or city chasing pictures, stake out a promising location. Look for crowded areas where there's a constant stream of people.
The greater the footfall, the more opportunities there will be for taking opportunistic photos.
On a practical level, choose a wide pavement for your street photography as it will give you more room to work.
Tip 4. Find graphic shapes in cities
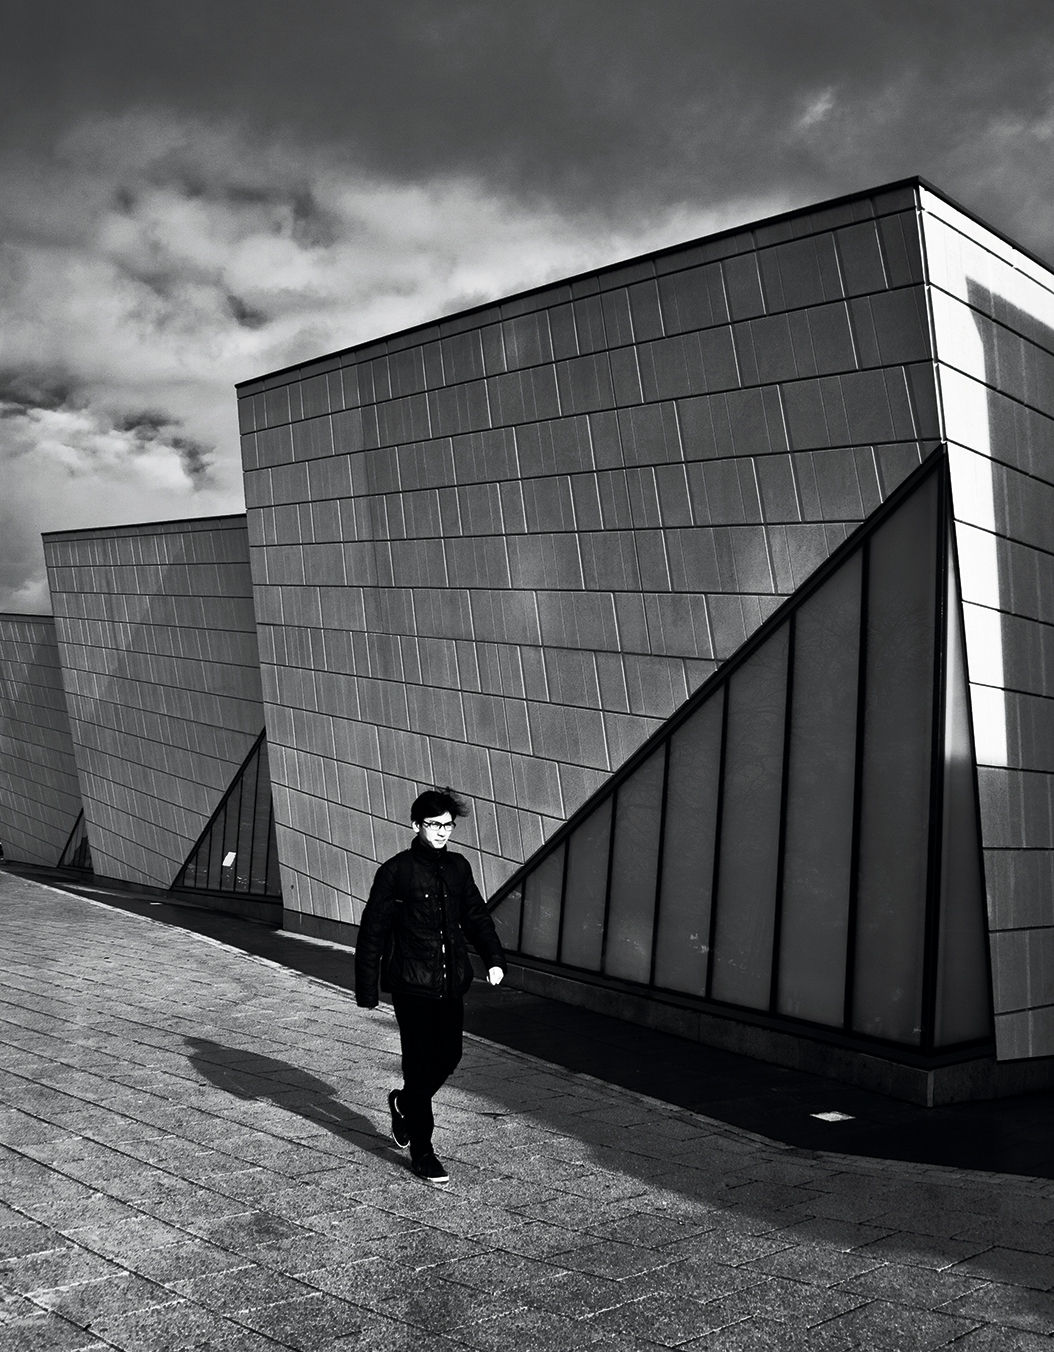
Look for a location that offers clean lines, bold shapes and strong design. Pre-visualize your photo and then wait for the right people to walk into shot.
Stairwells, shot from above, are a good place to try this photography technique. Or why not try getting low, and framing people's legs and the pavement against an interesting backdrop.
Shadows can also be used as a strong visual element - and even become the focal point themselves. Try shooting from a high position and allowing people's shadows to take on a life of their own…
Tip 5. Shooting from the hip
Try taking street photos without looking through the viewfinder. Select your camera's Program mode, set the drive mode to Silent if your camera offers this feature, and manually pre-focus the lens at around five or six feet.
Go for a walk on a busy street with the camera on a strap over your shoulder, and press the shutter release in short bursts.
Review your shots regularly on the rear screen, as even small adjustments to focal length and the position of the camera can make a significant difference to the success of this technique.
Tip 6. Follow an interesting subject
Once you spot a subject with potential, follow them. We're not talking about harrassing individuals, chasing the around the streets.
But if someone with memorable hair, unusual clothes or interesting looking dog crosses your path, make the most of the opportunity.
This approach will work best in areas that you know well. If you keep your street photography local, and have built up a mental map of prime locations, you'll be able to put yourself in a position where subject and background come together.
Tip 7. Use juxtaposition
Look for ways in which you can capture unreal or witty street photos, without slipping into photographic cliches. An old woman walking past a poster advertising underwear is a predictable choice that doesn't say very much.
But finding a composition where the billboard advertising is 'interacting' with a person - a giant hand appearing to push her along - is a different case altogether.
People in front of shop windows that provide a visual 'joke' make for good juxtaposition pictures (a bald man in front of hairdressers is a cliche, but you get the idea). Juxtaposition and forced perspective can also work hand in hand…
Tip 8. Using forced perspective
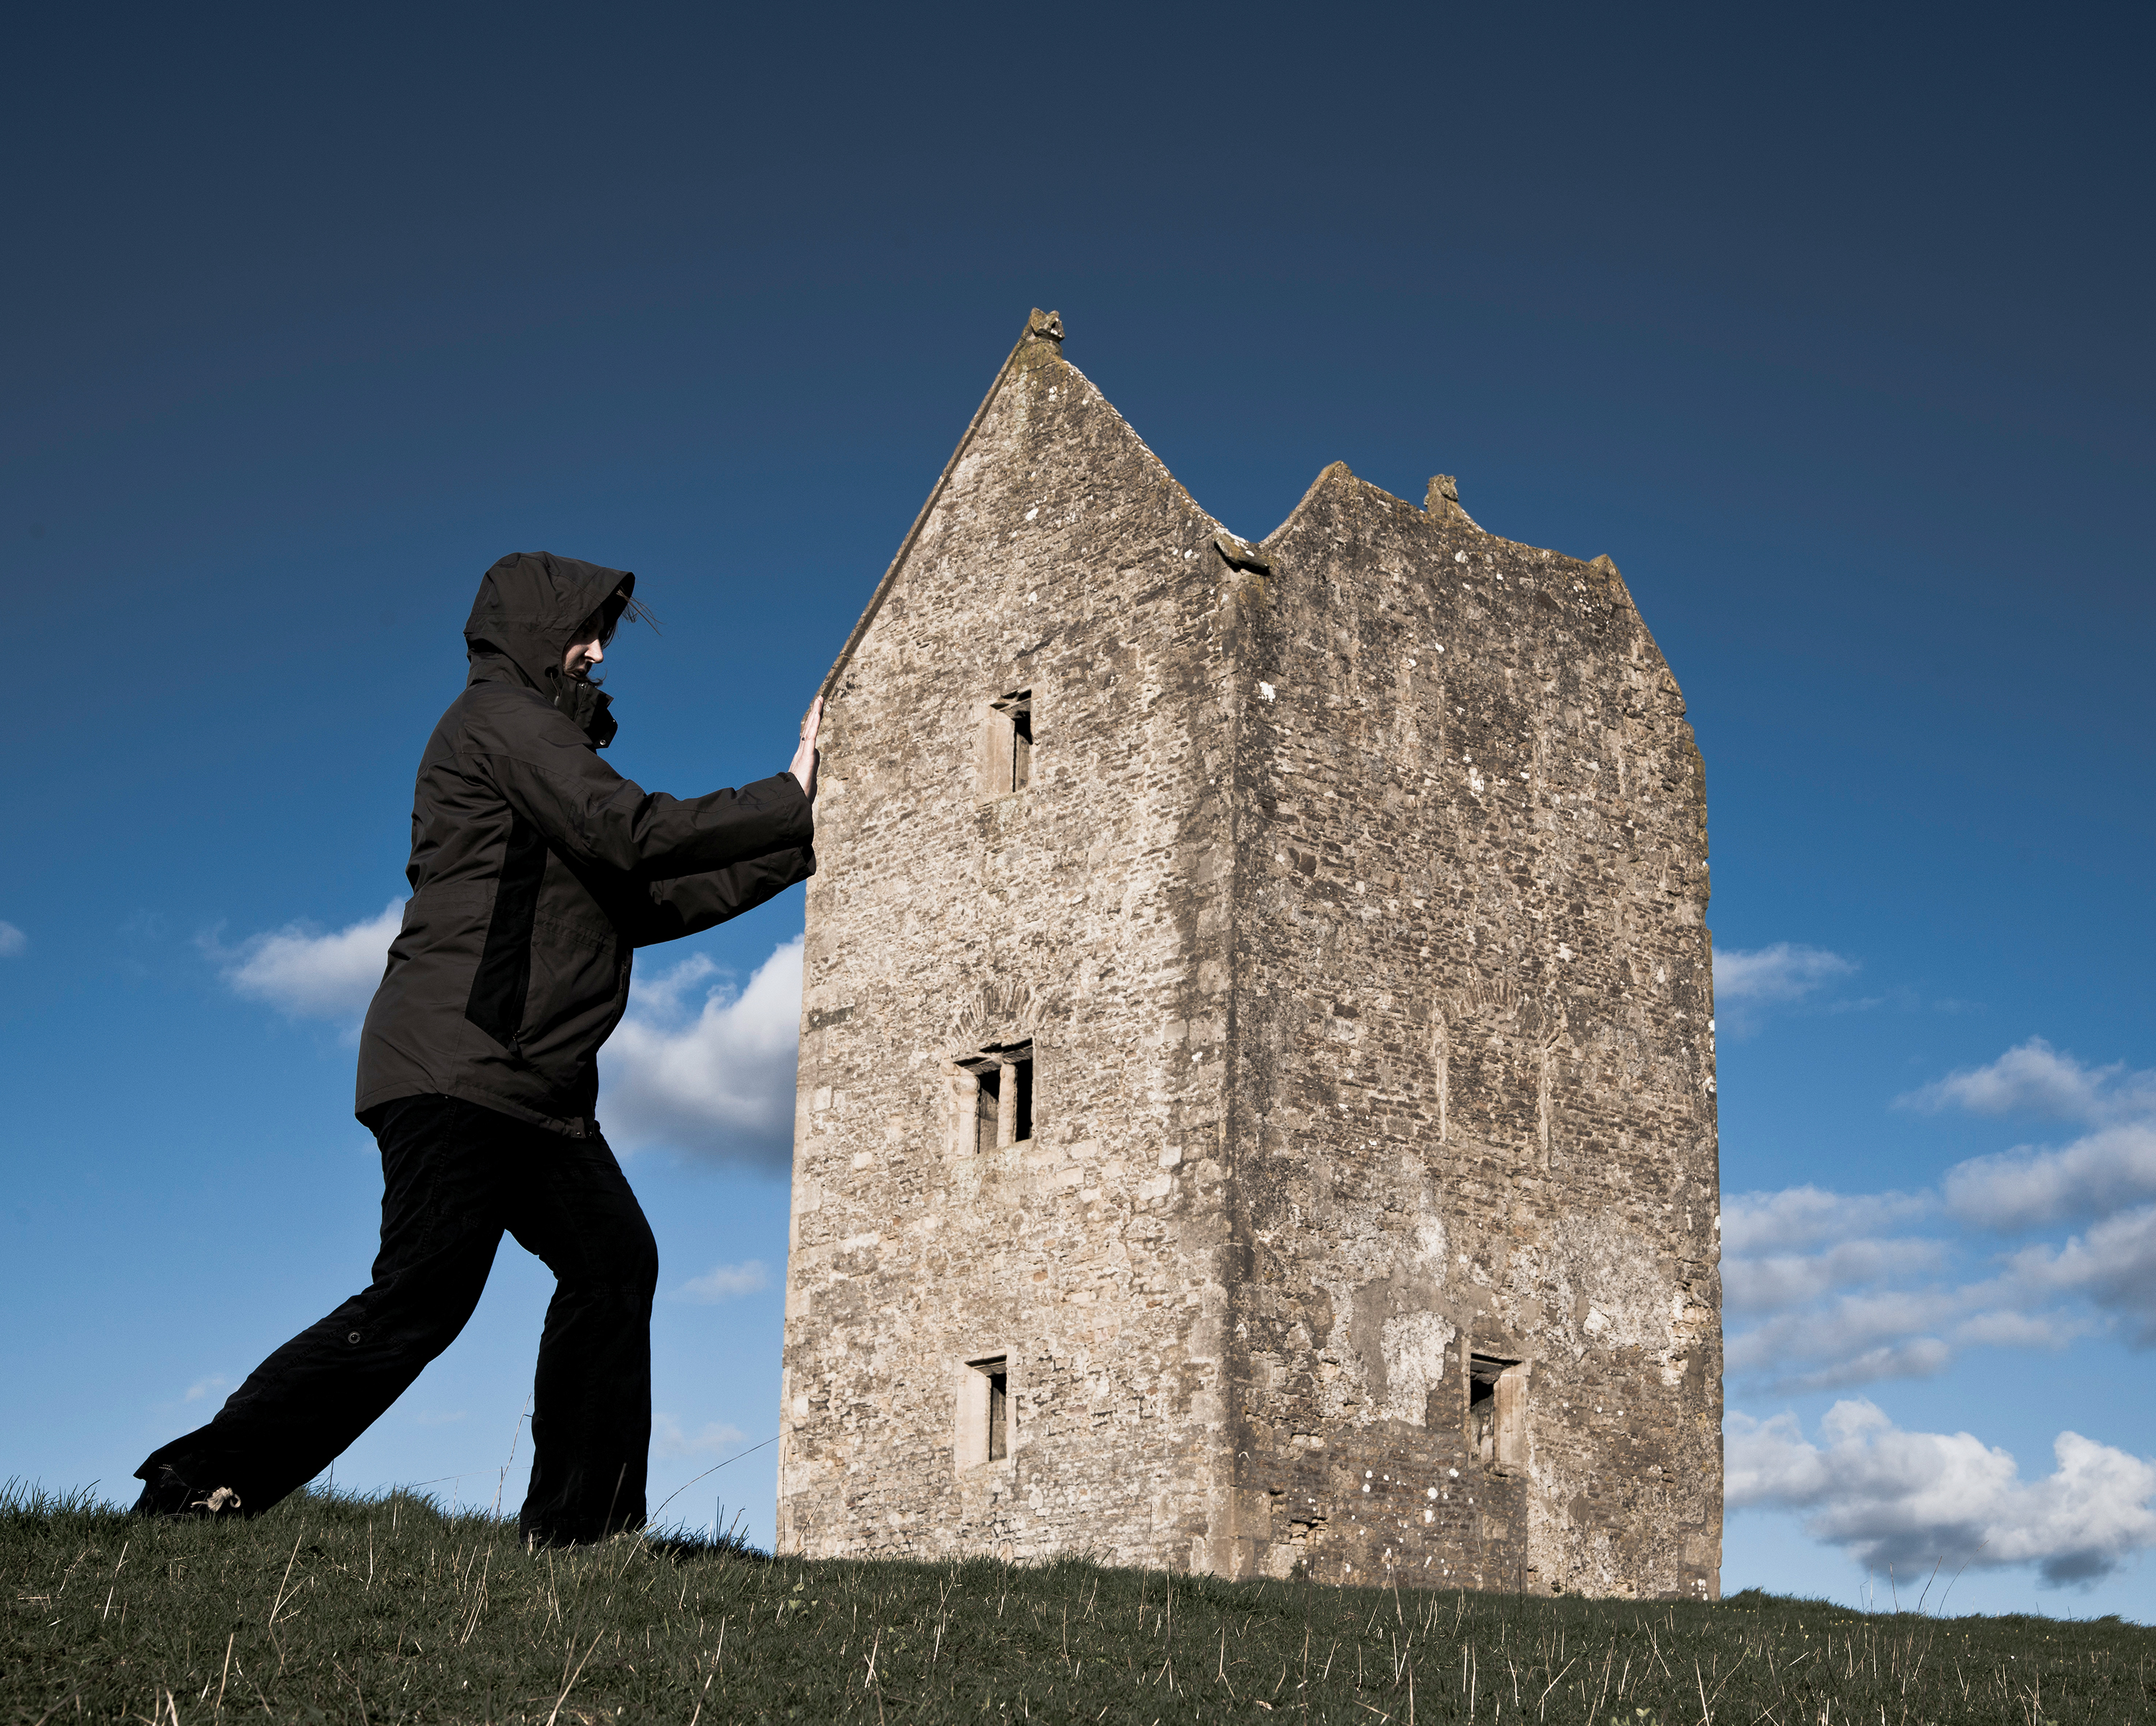
Force yourself to finding a camera angle that enables you to bring two unrelated and often quite distant objects into the same world.
Think of a fountain in the background appearing to spring from a bottle in the foreground, or someone 'leaning' against an iconic landmark, such as Big Ben.
On a smaller scale, balloons being carried at head height (particularly effective if the balloon has a face painted on it) or dogs appearing to drive cars are classic examples of forced perspective.
You'll need the objects to be in similar light to create a convincing effect, and use a fairly small aperture to extend the depth of field through the scene.
- Learn more: 5 ways to add impact to your images
Tip 9. Candids
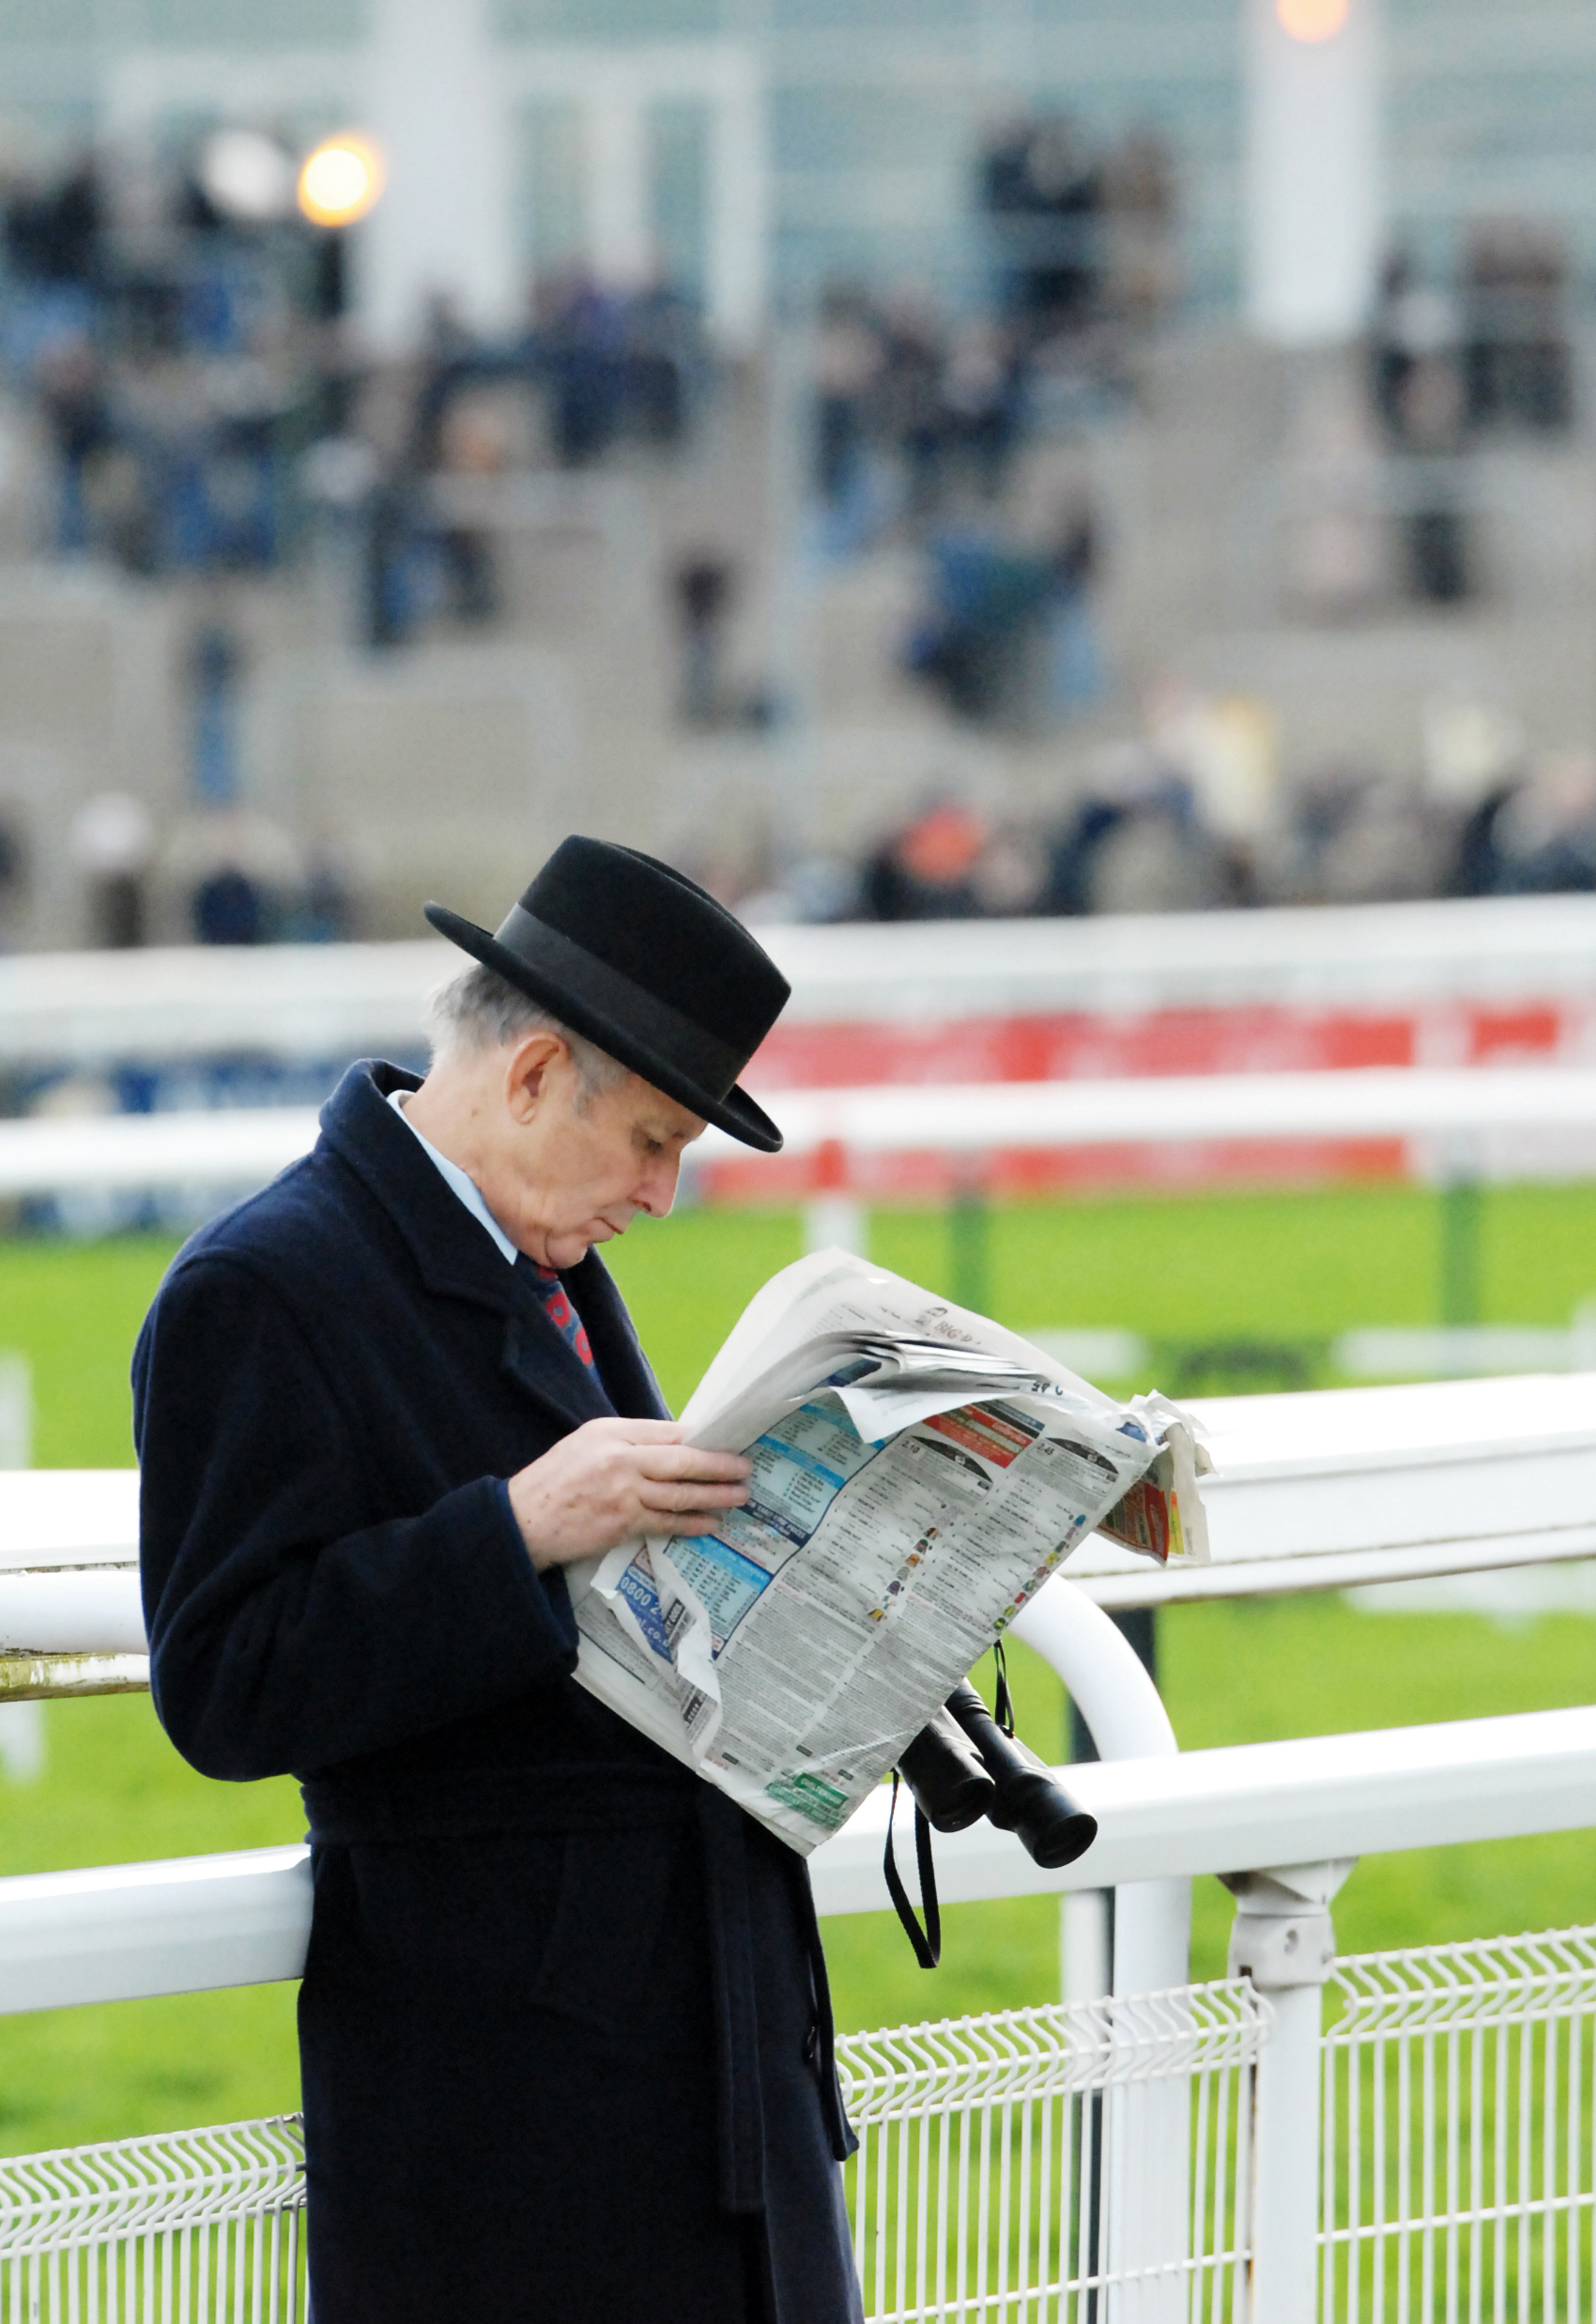
One of the hardest aspects of starting out in street photography is building the confidence to take pictures candidly.
Chances are, you don't want a subject to see you and get angry - or start smiling for the camera (although it's good to get a few examples of this type of shot in the bag, just to add variety to your street photography portfolio).
Shooting candids is likely to mean working at the longer end of a zoom lens's range, but remember that this may draw attention to you.
In the UK you're free to take photos of people in public places, but bear in mind the sensitivities of certain subjects and locations.
Take some example photos with you so that you can show that you have a passion for photography if you are confronted on the street.
Tip 10. Blurring people in crowds
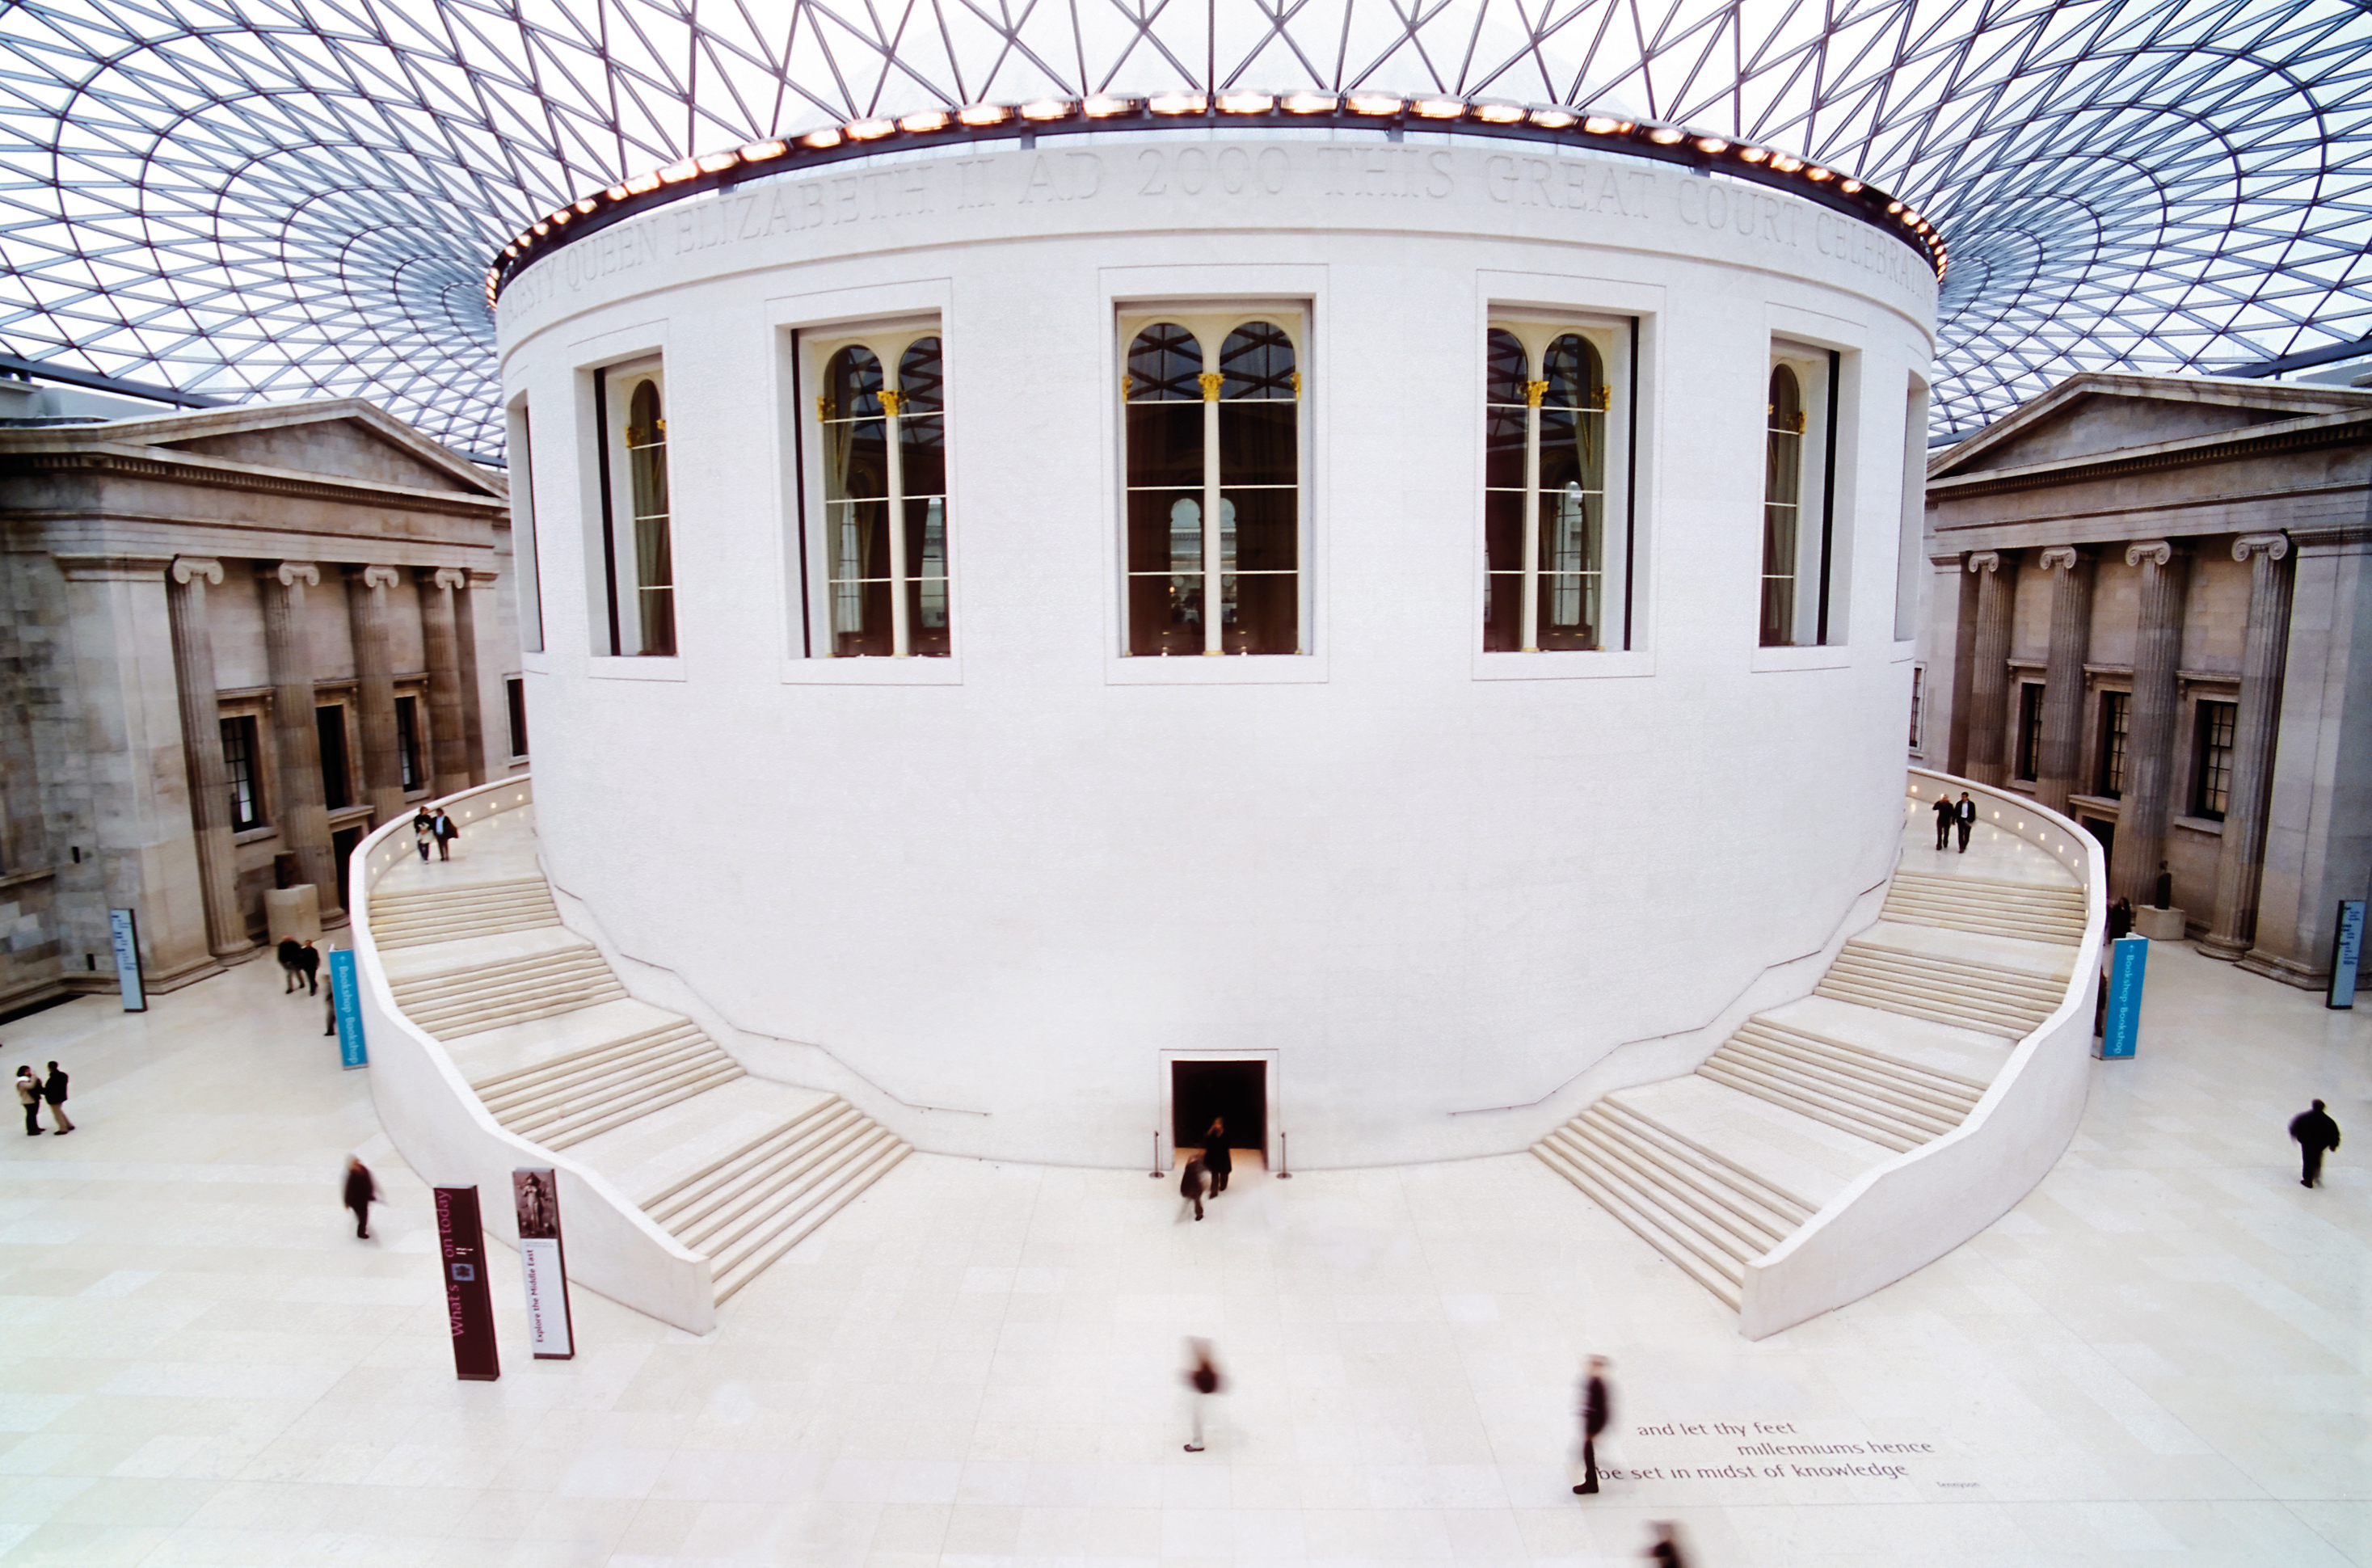
Using a slow shutter speed to introduce motion blur into your street photos will help isolate and emphasize a stationary subject.
Try using it to show the movement of crowds around one of those silver-sprayed street performers - just remember to give them a tip!
You'll need a tripod to pull off this technique with precision, but if it's too crowded to risk setting one up then you'll have to make do - try resting the camera on your camera bag on the ground instead.
You'll need a small aperture and low ISO in order to achieve a slow shutter speed. Aim for 1/4sec to begin with, check your results and speed up or slow down the exposure as necessary.
If the lighting is too bright to achieve a slow enough shutter speed, fit a standard ND filter or polarizer.
Tip 11. Emphasize color
The urban environment can be populated with rather drab colors and flat tones. Actively look for color to give your street photos a stand-out quality. Carnivals, street parties, urban art, road signs and vehicles can all be used to add vibrancy.
Alternatively, remove color altogether and try the picture in black and white. Shoot color images in camera and do the black and white conversion later in software, adding grain and boosting the contrast for a classic old-school street photography look.
Current page: Street photography techniques, tips and tricks
Prev Page Night photography techniques, tips and tricks Next Page Flash photography techniques, tips and tricks
Phil Hall is an experienced writer and editor having worked on some of the largest photography magazines in the UK, and now edit the photography channel of TechRadar, the UK's biggest tech website and one of the largest in the world. He has also worked on numerous commercial projects, including working with manufacturers like Nikon and Fujifilm on bespoke printed and online camera guides, as well as writing technique blogs and copy for the John Lewis Technology guide.