


AirPlay is great for wirelessly piping music through your home, but even basic AirPlay speakers come with a hefty price tag attached. You may already have a perfectly serviceable stereo system in place, so why spend a fortune on new speakers when you can put together your own wireless AirPlay receiver for under £50/$70 with the Raspberry Pi?
This project was inspired by a desire to make full use of a 25-year-old Pioneer stereo system that sounds as good as the day we bought it. We hoped the receiver would make good use of this stereo's stunning sound, but even we couldn't have foreseen just how spectacular the results would be.
The components used in this project will cost you about £50/$70, and some soldering is involved. The good news is that it'll give you a full-blown music receiver that can do much more than simply act as an AirPlay receiver, though that's the sole focus of this tutorial.

Your AirPlay receiver will consist of a number of components, and you're free to trade up or down as you see fit. We picked the Raspberry Pi Zero because it costs about a fiver, but you can easily adapt this project to any Raspberry Pi model – doing so may cost more, but you'll avoid the need to do any soldering and you'll even have the option of turning your AirPlay receiver into a standalone system – all you need to do is provide speakers.
If you're thinking of buying another Raspberry Pi model, watch our video below to see if the Raspberry Pi 3 could replace your current PC.
To follow our project exactly, you'll need the following items – feel free to shop around for better deals, but these are the items and sellers we used during this project. You'll need a Raspberry Pi Zero (£4.20/$5), of course, for which you'll want to add: the Essential Raspberry Pi Zero Kit (£6/$10), which contains necessary adaptors and a GPIO header; a USB Wi-Fi dongle (£6/$10); and a Raspberry Pi Zero power adapter (£6/$10), all of which you can get from The Pi Hut (or Ada Fruit in the US).
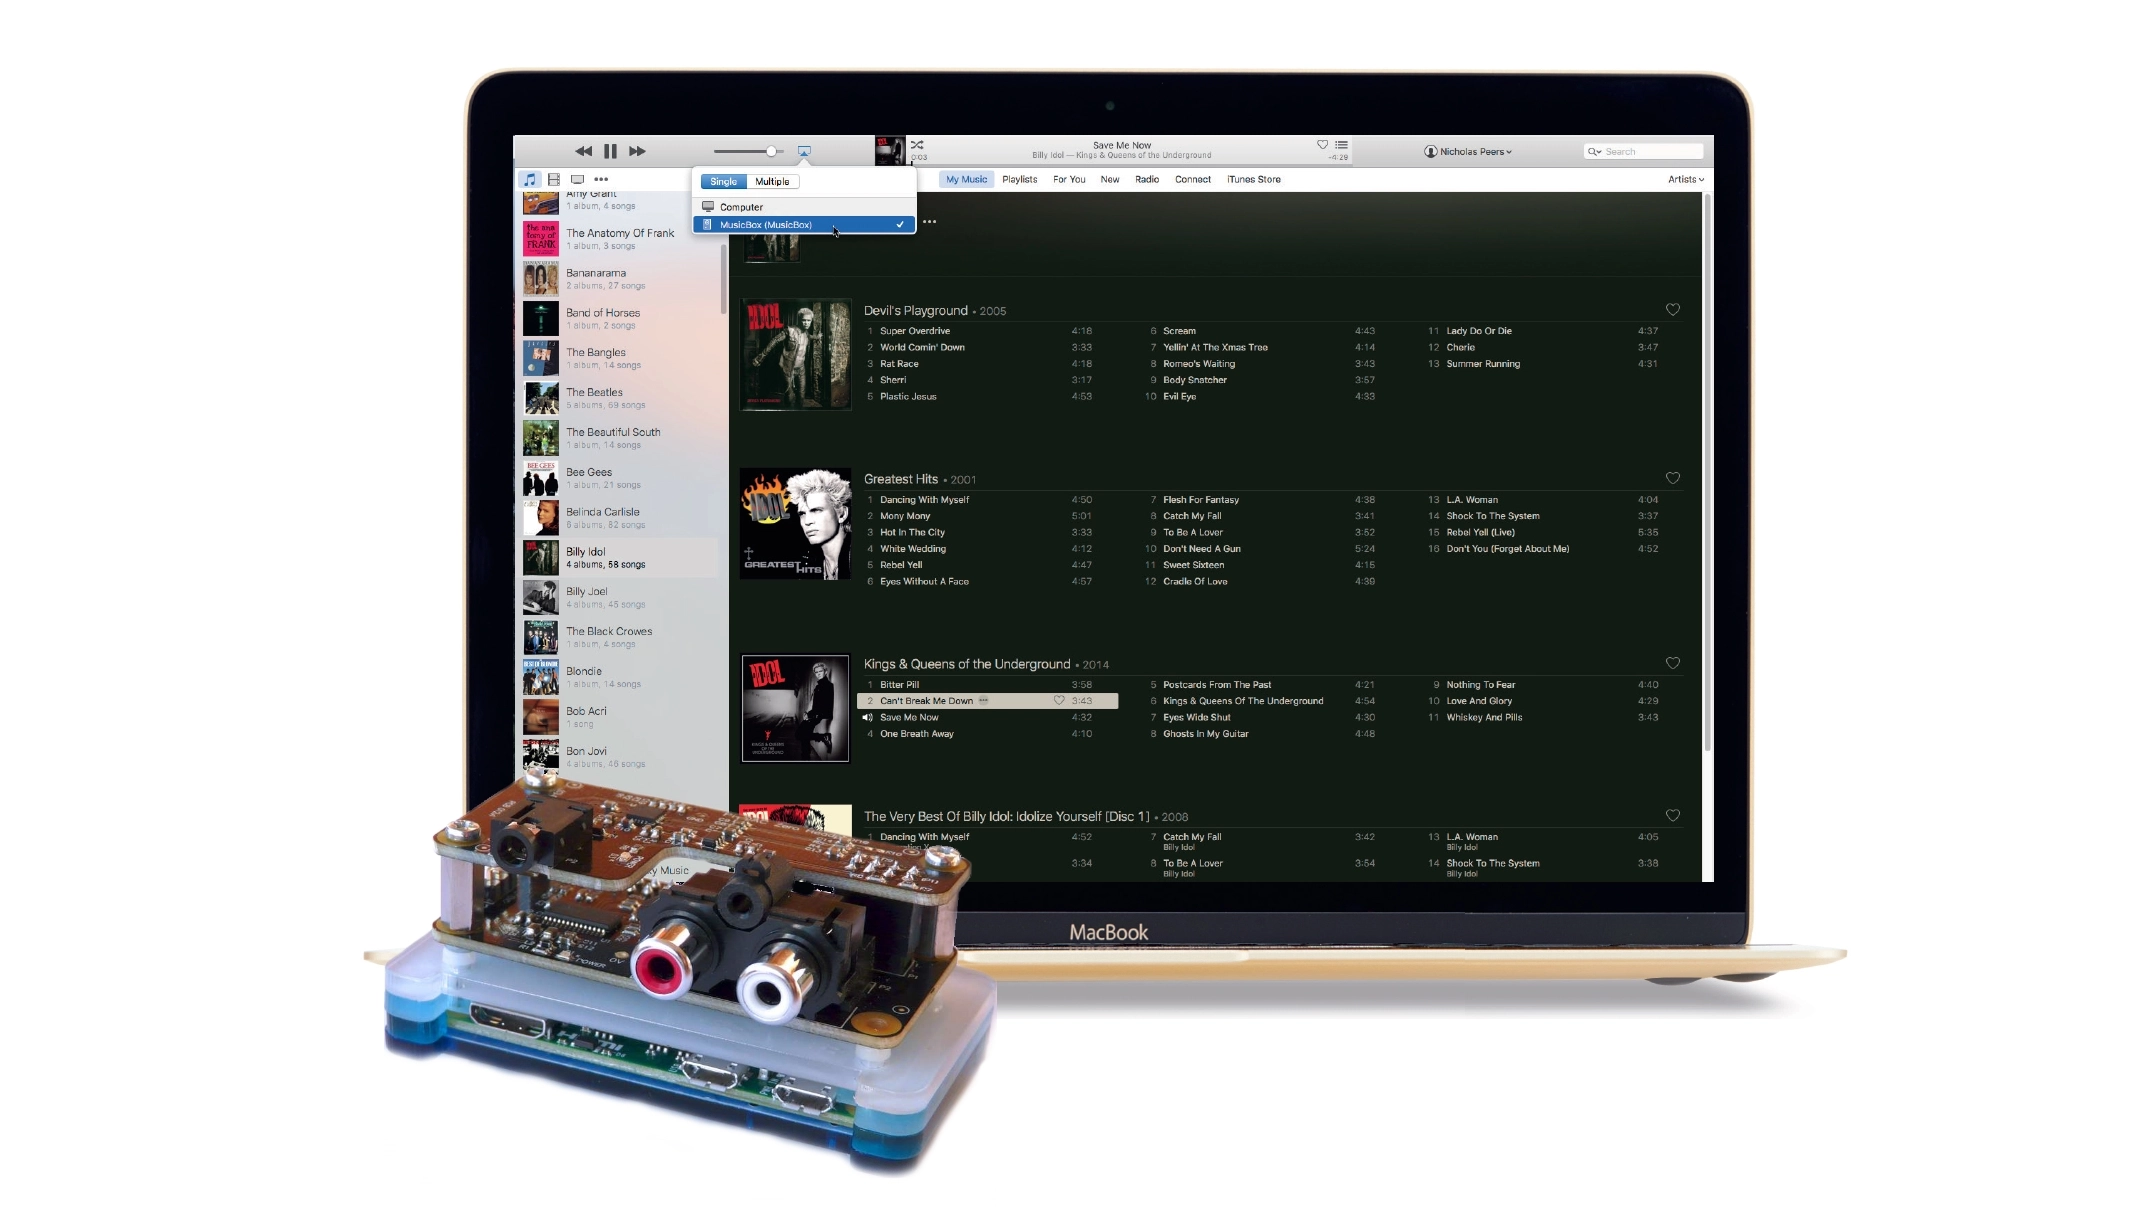
You'll also need the Pi-DAC Zero (£15/$25) which offers twin phono outputs to hook up the Raspberry Pi Zero to your stereo sound system.
There's also a Pi-DAC Zero Headphones add-on (£15/$25), if you want a private experience.
Best case scenario
You'll want a case for your Raspberry Pi Zero; we used a Pibow Zero case. We hope IQaudIO will, in time, produce a dedicated case to house the Raspberry Pi Zero and its audio cards. For now, the Pibow Zero case keeps your Raspberry Pi Zero snug while allowing the IQaudIO card to sit on top of it.
Finally, you'll need a Class 10 MicroSD card. It only needs to be 1GB in size, although if you plan to store music on the Raspberry Pi Zero itself, you'll want it to be a much larger capacity – 16GB at minimum. Also you need a phono cable (about £3/$5) to connect to your hi-fi.
The cost of these parts, excluding postage and the optional headphones add-on, comes to about £49/$70.