Note: Our Raspberry Pi streaming tutorial has been fully updated. This feature was first published in May 2013.
The best thing about the Raspberry Pi (RPi) is its versatility – originally launched as an educational device, it's transcended these limitations to become the go-to computer for just about anything you can think of. For example, it can double up as a very capable headless server.
Article continues below- Also check out: How to turn your Raspberry Pi 2 into a retro games console

Gather the ingredients
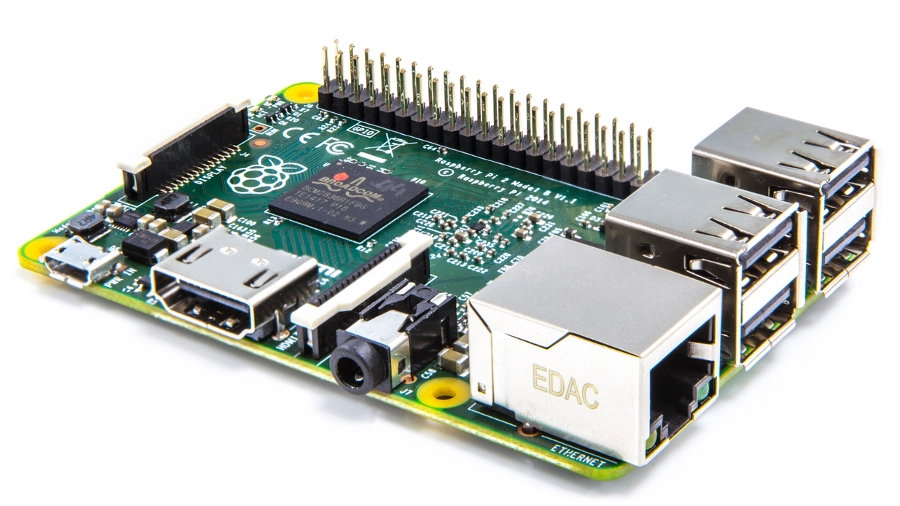
We've used a Raspberry Pi 2 with 1GB OF RAM for this tutorial, but it'll work fine on other Pi models too, including the brand new Raspberry Pi Zero. It'll be powered by the latest version of Raspbian at the time of writing (version 2015-11-21-raspbian-jessie).
The best thing about the newer releases is that they can use all of the increased memory without any tweaks. They also ship with SSH enabled, which allows users to access and set up the RPi without ever connecting it to a monitor.
Download the latest version of the Raspbian distro and flash it to an SD card, either with dd on Linux or Win32DiskImager if you are on Windows. While you can use a USB wireless adapter to connect the RPi to the internet, it's best to use the Ethernet port and pull up a cable to the router.
After connecting and powering up the RPi, head to your router's admin page (check the router or its documentation for the address). In all probability, your router is using DHCP to hand out IP addresses to connected devices.
Explore the admin interface, look for a list of all connected devices and note down the IP address the router has assigned to the RPi. Later, you'll have to assign it a static IP address to ensure the RPi is always accessible at the same address.
For now, let's assume the dynamic IP address assigned to the RPi is 192.168.3.100. With this bit of information, we're all set to connect to the RPi and prepare Raspbian via SSH.
Every Linux distro ships with an SSH client (it's built into the Mac's Terminal too). Windows users can use the PuTTY tool. To connect from a remote Linux machine, launch a terminal and enter the command:
$ sudo ssh pi@192.168.3.100
After agreeing to add this address to the list of trusted hosts, you'll be asked for the login credentials. On a fresh, unconfigured Raspbian install, the password for the default 'pi' user is 'raspberry'.
From this point on, the commands in this tutorial will be the same irrespective of whether you are connected to the RPi from a Linux or a Windows machine. That's because the commands are run on the Raspbian Linux distro on the RPi.
Since this is a fresh install, you'll be asked to configure it before going any further. Enter the command:
$ sudo raspi-config
This will bring up a screen with lots of options. Scroll down and select the Advanced option, then selectA0 Update, which will grab the latest version of this configuration utility.
Once it's done, the RPi may restart and you'll have to reconnect via the ssh command or PuTTY like earlier. You'll have to do this every time you tweak any setting and restart the RPi.
