Essential one light portrait guide
Create high-key and low-key lighting
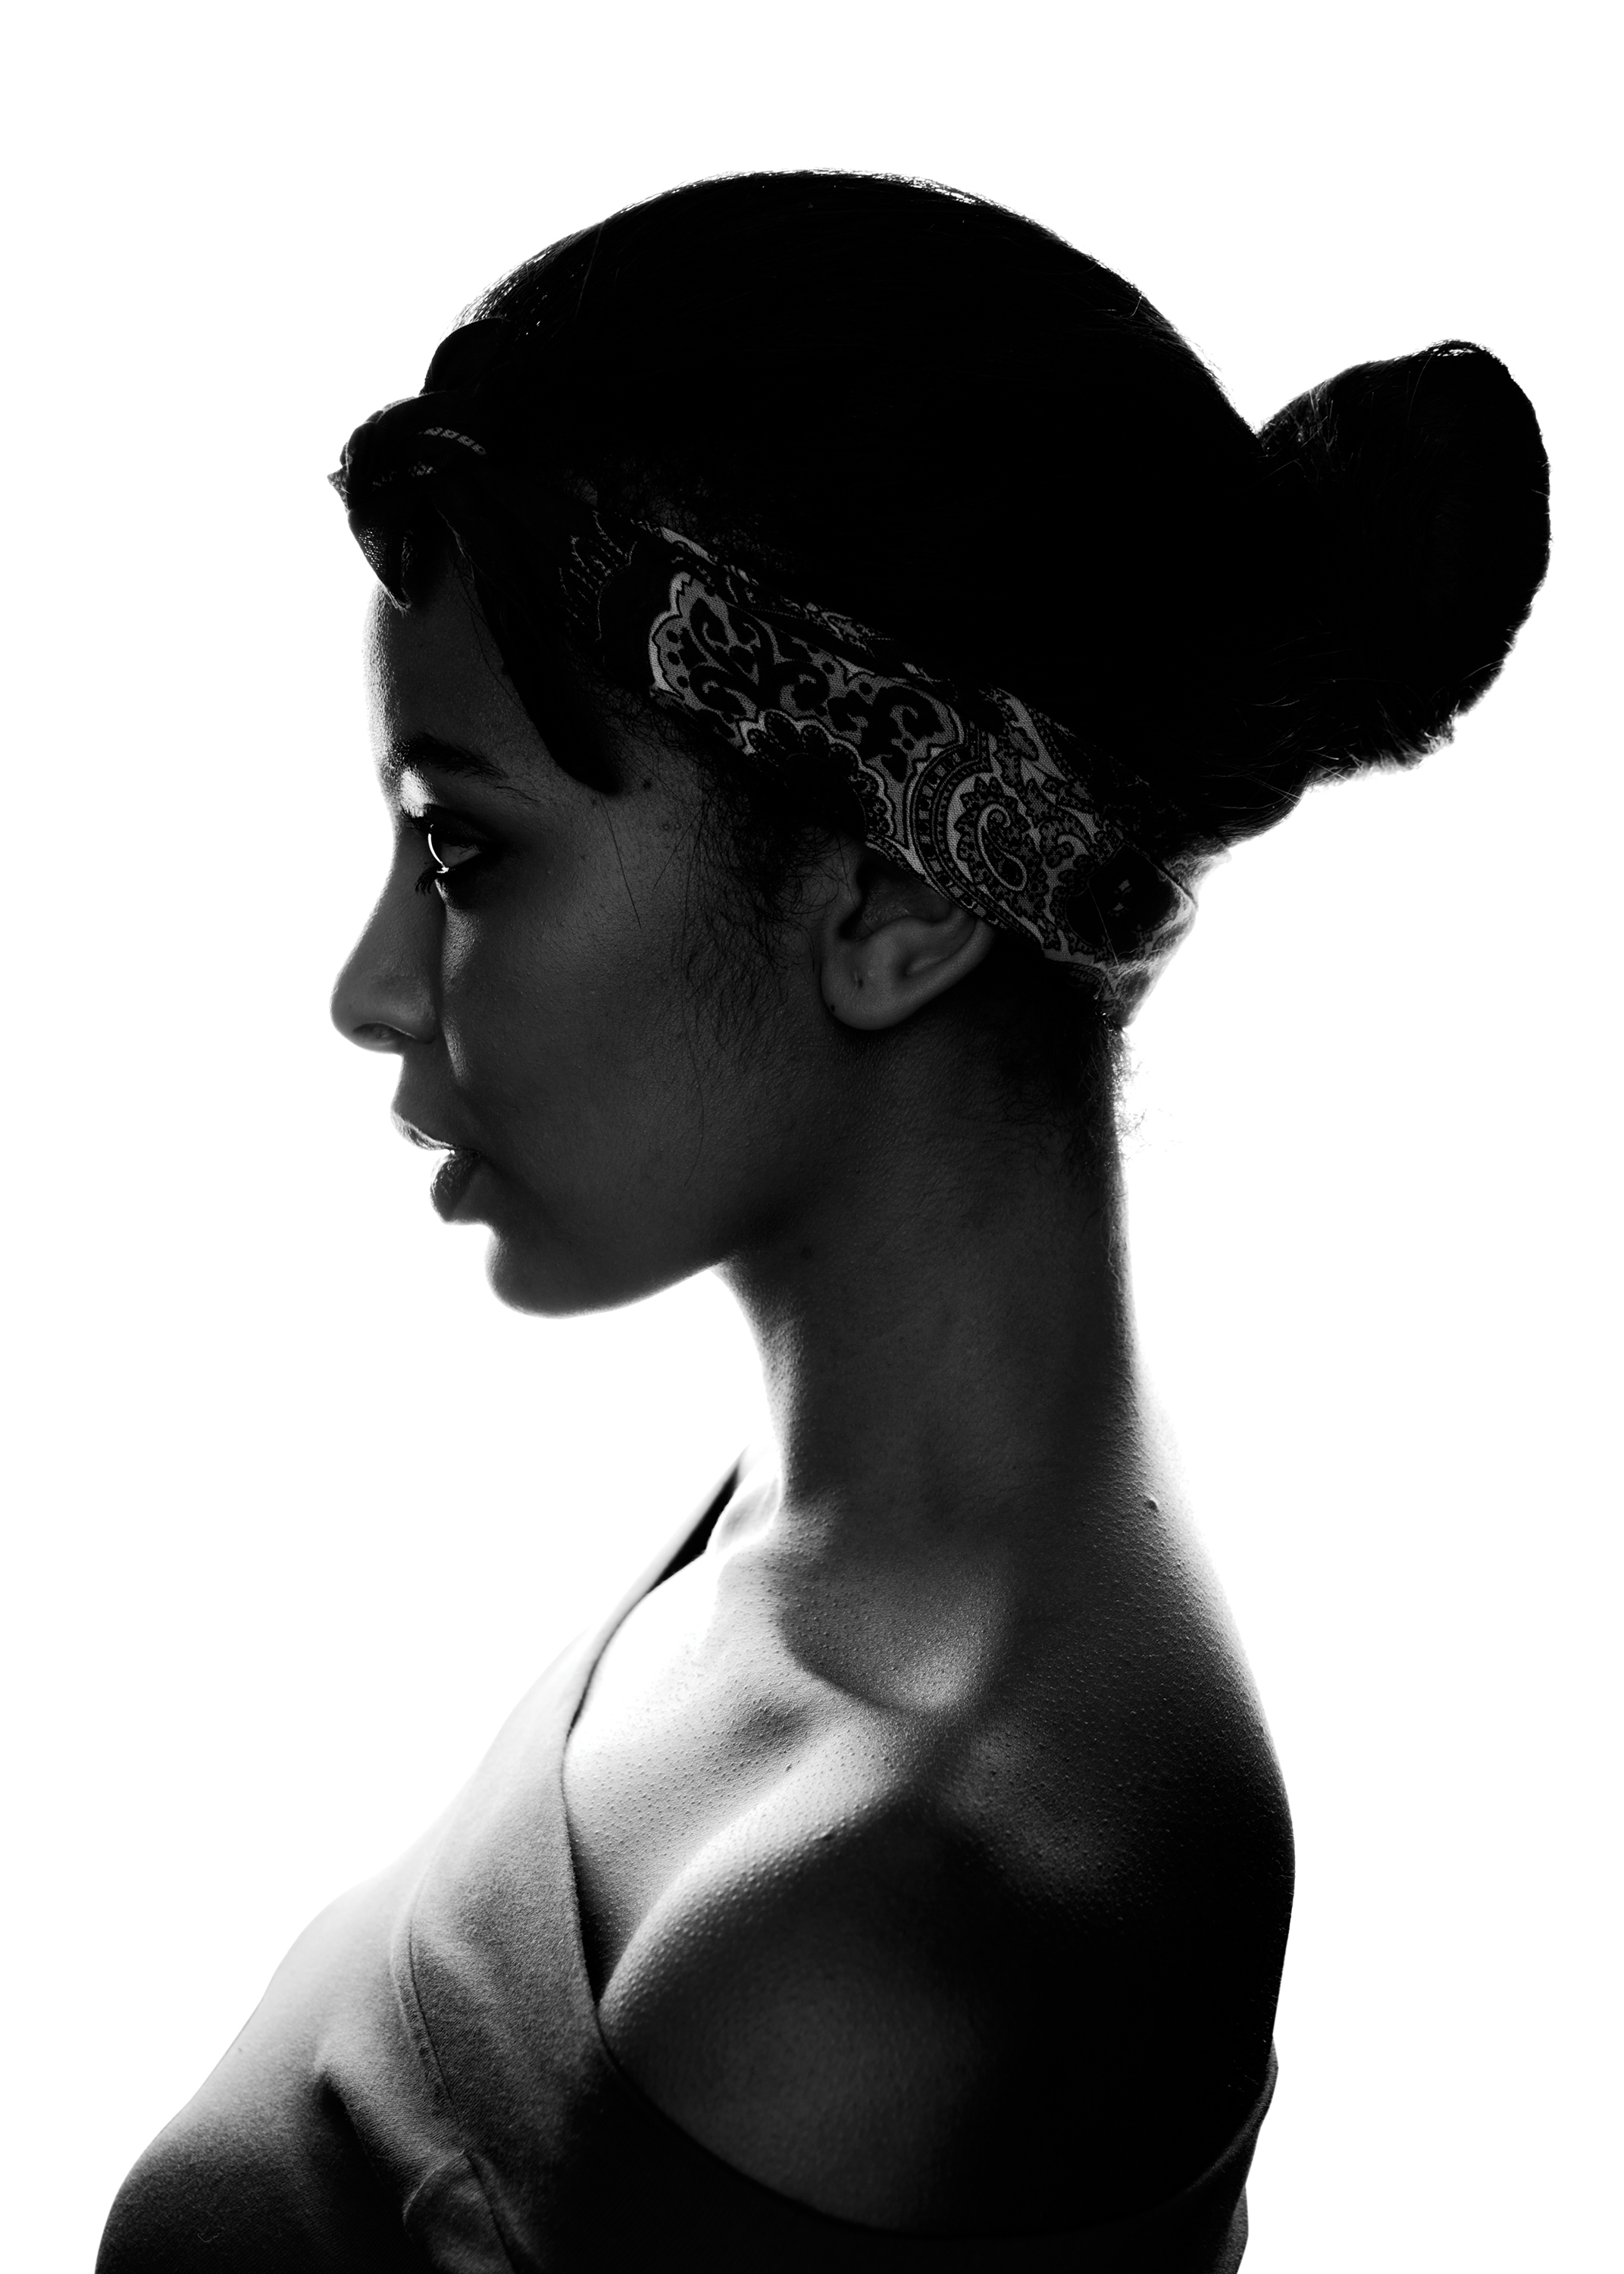
The way you use a single studio light can completely change the mood and overall feel of your portrait, and mastering both high-key and low-key effects can really help your work have a very professional, high-end feel. Creating a high-key or low-key portrait is a good way of ensuring that the focus is on the subject.
High-key
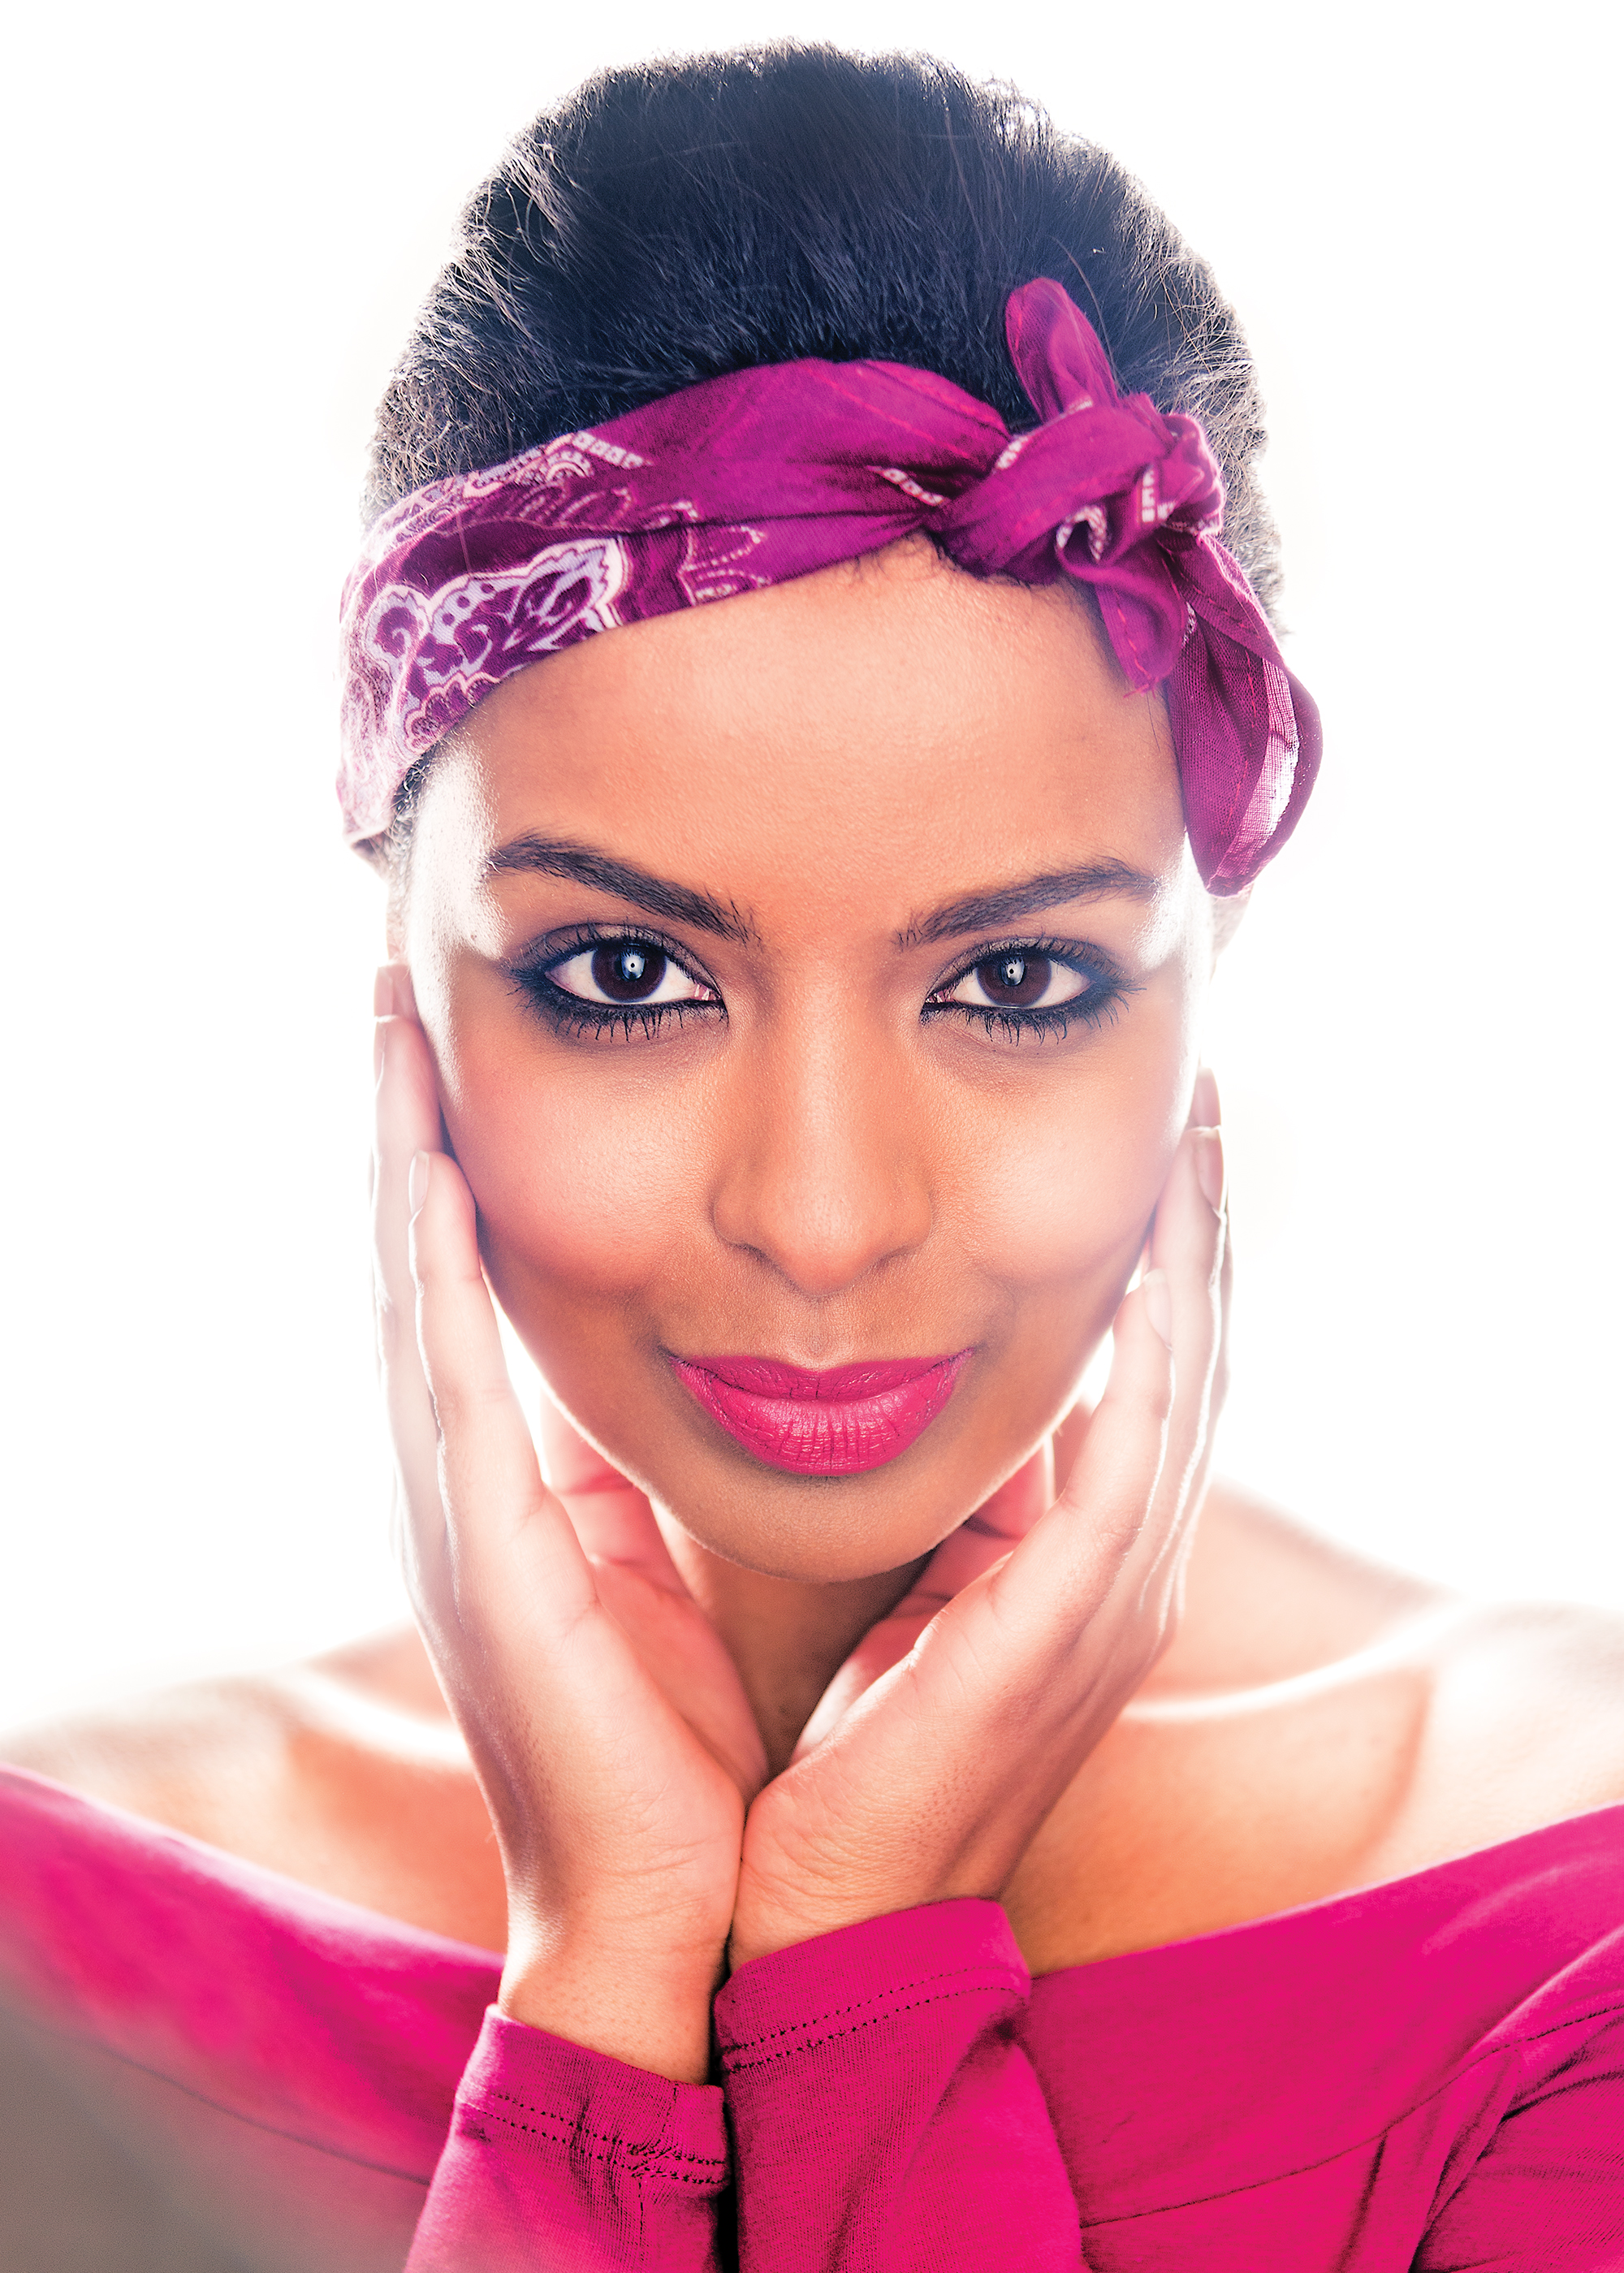
A high-key image is generally dominated by highlights and sometimes errs on the side of overexposure, whereas a low-key image mainly consists of shadows and lowlights. Low-key images are usually more dramatic and can be used to create a more mysterious or sensual image, whereas high-key shots are vibrant and engaging.
The challenge with creating a high-key portrait with one light is that this style typically demands that there is lots of light. Two lights are normally needed just to ensure a brightly lit background, but the image below was created by positioning a large softbox behind the model to take the place of the background, with the light reflected back onto the model’s face with a reflector creating a luminous glow around her.
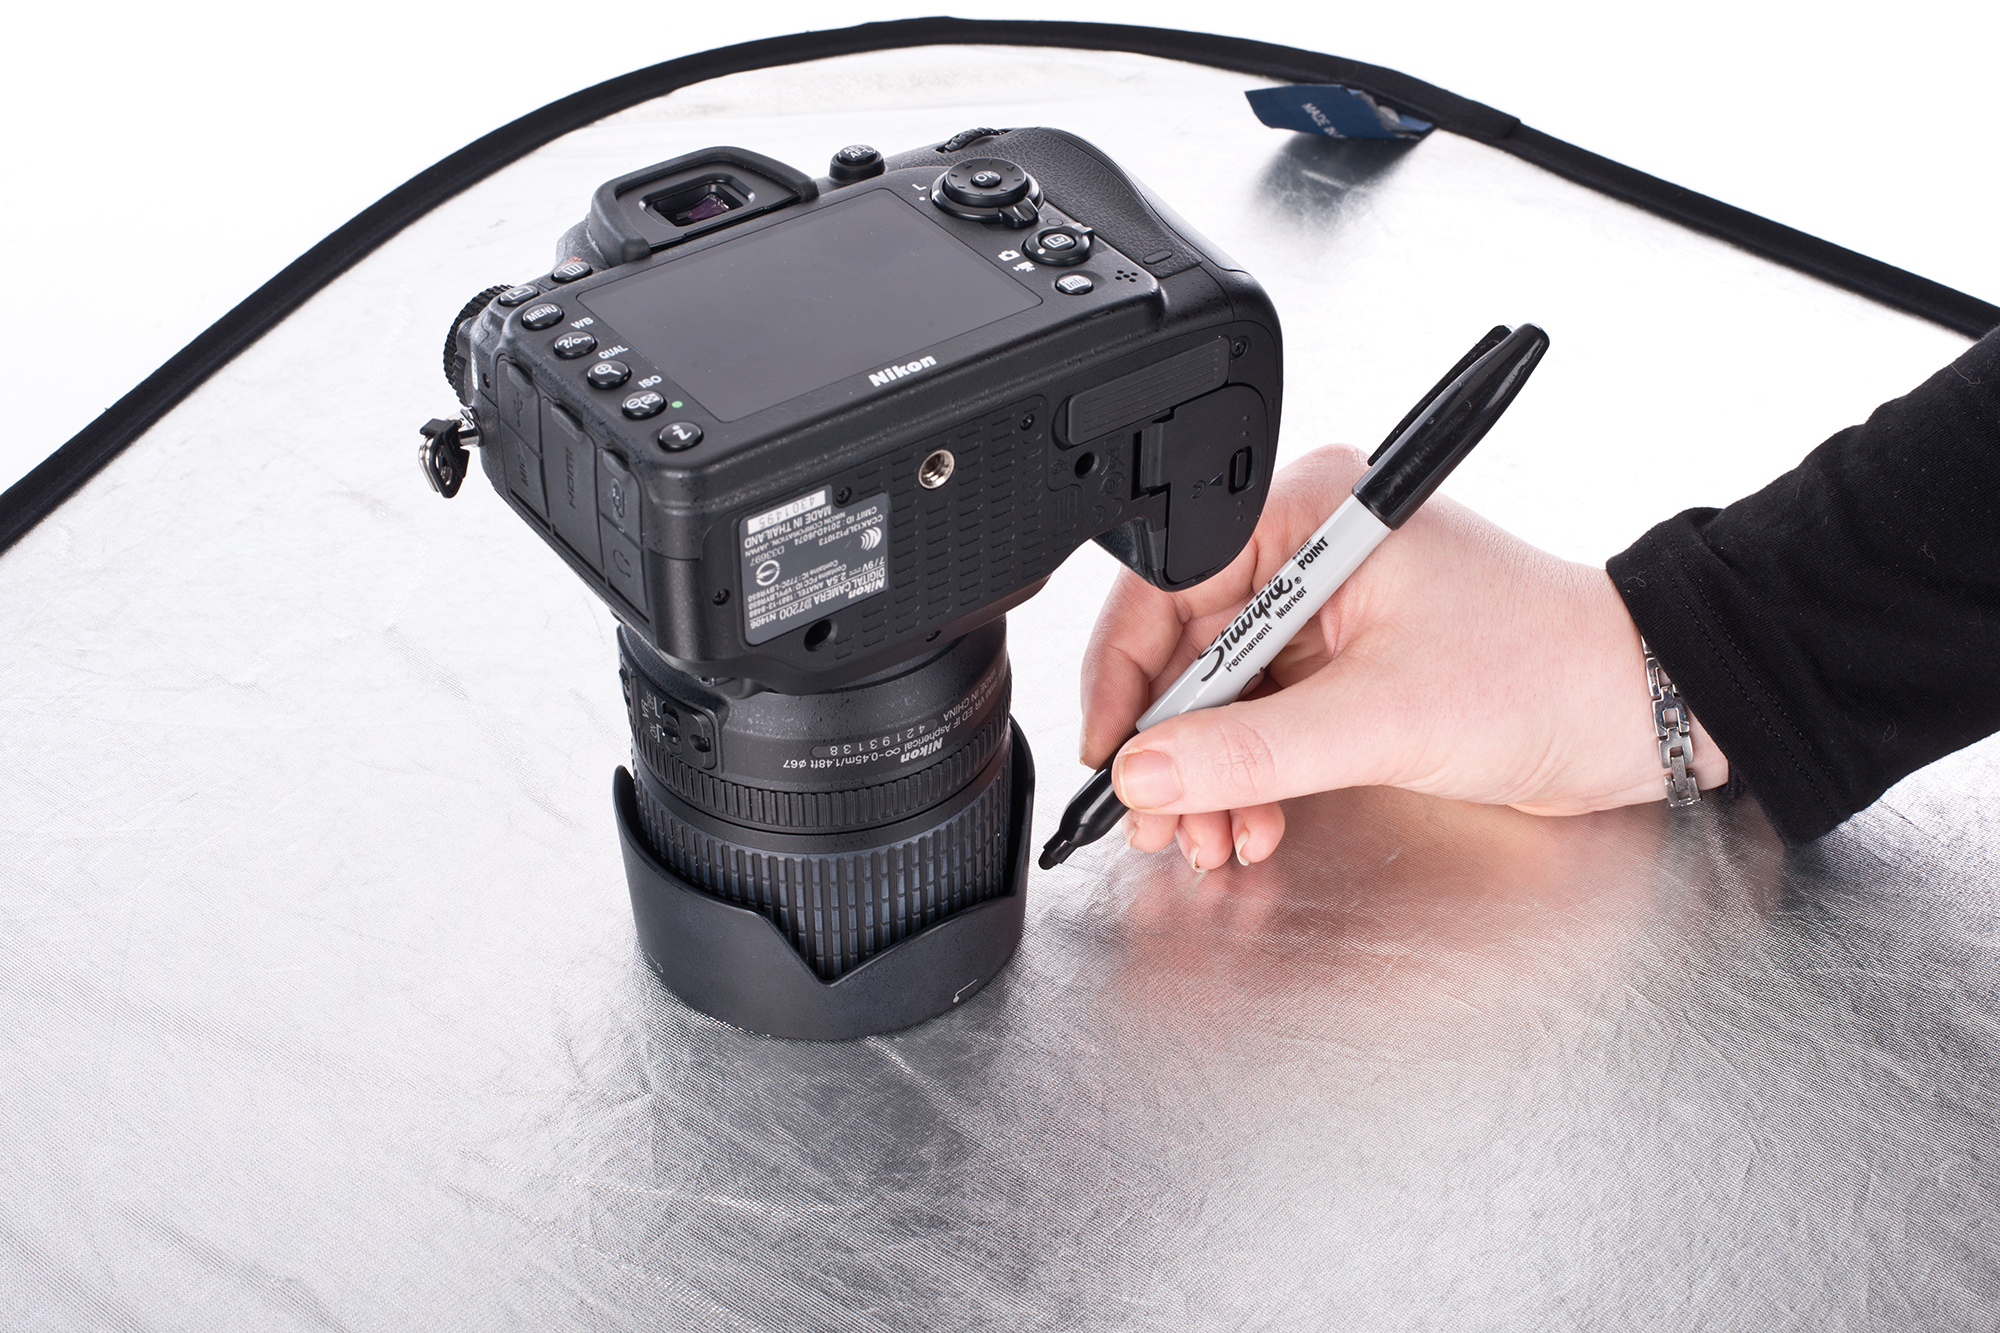
1. Modify your reflector
Cut a hole the size of your camera’s lens out of the middle of an old, large reflector. Then attach it to a stand at the height you would like to shoot through.
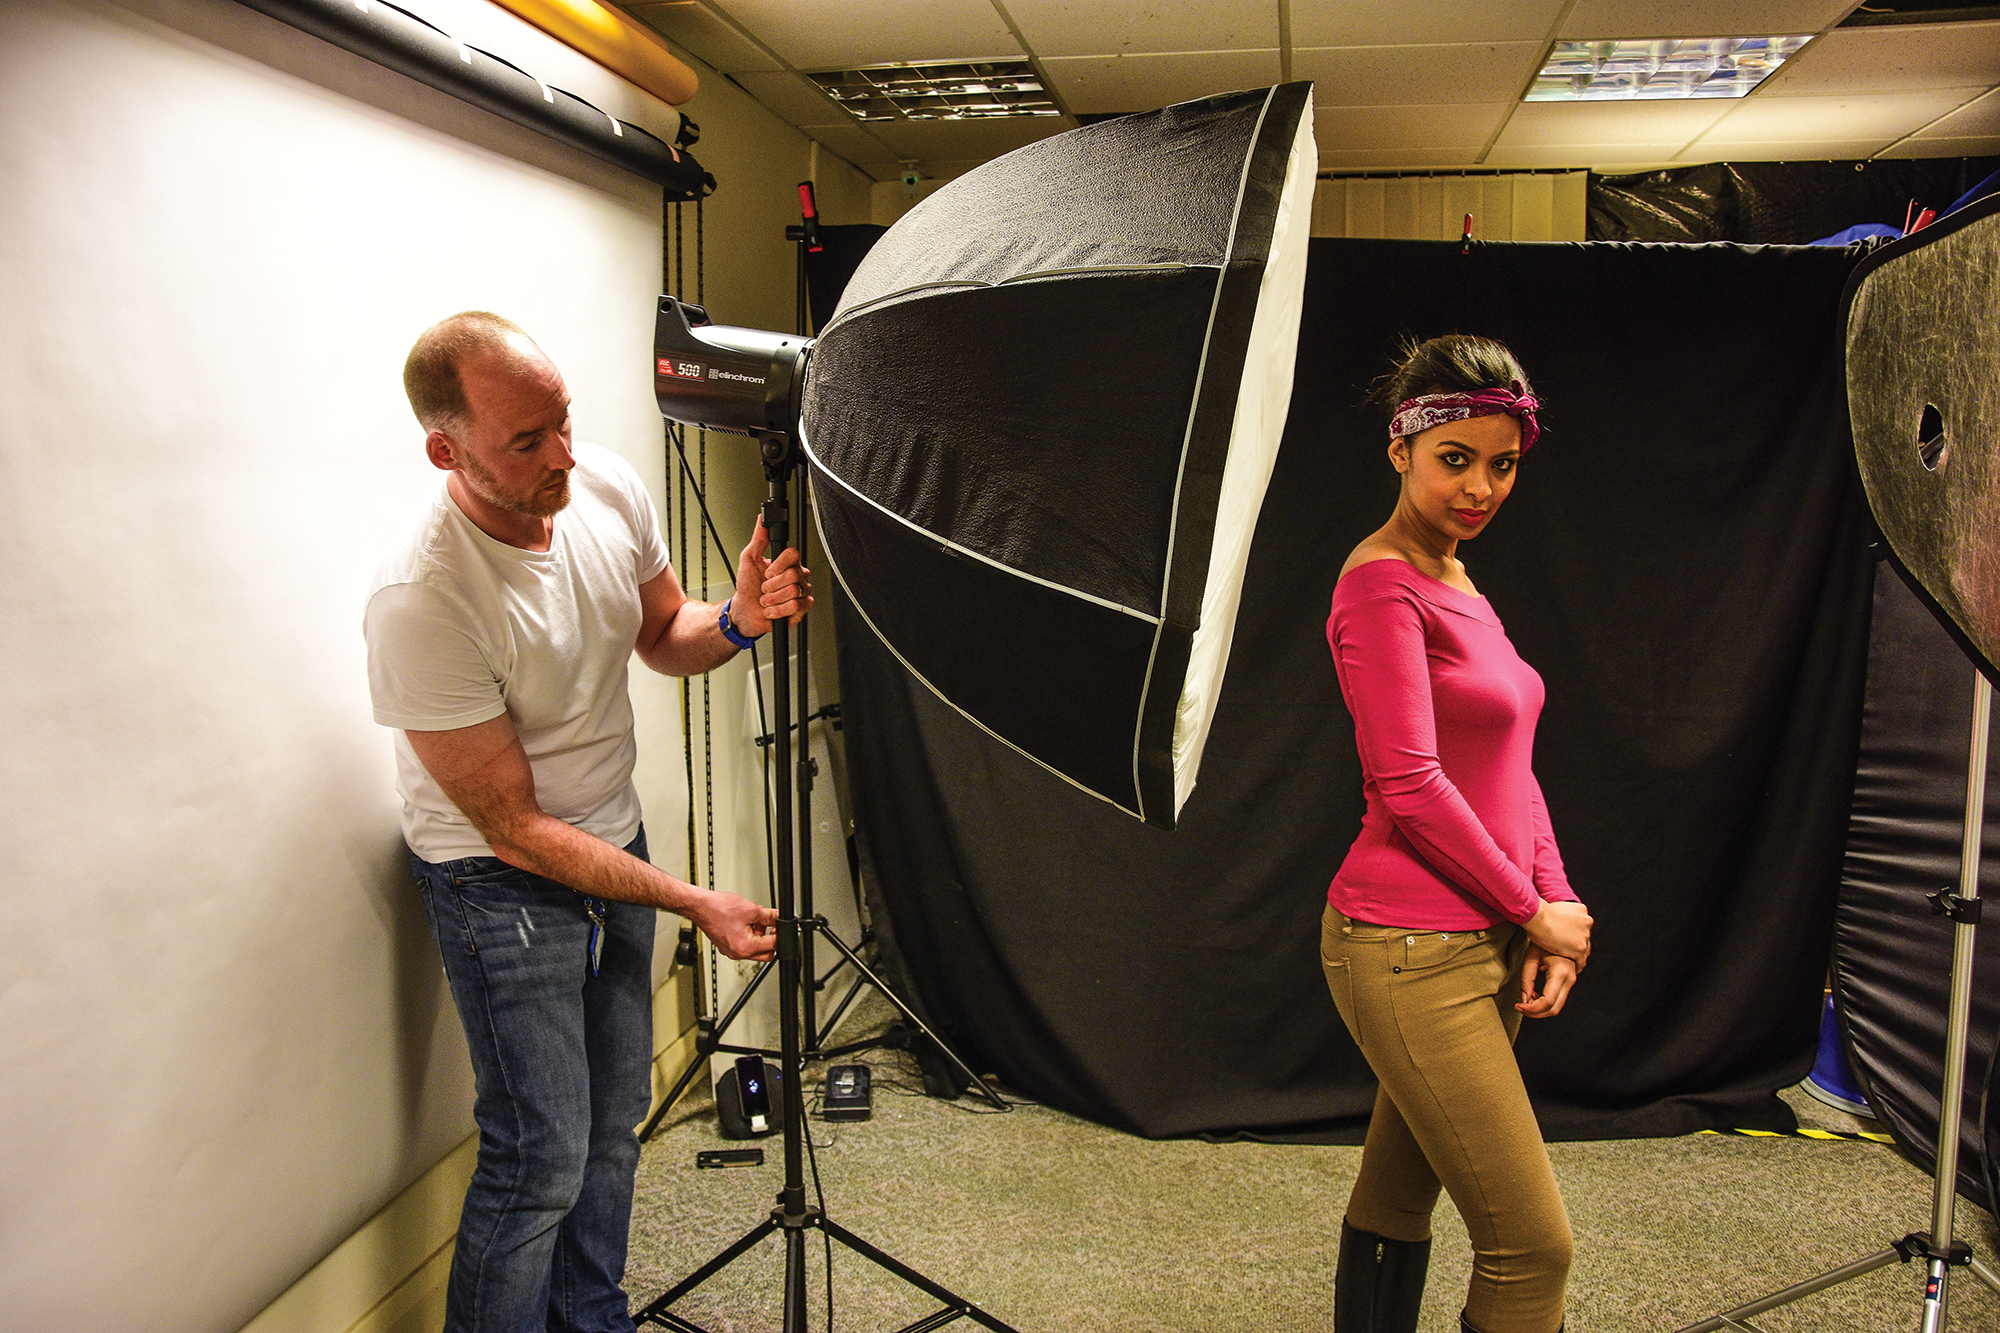
2. Position the softbox
Position a large softbox behind your model. This will create a very dramatic backlight that can be reflected back onto their face.
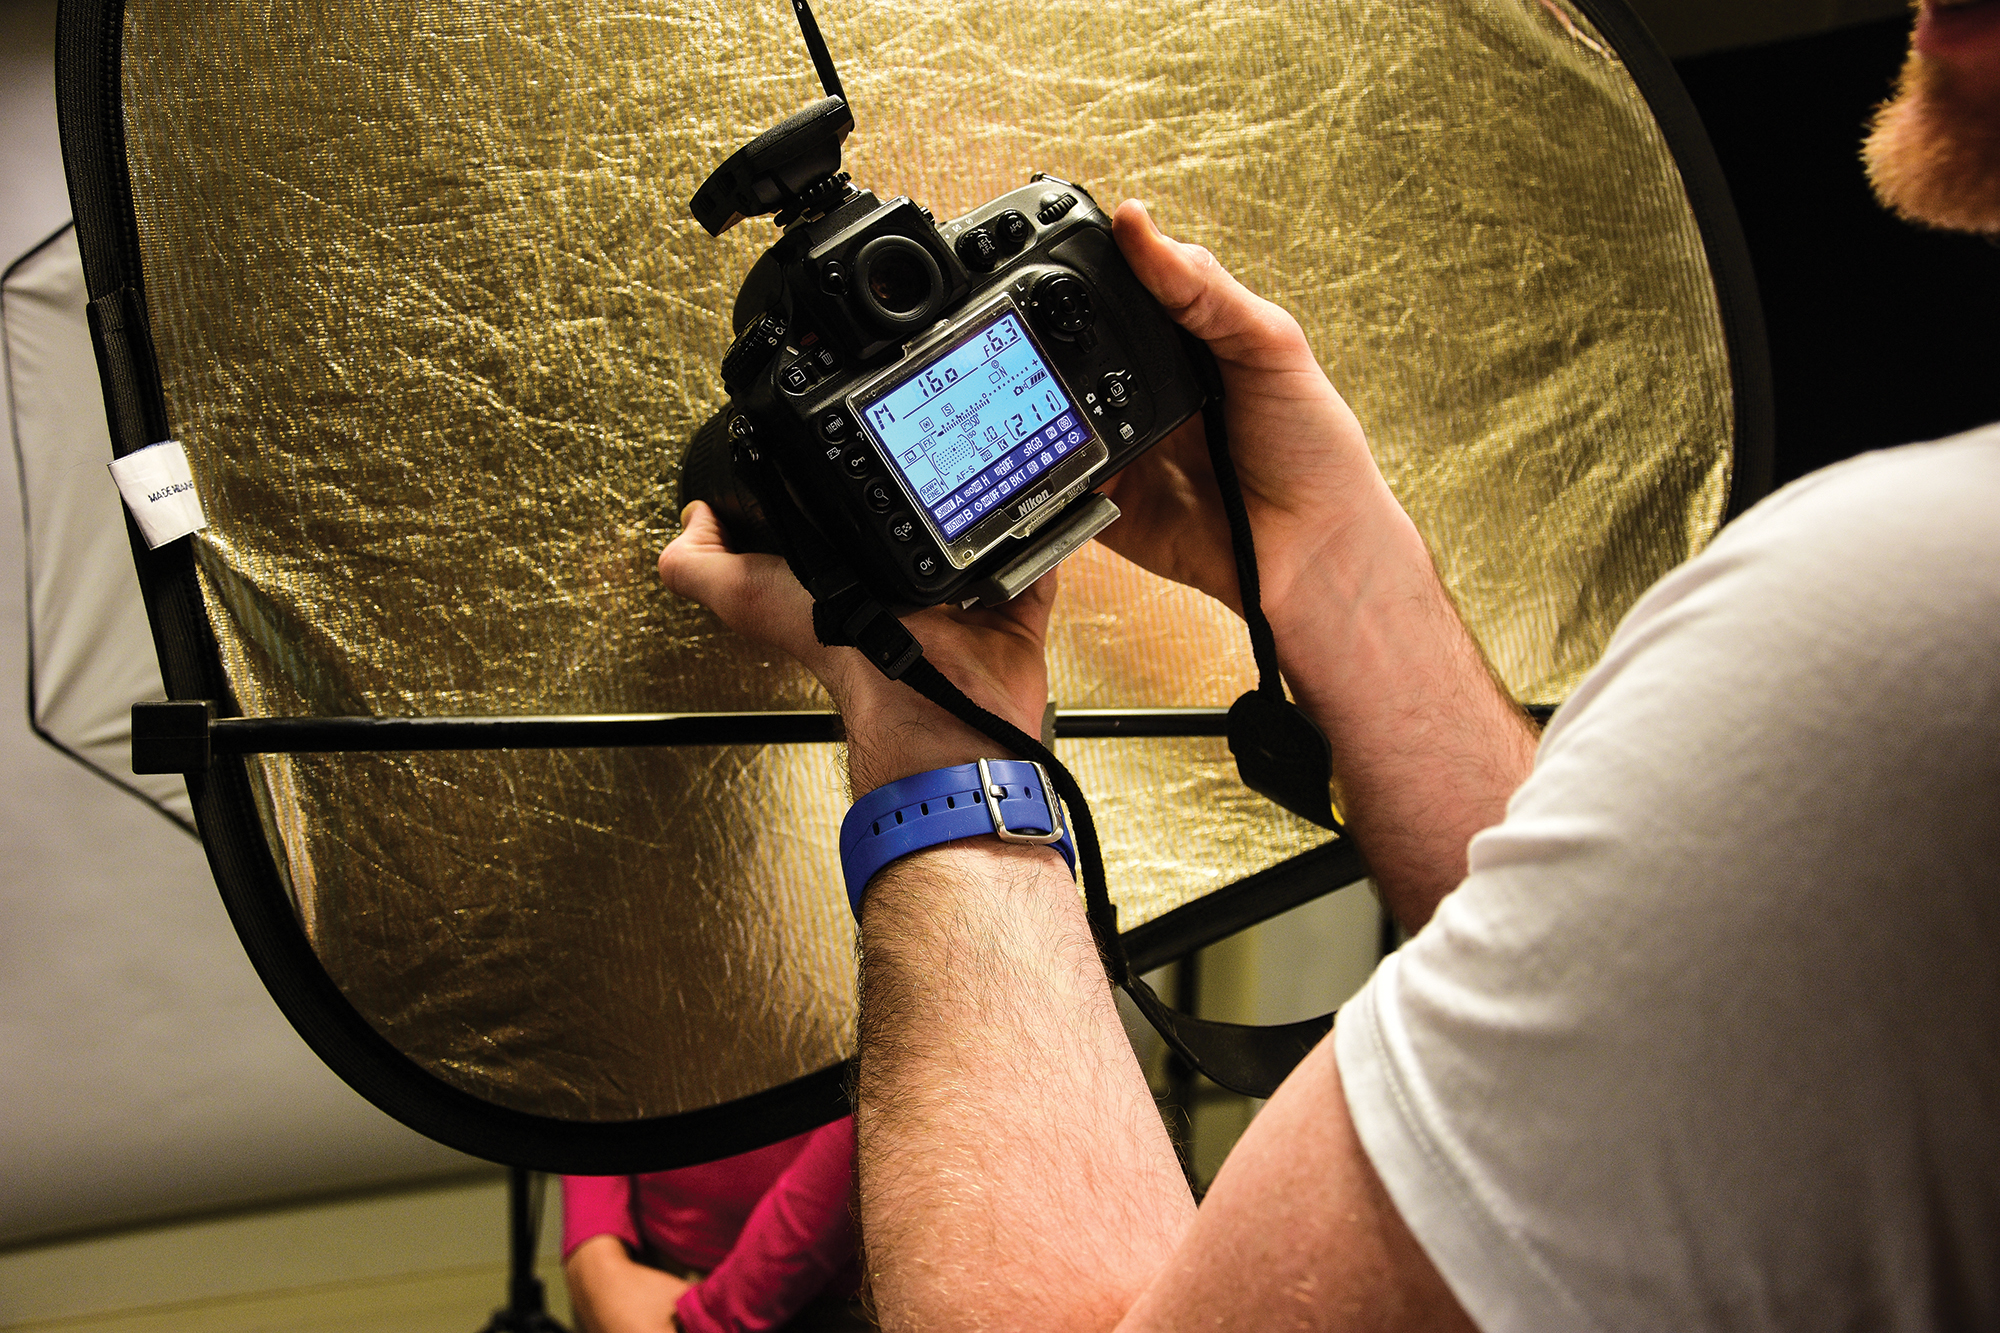
3. Choose your settings
High-key lighting usually requires some experimentation in order to get the exposure right. You can also adjust the distance between the model and light.
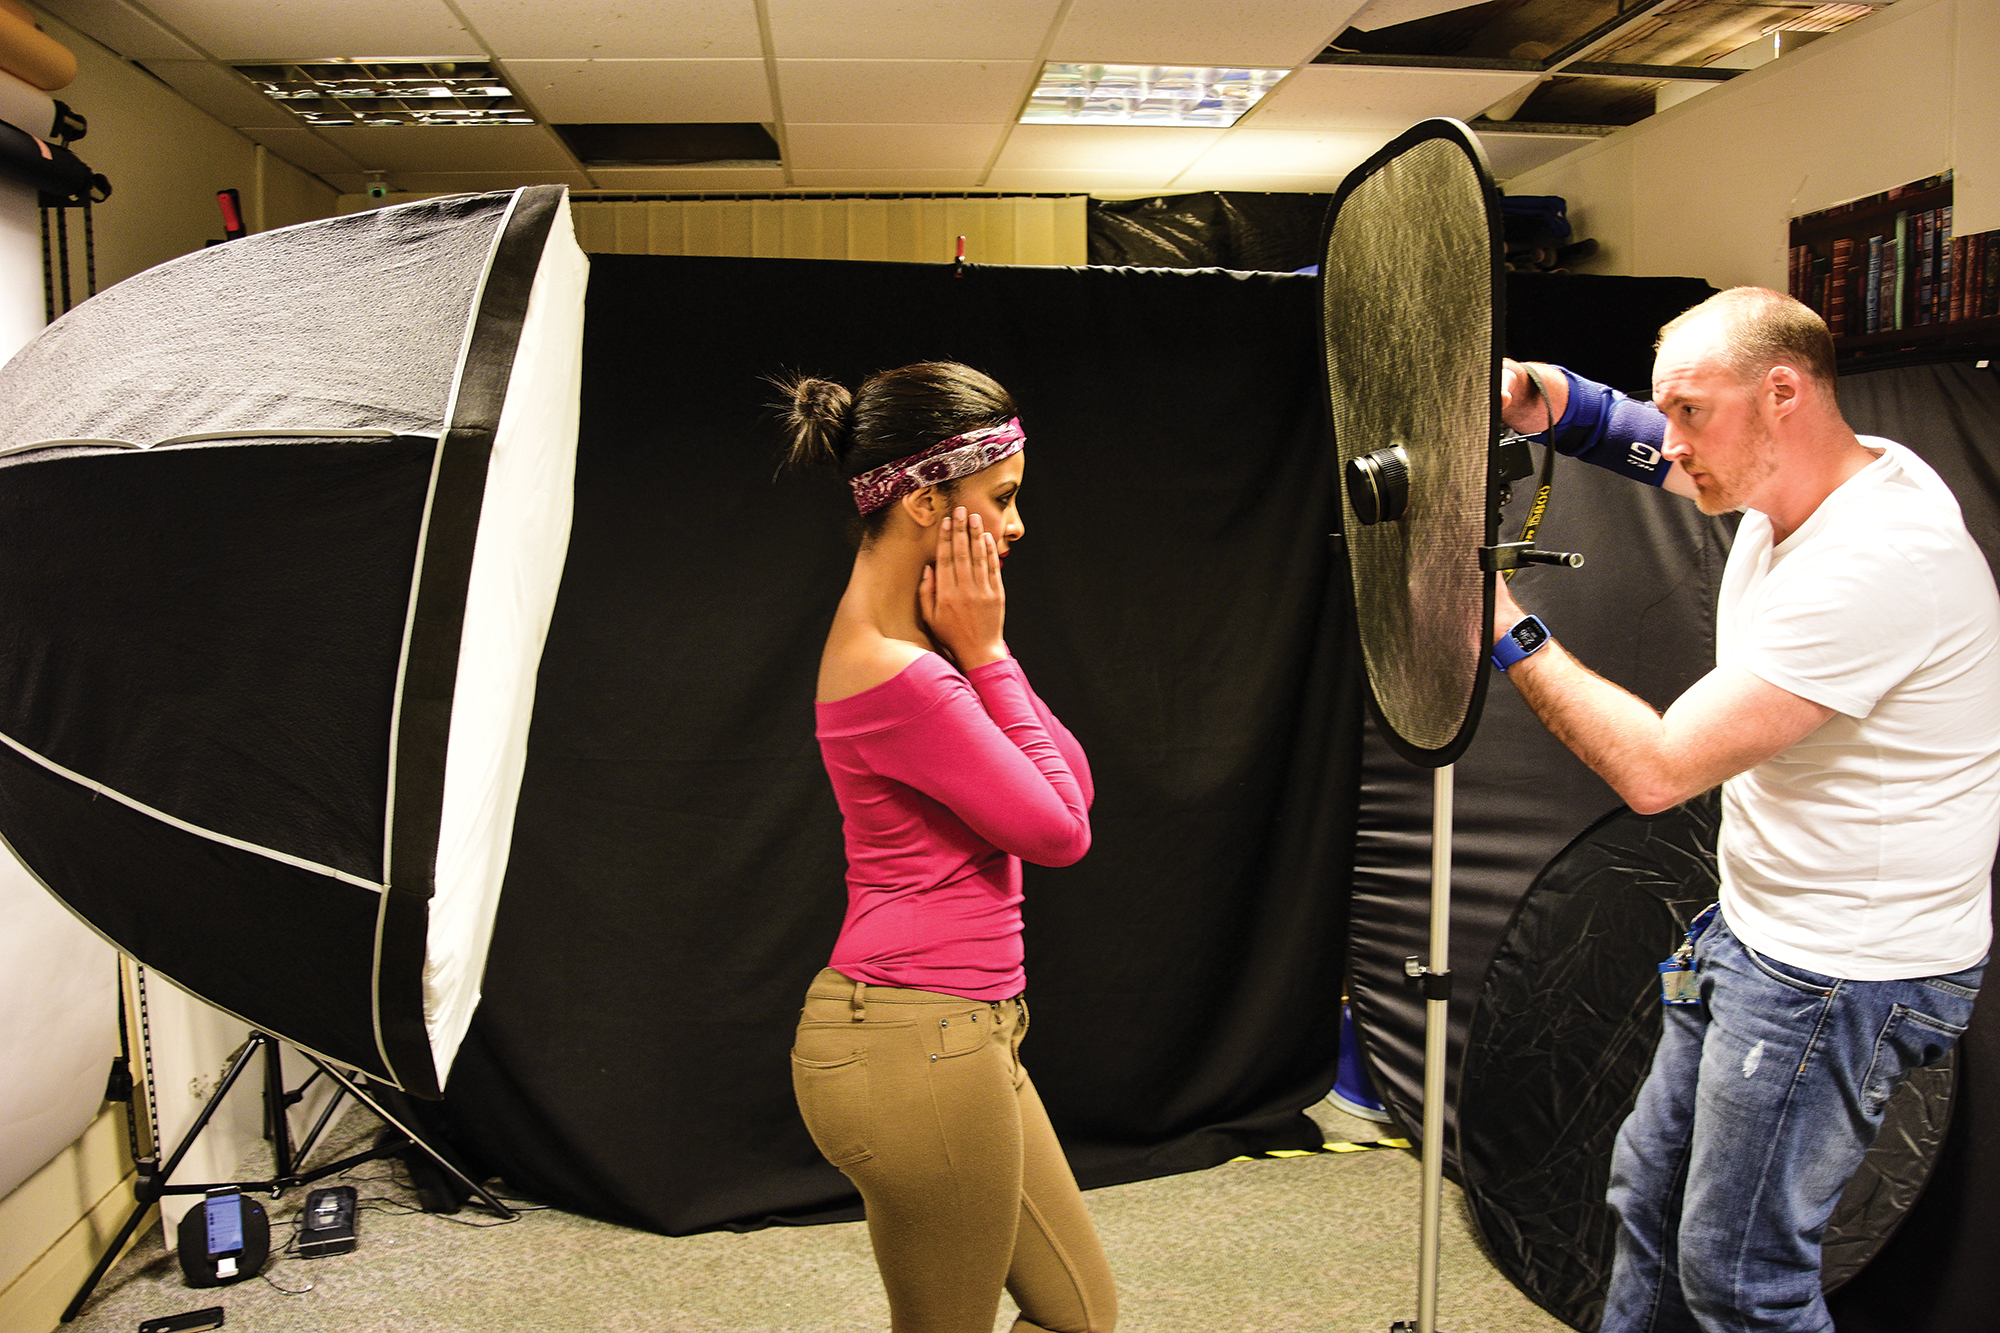
4. Shoot then edit
Remember that you will be able to enhance the results in Lightroom or Photoshop, so keep this in mind as you shoot and review the shots on the LCD screen.
Low-key
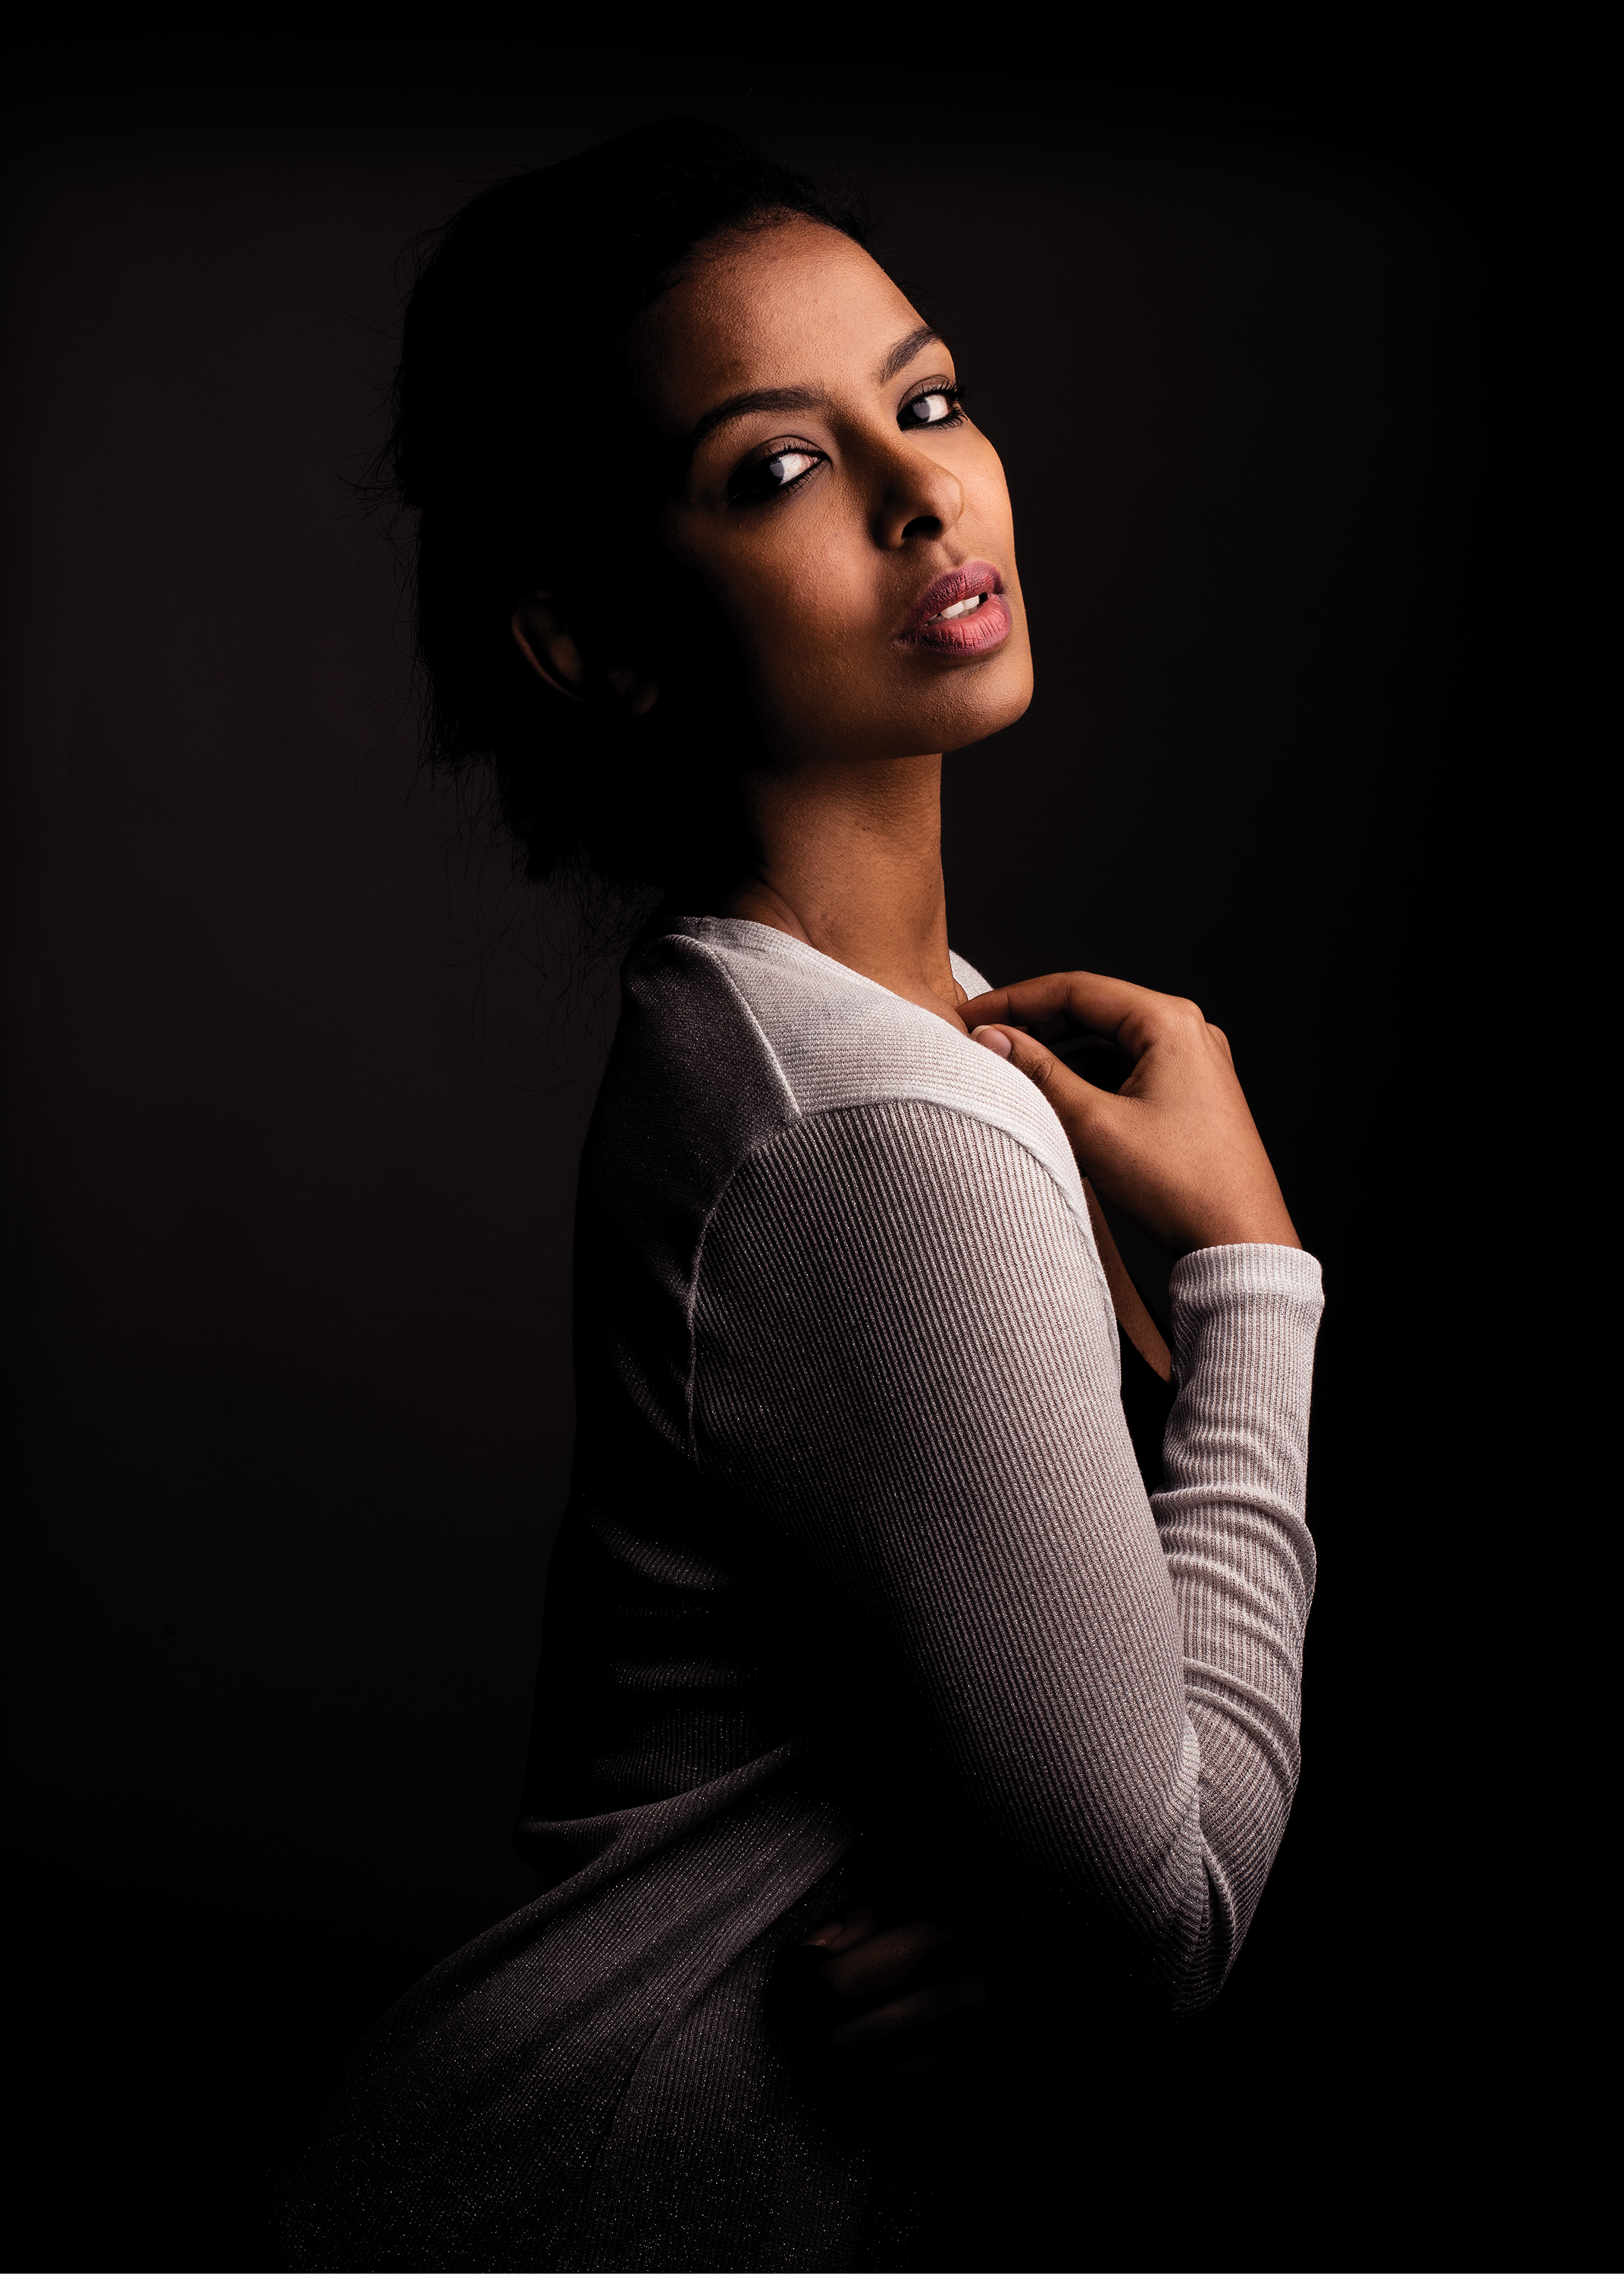
If you’re shooting portraits at home, a low-key style doesn’t necessarily require a dark background. Instead, use the inverse square law to produce a dark backdrop in-camera. You must position your light far away from the background and angle it down towards your model to ensure the least amount of light will reach the background – the goal is for the light to ‘fall off’ sufficiently so that it does not light the wall behind the subject at all. Best of all, these effects are fairly easy to replicate.
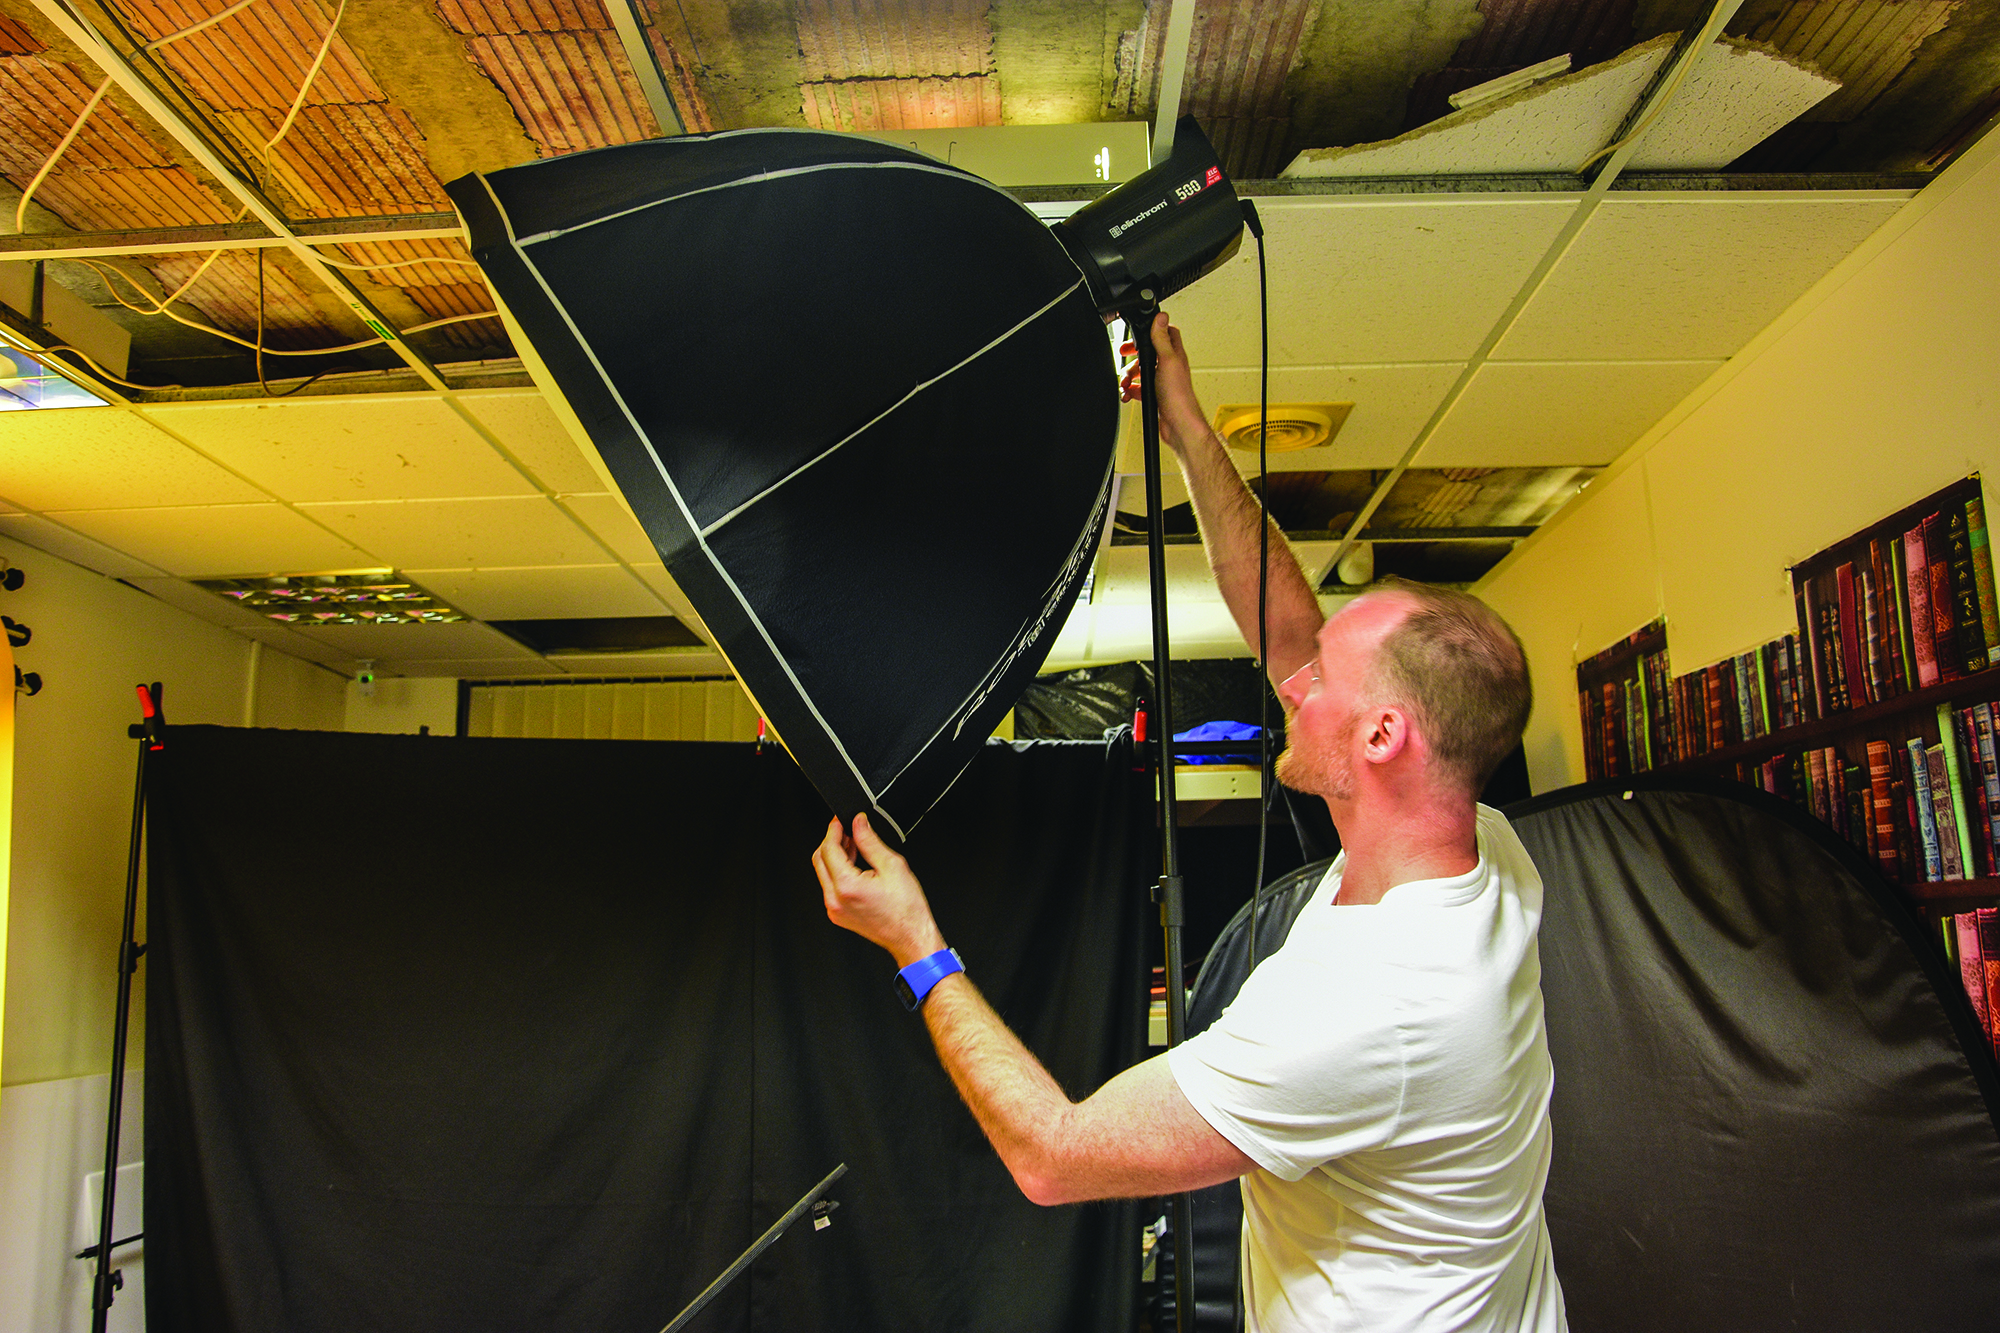
1. Move the light
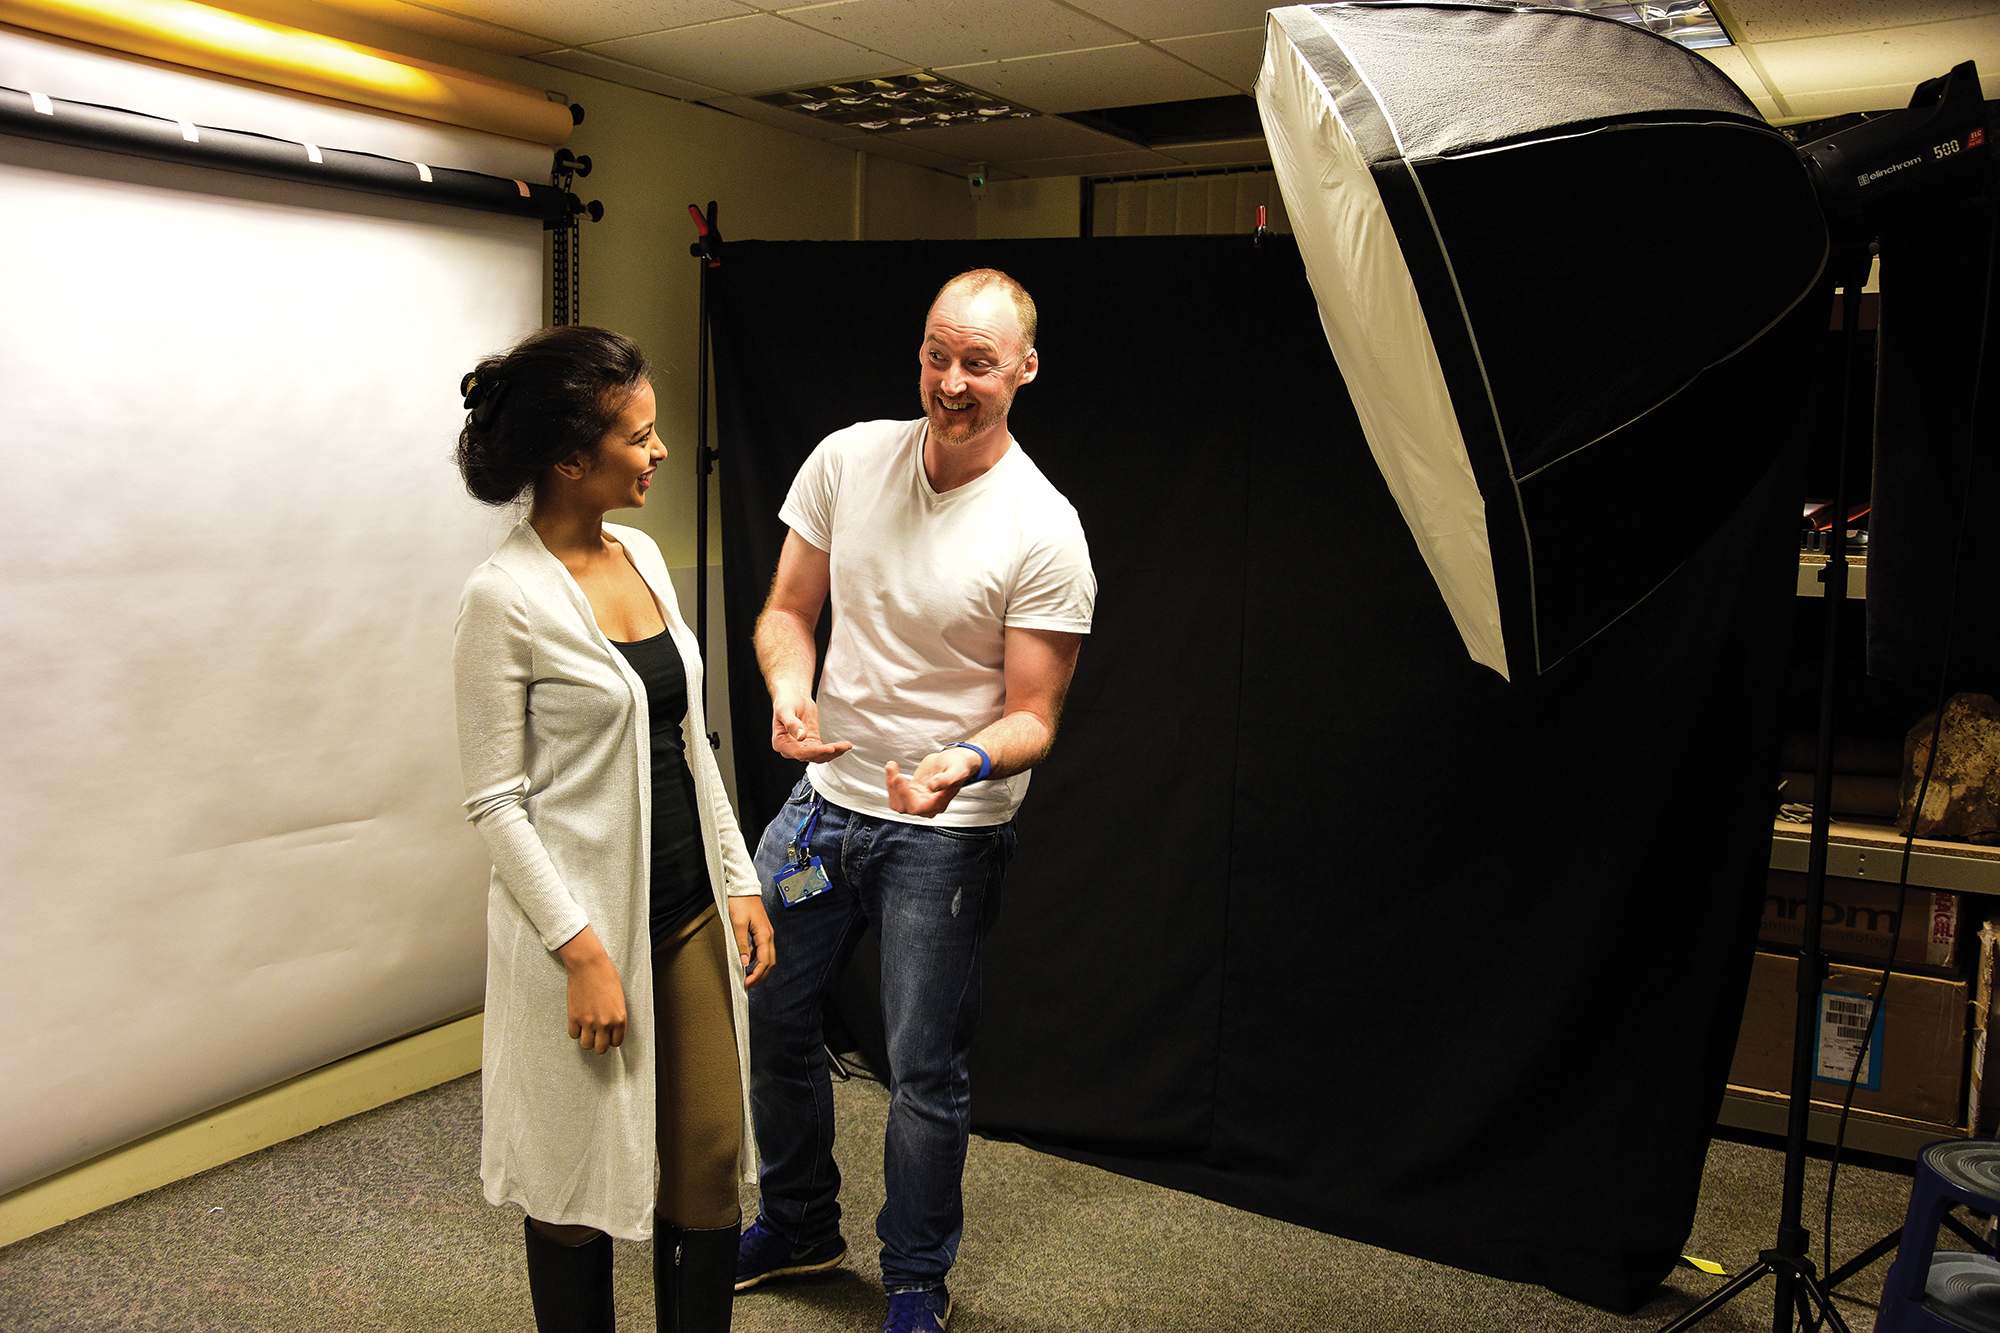
Position your studio light with softbox as far away from the background or wall as possible, as this will mean that the flash will ‘fall off’ before it reaches the wall. Angle it downwards towards the model.
2. Pose the model
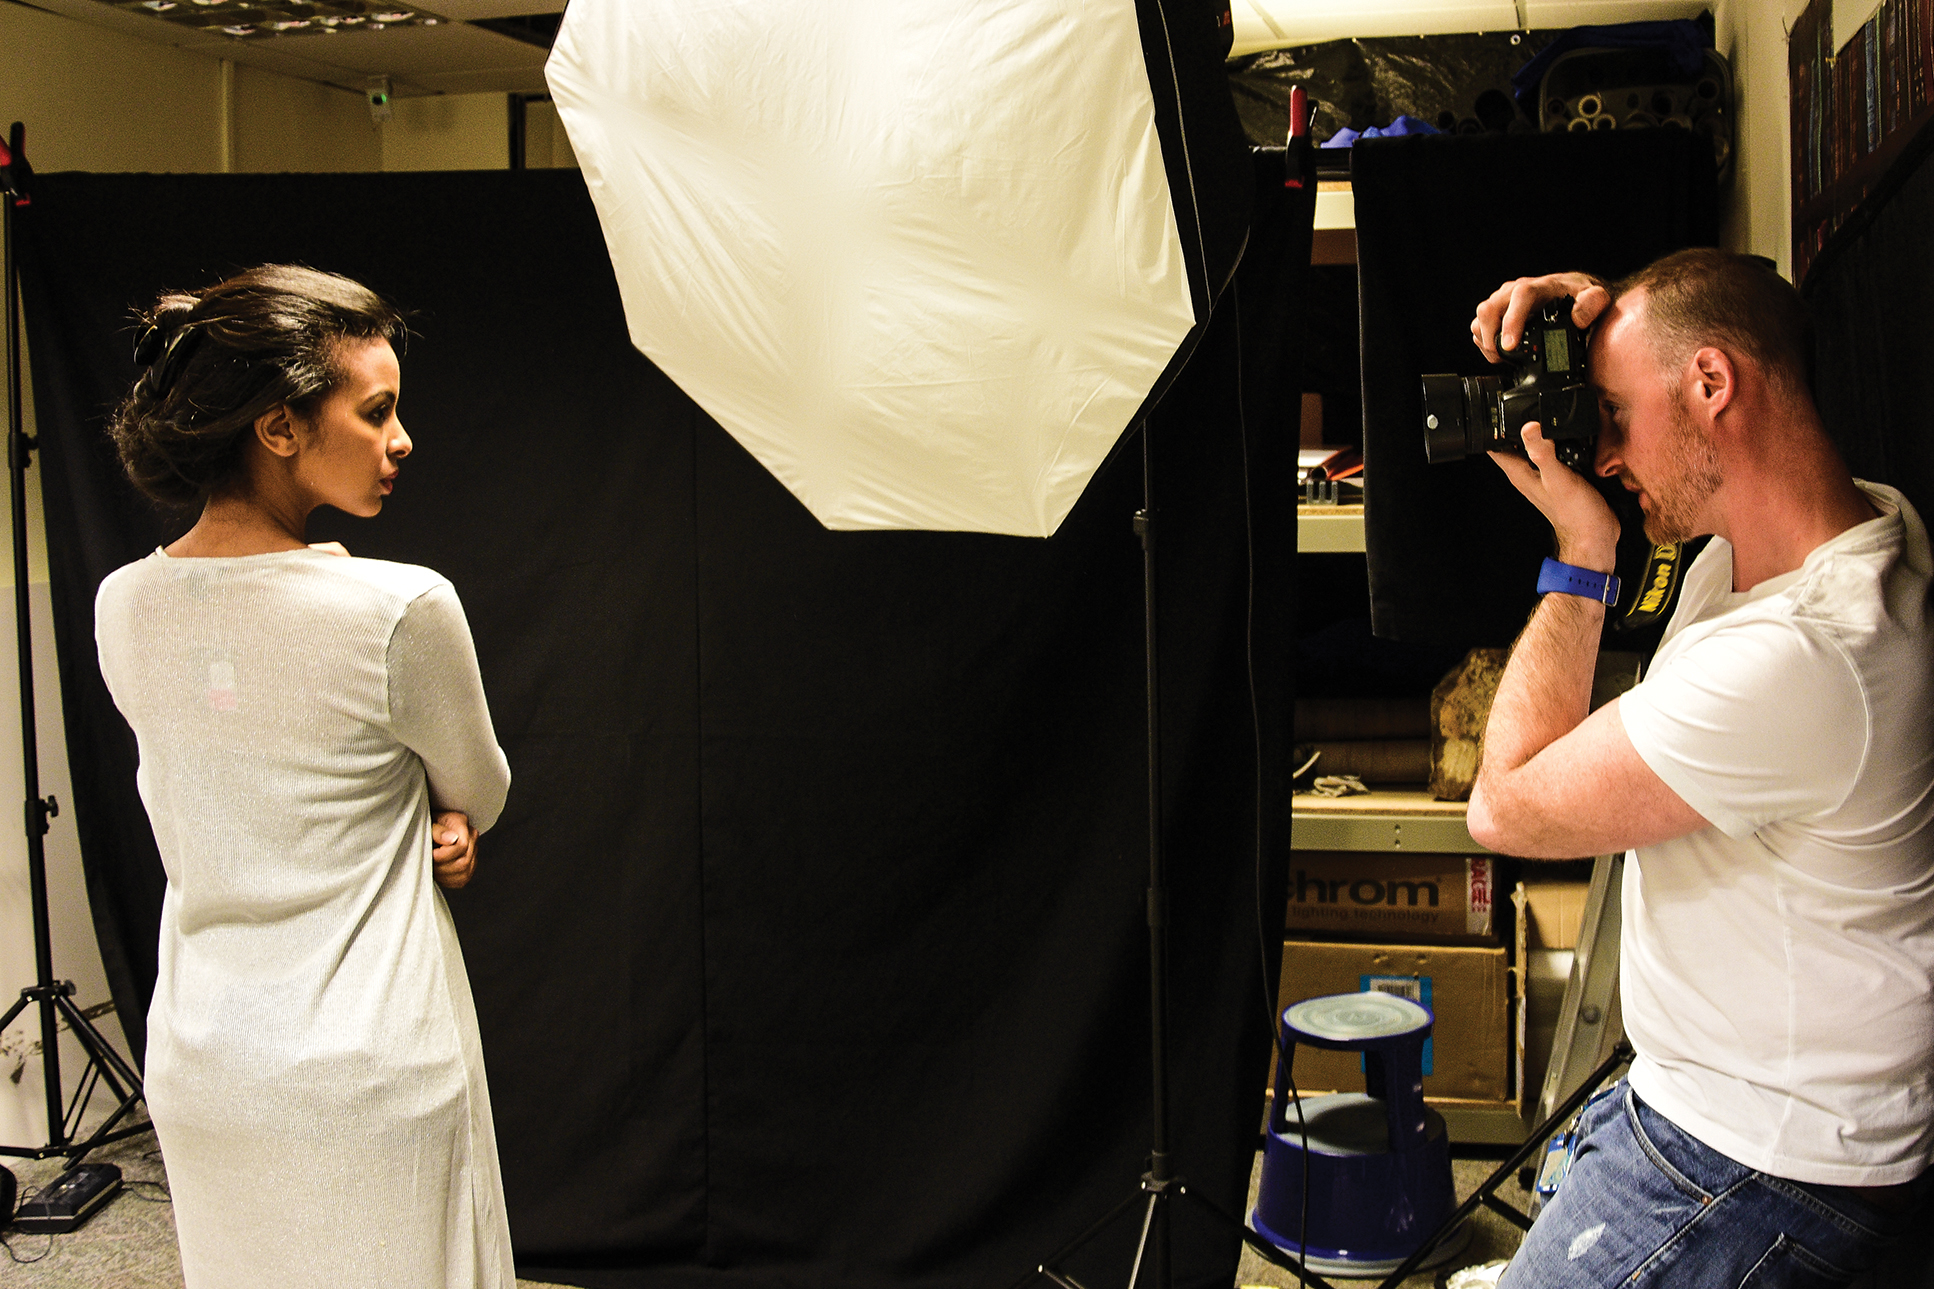
You want to illuminate the model, so it’s important that you encourage them to pose for the light. Try a few poses, including having the model look into the light, or ask her to angle her body towards the light while looking back towards the camera.
3. Setup the camera
Once you have your lighting and model in position it is time to shoot the image. Here, the camera was in Manual and set to f13 in order to limit the amount of light getting in. A shutter speed of 1/200sec was used.
Sign up for breaking news, reviews, opinion, top tech deals, and more.
Current page: Create high-key and low-key lighting
Prev Page Work with a soft and hard light Next Page Refine with a reflector and other tips