Perfecting a professional studio lighting setup can be a little daunting, so learning how to master a simple single light setup is invaluable. A wide range of professional looks and effects can be created, and there’s not always a disadvantage in using fewer individual lights. Extra lights can sometimes complicate things needlessly.
You’ll be able to spend more time interacting with your model and perfecting posing instead of spending time fiddling with multiple studio lights
When only using one light, you’ll have less to think about and control compared to if you were using multiple lights. You’ll be able to spend more time interacting with your model and perfecting posing instead of spending time fiddling with multiple studio lights. Not only that, but it will make you more mobile for on-location shooting and help you truly understand how light can affect and manipulate a subject’s face.
Here you’ll discover a number of different one light techniques, including understanding hard and soft light, Rembrandt lighting, split lighting, as well as low-key, high-key and a traditional beauty style of lighting. You’ll learn how easy it is to create professional-looking images with just one light and also cover adding in a few different modifiers to enhance and manipulate the light further.
Article continues belowPosition a single light
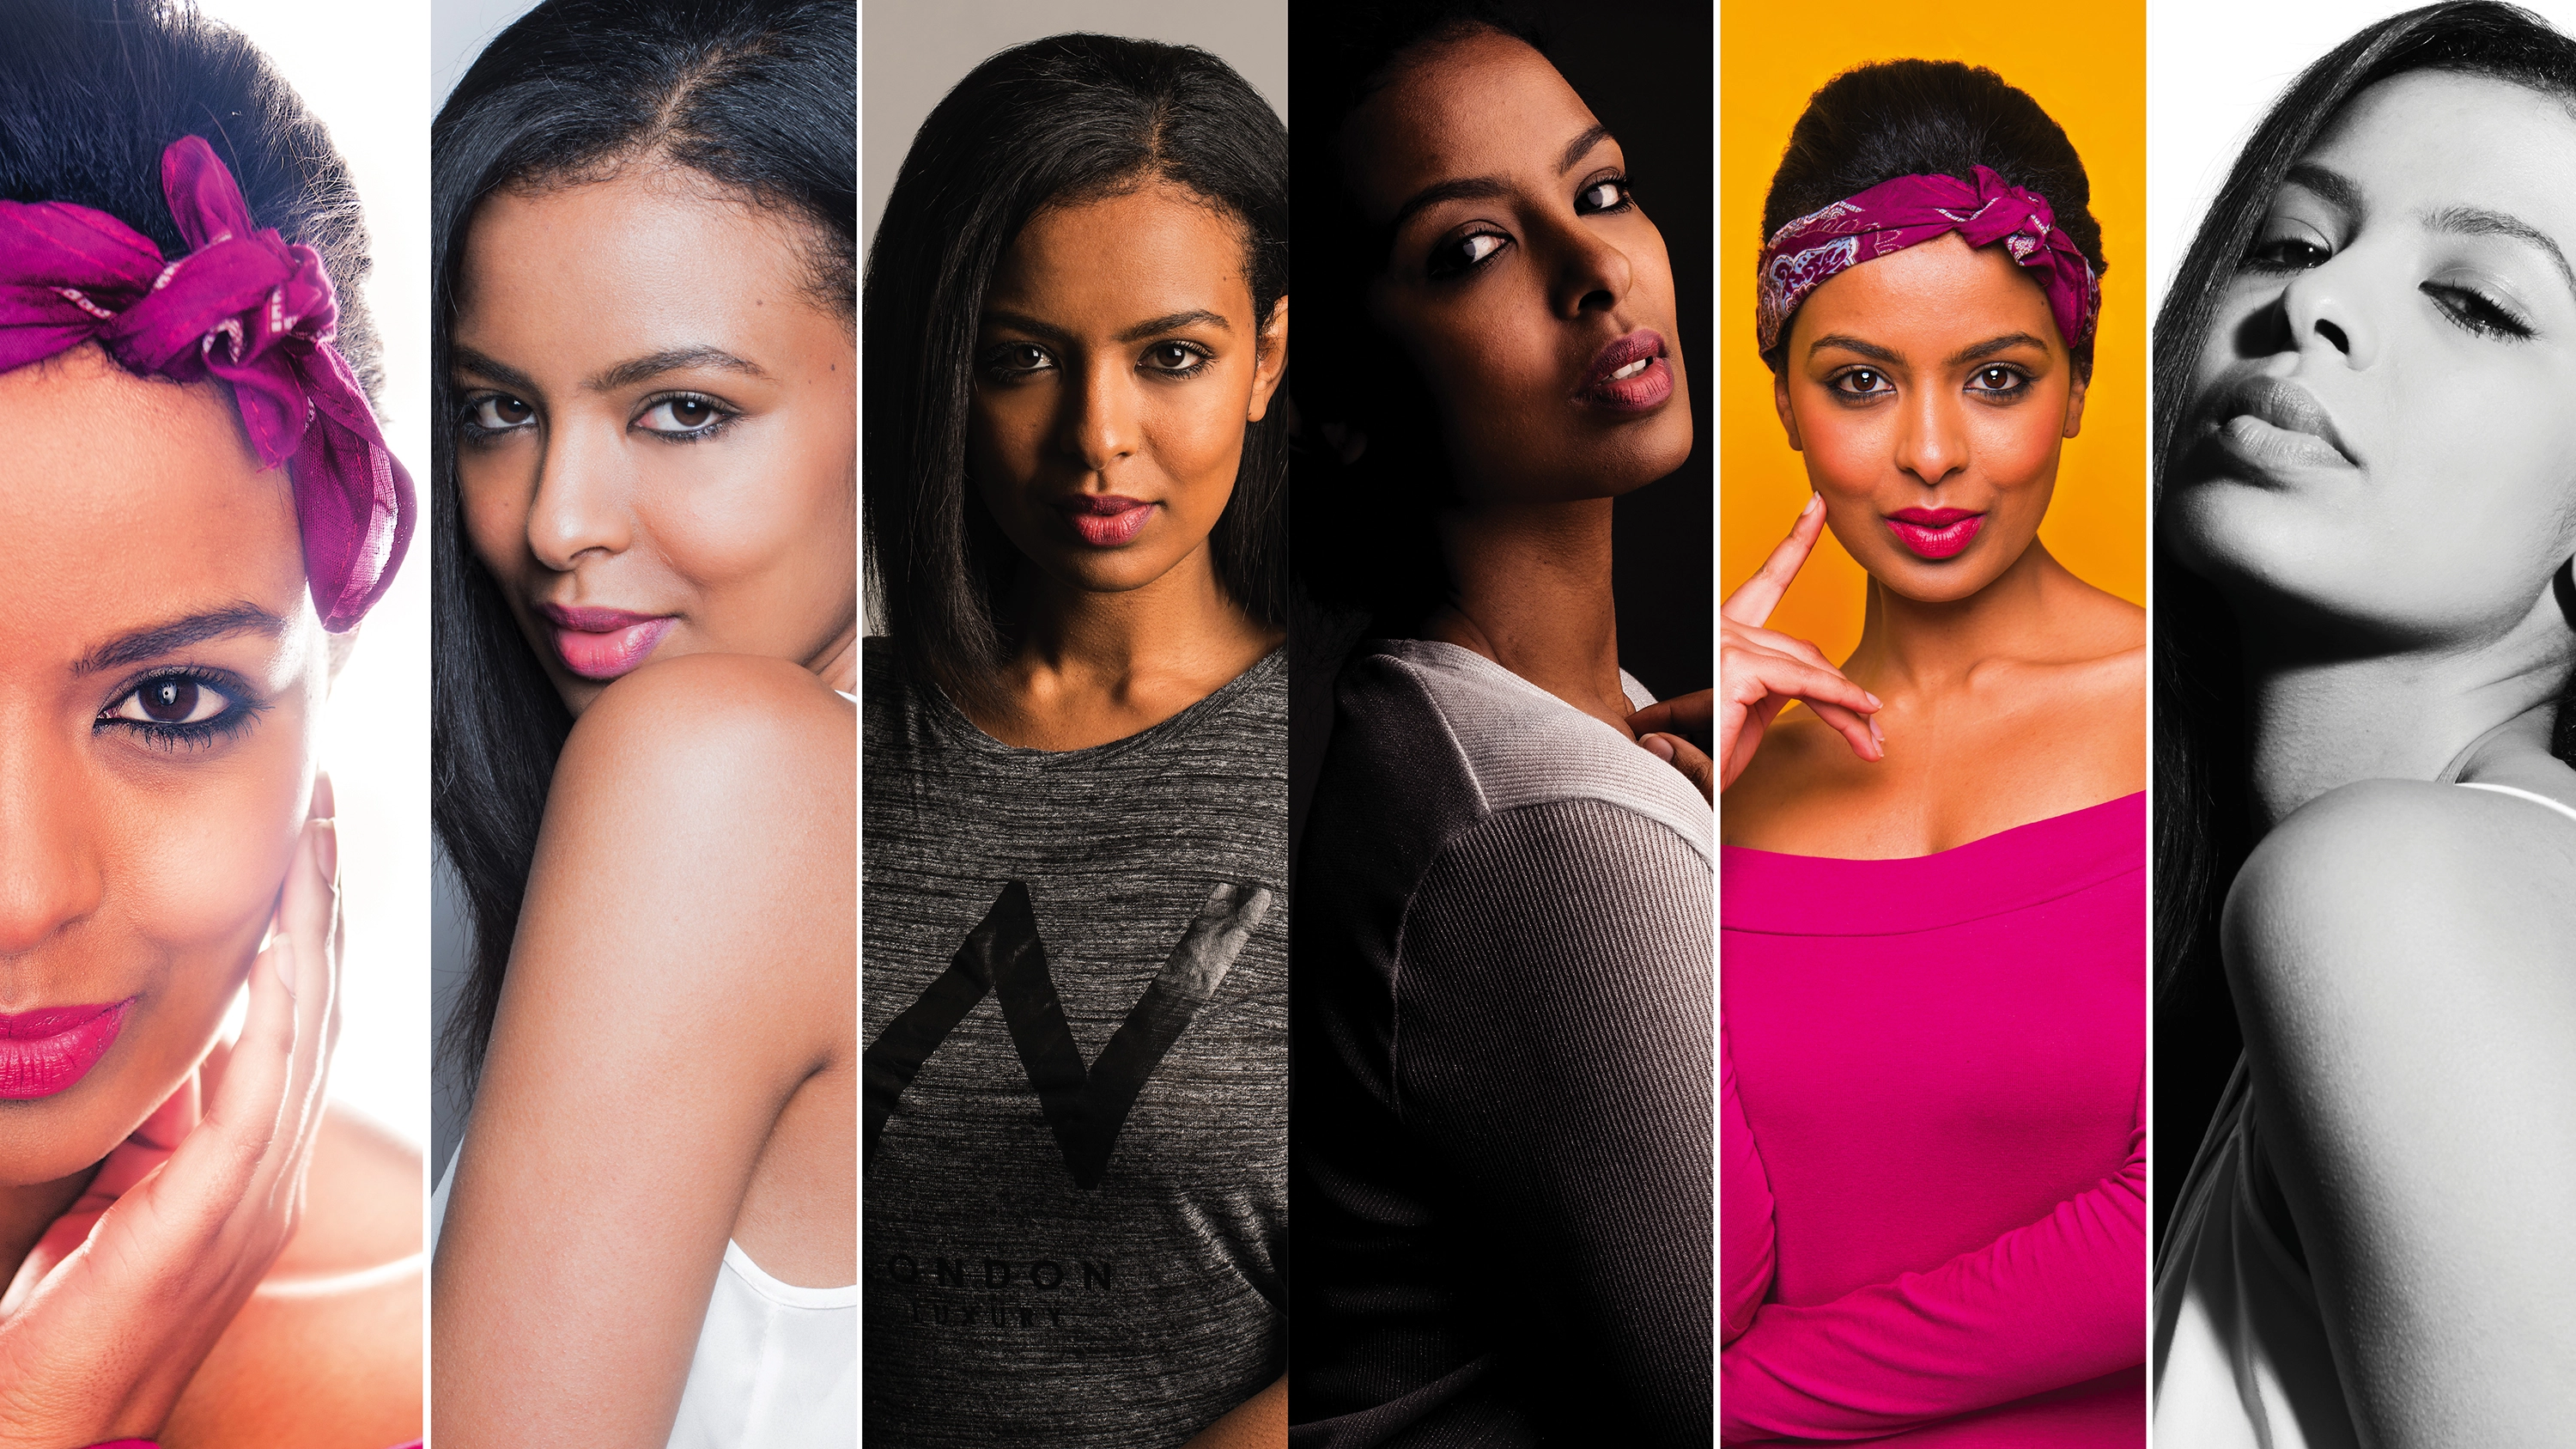
Learning how the positioning of your light will affect the final look of your portrait is extremely important. As mentioned previously, the distance between where the light is placed in relation to the subject will affect the quality of light as well as the size of the light source, but the height and angle will also determine how the shadows fall and shape the model’s face. It is important that you pose your model to match your chosen lighting setup, then move the light around instead of getting the model to move.
Having the light positioned directly in front of the model can sometimes make your shot a little flat, as it will fill in all of the shadows – and the shadows are needed to add depth and interest to the image. Simply moving the light around to the side can help you create a far more dramatic image. Ask your model to stand still in just one position and move your light around them so that you can see how its position will affect the shadows on their face.


The Rembrandt style of lighting is a good example of the interplay between shadow and light, and is characterised by a distinctive upside-down triangle of light on the shadow side of the subject’s face. The light is positioned at around 45 degrees to the model. Rembrandt lighting creates a low-key, high-contrast and atmospheric look. The strong use of shadows has a very flattering, slimming effect on the subject’s face – because the shadows are so aggressive it doesn’t always suit female models, however, we found that because our model had very defined cheekbones it actually worked well in our case. For an even more dramatic look, move the light further around to 90 degrees for a split-lighting effect where one side of the subject’s face will fall entirely in shadow.
Loop lighting is one of the most popular styles as it flatters most subjects. It is created by positioning the light just above eye level around 30 degrees from the camera and is characterised by a small shadow of the subject’s nose on their face. If light is positioned too high though you’ll lose the catchlight in the subject’s eyes, which can be unattractive. A light positioned too high or even too low will also create rather unflattering shadows, so it is important to always pay attention to where they fall.


