How to build a website using Godaddy Website builder
Create a website with ease

Nowadays, having a website is essential for businesses of all sizes. Whether you are a small business owner or a large corporation, a website helps you establish an online presence and reach a wider audience.
Building a website may seem like a daunting task, especially if you don't have prior experience with web hosting or site building tools. Fortunately, website builder services like GoDaddy simplify the process, making it easy for you to create a professional-looking website.
Below is a guide that will navigate you through the steps of building a website using GoDaddy Website Builder.
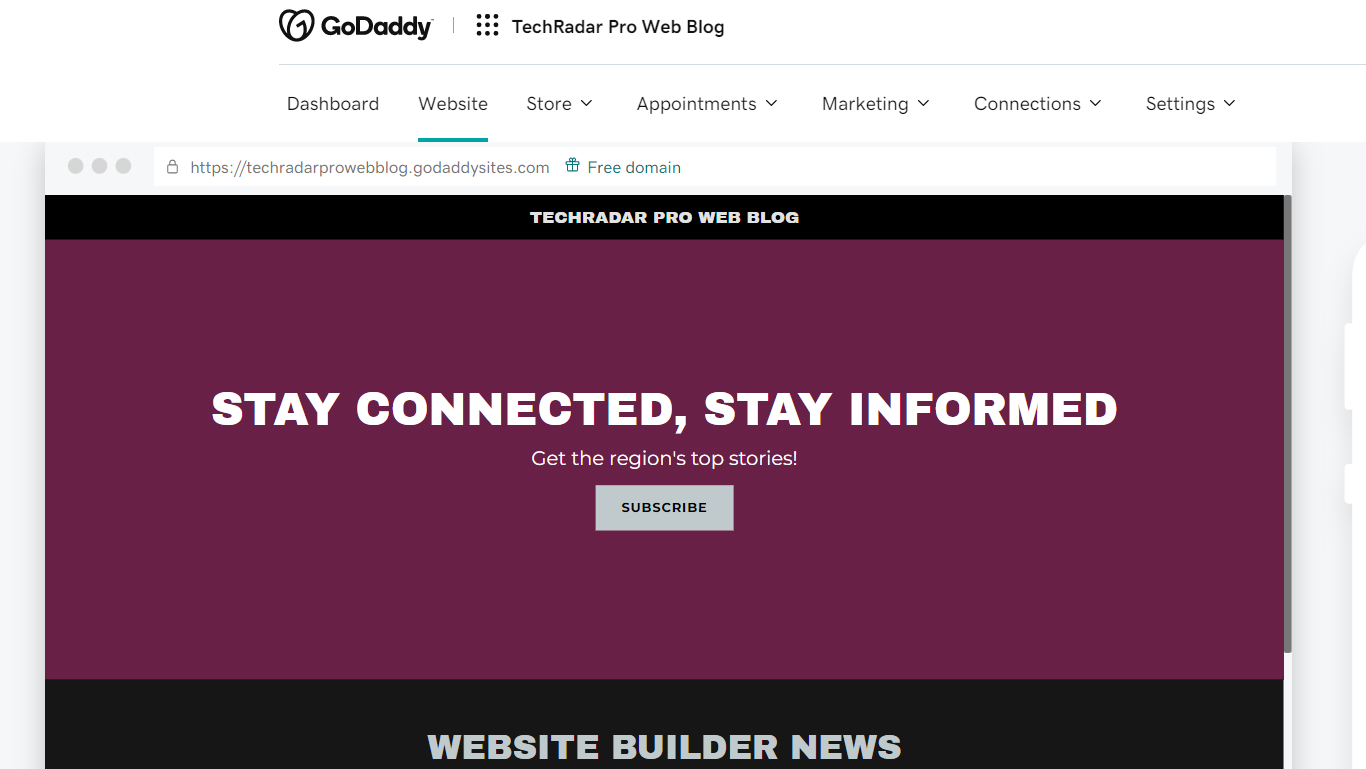
1. Create an account to get started
To get started with GoDaddy website builder, you need to create an account on the GoDaddy website.
The first step to creating a GoDaddy account is visiting the website. You can simply type in "GoDaddy.com" in your web browser and click enter. Ensure you're connected to the internet.
Once you're on GoDaddy's website, you'll be required to create an account to use the website builder. Your first task is to provide your email address, desired username, and password.
These details will serve as your login credentials when you want to access your GoDaddy Website Builder. When creating your account, you may be prompted to receive personalized offers and other marketing communications from GoDaddy. If you're not interested, you can easily decline this offer by unchecking the box labeled "I want to receive personalized offers and marketing messages."
Sign up to the TechRadar Pro newsletter to get all the top news, opinion, features and guidance your business needs to succeed!
After providing your email address, username, and password, and making your "personalized offers" preference, you'll need to click on the "Create Account" button to complete the registration process. Once your account has been created, you'll be directed to the main dashboard on GoDaddy's website.
The next step is to access GoDaddy's website builder. To do this, navigate to the "Websites + Marketing" tab in your GoDaddy dashboard. Click on "Website Builder" and then "Get Started" to access the builder.
2. Choose the category of your website
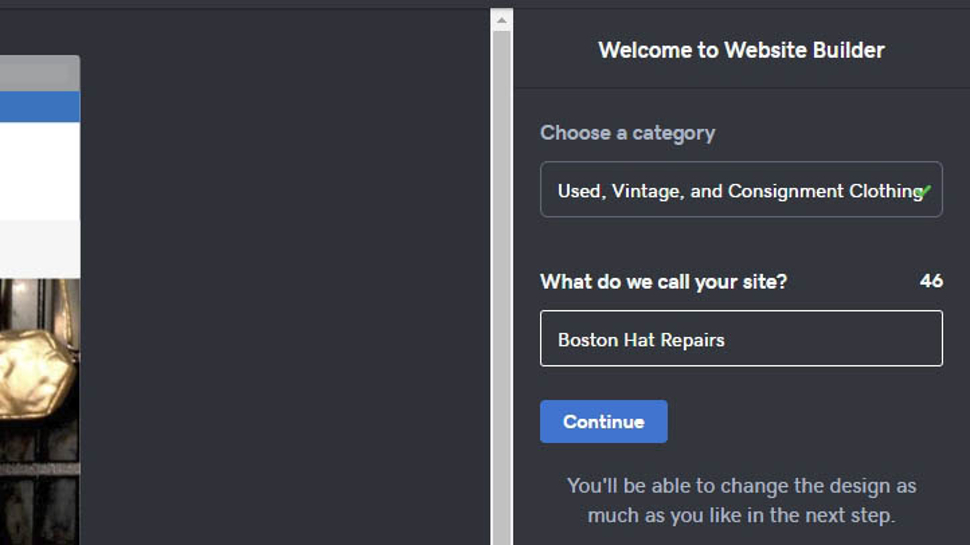
The next step is to choose the category of your website. GoDaddy Website Builder offers a wide range of categories, such as photography, portfolio, music, business, and more. Choose the category that best fits your website's purpose and goals. This will help you get started with a template that already aligns with the look and feel of the website you want to create.
3. Pick a name for your website
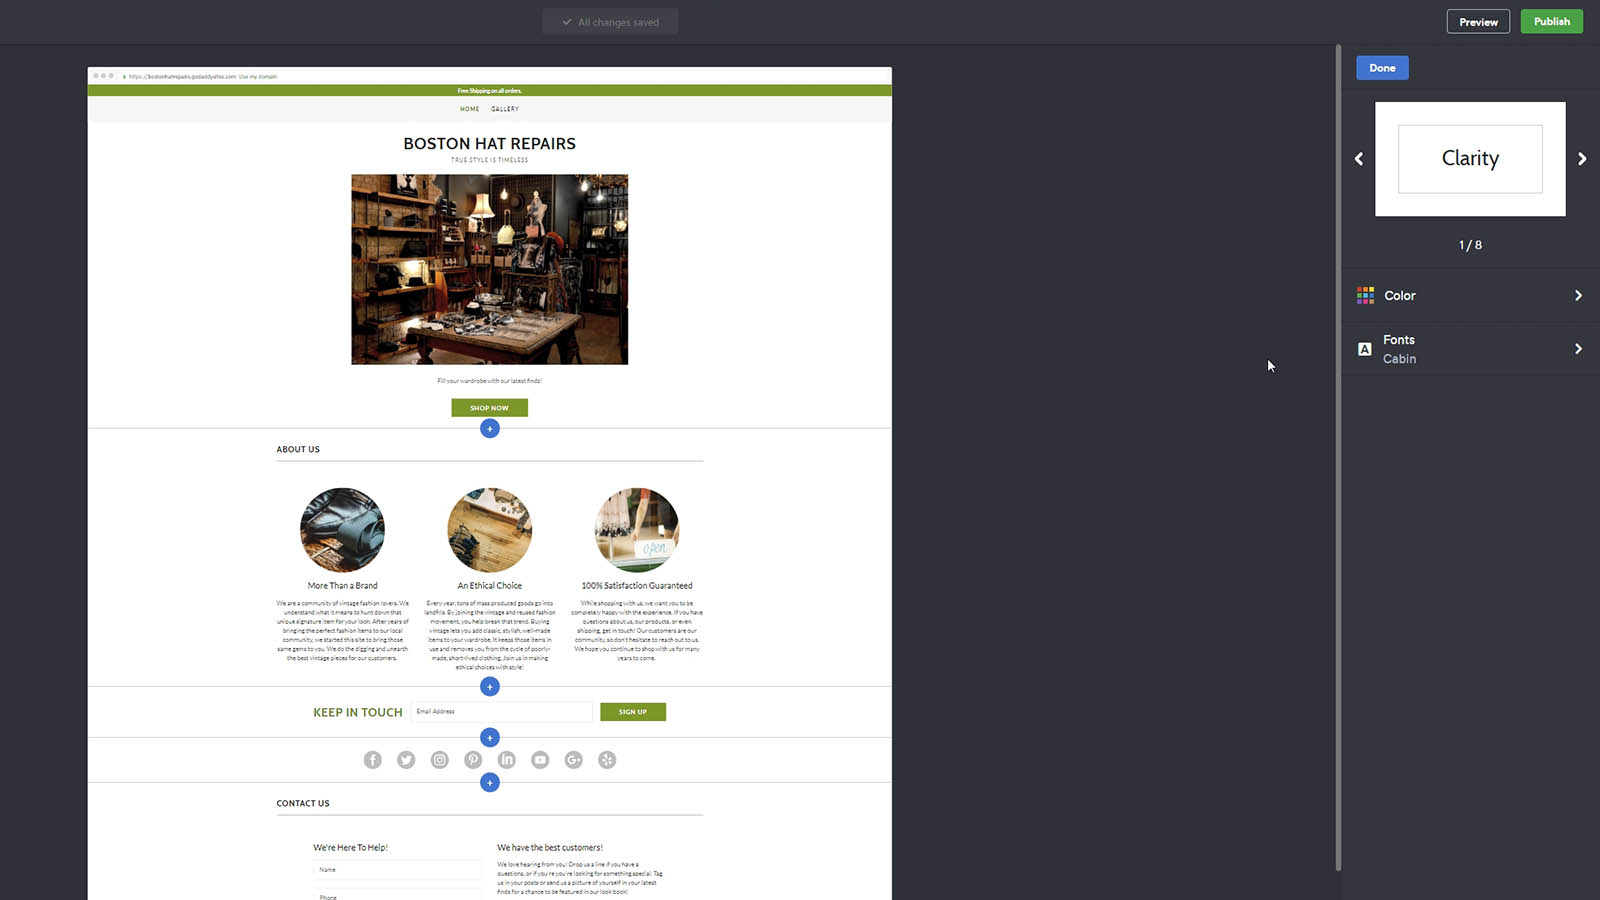
After selecting your website's category, the next step is to pick a name for it. Your website's name should be unique and easy to remember, ideally something that reflects your brand's personality or values.
Once you've chosen a name, GoDaddy will show you if the domain name is available or if it needs some alterations. If it's unavailable, you can either pick another name or think about using a domain registrar that GoDaddy provides. Keep your target audience in mind while brainstorming for your website name, and ensure that it is easy for them to remember.
4. Start editing and customizing your site
After picking your website name, select the website/theme you want to work with. Once you've selected your website, you can start editing and customizing your site by following the steps below:
- Choose a theme that aligns with your brand's style and goals.
- Choose the color of the theme that fits your brand identity.
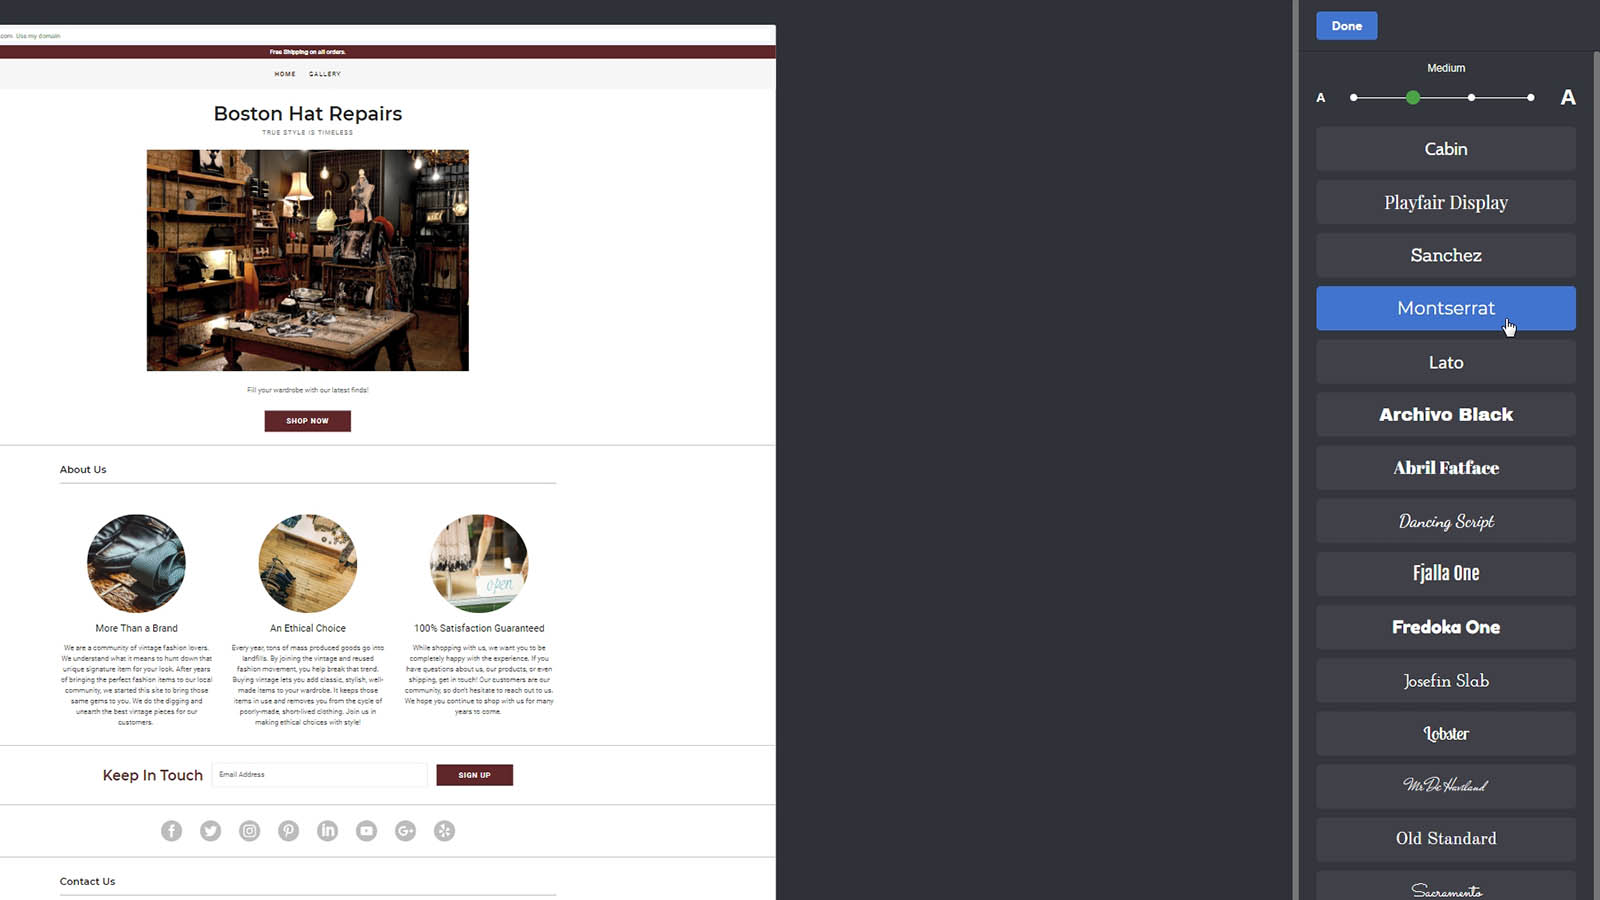
- Choose the font and design buttons that match your website's aesthetics.
- Add images and texts that are relevant to your business or niche.
5. Adding images and texts
Now that you have chosen your website's themes and feel let's add images and texts to show visitors what your business is all about. To add images and texts, follow the steps below:
- Select the “Website” tab from the right-hand side menu.
- To add a new page, click the “Add page” link.
- Select “New page” and add a title.
- Drag and drop the new page to your desired position
- Click the “Create Page button.”
- After a while, you will be able to see the new page loaded into the editor. It will be empty, but you can start adding new sections and content to it. To create a new section, click the “Add Section” button. Choose a section you want to add, and customize it with your content.
- GoDaddy new page edit
Editing pages in the GoDaddy website builder is easy. Here are the tips to help you:
- Click on the “Settings” icon located in the top right corner of the editor.
- Click on “Page settings.”
- Select the page from the dropdown menu you want to edit.
- Make the changes you want and click “Save.”
6. Optimize your website for SEO
Search Engine Optimization (SEO) is crucial for making your website visible to potential customers. With Godaddy Website Builder, you can follow these simple steps to optimize your website for SEO:
1. Open the “Settings” tab from the top-right corner of your site.
2. Choose “Search Engine Optimization.”
3. Select a page to modify.
4. Write a headline and description.
By describing each page on your site, you’re making it better optimized for Google and other search engines. This gives you a higher chance of people finding your content through search engines, so make sure to describe everything well.
When adding images, you can also write their descriptions and make them better for SEO. For instance, instead of uploading an image titled “IMG_12345.jpg”, rename it to something more descriptive, like “rubytestwebsite-image.jpg.” This not only makes the image easier to find for users, it also tells search engines what the image is about.
Another important aspect of SEO is keywords. Make a list of keywords relevant to your business and incorporate them throughout your website. However, avoid stuffing them into your content unnaturally, as this can do more harm than good.
It's also crucial to make your website mobile-friendly, as Google ranks mobile-friendly sites higher in search results. You can do this by choosing a responsive template that automatically adapts to different screen sizes, or by manually adjusting your site's layout to fit smaller screens.
7. Preview and publish your website
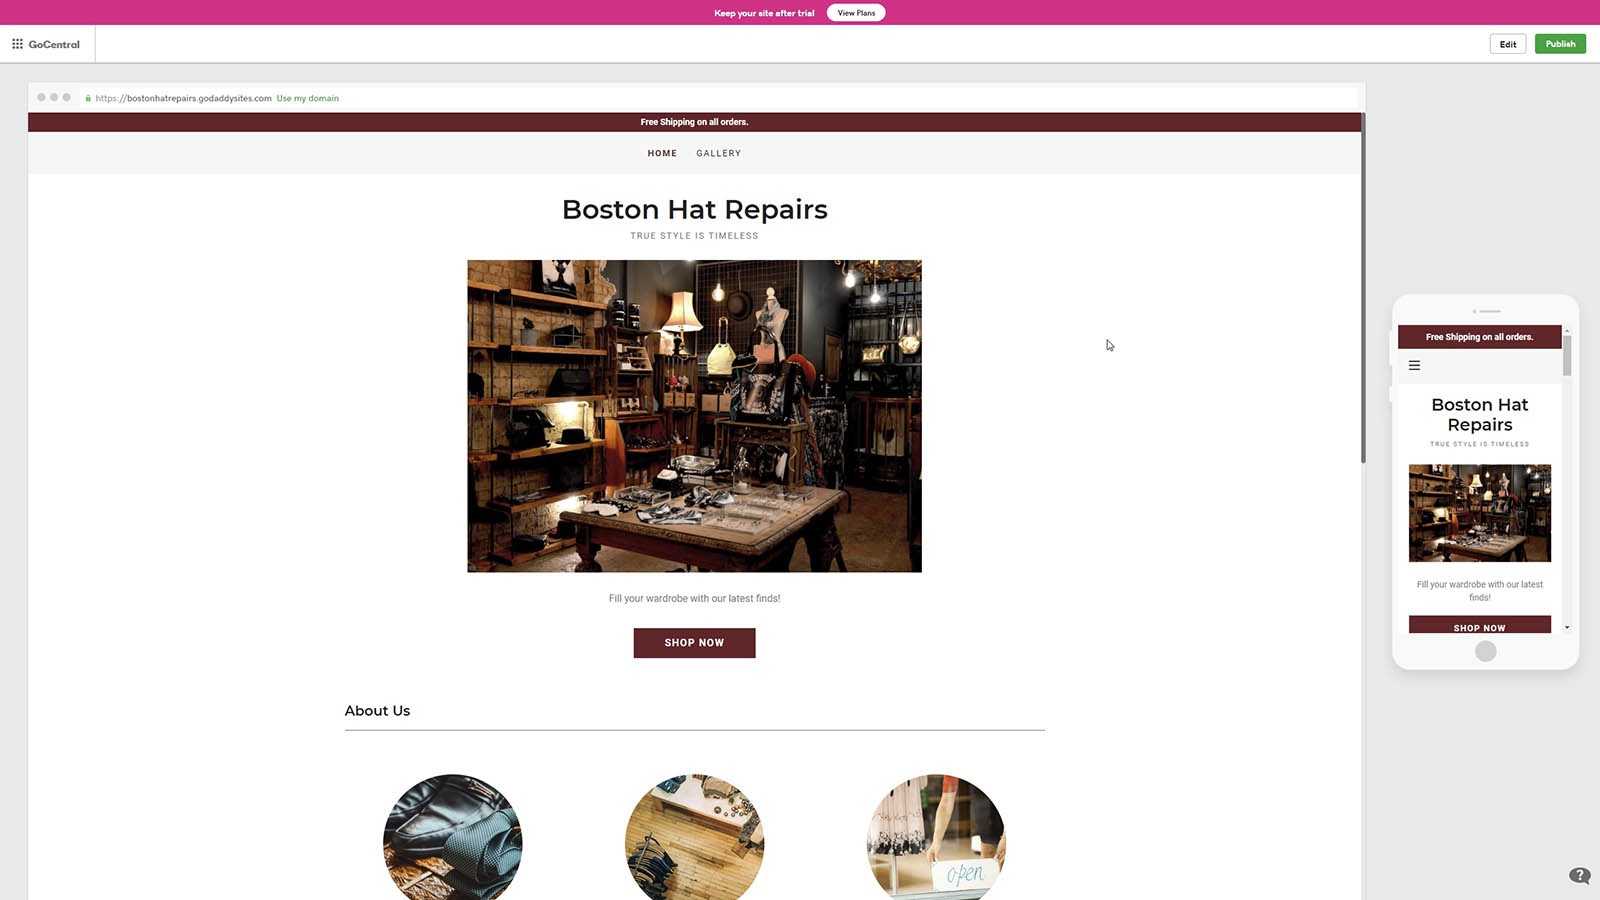
When you're happy with the design and content of your website, it's time to preview and publish it. Click on the "Preview" button to view your website before it goes live. Here, you can ensure that the website looks the way you want it to and test for any issues before making it live. Once you're satisfied with the preview, click "Publish," and your website is live.
8. Upgrade to connect a custom domain
While your website is available at your domain, yoursitename.godaddy.com, you need to have a custom domain name that aligns with your brand.
This upgrade helps make your website look more professional, credible, and memorable.
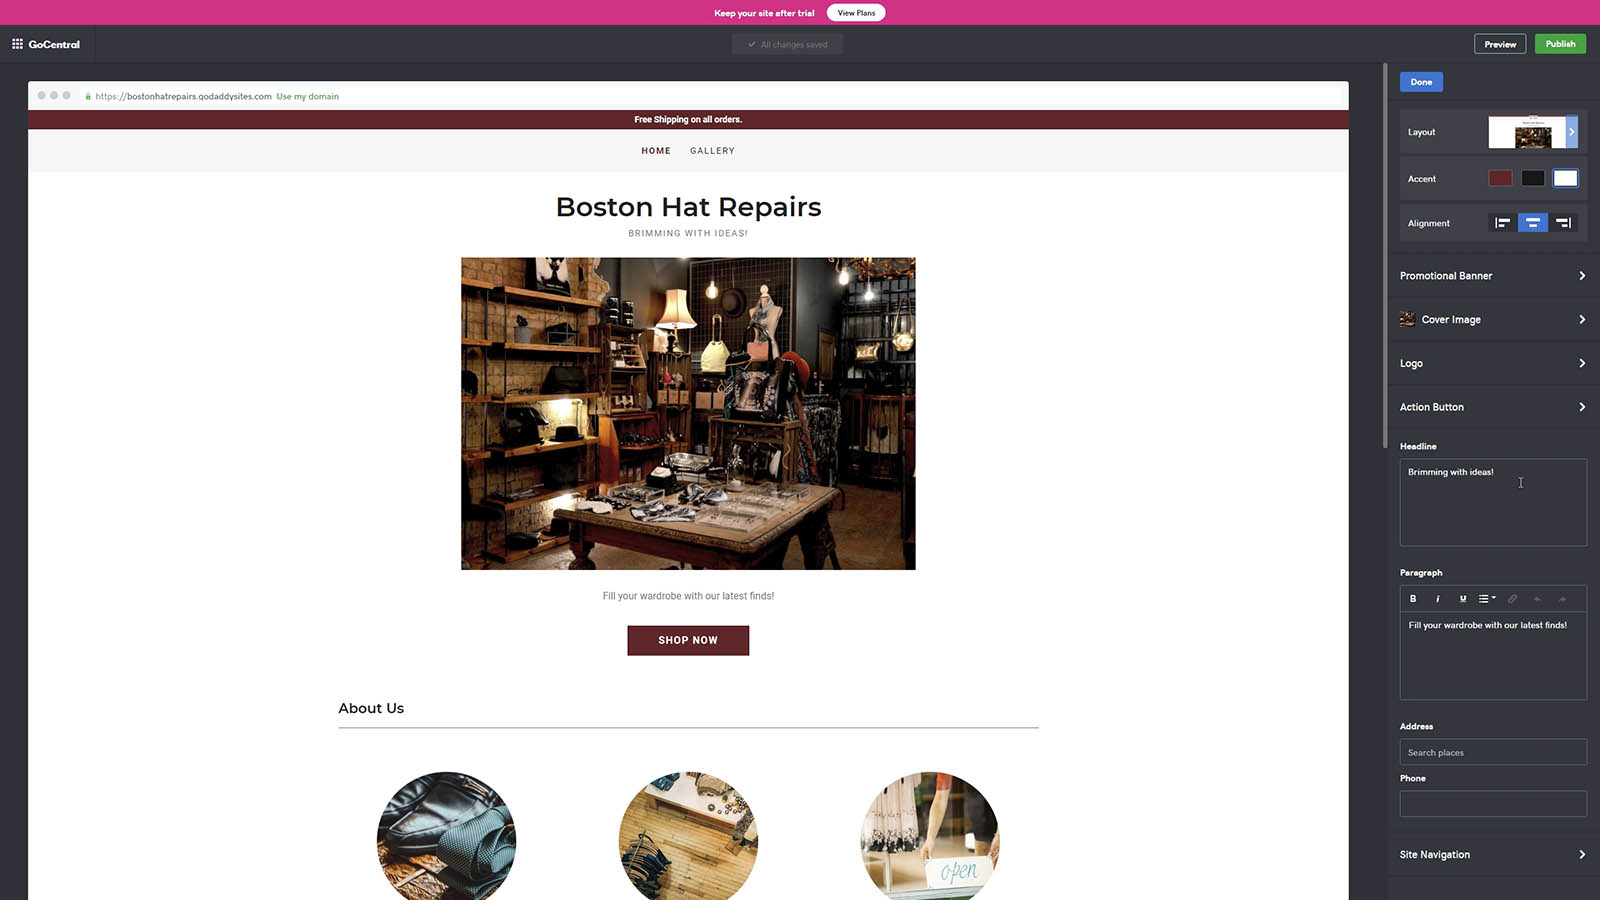
To do this, go back to the Dashboard by selecting it from the top-left corner menu. Click on the “View Plans” link shown on top. Choose a plan you prefer and click “Add to cart.”
Final thoughts
Building a website using GoDaddy's website builder is easy and user-friendly for anyone who doesn't have any coding experience. You can choose from a wide range of templates, customize it with your brand, add content, and go live in just a few steps. The best part is that you can manage your website on your own and can save the expenses you might incur on a web designer.
FAQs
How much does GoDaddy website builder cost?
GoDaddy website builder offers four plans: Basic, Standard, Premium, and E-commerce. The prices of these packages vary, starting at $4.56 per month for the Basic plan and up to $14.63 for its E-commerce plan. Keep in mind that the features and functionalities of each plan differ, so evaluate your business needs before selecting a package.
What type of support will I get from GoDaddy?
GoDaddy offers extensive support services to its website builder users. You can reach its customer support team via phone, email, or live chat. It also provides a comprehensive help section and community forums where you can find answers to commonly asked questions.
Does the GoDaddy website builder include hosting?
Yes, the GoDaddy website builder includes hosting services. Depending on the plan you choose, you will receive different amounts of storage and bandwidth. With GoDaddy, you don't have to worry about finding a third-party provider for your website hosting requirements. Hosting is included in your website builder plan.
- Check out the best ecommerce website builder services
Ruby has been a freelance technology writer for over four years and has a passion for information technology and the Internet in its entirety. She has a wide range of specialities including web hosting, streaming (Firestick, Kodi, and APKs), VPN, information technology, and affiliate marketing. Ruby is a graduate of Bachelor of Science in Commerce from the University of the Philippines, and regularly codes in her free time.