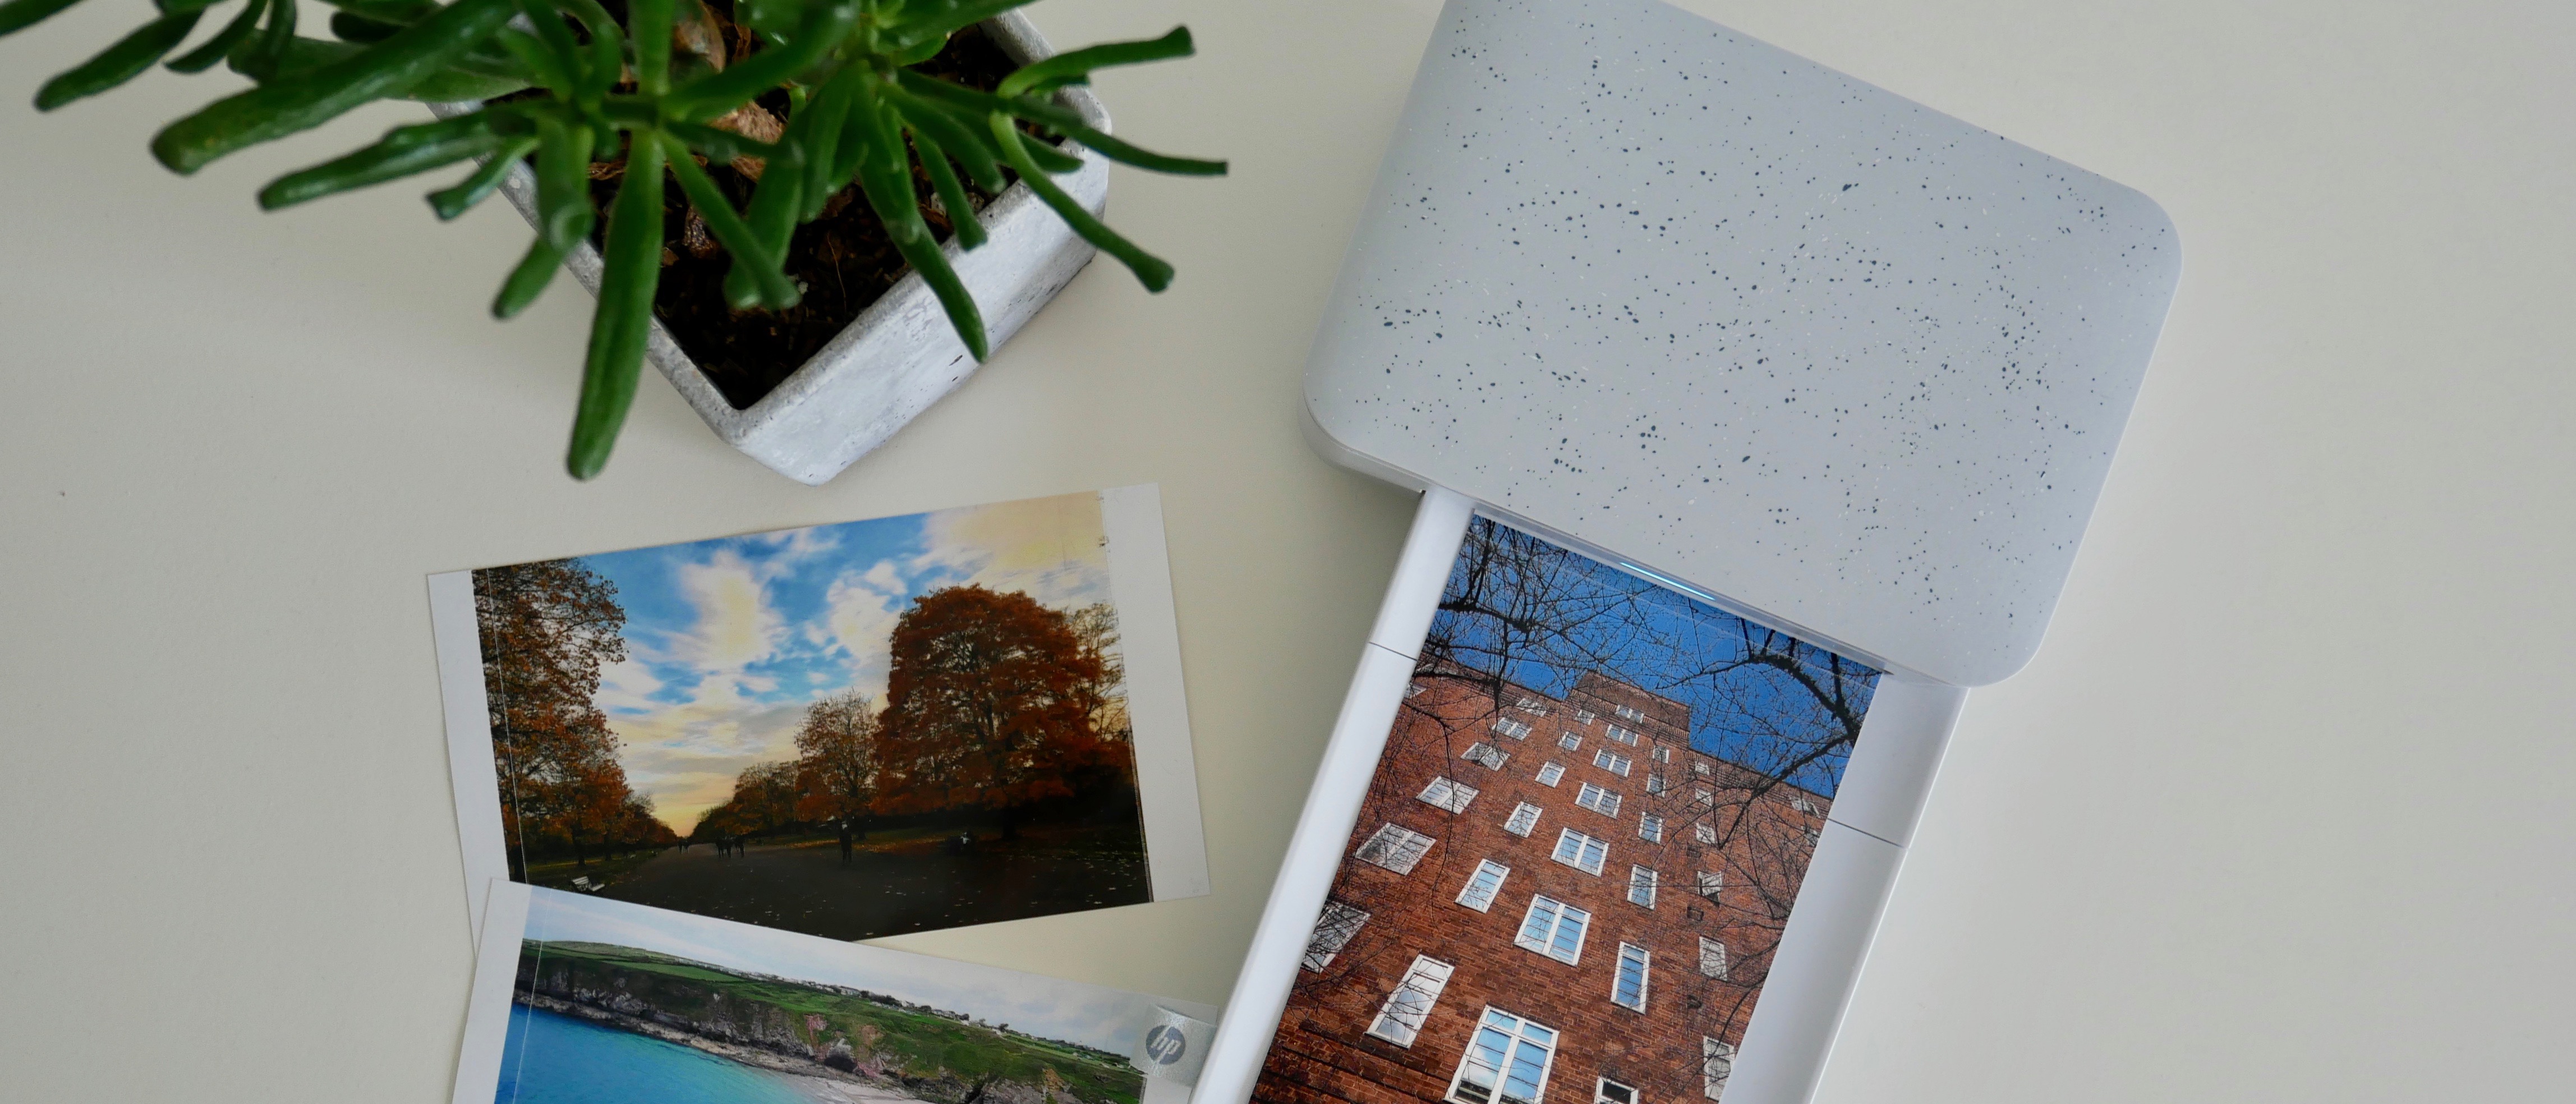
TechRadar Verdict
The Sprocket Studio is a fun way to get good quality photo prints at home, with a suite of editing features adding a unique touch to your memories. The companion app is also intuitive and easy to use, but a few flaws mar the experience, and the ongoing costs can prove to be too much.
Pros
- +
Large, good quality photo prints
- +
Incredibly easy to use
- +
Various photo editing options
Cons
- -
Needs a power source
- -
Cost-per-print can be pricey
Why you can trust TechRadar
One-minute review
The HP Sprocket Studio is a fresh take on the company’s best portable printer line, but instead of wallet-sized 2 x 3-inch prints, this spits out glossy 4 x 6-inch photos. That means you can get a frame-worthy photo minutes after taking the shot on your mobile phone.
The Sprocket Studio uses a method known as ‘dye sublimation’ to transfer layers of color onto a medium. It’s a slower process than the technology used in standard inkjet printers, but the results are of a better quality to what you’d get from a regular printer, especially when looking for the best photo printers in a compact form.
To get started, you will need to download the HP Sprocket companion app (available for both iOS and Android) to your smartphone, and it comes with a host of editing features to make your prints pop. During our testing, we found these editing features quite useful, although some may find them to be a little kitschy.
Unlike the smaller Sprocket printers, the Studio needs to be plugged into a power source when in use. Add its larger size into the equation, and it’s not as immediately portable as HP’s other instant printers – although an optional Power Bank (available in select regions) will let you take it on the road (although availability of the Power Bank was poor at the time of writing this review.)
- These are the best A3 printers on the market right now
- Check out our list of the best all-in-one printers
- We curated the list of the best small business printers
Price and availability
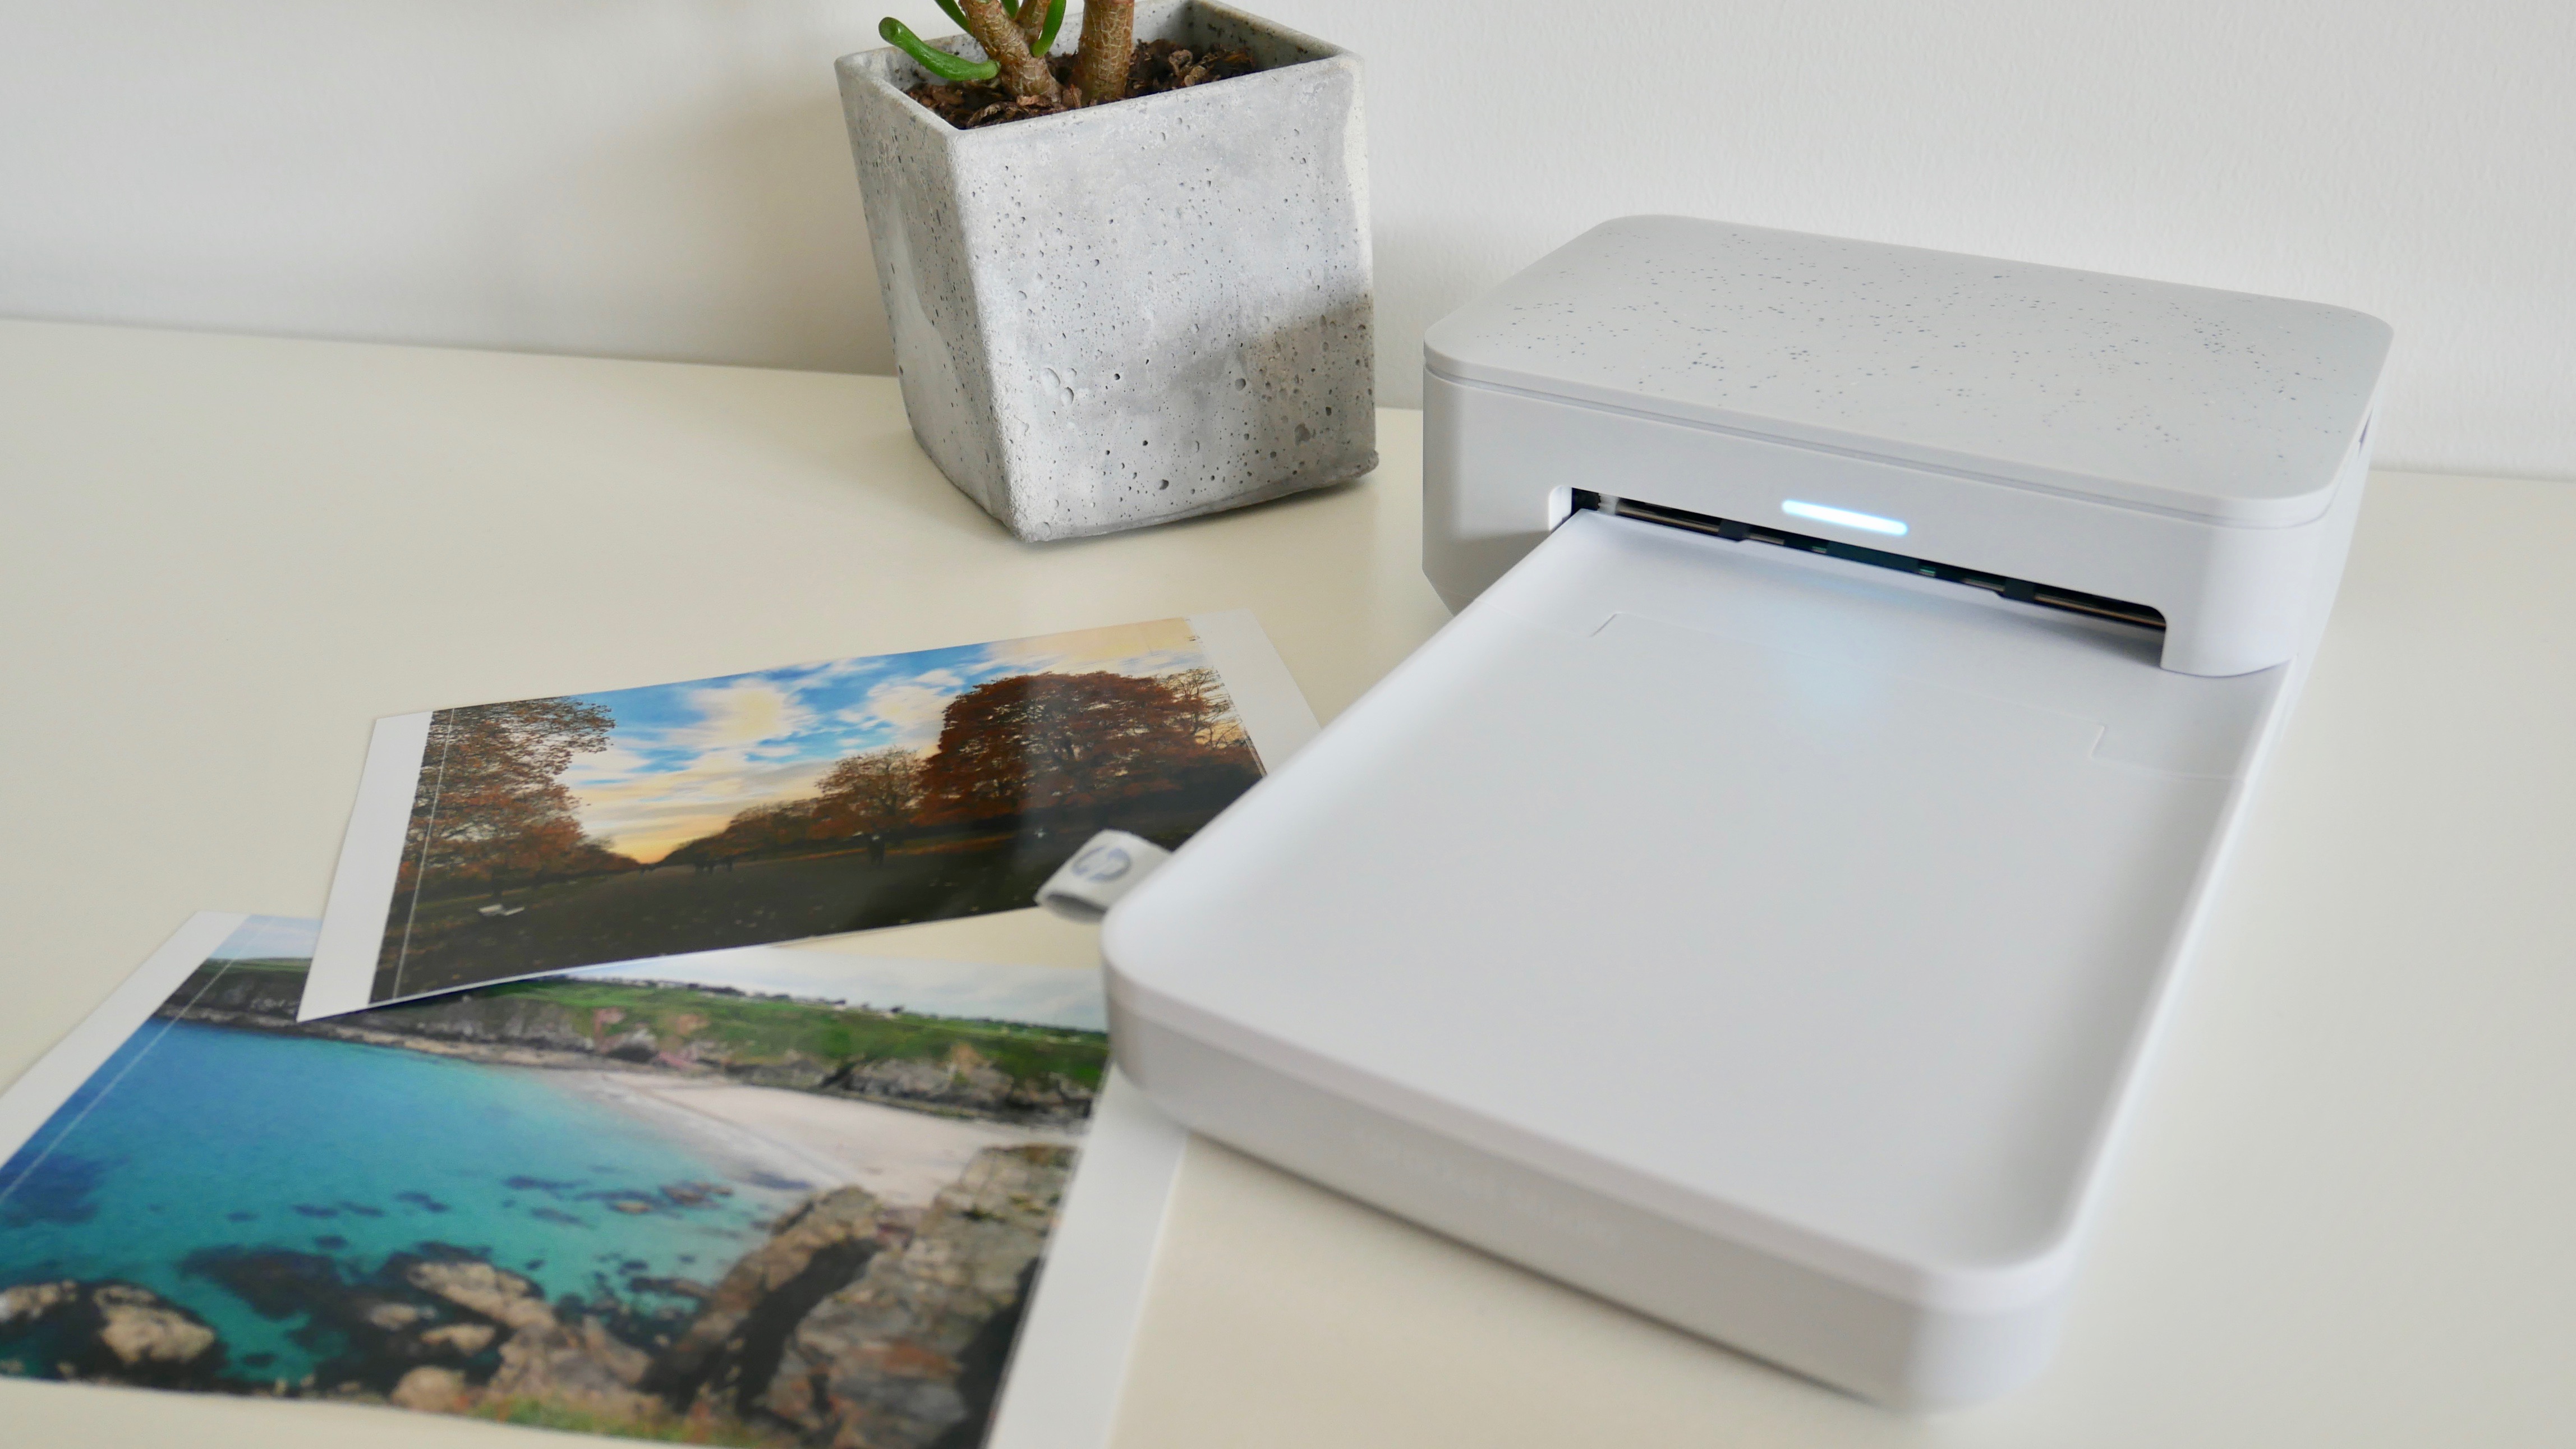
The HP Sprocket Studio is available now for $149.99 / AU$219 (around £115). Inside the box you’ll also get an ink cartridge and 10 sheets of photo paper to get you started. Additional cartridges and printing sheets are sold together for $34.99 / £35.99 / AU$59, setting you up with an extra 80 sheets and two ink cartridges. That shakes out to be about 44c / 45p / 74c per print.
As with all printers, the ongoing costs could certainly start to add up, and in comparison to some other photo printers, the Sprocket Studio doesn’t stack up quite as well. For example, the Canon Selphy CP1300 retails for $109.99 / £119.99 / AU$179. Canon’s extra ink and paper comes at a cost of $35.99 / £35.99 / AU$44.95, and includes 108 printing sheets, equaling a lower cost per print.
Design
- Larger than previous Sprockets
- Minimalist design
- Requires power supply
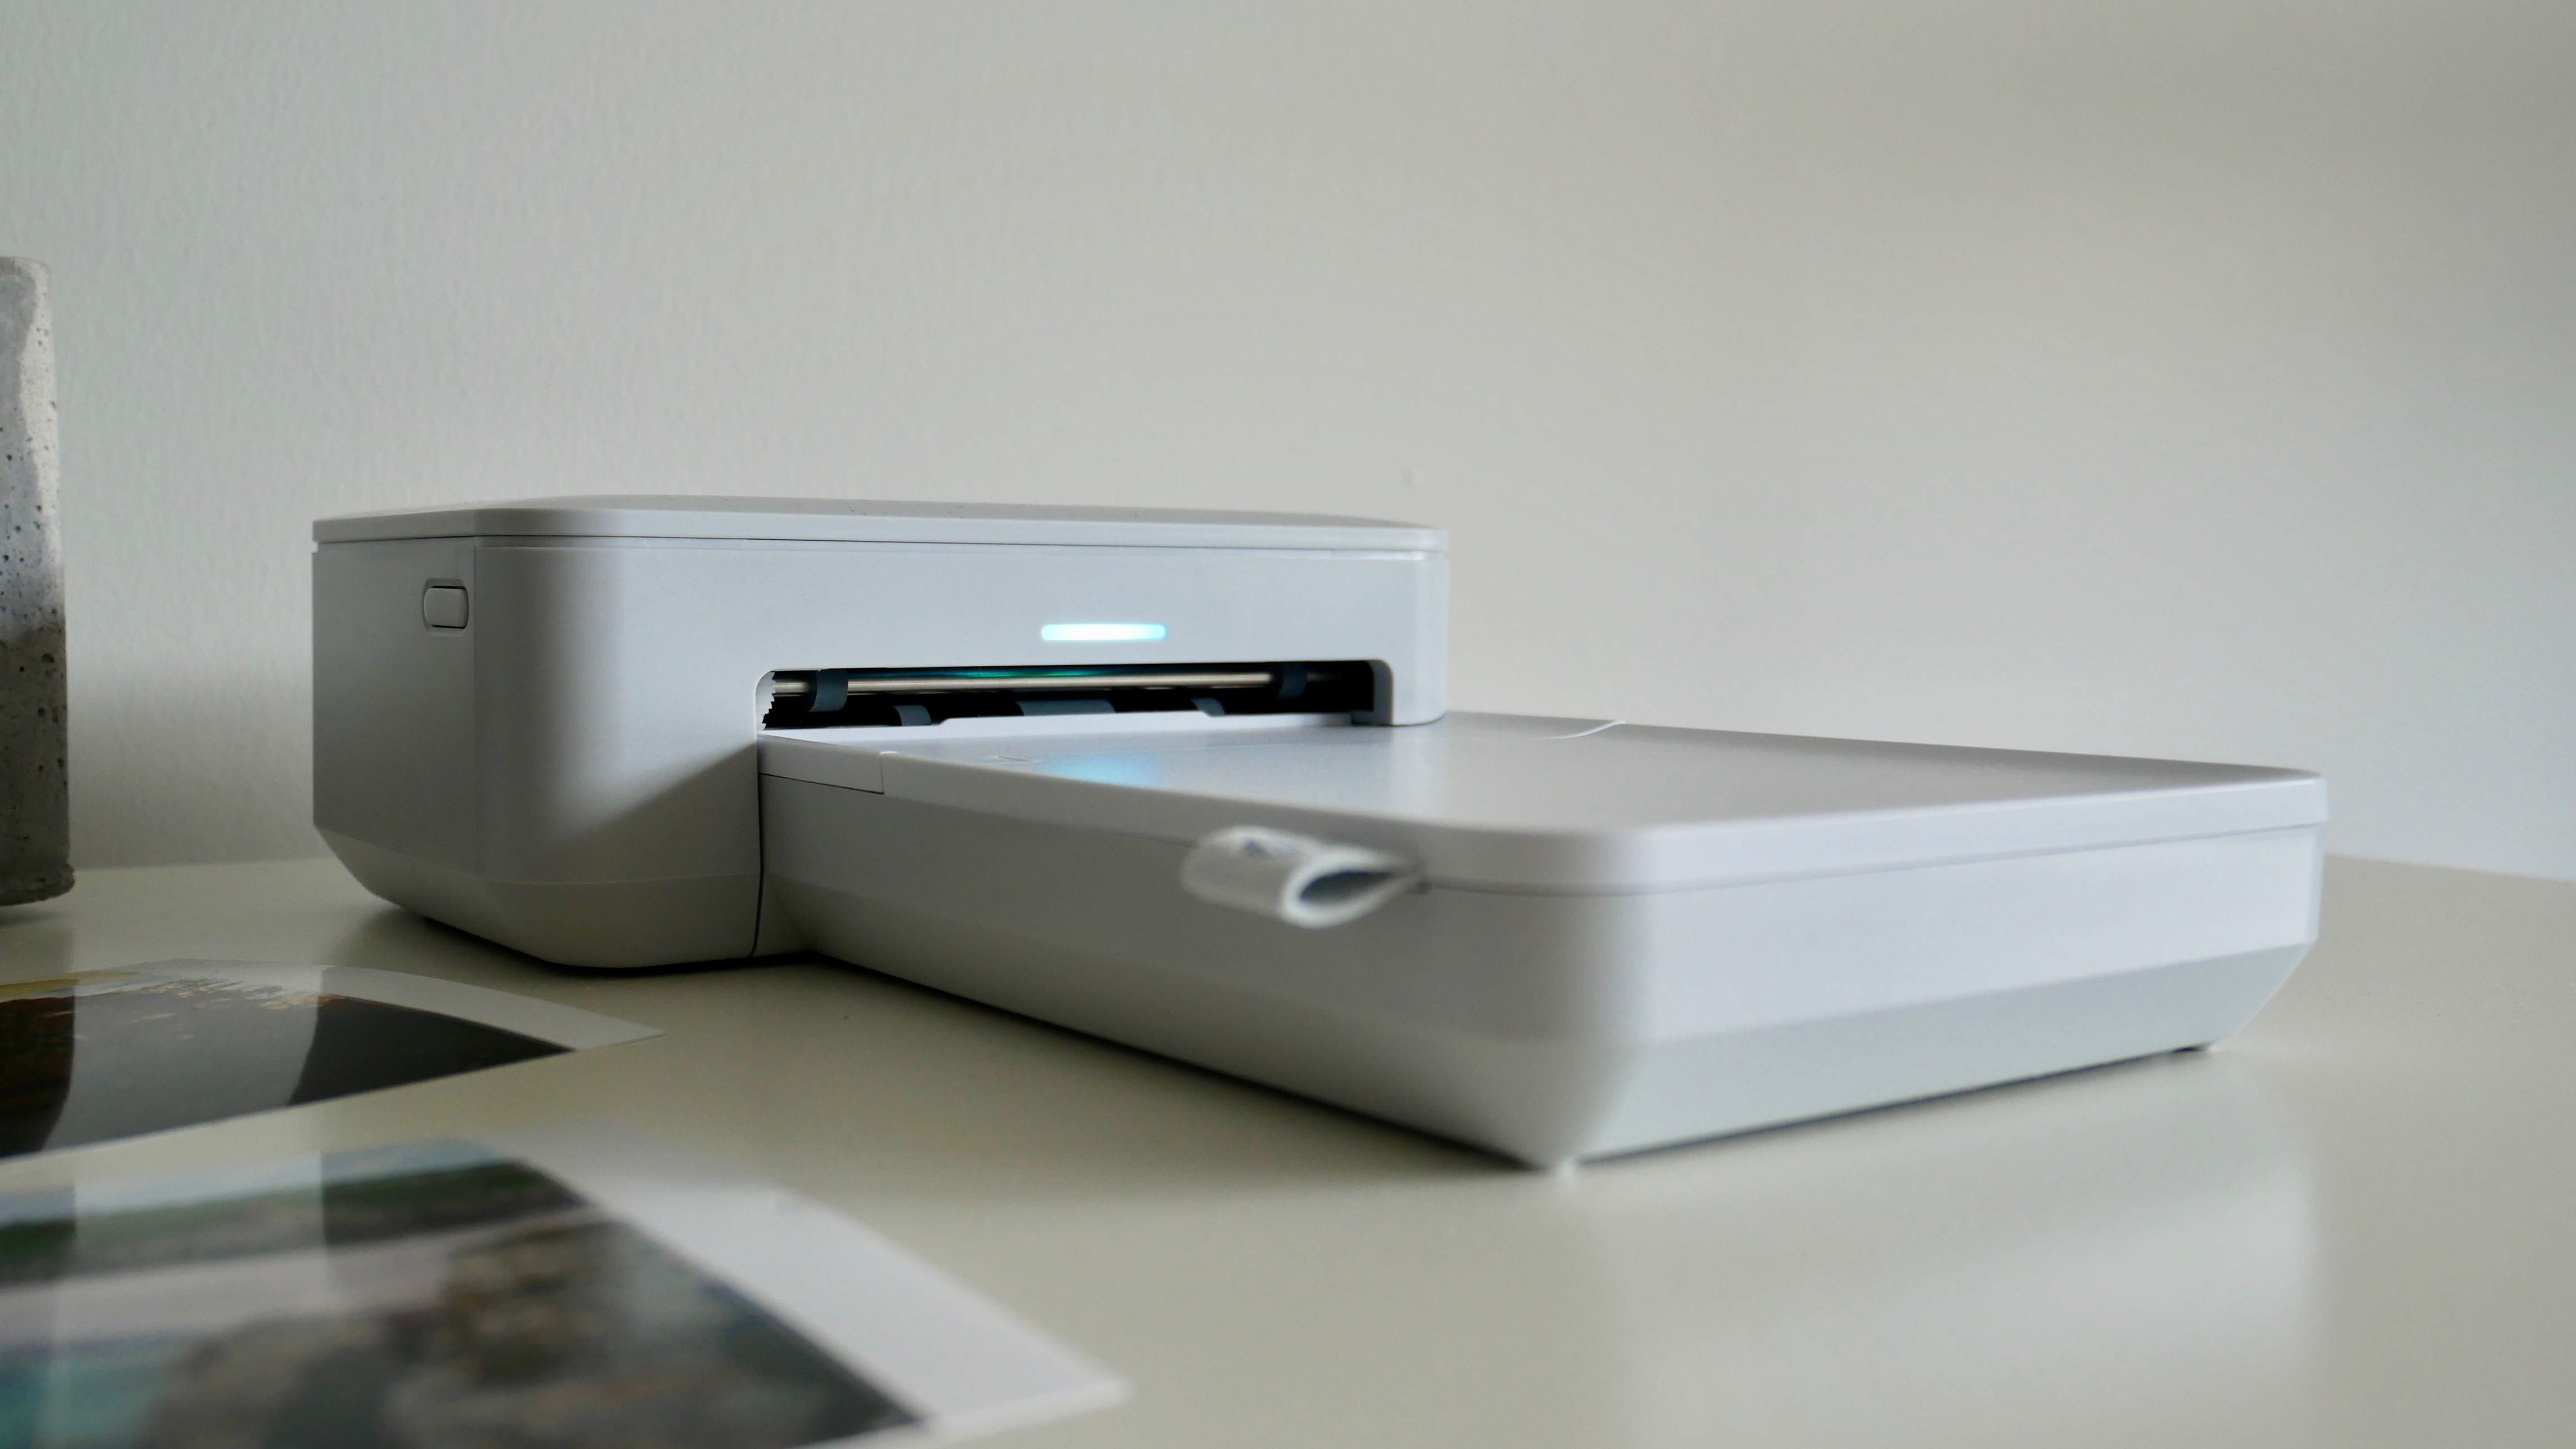
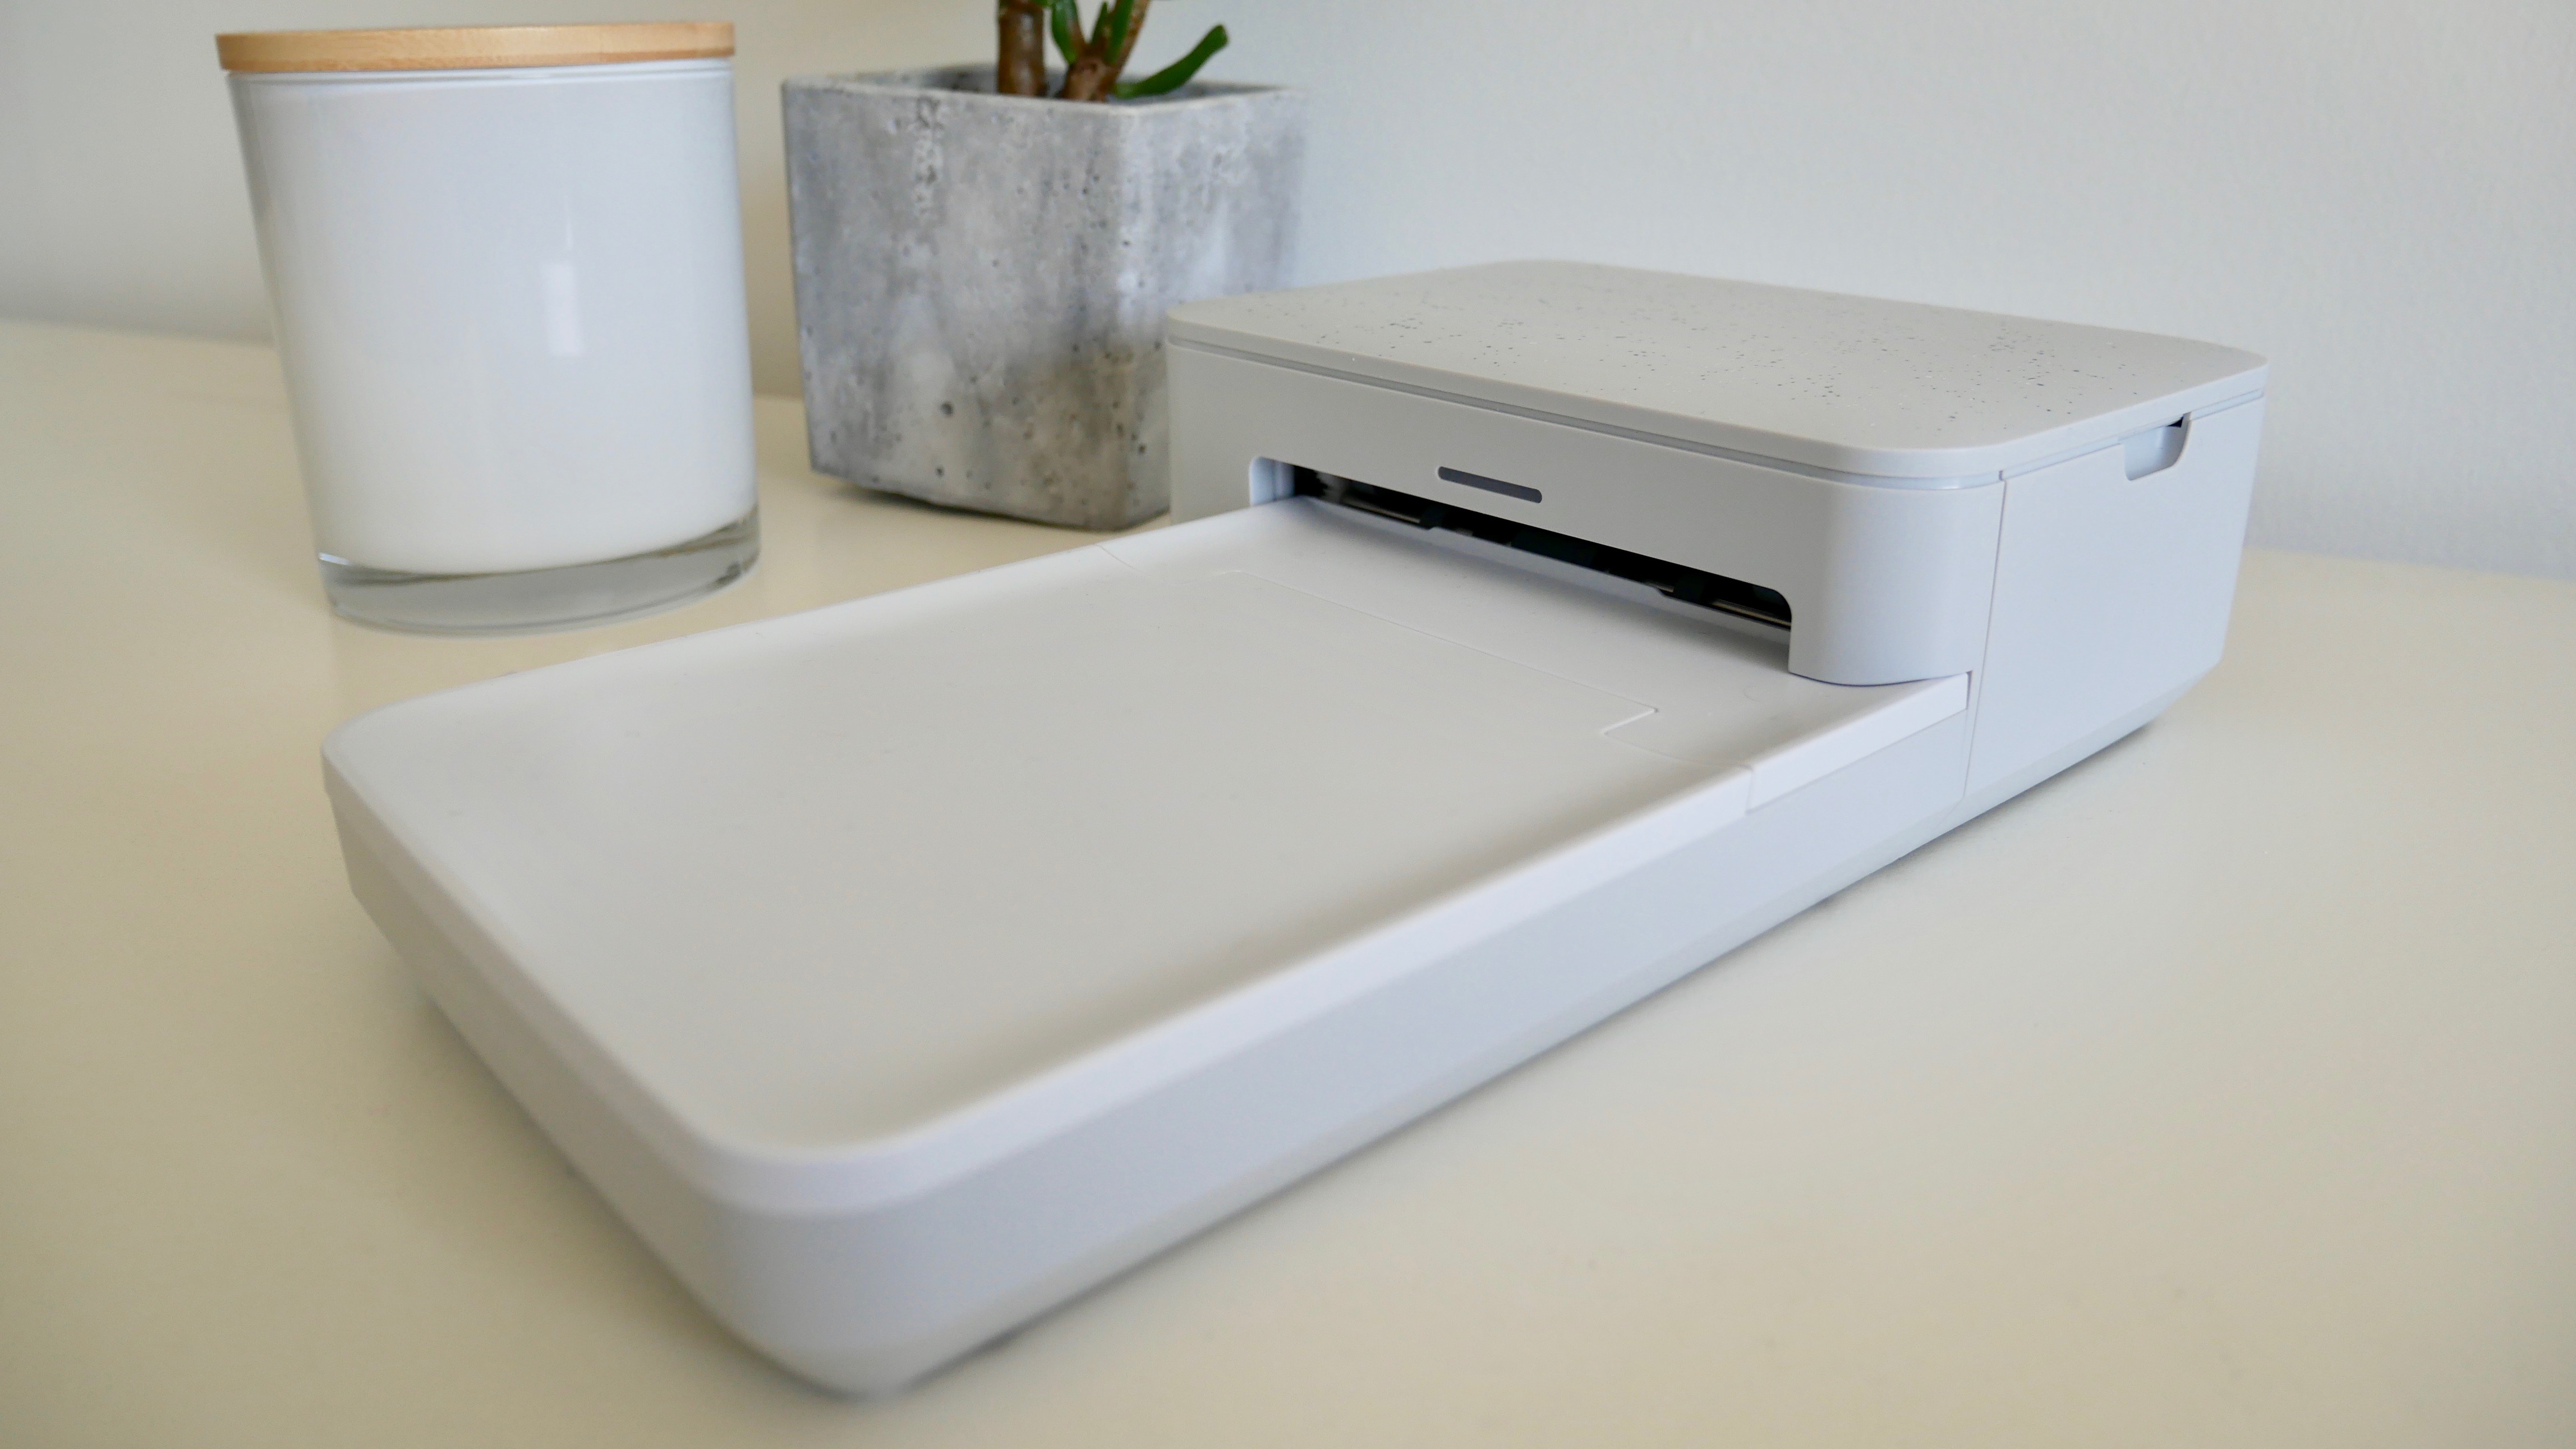
The Sprocket Studio is much bigger than the other printers from the Sprocket series. Measuring in at 169 x 273 x 68mm, it’s got a larger footprint than the Sprocket Select, which comes in at a tiny 142 x 89 x 18mm.
Sign up to the TechRadar Pro newsletter to get all the top news, opinion, features and guidance your business needs to succeed!
The printer comes in a light grey that HP calls ‘snow’, and it’s dotted with bits of dark green that remind you of a speckled egg, giving it a touch of character. It otherwise looks very clean and polished.
There’s a single power button on the left-hand side of the Sprocket Studio. On the rear of the printer is a proprietary socket for the power cable, which is about the same size as a standard laptop charger, adding extra bulk to an already larger-than-usual Sprocket.
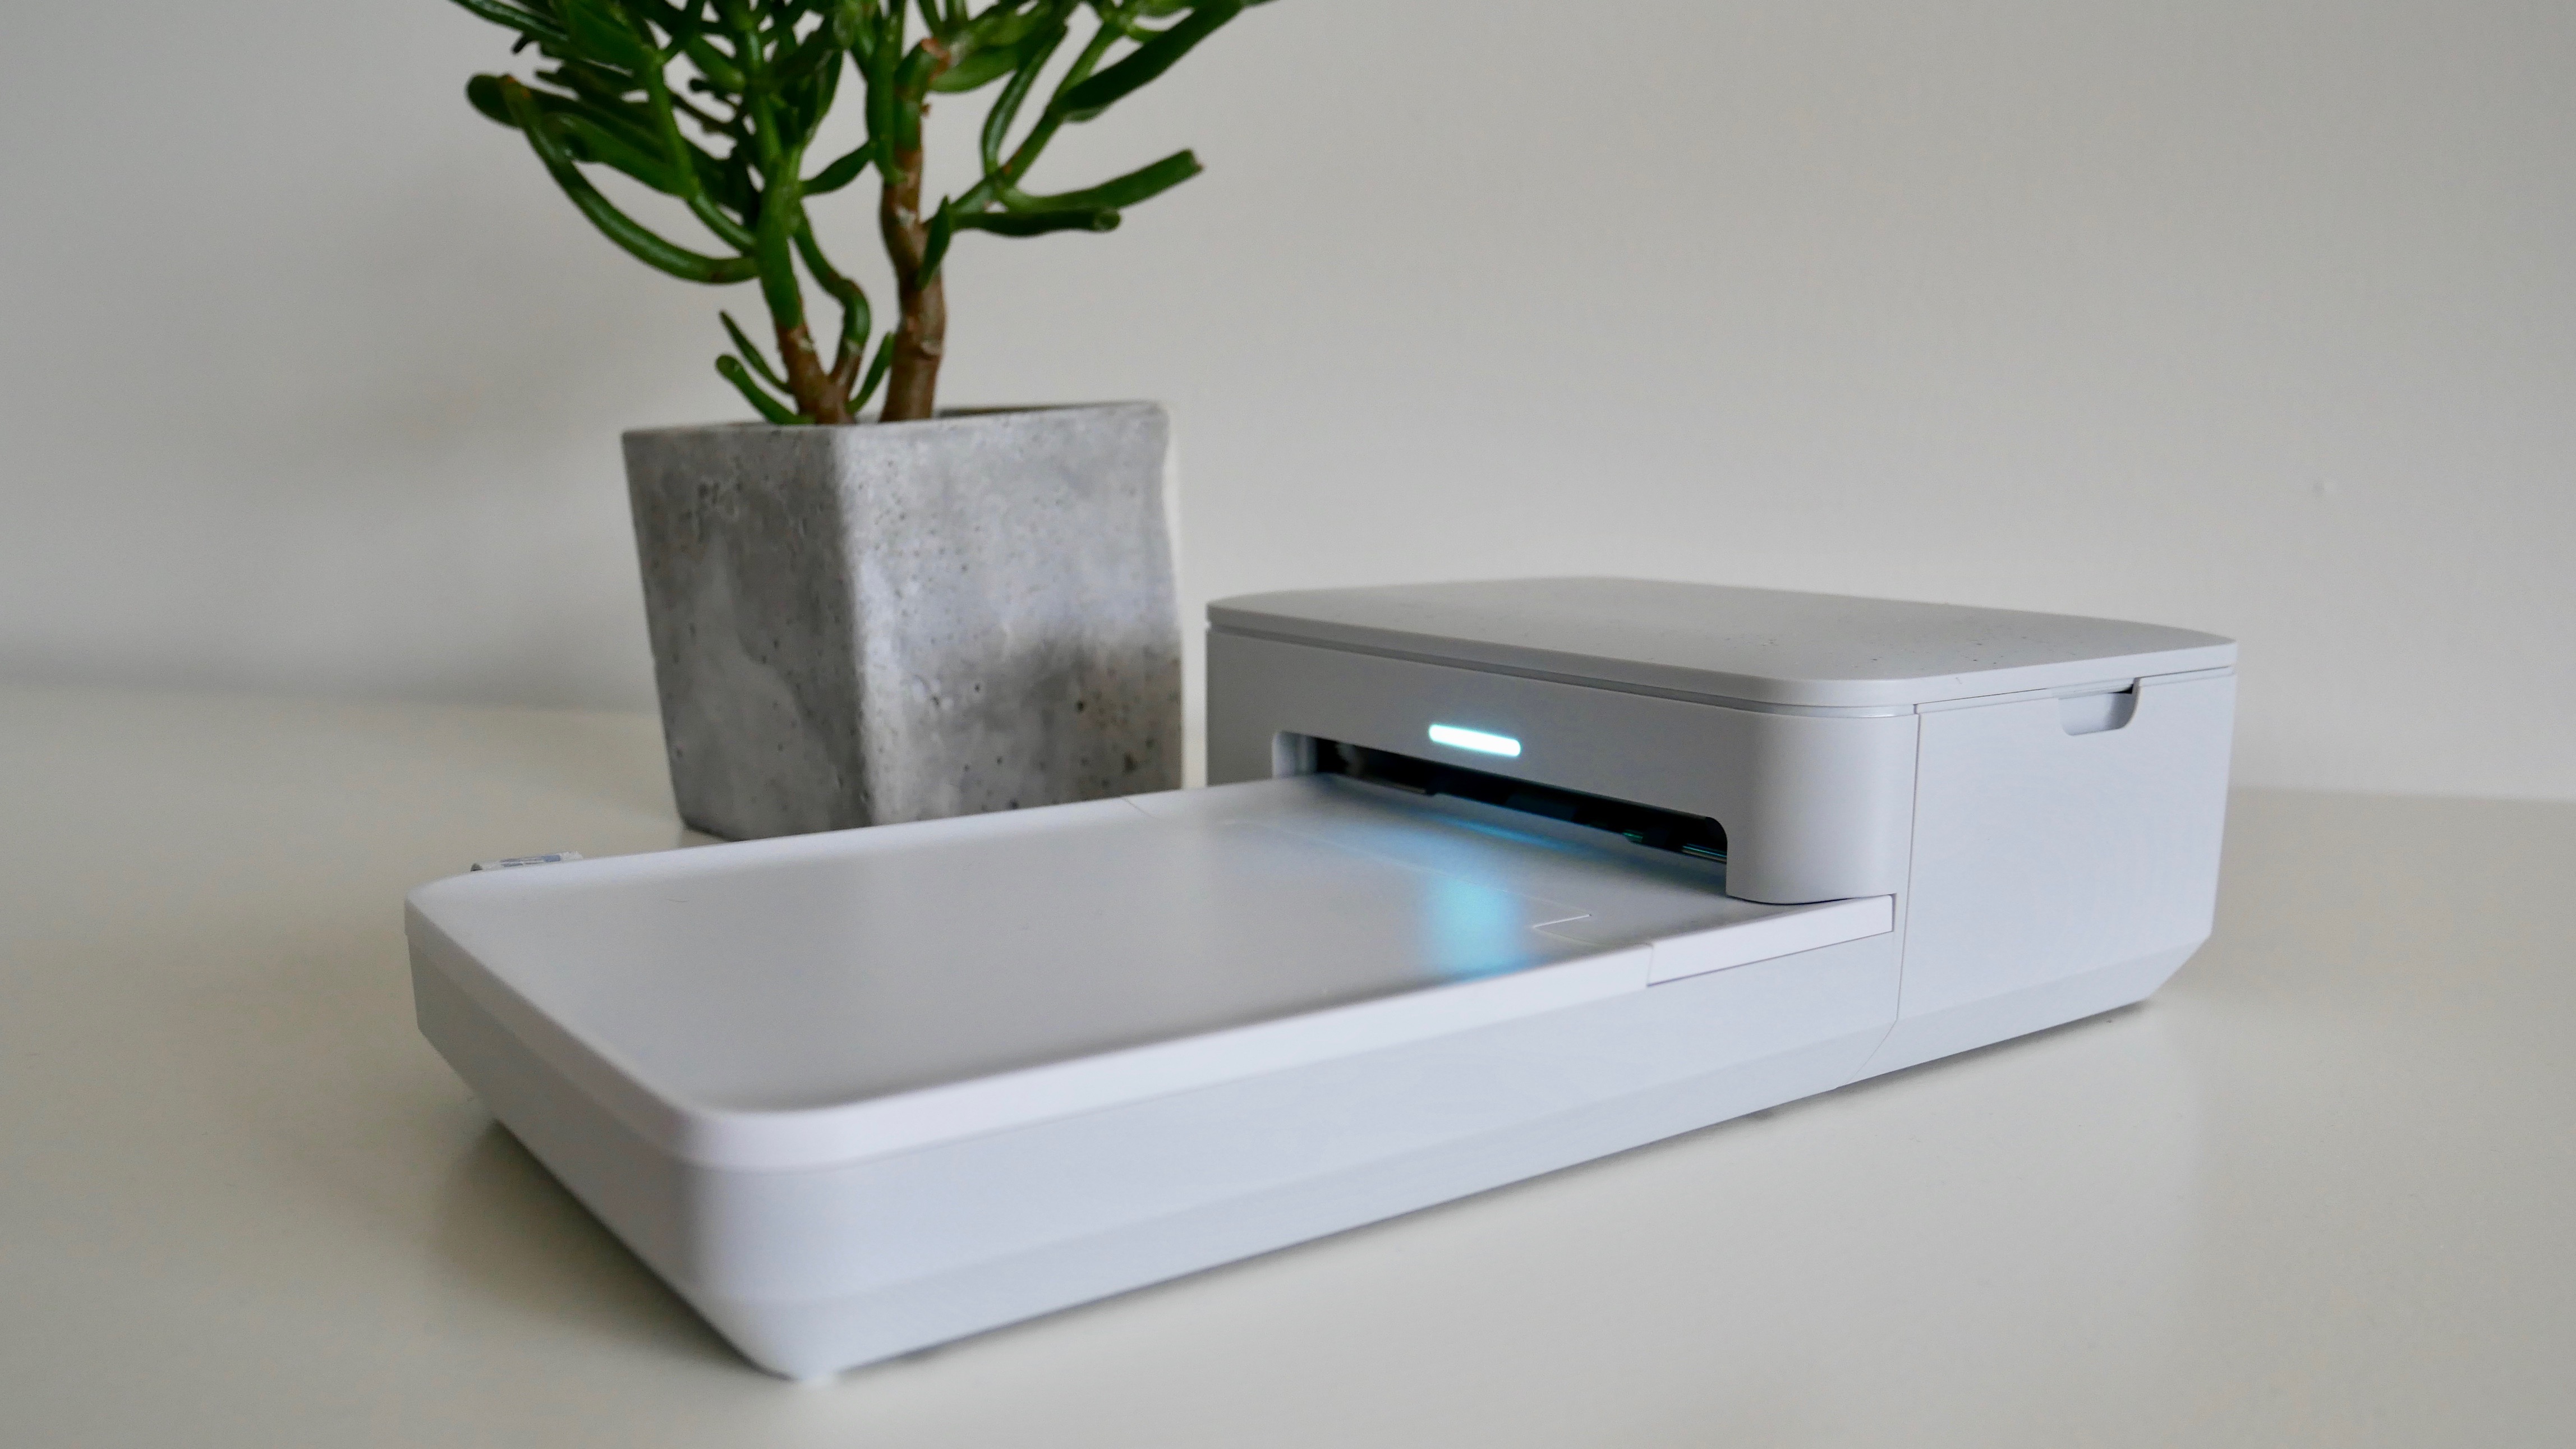
A glowing strip of light on the front indicates when the printer is on (you can select your preferred color during setup) and it’ll turn red if you run into any problems, such as running out of paper or ink.
The only other prominent feature is the paper tray, which sticks out from the printer body, giving the Sprocket Studio an odd, asymmetric shape, though admittedly it began to grow on us after a few uses.
This simple physical design makes the Sprocket Studio incredibly easy to use, and it’s a simplicity that’s carried on into the app and when printing photos.
App control
- Easy to use app
- Several editing tools
- Creative filters and stickers
HP’s Sprocket Studio works via a Bluetooth connection to your phone, with the Sprocket app controlling all the printing. The app is very intuitive and easy to use, taking you through the setup process one step at a time – including how to insert the ink cartridge.
When connected, the app shows you every picture on your phone, including images from Instagram, Facebook and Google Photos if you connect to them through the HP Sprocket app. You can also choose to group these according to the source folder of your images. If your phone supports RAW images, the app will display those as well.
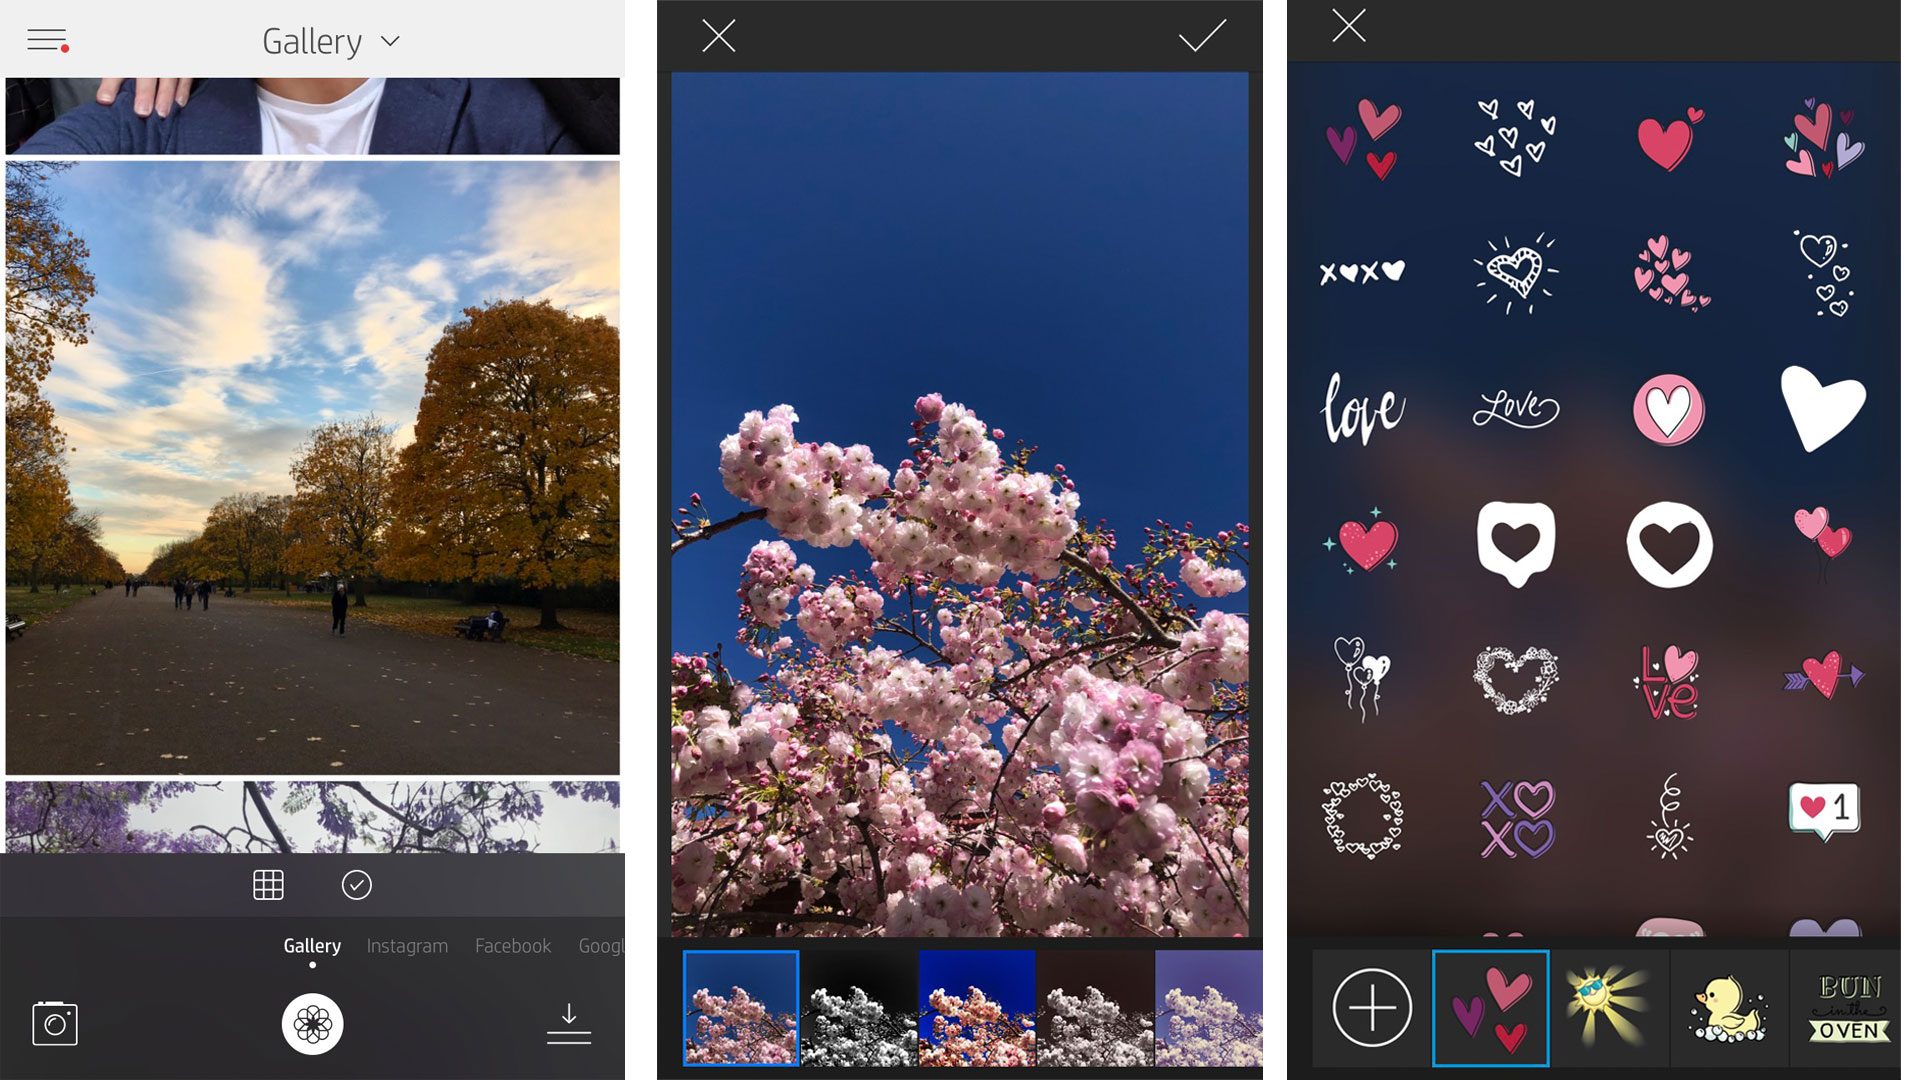
As mentioned earlier, there are a suite of editing tools that allow you to tweak your image before you hit the proverbial ‘print’ button. You can adjust exposure to increase brightness, tweak color, add a preset filter or text, giving you plenty of creative license.
If you want to customize a little further, you can add borders, stickers, and even your own drawings. Adding your own personally-designed stickers is a unique idea, but it doesn’t always execute so well in practice.
We found that the app often struggles to identify a drawing, particularly if the lines are thin. In fact, the app was also unable to pick up a drawing done with a thicker marker. We found it worked best with solid block colors. It would have been an excellent feature if it worked well, but there’s a library of pre-set stickers to choose from to save you the trouble of drawing you own.
Performance
- Uses dye sublimation process
- Slower than inkjet printers
- Good quality prints
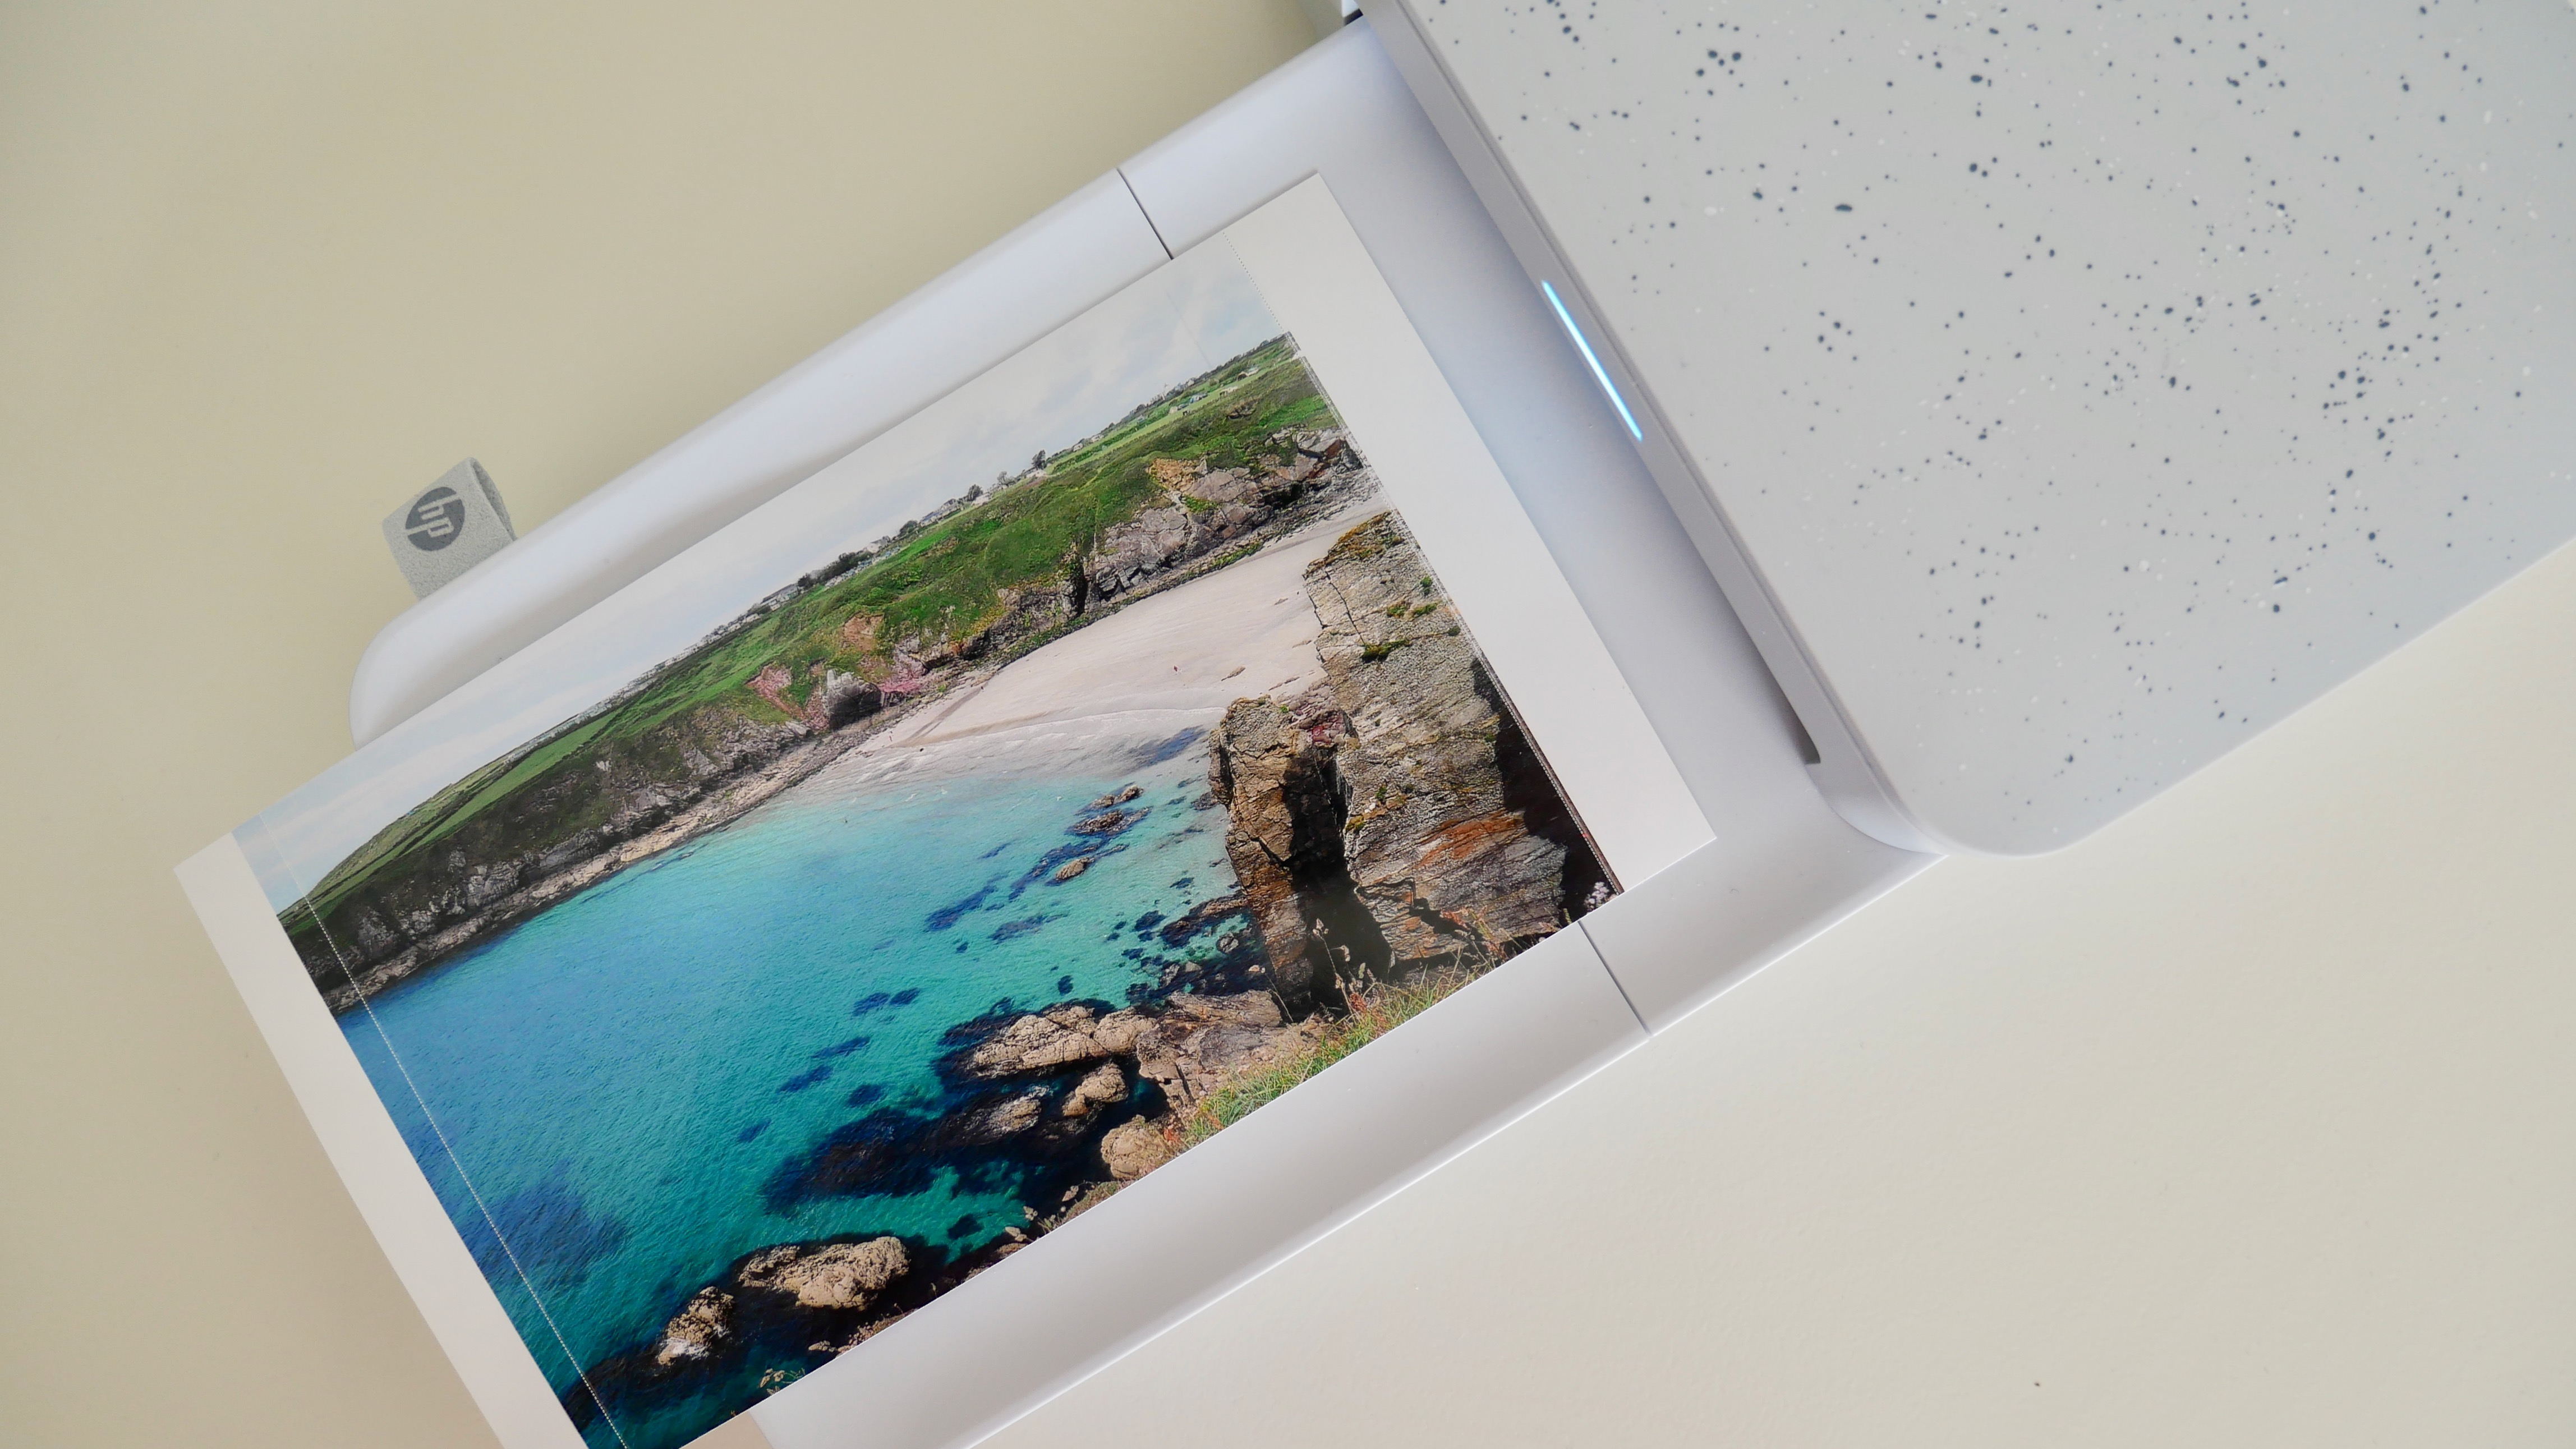
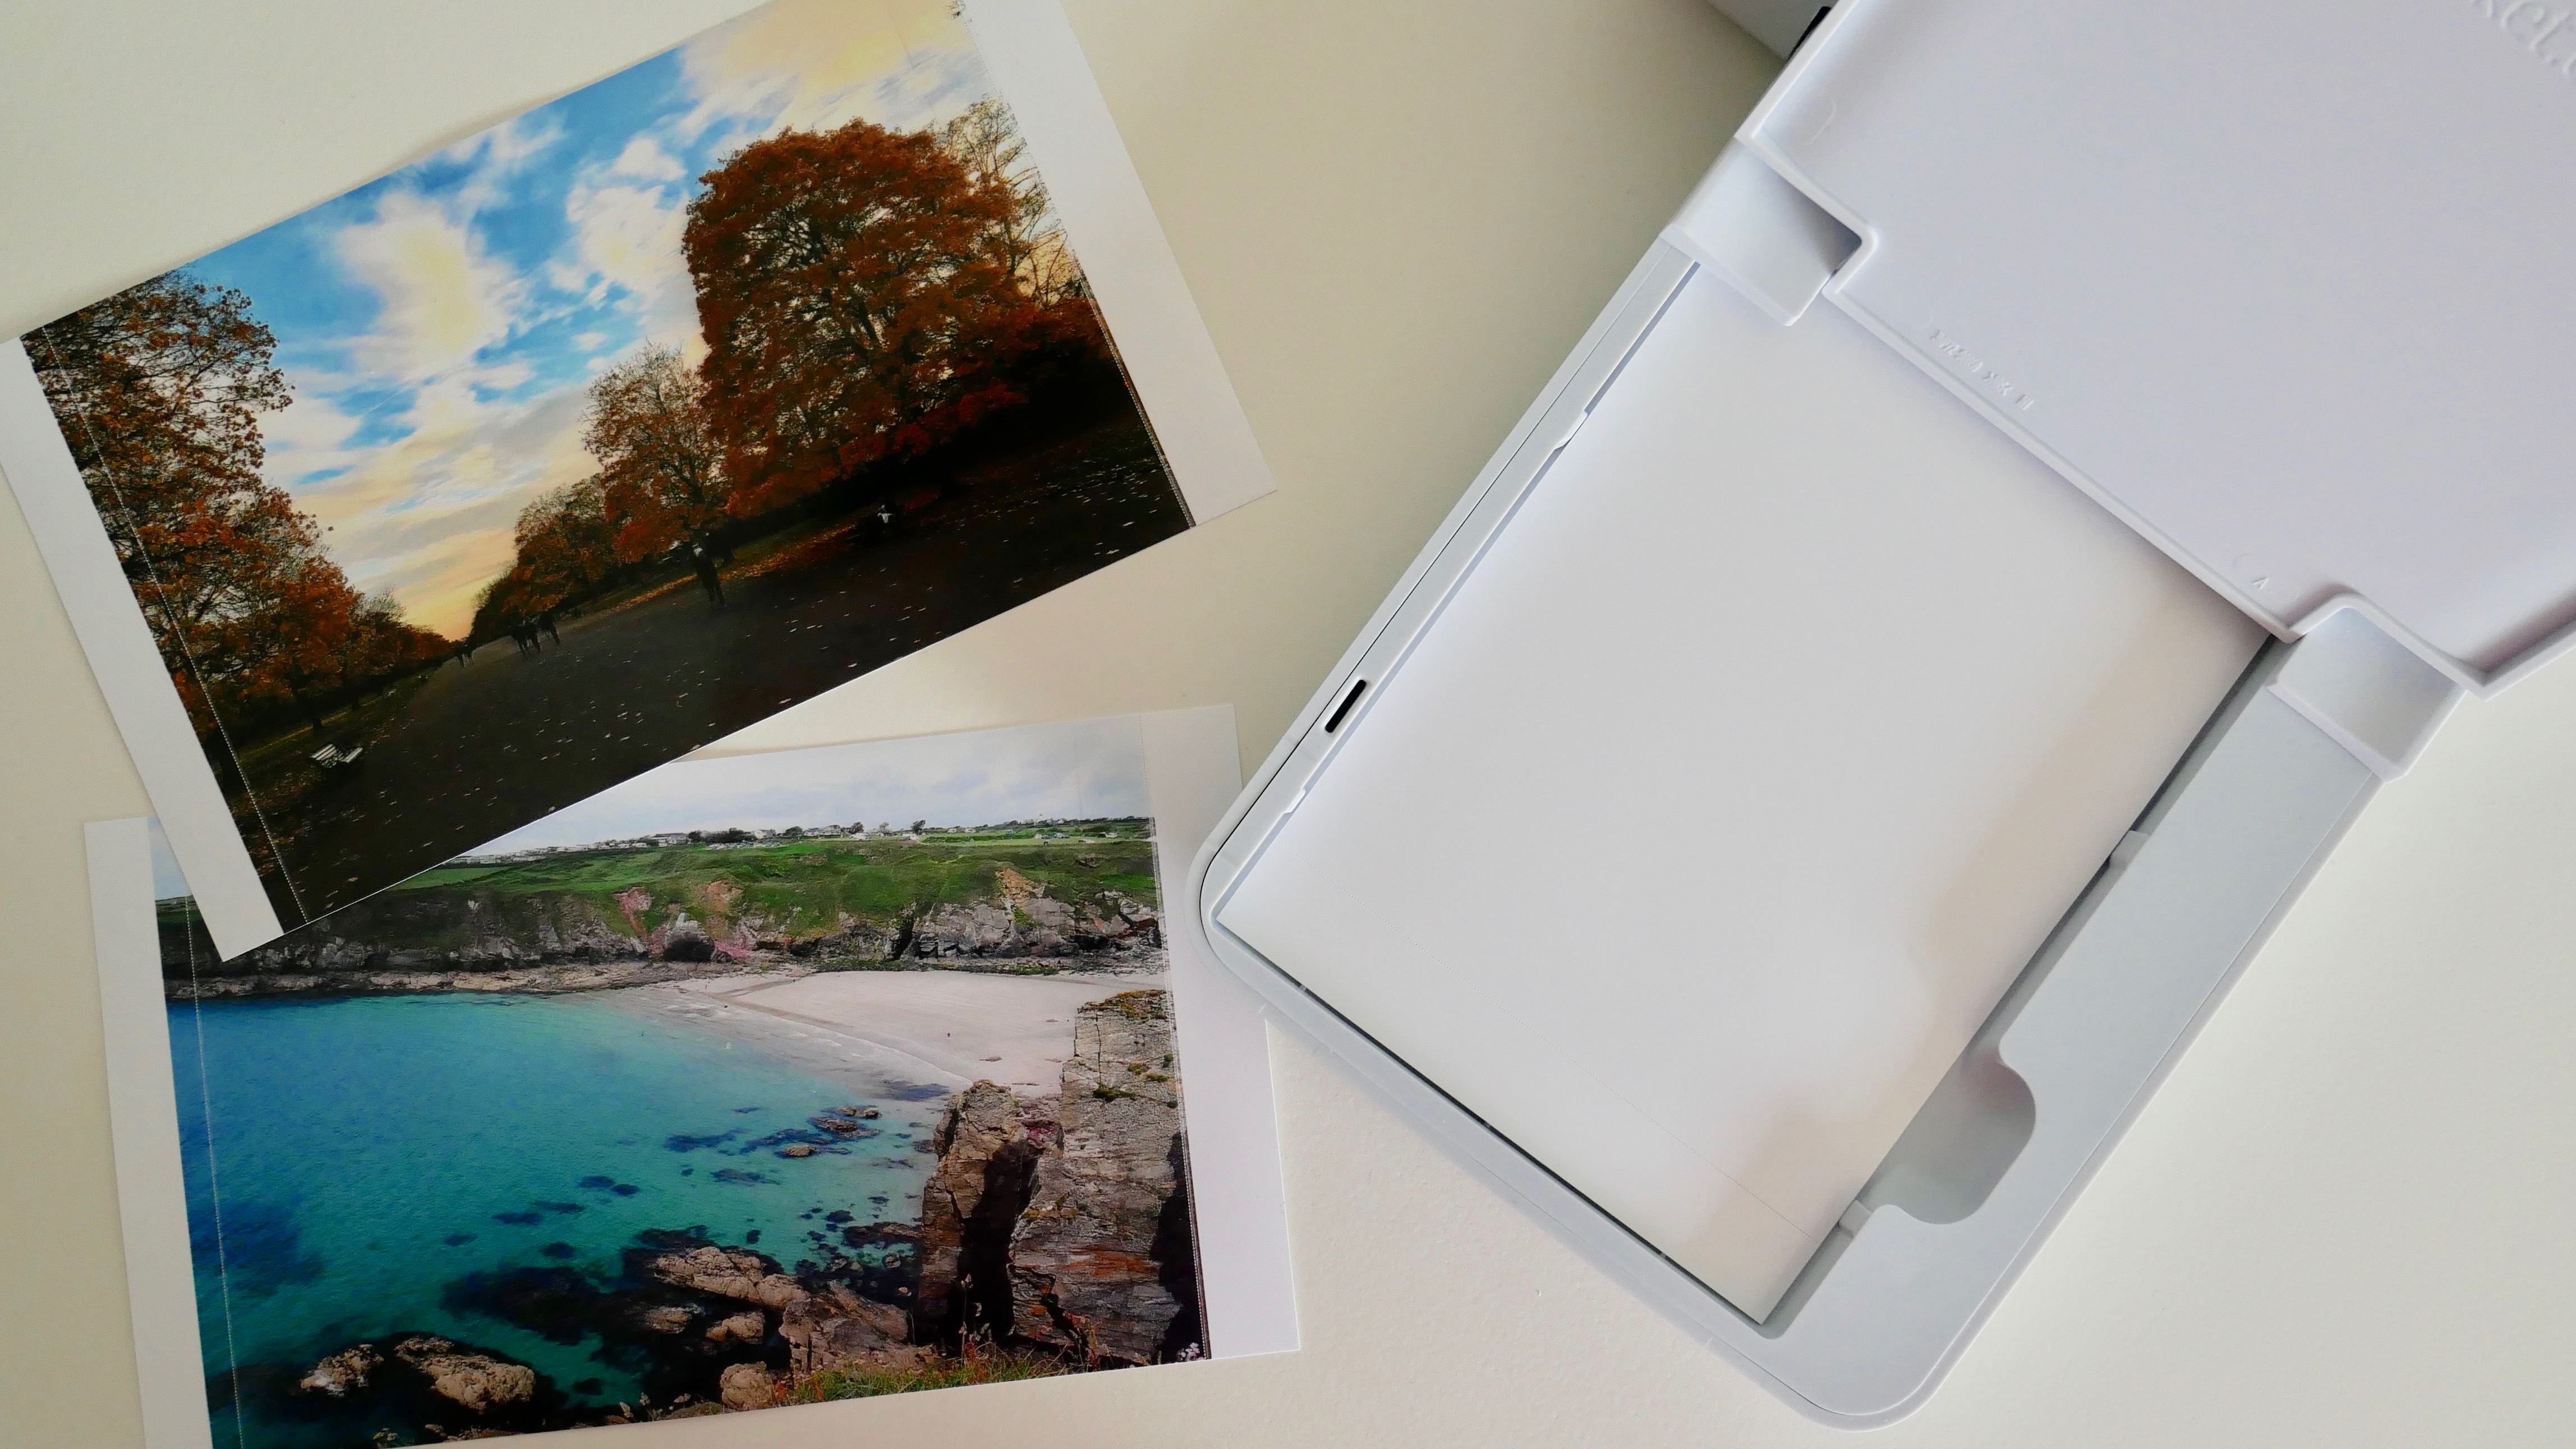
To cut a long story short, the Sprocket Studio produces good quality photo prints. They aren’t perfect, but detail is well preserved and the colors are accurate. We say it’s not perfect because we noticed a faint, vertical line running down the right edge of our test prints.
On others, it seemed the dye had run a little horizontally, most likely from catching on a fleck of dust during printing – definitely worth checking that your photo paper is free from small particles of dust before you begin the printing process. That said, these are minor flaws that you’ll likely only notice with a critical eye.
Where the smaller Sprocket uses zero-ink (Zink) – a printing technology that does away with ink and toners, instead using color embedded in the Zink paper – the Studio prints using dye sublimation.
This is a relatively slow process as the paper runs back and forth through the machine for each color to be added layer by layer – first yellow, then magenta, cyan and a clear top coat. HP says that the print time is as fast as 61 seconds per print, but our tests showed it was slower, coming in at around 80-90 seconds from start to finish.
That doesn’t seem too bad if you’re just printing a few snaps at a time, but if you’re creating an album or collage, that time frame could stretch on a little long.
The supplied photo paper comes with a perforated side on each short edge. The image is printed between the two, so you can pick up the final result immediately after printing without having to worry about smudged ink. These blank edges can then be torn off, leaving you with a full 4 x 6 print with neat sides.
However, we found that this didn’t work perfectly. In all eight of our test prints, the Sprocket began printing about 5mm over the perforations (although ending right on cue). This can prove to be an issue if important elements of your photo are at the edges of your composition.
Verdict
Before the Studio came along, HP’s Sprocket family was only able to print smaller wallet-sized photos. With the Studio, you’re able to print larger, better quality snaps that can fit photo frames.
It’s a breeze to use, and the photo editing features available in the app can add a personal touch to your smartphone camera roll. That said, creating custom stickers doesn’t work as well as we would have hoped, and the need for a slightly bulky power supply means this Sprocket isn’t really a "go-anywhere device" like HP's other instant printers. Still, it’s a fun way to get good quality photo prints at home.
Whether you consider it affordable is another matter altogether. As with any printer, there are ongoing costs you will need to take into consideration – the cost of additional ink and paper to be precise. If the price of the printer itself (which does just one job – print 4x6 photos) was a little lower, it would have been easier to recommend the Sprocket Studio.
Upgrade your tech for less with our HP discounts. Find great deals on laptops, printers, and more.
- First reviewed November 2020

Jasmine Gearie was previously an Ecommerce Editor at TechRadar Australia, with a primary focus on helping readers find the best mobile and NBN plans. During her time with TechRadar, she also reported on important telco news in Australia, and helped track down tech deals to help readers save money.
