Have you been holding onto that 10-year-old workhorse that saw you through college, in the hope that one day you'll be able to put it to good use? If you're like us, you've probably cannibalised most of its peripherals and all that's left is its tiny processor and a meagre amount of RAM.
It might not be able to run any bleeding edge OS, but you can use it as a centralised file server to download and share files on your network and the web.
Follow the walkthrough below to install the Torrent Server appliance and bring your server online.
Once you have it running on your remote headless server, fire up a browser and point it to the IP address of the server. The control panel of the Torrent Server has five icons that point to the five major components of the appliance.
The 'Basic' icon takes you to the P2P-GUI interface. This is simpler than MLDonkey's default interface, which can be intimating to first-time users. You can get to it via the 'Advanced' icon.
Another speciality of this appliance is the browser-based file manager eXtplorer, which you can use to manipulate files and directories, as well as their permissions.
Web Shell fires up an AJAX-based terminal emulator called Shell in a Box, which you can use to log into your remote server from your web browser.
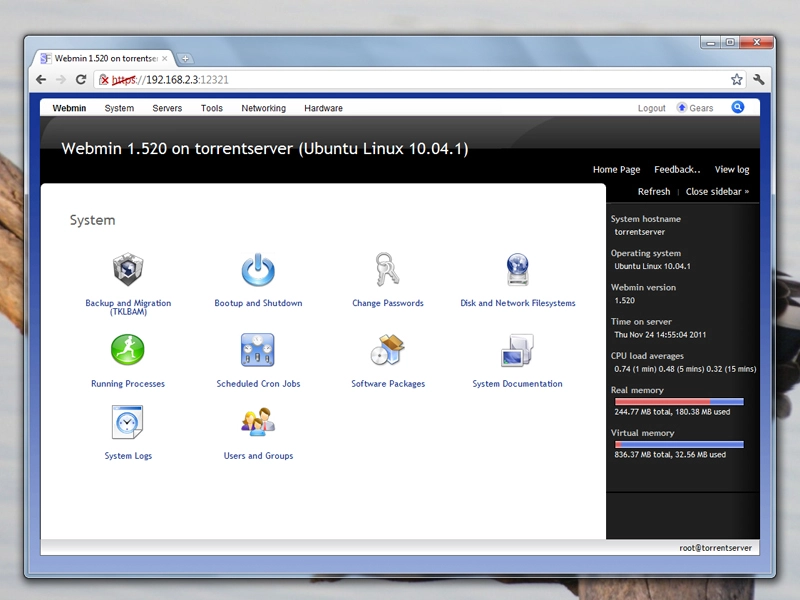
Finally, there's Webmin for CLI-averse users. Webmin is a web-based configuration tool that you can use to control all aspects of your remote server, such as setting up a cron job, reading logs, managing running processes and so on.
All these components are pre-configured out of the box. For example, MLDonkey has all file-sharing protocols enabled, including HTTP, FTP, and BitTorrent. Besides these visible elements, there are also additional useful components that work in the background. For example, there's the Samba file server, which ensures that you can access your server easily from Windows PCs.
On Windows, you'll find the remote server listed as TORRENTSERVER under Network in My Computer. You can log into the server using the credentials of the user 'root' that you set during installation. This lets you easily drag and drop files into the remote server. The default storage directory in the server is /srv/storage.
MLDonkey

Downloading and controlling torrents on the remote server is straightforward. But you can also use MLDonkey to seed your own torrents. The only real downside is that its interface isn't anything like those of the popular desktop torrent clients.
Once you get a hang of it though, you'll be able to appreciate its flexibility. Let's familiarise ourselves with MLDonkey and its pre-configured download/ upload directories.
The Torrent Server appliance we have set-up comes with MLDonkey pre-configured. To review its settings, head to its Advanced interface from the Control Panel. Now click 'Help+ > Sysinfo' to bring up the configuration information.
MLDonkey can also be controlled via its own set of commands, so you can also access the configuration option simply by entering 'sysinfo' in the text box in the main interface.
The default directories are listed at the bottom of the page. MLDonkey is installed under /var/lib/mldonkey. That directory houses all the configuration files for all the different protocols. So for example, bittorrent.ini houses all the config options for MLDonkey's BitTorrent client.
Seeding your torrents
With MLDonkey you can seed either individual files (like some-distro.iso) or a group of files housed under a directory (like the_best_distros/). To seed individual files, keep them under the /var/lib/ mldonkey/incoming/files directory. Similarly, seeded directories must be placed under /var/lib/mldonkey/ incoming/directories.
You can move or copy the files from their original location to these directories in several ways. You can upload them to the remote server using the browser-based file manager, or by accessing it via Samba.
To move the files around in the remote server you can either use the web shell, or you can log into the remote server via ssh using the command ssh root@.
Before you can seed the local files you need to create a .torrent file. To create a .torrent file, you need a tracker that will announce its presence to other peers. By default, MLDonkey will use the IP address of the server it's running on to track torrents within the local network.
To use an external tracker, you'll have to modify MLDonkey's configuration. The simplest way to do this is to head to 'Client settings' in the basic interface and look for the 'bt-default_tracker' entry. By default it's empty, which means it'll use the local tracker.
To point it to an external tracker, enter its location in the space provided – for example, http://linuxtracker.org:2710/announce, which is the tracker for LinuxTracker.org. Now use the compute_ torrent command to point to the files you need to seed.
For example, compute_torrent/srv/storage/incoming/files/some-distro.iso will generate its .torrent file with the tracker information you've specified in the configuration file. The generated .torrent file is kept under the /var/lib/mldonkey/torrents/seeded directory.
You can confirm that your torrents are being seeded by going to 'Transfers > Uploads'. To view more details about a torrent, click the 'Details' link under the Status column. That's it. Now you can download files unattended and earn brownie points from your peers by serving torrents.