
 Become a TechRadar Insider


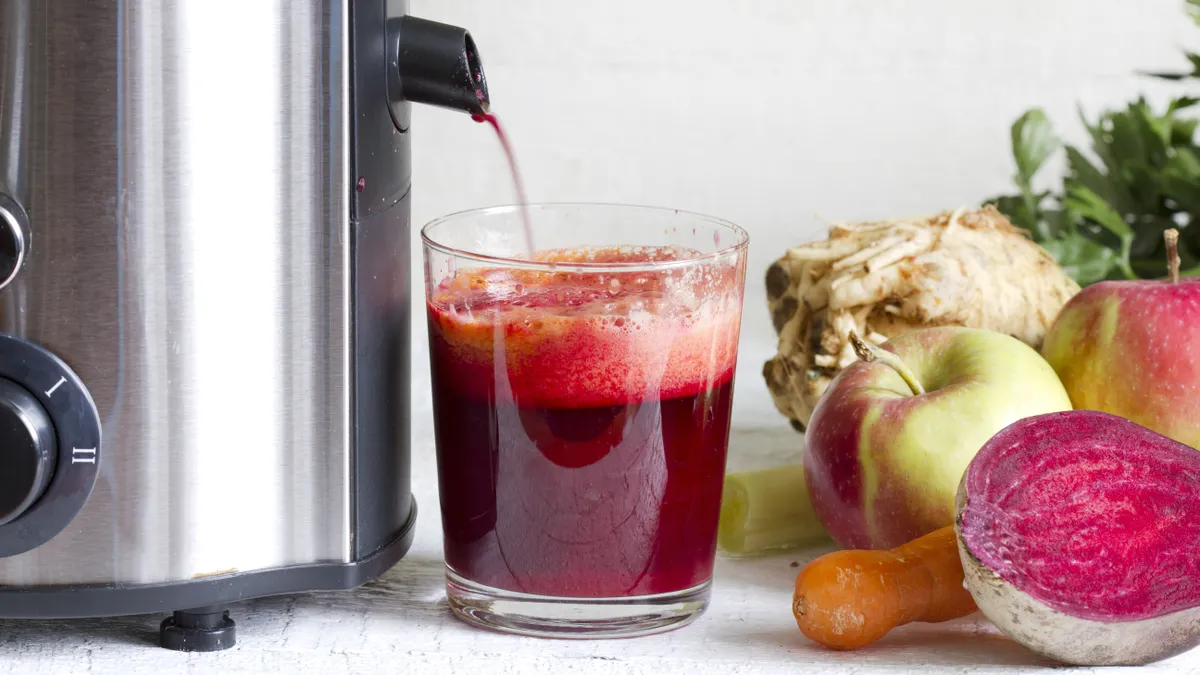
You’ve bought one of the best juicers and whipped up several refreshing juices for friends and family, but now it’s time to clean your kitchen appliance. So where do you start? We admit cleaning these kitchen appliances thoroughly can seem like a daunting task, but it’s important to know how to clean your juicer, for your own health as well as so it continues to perform well.
According to the Food and Drug Administration, when fruits and vegetables are used in a juicer, bacteria from the outside of the produce can be transferred into your drink. While washing the fresh produce before you start juicing, and washing your hands before and after preparing the fruit and vegetables, is a must - thoroughly cleaning your juicer after use can also help reduce the spread of any bacteria.
Even the freshest fruits and vegetables can go moldy in your fridge if left for too long, so don’t leave remnants in your juicer or you’ll end up scooping out a pile of stinky moldy fruit next time you want to use it, and let’s face it, nobody wants that job.
How to clean a juicer
Juicers have lots of parts, so it’s important to fully disassemble all of the components involved in the juicing process - although if you have a centrifugal juicer, be careful as they have sharp blades for cutting up fruit and vegetables.
If you plan on throwing it all in a dishwasher, check your user manual first, not all juicers come with parts that can be cleaned in the dishwasher. Always fully inspect mesh strainers when you remove them from your dishwasher to check that all the fruit and vegetable fibers have been completely removed.
If your juicer manual says the parts need to be washed by hand, fill a sink with warm soapy water and get to work. Lots of juicers come with a brush to help with the cleaning process, this is particularly useful for mesh strainers and filters because these are usually the parts that get most clogged so give them a good scrub, being careful not to damage them or bend them out of shape. A brush is also the safest way to clean and unclog sharp blades, it allows you keep your hands out of the danger zone.
For all other parts, clean with a soft cloth or sponge as best you can, you may have to run water through awkwardly shaped parts to rinse away any debris.
Be sure to rinse thoroughly so there’s no suds or soap left inside any of the parts, otherwise, next time you use it you might end up with juice that tastes of dish soap.
Want to get your hands on the best juicers right now? Check out these great deals for some of the best on the market.
If you’re not using the pulp for another recipe, empty it out into your compost bin or trash and wash out the container thoroughly. You might be using your juice jug to store fresh juice in the refrigerator, but once it’s empty, wash it thoroughly and put it back with the juicer so you’re not hunting for it next time you set the juicer up.
Finally, wipe over the base of the juicer to clean up any drips, so you’re not faced with a sticky mess next time you get it out of the cupboard. Use a soft cloth and never submerge this part in water.
It’s important to fully dry all of the parts before reassembling your juicer. If the juicer parts are difficult to dry or have sharp blades, leave them to air dry before reassembling.
How often should you clean a juicer?
There’s no gray area here, clean your juicer every time you’ve finished using it. You don’t need to clean it out when you switch from one type of fruit or vegetable to another – unless you really don’t want the flavors to mix. But you must give it a proper clean at the end of each juicing session and definitely before putting it away in a cupboard.
Life is busy, and there’s not always time to clean kitchen appliances every time after they’ve been used. So how should you tackle cleaning a juicer that’s been used and then left?
If it‘s been a few hours and the pulp and fibers inside the juicer have started to dry out, switch it on and slowly pour some water through the feed chute. If your juicer has a drip stop, which unsurprisingly, stops the juicer from dripping once the majority of the juice has been extracted, keep this closed initially to let some water build-up inside (but don’t exceed any maximum fill lines). This should loosen up anything that’s started to dry out. But if you’ve left it for much longer than a couple of hours and it’s very dry inside don’t switch it on, the parts may be stuck together, and switching it on could cause some damage.
Next, disassemble and soak all of the component parts in a sink full of warm soapy water for at least 15 minutes. You should then be able to clean everything using the directions above. But if there’s any tough residue or lingering smells, try making a paste with water and baking soda (bicarbonate of soda in the UK) use a soft brush to scrub the paste into any remaining grime or wipe the paste over any smelly parts and leave for 10 minutes before rinsing away.
If you don’t juice too often or you’re thinking about digging that long-lost juicer out of the back of the cupboard it’s a good idea to disassemble it first. Take it apart and inspect all of the internal parts to make sure no mold has grown inside while it's not been in use. Also, check for mold or mildew smells and if in doubt give it a thorough clean before you start using it again.
- Want to make your fries healthy? Then check out these great air fryer deals
