


Dropbox was among the first cloud storage solutions to hit the masses, and was born out of the idea that carrying a physical storage device (like a USB flash drive or external hard drive) was something that could be easily forgotten, thus the convenient online storage was born.
Dropbox went on to amass 10 million users in the space of about a year, leading up to its current user base of 700 million users. A decade and a half later, Dropbox has withstood several other rivals that have flooded in and remains one of the most popular cloud storage solutions, but if this is all new to you, you may be wondering where to start. This guide covers all of the basics, with a few handy tips incorporated along the way too.
- Read our full, in-depth Dropbox review to learn more about the platform
Dropbox: Pricing
Users can sign up for a free 2GB storage pot, though it makes do without some of the features that paid-for plans get in an effort to push users to part with their cash.
The next up is a 2TB plan which comes with a couple of additions, including up to three free monthly e-signatures. Pricing for this is $11.99/£9.99 per month, or $19.99/£16.99 when you choose to share that 2TB with a family of up to six users. A 3TB plan is also available for $31.99/£19.99, along with a pair of business-oriented plans that require a minimum of three users.
Dropbox: How to sign up
Signing up for Dropbox should be a simple process however you choose to do it. Many will prefer the customization that comes with setting up an account from scratch, which starts with the user sharing their first name, surname, email address, and setting a password. This allows them to choose their own login credentials and store them in a password manager.
They’ll then get an email to verify their email address, and will automatically be put on the 2GB free plan. From here, users can choose to upgrade to any of the other plans, which are also available at a discounted rate when paid for on an annual basis.
Other users may prefer the convenience that comes with social sign-in options: either Google or Apple. No Facebook-aided logins here. This saves the hassle of needing to remember (or save) yet another password.
Dropbox: How to use it online

Navigating
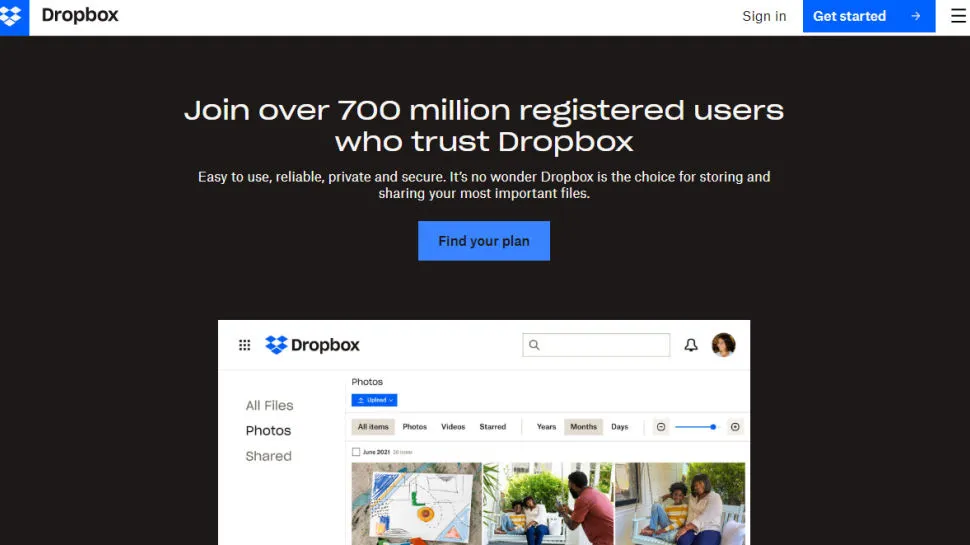
Navigating the online portal is fairly easy and things are logically laid out. ‘All files’ is where you’ll see the files and folders that you’ve set up, much like you would in Windows File Explorer or Finder.
You’ve also got a few shortcuts to ‘Recents’, and ‘Starred’ work that you’ve favorited in order to be able to resurface easily at a later date. Other commonly used shortcuts are ‘Photos’, ‘Signatures’ (which only come as part of some of the paid plans), and ‘Shared’.
The ‘Deleted files’ tab is where you’ll find work that you’ve deleted; it will stay here for a set number of days (depending on your plan, but at least 30 days), in case you need to recover it.
Uploading and creating new content
Uploading is extremely easy and starts with clicking the blue ‘Upload’ button. From here, you can choose to upload individual files or an entire folder, which is great if you want to copy entire folders from your computer to save some local hard drive space.
You can also add folders from the ‘Create’ menu to organize your online space, along with other types of documents using either Google Docs/Slides/Sheets, Microsoft Word/PowerPoint/Excel, or Dropbox’s own word processing app, Paper.
Downloading existing content
Whether you want to download a file you’ve uploaded so you can open it in a dedicated app, for example Photoshop, or you want to save a piece of work somebody else has shared with you to your computer, the process is the same.
It starts with ticking the box beside the file name; you can tick as many as you want in one go to download en masse. You’ll then be able to select ‘Download’ from the menu across the top.
Sharing content
Make sure that the file you want is selected by clicking the box just as you would to download, but then click the three dots that signify a hidden menu. Here, you can choose to share the file or folder, among a number of other functions.
Dropbox: How to use it on Windows or Mac

If you’re a regular user, you’ll likely benefit from installing the desktop client which saves you from needing to log in to the website every time.
It’s important to note that any changes you make in here will be reflected in all other instances of Dropbox. If you delete a file from your desktop client, it will be gone from everywhere (though you will be able to find it in ‘Deleted’ for a short while). Similarly, new files will appear everywhere.
Once you’ve installed it, which is as easy as downloading the software from the Dropbox website, following the on-screen setup instructions, and logging in, it’ll work just the same as your regular file viewer would.
Upon right-clicking a file or folder, you’ll see a set of options that wouldn’t ordinarily be there had you not installed Dropbox: they are Dropbox-specific and allow you to handle things like sharing. However, most of the options will direct you to the browser portal, which is a shame given that some cloud drives can handle everything straight from their respective desktop clients.
The desktop client is especially useful if you work in unsupported apps like Photoshop because you won’t need to download the file from the browser portal/ Instead, you can just open the file from your desktop, make the changes, and save it - Dropbox will handle the syncing so that the changes are reflected everywhere.
Dropbox: How to use it on Android and iOS

Dropbox has its own mobile apps, so iOS and Android users are well-catered for. Besides slight design differences between the two operating systems, the experience will be largely the same.
Most of the work you’re likely to do will be carried out in the ‘Files’ tab, which presents itself logically just as it does online. You can also handle some account settings in the ‘Account’ tab, where you will find other options for things like restoring deleted files and enabling automatic camera uploads.
