The Raspberry Pi has taken the education and enthusiast-build worlds by storm. Its open-ended, low-cost design puts a £30, fully capable computer into the hands of anyone who wants one: just add a display, an SD card, a power supply and a keyboard to get going.
The latest addition released by the Raspberry Pi foundation is a camera module, designed to connect to the CSI bus, which is the dedicated camera ribbon connector closest to the Ethernet port.
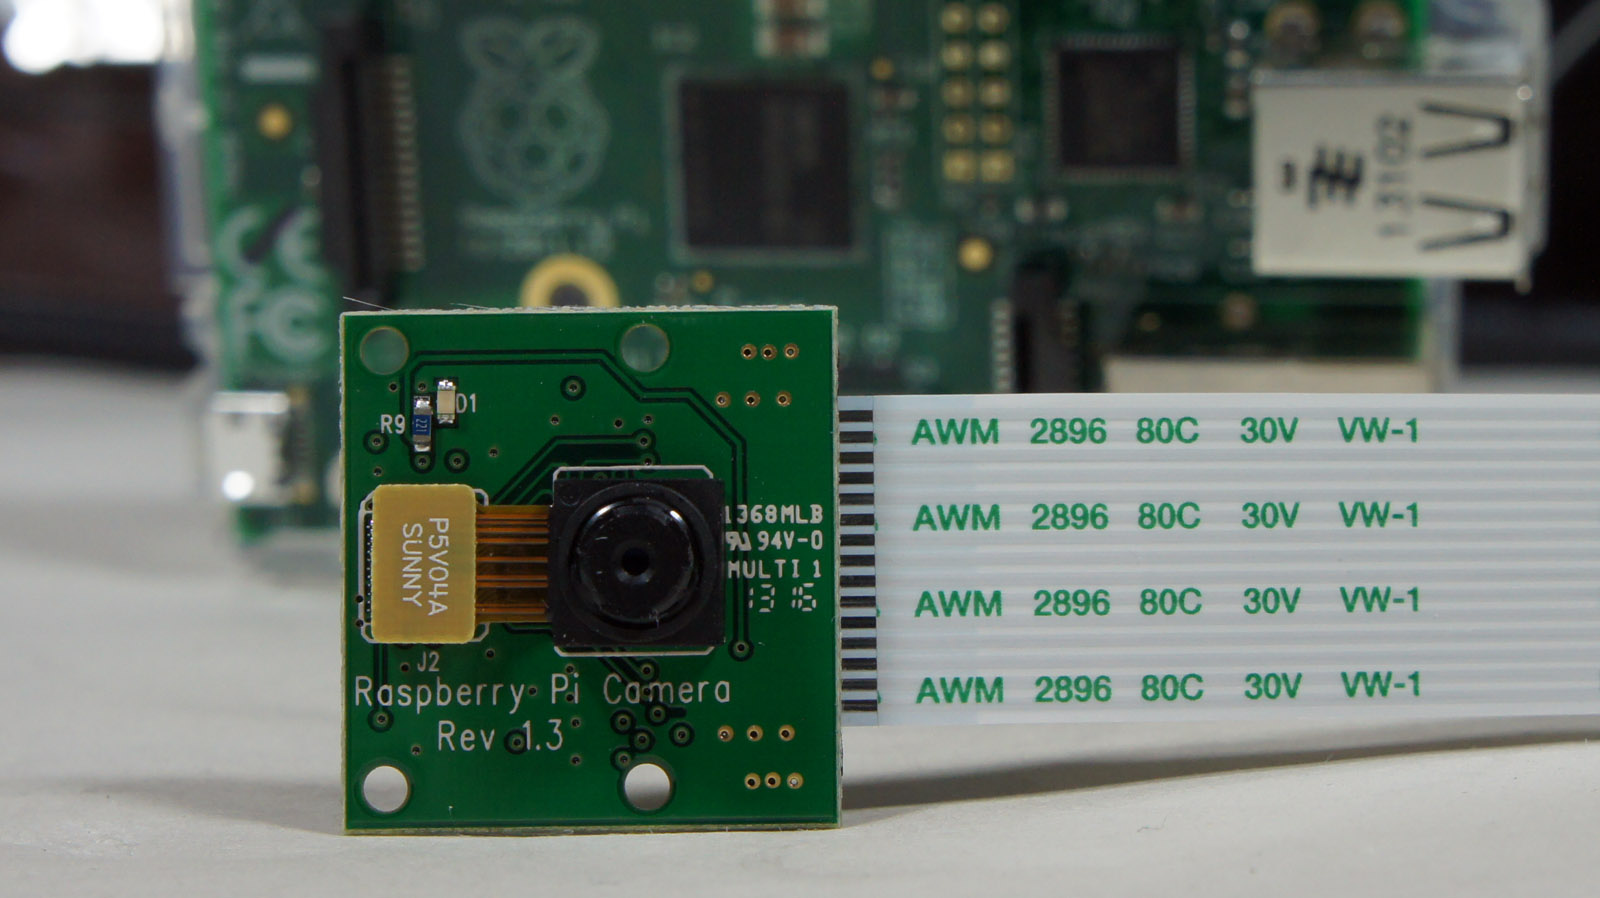
We're using the Element14-designed module - and the camera board itself is tiny. It measures just 25x20x9mm, weighs a teensy 3 grams and comes with a 15cm ribbon cable.
The sensor is 5MP, has a fixed-focus lens and produces 2592x1944-resolution still images. Video support is competent: 1080p at 30fps, 720p at 60fps and 640x480 at up to 90 fps. Full support has been added to the Raspbian OS, but we'll look at how to update that next.
Getting started with Raspberry Pi
Pi masters can jump ahead at this point - we're going to quickly take things from first principles on how to set up a Raspberry Pi. (Luckily this is extremely straightforward.)
Take your SD card, download the NOOBS Zip file and extract it to the SD card - if needed, format your card using the official SD tool. Plug everything into the Raspberry Pi and boot with the SD card.
Choose to install the standard Raspbian 'Wheezy' OS, reboot and you're done. The default username and password are 'pi' and 'raspberry' respectively.
Sign up to the TechRadar Pro newsletter to get all the top news, opinion, features and guidance your business needs to succeed!
Say cheesy for Wheezy
Before moving on, you'll need an internet connection. The camera module requires the Raspian OS to be updated to the latest version, so it can install the driver and tools required. If that's not an issue, we can cover the hardware installation.
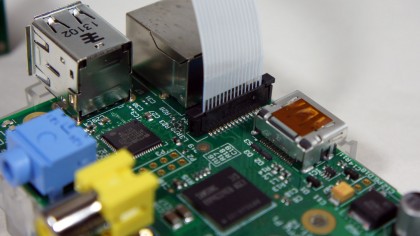
The dedicated camera bus is the ribbon connector closest to the Ethernet port. It's a zero insertion force (ZIF) design; pull up the two side clips to release the retaining bracket.
You need to place the ribbon with the conducting edge-connection pointing away from the Ethernet port and towards the power-connector end of the Pi. Hold the ribbon square in place and push the clips down to fix the ribbon in position.

Boot into the Raspbian OS. We first need to update the OS; to do this open the Terminal and type the two following lines, pressing return after each. These can take a good few minutes to complete, so make a cup of tea.
sudo apt-get update
sudo apt-get upgrade -y
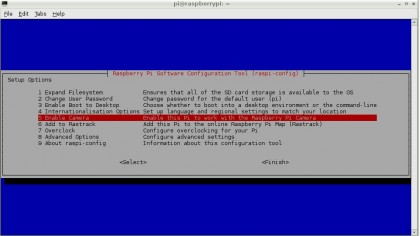
We now need to use the Raspberry Pi configuration tool check the GPU memory allocation, as it needs at least 128 as a buffer for all the video data that's about to pour into its brain. Along with actually activating the camera bus. In the terminal type:
sudo raspi-config
First select 'Advanced > Memory_split' - it should be set to 128 already, but if not, then make the change. The camera system seemed to work fine set to 16, but the recommendation is 128.
Finally, there's the Enable/Disable Camera support option: select this and choose Enable. Select Finish and choose to Reboot.

Taking photos with the Raspberry Pi
Two command-line tools are provided to access the camera module - these are raspivid and raspistill. Open a terminal and run either to see a list of available commands (or the original documentation is here).
The following are terminal commands and what they'll do, the default capture time is 5 seconds, use the -t control to specify a longer period in milliseconds, so -t 20000 for 20 seconds.
Display a five-second demo: raspivid -d
Display a 640x480 preview: raspivid -p 0,0,640,480
Capture 20s of h264 video: raspivid -t 20000 -o video.h264
Take a 640x480 shot: raspistill -o image.jpg -w 640 -h 480
Take a reduced quality JPEG: raspistill -o image.jpg -q 5
The camera offers a good range of image effects and general camera options, which can be applied live to both the still and video images. You're able to alter white balance modes, focusing metering, shot type, exposure, ISO levels and EXIF data.
It's all there to be experimented and played with - and one person has already turned their Pi to astronomy photography.
How to stream video with the Raspberry Pi

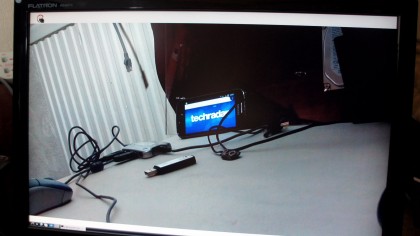
You can fire a video stream from the Raspberry Pi over your network, using the standard raspivid output piped through the general-purpose netcat network command. The terminal command line below will do just that:
raspivid -t 99999 -o - | nc [ip of target computer] 5001
If you're on a Linux system then this is easy enough to receive by running the following command:
nc -l 5001 | mplayer -fps 31 -cache 1024 -
On a Windows system you'll need to download the NetCat and Mplayer commands. We'd suggest extracting the Mplayer archive then, in the same folder as the Mplayer executable, add the NC.exe command (we'd recommend putting this on the desktop).
Open the Start Menu, type CMD and start the CMD.EXE. If you CD Desktop and CD to the mplayer folder, the following line should work:
nc -L -p 5001 | mplayer -fps 31 -cache 1024 -