The ultimate guide to modding Doom
A different kind of Daemon Tools
Sign up for breaking news, reviews, opinion, top tech deals, and more.
You are now subscribed
Your newsletter sign-up was successful
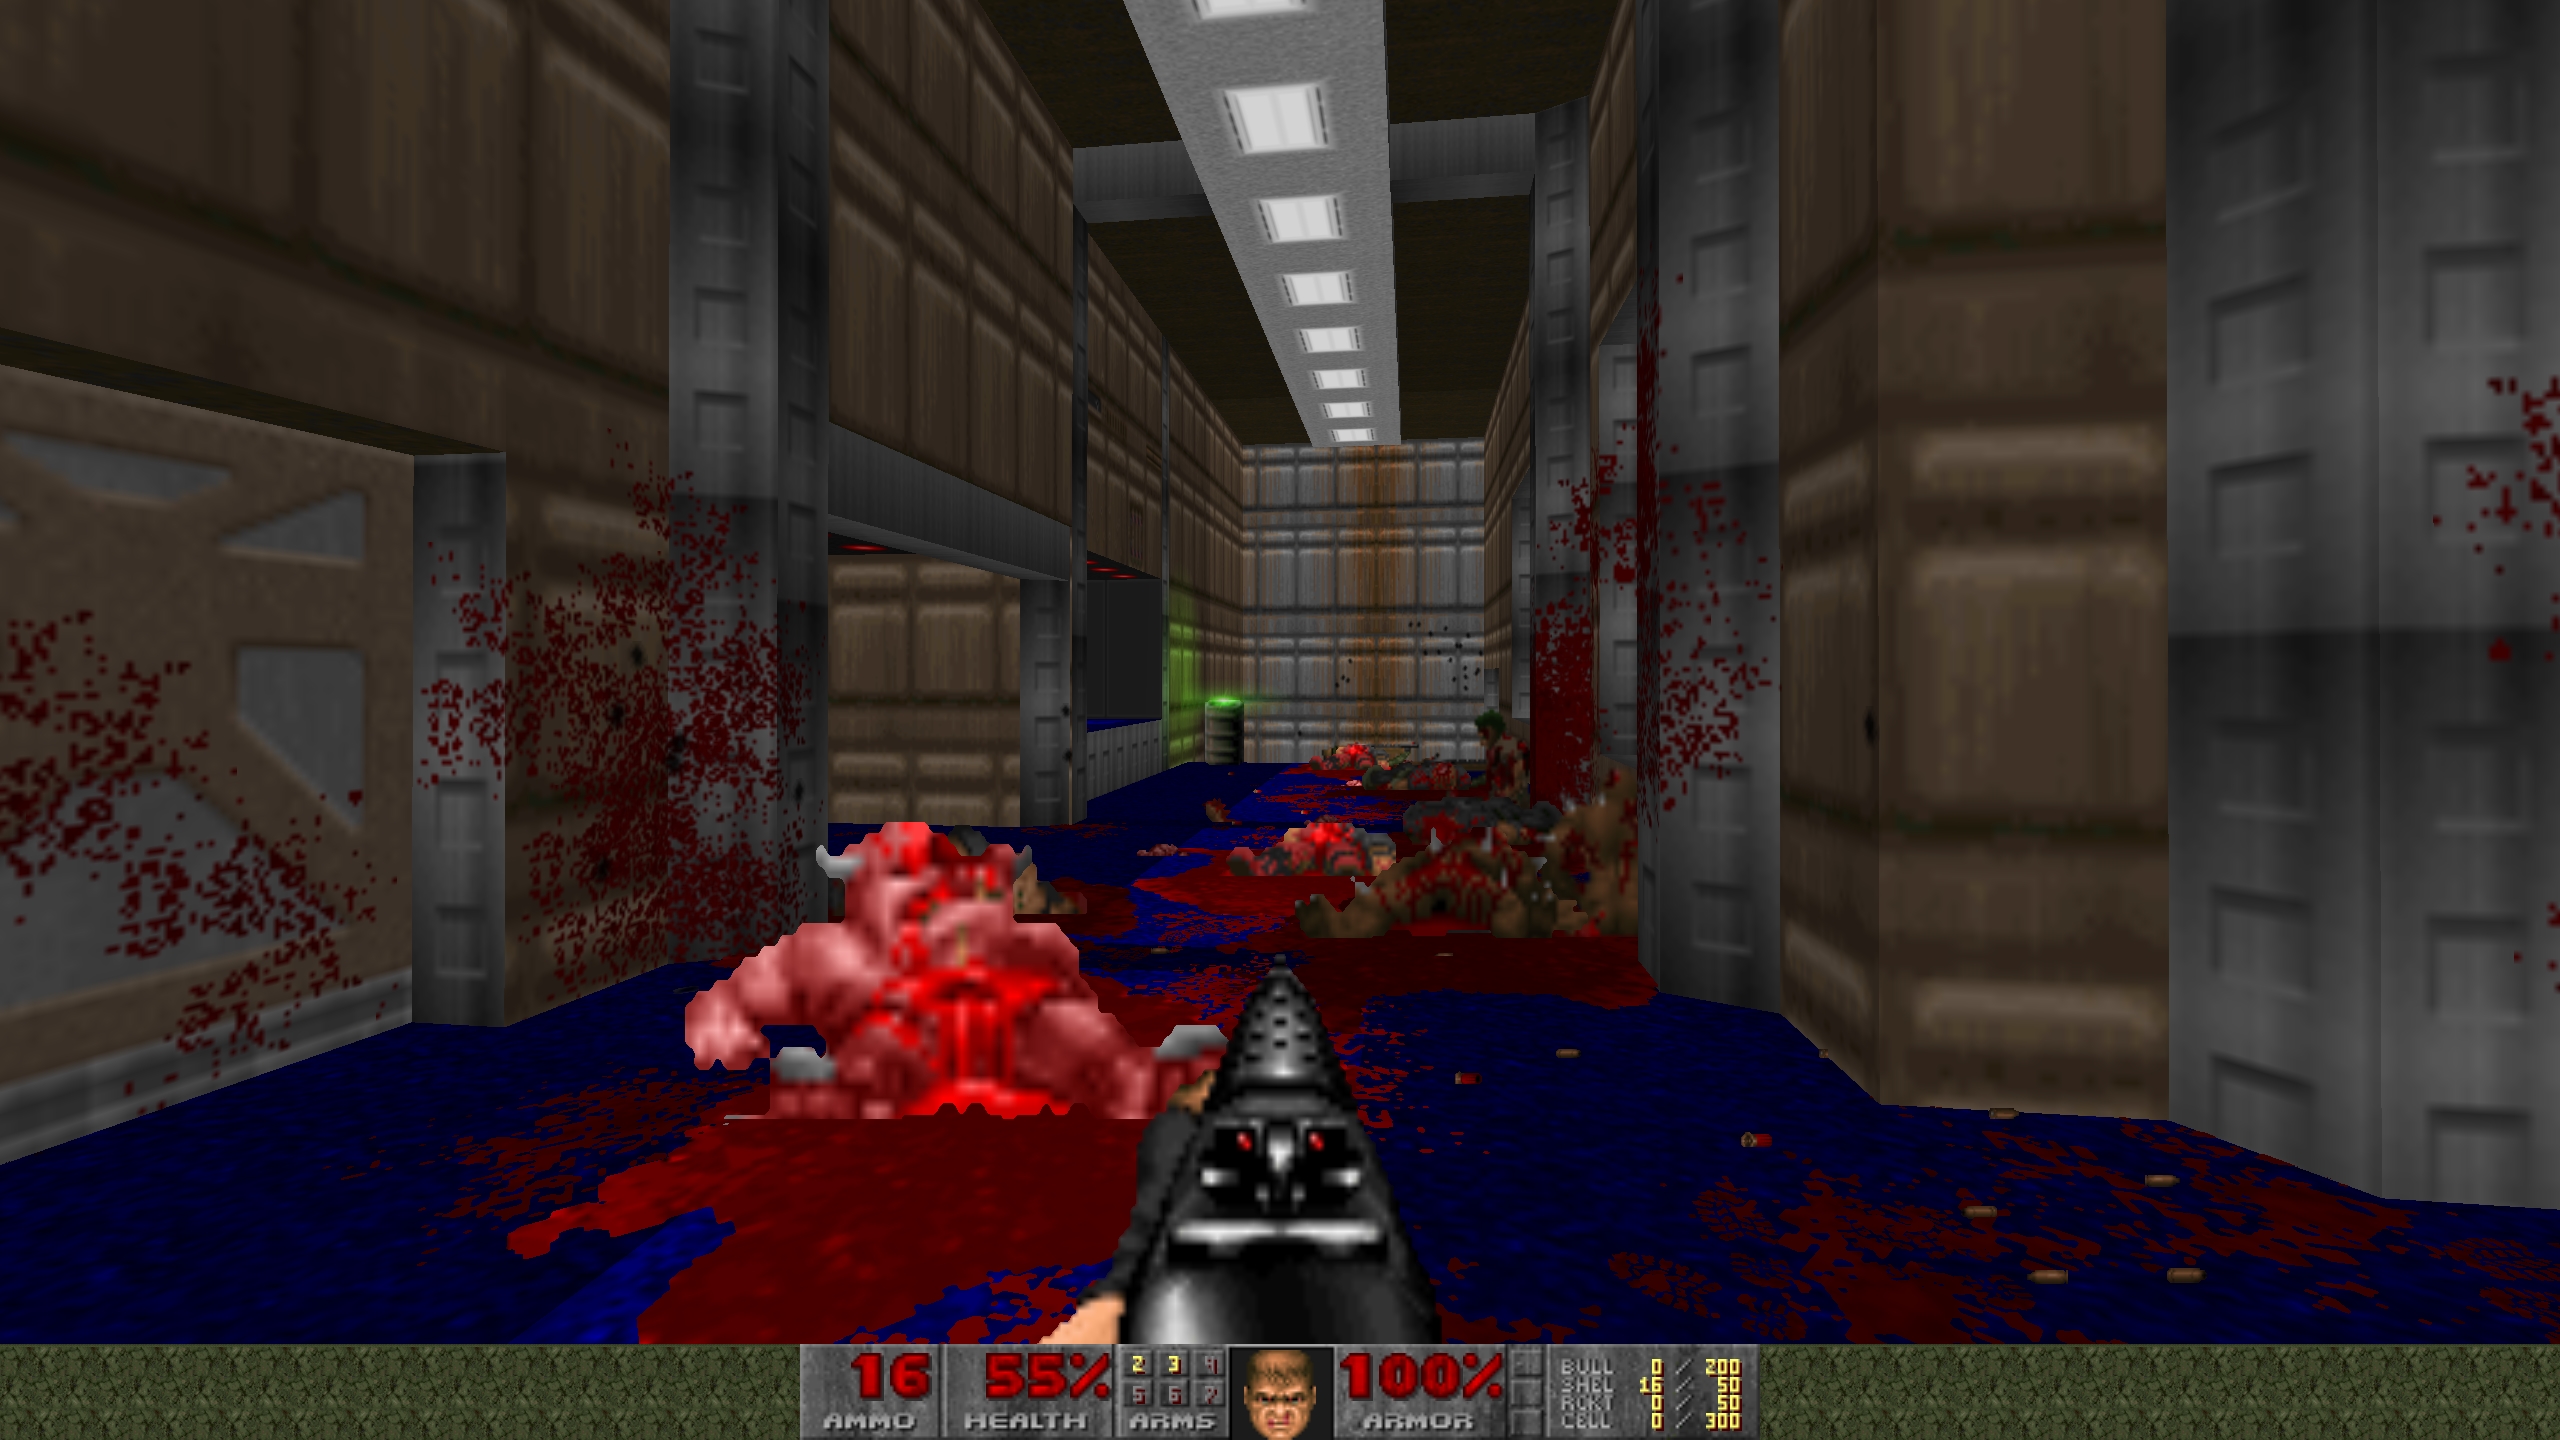
Celebrating the anniversary of a game well into its double figures is often a retrospective; looking back at a long-gone relic that has influenced gaming in one way or another. But what’s curious about id Software’s grungy first-person shooter Doom, which turns 25 this week, is that it’s still very much alive, ever-burning as relentlessly as hell itself.
Apart from its gratifying gunplay, the reason the original Doom has survived this long is the modding community, which has been twiddling with the Doom source code ever since it was made publicly available in 1997.
From cyberpunk dystopias to super-modern, ultra-gory overhauls, we’ve listed our favourite Doom mods here. But to get in on the carnage, you’ll need to know how to mod Doom, so we’ve created this guide to give you all the tools you need to play Doom mods, combine mods together, and supercharge the game for modern machines.
Note that you’ll need to own Doom to mod it. In the install directory, each of the original Doom games has a WAD file - an archive file containing vital game data like monsters, sounds, levels and textures - which is required for the mods to work.
Which open-source Doom port to use
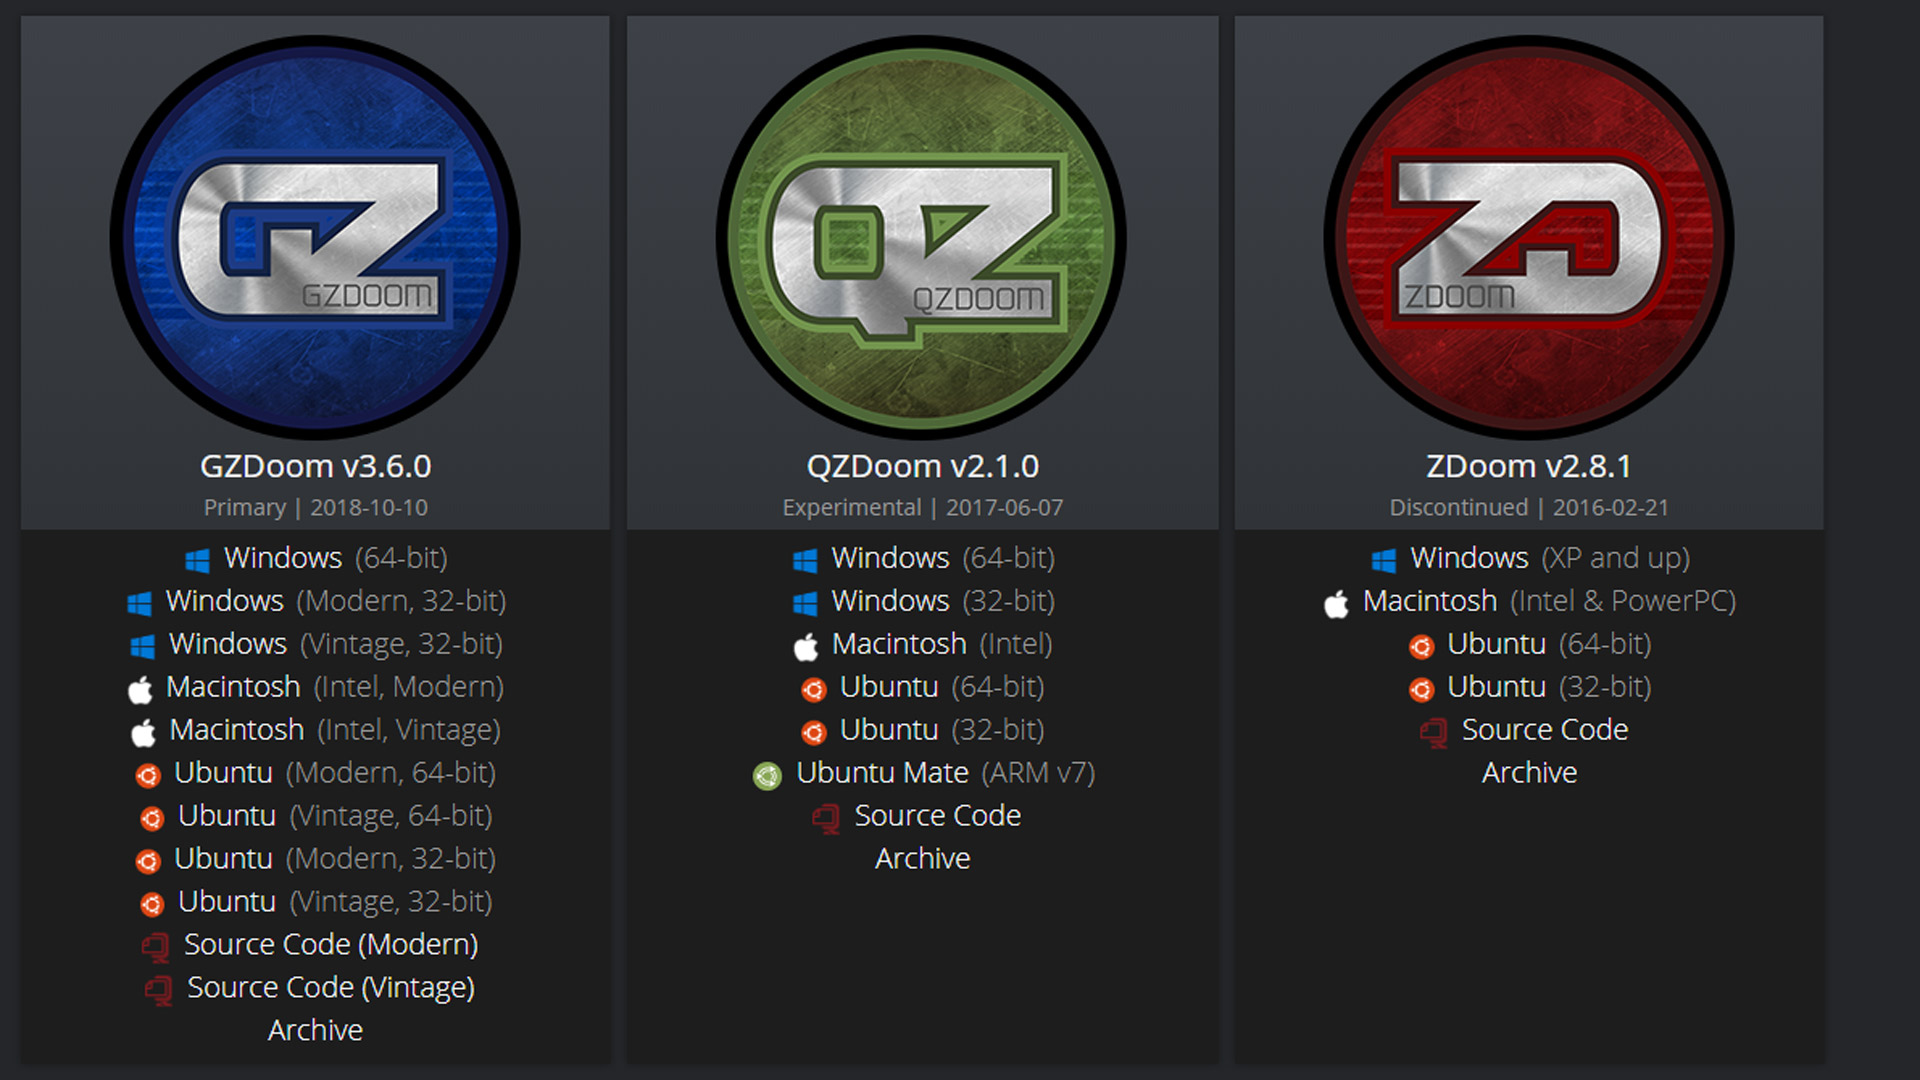
If you’ve at least dipped your toes into the underworld of Doom modding, you may have heard terms like GZDoom, ZDoom crop up. These are source ports of the original Doom engine, helping the game run seamlessly on modern computers.
Not only that, such source ports take advantage of modern gaming hardware and software to add things like dynamic lighting, full 3D mapping, mouse-look, widescreen resolutions, and all manner of technological bells and whistles.
You can use these source ports to play ultra-modernised versions of the base games, or to play the thousands of levels, overhauls and other mods that the community’s created over the years.
Sign up for breaking news, reviews, opinion, top tech deals, and more.
You’ll need an open-source Doom port to play mods, so which one should you pick?
ZDoom
The granddaddy of Doom (as well as Heretic and Hexen) open-source ports, ZDoom originally came out in 1998, and remained continually updated until 2016.
It took on many of the technical improvements of the Boom open-source port, adding a slew of new gameplay possibilities to Doom like jumping, swimming, mouse-look and crouching. It also made huge tech improvements to Doom’s engine, adding slopes, translucency and more 3D elements.
You can still download ZDoom, but it’s officially been discontinued and replaced by the technically superior GZDoom.
GZDoom
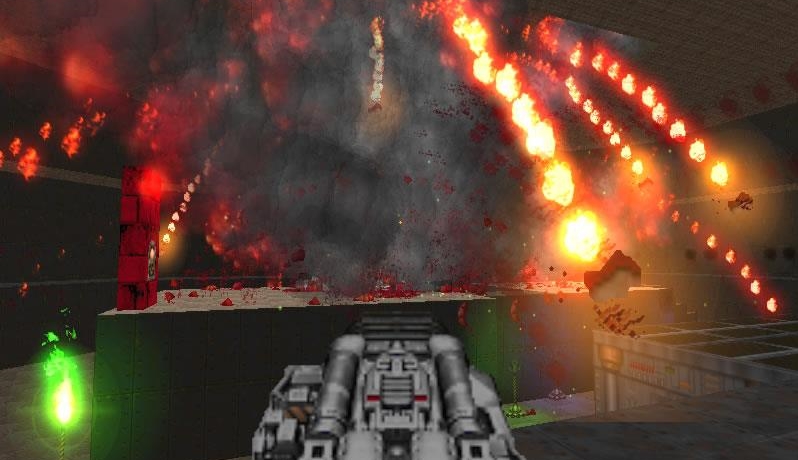
Development of GZDoom began in 2005, and it has now replaced ZDoom as the go-to open-source port for serious modders.
If you want to see what a fully modernised Doom looks like, you can do so with GZDoom, which features dynamic lighting, full 3D maps, reflective surfaces, and various filtering options to smooth out animations and textures. Much of this is thanks to the fact that GZDoom uses the OpenGL API, hugely expanding Doom’s technical possibilities.
The vast majority of Doom mods are compatible with GZDoom. It’s a prerequisite for modern, complex mods like Brutal Doom and Ashes 2063.
Alternatives
Beyond that, there are plenty of smaller source ports to play with. Zandronum is focused on multiplayer (replacing the now-defunct Skulltags) with support for up to 64 players and new game modes like Invasion, Capture the Flag and even a work-in-progress Battle Royale mode.
Chocolate Doom tries to keep the ‘pure’ Doom experience while ironing out bugs and making it run well on modern PCs, while Doom Legacy - though largely deprecated - supports splitscreen multiplayer.
You can use these source ports with older Doom WADs in much the same way as we’ll demonstrate with GZDoom, but don’t expect that same degree of compatibility, stability or sleekness.
How to install GZDoom
So, we’ll be focusing on setting you up with GZDoom. It’s by far the most polished source port out there, it’s compatible with the vast majority of mods, and Doom frankly looks and feels incredible when you use it.
First, download the latest version of GZDoom, then extract it to a folder of your choice.
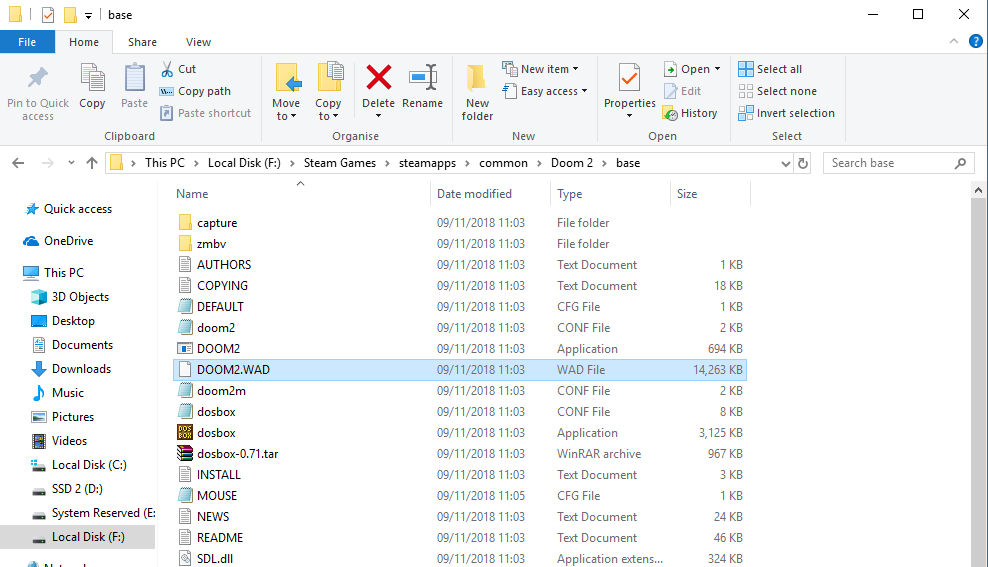
Next, use File Explorer to navigate to your install directory for Doom, Doom 2 and/or Final Doom, go into the ‘base’ folder, find the file DOOM.WAD or DOOM2.WAD (or PLUTONIA.WAD and TNT.WAD for Final Doom), and copy it into the GZDoom folder. These files contain all the important game data for their respective game.
Note that if you actually move the WAD file rather than copy it, the vanilla game will stop working, which may or may not matter to you. Once the WAD files are in the GZDoom folder (or folder for whichever source port you chose to use), you no longer need the base game and can uninstall it if you wish.
With all the WAD files in your GZDoom folder, you’re ready to run GZDoom. Go to the GZDoom folder and double-click ‘gzdoom’ to get it running (ignore the erroneous ‘Windows protected your PC’ warning by clicking ‘More info’ then ‘Run anyway’.
With GZDoom open, you should see a list of the Doom games whose WAD files you put in this folder. You can now jump straight in and play any of the original Doom games in their fully modernised glory.
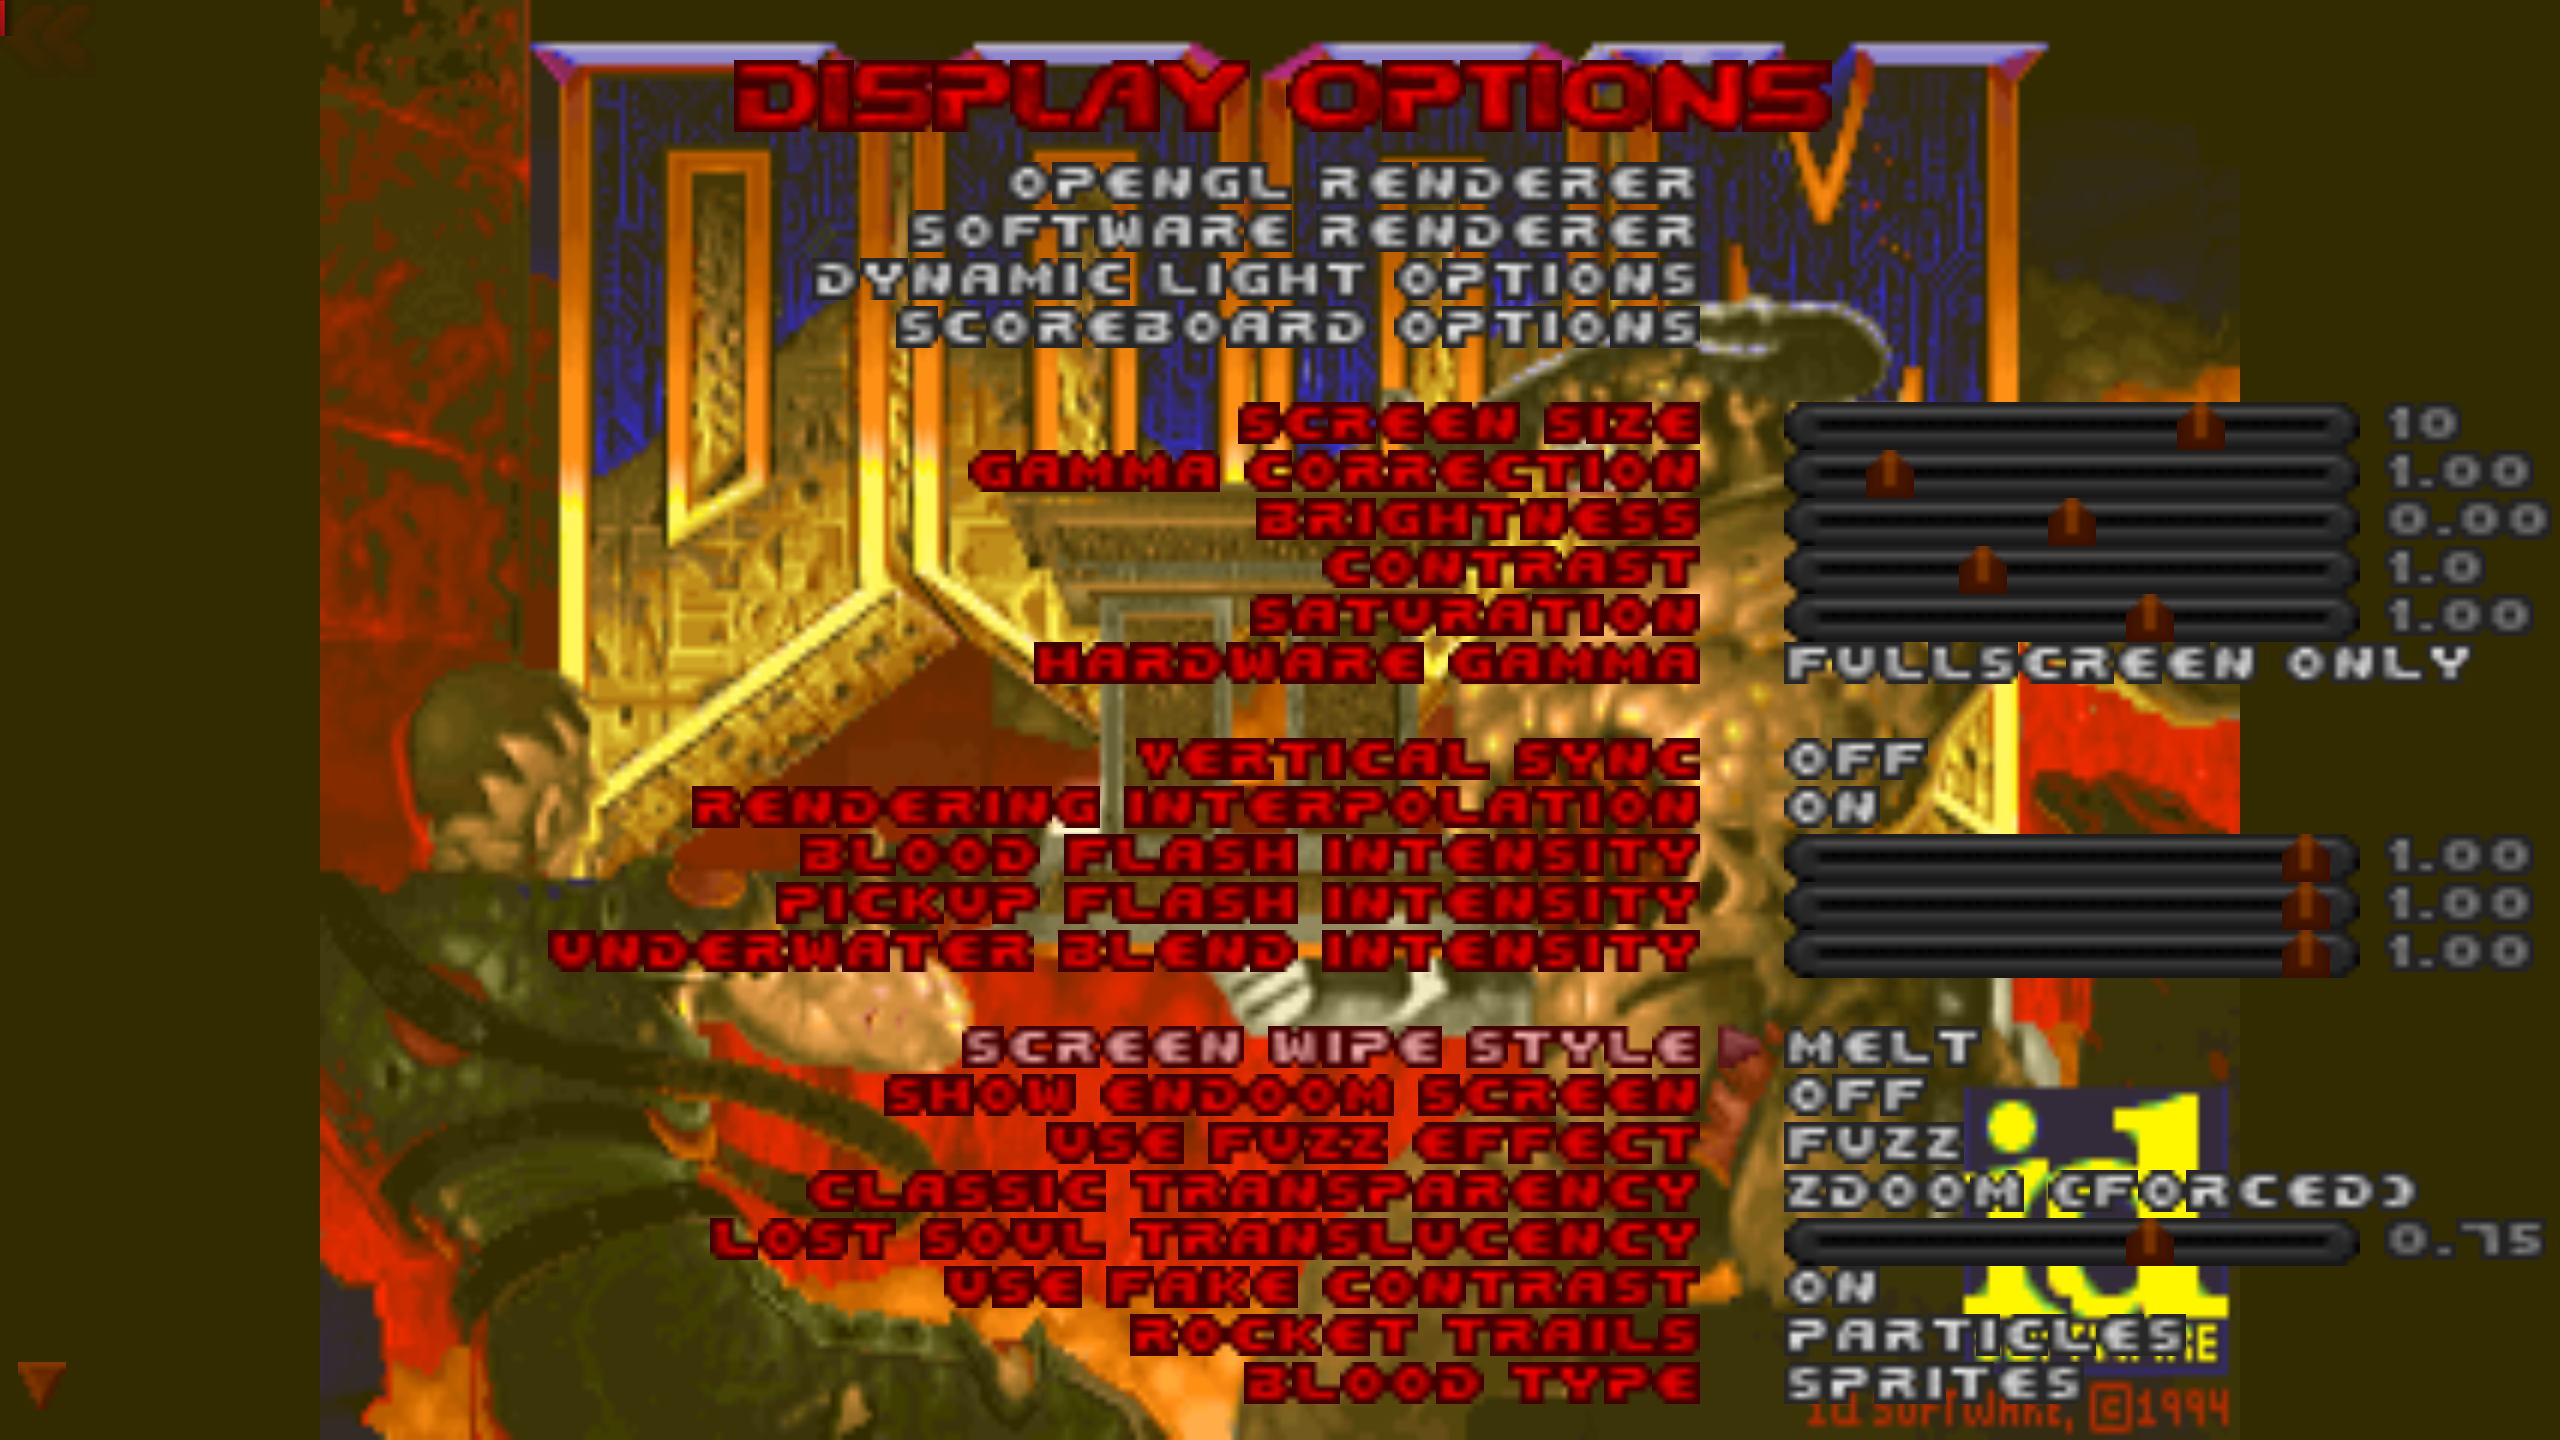
Tweak the Settings in GZDoom
To enjoy GZDoom’s myriad lighting enhancements, check the ‘Load lights’ and ‘Load brightmaps’ boxes before you start playing.
Once you open the Doom of your choice, it’s worth going to the in-game options to tweak the settings. There are countless settings you can play around with here, from adding fall damage to tweaking the UI and messing around with monster behaviour.
Go through the options and have a play, though below we’ve listed some basic changes that everyone should consider:
- Change keymappings to WSAD movement rather than the archaic arrow keys. Optionally, you can assign keys to Crouch and Jump too.
- Under ‘Mouse Options’, turn on ‘Always Mouselook’ for full 360 mouselook like you’d get in a modern shooter.
- Under ‘Set Video Mode’, make sure ‘Force Aspect Ratio’ is off, and under ‘Choose Resolution Preset’ select your display resolution. GZDoom can handle any resolution, which potentially means that 4K Doom is at your fingertips!
- We recommend the OpenGL-accelerated render mode. Some may consider it blurry but it does a great job of balancing lighting on levels, and making 3D surfaces and projectiles look nice and crisp.
The options you set here will carry across all the Doom IWADs you have in GZDoom, and into mods where possible.
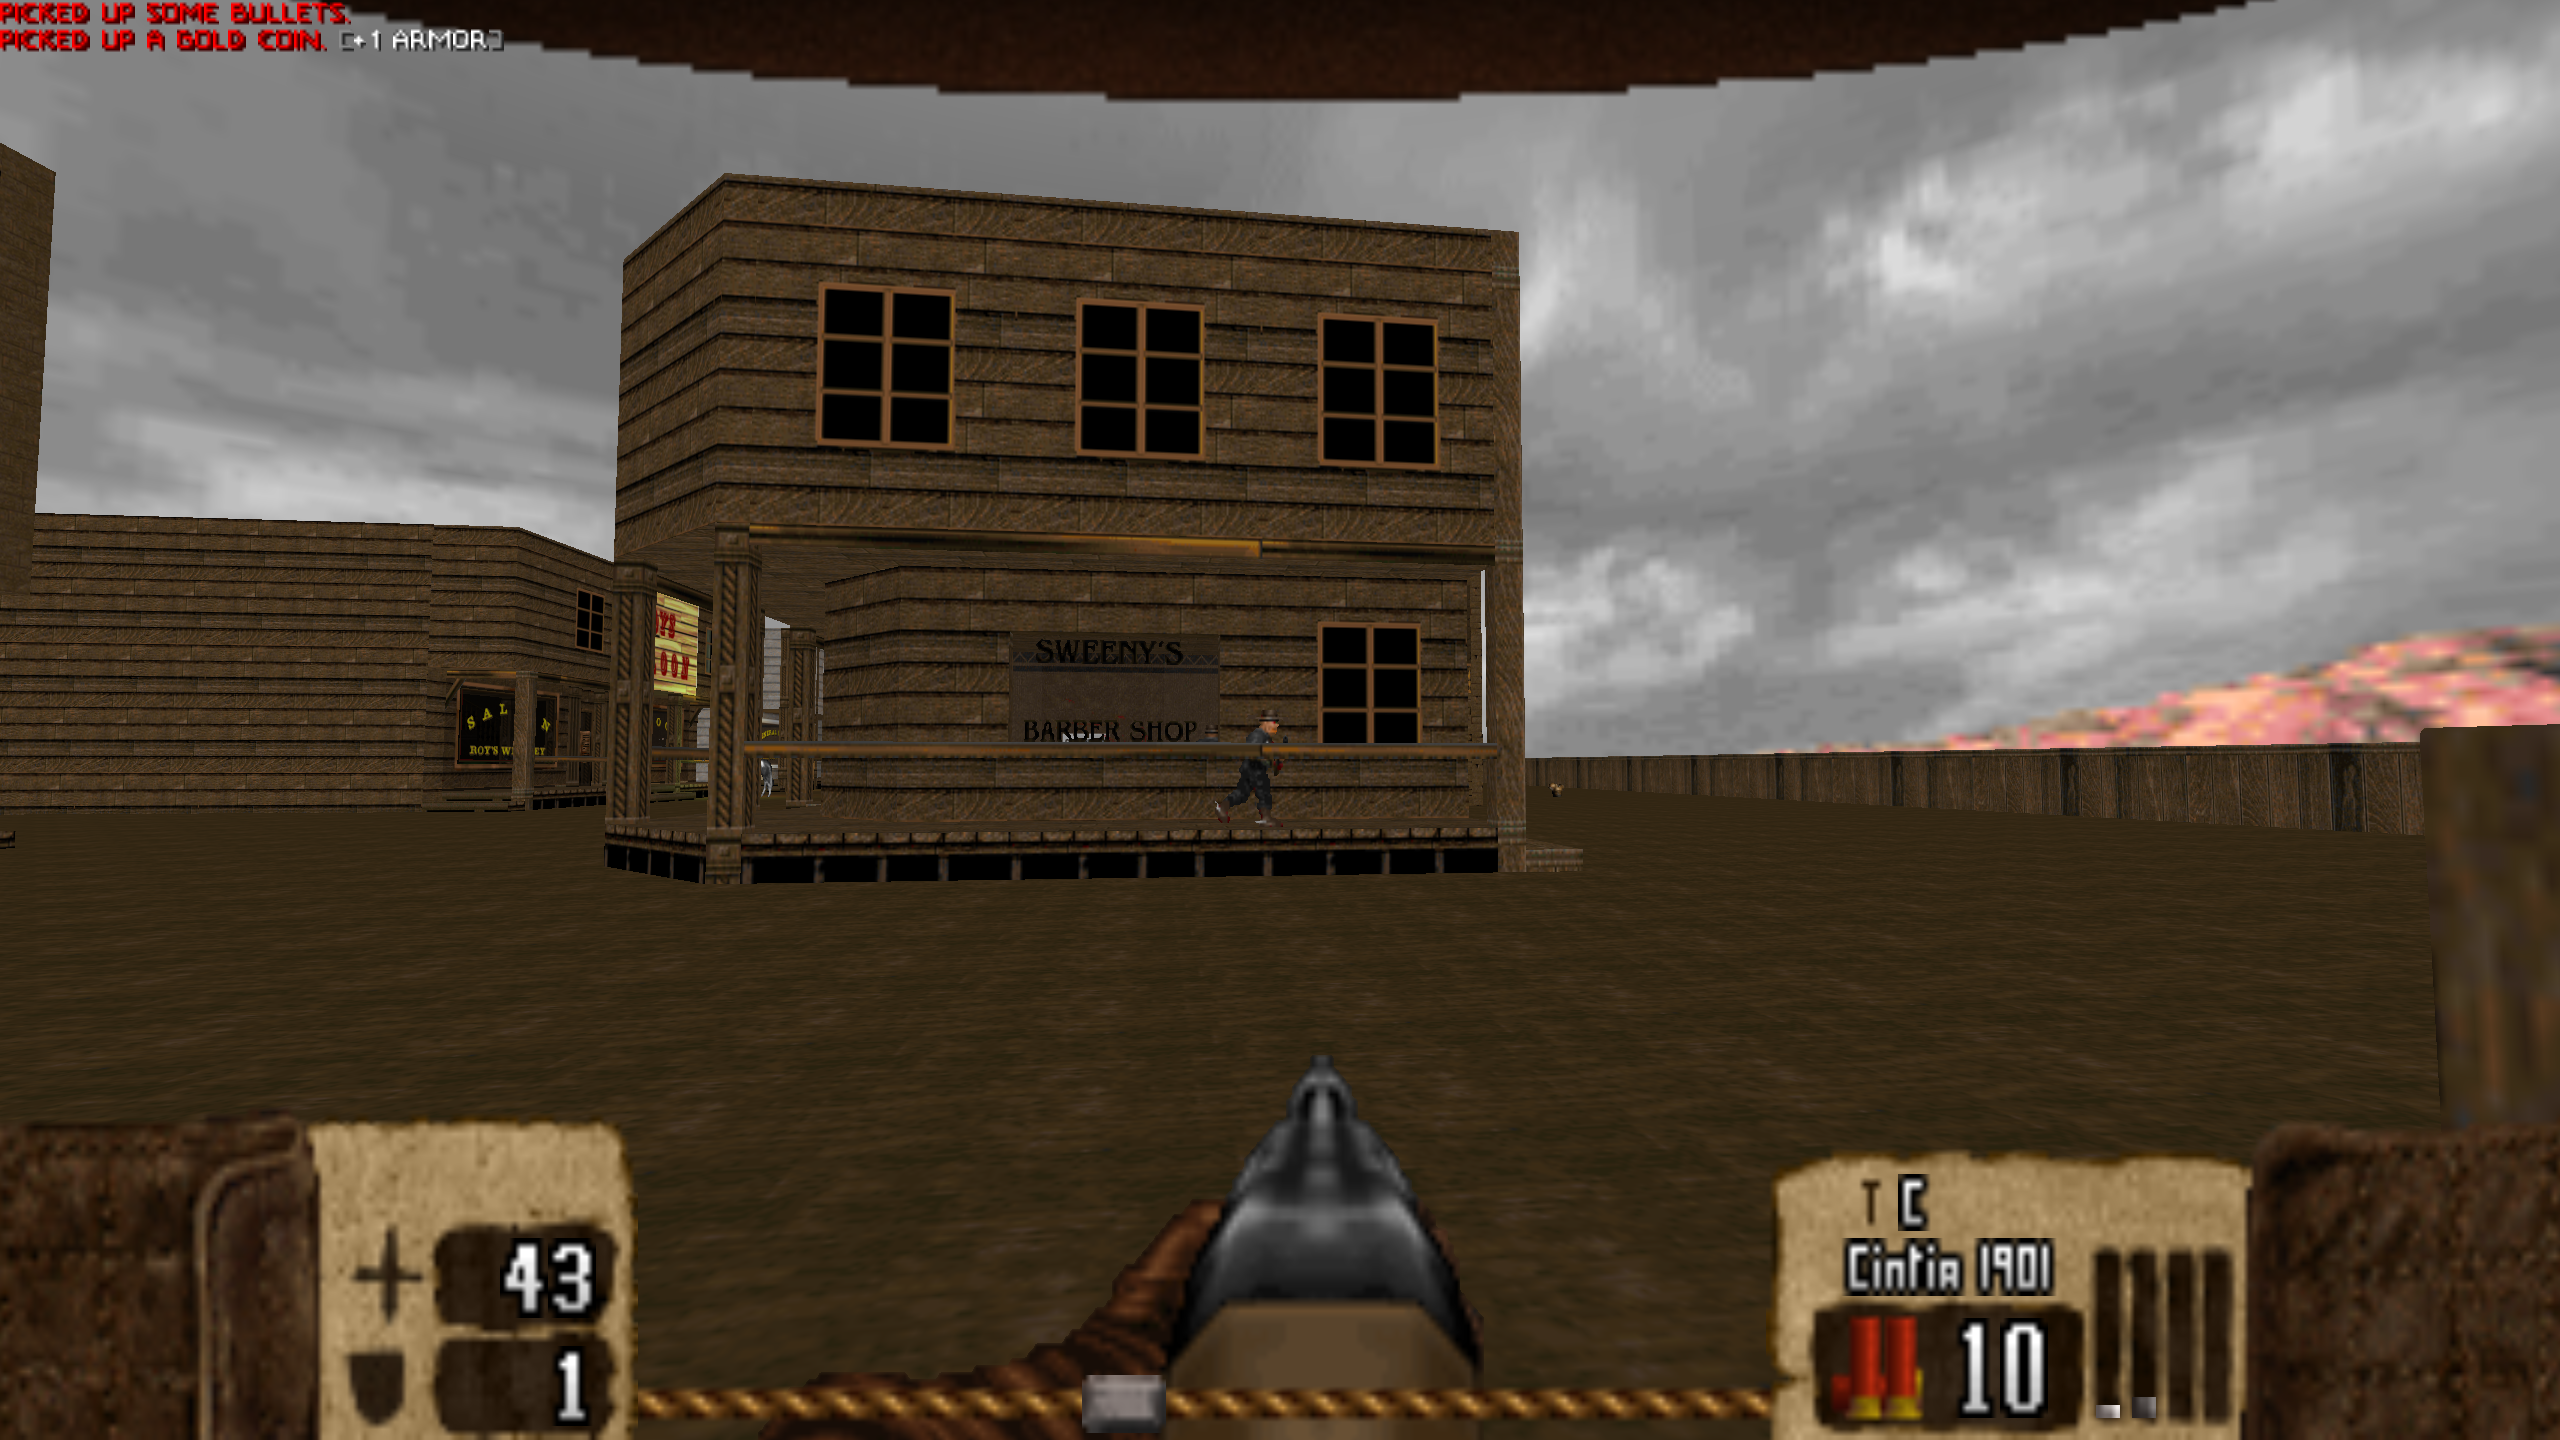
Play Mods through GZDoom
Now you’ve got all the base Dooms sleekly running in GZDoom, you’ll want to find the best mods and IWADs for Doom. So where do you start looking?
You can read our list of the best Doom mods and WADs for starters, or you can go to long-running websites like Doomworld’s Cacowards, where the site has been picking a Top 10 Doom mods each year since 2004.
Head over to Doomworld.com/idgames for what’s probably the most comprehensive and oldest directory of player-made Doom creations on the internet. Moddb.com is a great resource for more recent Doom and Doom II mods.
Doom mods come in two types of file formats - WAD and PK3. Whatever mod you download, you’ll need to drag and drop its PK3 or WAD file over gzdoom.exe to run it. This will open GZDoom, at which point you select which base Doom game you want to run it with.
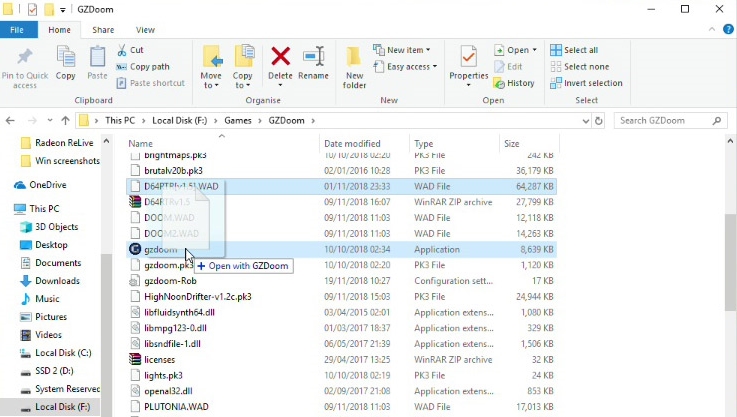
Some WADs, like John Romero’s 2016 replacement for E1M8 from Ultimate Doom, require a specific iteration of Doom to work (in the case of Romero’s level, you also then need to warp to the specified mission to actually play the new level).
Other mods, like the sensational Brutal Doom or High Noon Drifter are mechanical overhauls rather than new levels, and once you’ve drag-and-dropped their PK3 file over the GZDoom icon, you can pick any of the base Doom games to use these mods with.
Many of these larger mods have their own options that you can customise from within the game too.
Combining Doom WADS and mods
So now you know how to enjoy Doom WADs and mods in and of themselves, but what if you want to combine them (for example by playing John Romero’s recently-made level with all the glorious gore and gadgetry of Brutal Doom)?
To do this, you can use a tool called ZDL Launcher, which lets you run multiple WADS and PK3s together by giving them a load order.
Download the latest version of ZDL, and unzip it into a folder of your choice.
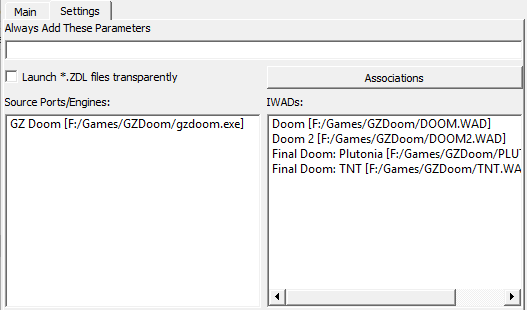
Open ZDL, click the Settings tab, then under the Source Ports box click Add. Navigate to your GZDoom directory and add the GZDoom executable (or any other source ports you’re using, for that matter).
Beneath the IWADs box on the right, click 'Add' then select the WADs for all your base Doom games (which should be in your GZDoom folder as per our earlier instructions).
Next, click the main tab in ZDL. You should see your the base Doom IWADs listed on the right, above which there’s a dropdown box marked ‘Source Port’. Select GZDoom (or another source port) in that dropdown list.
Beneath the 'External Files' box on the left, click 'Add' then add the WADs or PK3s you want to combine. We don’t recommend combining PK3s with each other, because these tend to be more complex packages and there’s a big likelihood that their files will clash, leading to bugginess when playing.
In the picture, you can see that we combined the Brutal Doom PK3 with Romero’s E1M8 WAD.
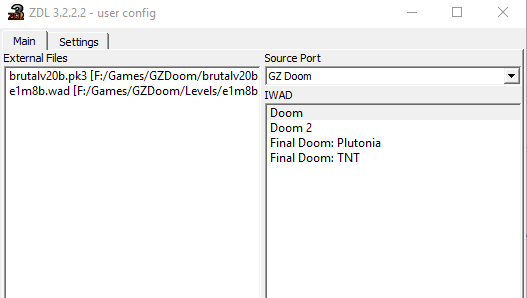
When your WAD combo is ready, select the base Doom IWAD you want to run it in on the right, then click 'Launch'.
Another thing worth considering is Doom Launcher, an elegant frontend that lets you quickly browse and play all your downloaded Doom WADs without having to drag-and-drop things around Windows each time. Happy modding!
Robert Zak is a freelance writer for Official Xbox Magazine, PC Gamer, TechRadar and more. He writes in print and digital publishing, specialising in video games. He has previous experience as editor and writer for tech sites/publications including AndroidPIT and ComputerActive! Magazine.
