Make your own poll platform with LimeSurvey
Create professional polls with this great open-source software

LimeSurvey is a fantastic open-source tool for creating polls, surveys, and online quizzes. It can be used as a simple or sophisticated solution to reach your audience. Surveys can be set to invitation-only and there are over 28 different types of questions such as multiple choice, free text, and select an image.
Businesses can benefit from target customer surveys, professional market research, and useful insights LimeSurvey creates from your survey statistics.
In this guide, we’ll show you how to install LimeSurvey on the popular web host Hostinger. It’s a top-rated web hosting provider with plans that start at just $1.99.
How to make your own poll platform with LimeSurvey: Preparation
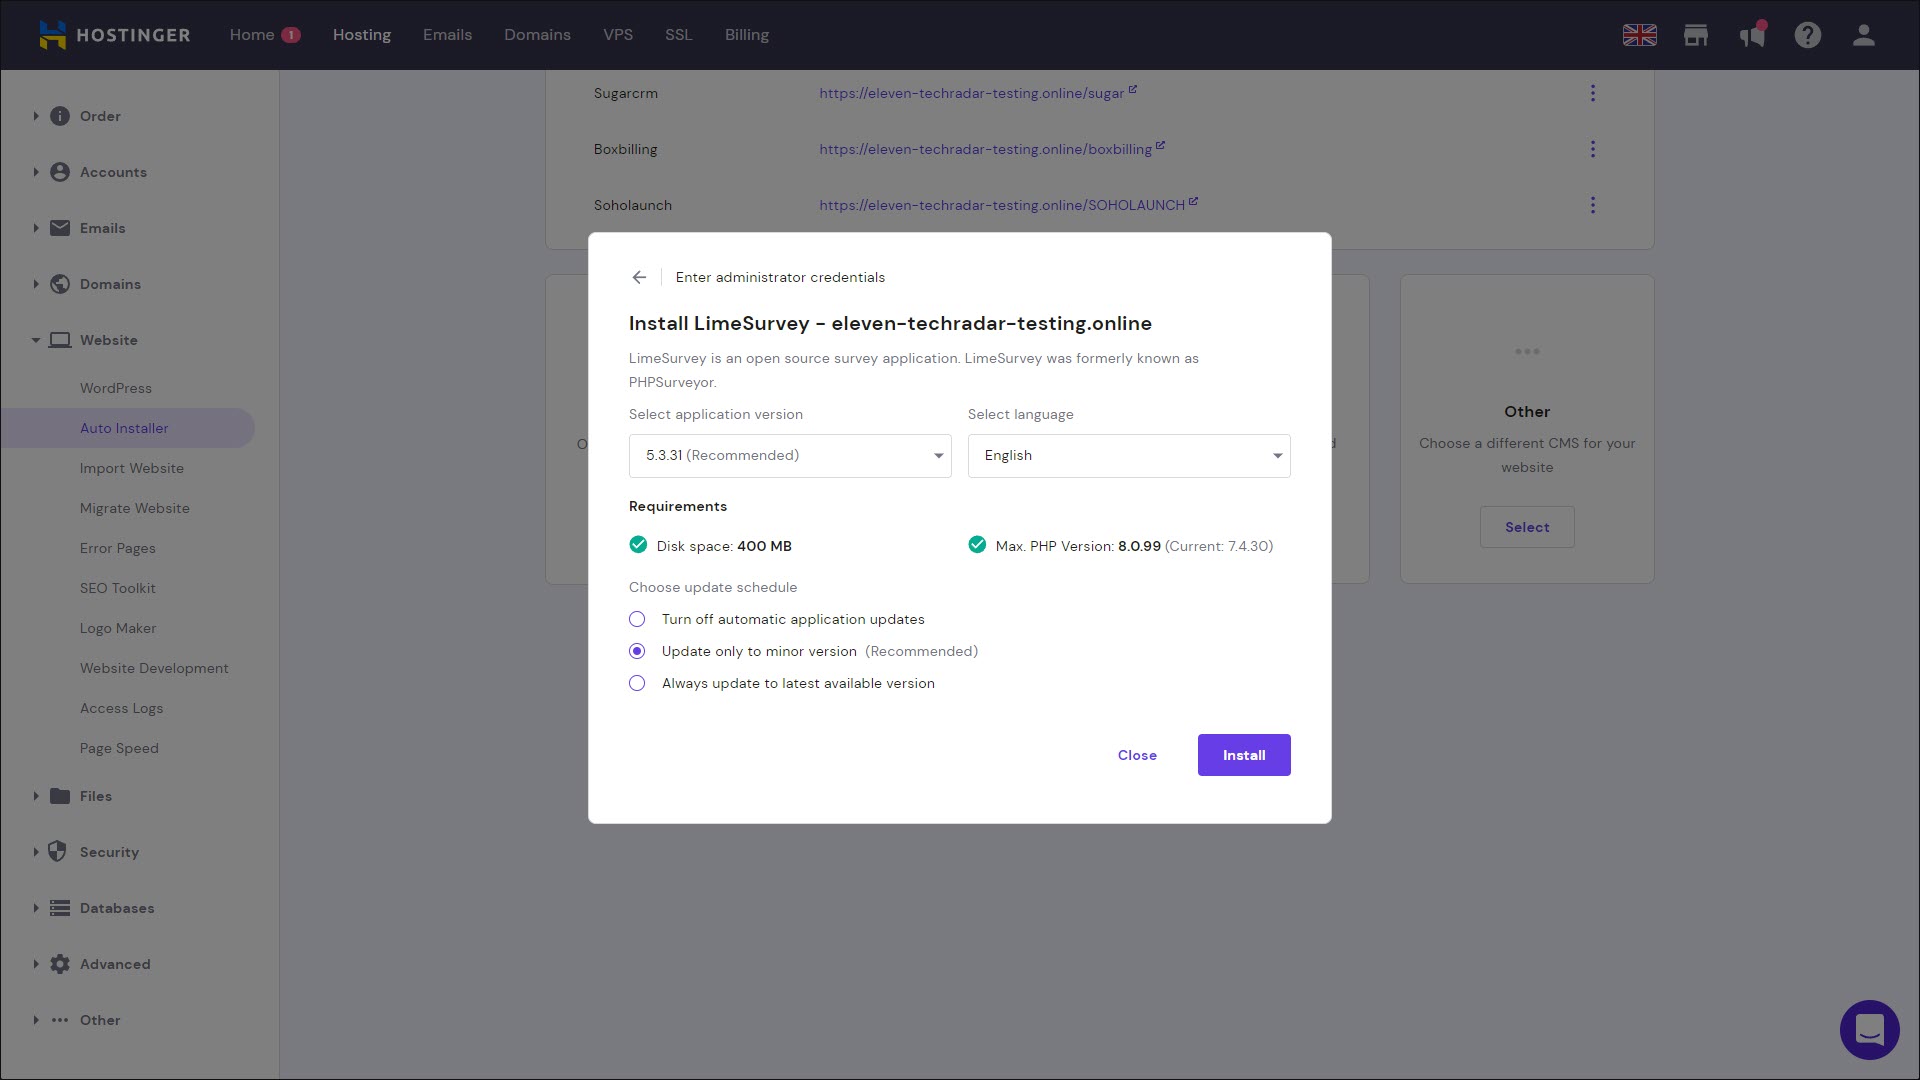
Hostinger, like many web hosts, makes the installation of LimeSurvey easy through the use of an auto-install wizard. To get LimeSurvey up and running, navigate to Auto Installer in the Hostinger admin panel. Select Other and choose LimeSurvey from the drop-down list.
The installer is a two-step process. For the first step, fill in basic details such as your new website name, folder, and admin login credentials. You can choose to install LimeSurvey to an existing database or create a new one. Generally, creating a new database is the best option as it keeps your LimeSurvey data separate from other applications.
For the second step of the wizard, you can choose to install an older version of LimeSurvey and decide whether the application should update automatically. Again, leaving these settings as default is usually fine.
Finally, click Install.
Sign up to the TechRadar Pro newsletter to get all the top news, opinion, features and guidance your business needs to succeed!
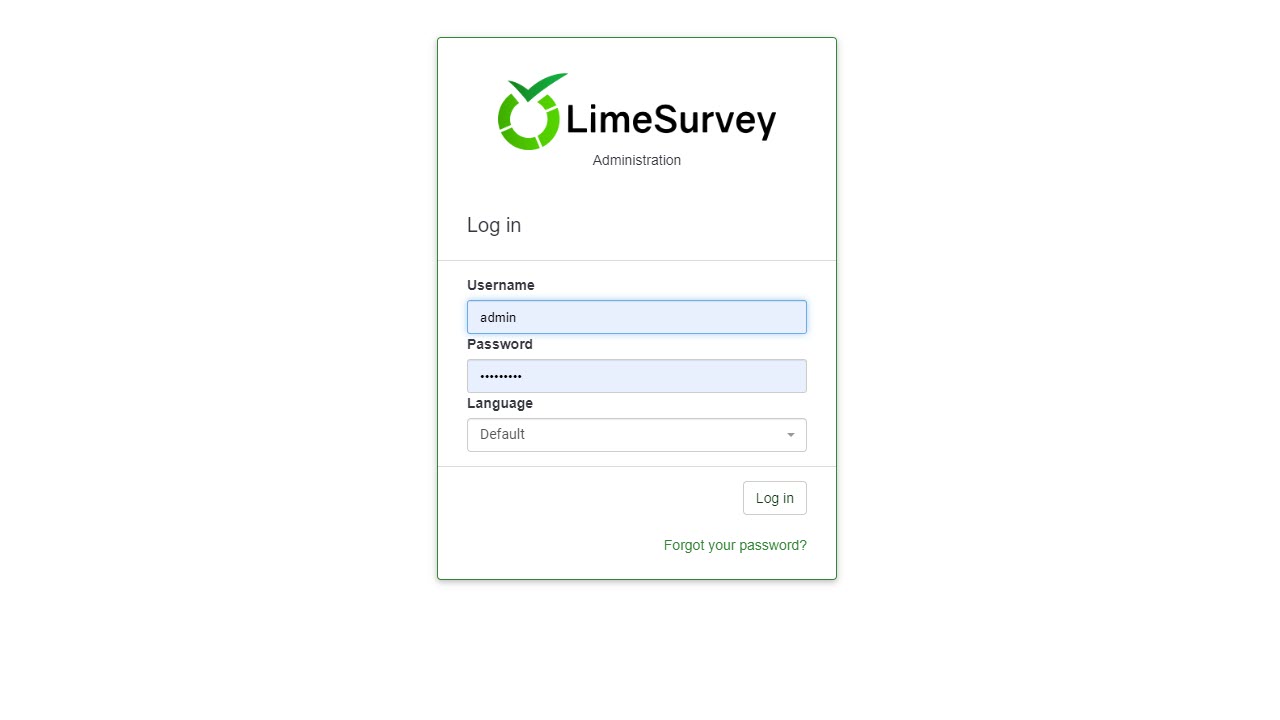
Step 1: Log in to LimeSurvey as an administrator
Now that LimeSurvey is installed, navigate to the Auto Installer page, right-click on LimeSurvey, and choose Manage. This will open the URL for the LimeSurvey administration panel. Enter the username and password you set up on the first step of the install wizard to log in.
Step 2: Add free text questions to your survey
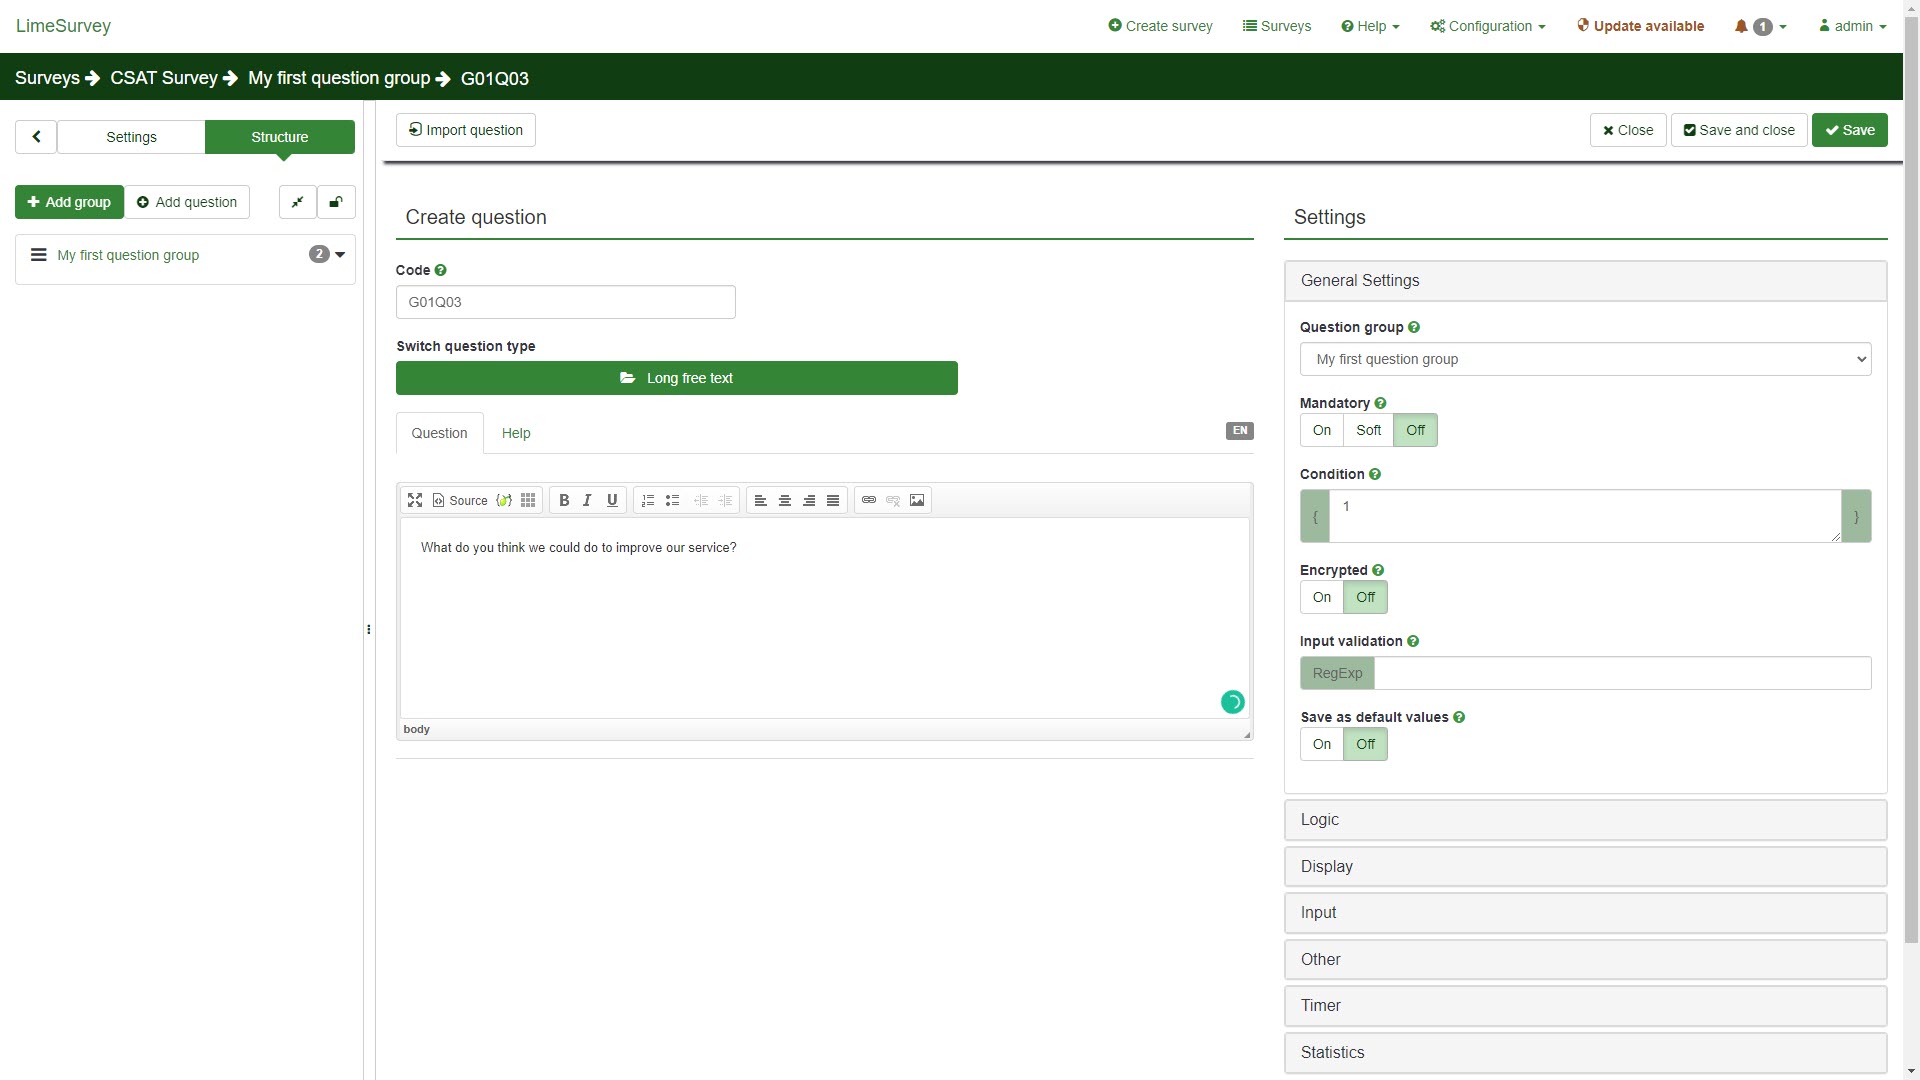
Choose Create survey to get started on your first survey. You’ll be asked for a survey title and base language. Your survey will be automatically populated with one question to get you started.
LimeSurvey has over 28 different types of questions you can create. To change between them, click on the button below Switch question type. Long free text is a simple question type that will ask the participant to enter a text response to a question.
Click Save on your question when you’re done editing it. You can click Preview question to see how your question will look to survey participants.
Step 3: Add multiple choice questions to your survey
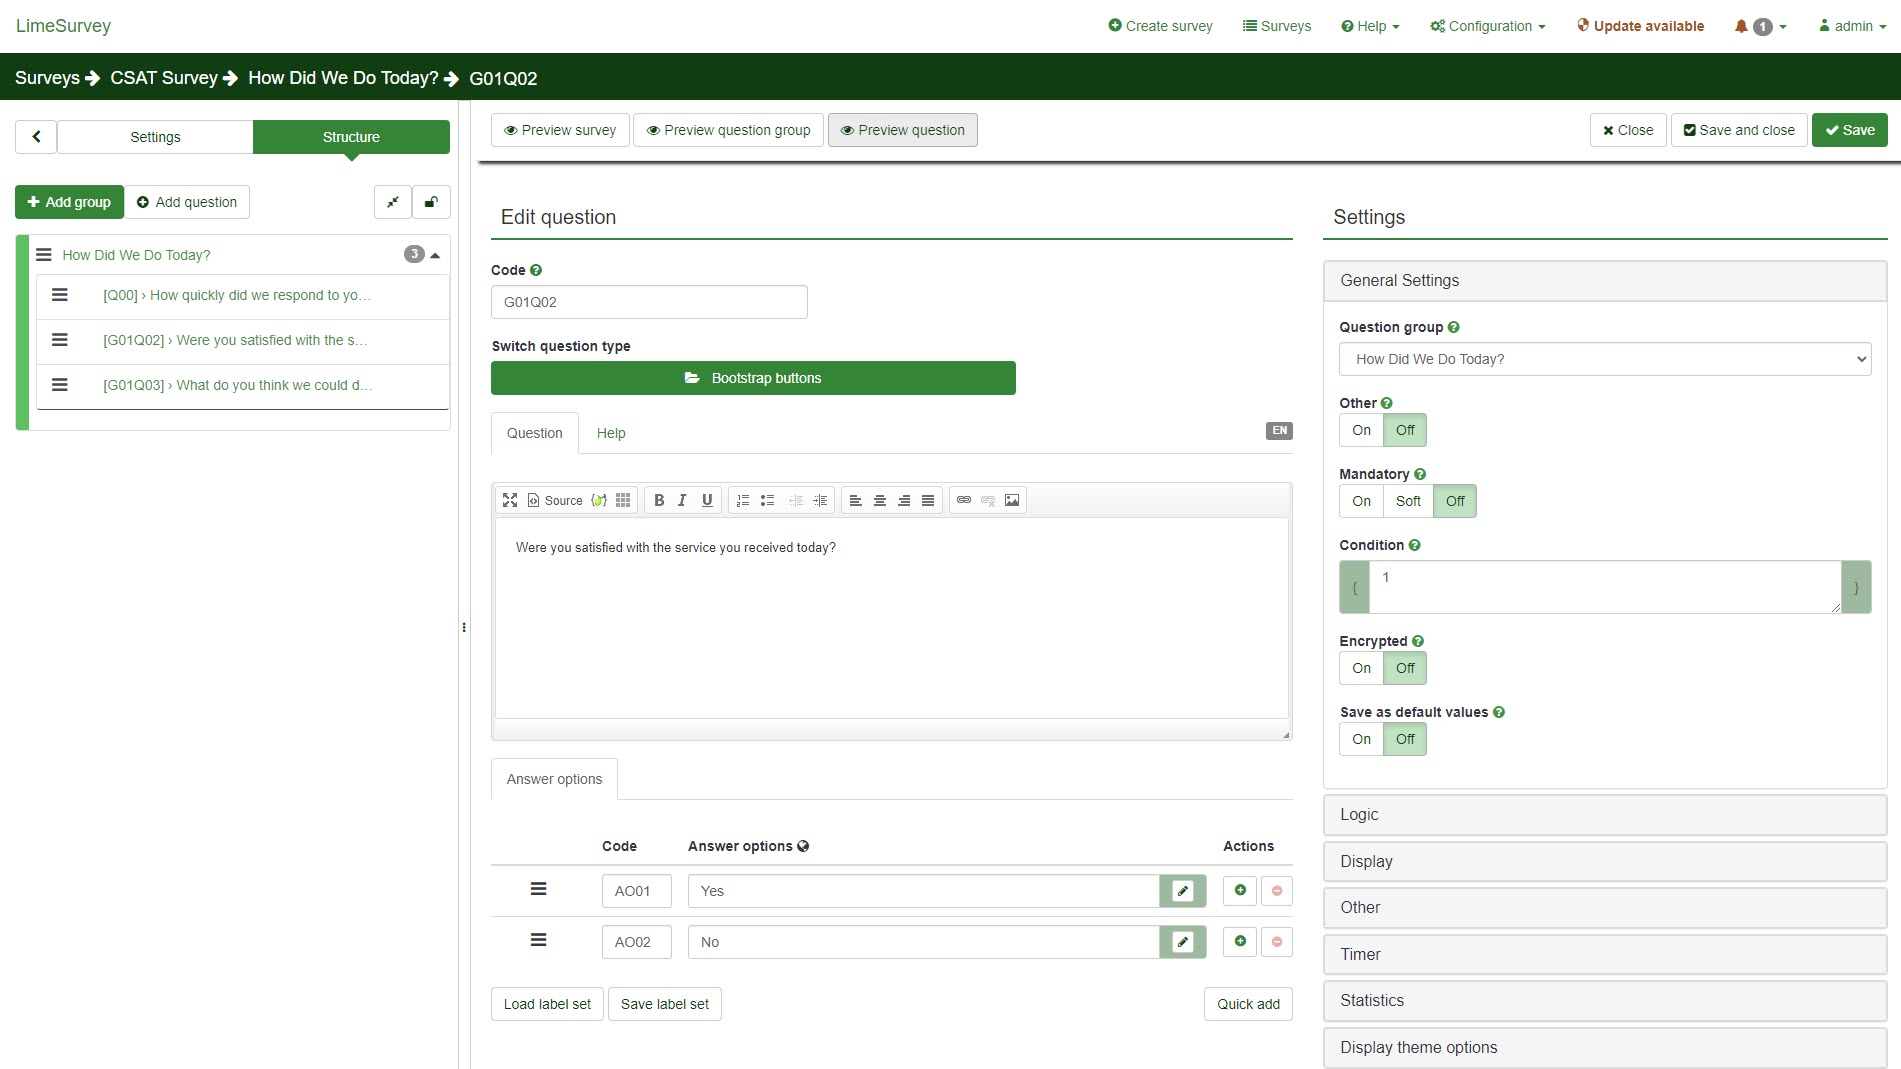
Click Add question and change the question type to bootstrap buttons. This type of question asks the survey participant to select one choice from several buttons.
Now you’ve chosen a different type of question, additional options are available. In the case of bootstrap buttons, you can add and remove the answer options from which people can choose.
Advanced features of each question can be set by changing the settings in the column on the right. You can do things like add a timer to questions or set questions to be mandatory. To learn what each of these settings does, hover over the green question mark beside it.
Step 4: Set the question group name
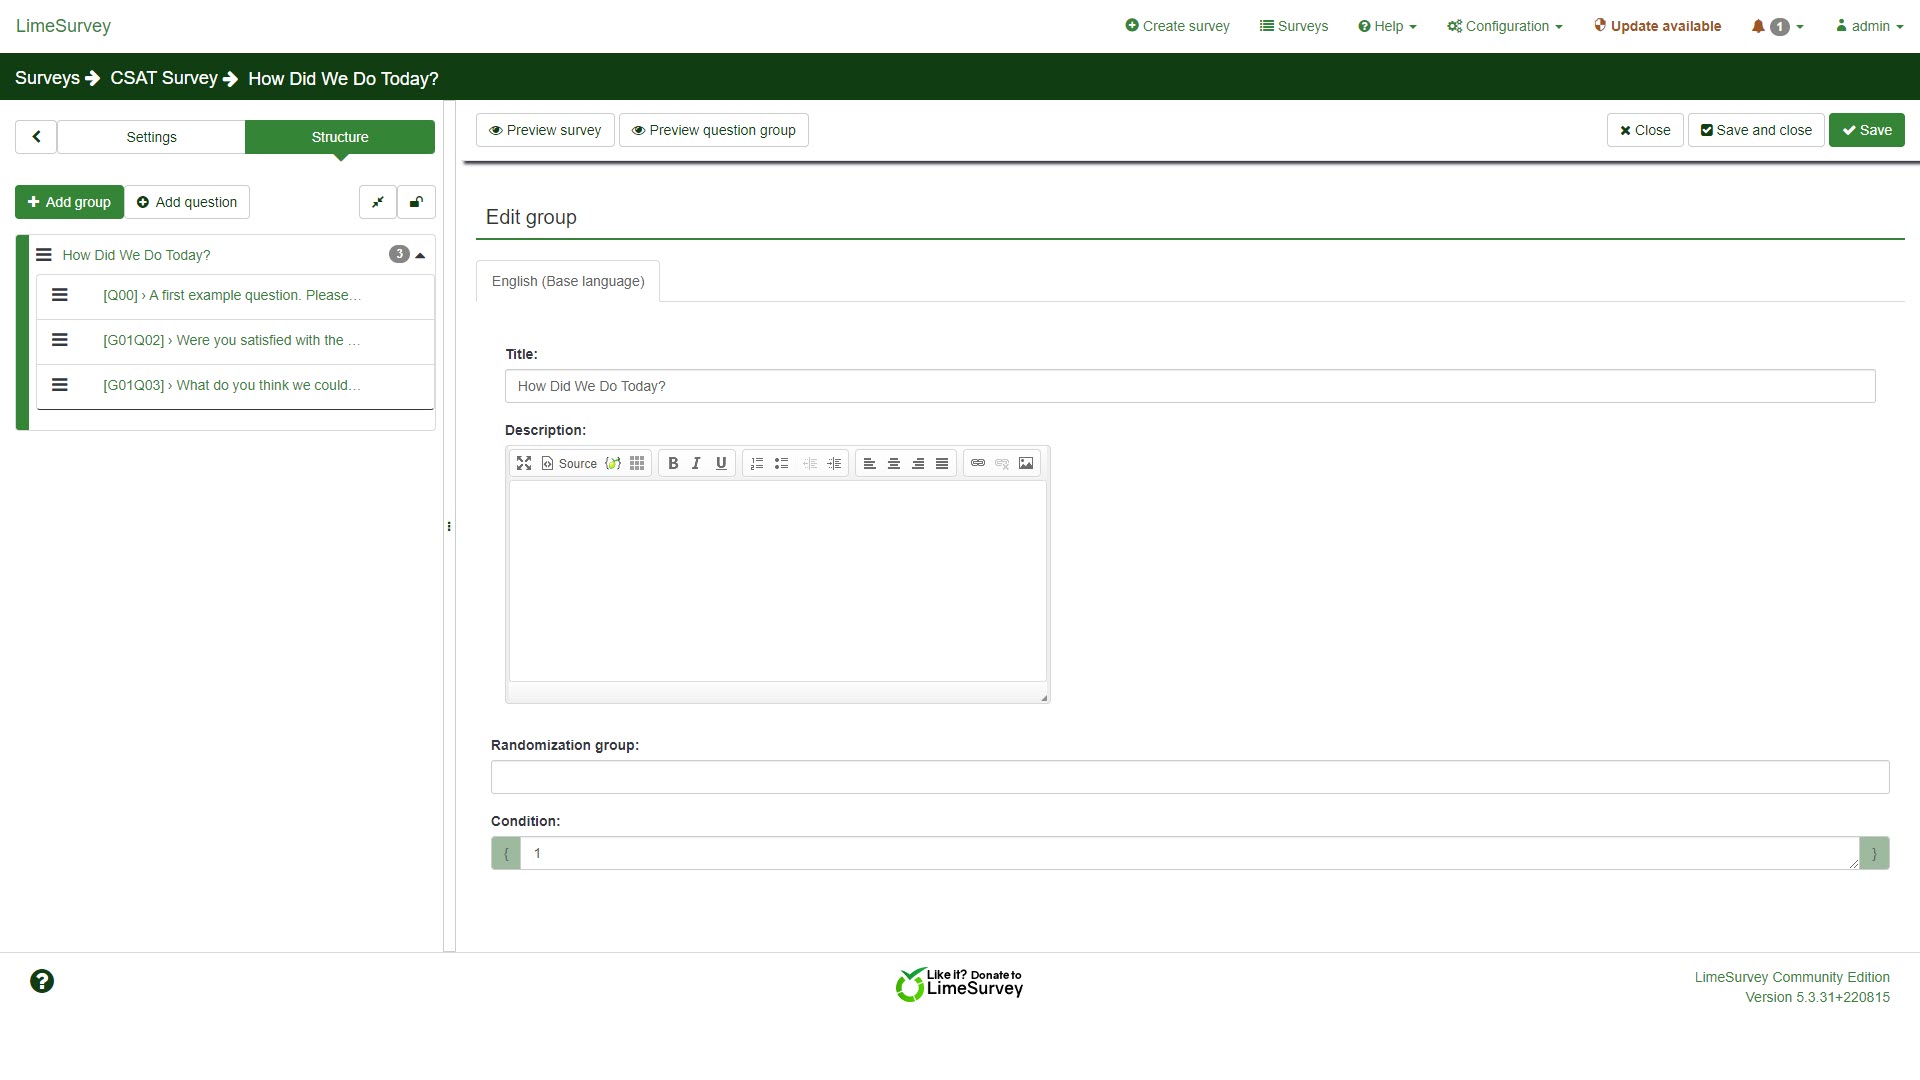
Questions are segmented into groups in LimeSurvey. The question group name will be displayed in relation to the questions in the survey, so you’ll want to change it to an appropriate title.
Simply click on the group name in the column on the left and click Edit. This brings you to the Edit group page, where you can change the title and description of the question group.
Step 5: Preview your survey
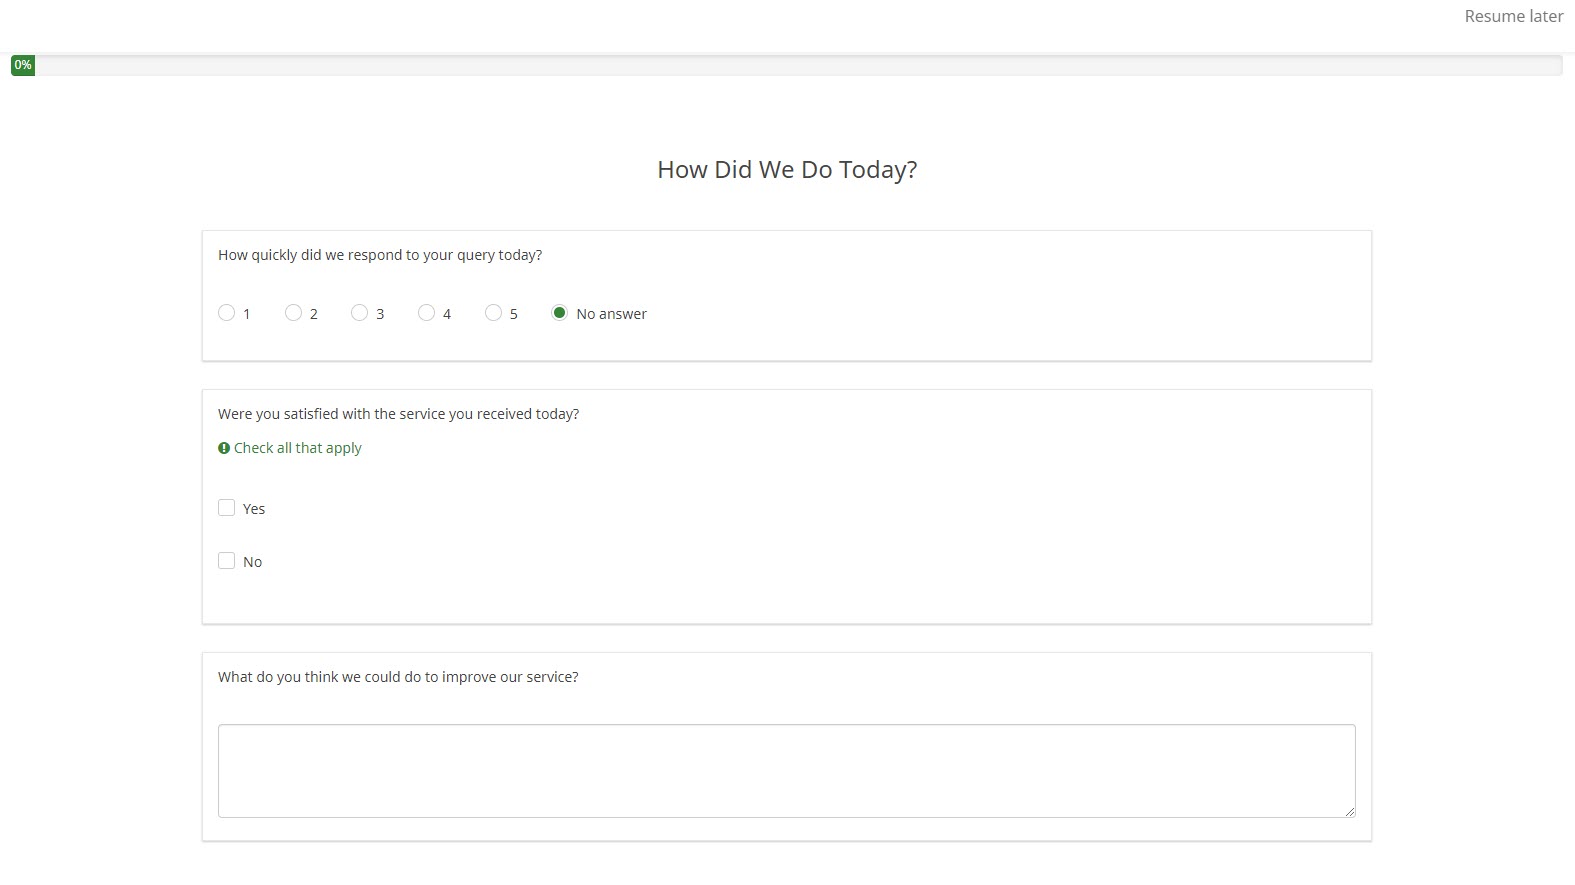
When your survey is complete, click Preview survey, where it will open in a new tab. You will be able to take part in your survey and see how participants will view and interact with it. No data will be saved during this step.
Step 6: Activate your survey
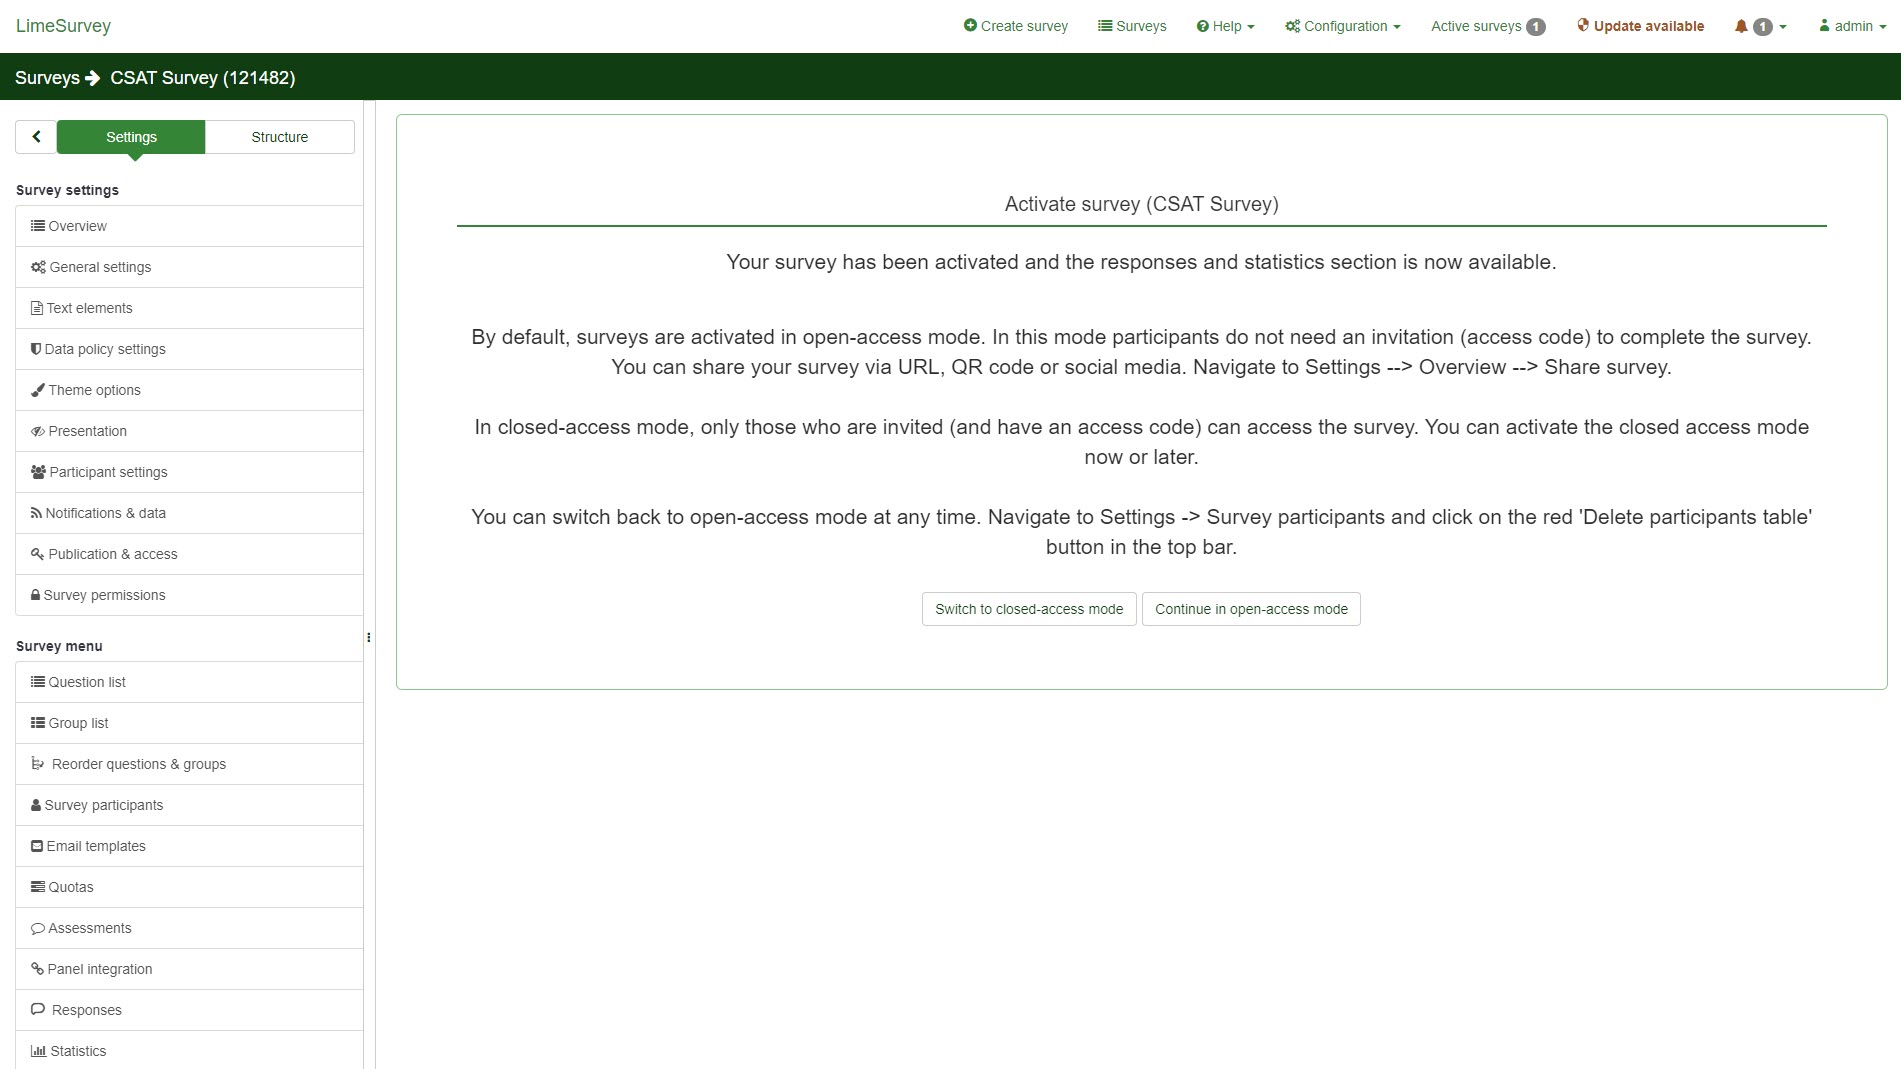
Activating your survey will publish it and make it go live to participants. To do this, click Activate this survey. A form will ask you to confirm some more settings, such as whether you want to store details of participants or whether to anonymize your survey completely. Once you make your choices, your survey will be live.
You’ll be asked whether you want to make your survey open-access (available to everyone you send the URL to) or closed-access (invite-only with an access code).
Step 7: View the results of your survey
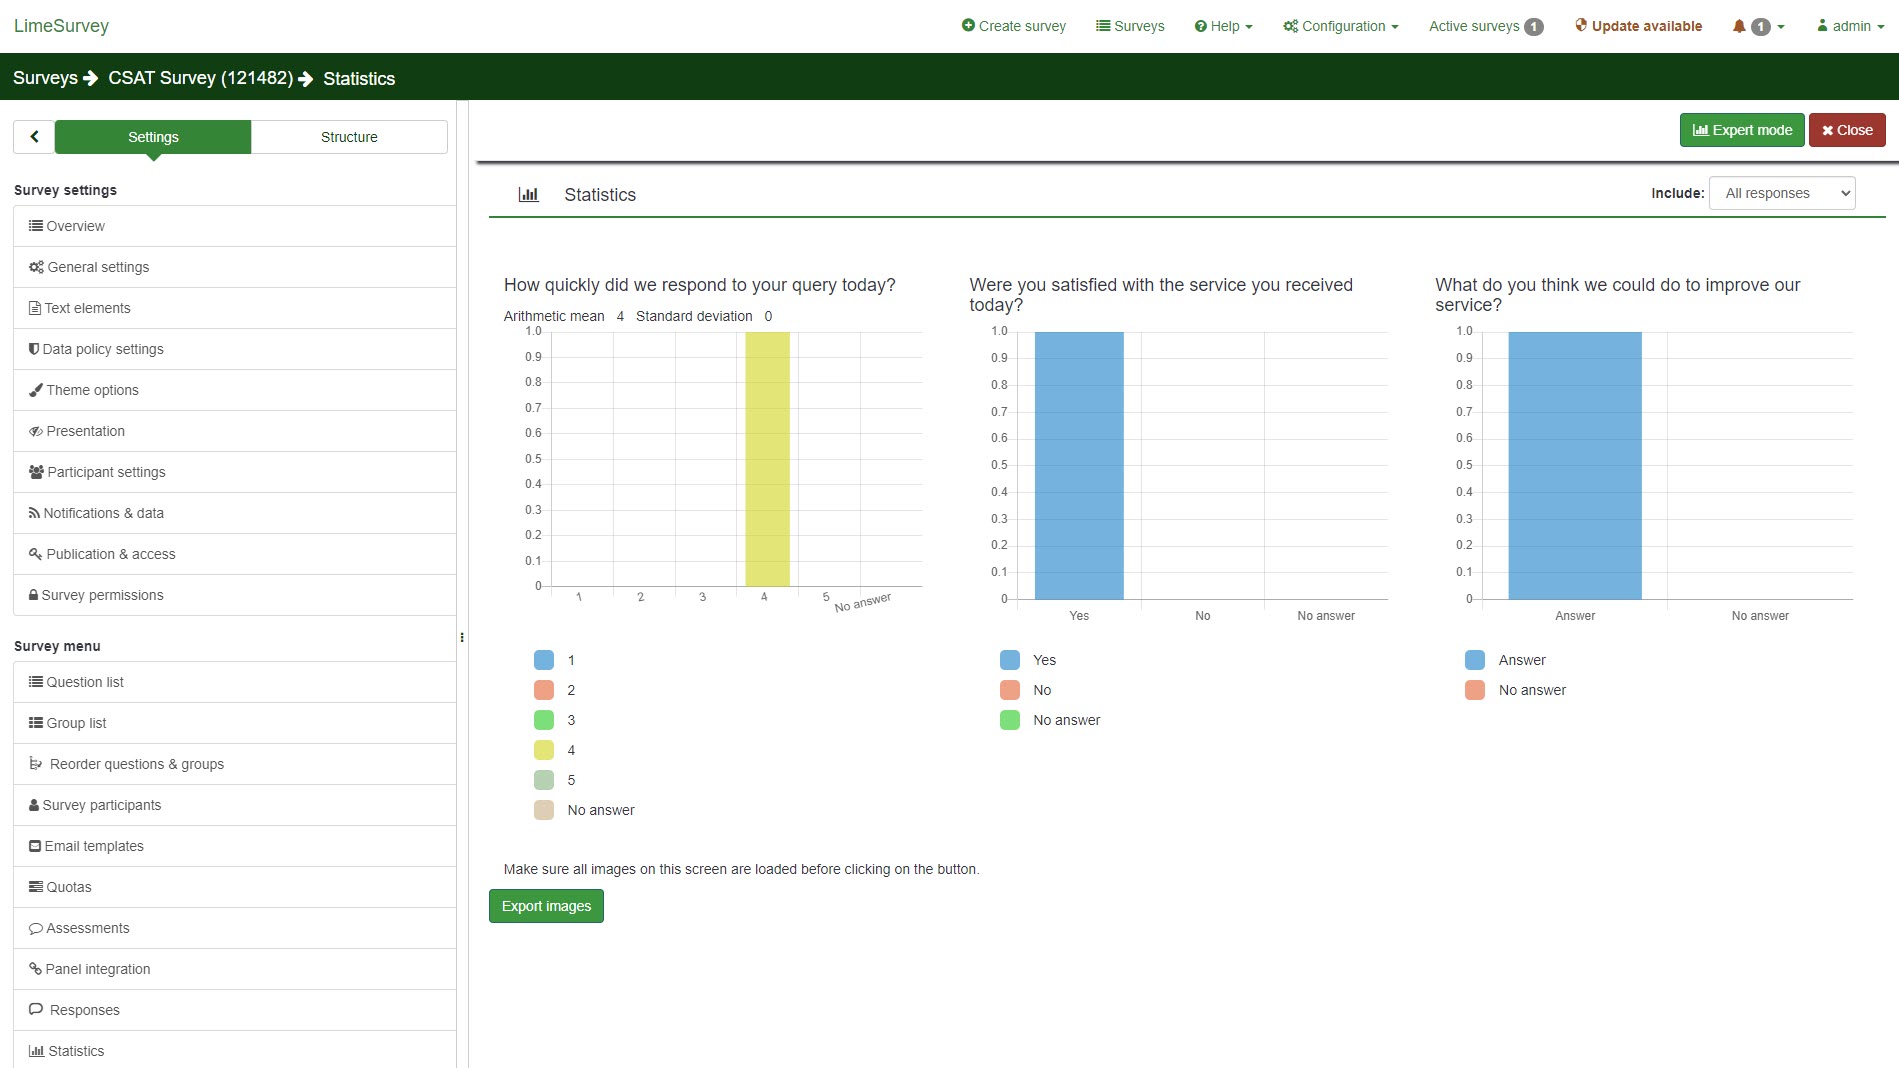
As the results of your survey roll in, you can view insights in the LimeSurvey statistics section.
You can see an overview of the results you’ve received in Simple Mode. By switching to Expert mode, you can create specific and detailed reports from the responses you’ve received.
Summary
This guide has taught you how to create your first survey with LimeSurvey. However, this is just the tip of the iceberg of what can be achieved with this online survey tool.
There’s a lot of freedom in how you format and design questions, and it’s possible to create complex surveys with multiple branching paths. The reporting system is powerful too, allowing you to drill down the responses you receive to find useful insights into the data.
Installing LimeSurvey is a good alternative to our favorite commercial survey tools, although it takes more time to set up than using one of these cloud-based solutions. It can be used for professional market research, as a customer feedback tool for business development, or simply to create a fun quiz for your site visitors.
Read more in this series:
- How to start a blog with Joomla
- Build your own CRM using SugarCRM
- How to host your files online using Nextcloud Hub
- How to start your own help desk with Hesk
- How to build an HR System using OrangeHRM
- How to generate your own invoices using Invoice Ninja
- How to install live chat software with Sales Syntax
- Run your own ecommerce platform with PrestaShop
- How to create your own website with Soholaunch
- How to launch your own website with WebsiteBaker
- How to learn search engine optimization with SEO Panel
- How to kickstart your own Ancestry.com alternative with webtrees
- How to install a free ERP software called Dolibarr
- Demand gen vs lead gen: What's the difference?
- Host your own private forum with MyBB
- Build your own calendar application with WebCalendar
- Set up your own groupware service with Tiki Wiki CMS
- How to build your own email marketing service with phpList
- A Google Photos alternative: Store your photos online with Piwigo
- How to start with project management using The Bug Genie
- Roll out your own Wikipedia clone with MediaWiki
- How to host your own learning management software with Moodle LMS
- Set up an accounting system with FrontAccounting
- Produce your own bills with BoxBilling
Richard brings over 20 years of website development, SEO, and marketing to the table. A graduate in Computer Science, Richard has lectured in Java programming and has built software for companies including Samsung and ASDA. Now, he writes for TechRadar, Tom's Guide, PC Gamer, and Creative Bloq.
