5 reasons why photographers no longer need a tripod
Leave the tripod at home and enjoy a more organic approach to photography
Sign up for breaking news, reviews, opinion, top tech deals, and more.
You are now subscribed
Your newsletter sign-up was successful
Tripods may be on their last legs for many photographers, with technology in the best cameras and alternative methods of support meaning that you can comfortably shoot handheld in many situations. Long gone are the days when you had to be fearful of cranking up the ISO, and thanks to highly effective image stabilization, slower shutter speeds are less of an issue than they once were.
The ability to comfortably shoot handheld in many situations creates a sense of liberation, irrespective of the subjects you shoot. That sense of freedom translates into being able to quickly respond to changing weather conditions, or action as it unfolds in front of the camera, and of course means less weight to carry.
This doesn’t mean that tripods are obsolete. There are, of course, some photographers who will always need to use a tripod, whether it’s to capture long exposures, or simply because they need to keep the camera supported in a fixed position for a length of time. But for most people, traveling light and being able to shoot quickly is now a real possibility, and here’s why.
1 High ISO Handling keeps getting better
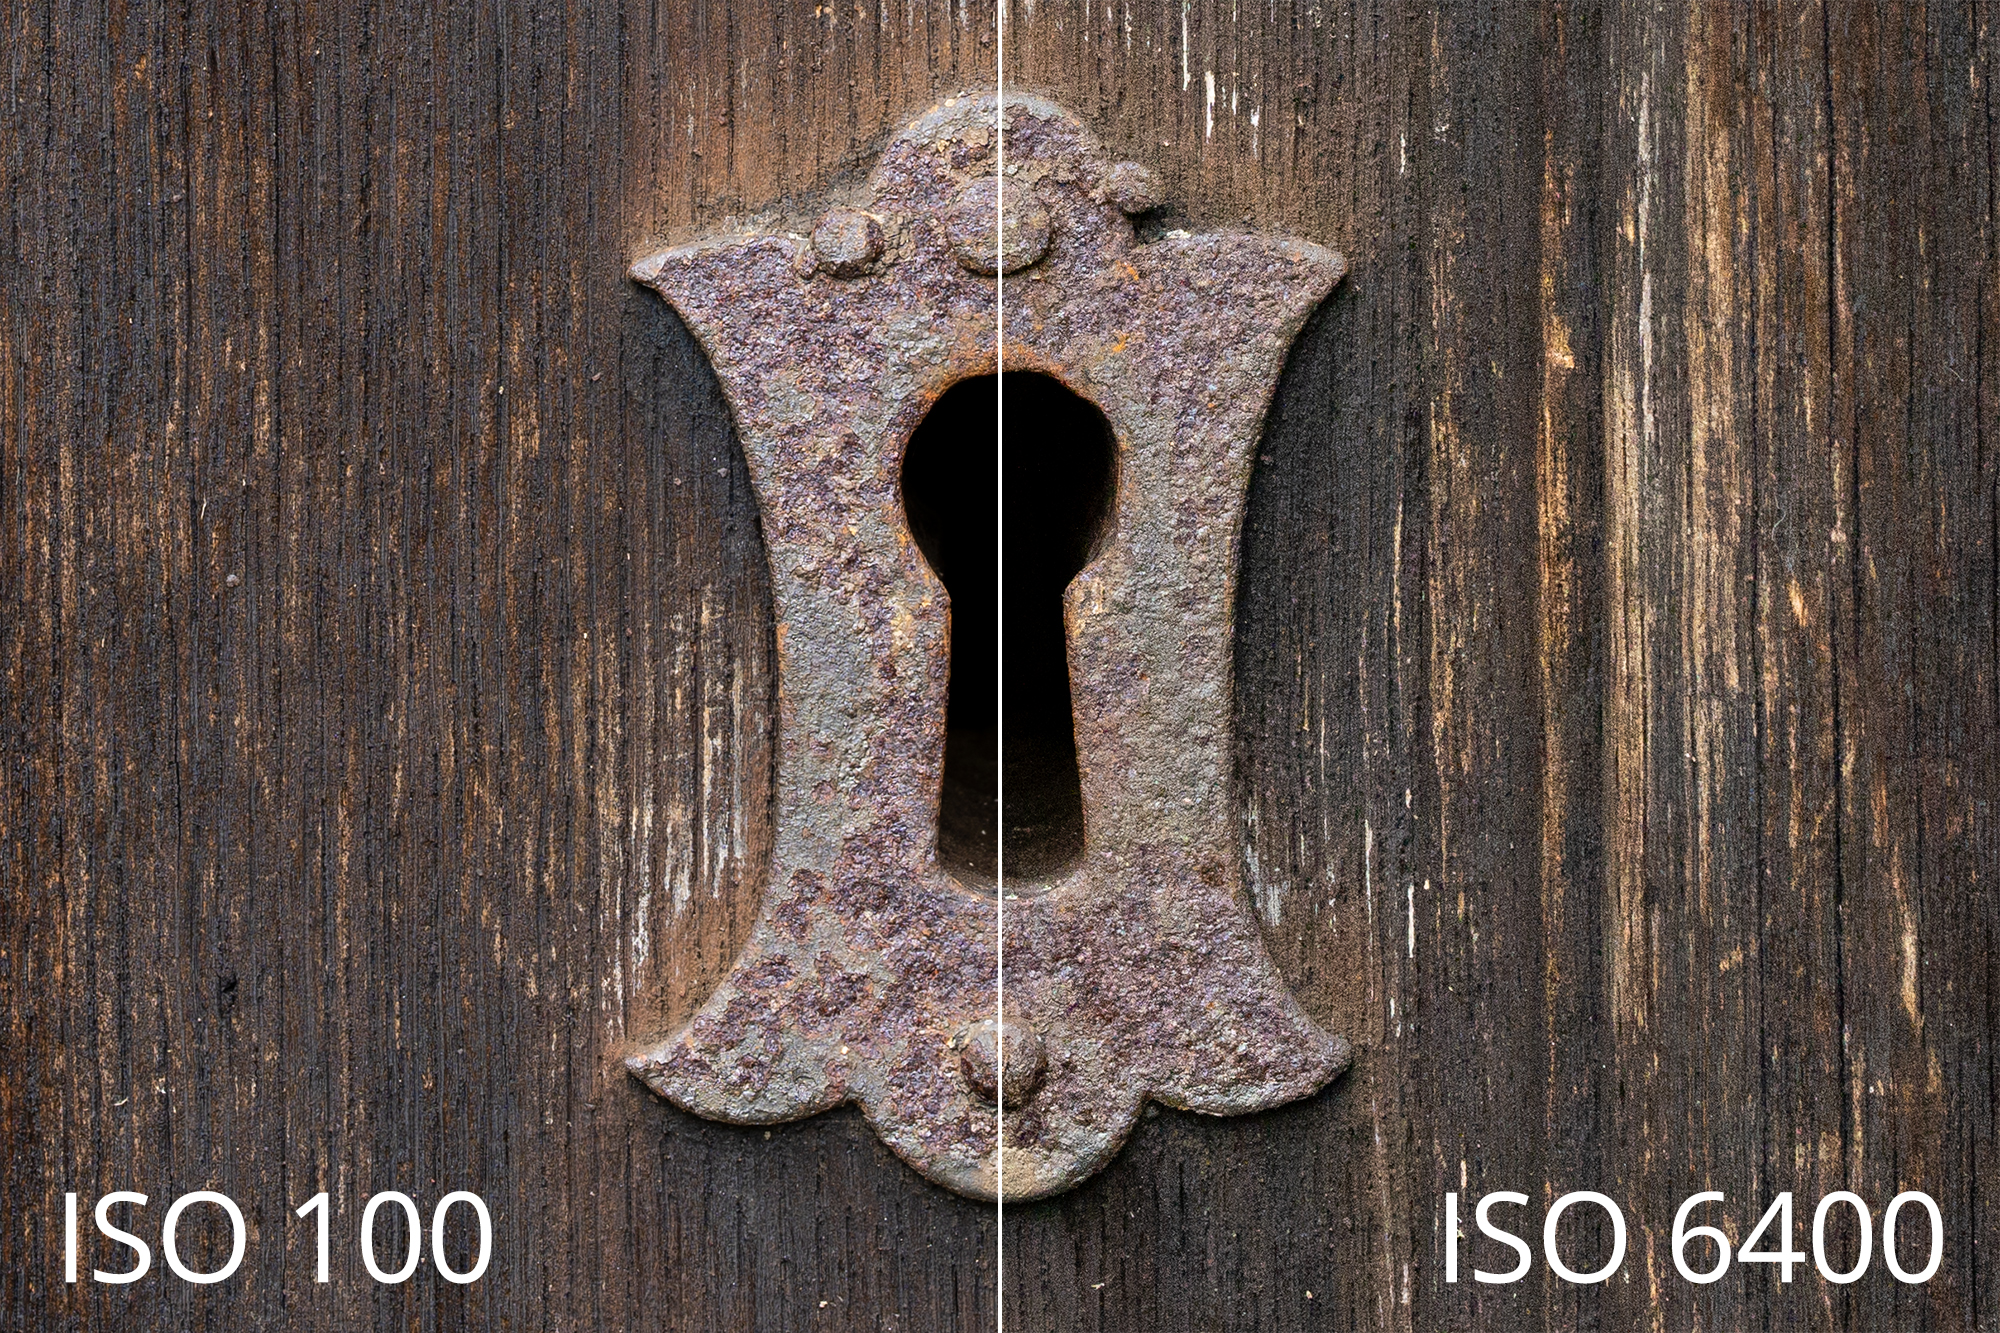
In the early days of digital photography, high-ISO noise was an issue for even the best cameras available at the time. And as the megapixel race started to slow down, the noise handling battle began. You don’t hear so much about noise handling these days because modern cameras are incredible performers in this area, even entry-level models, and those with smaller sensors.
Full-frame cameras and, of course, medium-format cameras remain the best, but you can comfortably shoot as high as ISO 1600 with most modern cameras and still capture incredibly clean images. Many cameras will perform well up to ISO 3200, while the best available can shoot as high as ISO 6400, with ISO 12,800 still providing usable results.
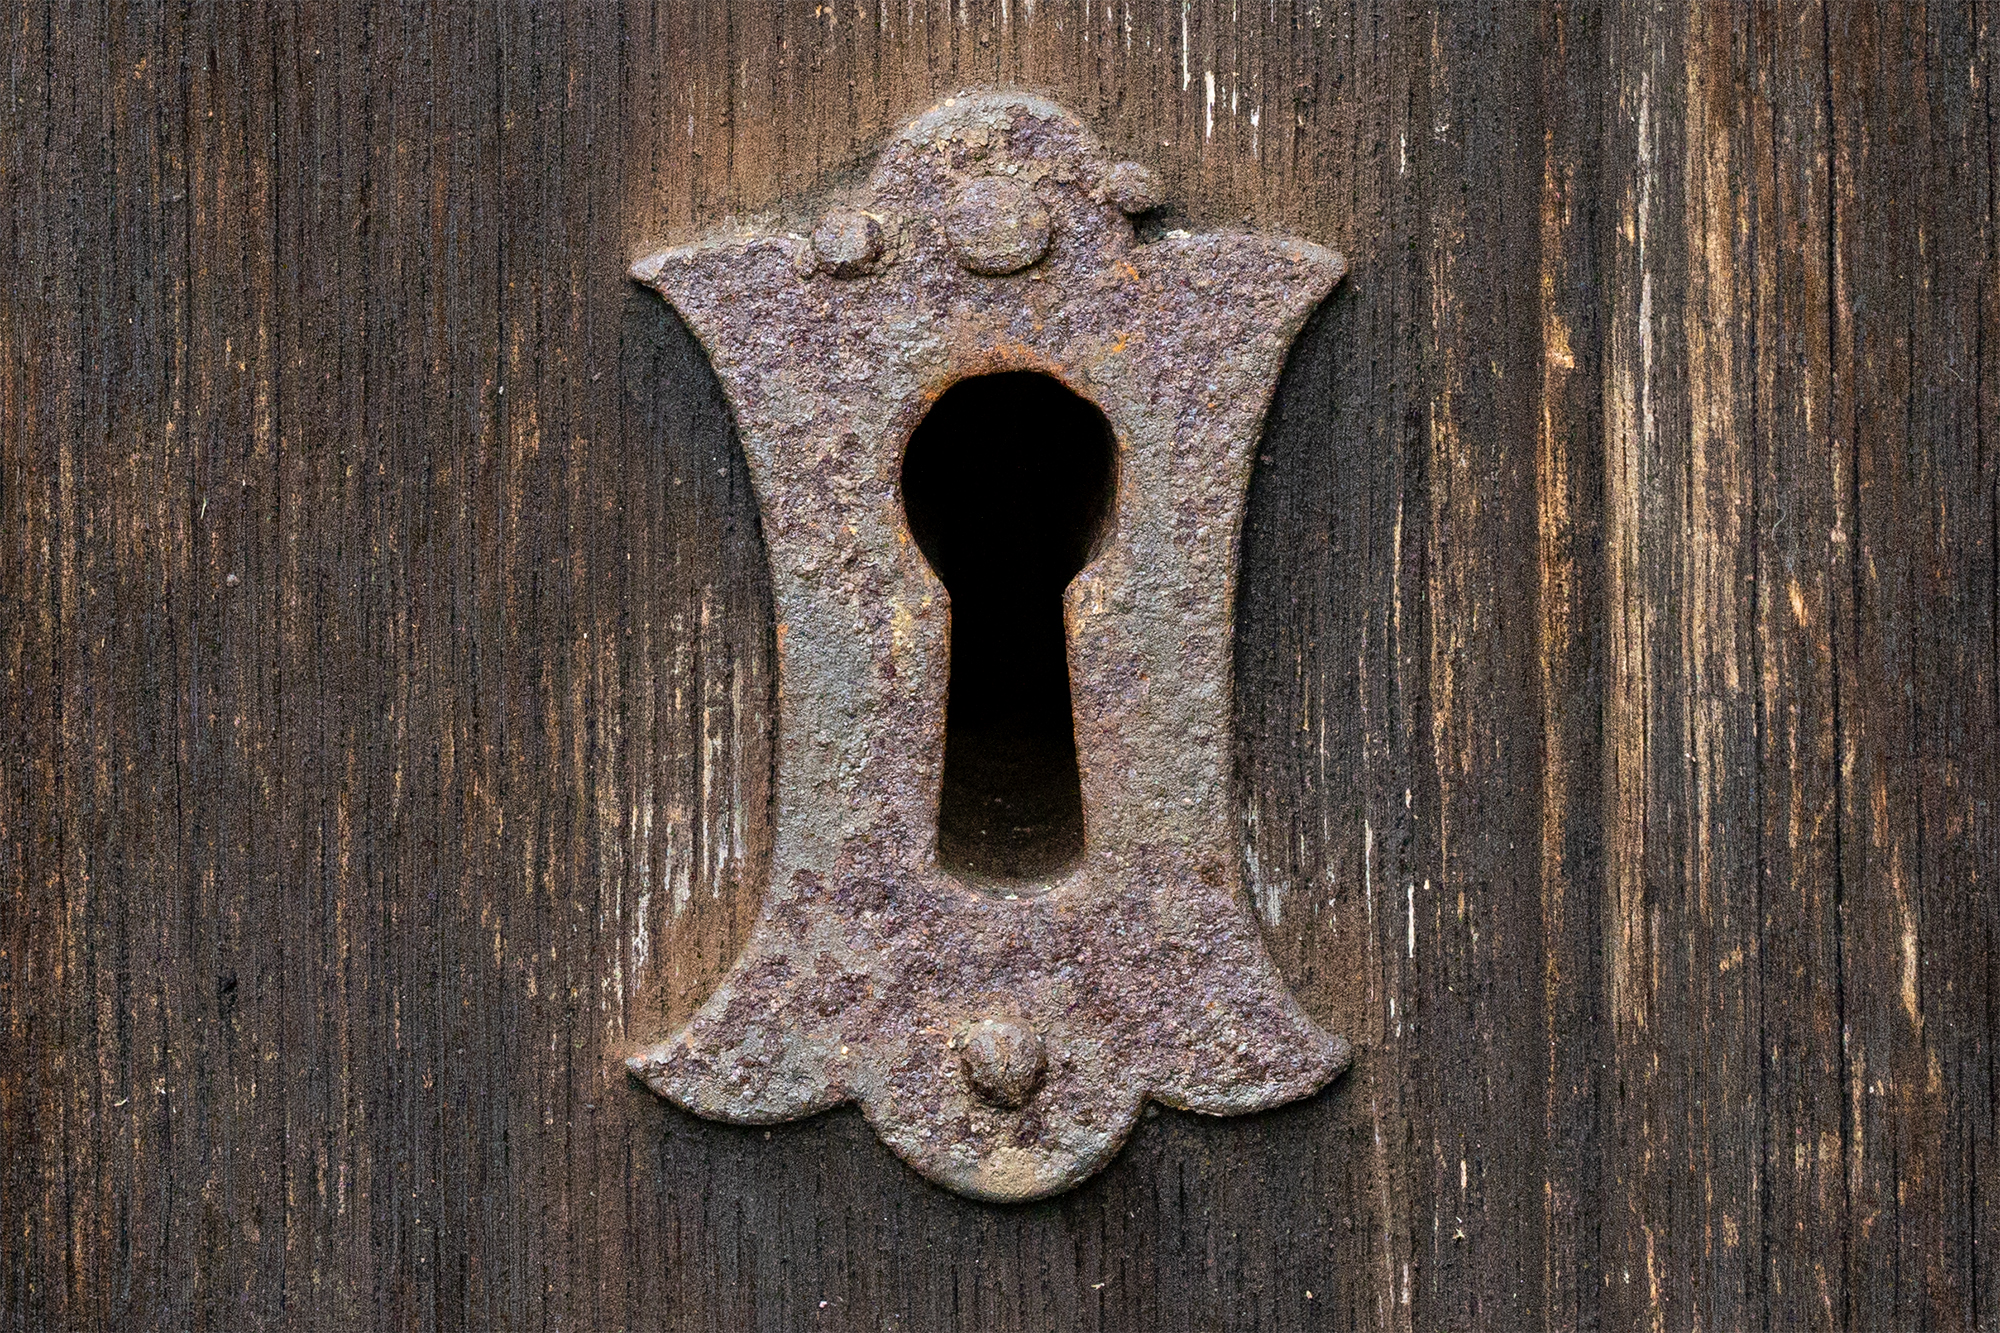
This means that you can safely increase your ISO when shooting handheld at slower shutter speeds and know that the images you capture will still look great. You may need to apply color noise reduction to raw files in your choice of editing software, but in Lightroom, for example, that’s applied automatically, and in most cases is higher than you need. In the ISO 6400 image above, the default amount of Color Noise Reduction in Lightroom was reduced from 25 to 10.
2 Take advantage of Image Stabilization
Image stabilization is an amazing technological advance that can make a huge impact on your photography. Counteracting the movement of the camera and lens by shifting optics in the lens (optical image stabilization or OIS) or by shifting the camera sensor (in-body image stabilization, or IBIS), or both, the ability to shoot handheld at slower shutter speeds than usual and still get sharp detail is realized, which means it’s less likely that you’ll need a tripod.
Sign up for breaking news, reviews, opinion, top tech deals, and more.
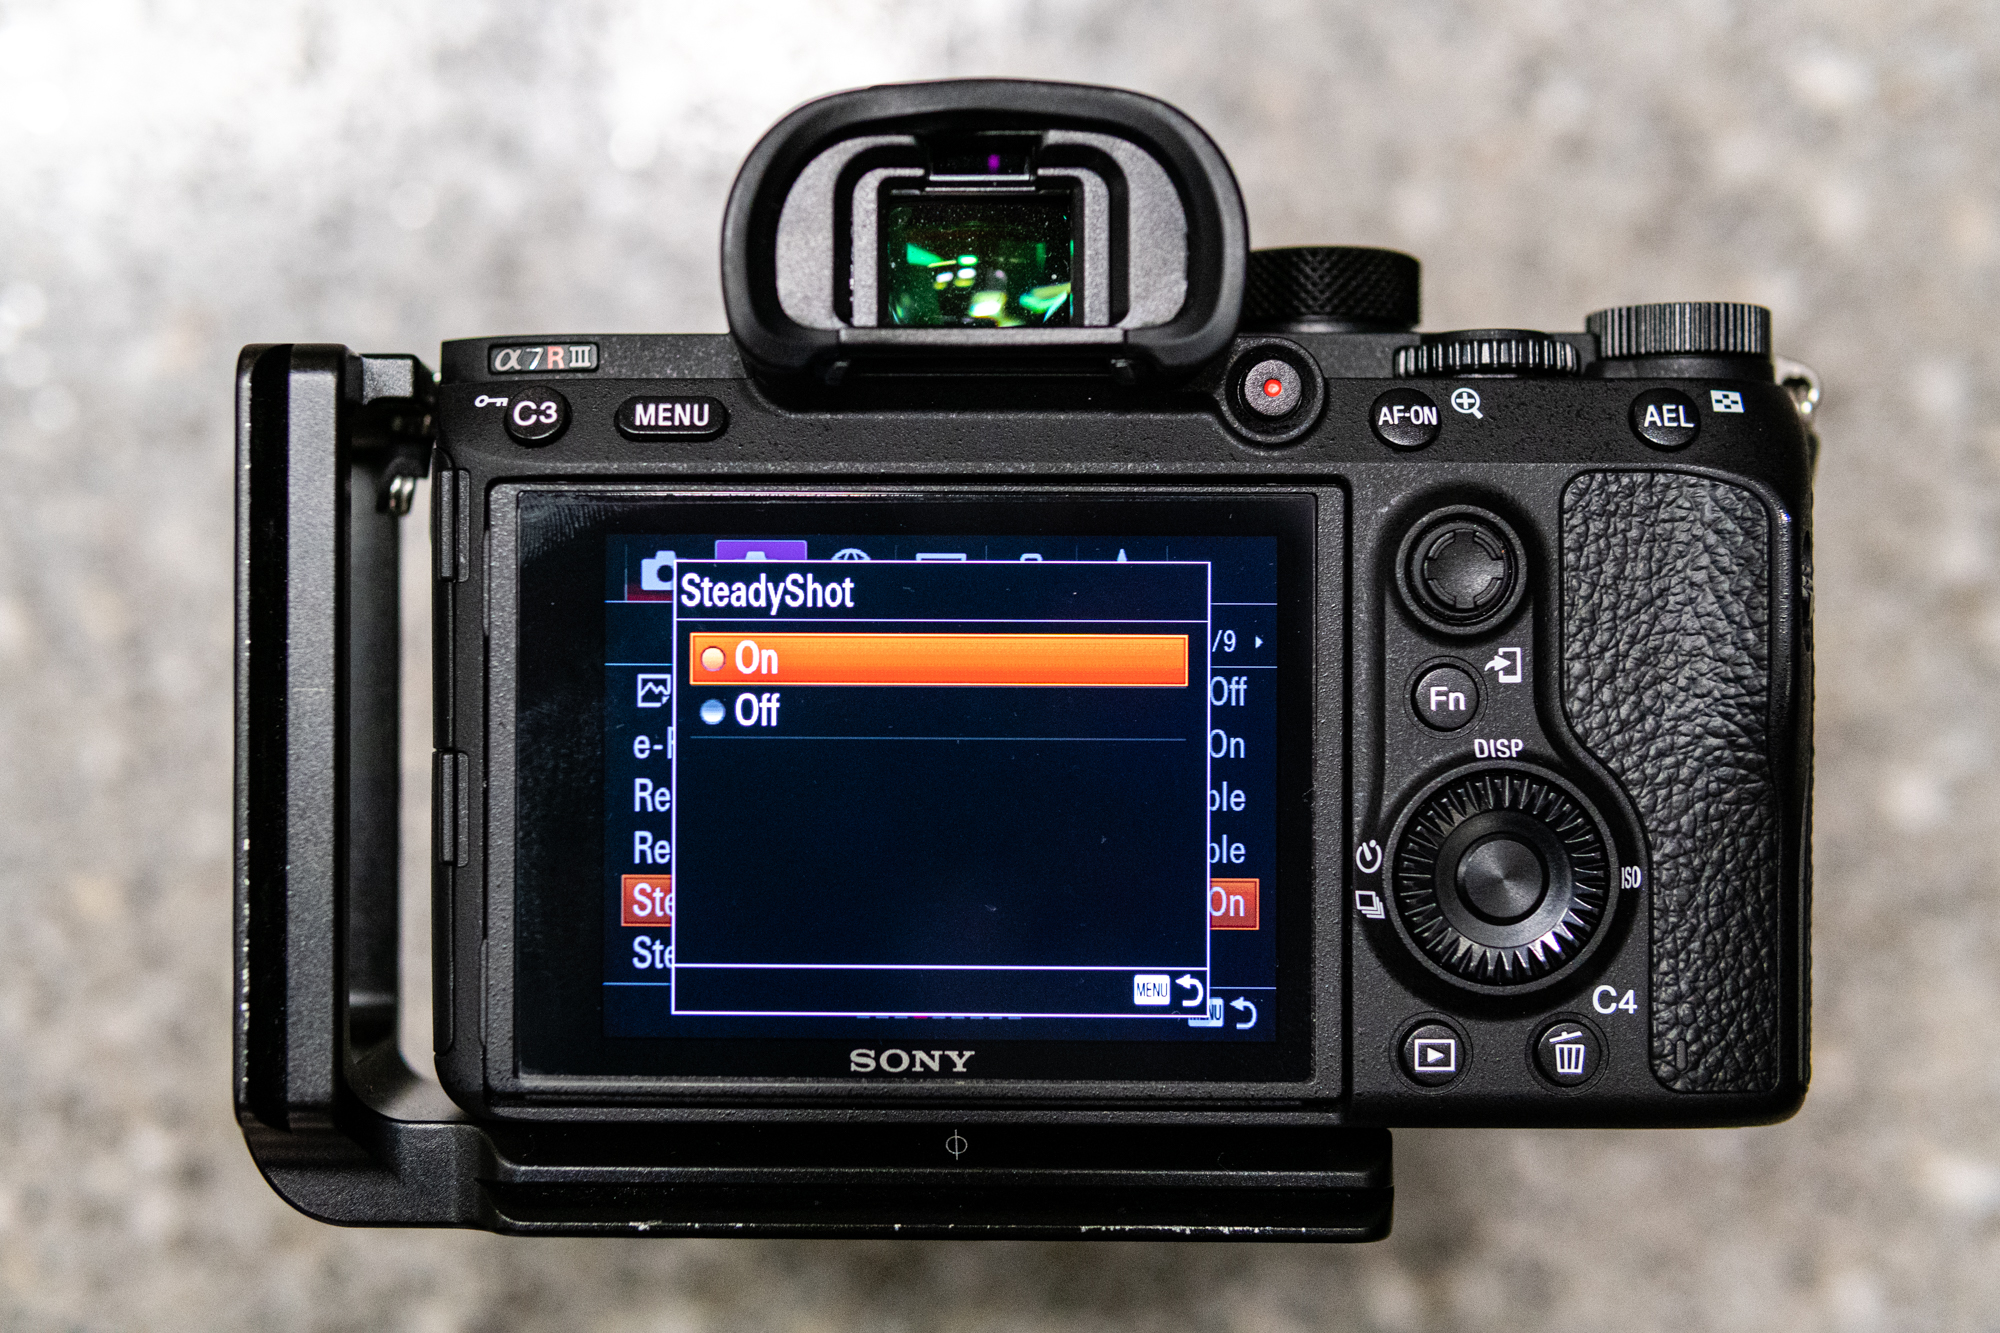
Many of the best cameras in 2023 offer stabilization equivalent to five stops, while some go as high as seven stops. But while image stabilization does a fantastic job, it can’t perform miracles, so a steady hand is still essential, and leaning against something for stability is also useful.
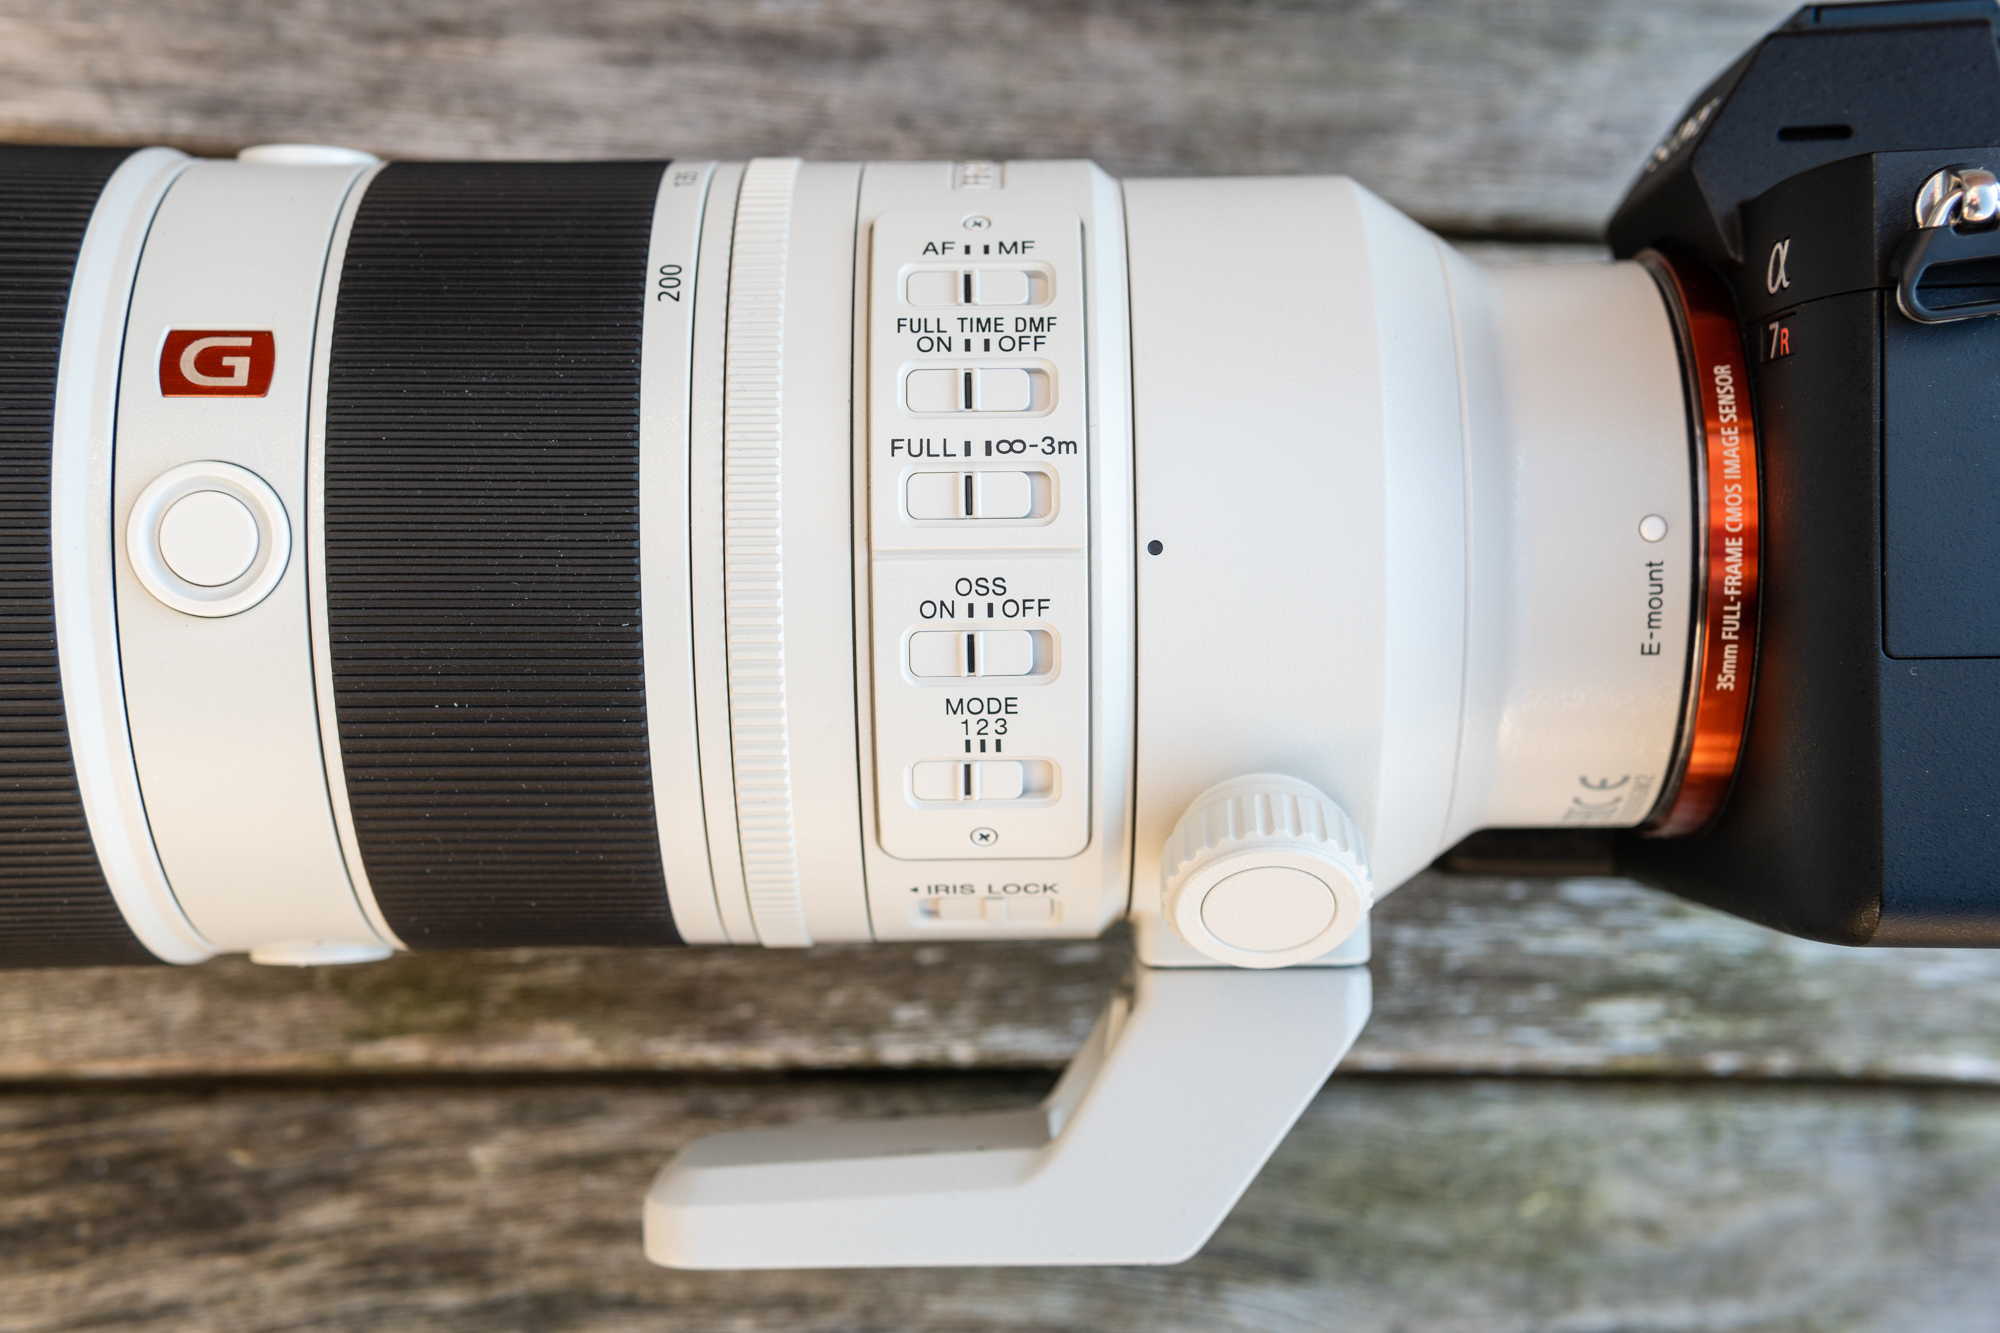
The exact amount of stabilization in stops is dependent on the camera model and focal length of the lens. OM system (Olympus) cameras like the OM-1 feature image stabilization that’s so effective that I have been able to shoot handheld with shutter speeds as slow as a few seconds. The small size and light weight of Micro Four Thirds cameras and lenses undoubtedly contribute to this, but it’s still impressive. I’ve also seen sharp handheld images taken with the 100MP medium-format Hasselblad X2D 100C at a shutter speed of one second.
3 You can use alternative methods of support
Carrying a tripod can be a burden, especially if you don’t know whether or not you’ll need one. Of course, some photographers know that they’ll use one for most of the shots they take, so carrying one is worthwhile despite it still being a small burden.
If you fall into the category of photographer who sometimes needs a tripod but you’re unsure when, and so you carry one just in case, you can use alternative methods of support, in addition to taking advantage of the advances in camera technology that we’ve mentioned . Leaning against a wall, tree or other objects is a great way to add stability, or tucking your elbows into your body, alongside turning on image stabilization and increasing ISO.
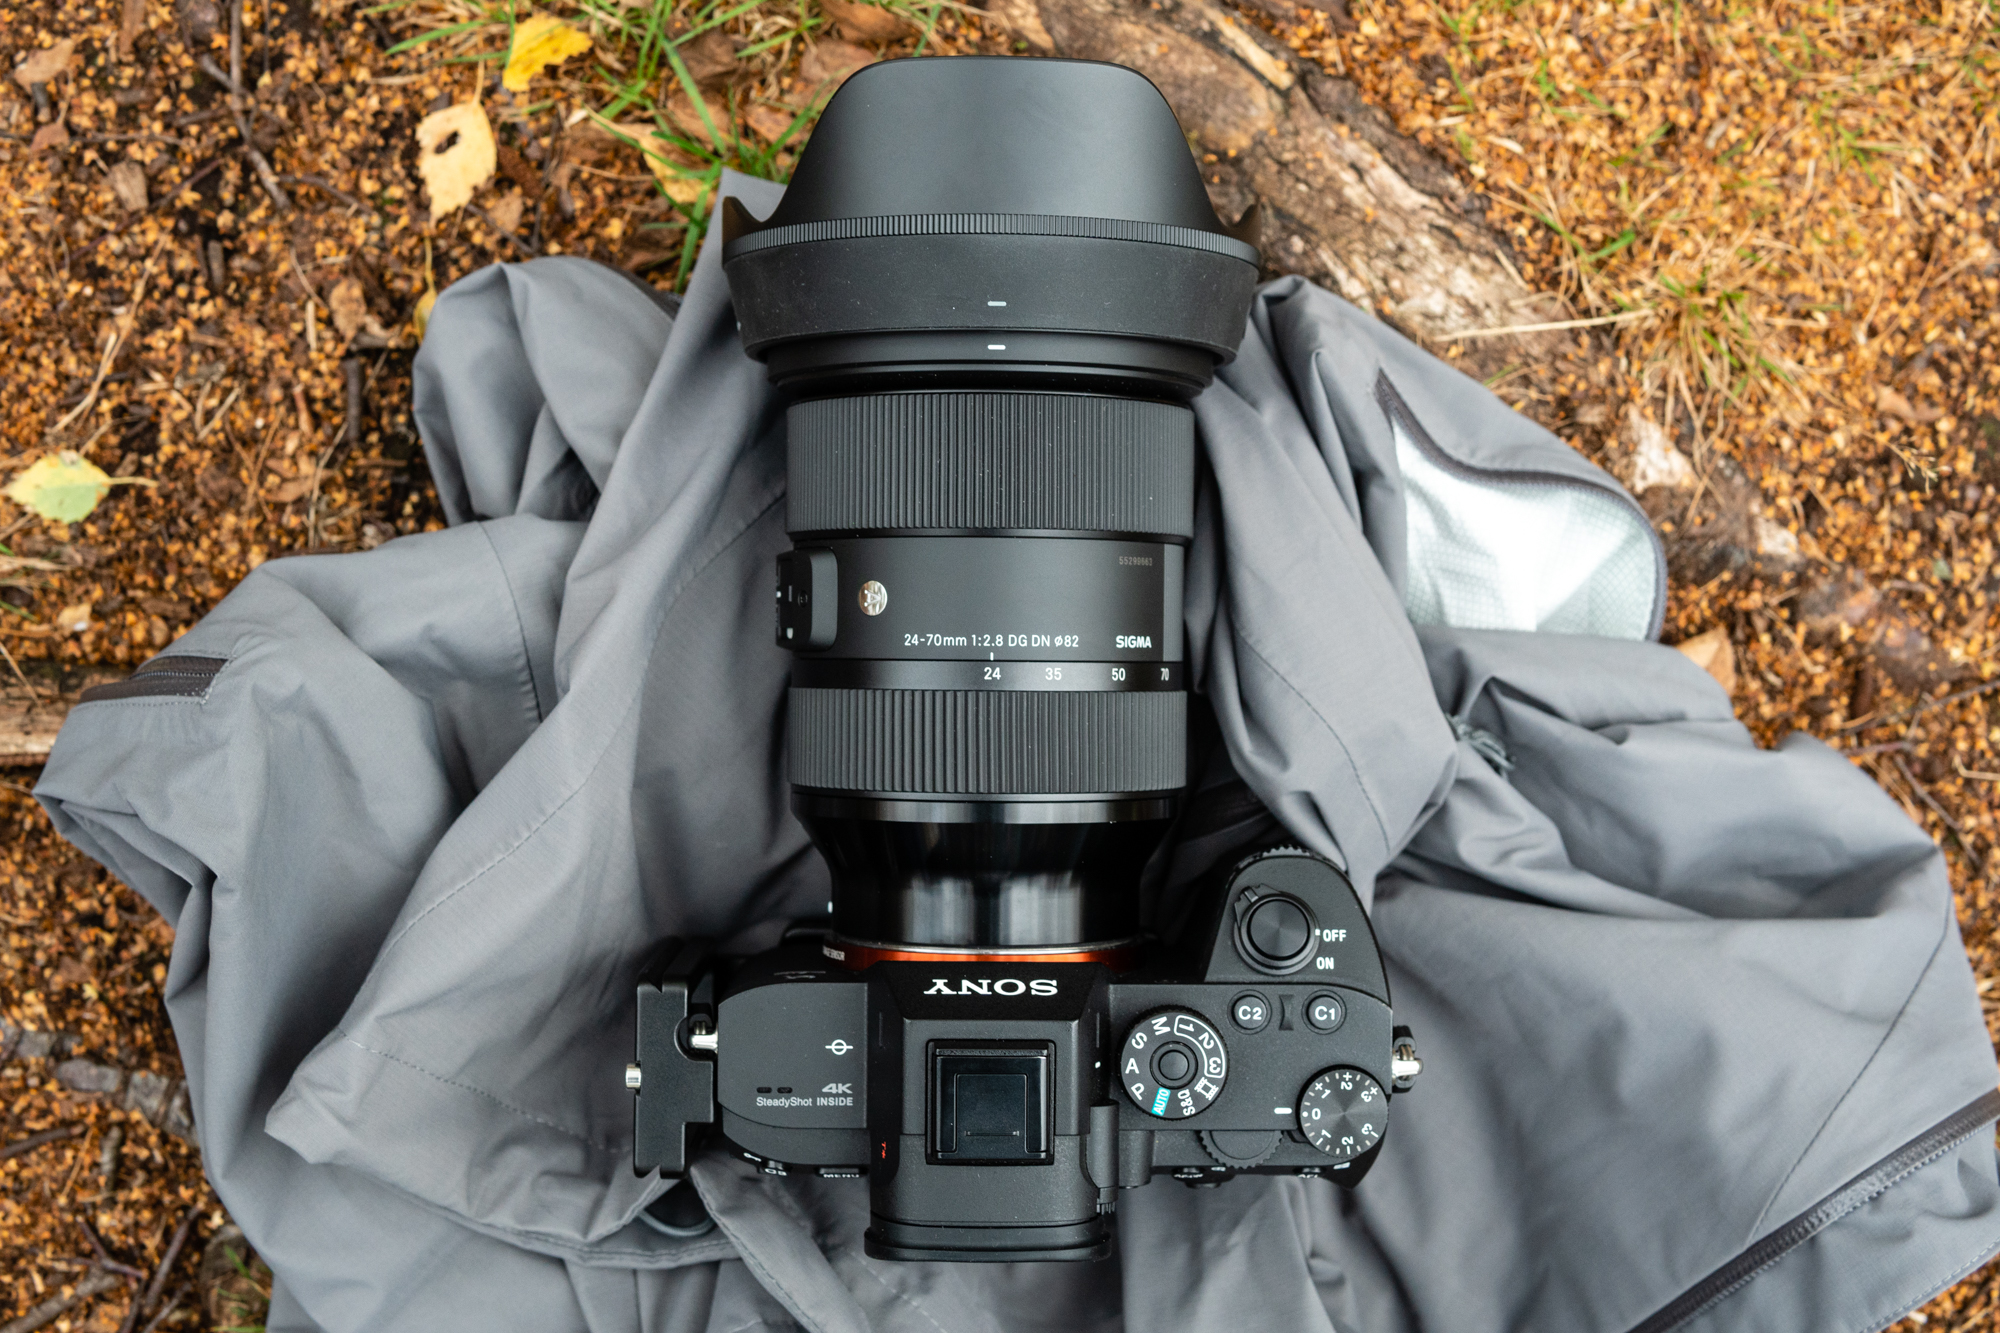
For further support, you can place your jacket on a solid object like a wall, and rest your camera on it. A jacket allows you to angle the camera, and protects it from scratches and scrapes while shooting at any shutter speed. Another option is to carry a Gorillapod, which are similar to mini tripods but more versatile, and they’re small and lightweight so you can carry them without even noticing. Plus, the legs can be wrapped around objects such as tree branches, fences and street lights to gain height and unique viewpoints for long exposures.
4 You can now shoot handheld bracketed sequences like HDR
HDR photography (high dynamic range) is where you extend the dynamic range that your camera is capable of shooting by capturing a series of bracketed shots. At the most basic level, this involves setting exposure for the mid-tones and using Auto Exposure Bracketing (AEB) to capture a second exposure that’s two stops underexposed and a third that’s two stops overexposed.
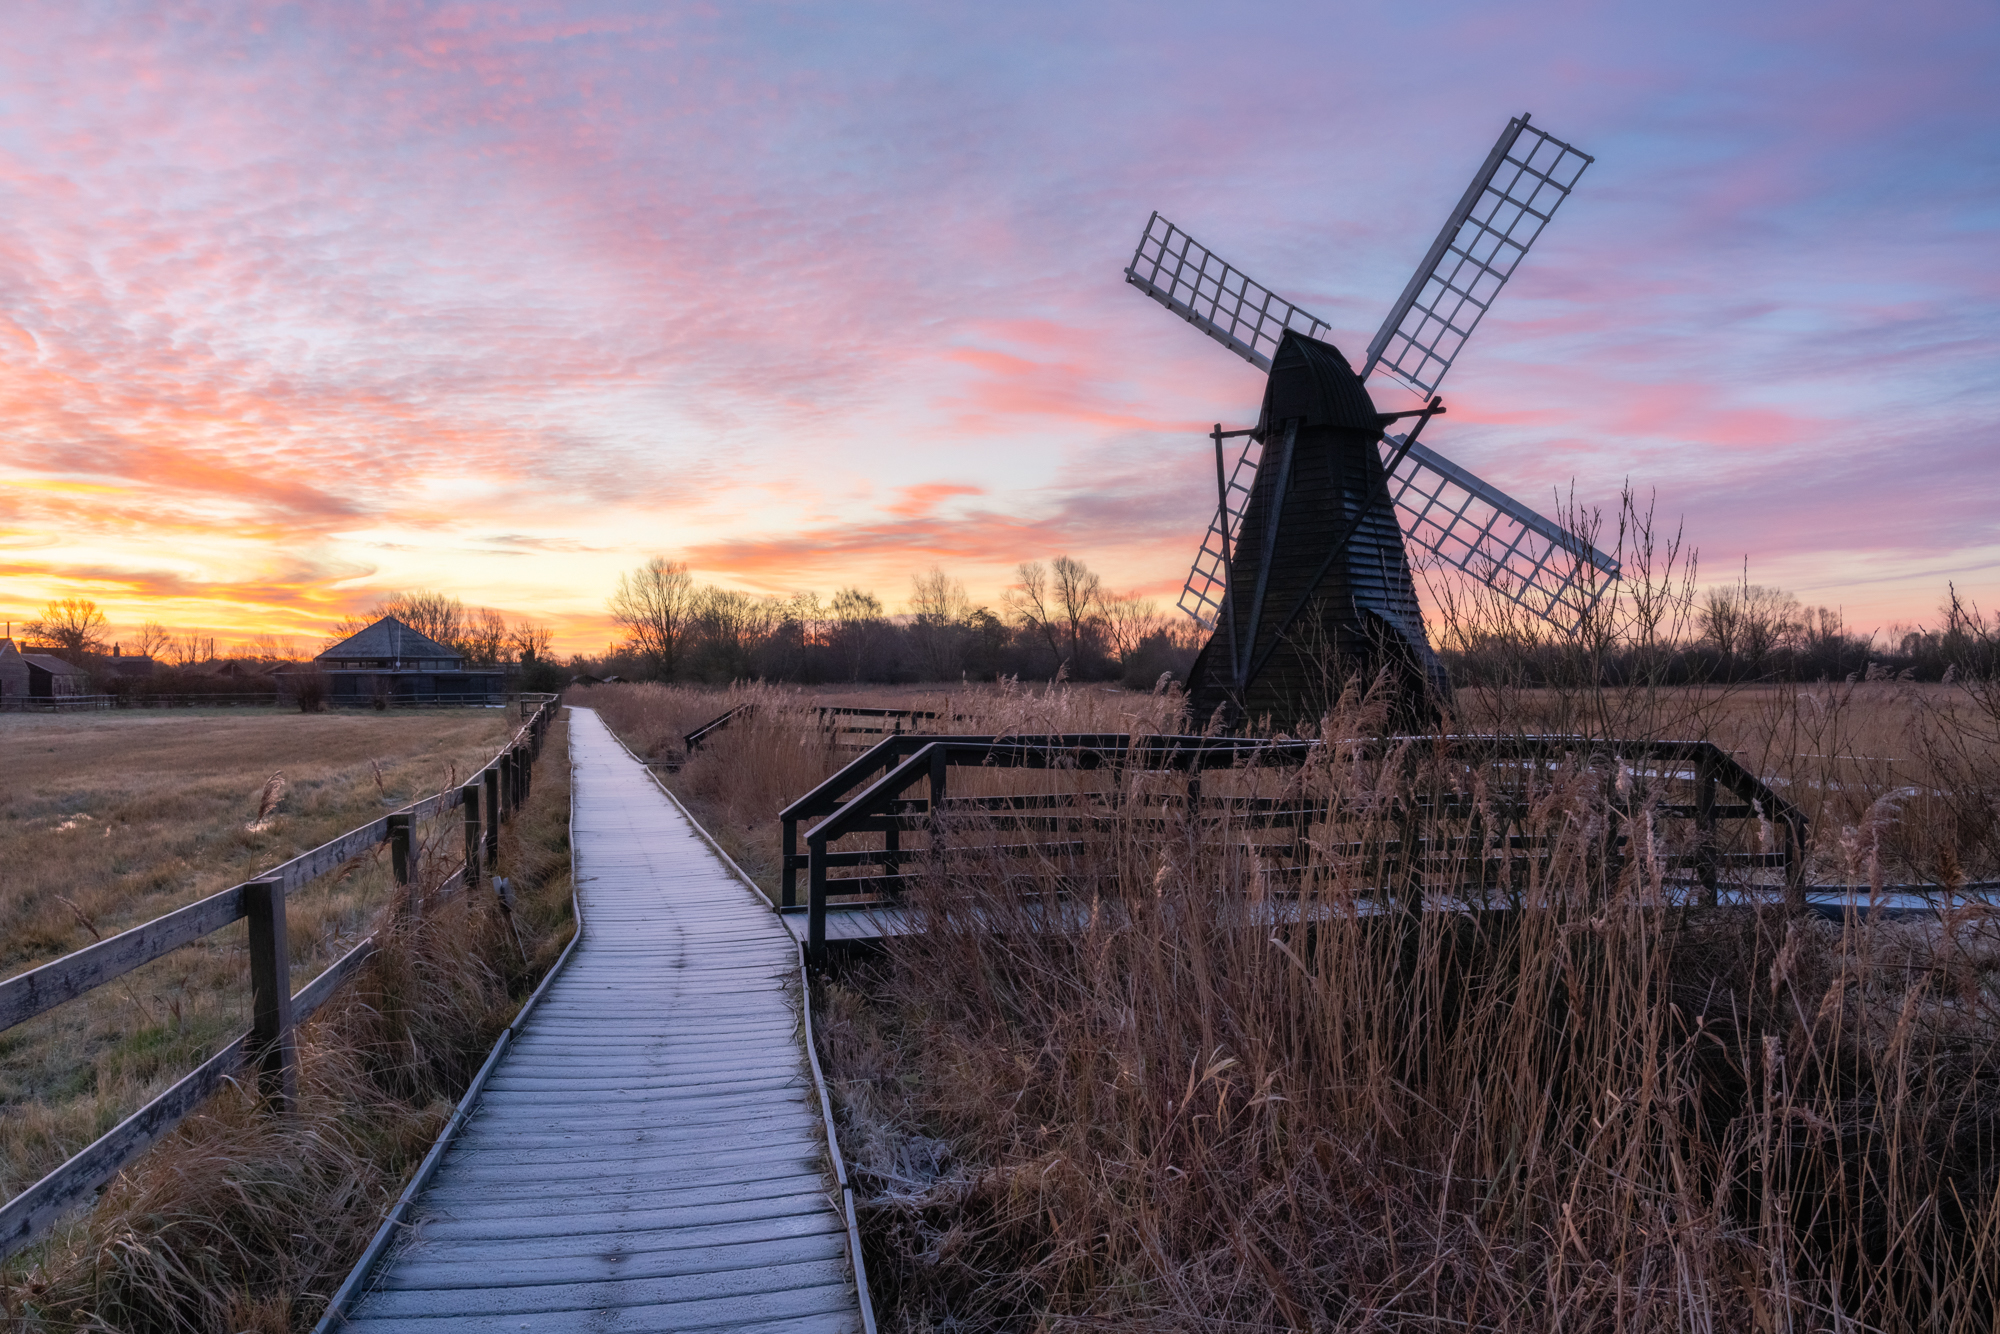
By doing this you’re capturing all detail throughout the scene – from the deepest shadows through the mid-tones to the brightest highlights. The three exposures are then merged using software with HDR tools, including Lightroom, to create an image with detail present in all three tonal ranges. HDR photography is a technique that avoids the need to use ND grad filters to maintain sky detail in landscape and cityscape photography, although it can be used with any inanimate scene.
I’ve historically shot HDR at ISO 100 using a tripod, but building on point one, increasing ISO to as high as ISO 3200 you can shoot sunrises and sunsets handheld, simply because the shutter speed for even the overexposed shot is fast enough for hand holding the camera. By shooting in high-speed continuous, any bracketed shots are taken in quick succession for more effective alignment during processing. But is high ISO noise a problem? Not really, because noise isn’t uniform so the merging process of the exposures evens out and reduces noise so it’s not a major problem.
5 Dynamic range keeps improving
Exposing for the highlights is a phrase you’ve likely heard before, and as the name suggests, the idea here is that your exposure is darker to ensure that highlights aren’t blown. Even the best cameras available can’t retain detail in blown highlights, but what they can do better is recover clean detail from what looks like black shadows, thanks to dynamic range.
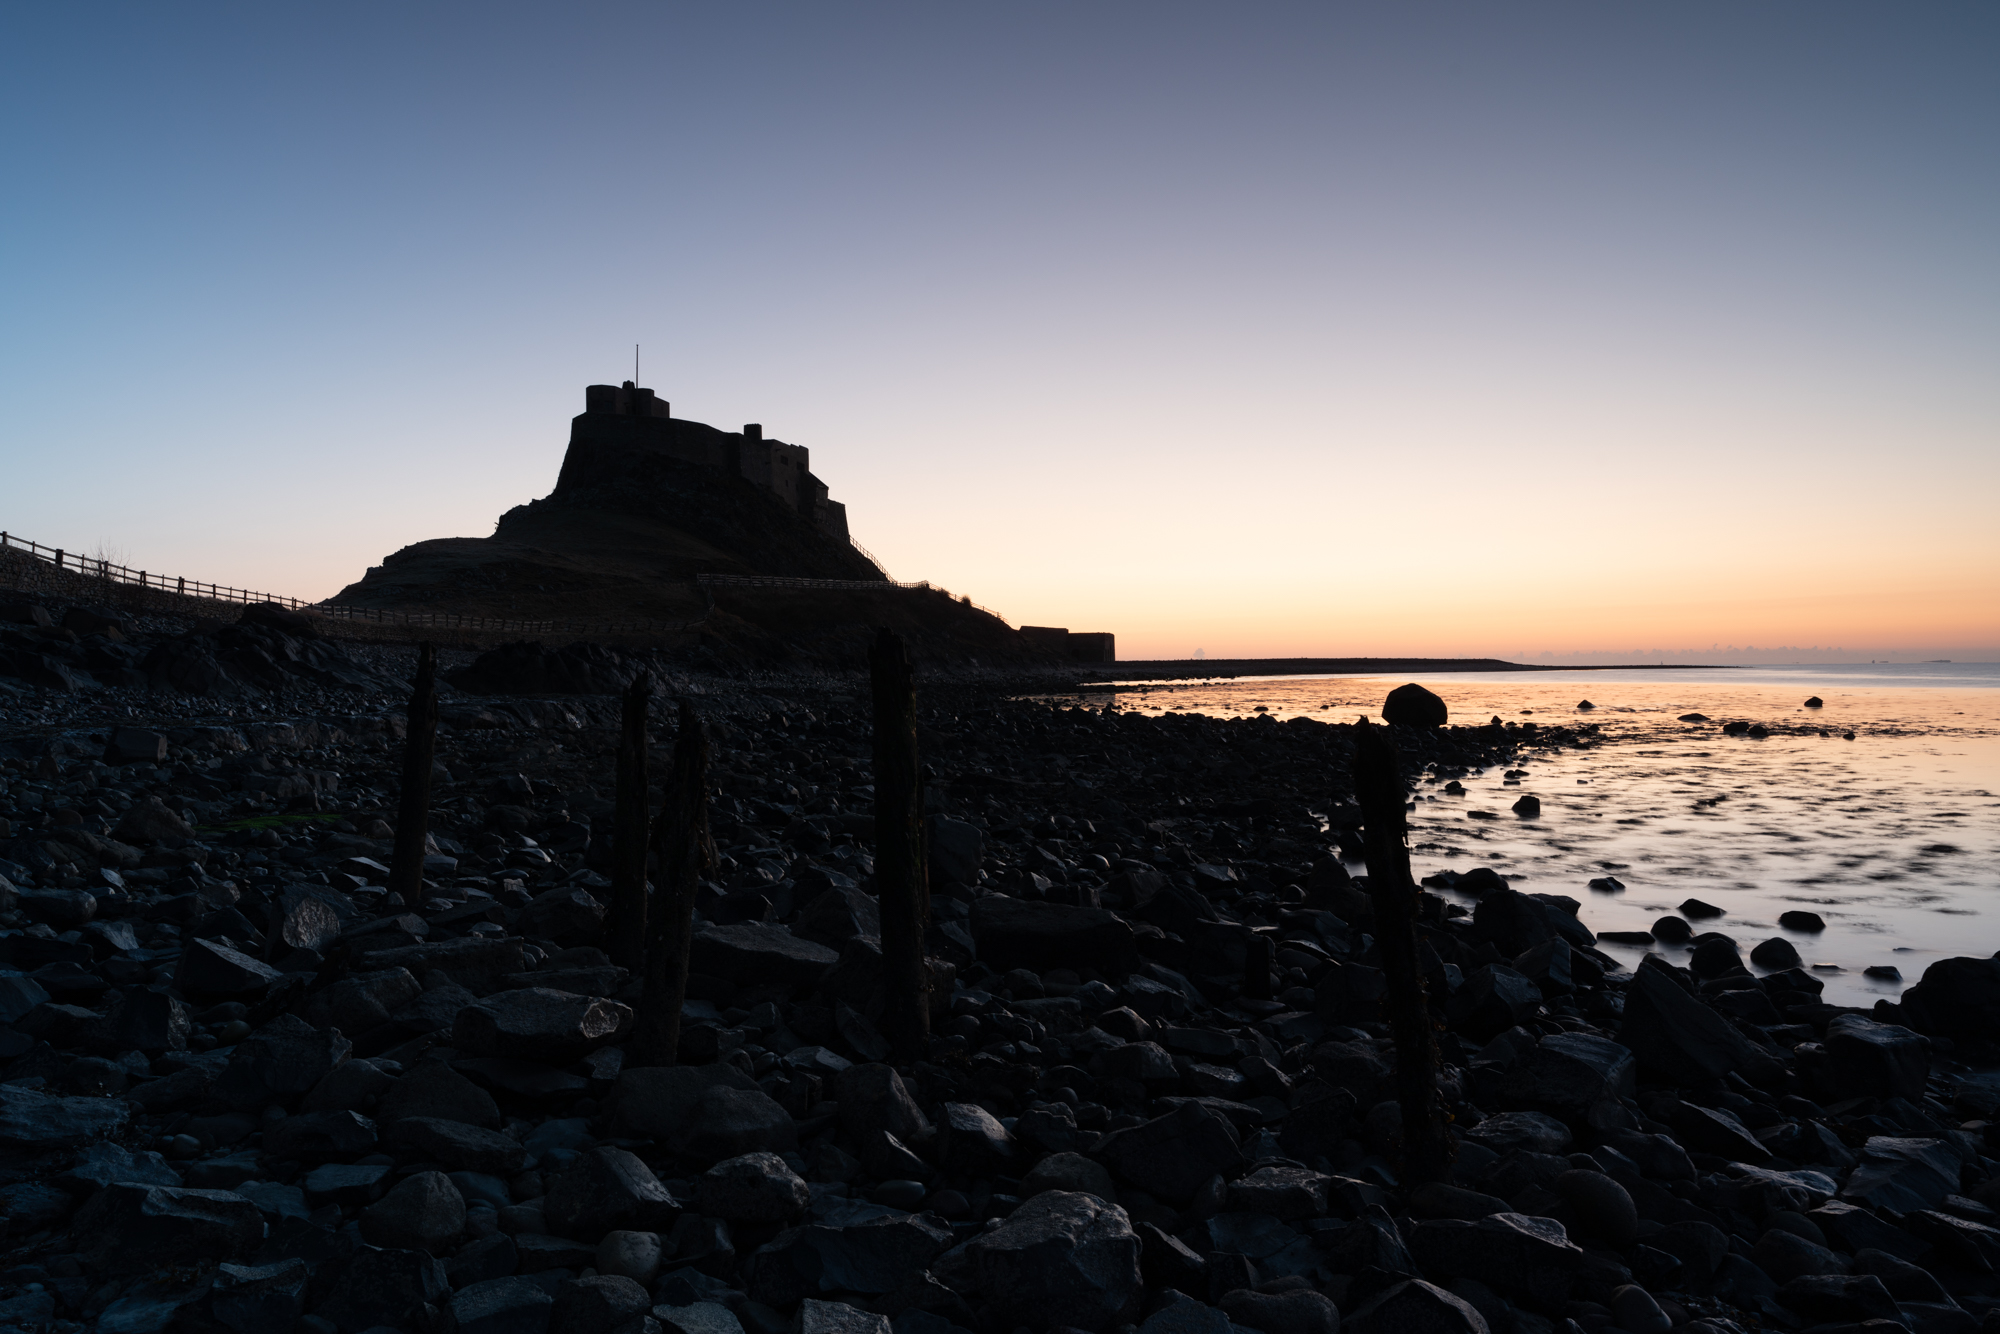
In a nutshell, dynamic range is the amount of detail that can be captured between the darkest and brightest parts of a scene. Thanks to the wide dynamic range modern cameras are capable of capturing, the best full-frame mirrorless cameras available typically have a dynamic range of around 14 stops. And it’s fair to say that even more modest entry-level APS-C models can offer as much as 13 stops.
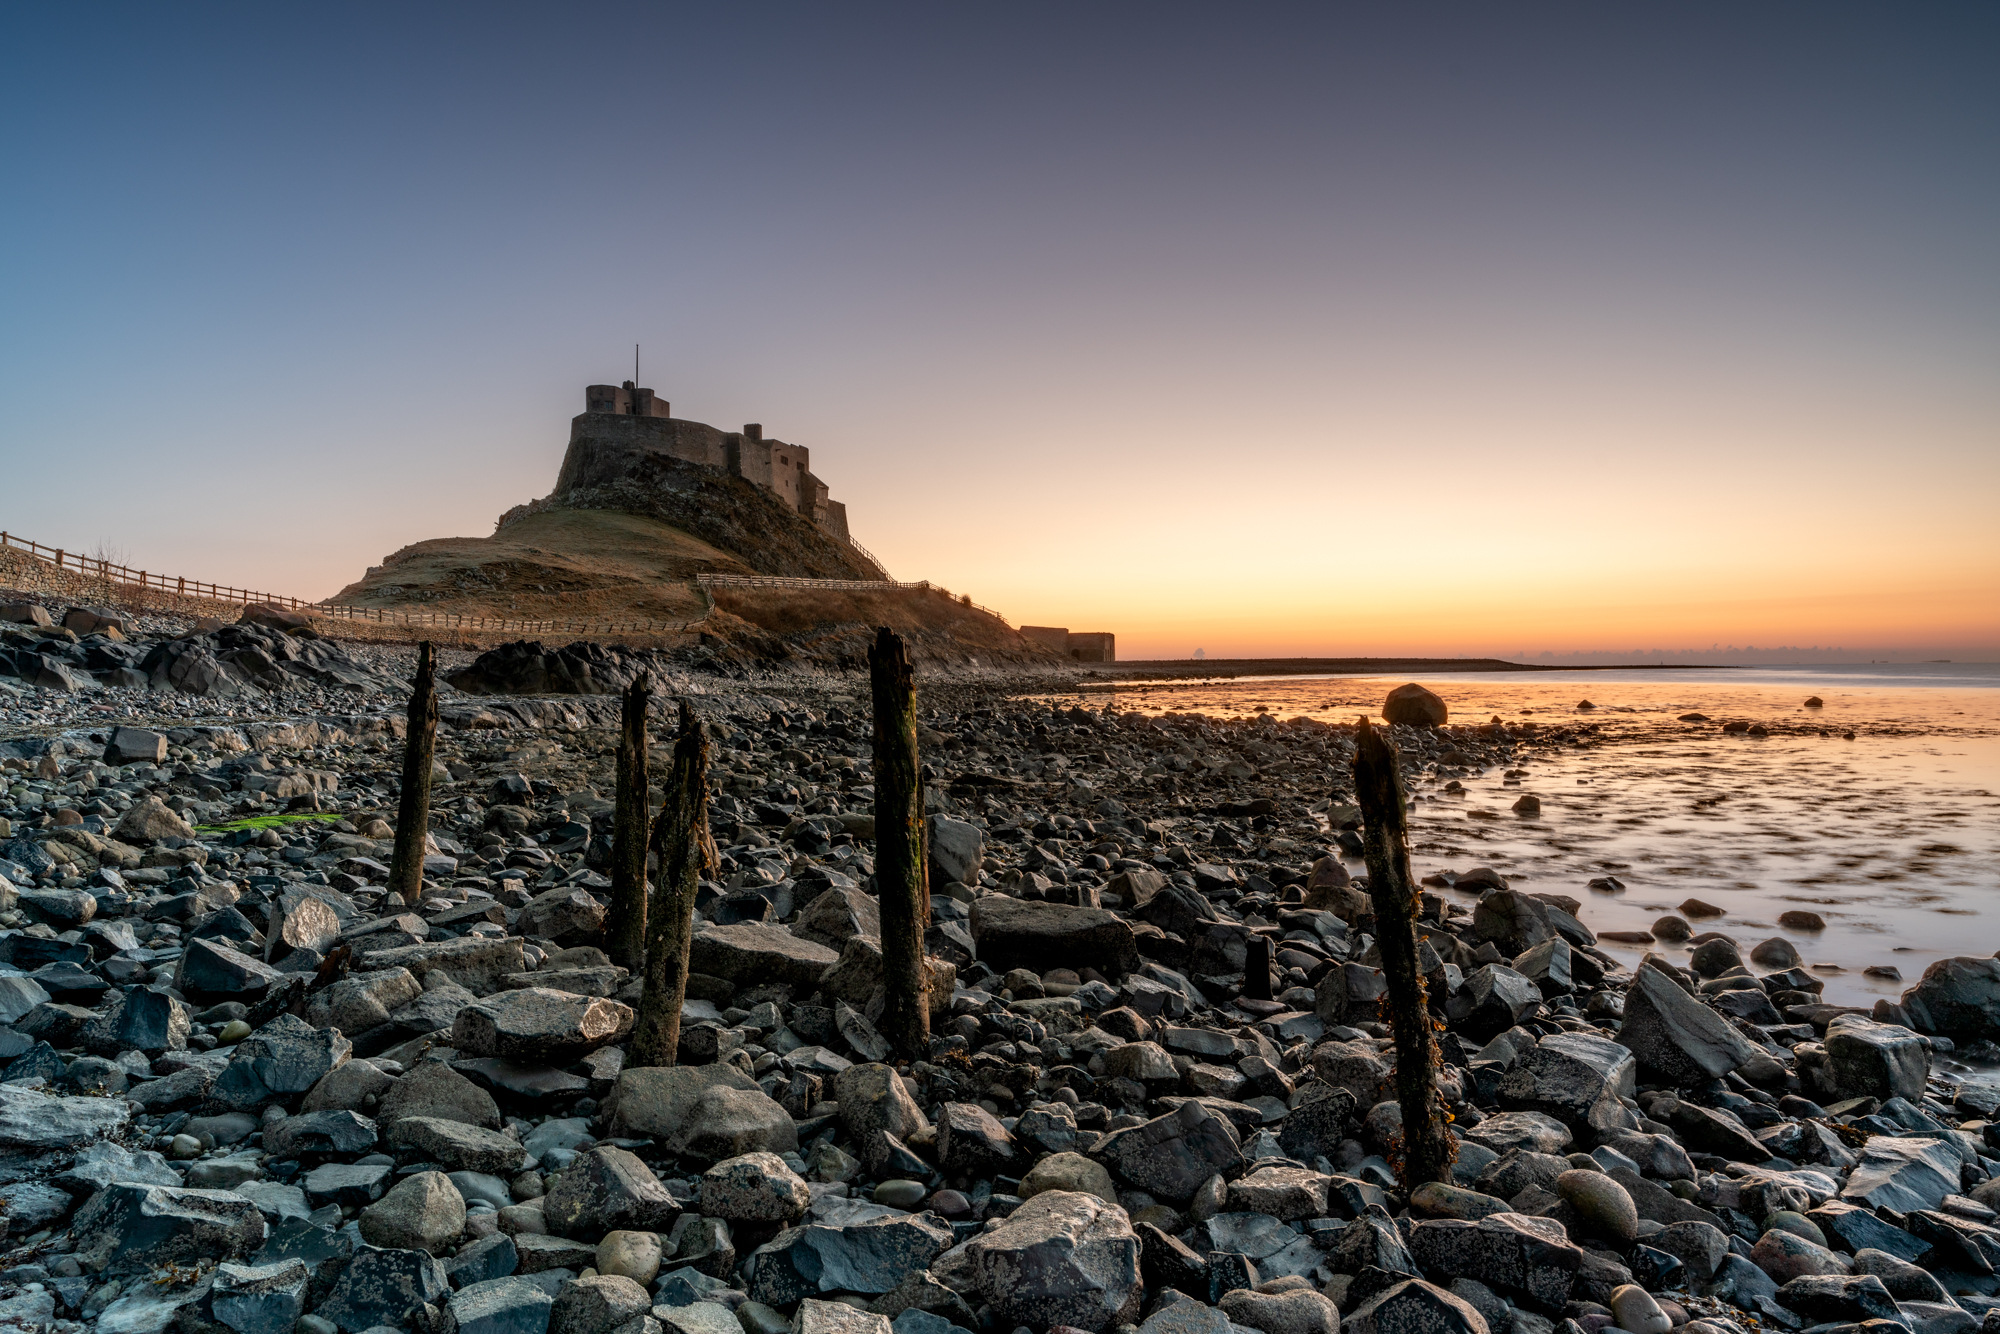
If you shoot raw you can pull a huge amount of detail from clipped shadows by brightening shadow areas in editing software before noise and color loss become an issue. Even at lower ISO settings, exposing for highlights means the shutter speed will often be fast enough to hand hold the camera, completely eliminating the need for a tripod, while processing can take care of successfully revealing detail in the darker tones.
When DO you need a tripod?
It’s possible to get away with shooting without a tripod in many situations, but there are also some scenarios when a tripod is essential, or at least useful.
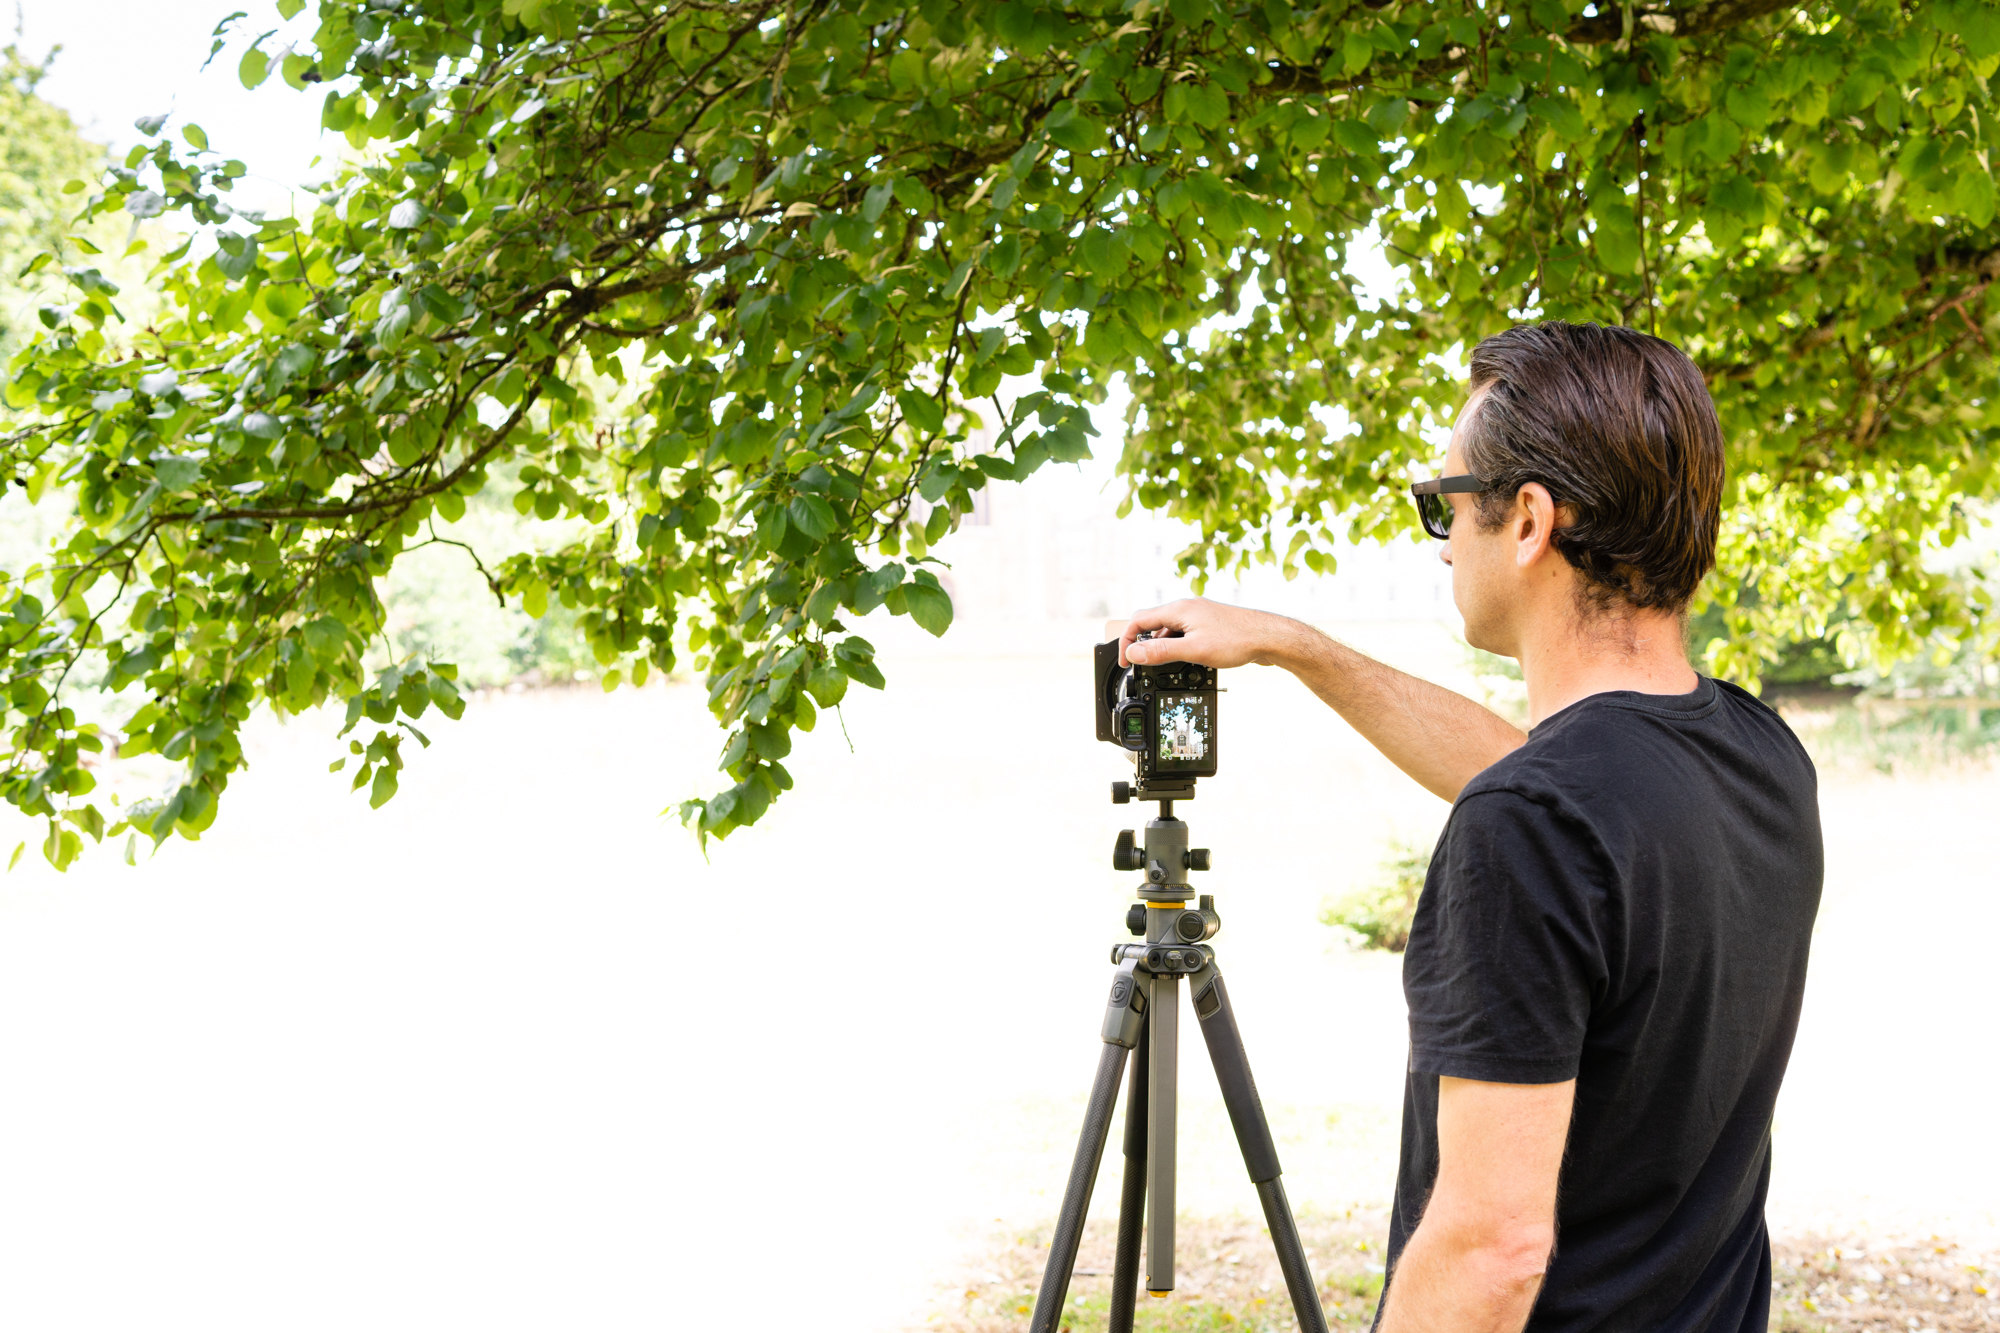
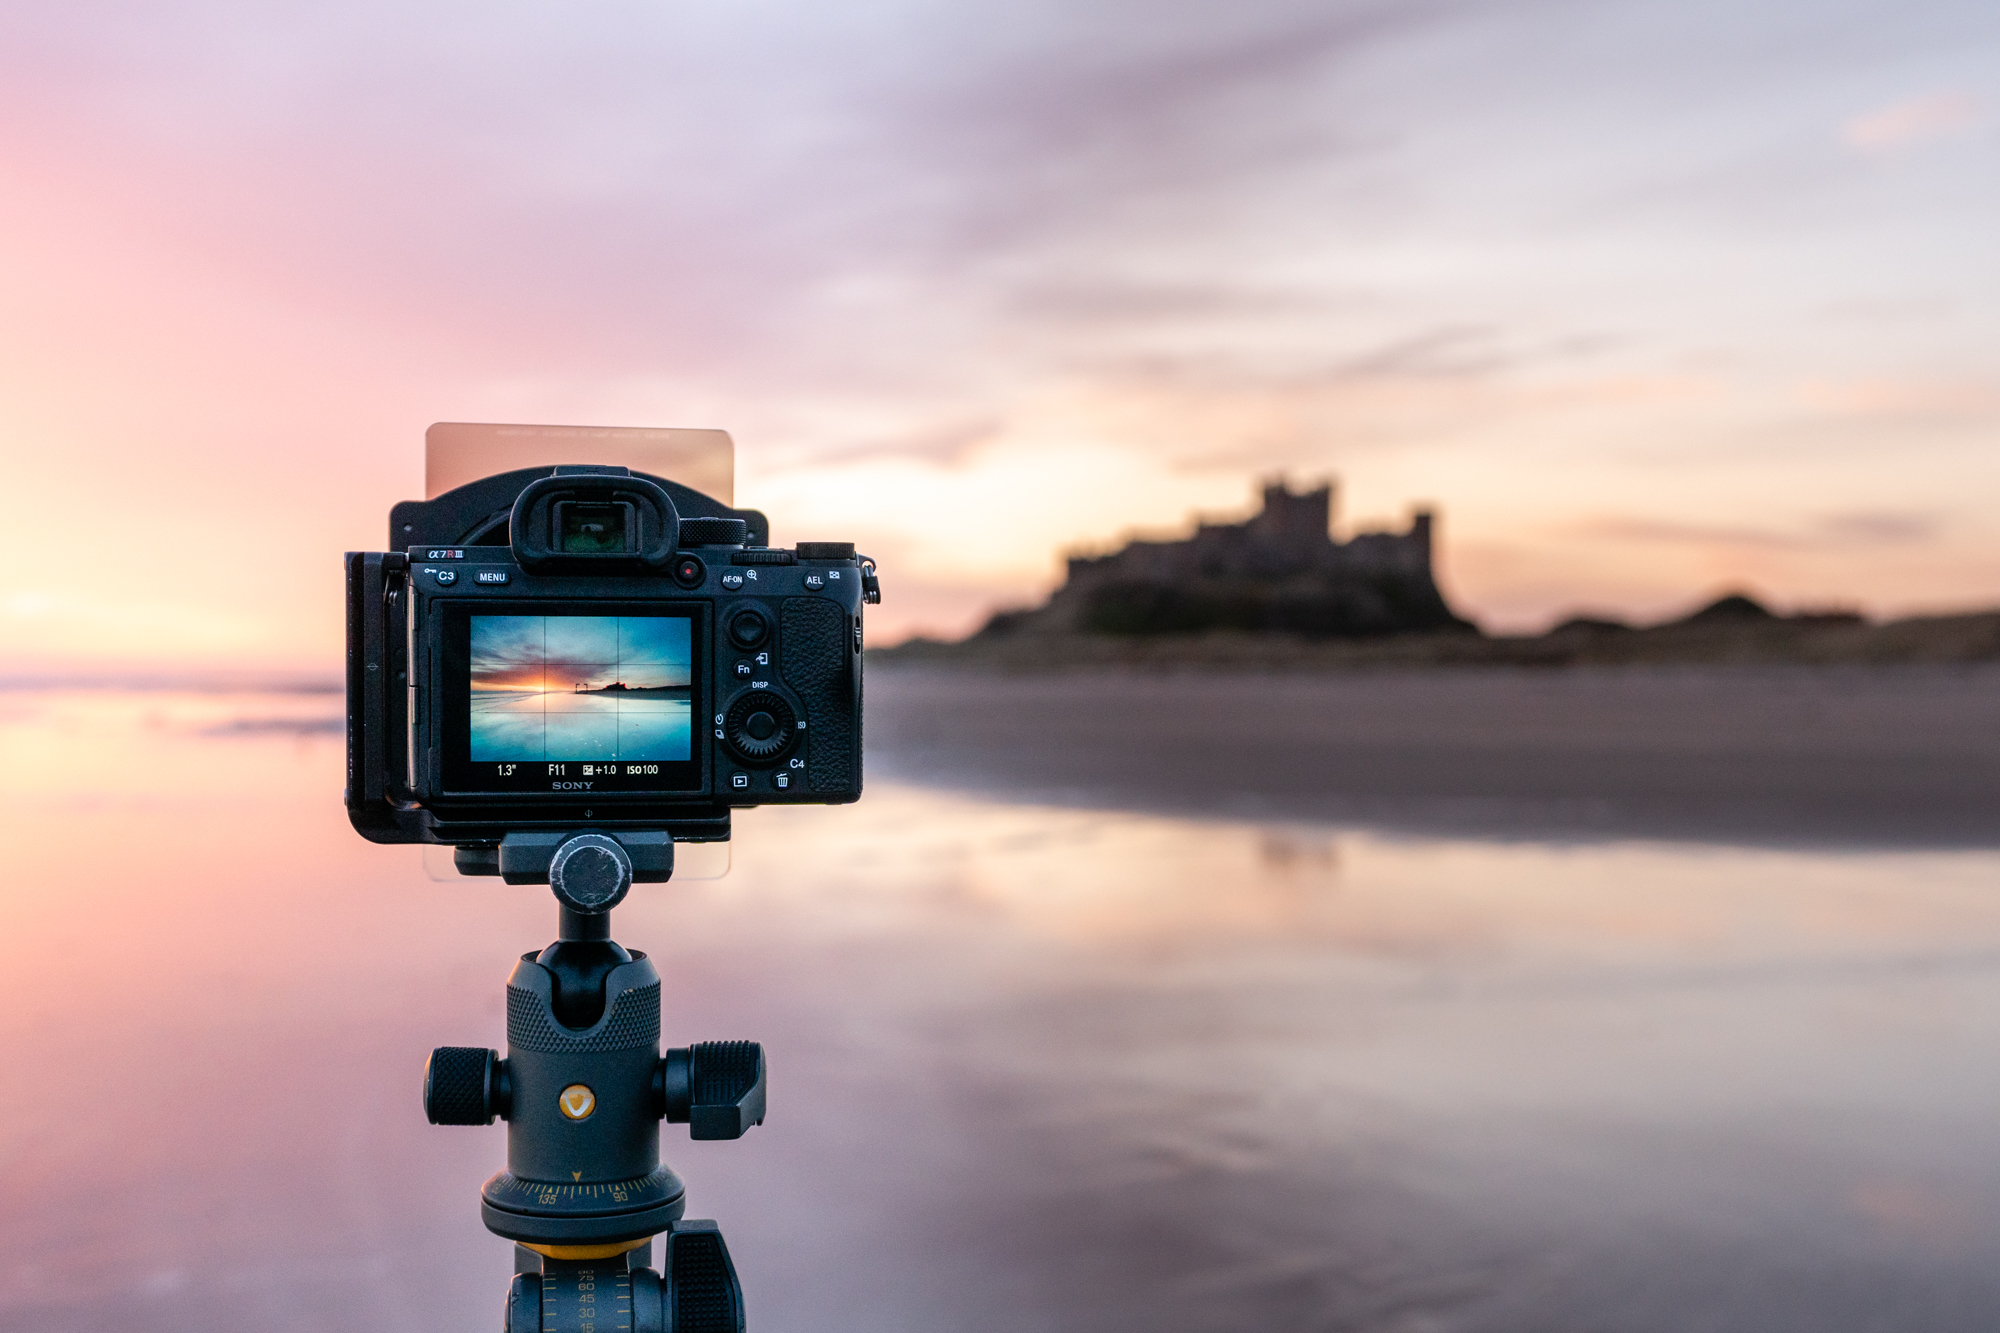
For landscape photographers, a tripod is useful if you’re using square filters, because it’s easier to attach them when the camera is supported and helps to avoid the risk of damage to filters and lens. Plus, when you’re shooting long exposures, you’re always going to get the best results with the camera firmly attached to a tripod.
Many studio photographers also favor tripods because holding a camera all day every day takes its toll, especially when the composition won’t be changing a great deal from one shot to the next, or to maintain face to face contact with their subjects. Once the background and lighting are set up, the work begins within this space for still life and for some portrait/fashion shoots.
James Abbott is a professional photographer and freelance photography journalist. He contributes articles about photography, cameras and drones to a wide range of magazines and websites where he applies a wealth of experience to testing the latest photographic tech. James is also the author of ‘The Digital Darkroom: The Definitive Guide to Photo Editing’.