Death Stranding cargo management: how to efficiently spread your cargo weight
Share the load

In case you didn’t already know, you play as delivery man Sam Porter Bridges in Death Stranding.
That isn’t a strange name assigned to him by Kojima in the vein of Sniper Wolf or Psycho Mantis, however — you are quite literally tasked with transporting cargo from one way station to another.
As a result, cargo management quickly becomes one of the most important things to master if you’re to succeed on your quest to reconnect the fractured cities of America. Lucky for you, we're here to help.
Weighing it up

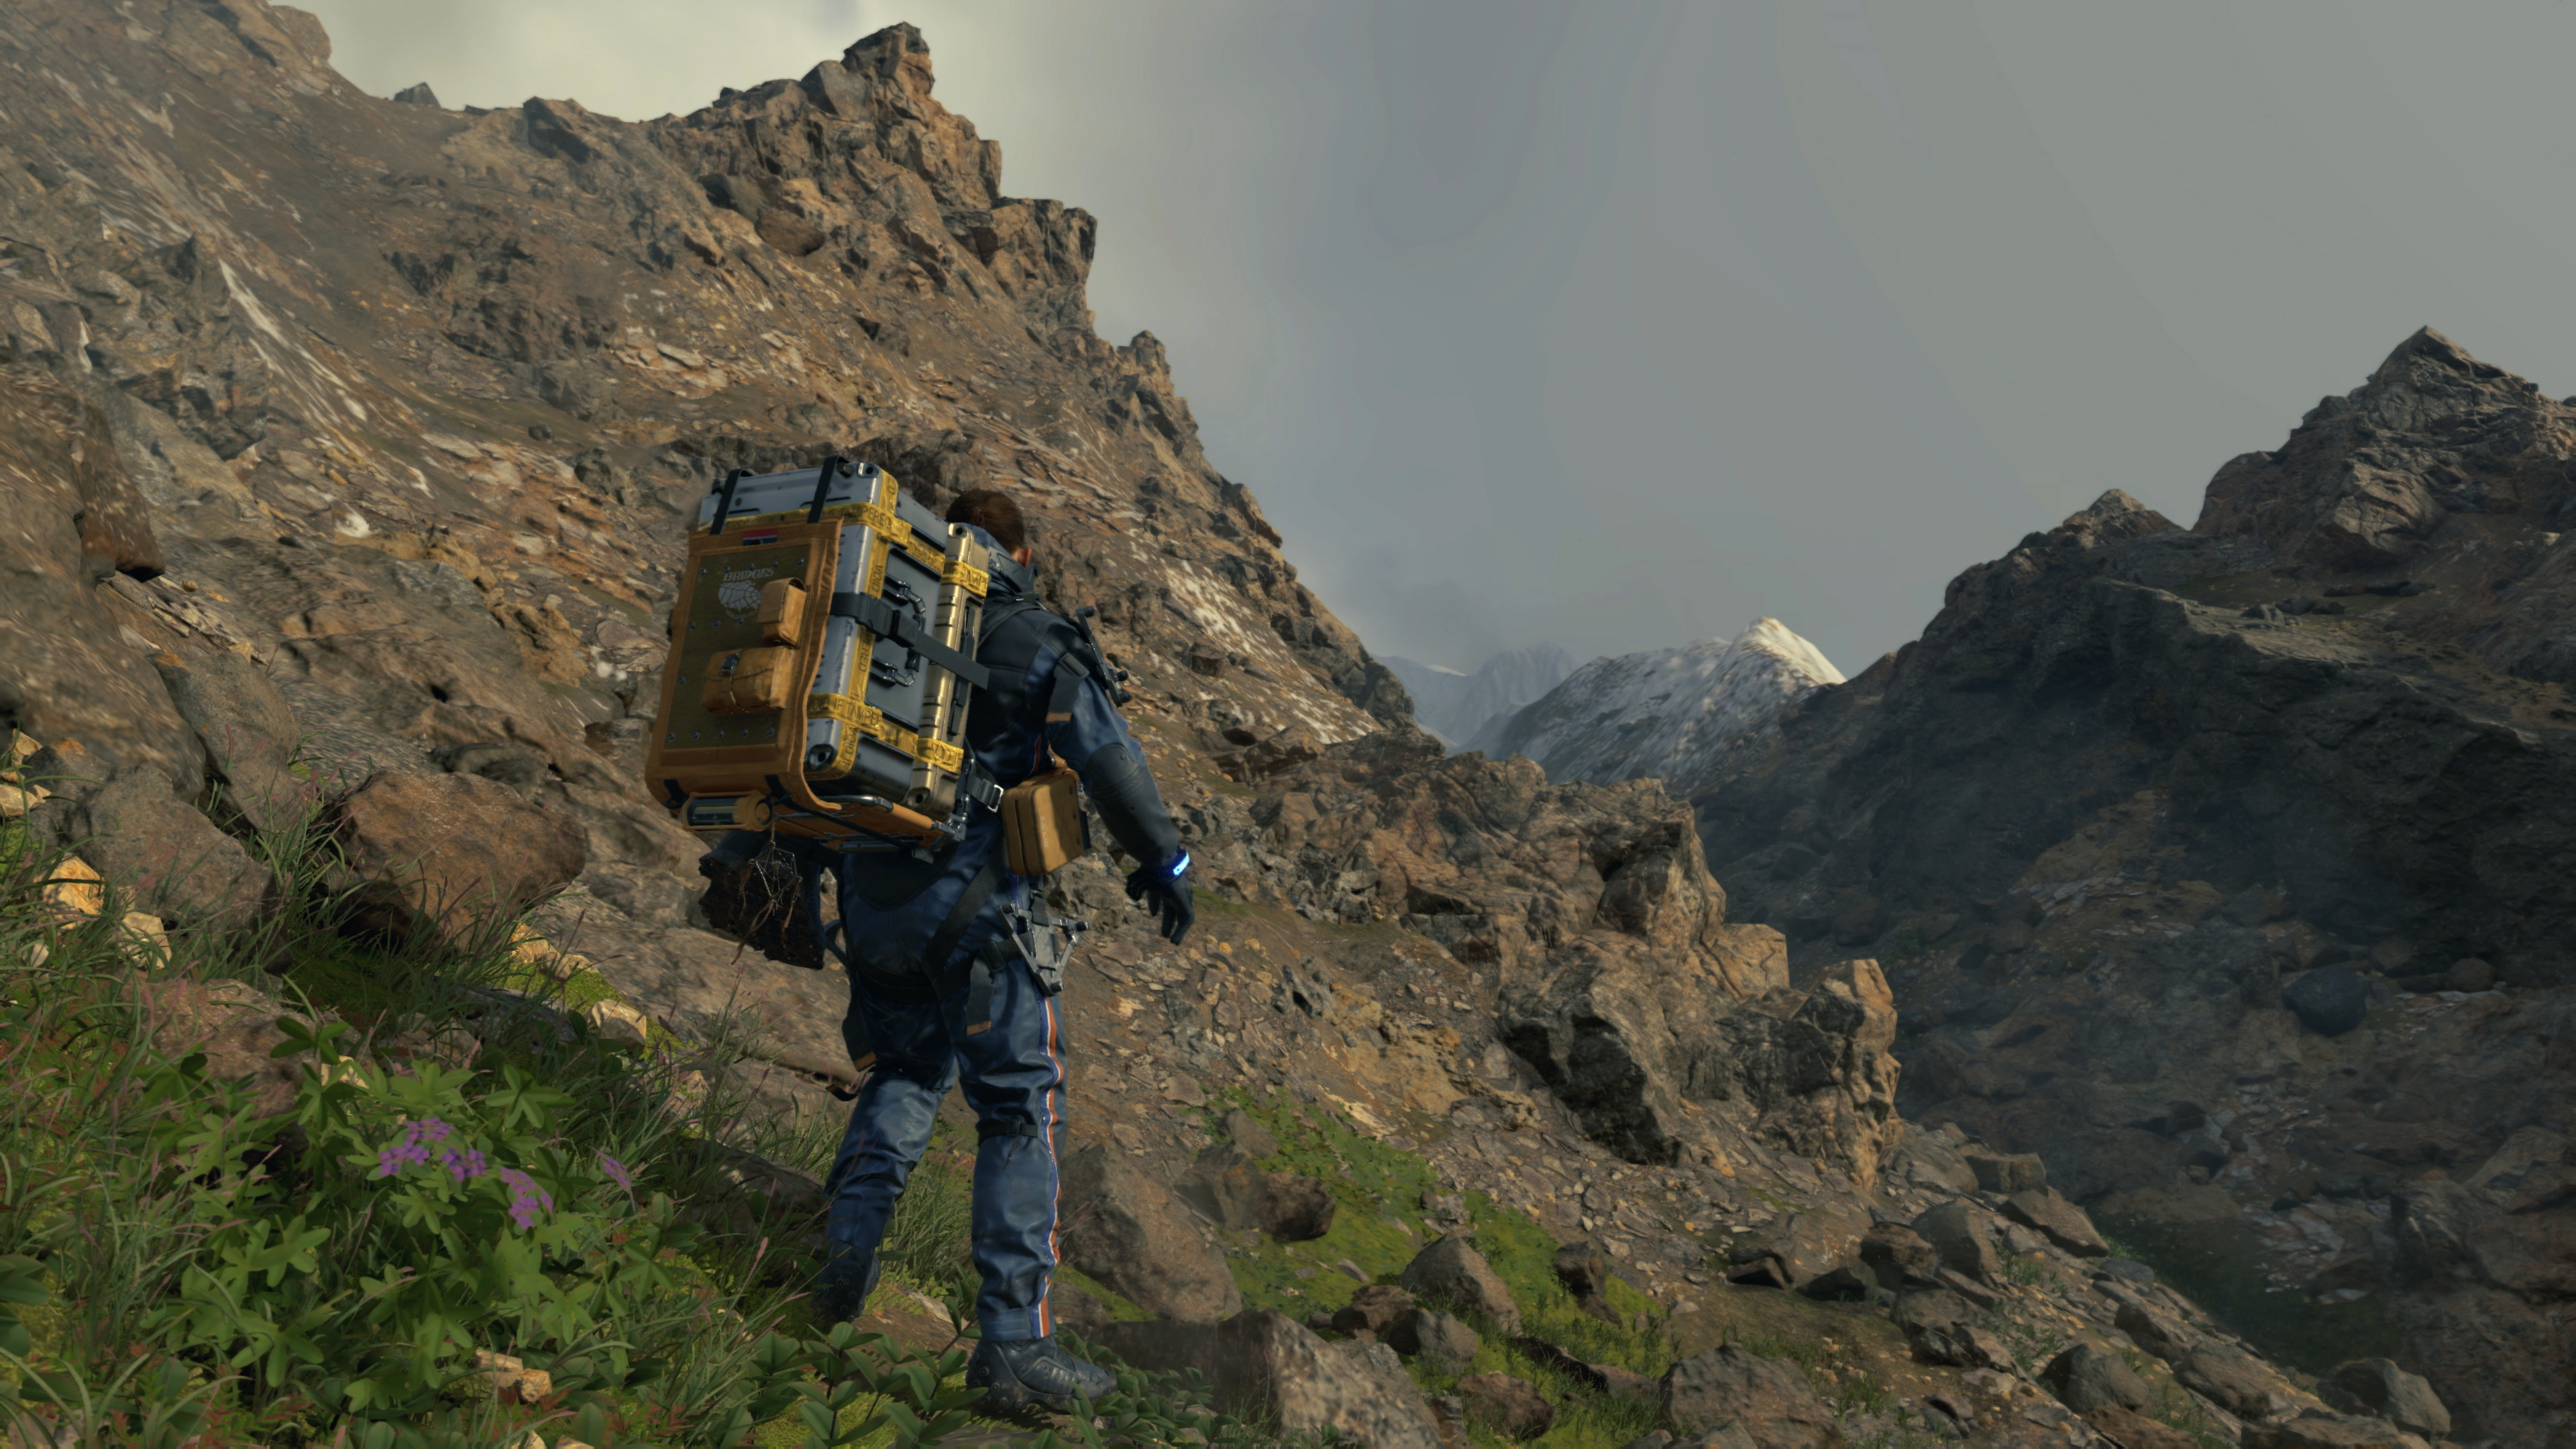
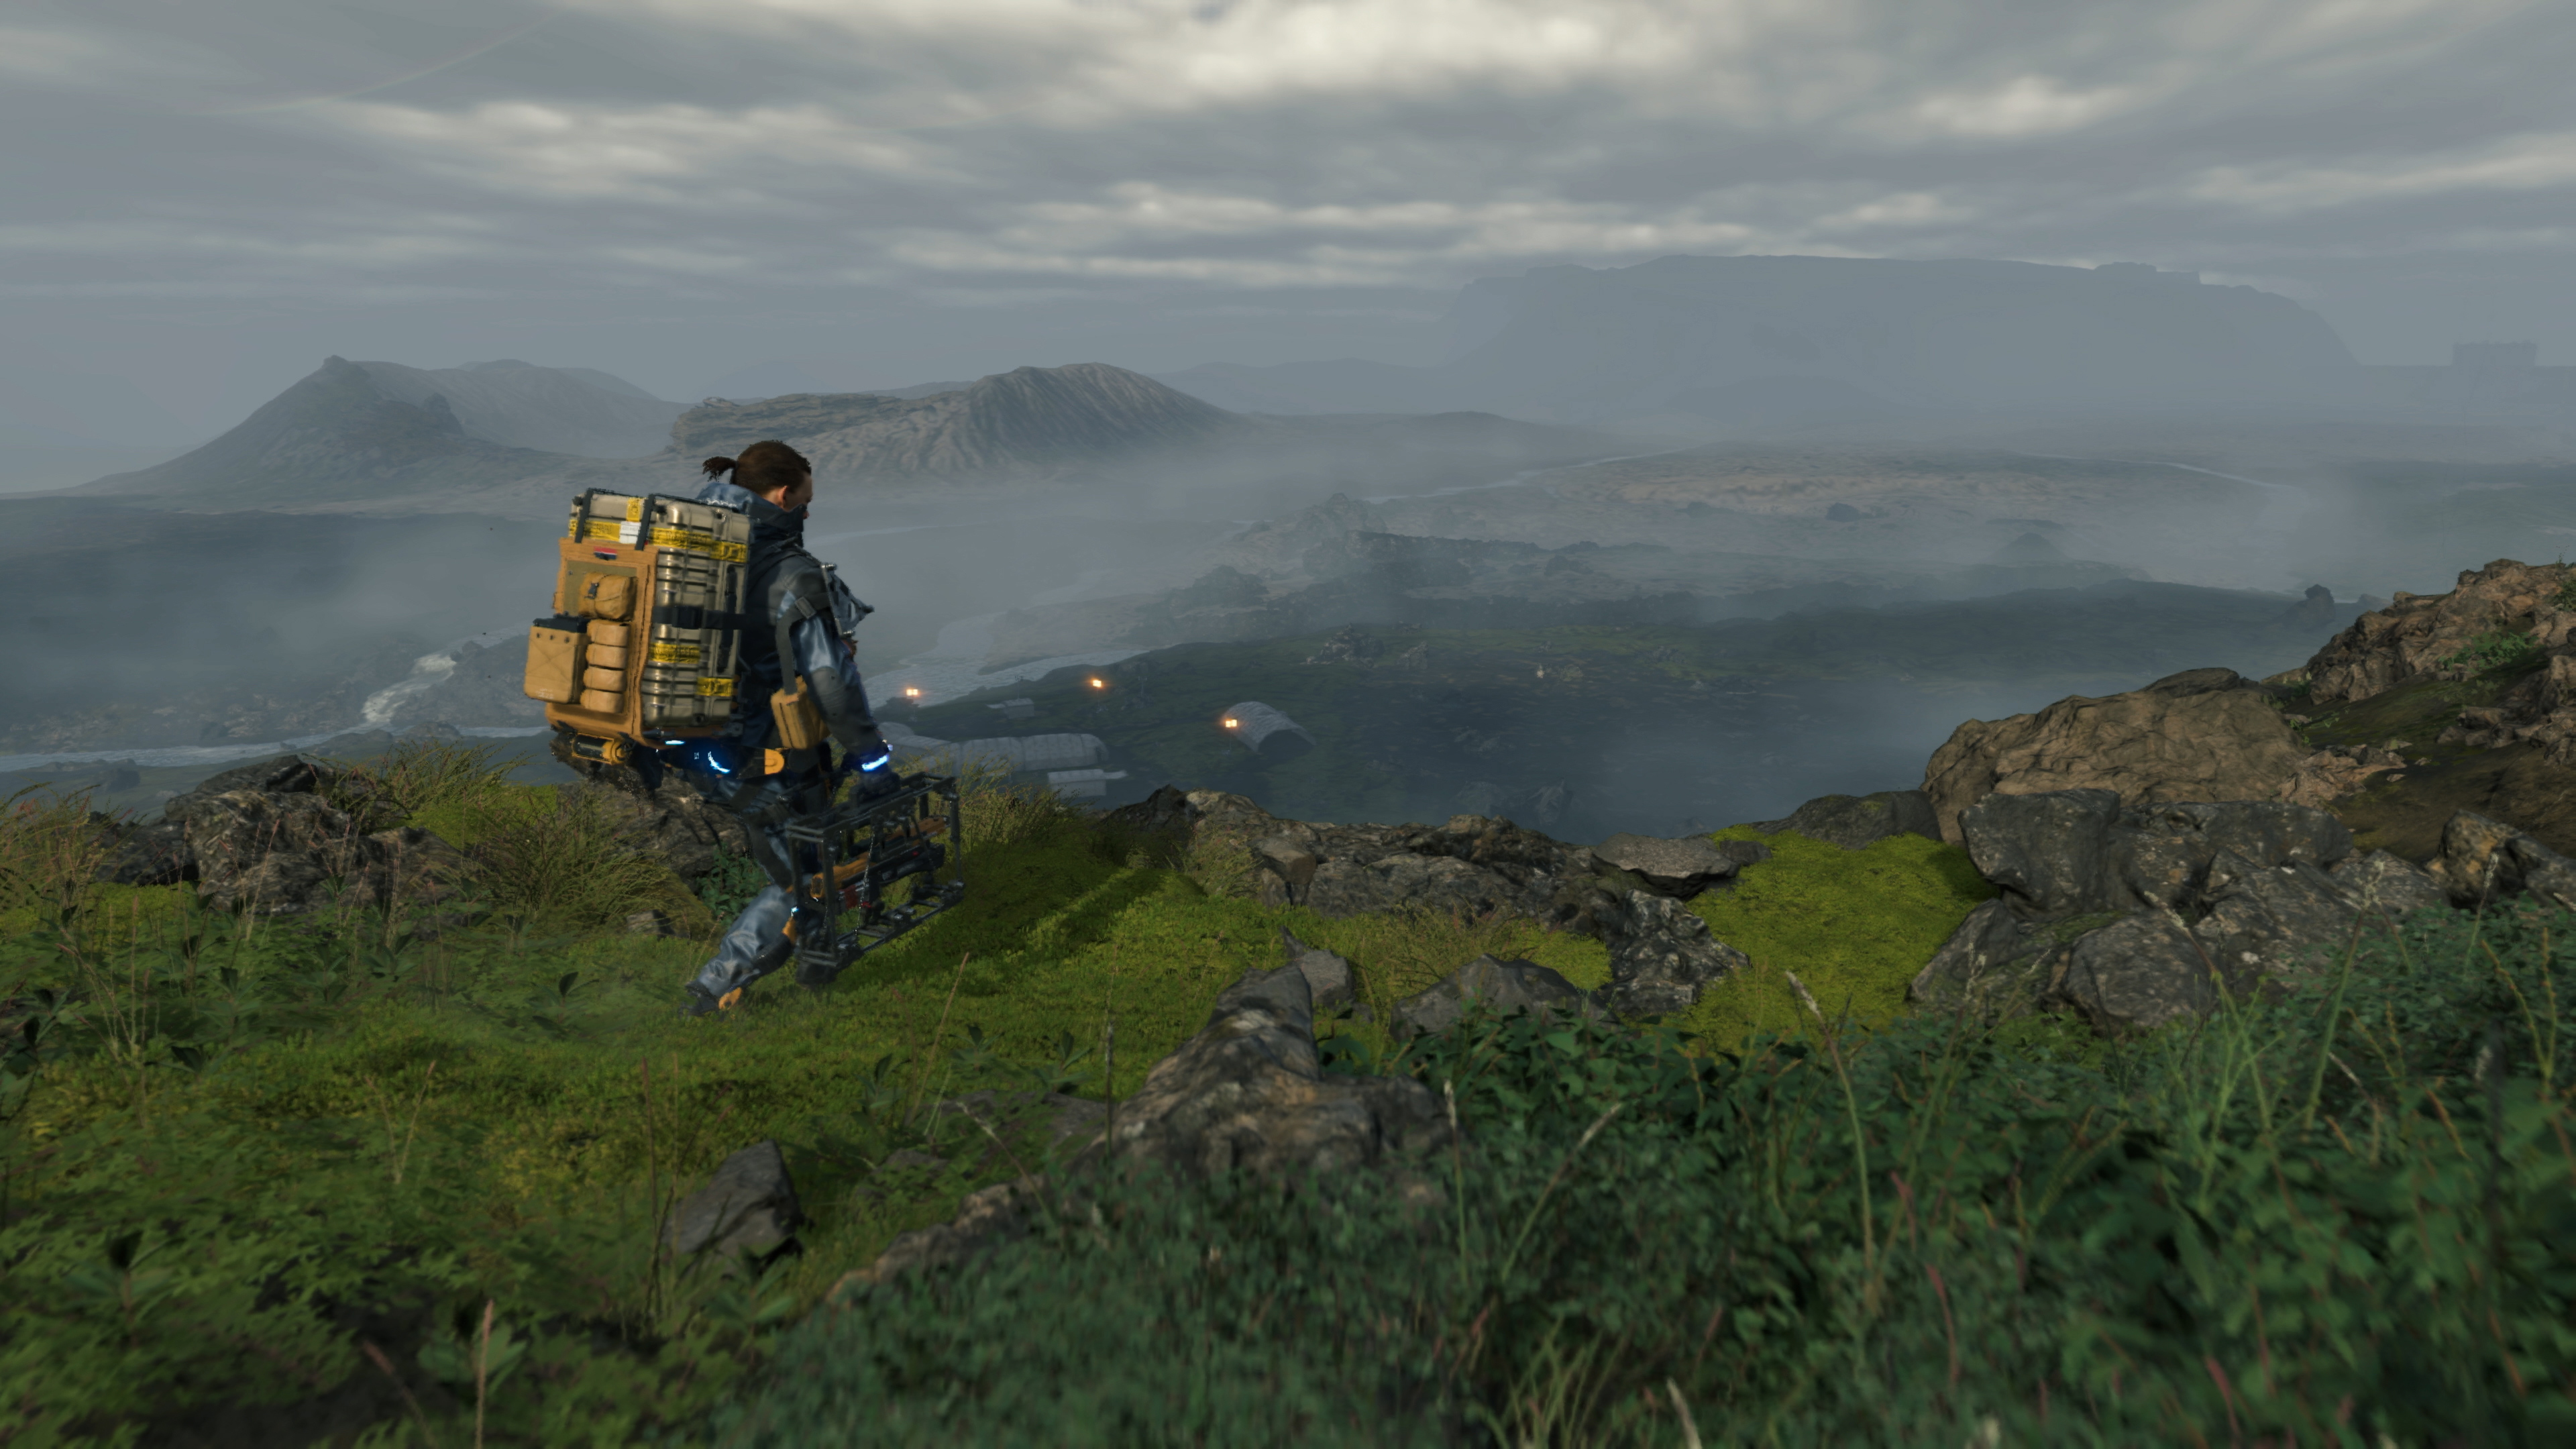
As you traverse the rugged landscapes of Death Stranding, cargo stacked on your back and hanging off the side of each and every available limb, you first need to consider how much weight you’re actually capable of carrying. Luckily, this is clearly displayed on the cargo screen — you can’t miss it. All you need to do, literally, is stay as far below your maximum carry weight as possible. Sounds easy. It isn’t.
Fortunately, there’s an option for auto-assigning where each piece of cargo is to be placed, which, unlike most automatic features in games, tends to work remarkably well. It prioritizes dispersing weight in a way that allows you to stay centered while also being able to see. Both of these things are equally important.
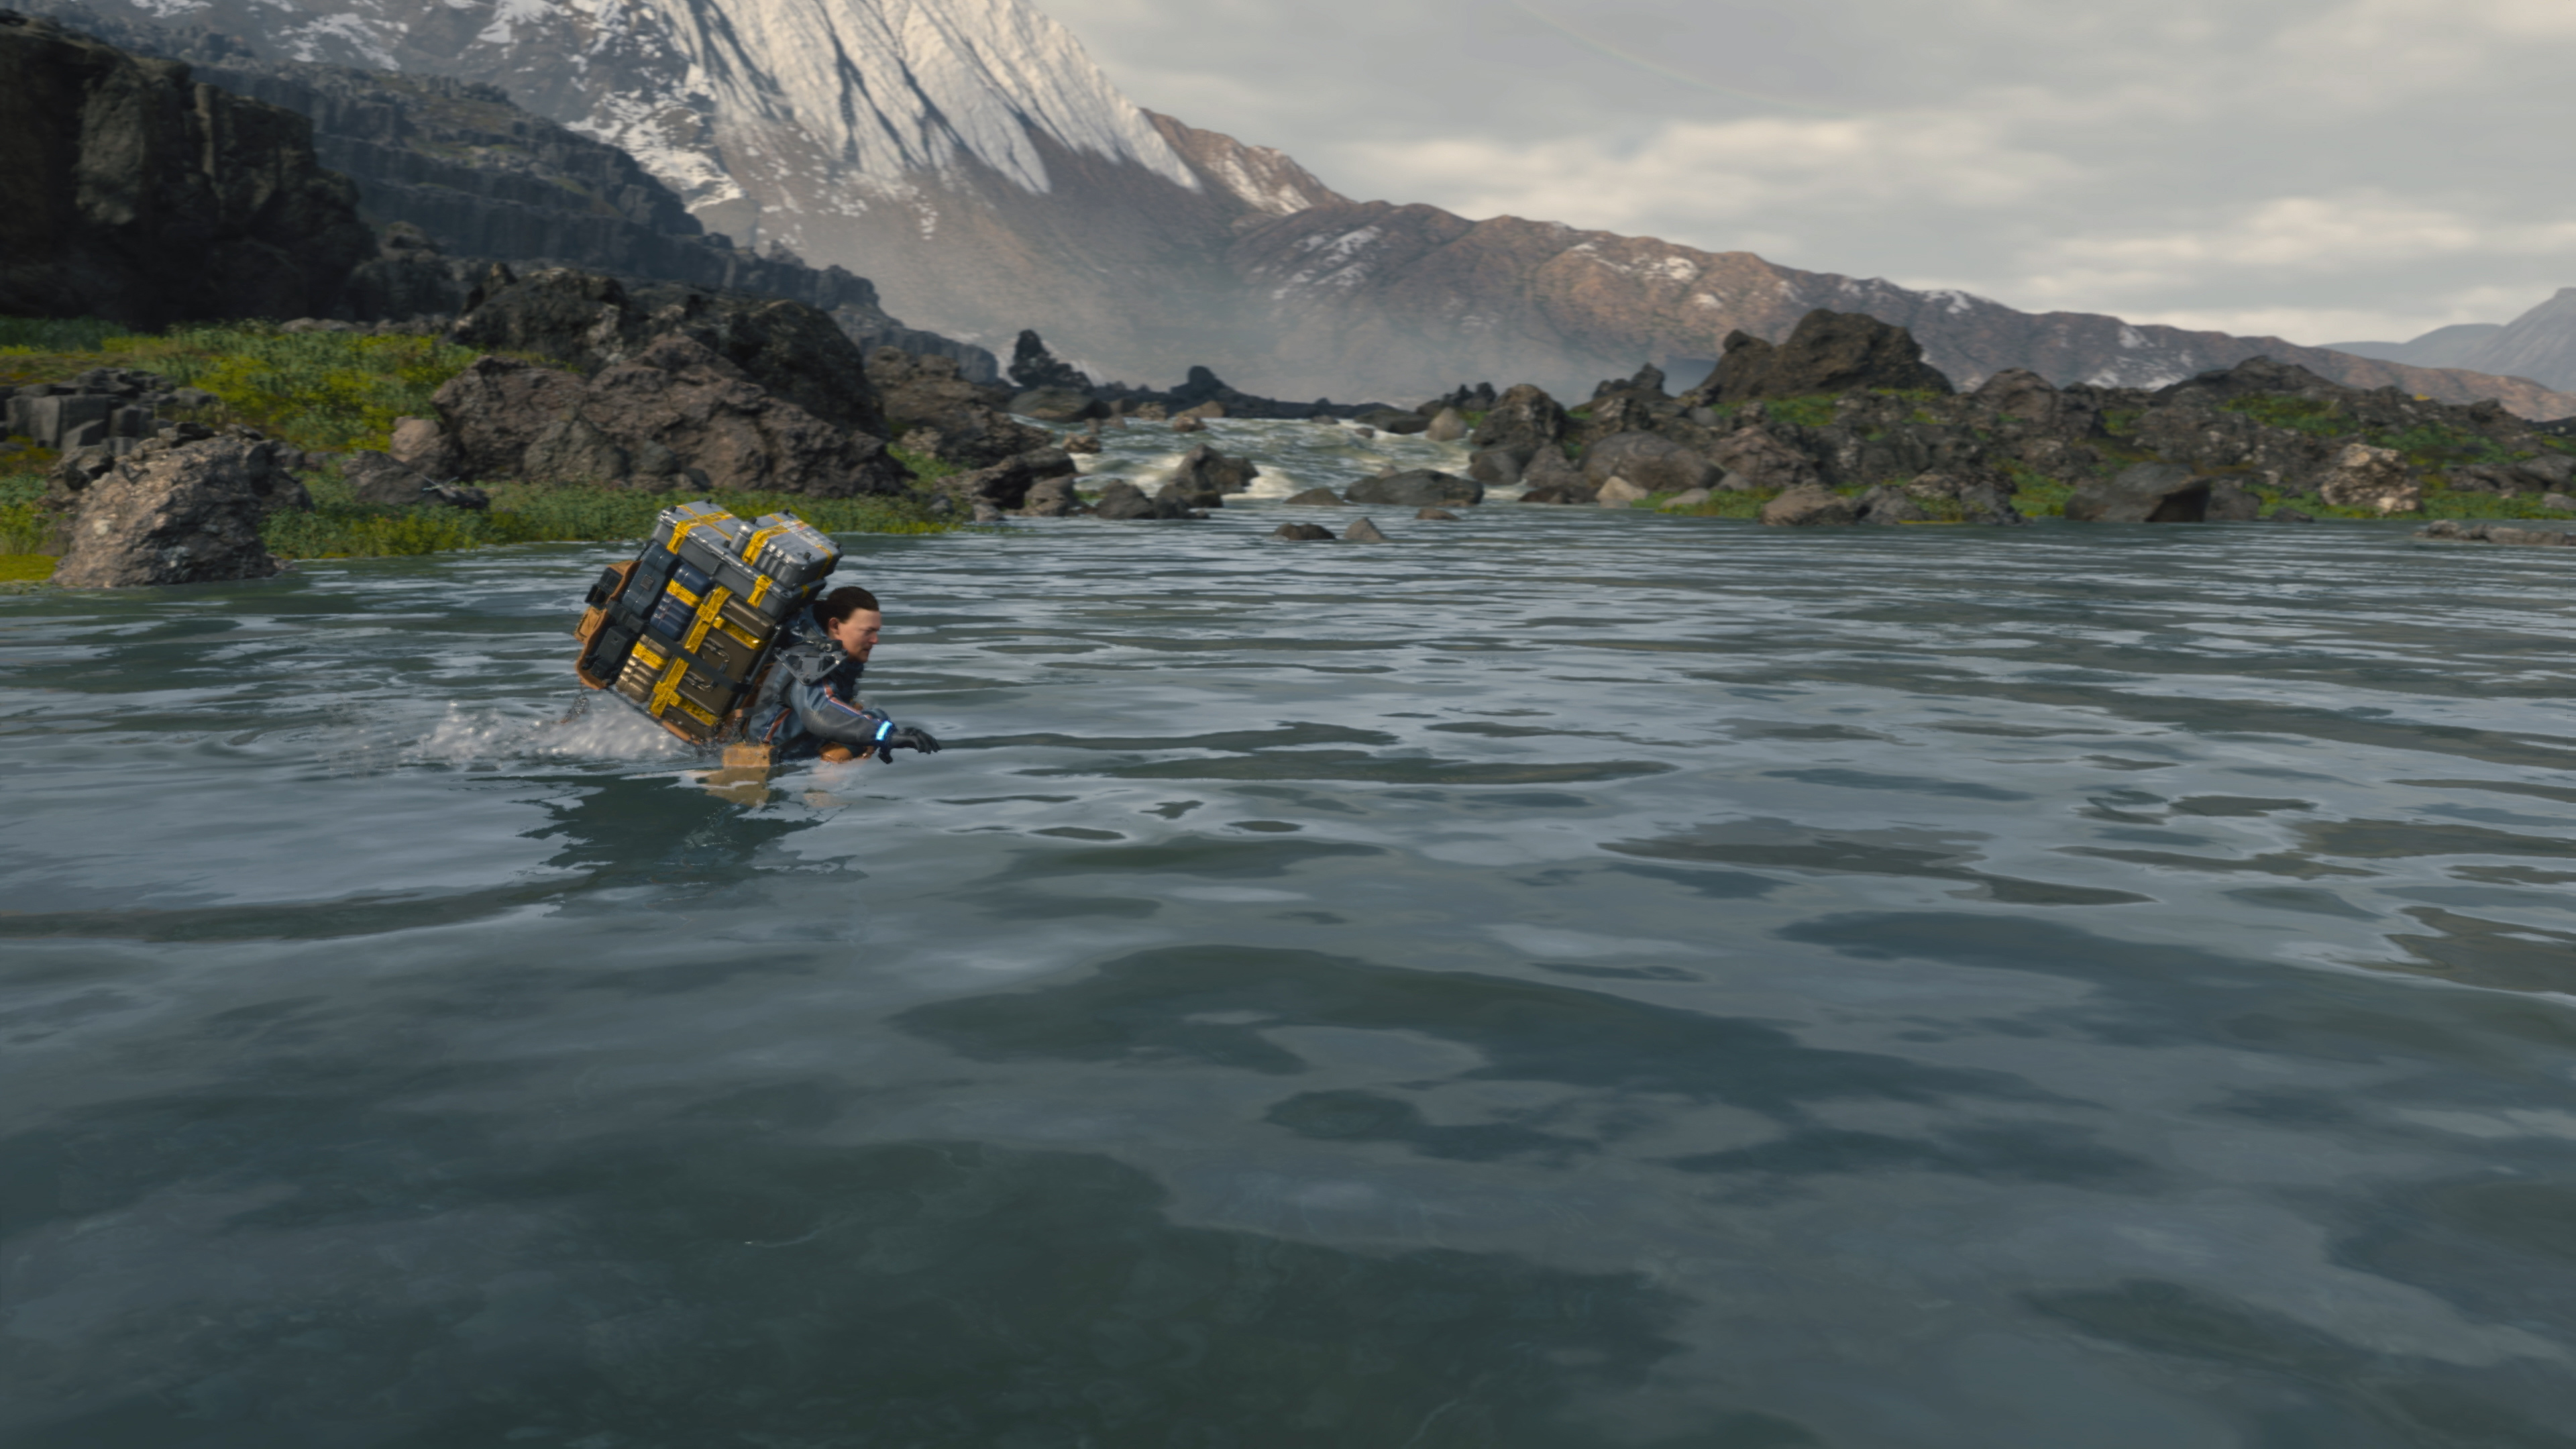
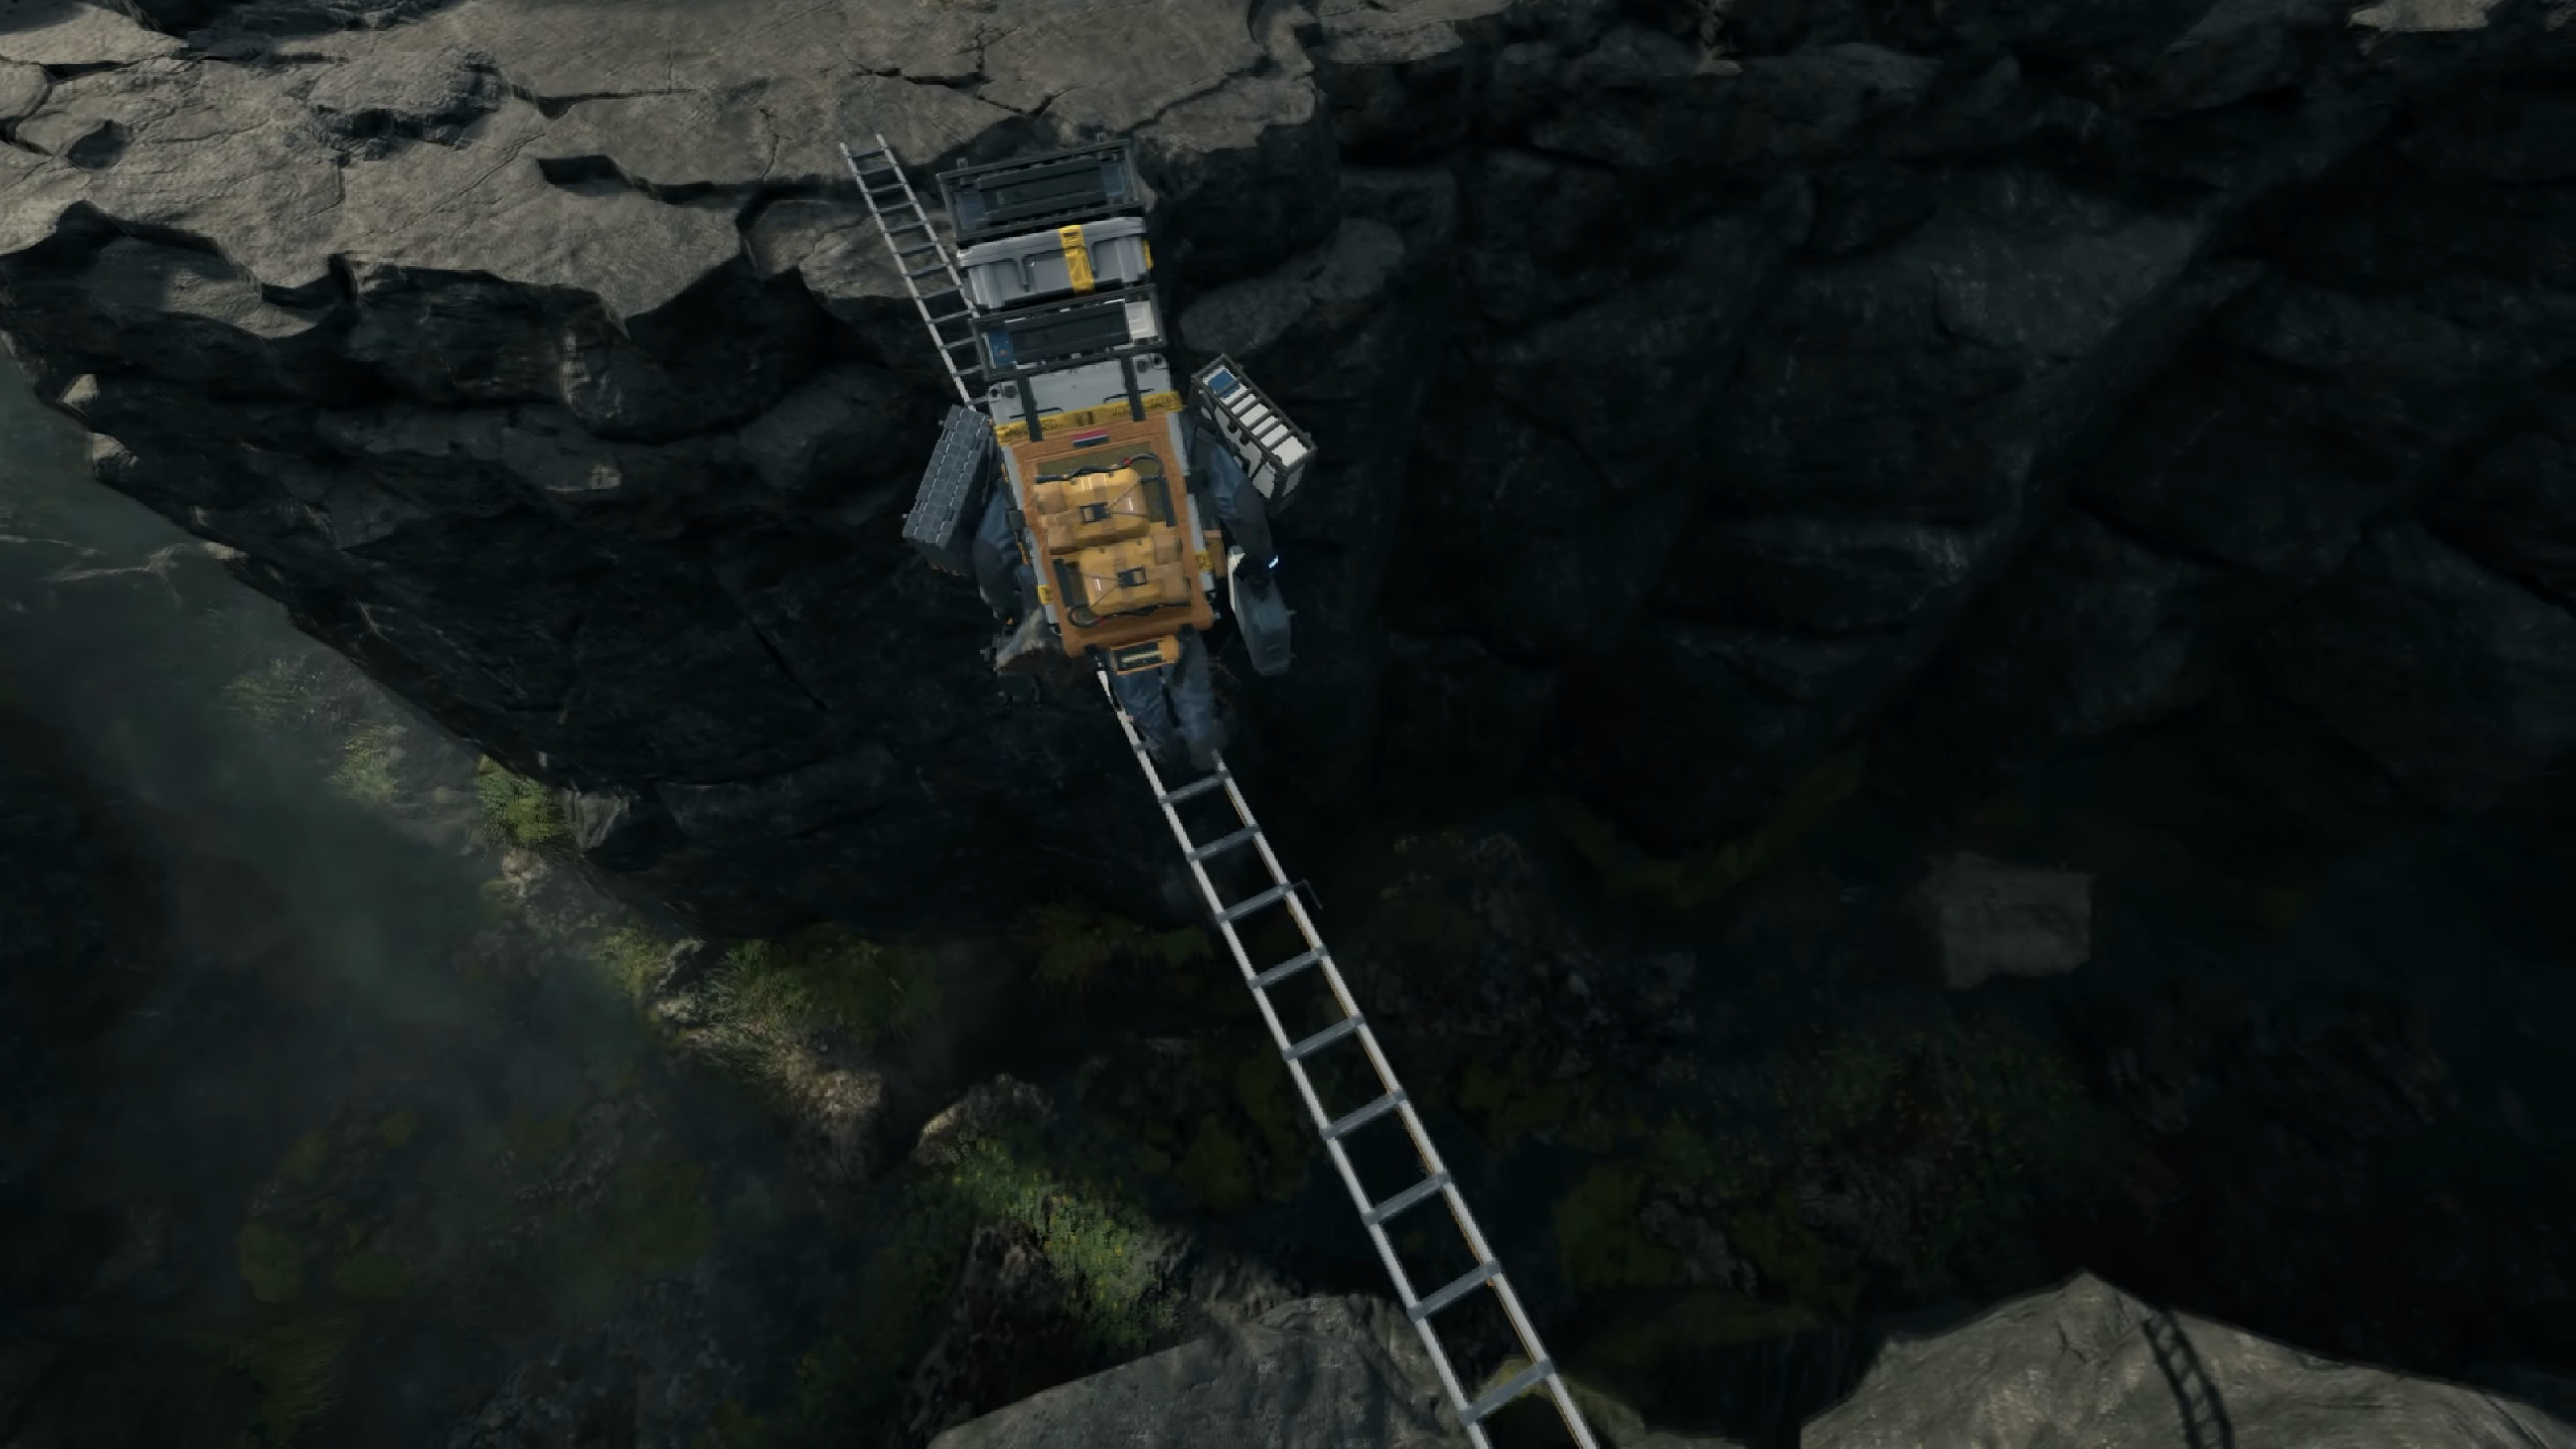
If you’re carrying too much weight on one side, you’ll begin to lean that way, and will have to hammer the opposite trigger constantly just to stay upright. You will almost always eventually fall.
Meanwhile, if you stack too much cargo on your back before heading out, you’ll notice far too late that it’s almost impossible to view your BT scanner once you’re in enemy territory. Considering that BTs are invisible, losing access to your scanner — your only way of knowing where they are — almost always eventuates in certain death. We felt very stupid every single time we died because we took on so much of a lazy man’s load that we genuinely couldn’t see what was in front of us.
Sign up for breaking news, reviews, opinion, top tech deals, and more.
Exo-skeletons

As you progress through the game, you’ll gradually be able to carry more cargo. As well as being granted incremental increases to max weight capacity from leveling up, you’ll also come across exo-skeletons, which can be worn over Sam’s porter suit in order to apply certain buffs.
One particular skeleton dramatically increases your maximum carry weight, so be sure to get your hands on one of those as soon as possible. In fact, it’s actually useful to keep one of these on hand at all times, as if you pick up lost cargo on your way to a delivery destination, you can quickly swap into your extra-weight exoskeleton in order to successfully manage the additional few kilos.
They’re also relatively light, so they won’t take up too much space in your inventory, despite how much they add to it when worn. Bear in mind, however, that these exosuits are battery-charged, so if you’re carrying too much and get caught in the middle of nowhere with a flat battery, you’re pretty much screwed.
Just try not to fall over, ok?

So, what have we learned? Stick to auto-assigned cargo dispersal, carry as little as possible at all times, never get greedy, and remember: two easy trips are almost always quicker and far more painless than one excessively long one.
In fact, we learned the hard way that as much as three easy trips are preferable. Play smart, not fast.
- Best games 2019: our favorite PC and console games of the year
Cian Maher is the associate Editor at TheGamer. He is a freelance reporter with work in The Guardian, The Washington Post, Techradar, The Irish Times, The Verge, VICE, WIRED, Ars Technica, MTV, Eurogamer, VG247, Polygon, GameSpot, Rock Paper Shotgun, IGN, Variety, Red Bull, Gamasutra, PC Gamer, SYFY, and more. First Class Honours BA in English Studies from Trinity College Dublin.
