How to use Join.Me
We guide you through using the popular conferencing tool
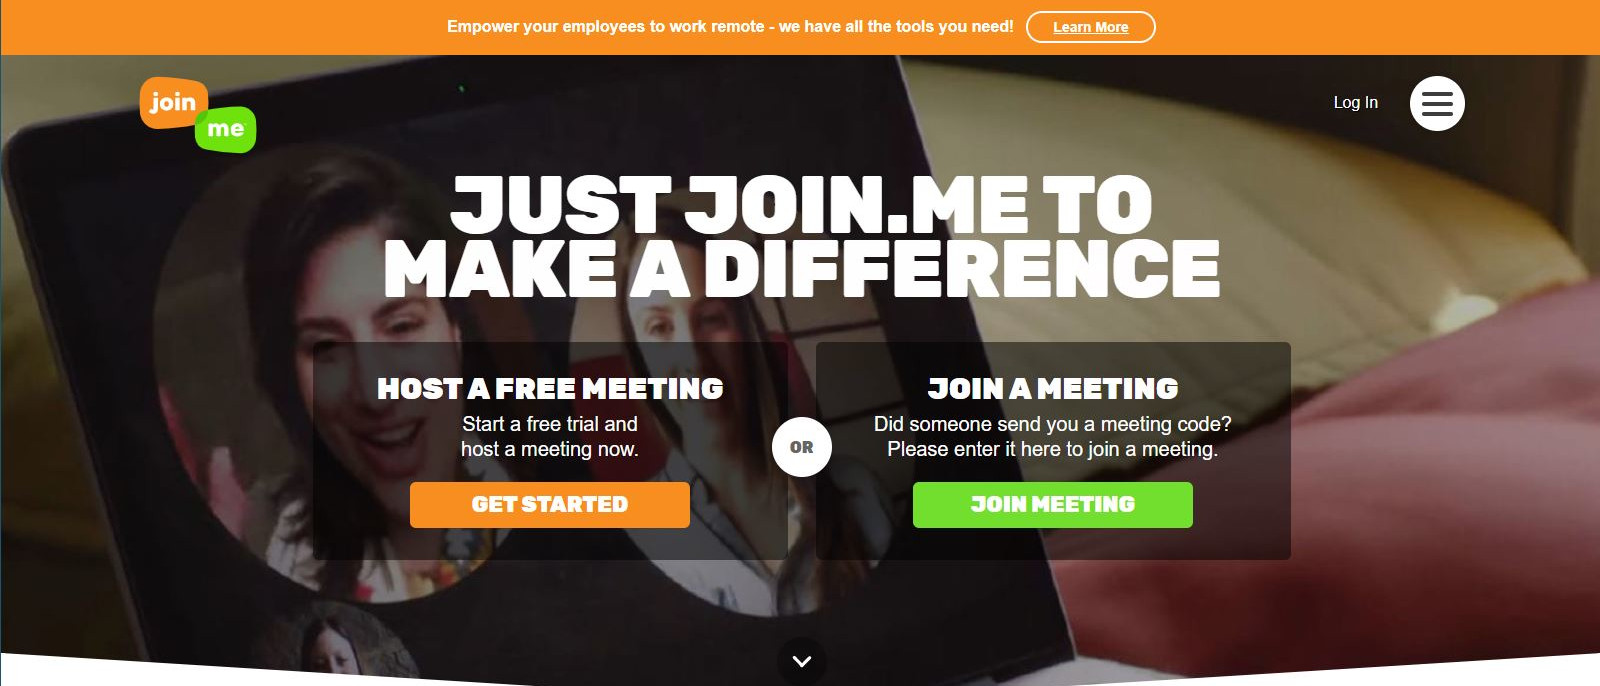
With so many conferencing tools to choose from its difficult to decide the exact one that you need, but this one is popular with many businesses and users.
Join.me is designed specifically for those that host team meetings and client presentations over streamed video and has lots of useful features for organising virtual events and team workflow.
Let us take you through your first Join.me experience and outline the critical features you need to understand to get the most out of it.
- You might be strreaming on one of our best laptops of 2020
1. Get the ball rolling
To host a meeting on Join.me you need to install the software on your computer, though this isn’t a necessity for those joining you once it is configured.
To get the application go to: https://www.join.me/
The site offers a fourteen-day trial of the service and provides the application for Microsoft Windows and Apple Mac for you to install.
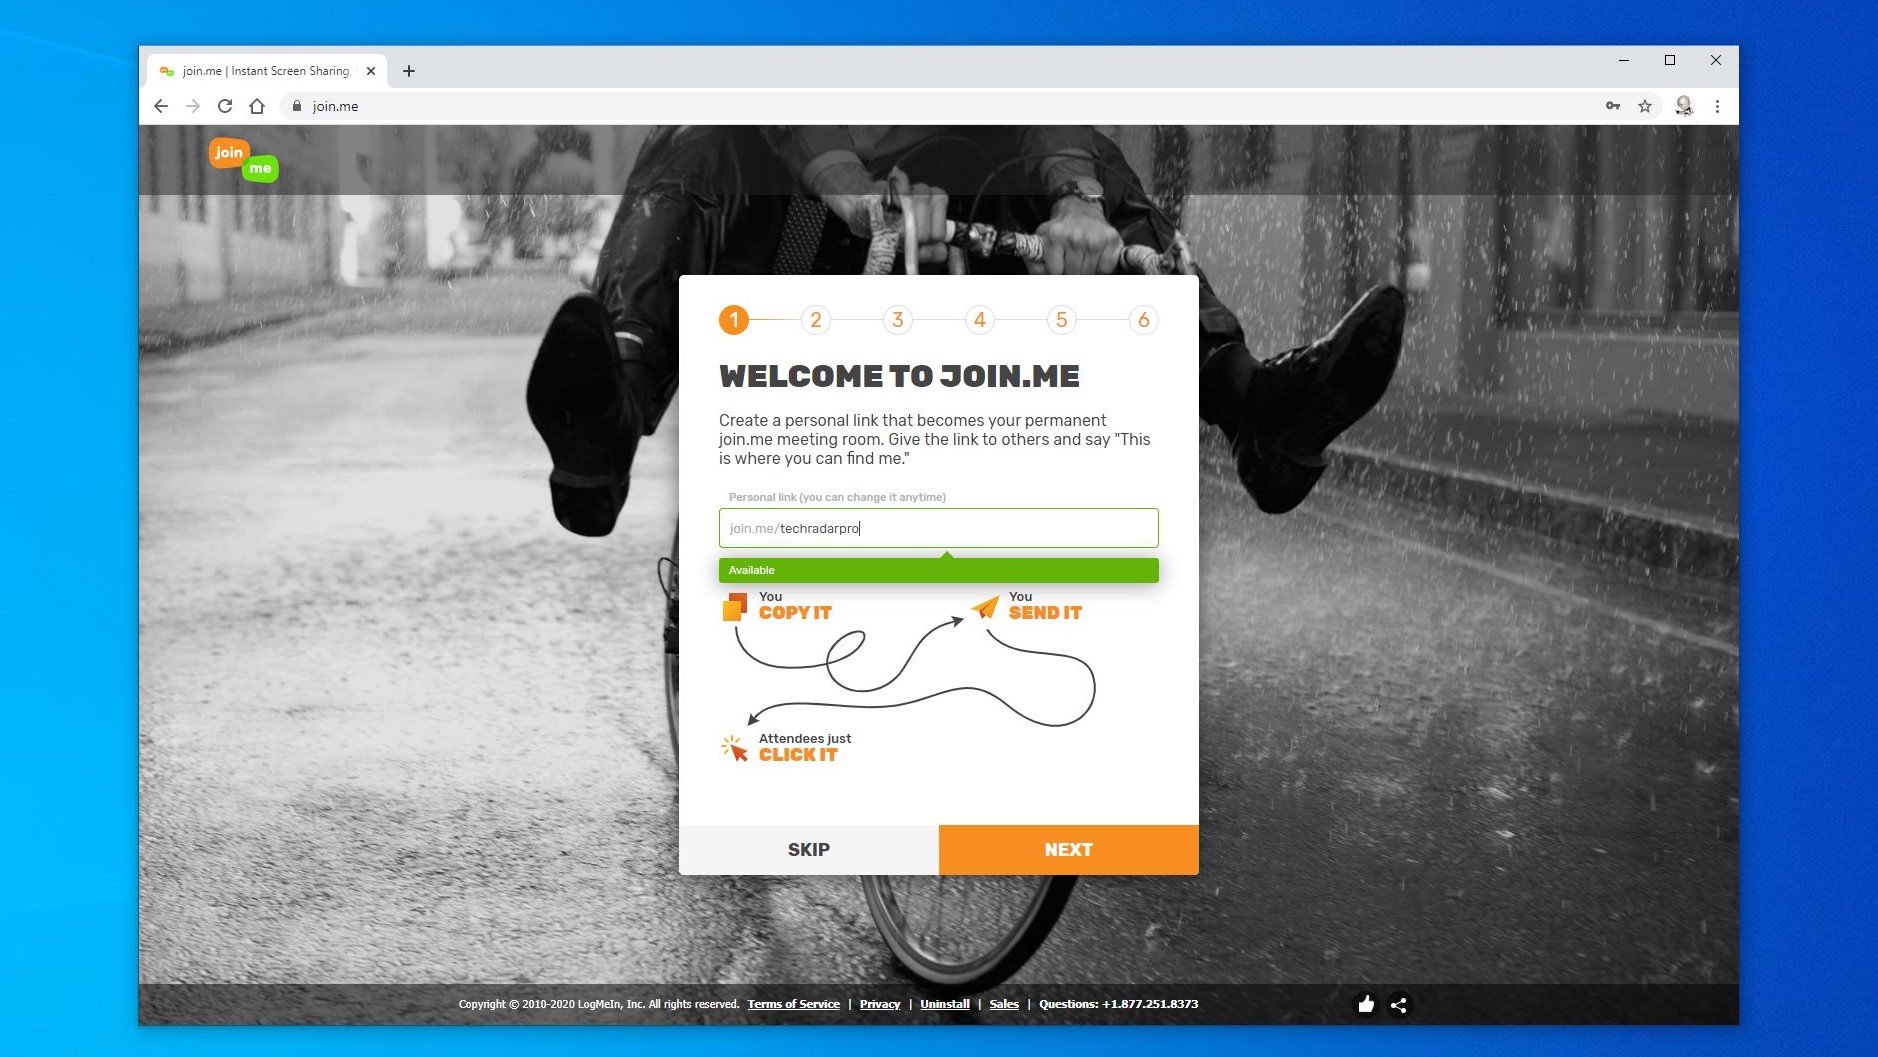
But before you can get the software, you need to go through an enrolment process. This exercise has six parts, the first of which is to define the name of the virtual room where the meeting will take place.
Sign up to the TechRadar Pro newsletter to get all the top news, opinion, features and guidance your business needs to succeed!
2. Enrole
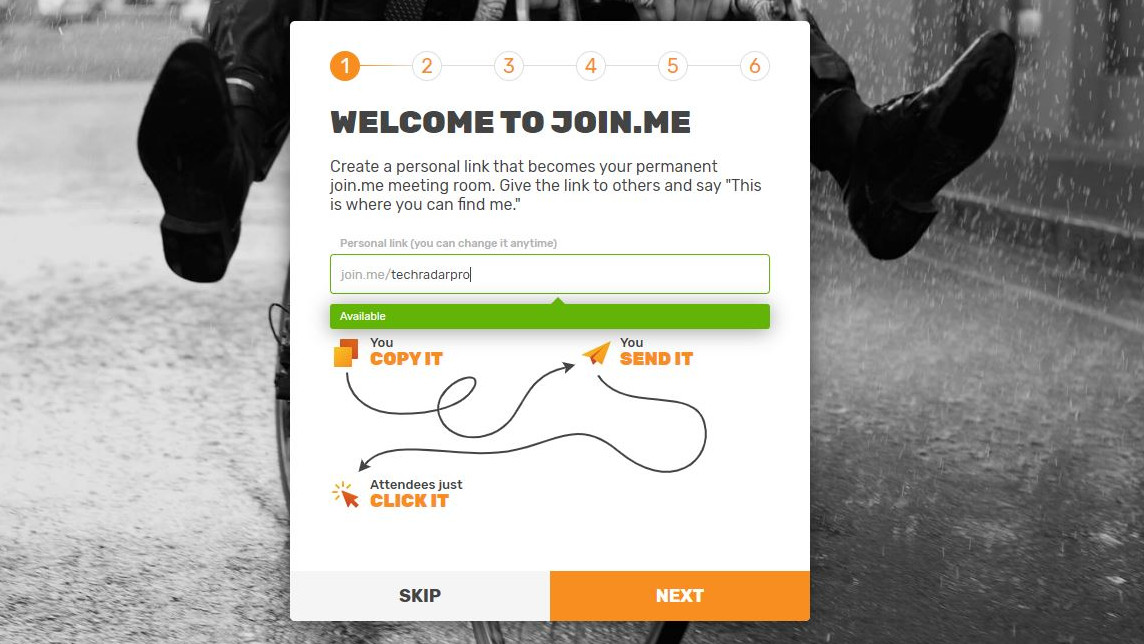
We called our room join.me/techradarpro
You can call yours something more relevant to you that people might remember, but they should have an email link or a phone number to use that you supply them with.
Then you need to say who you are, a little about the company, send some invites out to others, give mobile phone details and finally the links are provided to download the software.
If you feel at any time that you don’t want to provide that particular information, then you can choose to skip that section for now.
3. Install the desktop app
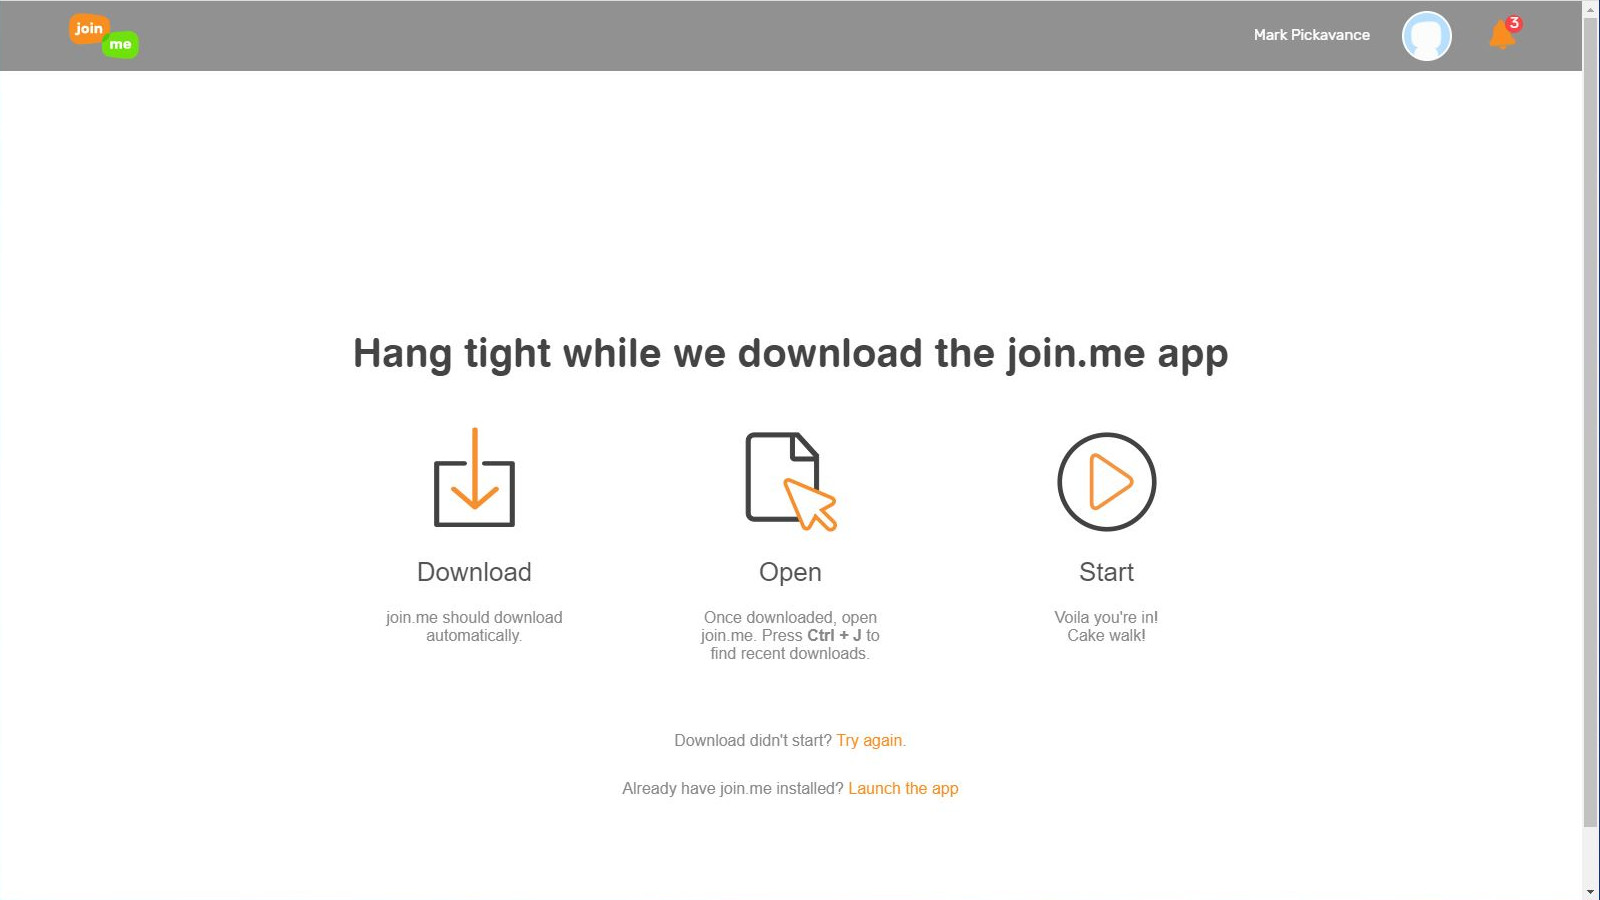
The app is available for both Windows PCs and Apple Mac computers, and you can choose to download the right one for you.
Installation should be quick, and once that is completed, and you log in using the email address and password defined when you enrolled, a small panel appears that allows either hosting with ‘Start’ or joining an ongoing meeting with ‘Join’.
To join a meeting, you will need a code provided by the person hosting that room.
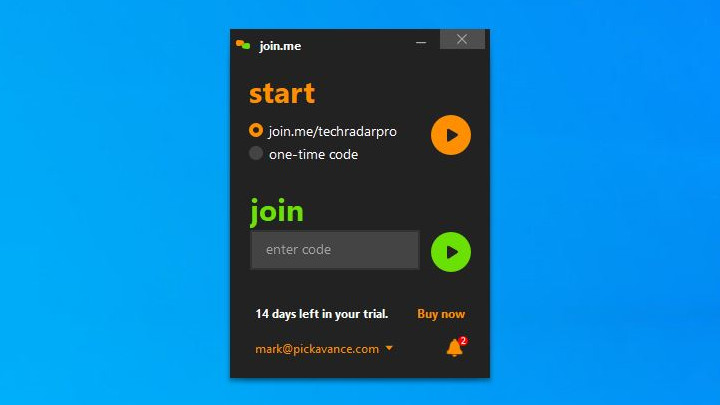
It might look like there is very little else on this panel, but it has a few secret features.
If you click on the bell icon in the bottom right, you will show any outstanding messages the system has for you. And, clicking on the email address on the bottom left opens a drop-down menu that has options for scheduling a meeting in the future if you have the Pro or Business versions.
4. Learn interface basics
To those that have used other conferencing apps, this interface might look very familiar.
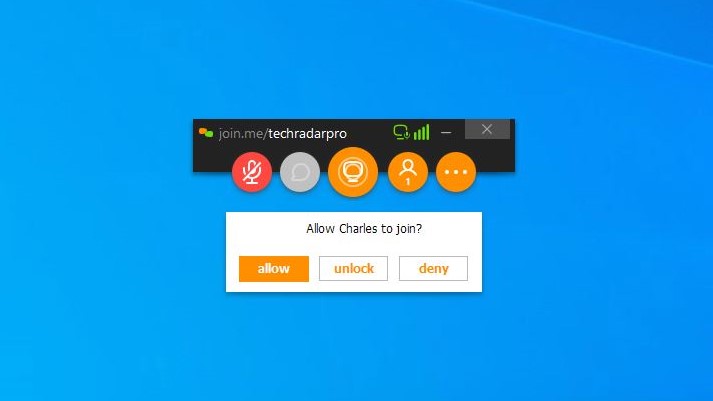
Along the top of the panel is the name of the room being hosted, and below that are five icons.
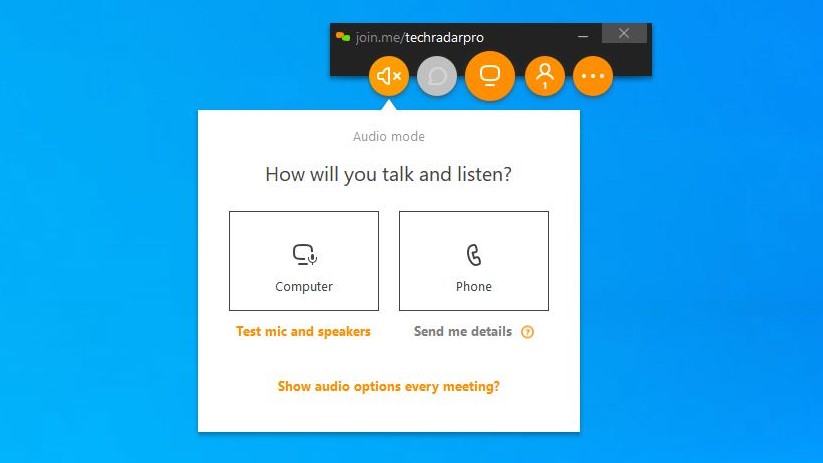
The first represents audio control, and in our example, the sound is muted with an 'X' on it. Depending on how you’ve configured the room, sound can come from a microphone or phone. While you are waiting for attendees to arrive, you might wish to keep this muted, or you might want to greet those who come by acknowledging them.
The second icon is a chat bubble, and they will remain greyed until there is someone else to chat with.
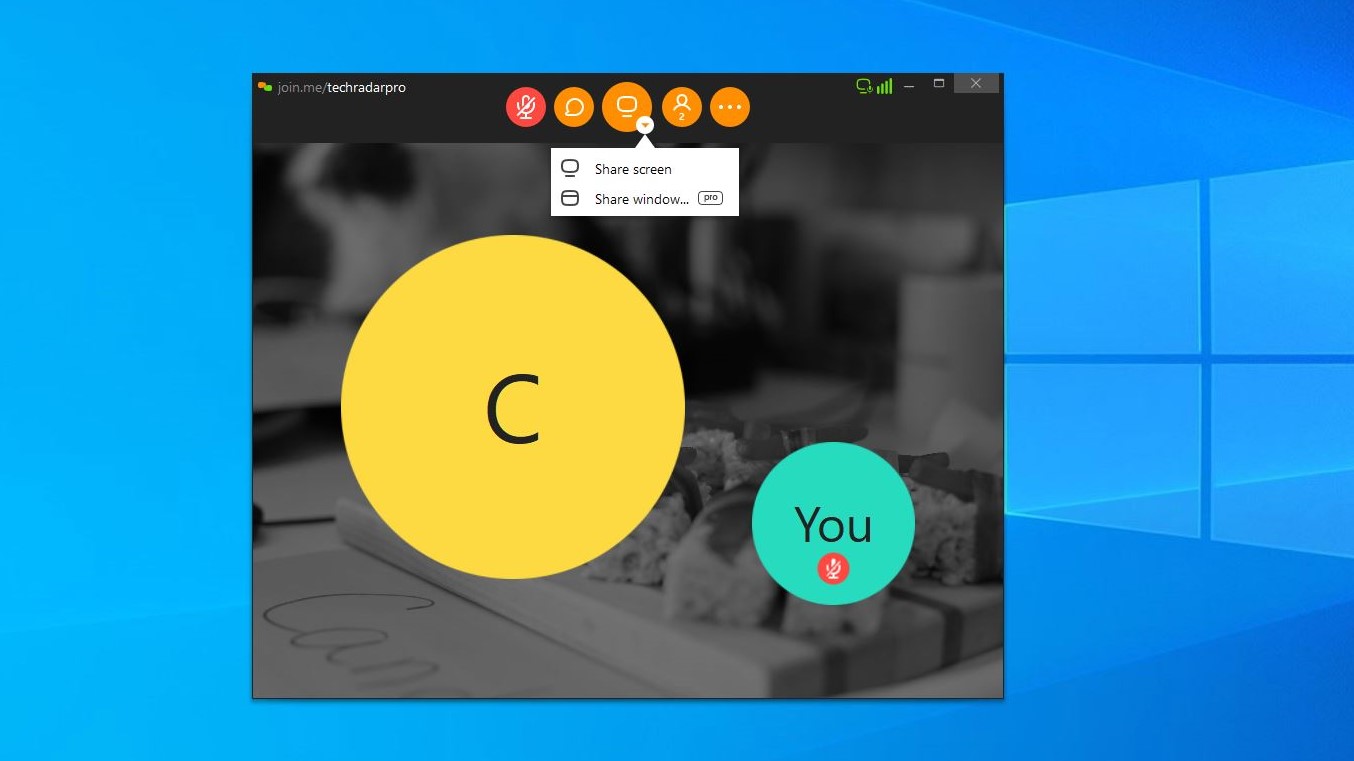
The third is the video control to enable or disable a camera, if you have one, or replace that video with a shared screen. Those with a Pro account can also share a specific application window, and both these options appear if you click on this icon.
The fourth icon shows how many people are in the meeting (including the host), and it can also bring up a participant list, or provide a means to invite others.
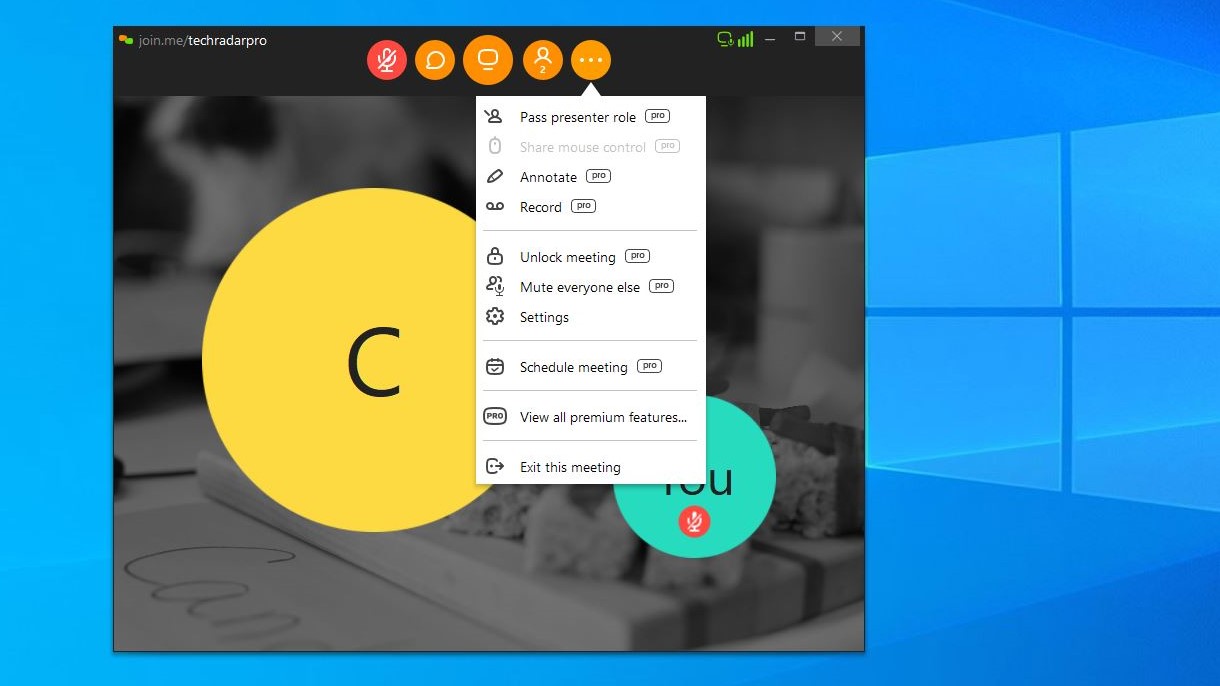
And finally, the fifth three-dot icon takes you to a settings menu, where you can also access all the Pro features we’ll talk about later.

The other interface elements for the host are the dynamic circles that appear on the right-hand side of the screen. The top one represents the host and the ones below the attendees.
If a webcam is attached for anyone, the video will appear in their circle, or a picture if they’ve defined one, or the first letters of their name.
On the edge of the circles are icons that denote if their audio is muted.
5. Administer a meeting
As each attendee attempts to connect the host will see a message that has three options; allow, unlock and deny.
The action of the first and last of these are choices are obvious, but the unlock feature will enable the attendees to join without further sanction. Therefore, unless there is an excellent reason to allow each participant into each meeting, using ‘unlock’ is advisable to speed up hosting significantly.
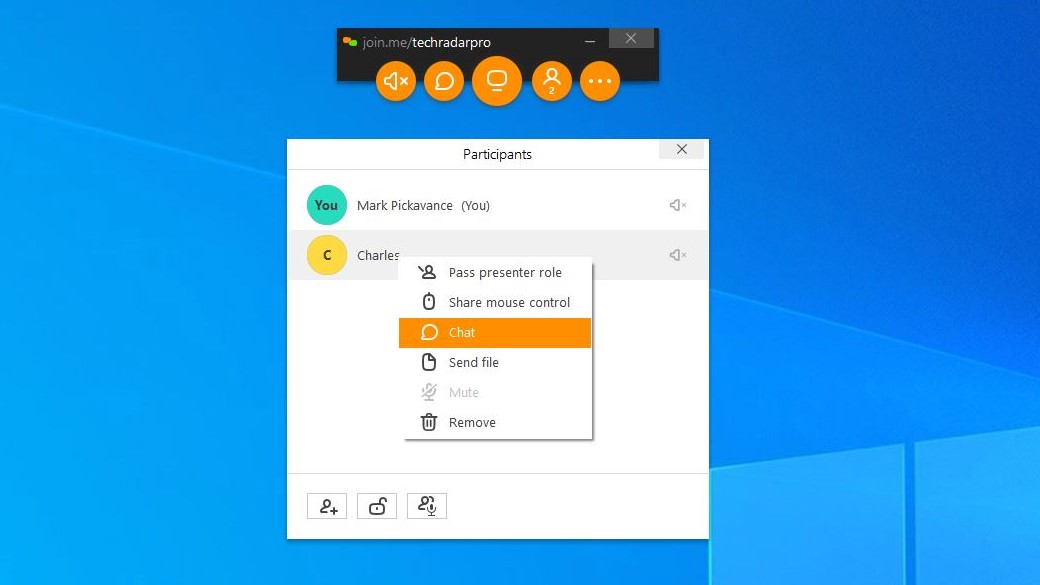
By using the Participants list, accessible from the fourth ‘person’ icon, you can control the connection of each person attending. Therefore you can mute/unmute them, using the speaker icon on the right. Or, you can click on the name and get a menu where you can make them the presenter, share mouse control, chat, send a file or even eject them.
6. Chat to attendees
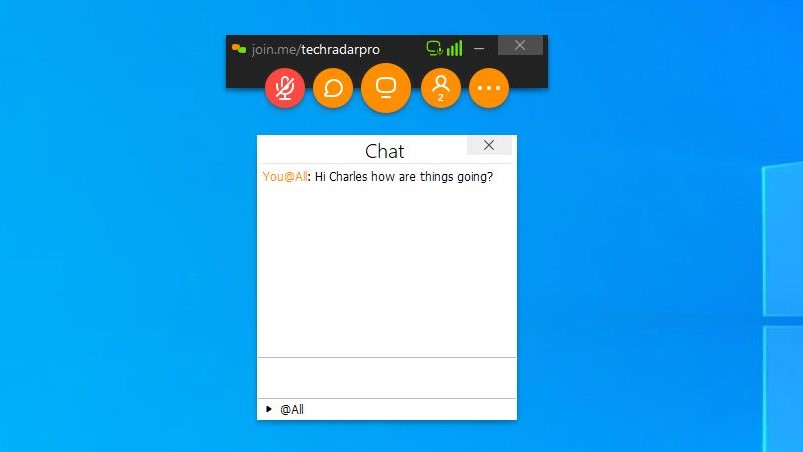
For numerous reasons, you might want to send messages to attendees without using verbal communication, and join.me has an inbuilt chat functionality to make this possible.
It’s basic, but a useful backchannel for sending messages directly to attendees while the meeting is ongoing.
To chat simply click the Chat bubble icon (second from the right) and you can send a message to all at the meeting or just specific participants.
The only other important thing to remember about chat is that if you have it open, and share your full screen to the room, then anything you said in that panel will be visible to everyone even if it was sent only to one person.
7. Share your screen
A typical use for Join.me is to take others through a new piece of software they might be getting for work and to show how to use it by example.
The centre icon that looks like a monitor has a small menu that enables you to share the screen of the host system for this purpose. For those that have a Pro account, they can also relay a specific window rather than the whole screen.
If you use the latter, it is always worth considering that the window might not be the same aspect ratio as the whole screen or the displays of those attending. And, it will be easier to read and see if it is much closer to the aspect of the entire screen.
8. Access Pro features
Join.me comes in various flavours including a free tool, a Lite version that’s an annual fee and two monthly subscription options called Pro and Business.
Using the free tool, you will soon notice that some of the better features are restricted to Pro users on the menus, and these are also available through the Business subscription.
The only way to get access to these enhancements is with a subscription, but you can experiment with them using the 14-day trial if you wish to try them out.
Get attendees viewpoint
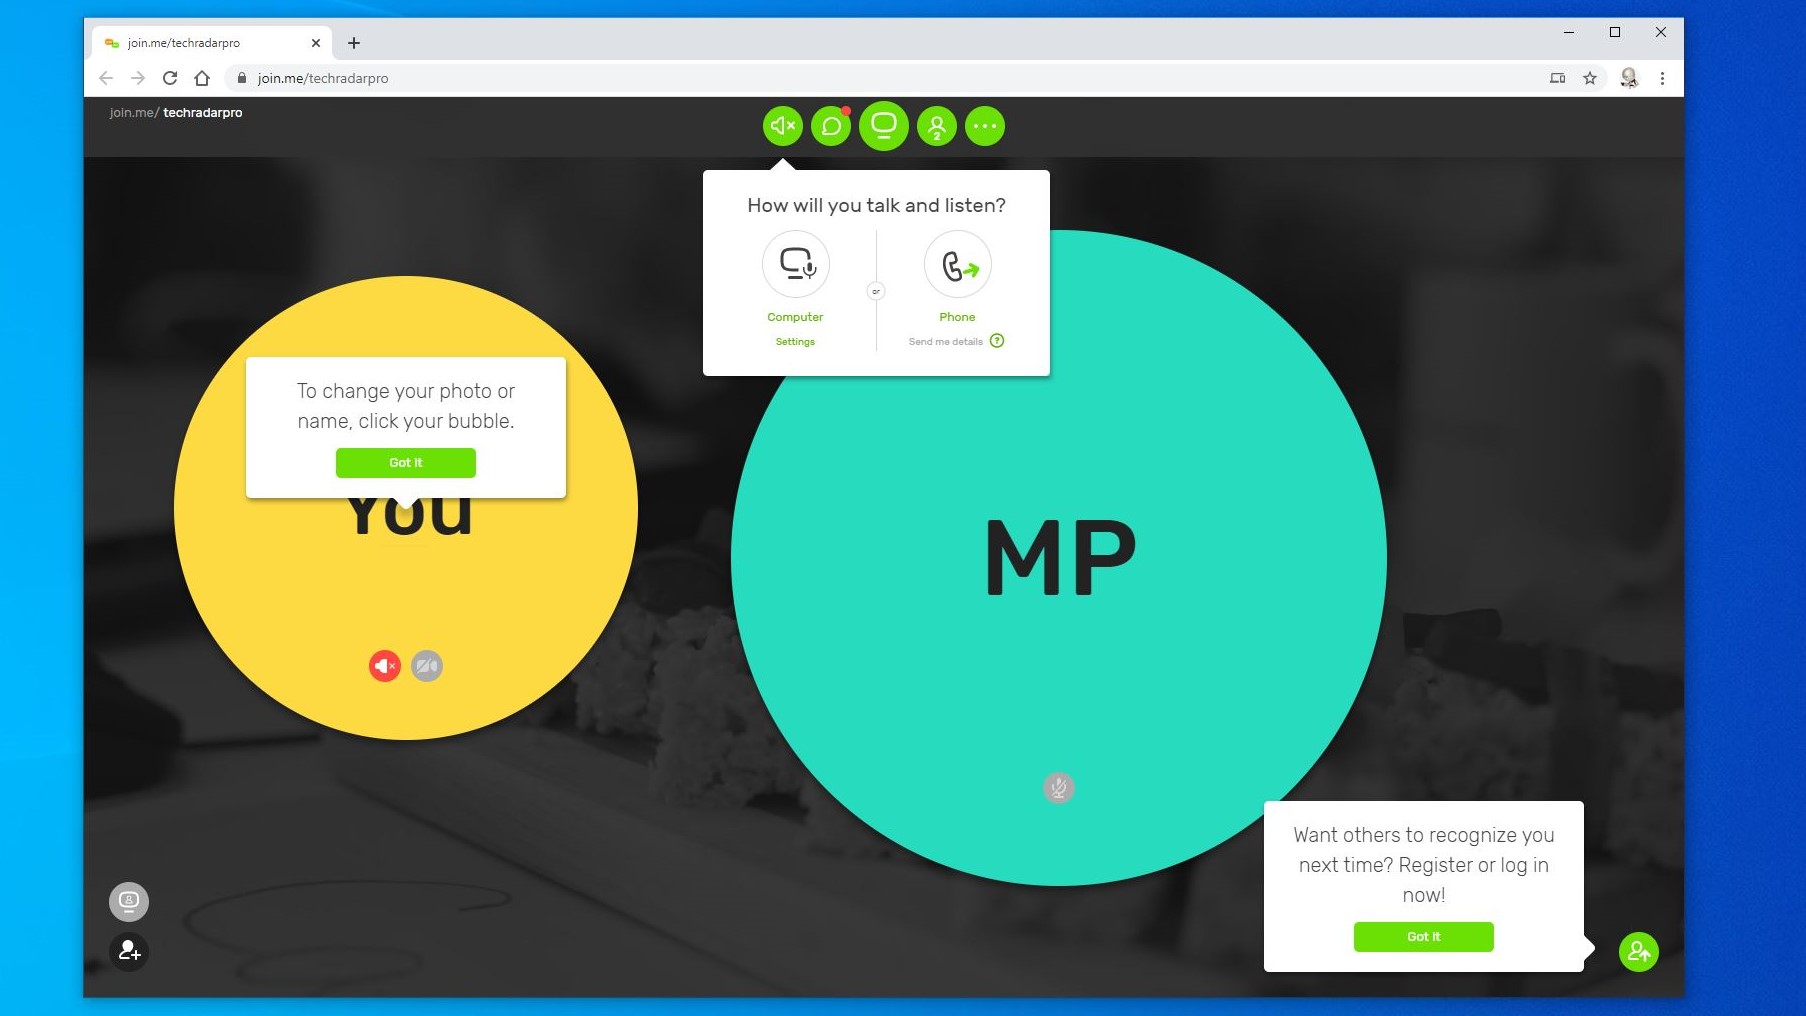
We’ve covered the basics of using Join.me from the hosting perspective, but we’d like to end by talking about how this differs from those who are attending using the web interface.
For the most part, the interface is the same as the hosts. Where it differs is that it is all within a web page, and you don’t have some of the special powers allocated to the host, like the ability to eject or deny access to other attendees.
When you first launch Join.me, lots of help dialogues appear to guide a new user around the icons, and you are encouraged to register even if you have no intention of hosting. Advantages of registering are that you can configure how you appear to others, and set defaults that you like for using the service.
If the computer you use has no microphone or speakers, you can even configure a phone to provide the audio transmission alongside the web interface for seeing and interacting with others.
This has been a basic overview of using Join.me, and we hope it helps you get the most out of it.
- We have a full review of Join.me if you want to know more
Mark is an expert on 3D printers, drones and phones. He also covers storage, including SSDs, NAS drives and portable hard drives. He started writing in 1986 and has contributed to MicroMart, PC Format, 3D World, among others.
