The ability to access UK TV from anywhere in the world can be extremely useful, unless you run into that all too common problem: the day when there's absolutely nothing on. A more attractive alternative is to make your own media collection accessible via the web, courtesy of the free streaming package Orb.
Begin the process by choosing the files you'd like to share, including music, videos and photos. There's no need to worry about file types or video codecs – Orb has the ability to stream anything you can play in Windows Media Player, as well as 3GP media ('.3gp', '.mov' or '.qt' files), Real Media files and all sorts more.
But that's not all – the program can even stream your webcam or TV broadcasts if you have an Orb compatible TV tuner installed. Very cool.
Once it's set up, Orb can act as a media server, streaming your chosen files to PCs, games consoles such as the Xbox, PS3 or Wii, compatible mobile phones and more. As long as you leave your PC turned on and connected to the internet when you leave the house, you'll be able to stream your media via the Orb site.
But don't worry, because it's also very secure. Access is password-protected and through a secure connection, and you don't even need to open any new firewall ports, so the program is a very safe way to put your files online.

1. Start the computer from which you'll be sharing your media, then point your browser at www.orb.com and follow the 'Download' link to grab a copy of the program. It runs on anything from Windows XP SP2 upwards, and there's a version available for Mac OS X Intel 10.5 available as well. Run Orb and it will launch a wizard to walk you through the setup process. Click 'Next' to begin.
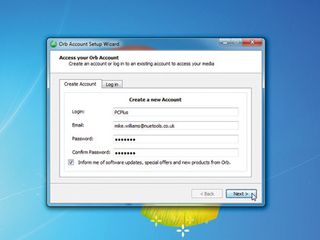
2. Enter your details and create an Orb account. Make sure your password is easy for you to remember, but impossible for anyone else to guess – the security of your files depends on it. Orb then displays the 'Media Sources' dialog, which contains the folders holding your music, videos and everything you want to share. Click the '+' sign and add new folders if you'd like to share files in other locations. Click 'Next'.
Get daily insight, inspiration and deals in your inbox
Get the hottest deals available in your inbox plus news, reviews, opinion, analysis and more from the TechRadar team.
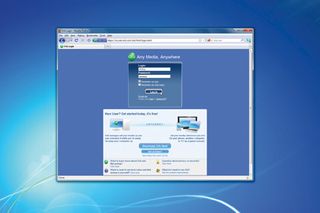
3. Orb will now index the contents of your Media Sources folders. Be patient – this process might take a while. Click 'Next' when it's finished. Choose your country and click 'Next' to detect your TV tuner card (click 'Skip' if you don't have one). Click 'Close' and a browser window should open at www.mycast.orb.com. Enter the username and password you've just created to log in to your account.
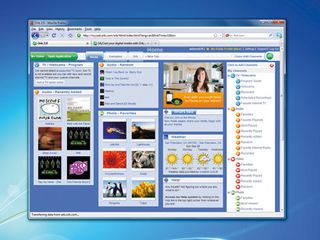
4. Click 'Add Channels' on the right, then click 'Recently added' under 'Audio' and 'Favourites' under 'Photo', for example. This will add new channels to your Orb account, making these files available from your login page. Scroll through the list of channels and you'll find that you can add much more to your page, including RSS feeds and even Google Gadgets. Experiment with these optional extras and add anything that you think looks interesting.
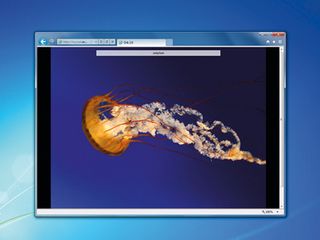
5. Now start your laptop, open a browser window, go to www.mycast.orb.com and log in. This is the view you'll see remotely, even if you're half a world away from your media collection. Click on an audio link and it will stream the track from your main PC, or click on a photo and you'll be able to view it full-screen. Explore all the features and options on the homepage and think about what other things you'd like to be able to access on the move.
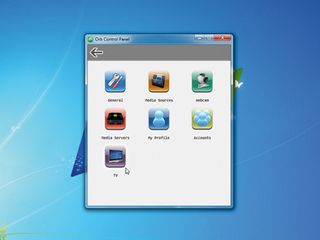
6. That's a quick look at the basics of Orb, but there's a whole lot more that you can do with it. To take things further, return to your main PC, click the 'Help' link and discover how to create playlists, which enable you to share specific documents, music or video files from one place. You can also configure Orb via the program's control panel. Just right-click its system tray icon and click 'Control Panel' to further explore what's on offer.
Most Popular


