A simple tutorial for Microsoft Teams beginners
Our guide takes you through the essential Microsoft Teams tools and features

Sign up for breaking news, reviews, opinion, top tech deals, and more.
You are now subscribed
Your newsletter sign-up was successful
Knowing how to use video conferencing tools like Microsoft Teams is pretty much an expectation these days, especially since the shift to remote and hybrid working.
However, for the majority of the workforce, a day spent in the office meant little more than responding to emails. The sudden adoption of Microsoft Teams for long-distance meetings and remote collaboration took some getting used to.
Given the pace at which the Covid-19 pandemic spread, the usual adjustment period and training to accommodate the use of Teams simply didn't take place. Fortunately, Microsoft has tried to make the transition as streamlined as possible by providing an intuitive platform that is full of easy-to-use features for even the most inexperienced IT user.
However, if you’re still unsure about using Teams, we’ve come up with a handy guide that goes over some of the most important features below:
Signing up

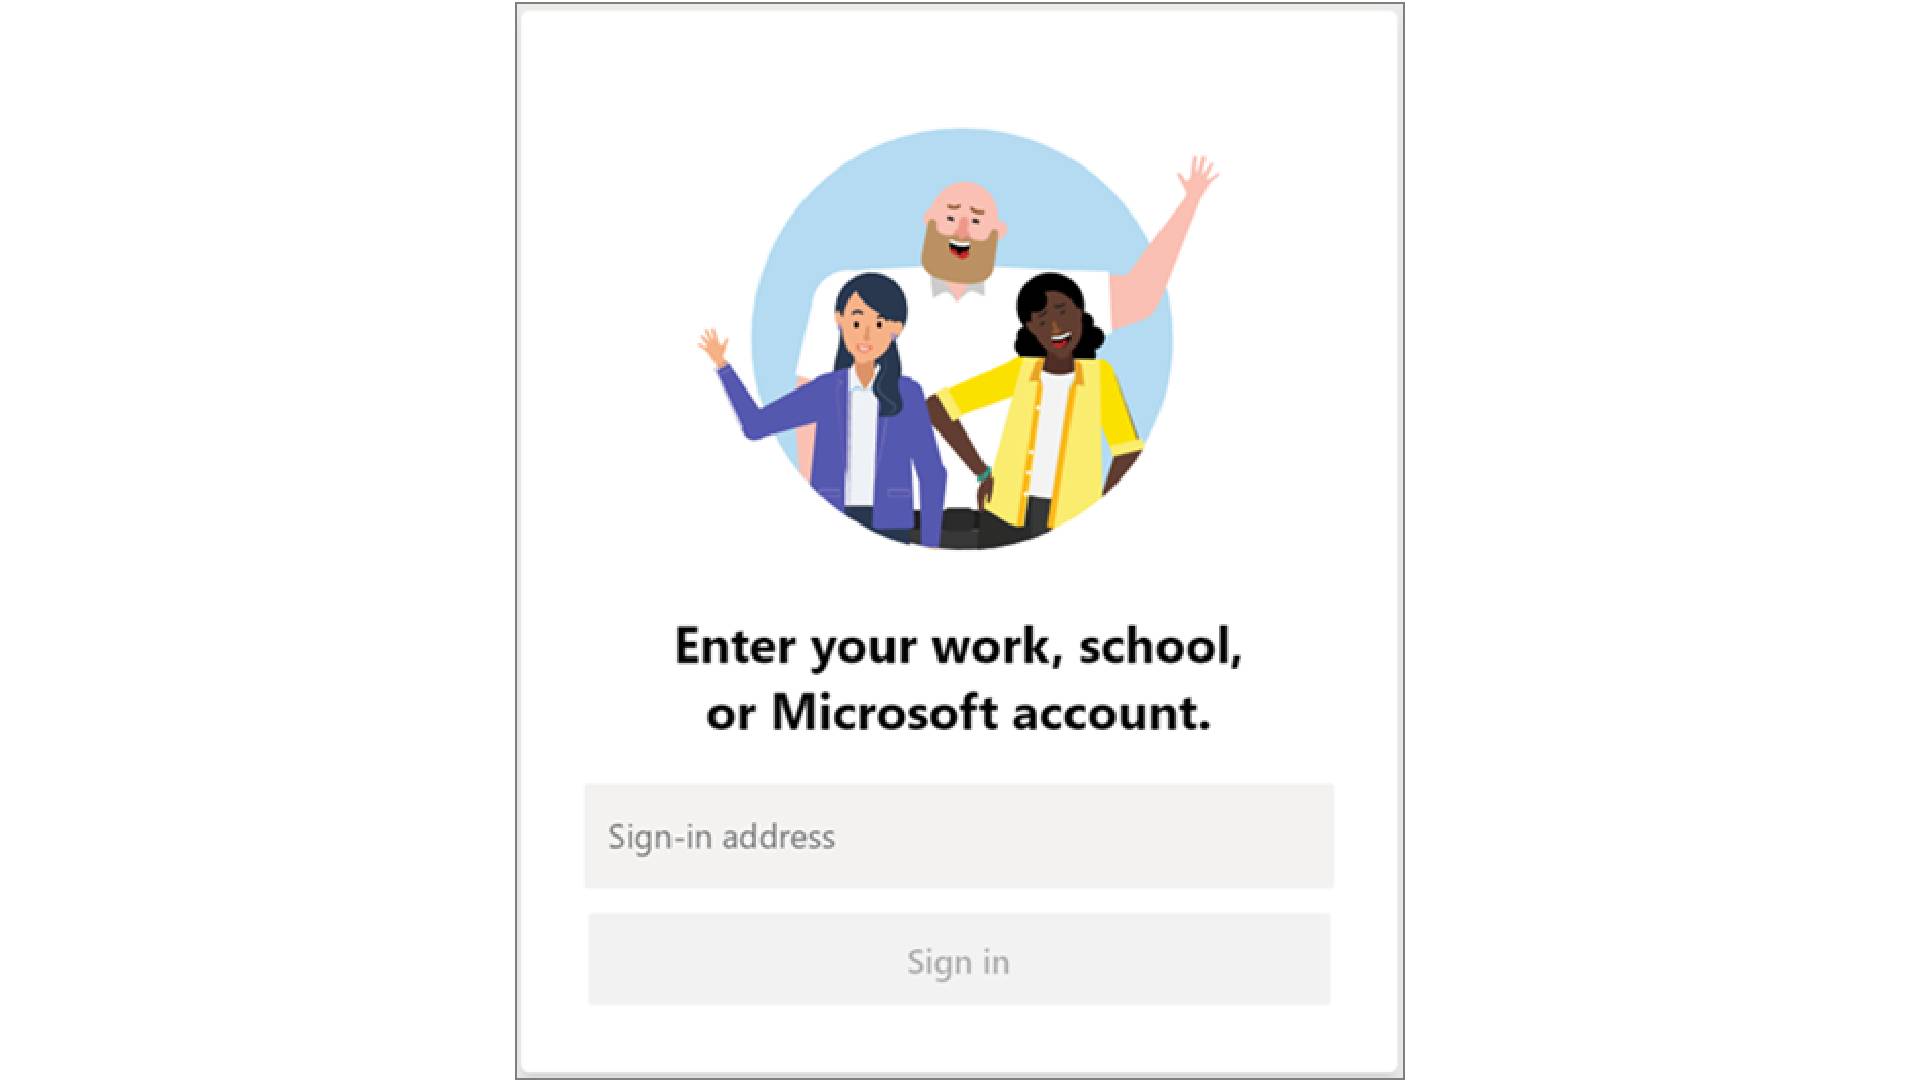
Perhaps the most important step to using Teams is the first one: signing up. This is easily achieved by visiting https://products.office.com/microsoft-teams. Then simply enter the email address associated with your Microsoft account and select “Next”. Then enter your password and select “Sign in”. There may be a few more details to enter but then you should select “Set up Teams.”
After that is complete, it’s time to choose how you want to open and use Teams. Microsoft Teams is available in several different versions - with Windows, Mac, mobile, and web options all available. Download or access your chosen version of Teams and the signup process is complete. If you want to know more about logging in, this guide will show you how.
Exploring the Teams interface
The best way to understand how to use Microsoft Teams is to explore its user interface. On the left, you’ll see the App bar, where you’ll find a whole host of different icons. These include “Activity,” which displays mentions, replies, and other notifications, as well as “Meetings” or “Calendar,” either of which is synced with your Outlook calendar and provides a quick way of viewing all your upcoming meetings. There’s also “Chat,” “Files,” “Calls,” “Store,” and “Feedback.”
Sign up to the TechRadar Pro newsletter to get all the top news, opinion, features and guidance your business needs to succeed!
Aside from the App bar, the interface also boasts the “Teams” section, which displays a list of the user’s teams, “Channel,” the “Command Bar,” and various “Tabs” that allow you to move between different Teams pages. There are lots of additional features to get to grips with as well, so it’s a good idea to start investigating the interface to see what’s on offer.
Collaborate in a Microsoft Teams hub
In order to collaborate with others in Teams, you first need to join or create a Teams hub. To do so, select “Teams” from the App bar, followed by “Join” or “Create a Team.” If you’re creating a team, enter your chosen name and description, select your privacy settings and add your members.
A team can have a maximum of 2,500 members - so the opportunities for collaboration are pretty vast. You can also assign roles to each individual, such as “Owner” or “Member.” If you’re finished with a particular Teams hub, you can always choose to “Delete the team.”
Setting up a Teams call
Another of the most important actions to understand on Teams is how to set up a call. One of the ways is to select the “Schedule a meeting” button during a chat to set up a call with all the people involved in the chat. Alternatively, you can select the “Calendar Meetings” button followed by “New meeting.” Then if you select a time in the calendar, a scheduling form will appear for you to finish setting up the meeting. Once you’re happy with the meeting details, click “Save” and the relevant individuals will be sent a meeting invitation.
Don't worry if you want to invite someone that doesn’t have Teams to a meeting either. As long you have their full email address, you can invite them. They’ll receive an email with a link to the meeting so they can join just like any other attendee that has a Teams license.
Take part in chat

Sometimes a full-blown video call may not be necessary, so Teams enables collaboration to occur through its chat function. In order to start a new chat, click on the “Compose Box” and begin typing. Click “Send” to deliver your message to any individual in the team or channel that you’re working in.
One of the best aspects of the chat function is that any new member that is added can look back at all the previous messages - even those that were posted before they joined. This means it is easy for them to get up to speed with a new project.
Sharing files
Following the creation of a Teams hub, a SharePoint site is automatically set up, complete with a document library for each channel. Any file uploaded to Teams will be visible from the Files tab and simultaneously stored in SharePoint. If you want to open the file directly from SharePoint, you can click on the three dots located after the file name and select “Open in SharePoint.”
Accessing help
If you feel like you’ve exhausted all the assistance you can find from third parties, you can always try Teams’ built-in help feature. Towards the left-hand side of the app, you’ll find the “Help” button, where Teams provides localized advice on a host of topics. These are organized by feature, but there is also a “Videos” section displaying visual content on how to use the app.
Teams also has its own dedicated support webpage, which provides guidance, training, and tips so you can discover how any aspect of the platform works. With all that and the above guide, you'll go from dummy to Teams expert in no time.
Barclay has been writing about technology for a decade, starting out as a freelancer with ITProPortal covering everything from London’s start-up scene to comparisons of the best cloud storage services. After that, he spent some time as the managing editor of an online outlet focusing on cloud computing, furthering his interest in virtualization, Big Data, and the Internet of Things.
