How to setup your own NAS server
OpenMediaVault helps you DIY your way to a robust, secure, and extensive NAS device
One of the most underestimated business resources that catches out most small and medium businesses is storage. Everything from its storage, and availability, to management and security, needs careful consideration.
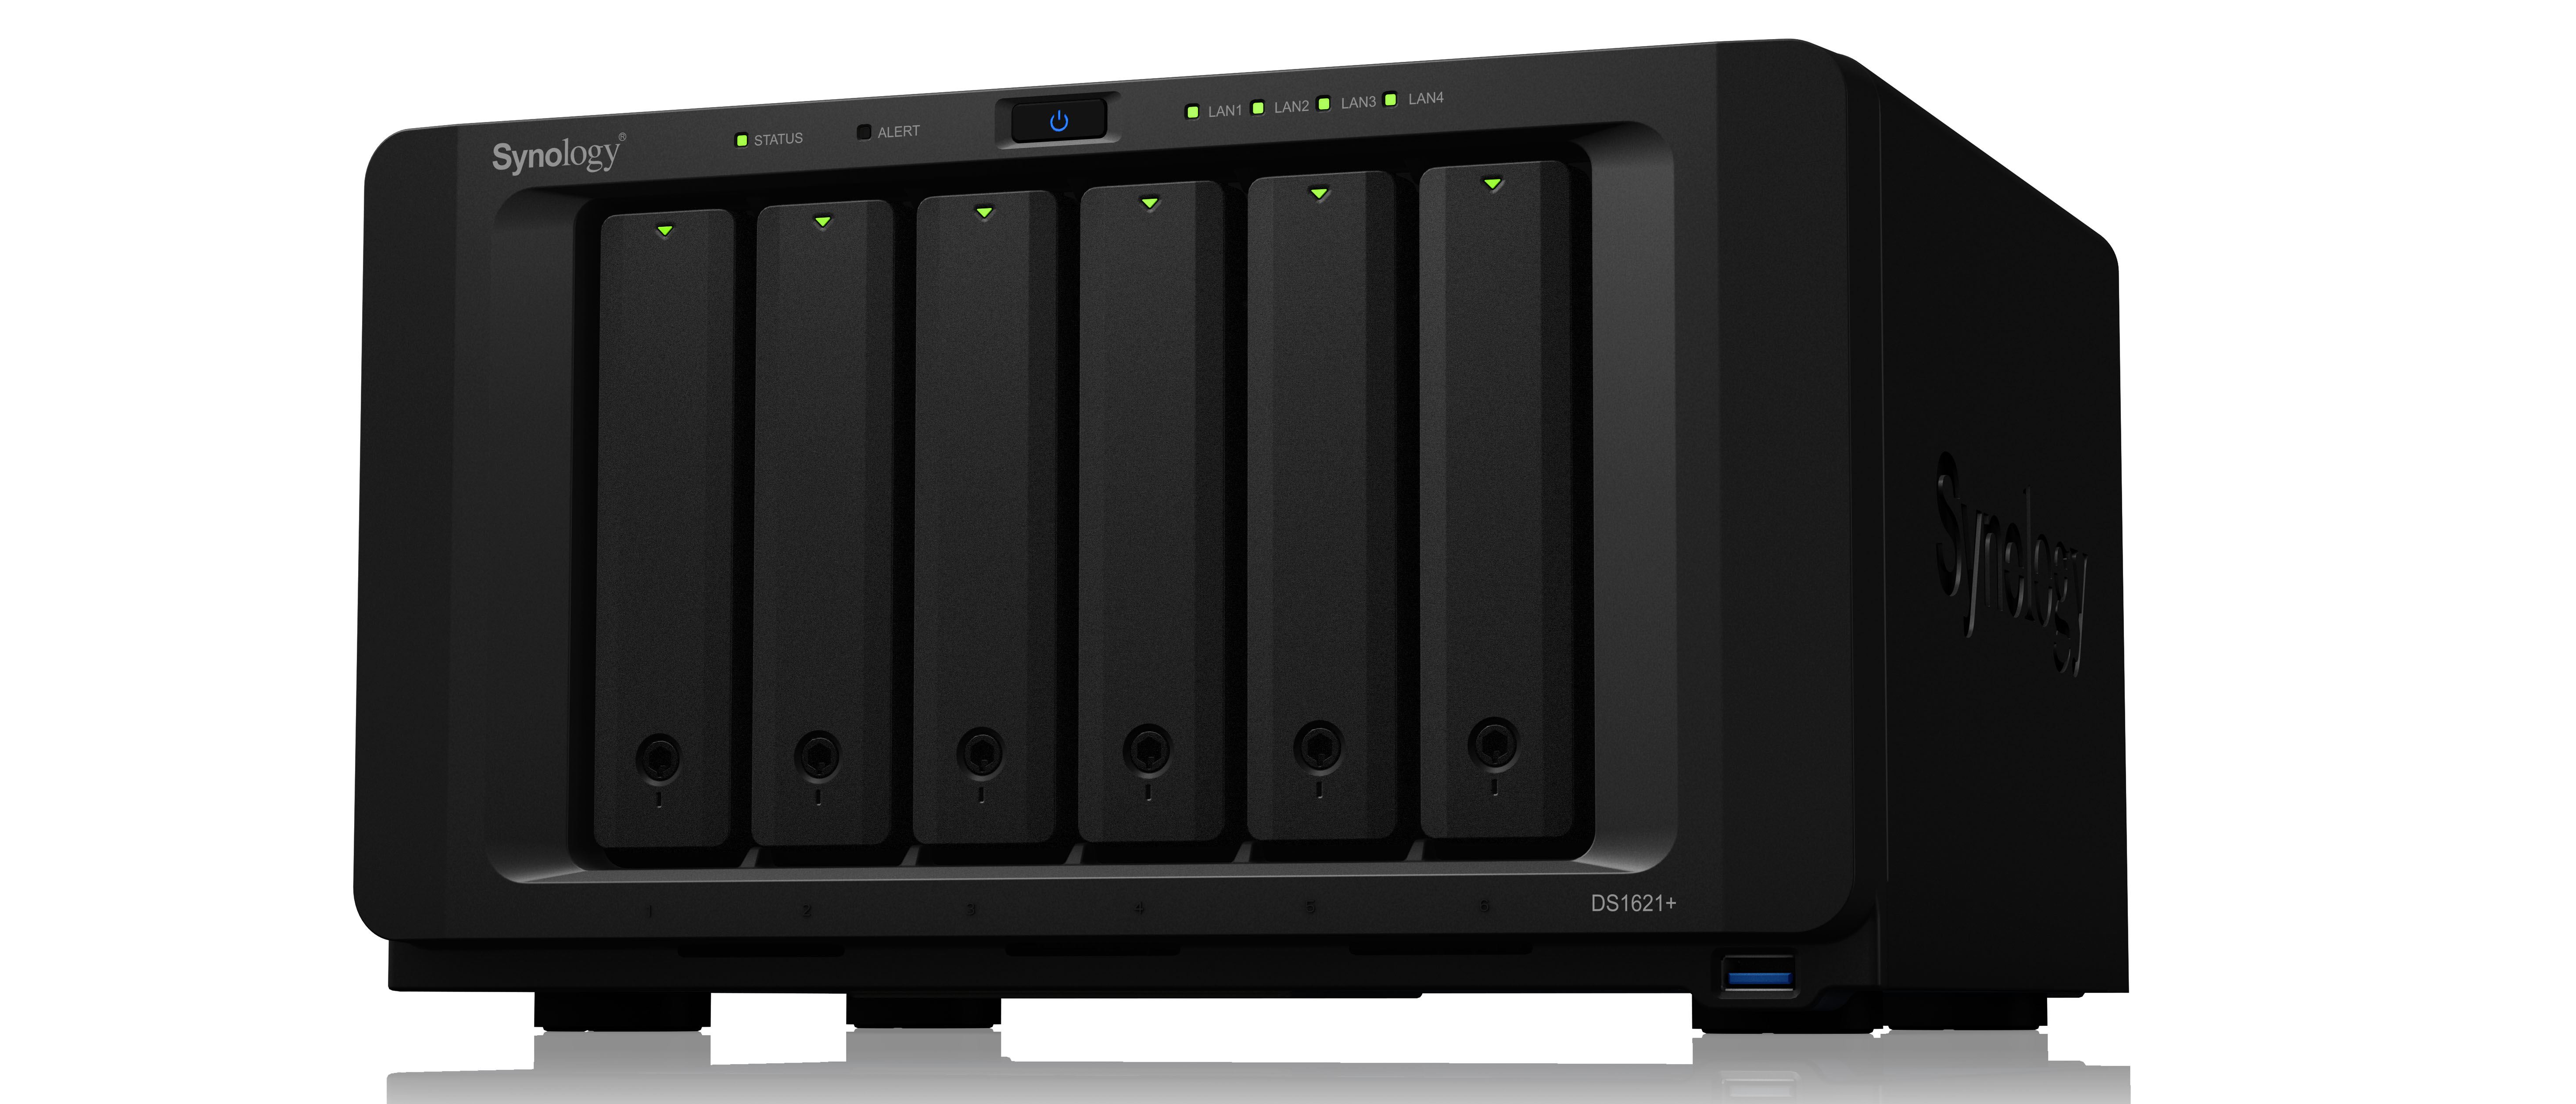
That’s where Network Attached Storage (NAS) comes into play. Simply put, a NAS is a server that creates a centralized and shared storage data repository that’s accessible over a network.
While you can pick up NAS devices from storage vendors such as Western Digital, Seagate, QNAP, Synology, and others, with a little effort you can also assemble your own. Doing this not just gives you more bang for the buck, but also helps create a scalable system that can easily grow along with your requirements.
- Take a look at the best NAS drives in the market
- Here's our list of the best external hard drives around
- Also check our collection of the best large SSDs and HDDs
OpenMediaVault (OMV) is one the best open source DIY NAS solutions available out there. The project targets home users and small businesses and besides servers, can also be installed on several Arm-based single board computers, such as the Raspberry Pi 4.
Here's our hands-on tutorial for anyone who want to run OMV on top of a Raspberry Pi.
OMV is straightforward to rollout and simple to manage, thanks to its well designed browser-based user interface, which makes it suitable for even non-technical users. It supports all the popular deployment mechanisms, including several levels of software RAID, and you can access the data it holds using all the popular network protocols such as SSH, SMB/CIFS, FTP, Rsync, etc.
The server also has an extensive permissions system to control access to the shared volumes and folders.
Sign up to the TechRadar Pro newsletter to get all the top news, opinion, features and guidance your business needs to succeed!
Installation
Before you get started with the software aspect, you’ll first have to make sure you have the right hardware for your NAS server. OMV has rather modest requirements, and like we mentioned can even be run from SBCs.
Of course, for an SMB with dozens of users accessing the data at the same time, you’ll need something with a lot more processing power. We wouldn’t recommend anything lower than a multi-core processor and 8GB of RAM.
You’ll also need multiple disks, and OMV supports traditional hard disks, as well as SSDs. You’ll need one that’s at least 4GB in size for OMV’s installation, and several others for storage. Remember, you’ll not be able to use the unused space on the installation drive for sharing files.
Installing OMV is pretty straightforward. Download the ISO from the project’s website, transfer it to a USB disk and run through the basic steps.
Pay attention at the partitioning step, which isn’t as involved as it is in a typical Linux distro installation because OMV is designed to take over the entire disk. However, since you have multiple disks connected to the NAS box, make sure you select the right installation target during this step.
That takes care of the installation. You can now remove the installation media and restart the computer. It’ll boot into the OMV installation and drop you to the login shell. Login using root and the user and the password you specified during installation.
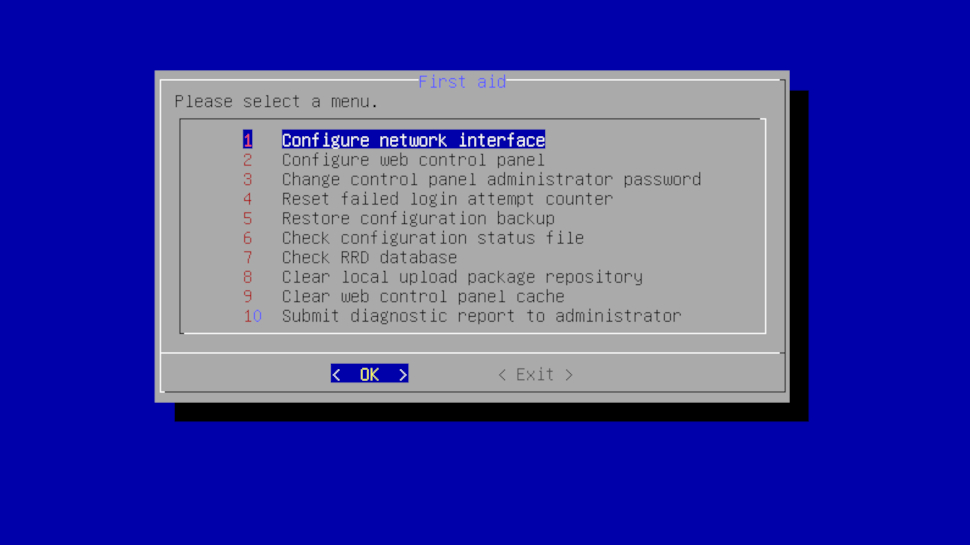
Remember to run the omv-firstaid script to run through the essential post-installation steps including the option to change the login credentials of the administration interface.
Upon booting, OMV will also display the IP address of this machine. You can enter this address inside a web browser on any computer on the network to access OMV’s web interface.
Since you can manage all aspects of OMV remotely, once you’re done installing it, you can disconnect the monitor and keyboard and run this computer as a headless NAS server.
The default login credentials for the web interface are admin:openmediavault.
Configure storage
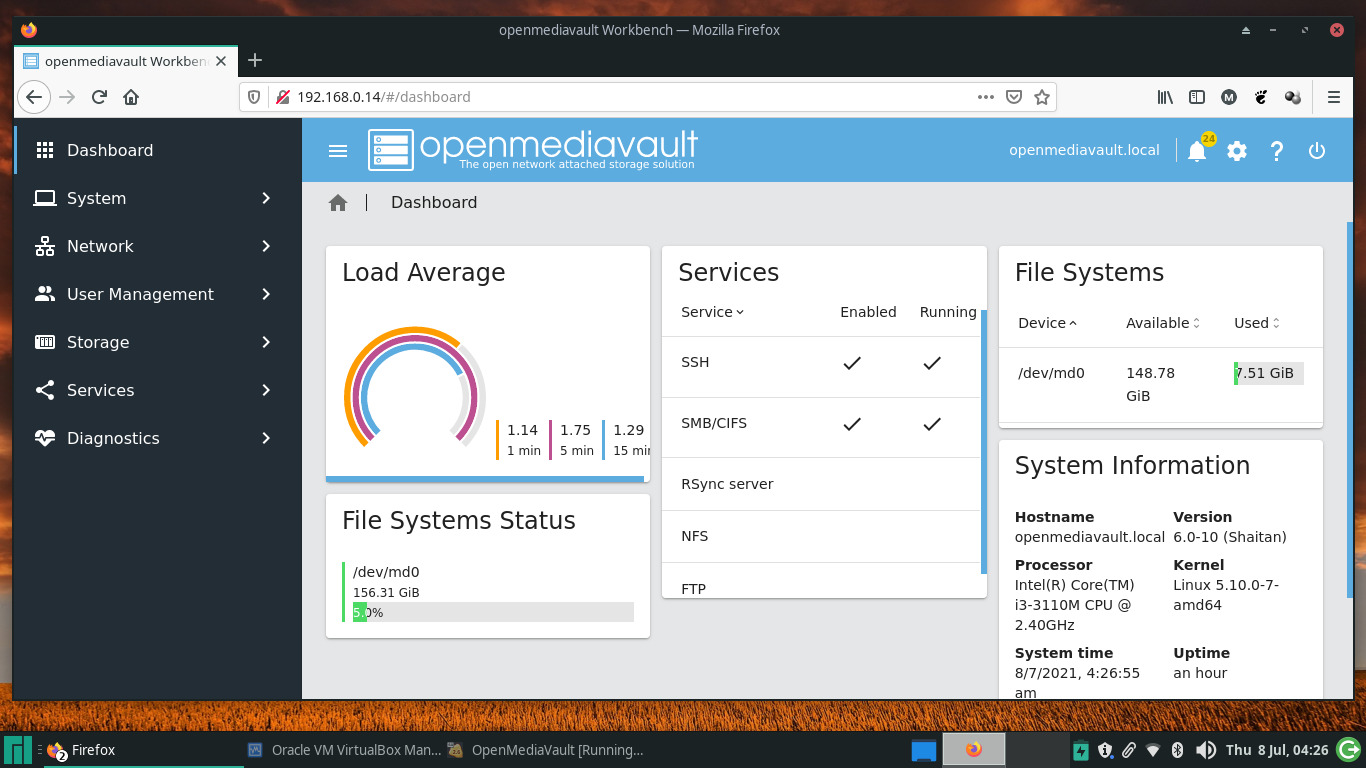
On a pristine installation, OMV will prompt you to configure the Dashboard, by enabling any or all of the available widgets in the Settings > Dashboard page.
The navigation panel on the size-side of the screen is divided into several sections. The System menu allows you to configure several aspects of the NAS server, such as the web admin’s password, the server’s date and time, set up scheduled jobs, enable plugins and keep the system updated.
You’ll first need to format the drives before you can use them. Head to Storage > Disks to view all the attached disks. Select the drive and click the Wipe button. After you’ve erased a drive, head to Storage > File Systems to create a filesystem on the drive, if you plan to use the disks individually.
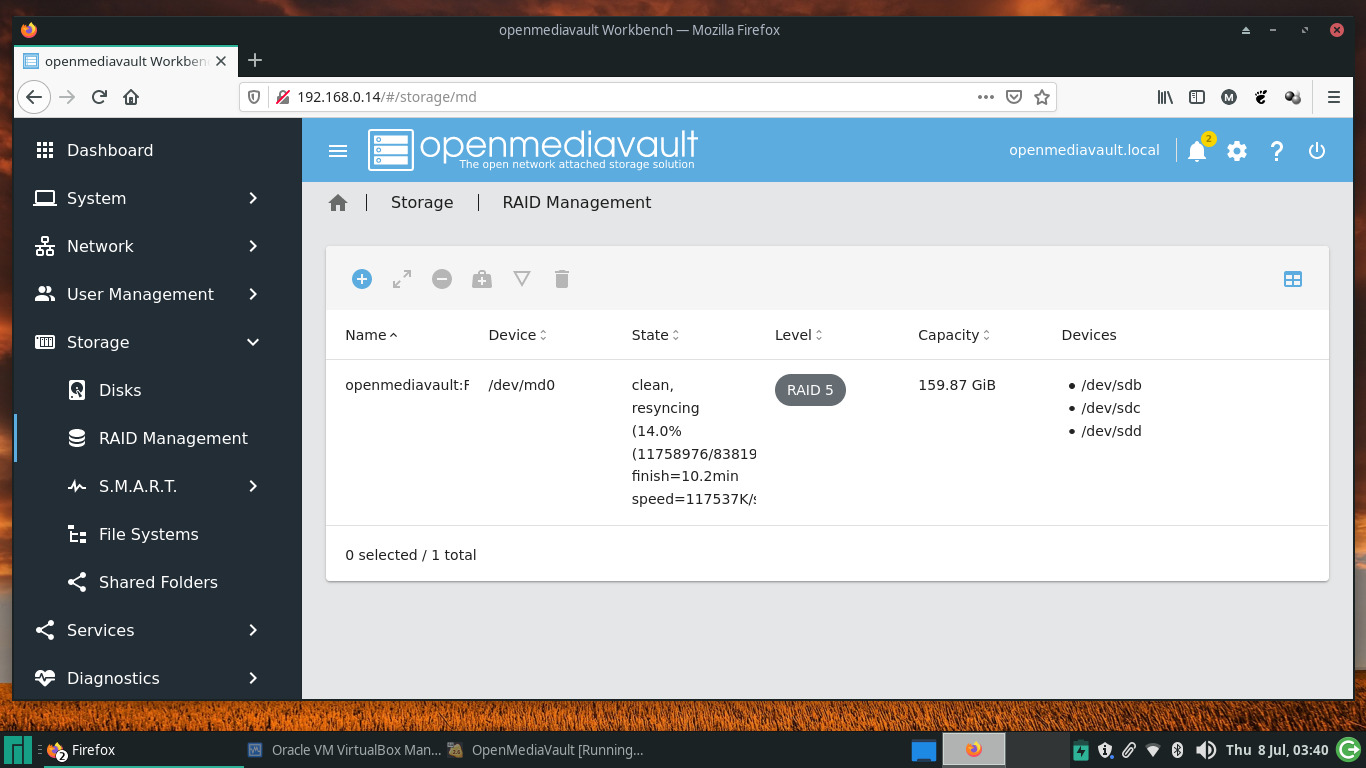
However, the better option is to tie multiple disks into a RAID device for added fault tolerance. While it defaults to RAID 5, OMV supports all the popular RAID levels.
Head to Storage > RAID Management and click the Create button to initiate the process. select the disks you want to use in the RAID as well as the RAID level. Then enter the name you wish to use for the RAID device in the space provided and click the Save button. If you don’t have the minimum number of disks required for the select RAID level, OMV will not allow you to proceed.
Wait for the RAID to initialize before creating a filesystem. To use the physical disks or the RAID array you need to create a filesystem.
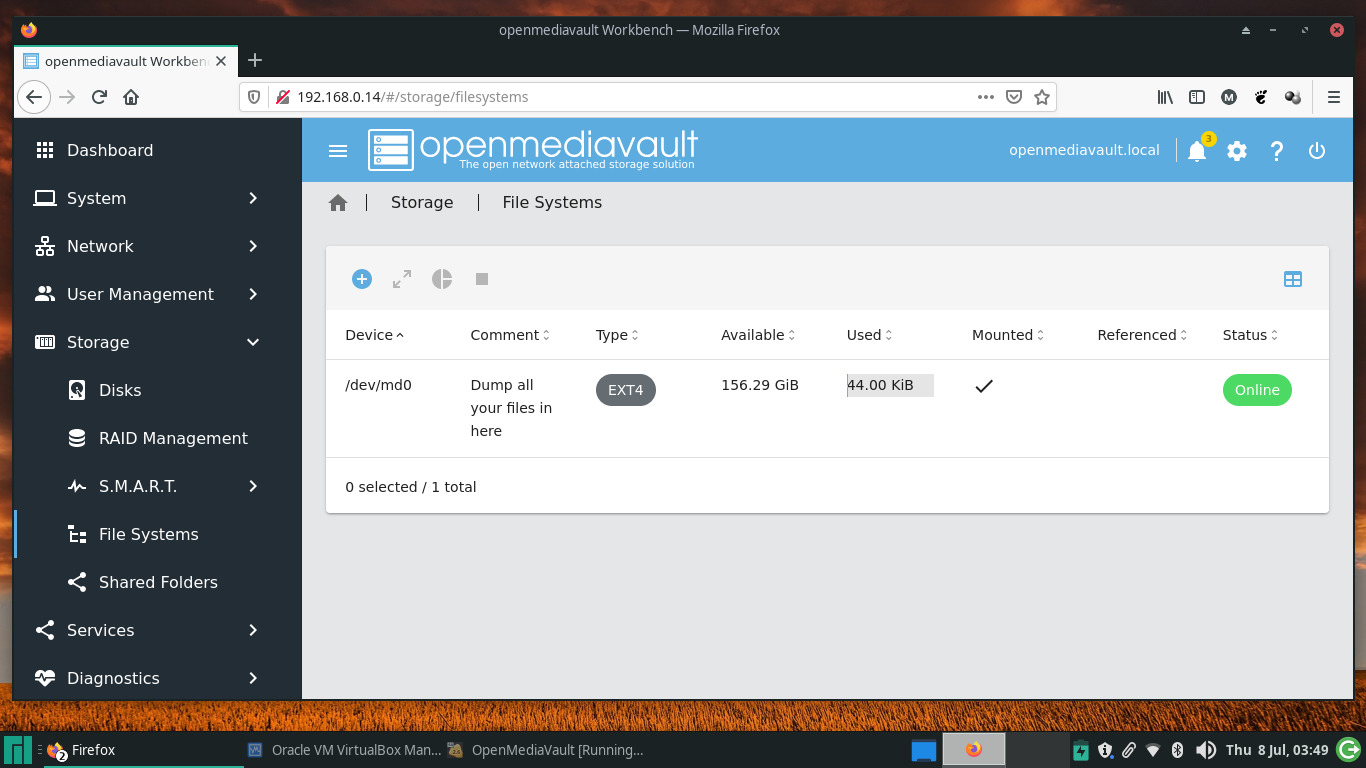
Head to Storage > Filesystems and click the Create button. In the dialog box that pops up, select the device you want to format using the pull-down menu.
The menu will list individual drives that you have wiped as well as any RAID devices. Use the pull-down menu to select a filesystem for the drives/NAS. OMV supports the EXT4, EXT3, XFS and JFS filesystems.
Regulate data access
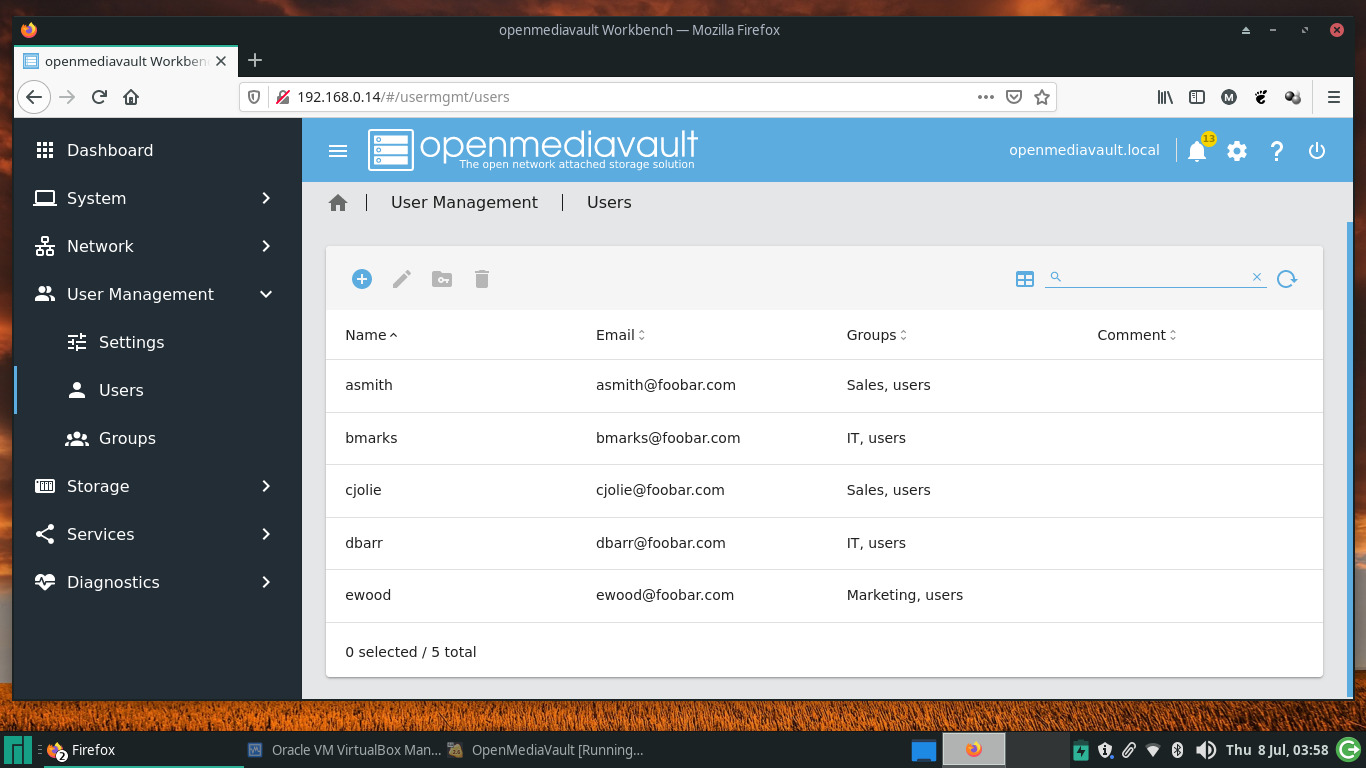
Before you can store data on the NAS device, you’ll have to create one or more users.
Head to User Management > Users to add or import users. When adding an individual user you can also add them to an existing group. By default all users are added to the users Group. You also get an option to prevent a user from making changes to their own account.
Next you’ll have to add at least one shared folder. Depending on how you plan to use the NAS, you can create multiple folders with varying user permissions as per your requirements.
To add a folder, head to Storage > Shared Folders and use the pull-down to select the volume for the folder.
Play close attention to the Permissions setting. By default, OMV will only allow the administrator and any users you’ve added to read and write data to this folder while others can only read its contents.
This is a pretty safe default for most installations, but you can select a more restrictive or a more liberal permission setting from the pull-down list.
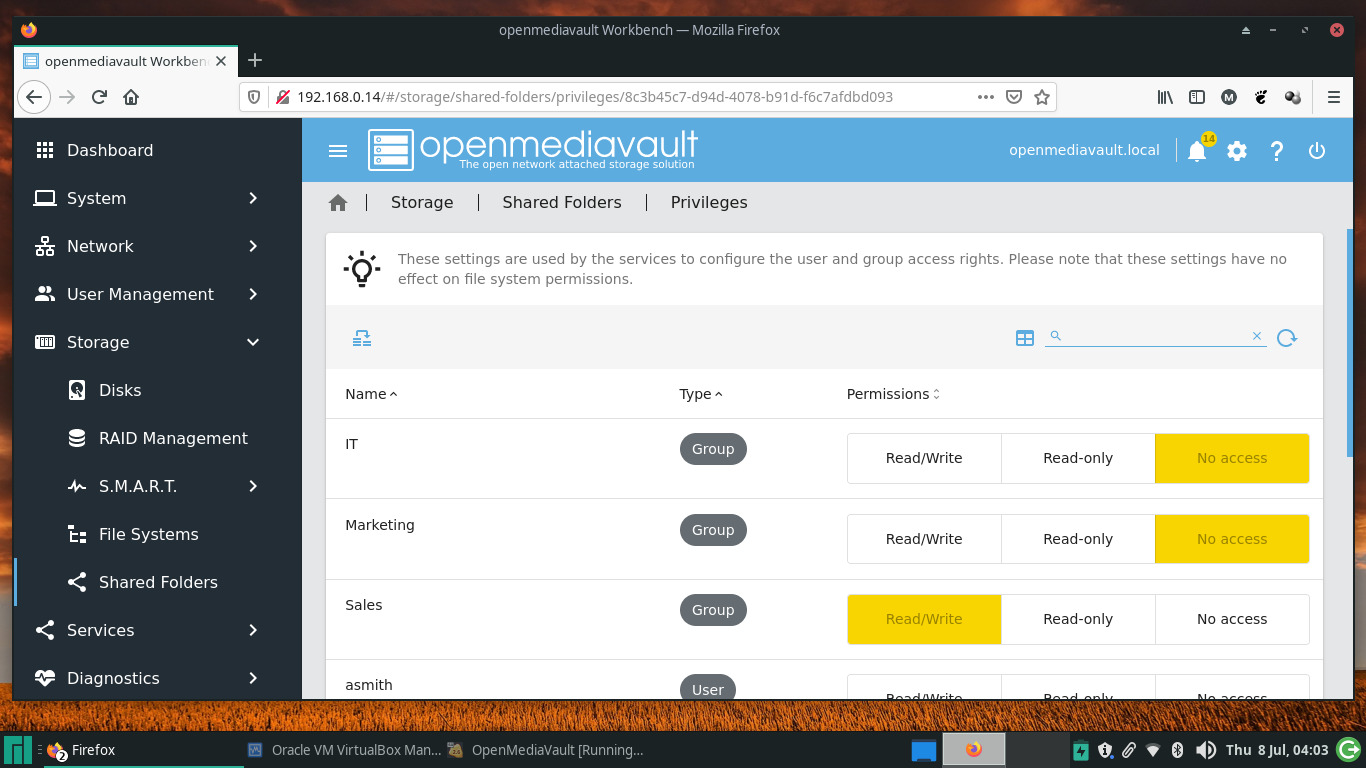
Even if you select the default Permissions setting when creating folders that lets all users read and write data to the folder, you can fine-tune the access permissions and disable certain users or groups from accessing or modifying the contents of a particular folder.
For this, after adding a user, head back to Storage > Shared Folders, select the folder that you want to control access to and click the Privileges button. This will open a window with a list of all the users you’ve added along with checkboxes for controlling their access to that folder.
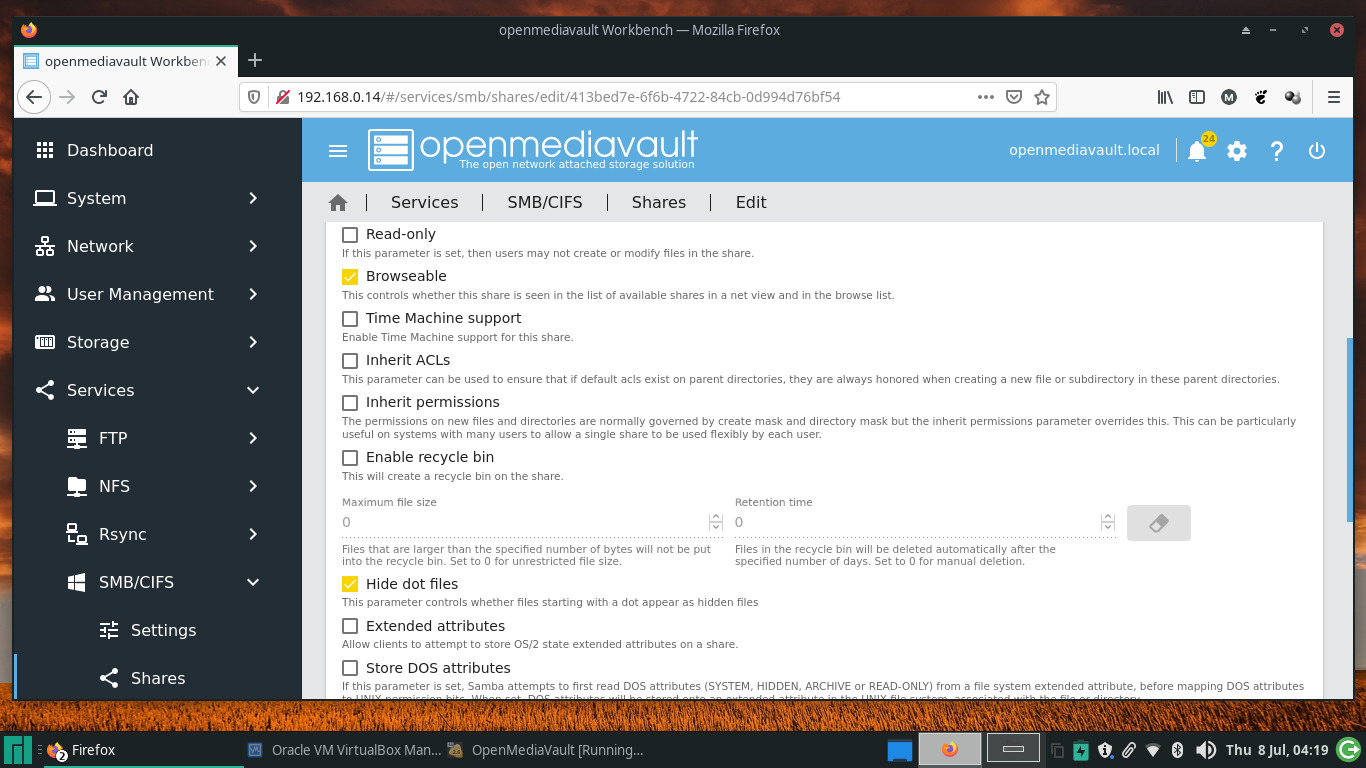
Finally enable a network service that users will use to access the shared folders from under the Services section and register the shared folders with the service from under the Shares tab. Your users can now access these shared folders across your network.
Deploy
That’s all there’s to it!. You should now be able to access all the shared folders you’ve created on the NAS device from any computer on the network, irrespective of whether they reside on an individual disk or a RAID array.
You can either use your file manager’s built-in Network feature to access the network shares or enter the IP address of the NAS device in the location area, such as: smb://192.168.3.111.
You’ll be prompted for a username and password before you can access the folders. Enter the credentials of the user that has the appropriate permission to access the folder.
Once verified, OMV will mount the shared folder. You can now upload files into the shared folder or delete them, if you have the permission, just like in a regular folder.
We’ve just explored OMV’s basic NAS functionality here. But OMV is very dexterous and we encourage you to take a trip down to its Plugins section to get a taste of some of its enhancements.
- See our latest NAS reviews.
- Also check out: How to set up a Network Attached Storage device.
With almost two decades of writing and reporting on Linux, Mayank Sharma would like everyone to think he’s TechRadar Pro’s expert on the topic. Of course, he’s just as interested in other computing topics, particularly cybersecurity, cloud, containers, and coding.
