How to change PS5 plates and covers
Give your PS5 a makeover

Sign up for breaking news, reviews, opinion, top tech deals, and more.
You are now subscribed
Your newsletter sign-up was successful
Removing the covers on your PS5 is something you'll likely need to do at some point. It can be nerve-wracking if you are worried about breaking your console, but thankfully Sony has made the process fairly simple. Here’s what you need to know to perform the process yourself.
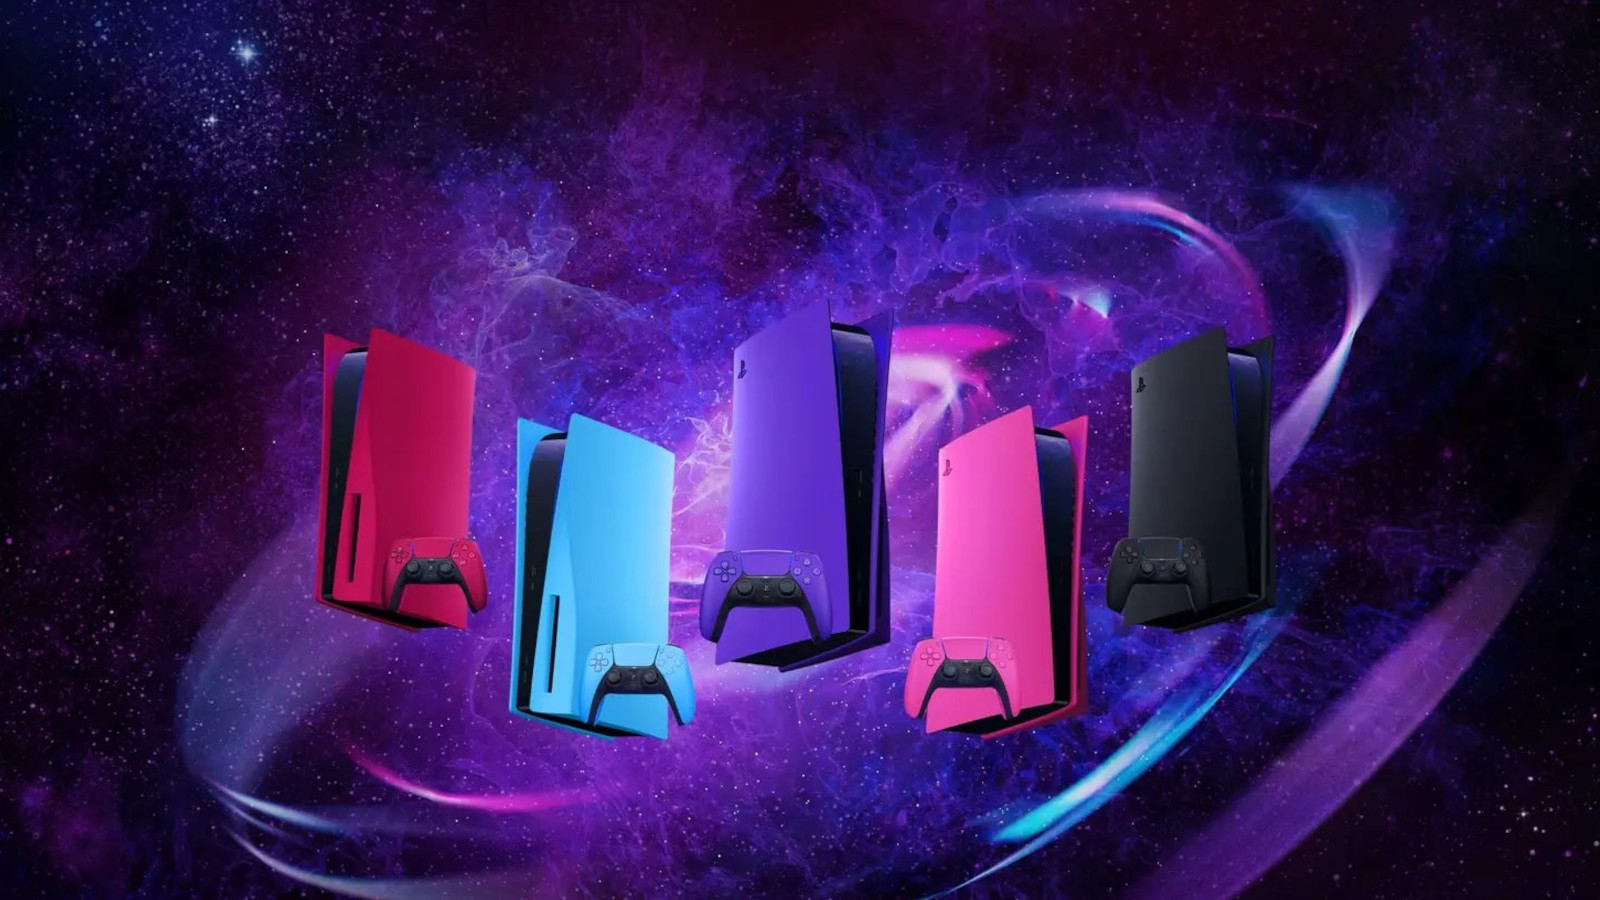
There are several reasons you might want to remove the PS5 covers. The most exciting one is you have bought the new Sony console covers that allow you to customize the look of your PS5 from white, black, blue, purple, red, or pink. The less exciting option is you merely need to do some maintenance on the console or plan on installing an internal SSD.
Whatever the case, it’s a daunting prospect, as you’re probably fairly protective of your hardware. To put you at ease, here’s the process you need to follow to remove the plates from your PS5 console. It’s actually fairly easy but requires you to know your way around so you don't do any accidental damage.
How to remove the PS5 plates and reattach them

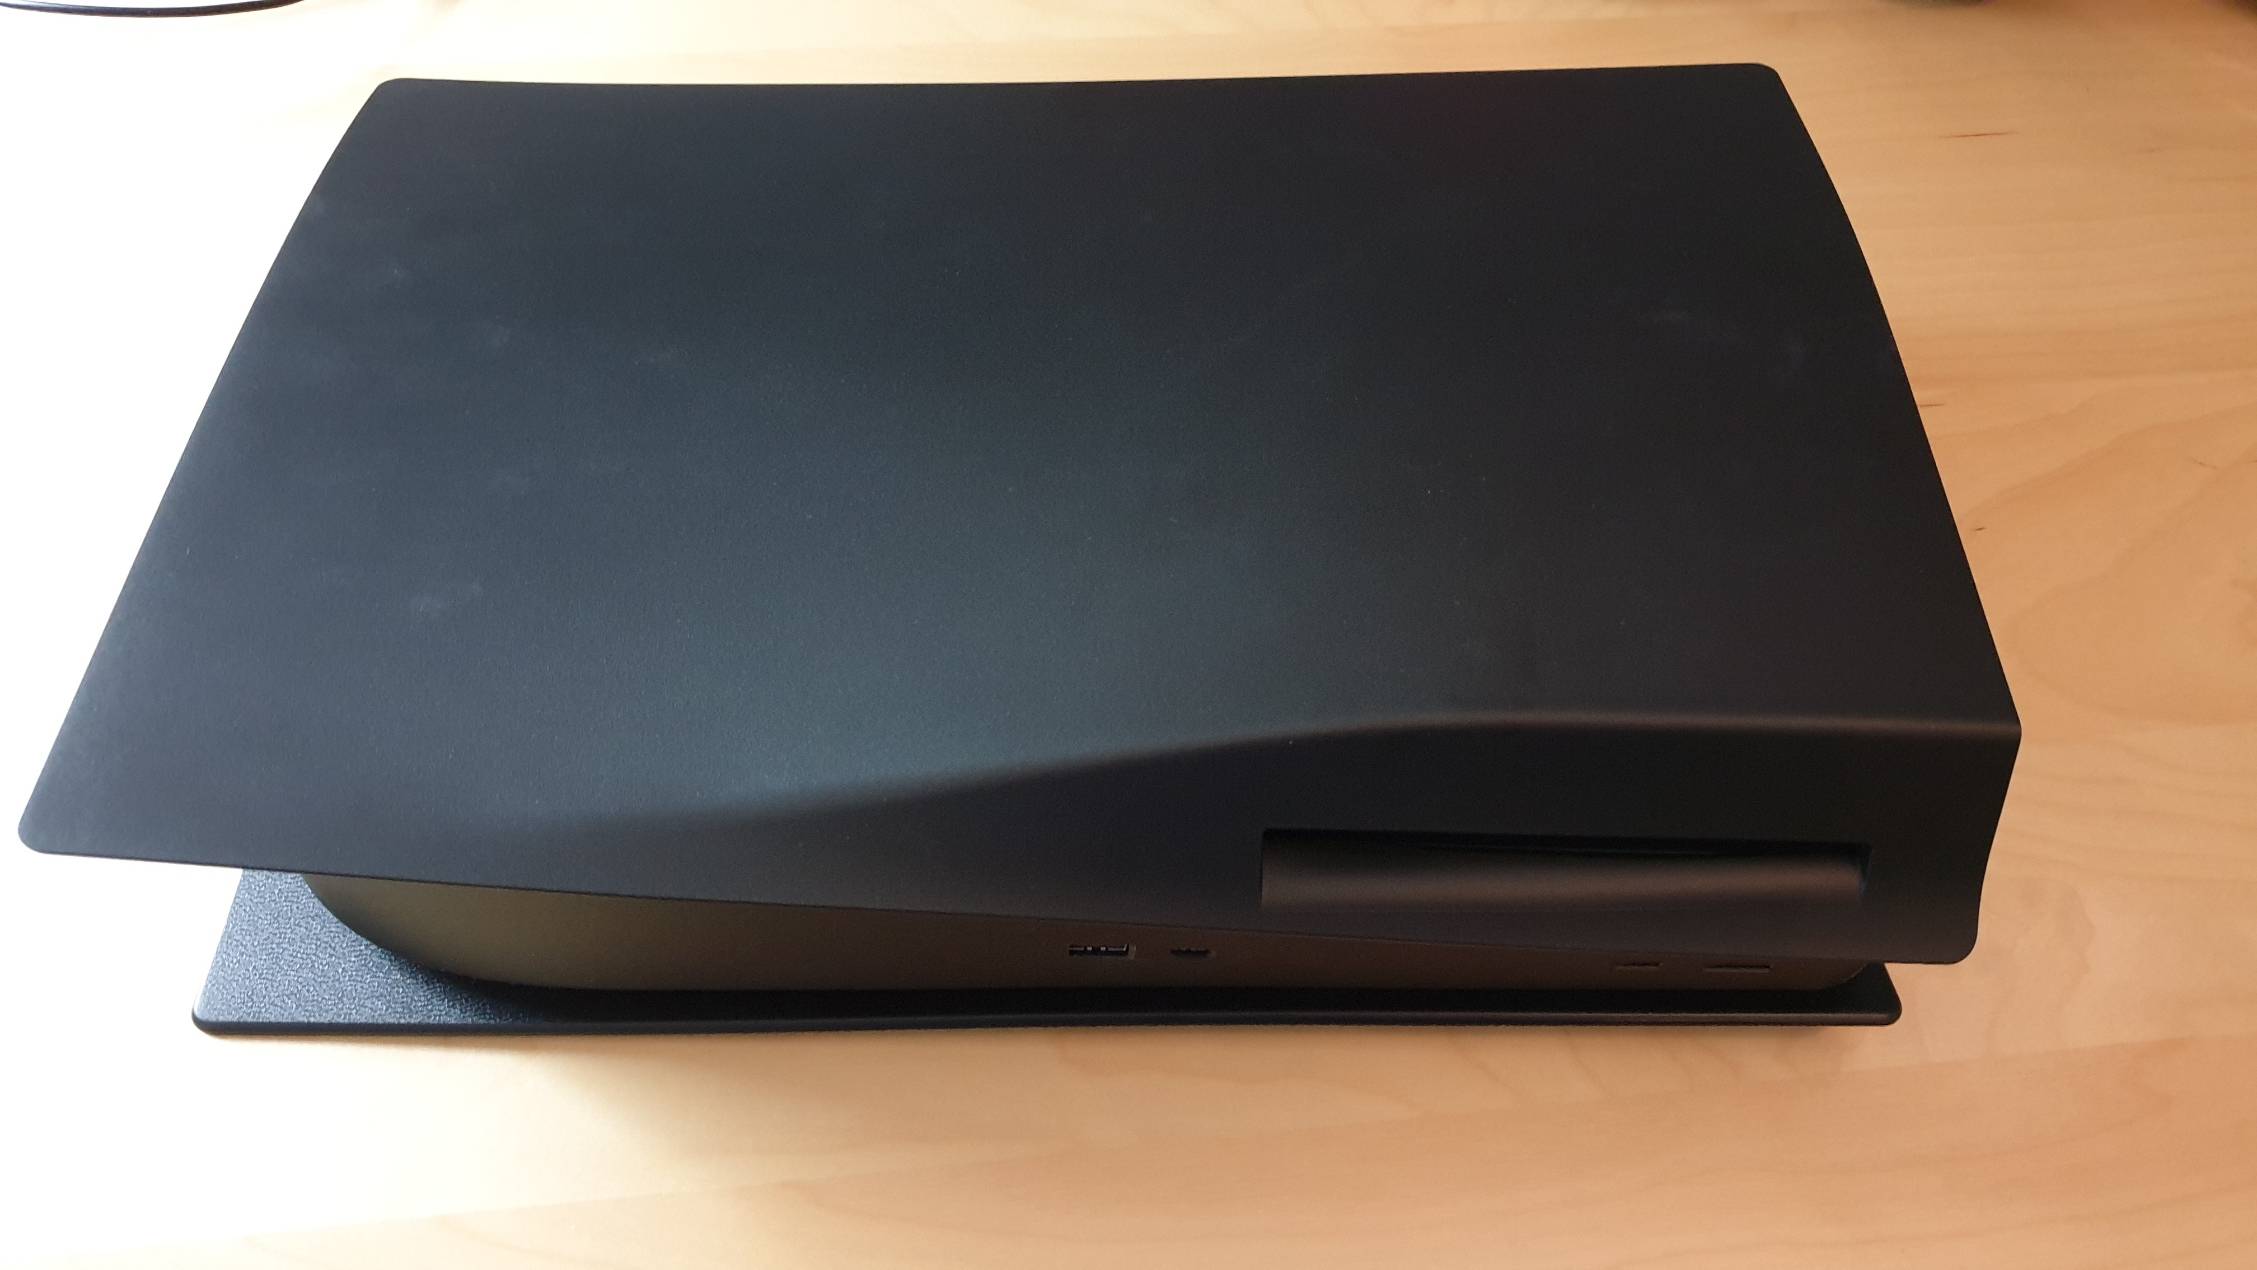
In order to take the plates off your PS5, first off, don’t try to rip them off while it is still standing. You're going to want to lay the console on its side so it isn’t prone to toppling over and make sure everything is unplugged.
Now you have the PlayStation 5 on a secure surface, it’s time to get the covers off. This is going to be the scary part. Up where the PlayStation logo is, reach under the bottom of the plate with your fingers. Place your thumb on the logo and apply force. You are going to want to both pull up and slide down on the surface at the same time. It can take a surprising amount of force, so don’t worry too much about breaking the cover. The covers are fairly robust as they're just large bits of plastic. That said, if anything ever feels off, stop and reassess that you are applying force in the correct area.
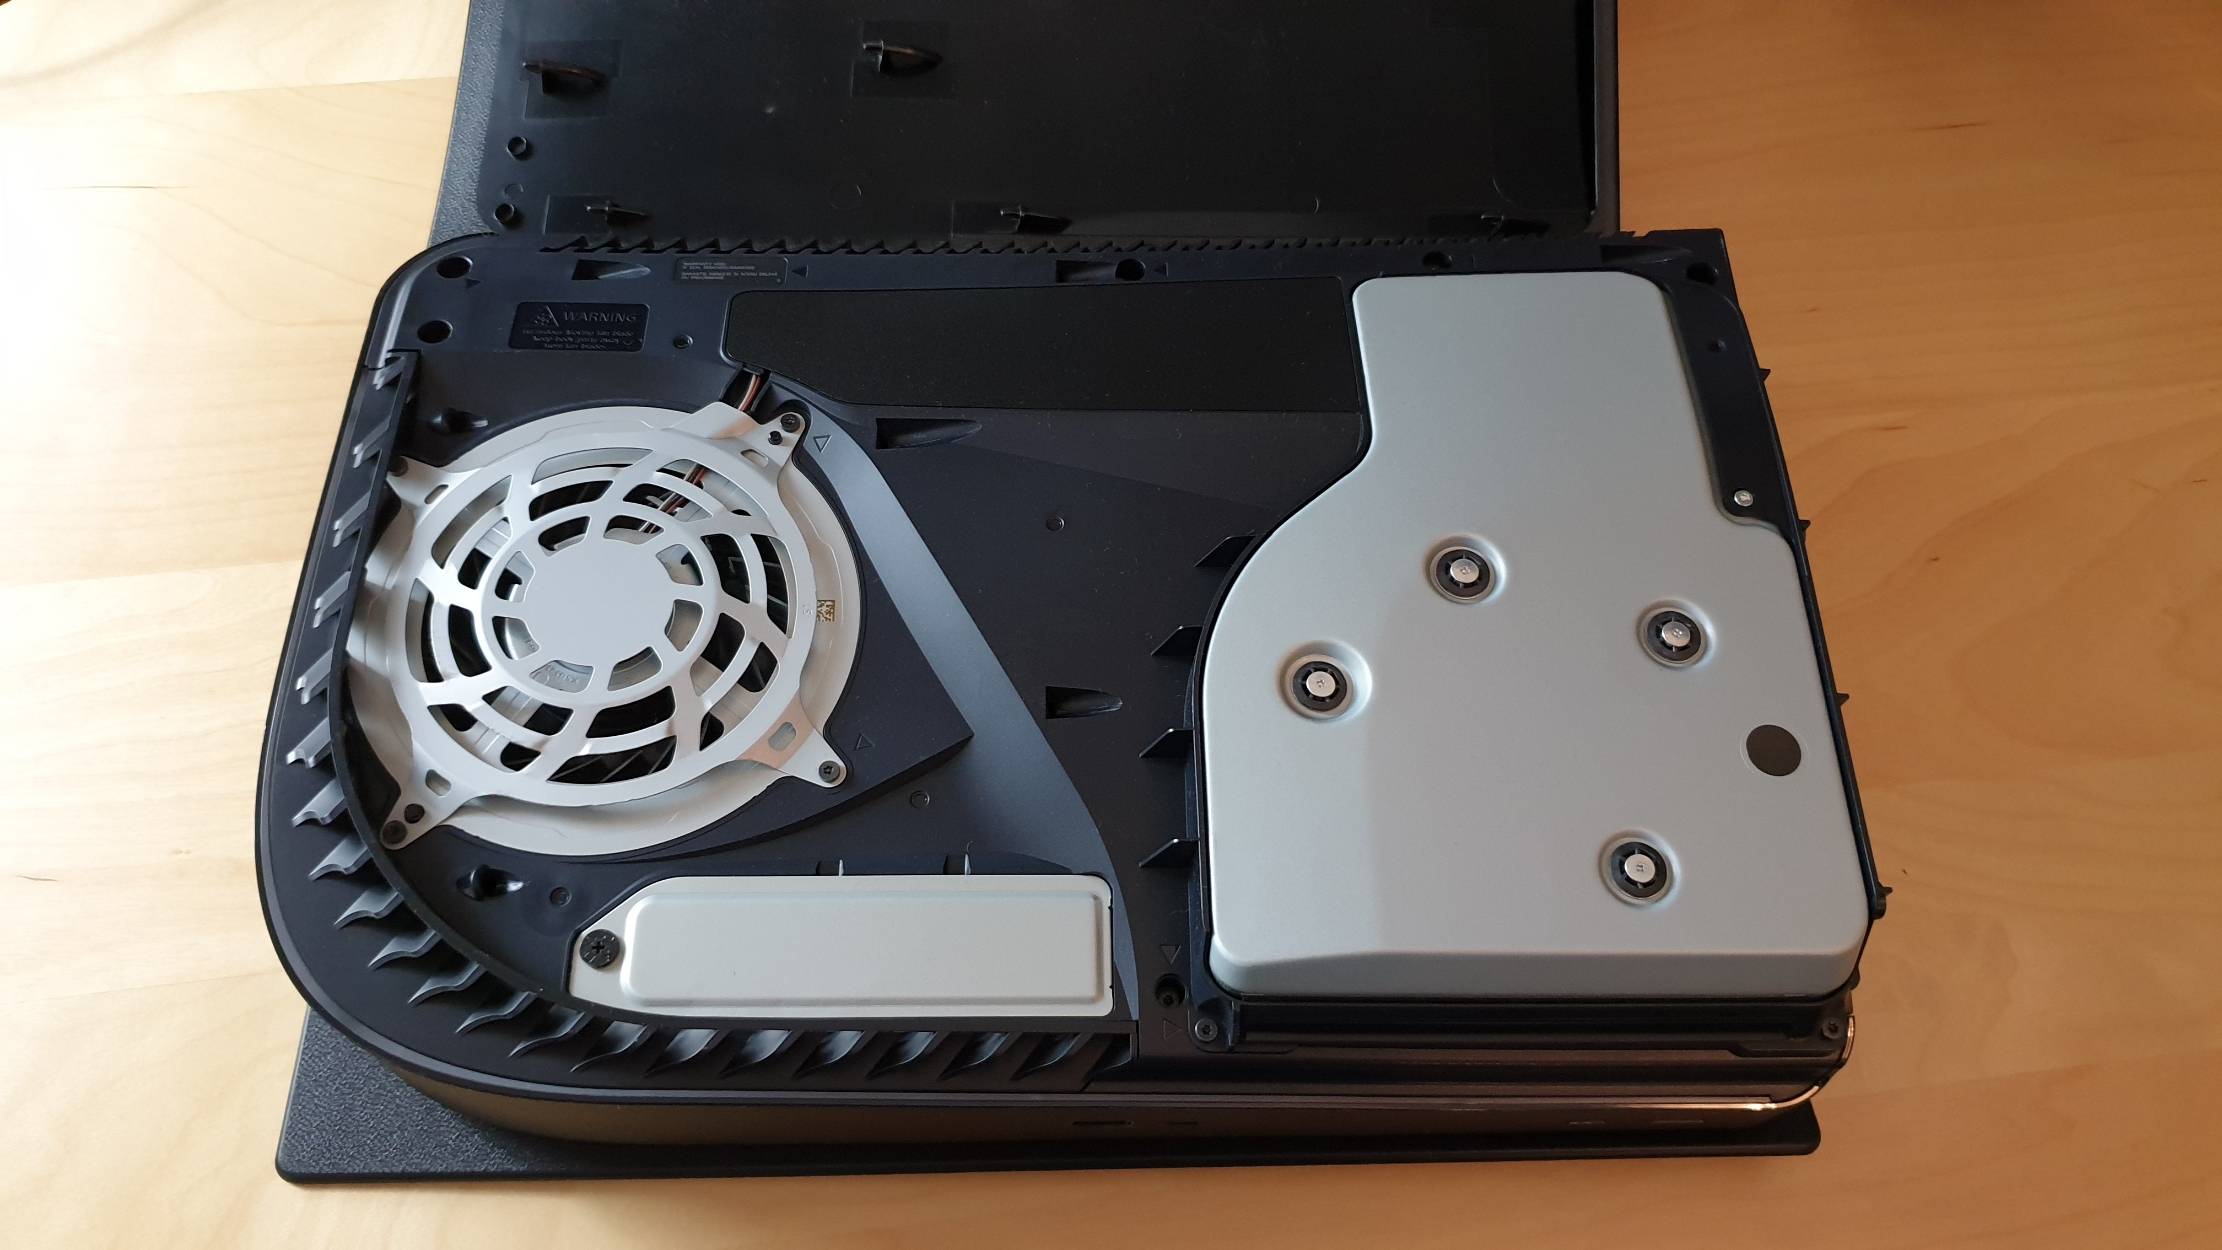
After that, the PS5 plate or cover should just pop straight off exposing the side of the console. Now, flip it over. If you have the disc drive version of the PS5 you want to reach up to the opposite corner of the drive. Alternatively, if you have a PS5 without a disc drive, you want to find the corner that was the same as the one with the PlayStation logo on it. Then repeat the process. Pull up and slide down on the panel until it is off.

Once the plates are removed, the side that doesn’t have the PlayStation logo on it houses a panel you can remove to insert an SSD onto the console if you like. You could also check the fans for dust and give them a small wipe down while you're here.
Sign up for breaking news, reviews, opinion, top tech deals, and more.
Now, to place the PS5 plates back onto the console, be that your previous ones or one of the new colorful Sony ones, it’s a much less stress-inducing process. Merely place a plate on to its corresponding side. Move it around until it sinks in a little. Then from the bottom of the console, just gently push up and you should feel a small snap, indicating that it is now secure. Then flip the PS5 over and do the same on the other side.
And that’s it. The process is surprisingly simple once you get past the fear of having to apply force to remove the plate. Thankfully it’s all fairly robust and designed specifically to be removed.
How to change your PSN name | How to transfer PS5 save data to PS5 | How to use the PS5 DualSense on PC | How to turn off PS5 adaptive triggers and haptic feedback | How to enable 120Hz on PS5 | How to enable PS5 3D audio for TV speakers
- Want something fun to play? Here are the best PS5 games currently available.

Patrick Dane is TechRadar Gaming's Guides Editor. With nearly a decade in the games press, he's been a consistent voice in the industry. He's written for a plethora of major publications and travelled the world doing it. He also has a deep passion for games as a service and their potential to tell evolving stories. To wit, he has over 2000 hours in Destiny 2, over 1000 in Overwatch and is now deeply into Valorant.