Create your own private cloud server
Replace popular online services with your own

Sign up for breaking news, reviews, opinion, top tech deals, and more.
You are now subscribed
Your newsletter sign-up was successful
The privacy-invading nature of popular communication and file sharing services pushes many users to self-hosted alternatives. But what do you do if you can’t get yourself to wade through the cumbersome installation and configuration process of these open source alternatives?
That’s where the aptly named FreedomBox server comes into play. It not only includes several of these file sharing and streaming alternatives, but offers them as ready-to-use apps that you can roll out with a single click. Once it’s up and running, you can use your FreedomBox instance to run a messaging server, host conference calls, share and sync files, host a wiki, and a lot more.
In that respect, FreedomBox has a lot of similarities with the Nextcloud server, as they both essentially help you wean from the popular, but remotely-hosted data accumulating services, by helping you host them on your own hardware. However, Nextcloud and FreedomBox go about this task differently.
FreedomBox takes pride in being baked on the Debian Linux distro, and only uses free and open source servers that you can find within the main Debian repository. Nextcloud on the other hand is essentially a file hosting and sharing service that takes on more functions thanks to its wide infrastructure of apps.
Installation
You can deploy FreedomBox on a variety of platforms, and the project hosts images for various single-board computers (SBCs) including the Cubieboard2, BeagleBone Black, Raspberry Pi, and several others.
If you lack any of the supported devices, you can also deploy FreedomBox on a regular computer. The easiest deployment target however is the virtual machine (VM), and the project also hosts a virtual disk image (VDI) that can be attached to a VirtualBox VM. If you go via this route, you’ll have to first create a VM and then point it to the downloaded FreedomBox VDI.
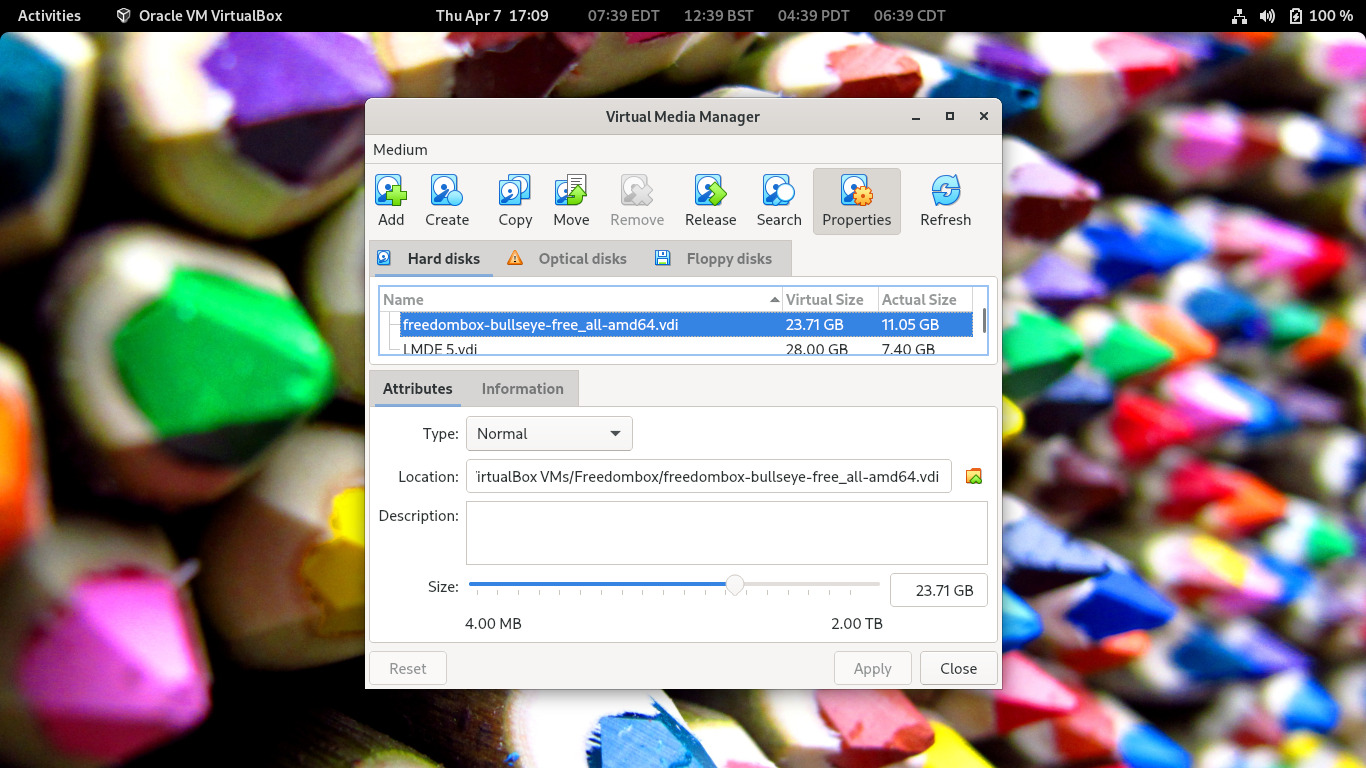
Also remember, if you’re using the virtual disk image, make sure you resize it before booting the VM. By default the VDI doesn’t have enough free space to flesh out your FreedomBox installation.
Sign up to the TechRadar Pro newsletter to get all the top news, opinion, features and guidance your business needs to succeed!
For this, first attach the VDI to the VM, then head to File > Virtual Media Manager. Scroll the list of attached virtual disks, select the Freedombox image, and click the Properties button. Now use the slider under the size attribute to increase the size of the disk by several GBs for comfortable use. Save the settings and boot the VM.
Setup
Once the VM is up, it’ll display the various ways you can access the web interface. Thanks to mDNS, you can simply head to "https://freedombox.local" instead of grappling with IP addresses.
FreedomBox doesn’t have a default user and you’ll have to create one using its setup wizard that comes up automatically after you’ve accepted the server’s self-signed certificate. You can then use the same credentials to log into the VM as well.
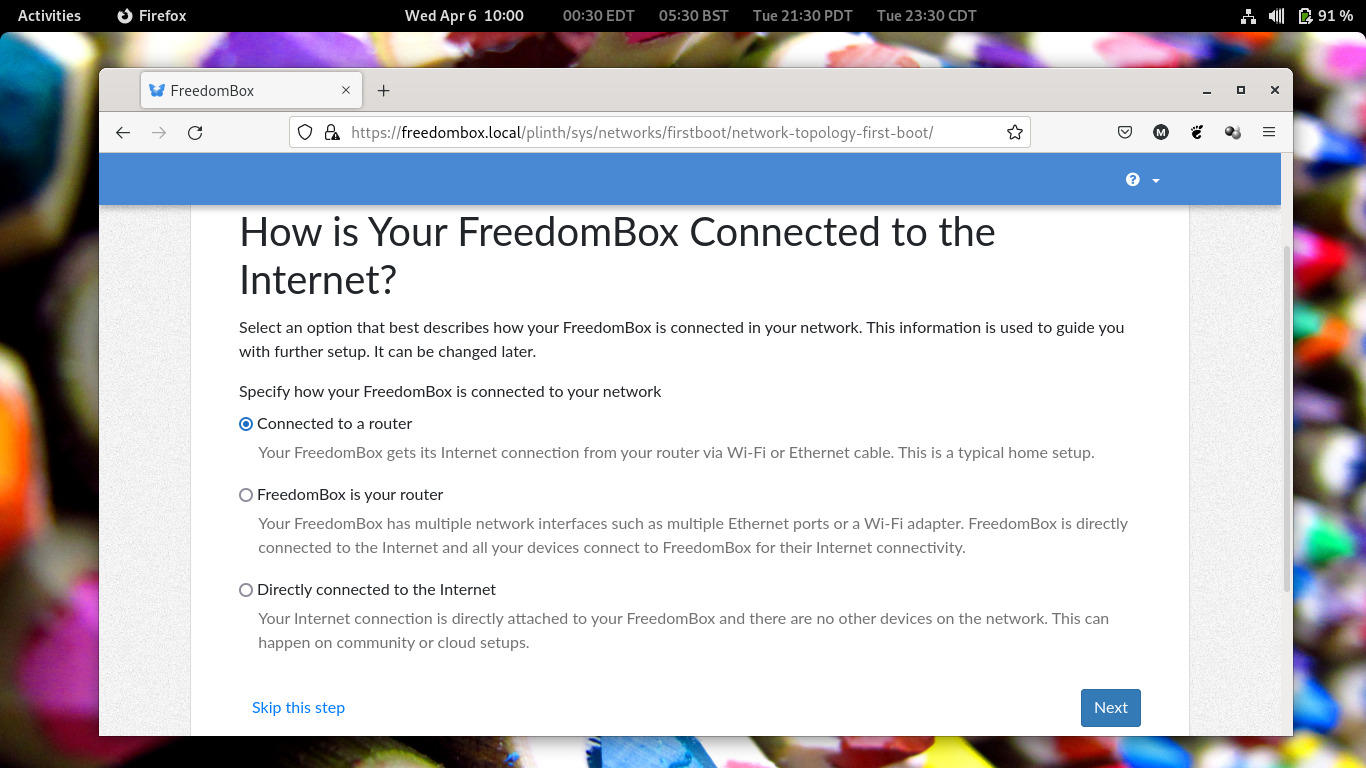
The first time you access the admin interface, FreedomBox will take you through a brief setup wizard, to figure out the setup of your network. You’ll have to tell FreedomBox how it is connected to the internet by selecting from one of the listed options.
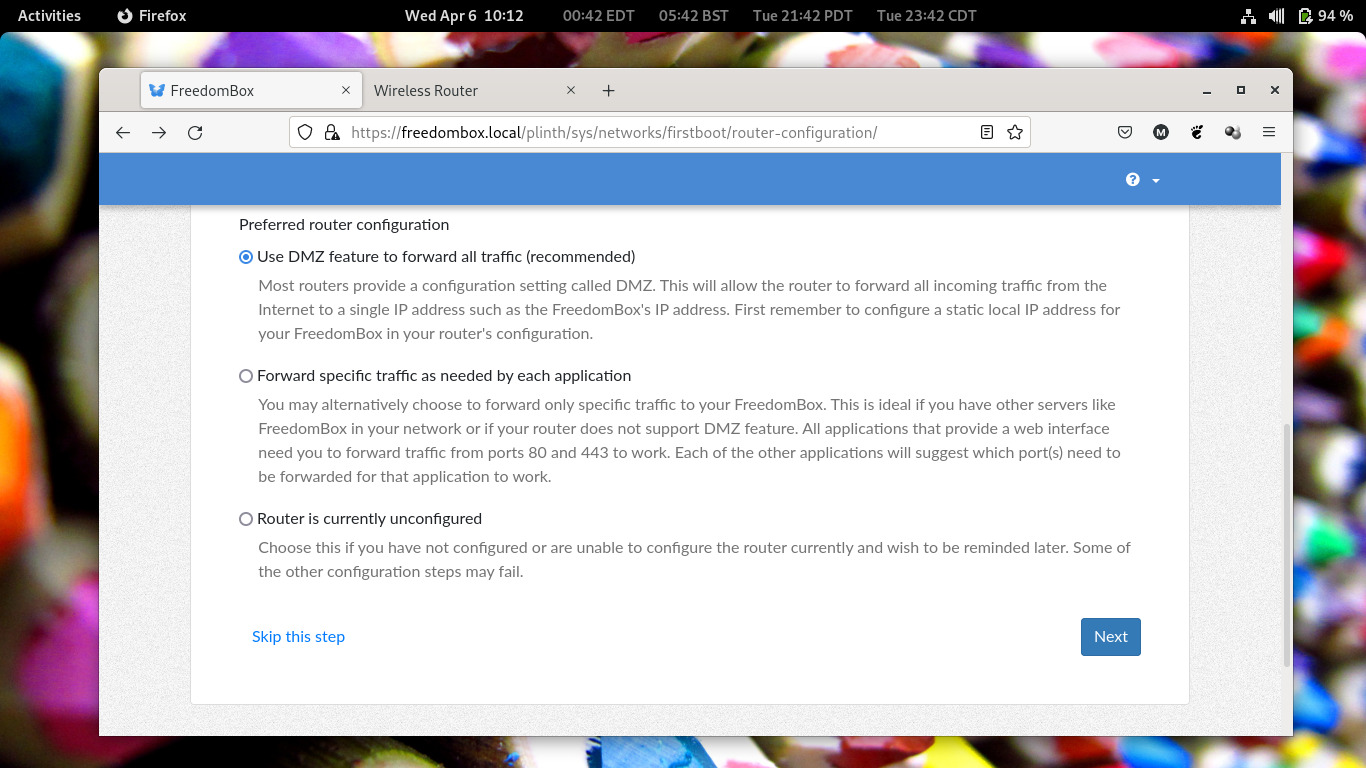
In most steps, the FreedomBox server connects to the internet through a router, and for such a setup you’ll also have to configure a demilitarized zone (DMZ) in your router, which allows organizations to access untrusted networks, such as the internet, while ensuring its private network remains secure.
Login to your router’s administration interface, and comb through it for the DMZ option. It is typically listed under the section that lists the Advanced options, and will only prompt you for the IP address of the machine you want to forward all traffic to, which is the IP address of the FreedomBox server.
Usage
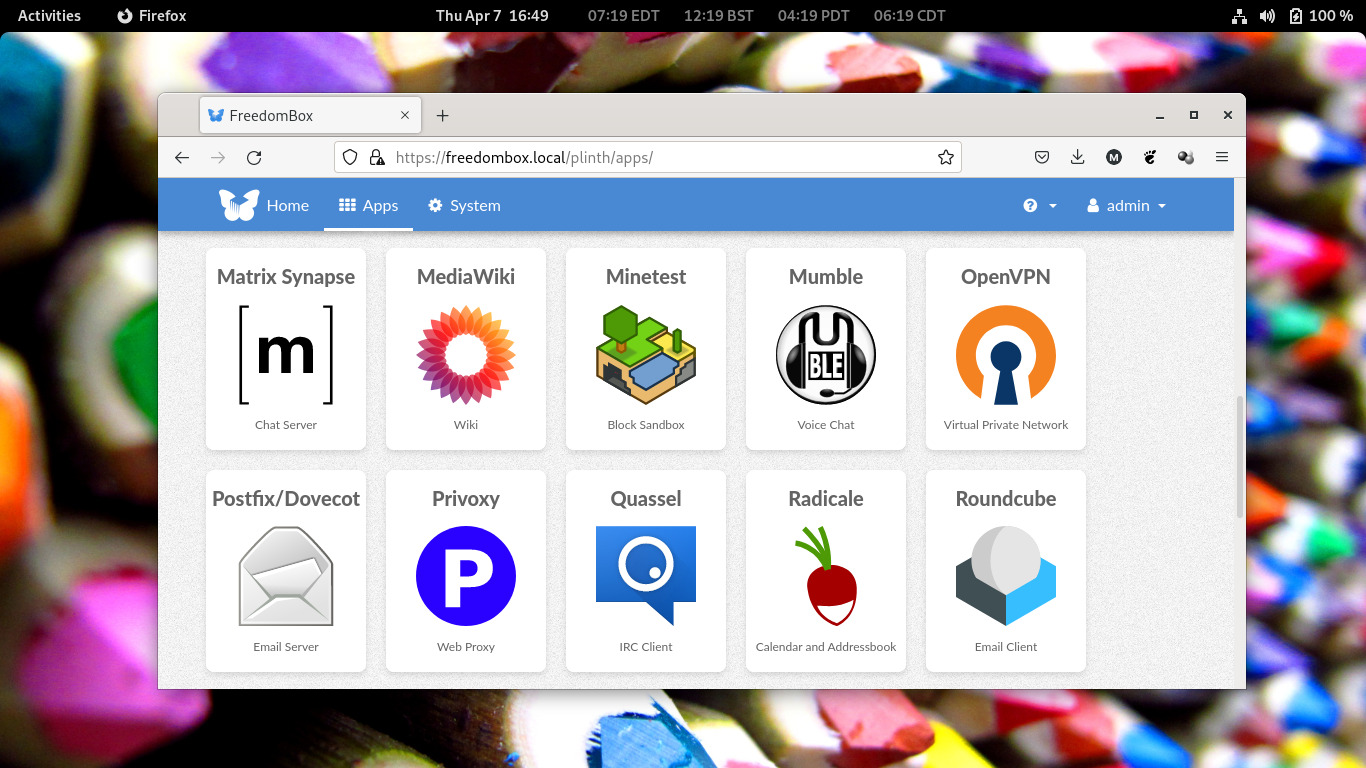
Once the setup wizard completes, you’ll be dropped to the administration interface. You can now easily activate the services you want to deploy using the intuitive interface. Before you begin, it’s recommended you first configure the backup module to take regular snapshots of the data housed in your FreedomBox server.
You can now use the storage space available in your FreedomBox server to store all kinds of data that’ll be available to all the users on the network, pretty much like a Network Attached Storage (NAS) device. You can expand the storage by connecting an external drive, and even configure it as a RAID device. The FreedomBox server will show up as a network device in your file manager and you can transfer files to and from the server, just like any other network drive.
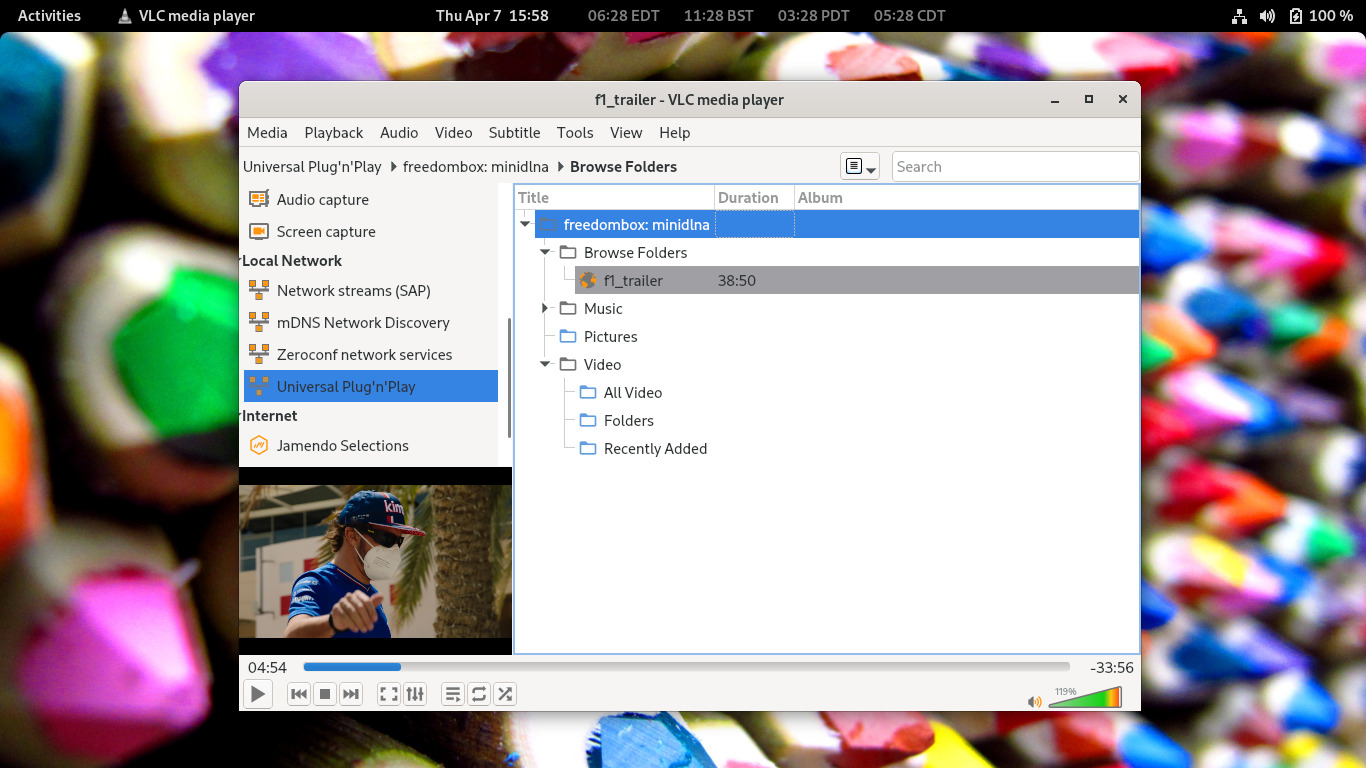
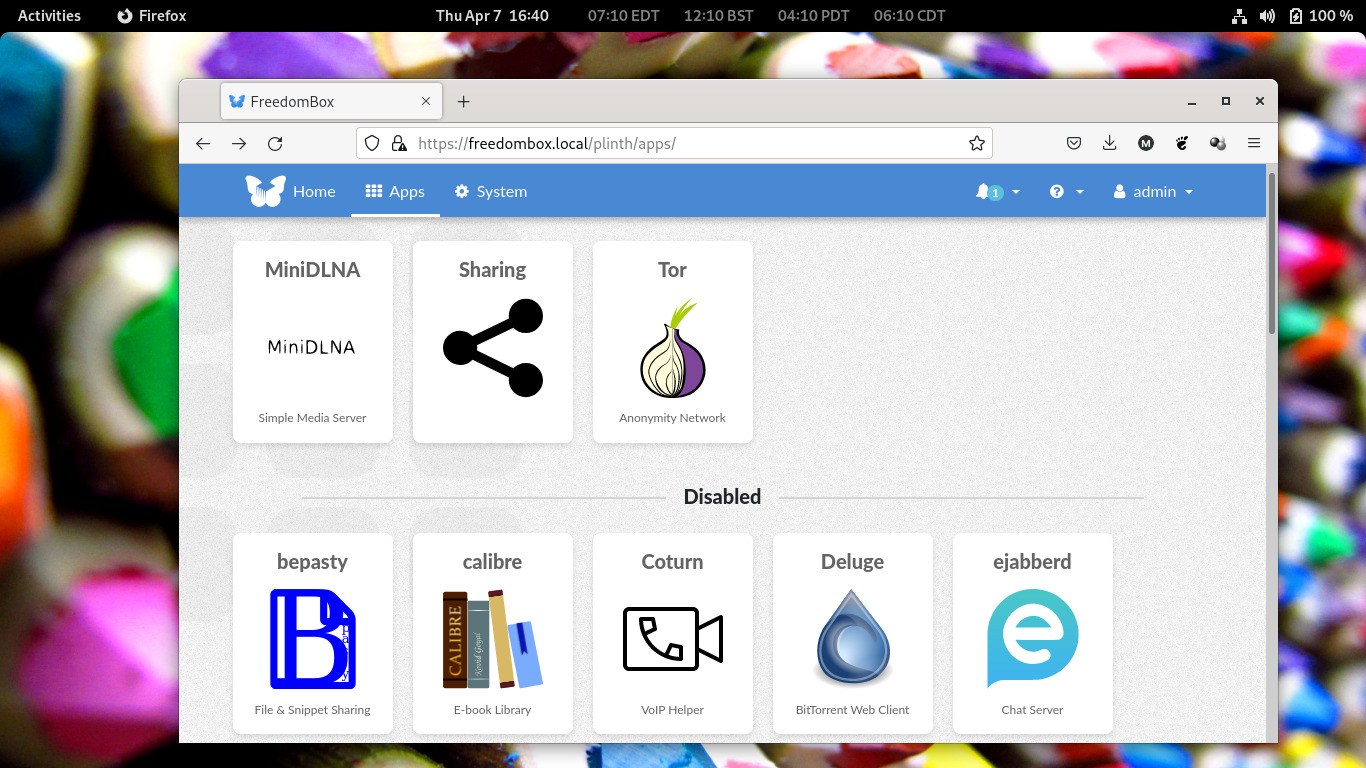
You can now install apps such as the MiniDLNA media server to stream multimedia content housed in your FreedomBox server to devices on your network. For better organization, it’s best if you use the Sharing app to setup a shared folder, which MiniDLNA can stream content from.
Next you can install additional apps to transform your FreedomBox server. organizations can use it to host their Wordpress-powered blog, a MediaWiki-powered wiki, an ejabberd-powered instant messaging chat server, a Mumble-powered voice chat server, and lots more. In fact, FreedomBox also makes it fairly straightforward to double-up as an OpenVPN-powered VPN server.
Universal access
One important thing to note is that to connect to most of the services from outside your local network, your FreedomBox server must have a domain name.
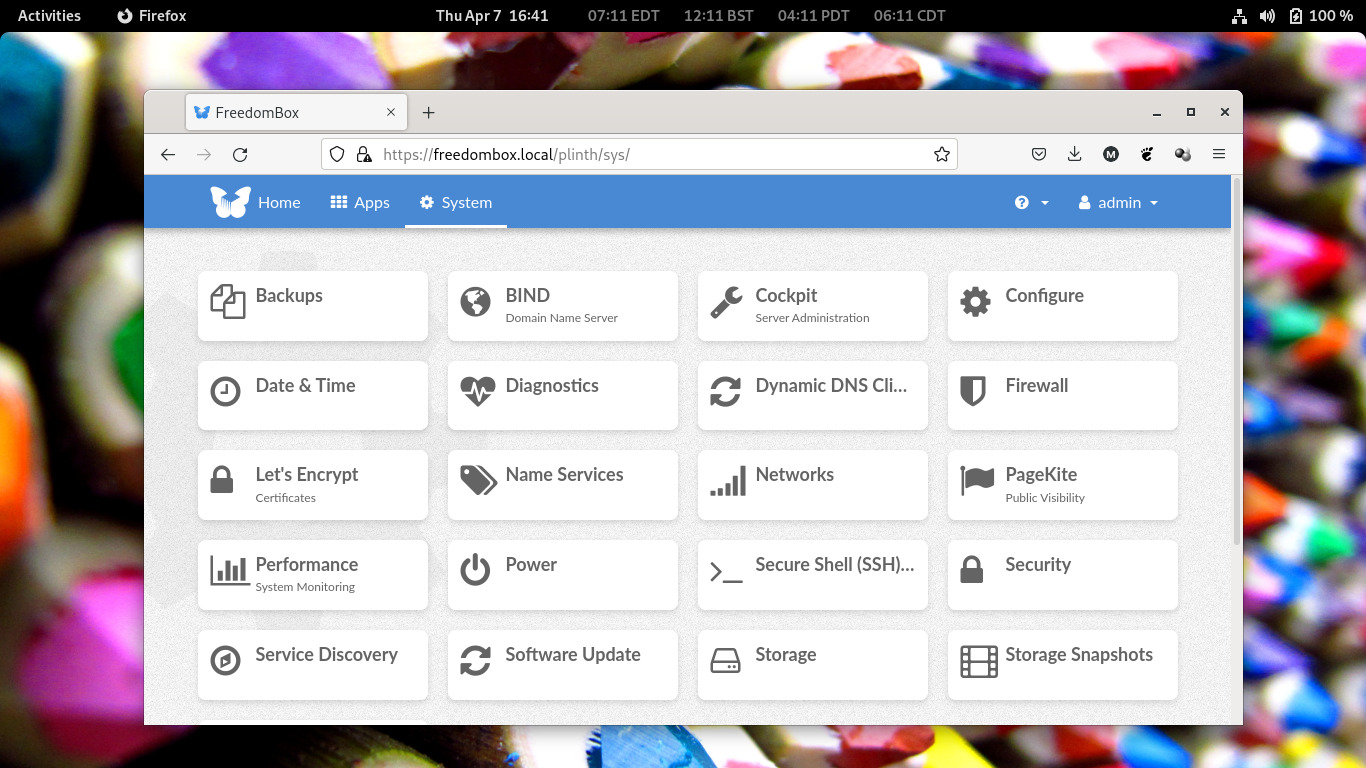
The most popular option for enabling this is using a Dynamic DNS service. Another option is to use a service like PageKite, which is integrated into FreedomBox. PageKite finds its way to your FreedomBox by using a combination of tunnels and reverse proxies.
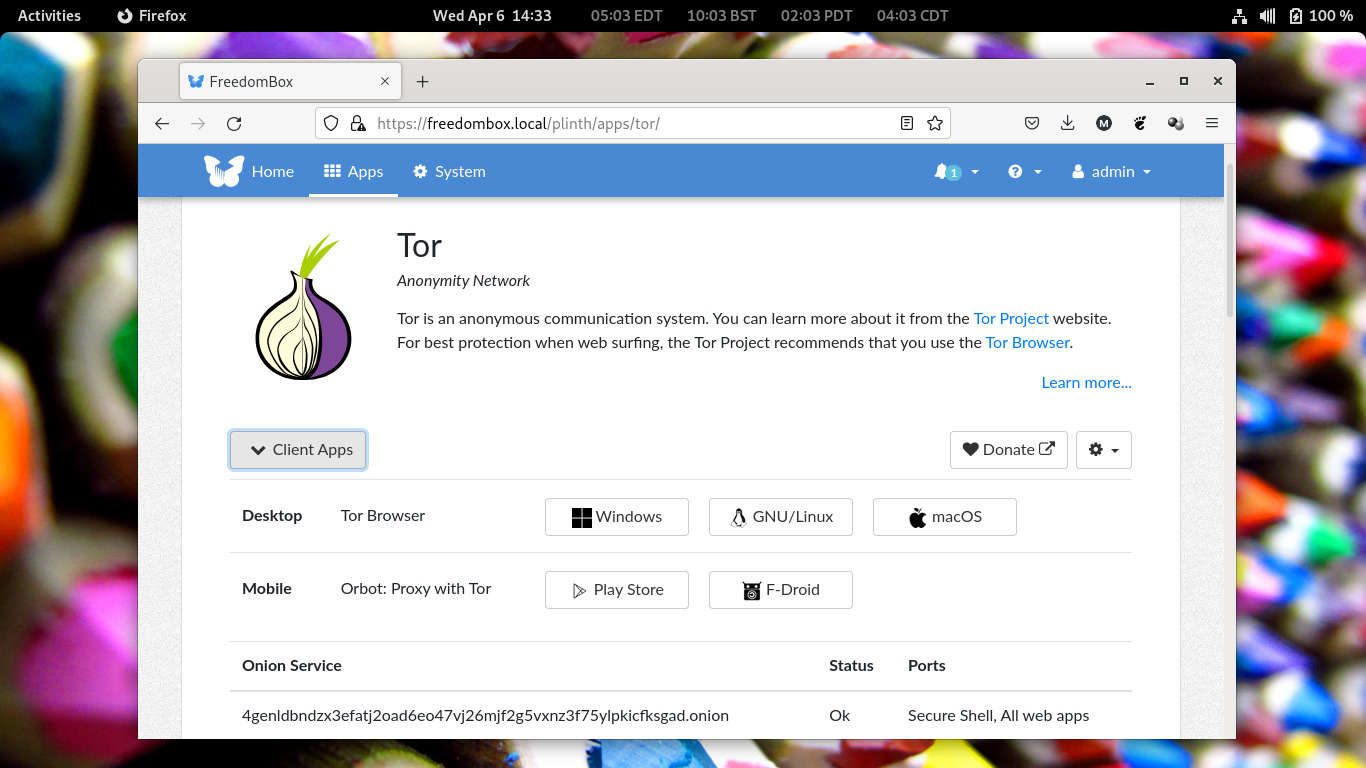
A better option for accessing your server from the internet is to install and activate Tor. Once you’ve installed the service using FreedomBox’s web interface, it’ll spit out a .onion URL that identifies your server on the Tor network. Anyone on the internet can now get to your server by pasting this .onion address in their Tor browser.
Conclusion
One of the biggest strengths of FreedomBox is that it scales very well, and can handle the load of a small home network to that of a large organization, thanks to its stable Debian base.
FreedomBox has an intuitive interface, backed up by ample documentation, and a helpful community of users, all of which make it one of the best open source private cloud servers.
With almost two decades of writing and reporting on Linux, Mayank Sharma would like everyone to think he’s TechRadar Pro’s expert on the topic. Of course, he’s just as interested in other computing topics, particularly cybersecurity, cloud, containers, and coding.
