
 Become a TechRadar Insider


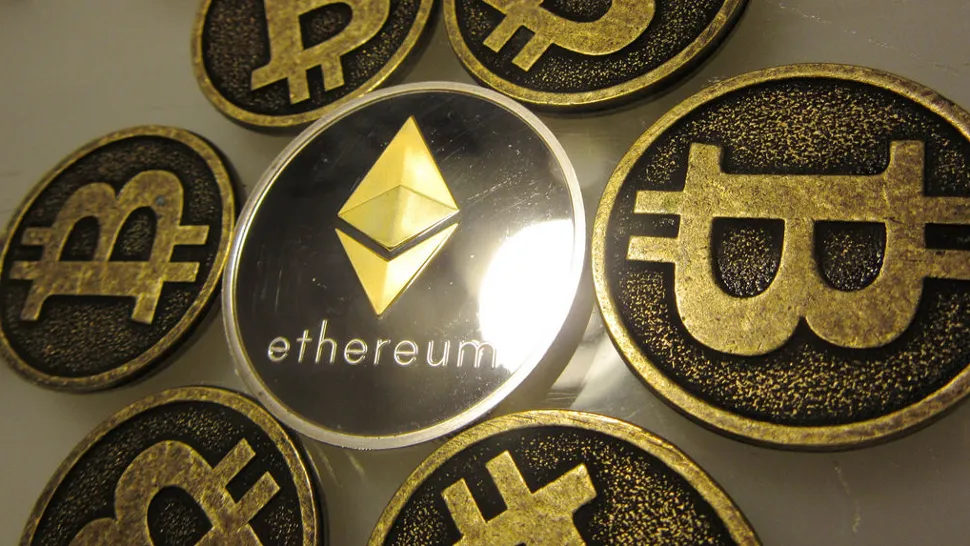
Ethereum is the first 'world computer', existing as an open source computing platform capable of executing scripts and 'smart contracts' using its own Blockchain. Ethereum is powered by the cryptocurrency Ether... the more you have, the more computing power you control.
Ether (cryptocurrency code ETH) is listed on most Bitcoin Exchanges, so you can buy some if you wish by way of an investment. Alternatively, you can create your own Ether through 'mining'.
In layman's terms, mining Ethereum involves using computer hardware to run 'proof of work' algorithms. Any machine participating in the network can mine Ethereum, although the amount of revenue in Ether this generates entirely depends on your mining output or 'hashrate'. (See a detailed explanation of this process here).
DIY power users may prefer to buy specialist hardware and start mining themselves. You can also rent hash power from data centres to mine Ether on your behalf. In this guide you'll learn how to purchase a two-year Ether mining contract from Genesis Mining, which owns Engima, the world's largest Ethereum mine.
While there's no guarantee you'll make a positive return from this investment – as with any investment – this is one of the quickest and easiest ways to get started with mining today.
- We show you how to mine Bitcoins

1. Create Ethereum Wallet
If you don't already have a wallet to store your mined Ether, visit https://www.myetherwallet.com. Under ‘Create a New Wallet’ fill in the ‘Enter a Password’ field with a strong password. Click Create New Wallet. Next click on Download Keystore File and save this in a safe place on your computer.
Click on I Understand to load the wallet itself. Click Print Paper Wallet to open it in a new page. Make a hard copy if you can. Take note of your address, which you can use to receive payments, for example: 0x1069E0D8dDb279bEB5b1f38c3654118215236a8A.

2. Register with Genesis Mining
In your web browser, visit https://www.genesis-mining.com. Click Sign Up at the top-right. Enter your email address and password, then click Sign up at the Bottom. You'll see a notification saying your account has been created.
Click Start Mining Now. Scroll down to find an ETH Mining contract. Currently these last for two years, so this should say ‘2 years Ether Mining’. Use the slider underneath this to determine the amount of hash power you want to buy (e.g. 1 MH/s). The price for buying this amount of hash power is displayed to the right.

3. Choose payment method
Genesis accepts a number of payment methods for Ethereum mining. If you have a USD credit card, you can use this, although there's a fee for processing amounts under $100 (around £75, AU$130). The easiest method is to use Bitcoin to purchase the hash power you need. If you don't have any Bitcoin follow our guide here to register an account with the Bitcoin exchange Bitstamp.
Once you've selected BTC as your payment method click Continue. Take a look at the Order Specification to double-check everything is in order. Next, click View Agreement, then Agree on Terms to accept the mining conditions. Finally click Confirm Order.

4. Process Bitcoin payment
If you chose to pay via Bitcoins, the Genesis website will provide a payment address and QR code to process your payment. This address is valid for 30 minutes. Make a note of both the address and the exact amount of BTC you'll need to pay.
If you’re using Bitstamp to buy your coins, visit https://www.bitstamp.net/account/withdraw to process the transaction. You will be sent a link via email to confirm withdrawal.
You’ll receive an email from Genesis Mining once the order is processed. Alternatively visit https://www.genesis-mining.com/dashboard to check you've been allocated the correct amount of hash power you purchased.

5. Manage payouts
Once you've purchased your mining contract, you need to supply Genesis Mining with a payment address to receive your ETH. Use your browser to go to https://www.genesis-mining.com/my-account and click on Wallets at the top of the screen. Under Ether, paste in the wallet address from earlier e.g. 0x1069E0D8dDb279bEB5b1f38c3654118215236a8A. Scroll down to the bottom and click Save.
Visit https://www.genesis-mining.com/payouts to check the payouts received to your particular address. If the amount mined is too small to be sent individually, as per the rules of the mining server, then it will be accumulated and sent to your ETH address when it’s large enough.
Top image credit: BTC Keychain (Flickr)