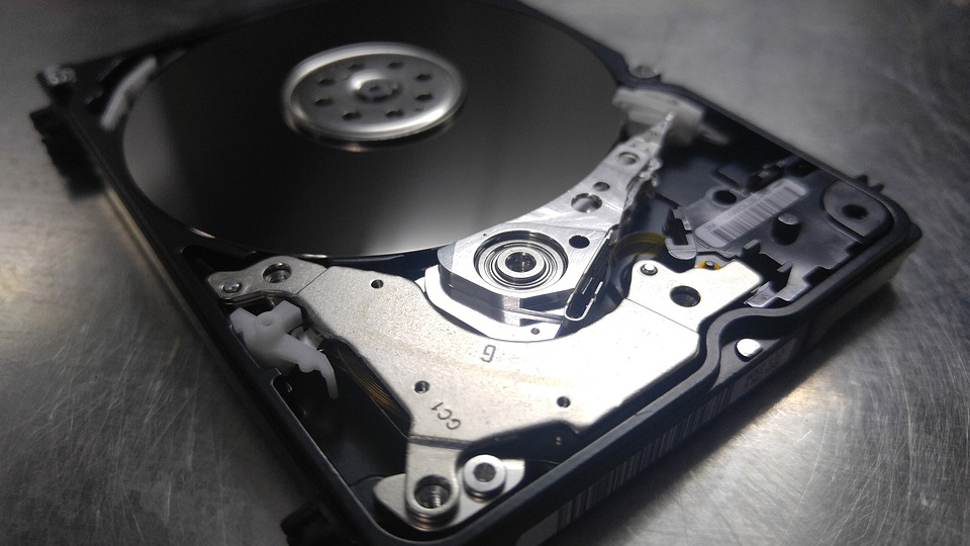
We all hope it never happens, but sometimes you may lose important data from your computer. You might have deleted something you didn’t mean to, or disk formatting or partitioning issues may have been at fault. Sometimes, the problem is due to system crashes or viruses.
Whatever the reason, there’s no reason to panic. There are tools available that can help you recover the data you thought might be gone forever. In this article, we’re going to demonstrate how to recover deleted files using one of the best data recovery software tools, an app called EaseUS Data Recovery Wizard, with which you can restore up to 2GB for free. There's also a paid version of EaseUS Data Recovery Wizard, enabling unlimited data recovery (and has many other features).
You can find our more in our EaseUS Data Recovery review.
How to recover data from a hard disk: Preparation
To be able to use EaseUS Data Recovery Wizard, you’ll first need to visit the EaseUS website and download the program for your platform. There are Windows and Mac versions available.
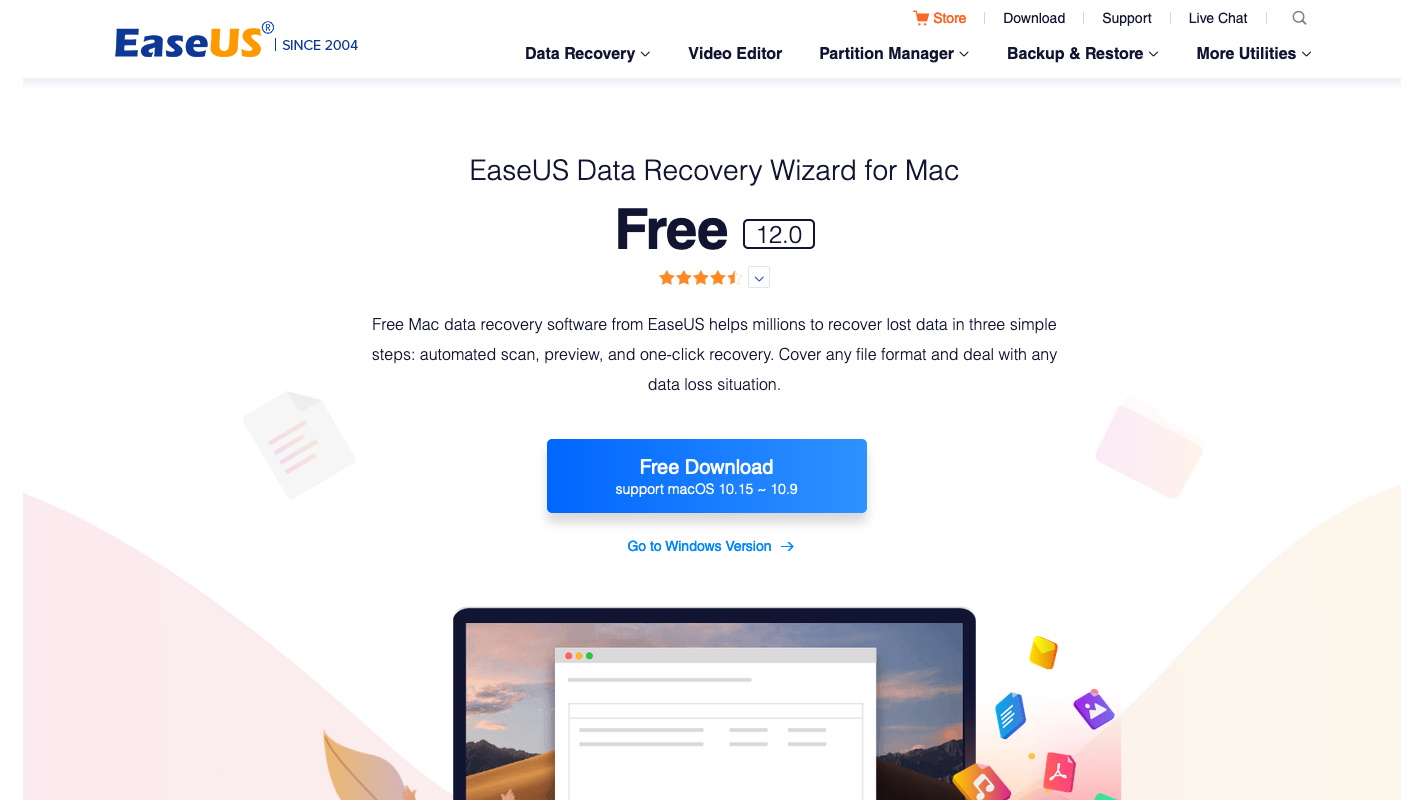
Run the installer, and then launch the app. If you’re on a Mac, you may need to give the app permission to access your hard drive. You’ll then be ready to begin the hard drive recovery process.
Step 1: Specify a location
Once you launch the app, the first thing you need to do is specify the location in which it should be looking for the lost data.
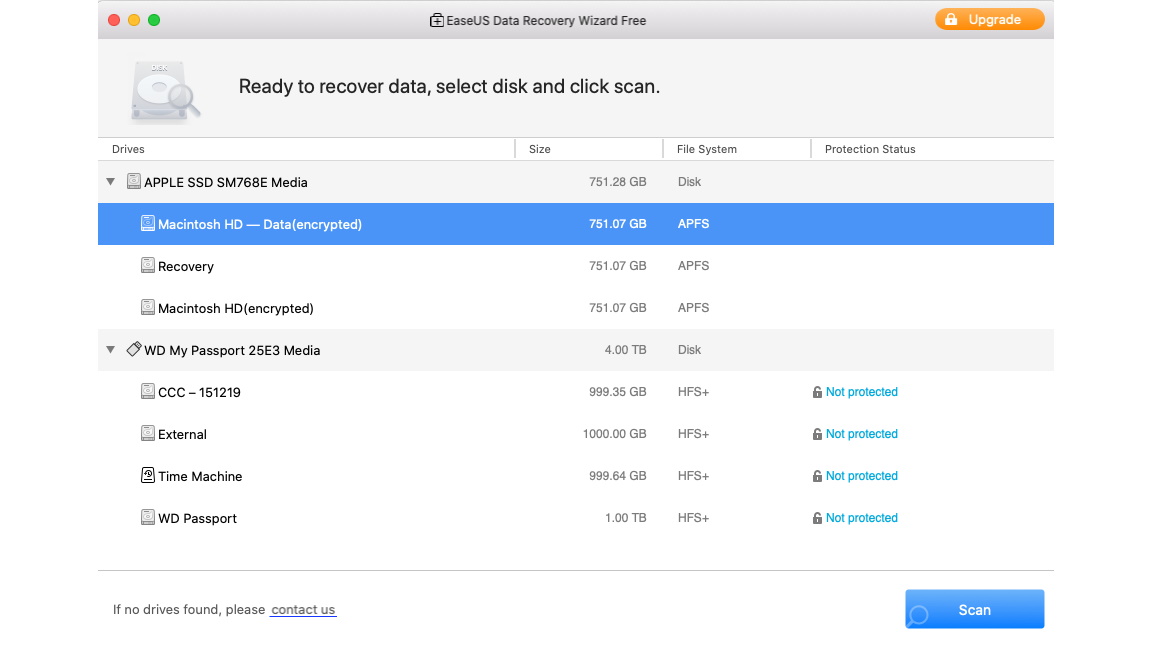
EaseUS can search your computer’s primary hard drive or a wide range of connected devices including USB drives, SD or other memory cards, digital cameras, iPods and other MP3 and MP4 players, video players, and camcorders. With your drive selected, click the Scan button.
Sign up to the TechRadar Pro newsletter to get all the top news, opinion, features and guidance your business needs to succeed!
At this point, if you’re on a Mac, and you haven’t done so already, you’ll be prompted to grant permissions to the app by opening the Security & Privacy system preferences pane, unlocking the lock icon in the bottom left corner, and clicking Allow next to “System software from developer WU YANG was blocked from loading.”
Step 2: Scan the drive
Depending on the size of the drive you’re scanning, this next step could take quite a while. In testing on a Mac running OS Catalina with a 750 GB drive, the scan took more than eight hours to complete. A similar scan on a Windows laptop with a 1 TB hard drive took just over two and a half hours.
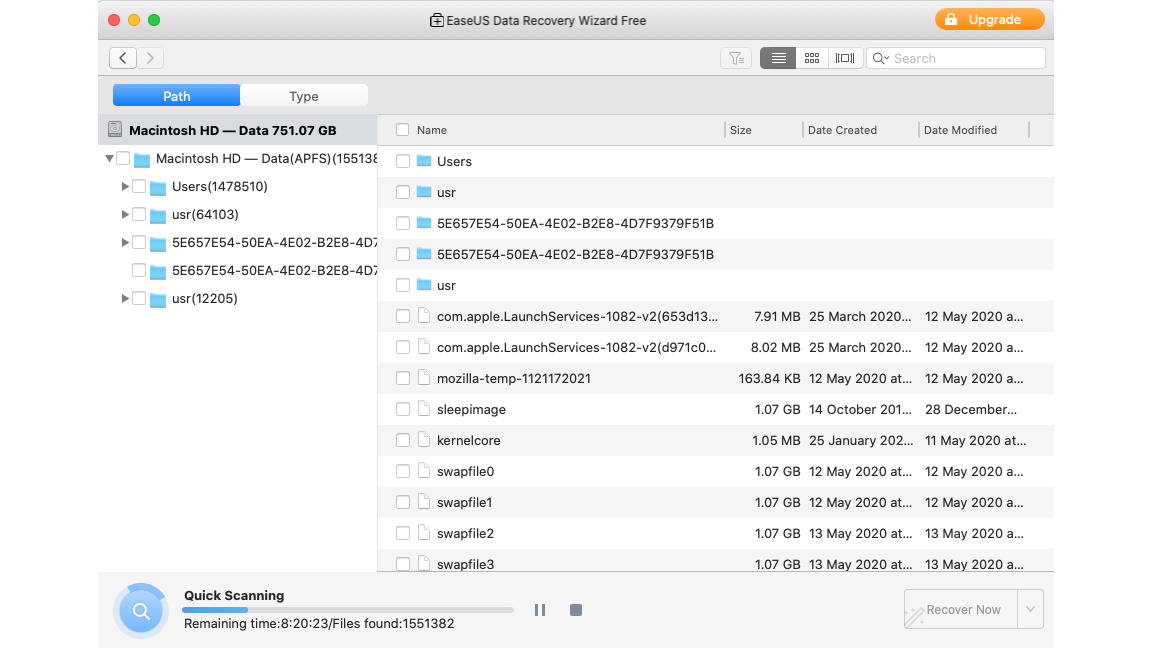
It should be pointed out that you can actually start searching through results while the scan is still running. So it’s possible you may be able to locate and restore what you’re looking for before the full scan completes.
You can also save the scan results for importing next time you use the app so you don’t have to wait as long for subsequent scans. Although, if the file you’re looking for in a subsequent search didn’t exist yet on your selected drive at the time you saved results, you’d need to do a new scan.
By default, the pane on the left will display files according to their path on your computer, i.e. with an interface similar to Window’s Explorer or Mac’s Finder where you have to drill down through folders. But you can change to the Type tab to have files grouped by graphics, documents, audio, video, email, archives, or other, which may be easier to search through depending on what you’re looking for.
Step 3: Recover your files
With the scan complete, you’re now ready to recover your lost files. By default, EaseUS will show you all files it has found on your selected disk, but you can change it to only show lost files by first clicking on the filter button at the left of the series of buttons next to the search bar, and then the icon next to the Reset button.
Selecting a folder or file type in the left pane will select all the files that appear in that folder or category in the right pane.
If you don’t want to recover a whole folder, you can click on the arrows next to the folder name to drill down to subfolders in the same way you can in Windows File Explorer or Mac’s Finder, and then select the individual file in the right pane.
The filter button already mentioned can also be used to filter by different criteria: type (the same options that appear under the Type tab), file size, date created, and date modified. And if you know the name of the file you’re trying to recover, you can enter it into the Search field.
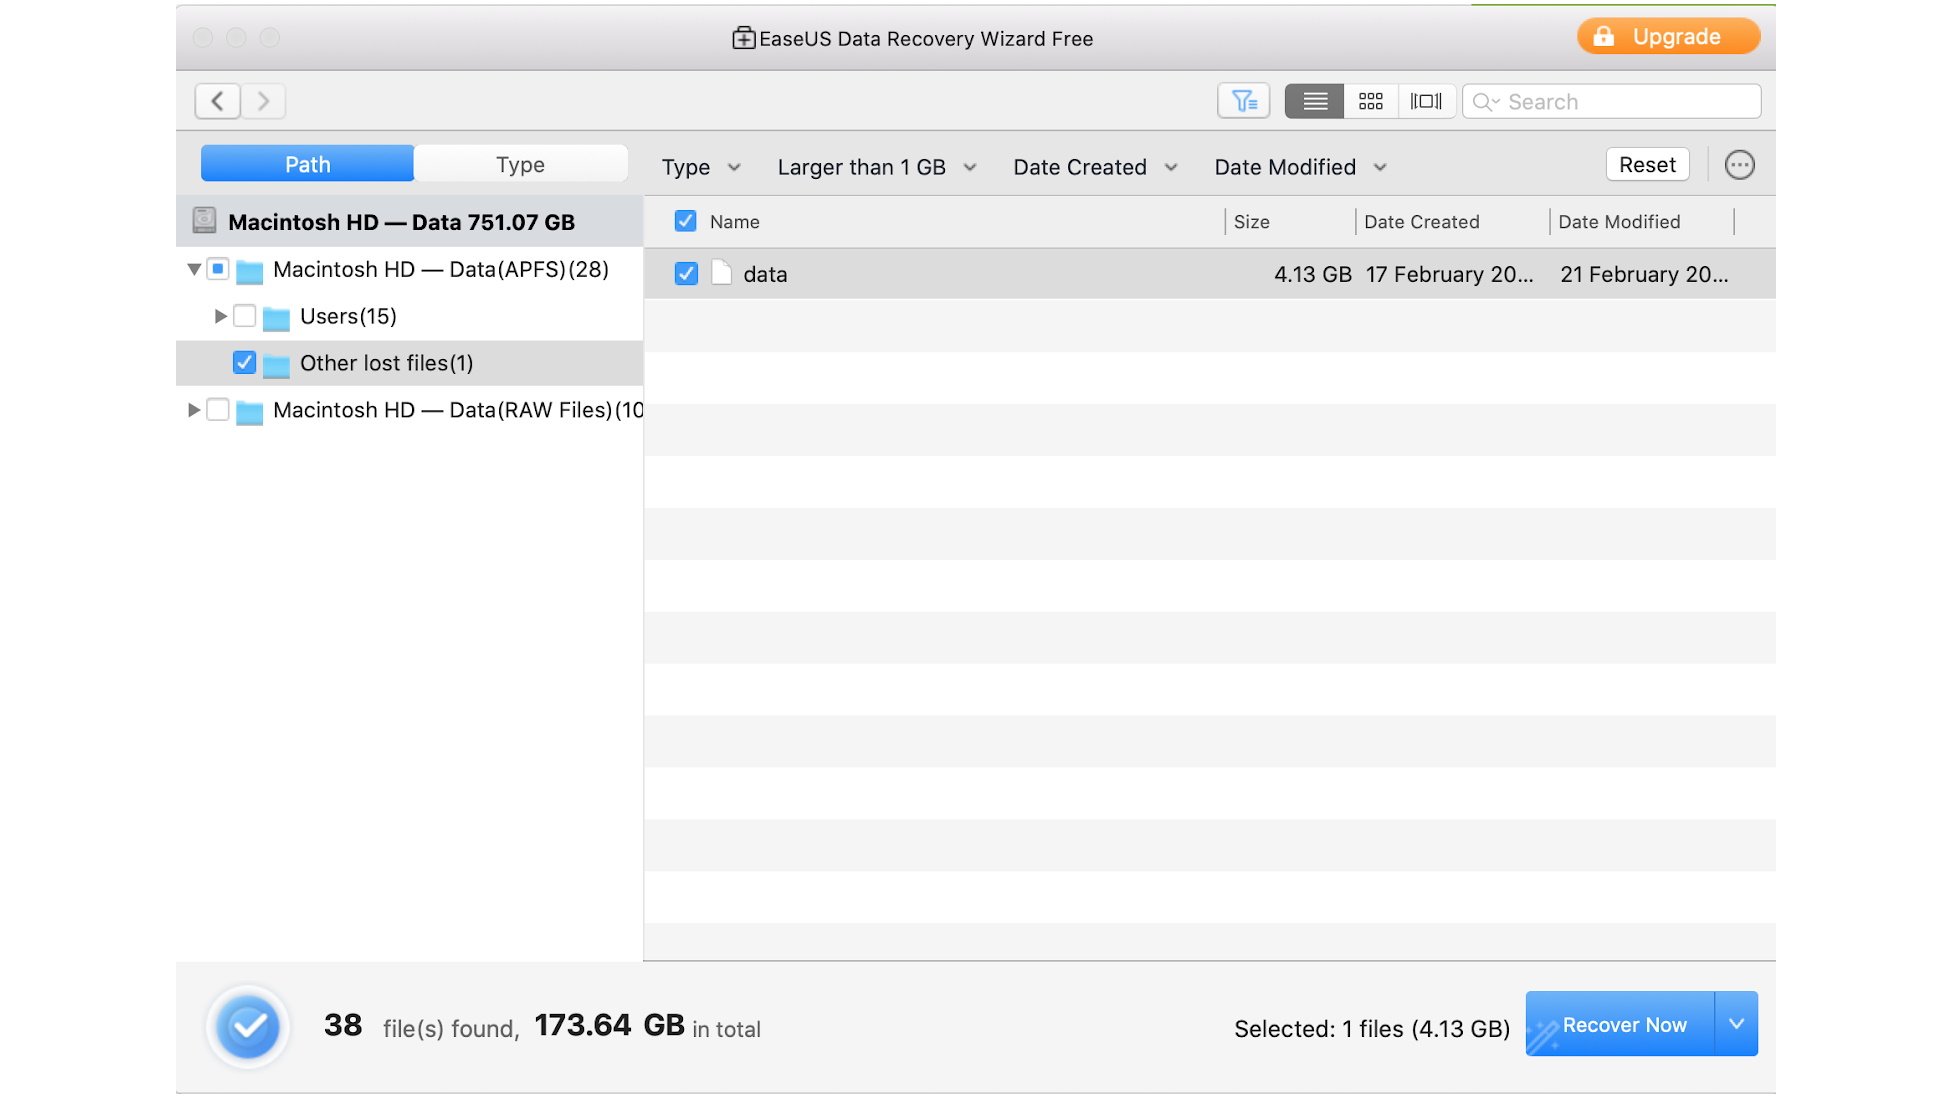
Once you’ve located the file you want to recover, click the Recover Now button. You’ll then be asked where you want to save the recovered file. Note that with EaseUS, if you want to recover files larger than 2 GB, you’ll need to be on their Pro plan.
How to recover data from a hard disk: Summary
Deleting important files can be cause for concern initially, but as we’ve shown, a tool like EaseUS Data Recovery Wizard can be used to recover your data in just a few steps.
The app is free, quick to set up, and easy to use, but you may have to wait several hours for the scan of your hard disk to complete. Although, as you can start searching through results before a scan is complete, you may not have to wait until the end of the scan to be able to locate your data.
- Check out our guide to the best data recovery software
The TechRadar hive mind. The Megazord. The Voltron. When our powers combine, we become 'TECHRADAR STAFF'. You'll usually see this author name when the entire team has collaborated on a project or an article, whether that's a run-down ranking of our favorite Marvel films, or a round-up of all the coolest things we've collectively seen at annual tech shows like CES and MWC. We are one.