Horizon Forbidden West Tallnecks: How to find them all
Get your map filled with Horizon Forbidden West's Tallnecks

Sign up for breaking news, reviews, opinion, top tech deals, and more.
You are now subscribed
Your newsletter sign-up was successful
Horizon Forbidden West's Tallnecks are essential to traversing the world. The game sports an enormous map, and it’s one you will undoubtedly get to know intimately throughout your stay. However, when you first start out, you'll pull out your map and see nothing by a wide blanket of fog.
Now, you could get your trekking boots on and go try and scour every inch of the Forbidden West to clear it all, but that would take a while. Conveniently, Guerrilla Games isn't leaving you out to dry in this regard. Like in the first game, you can reveal the map using the impressive-looking Tallnecks littered around the environment.
As a robotic mix of a brontosaurus and giraffe, these massive creatures with a satellite for a head act as information gathering structures. Think radio towers in Far Cry games or the large towers in The Legend of Zelda: Breath of the Wild – only this time they're walking around the world.
Article continues belowThere are six Tallnecks you will need to Override to get a complete view of the world, however, sadly, it’s not as straightforward as a simple climbing challenge – at least not for all of them. Some will require you to wait pretty late in the story or do a fair bit of exploring before you can get to them.
With that in mind, here’s everything you need to know about getting to the top of all these Tallnecks.
Horizon Forbidden West Tallneck: Cinnabar Sands (East)
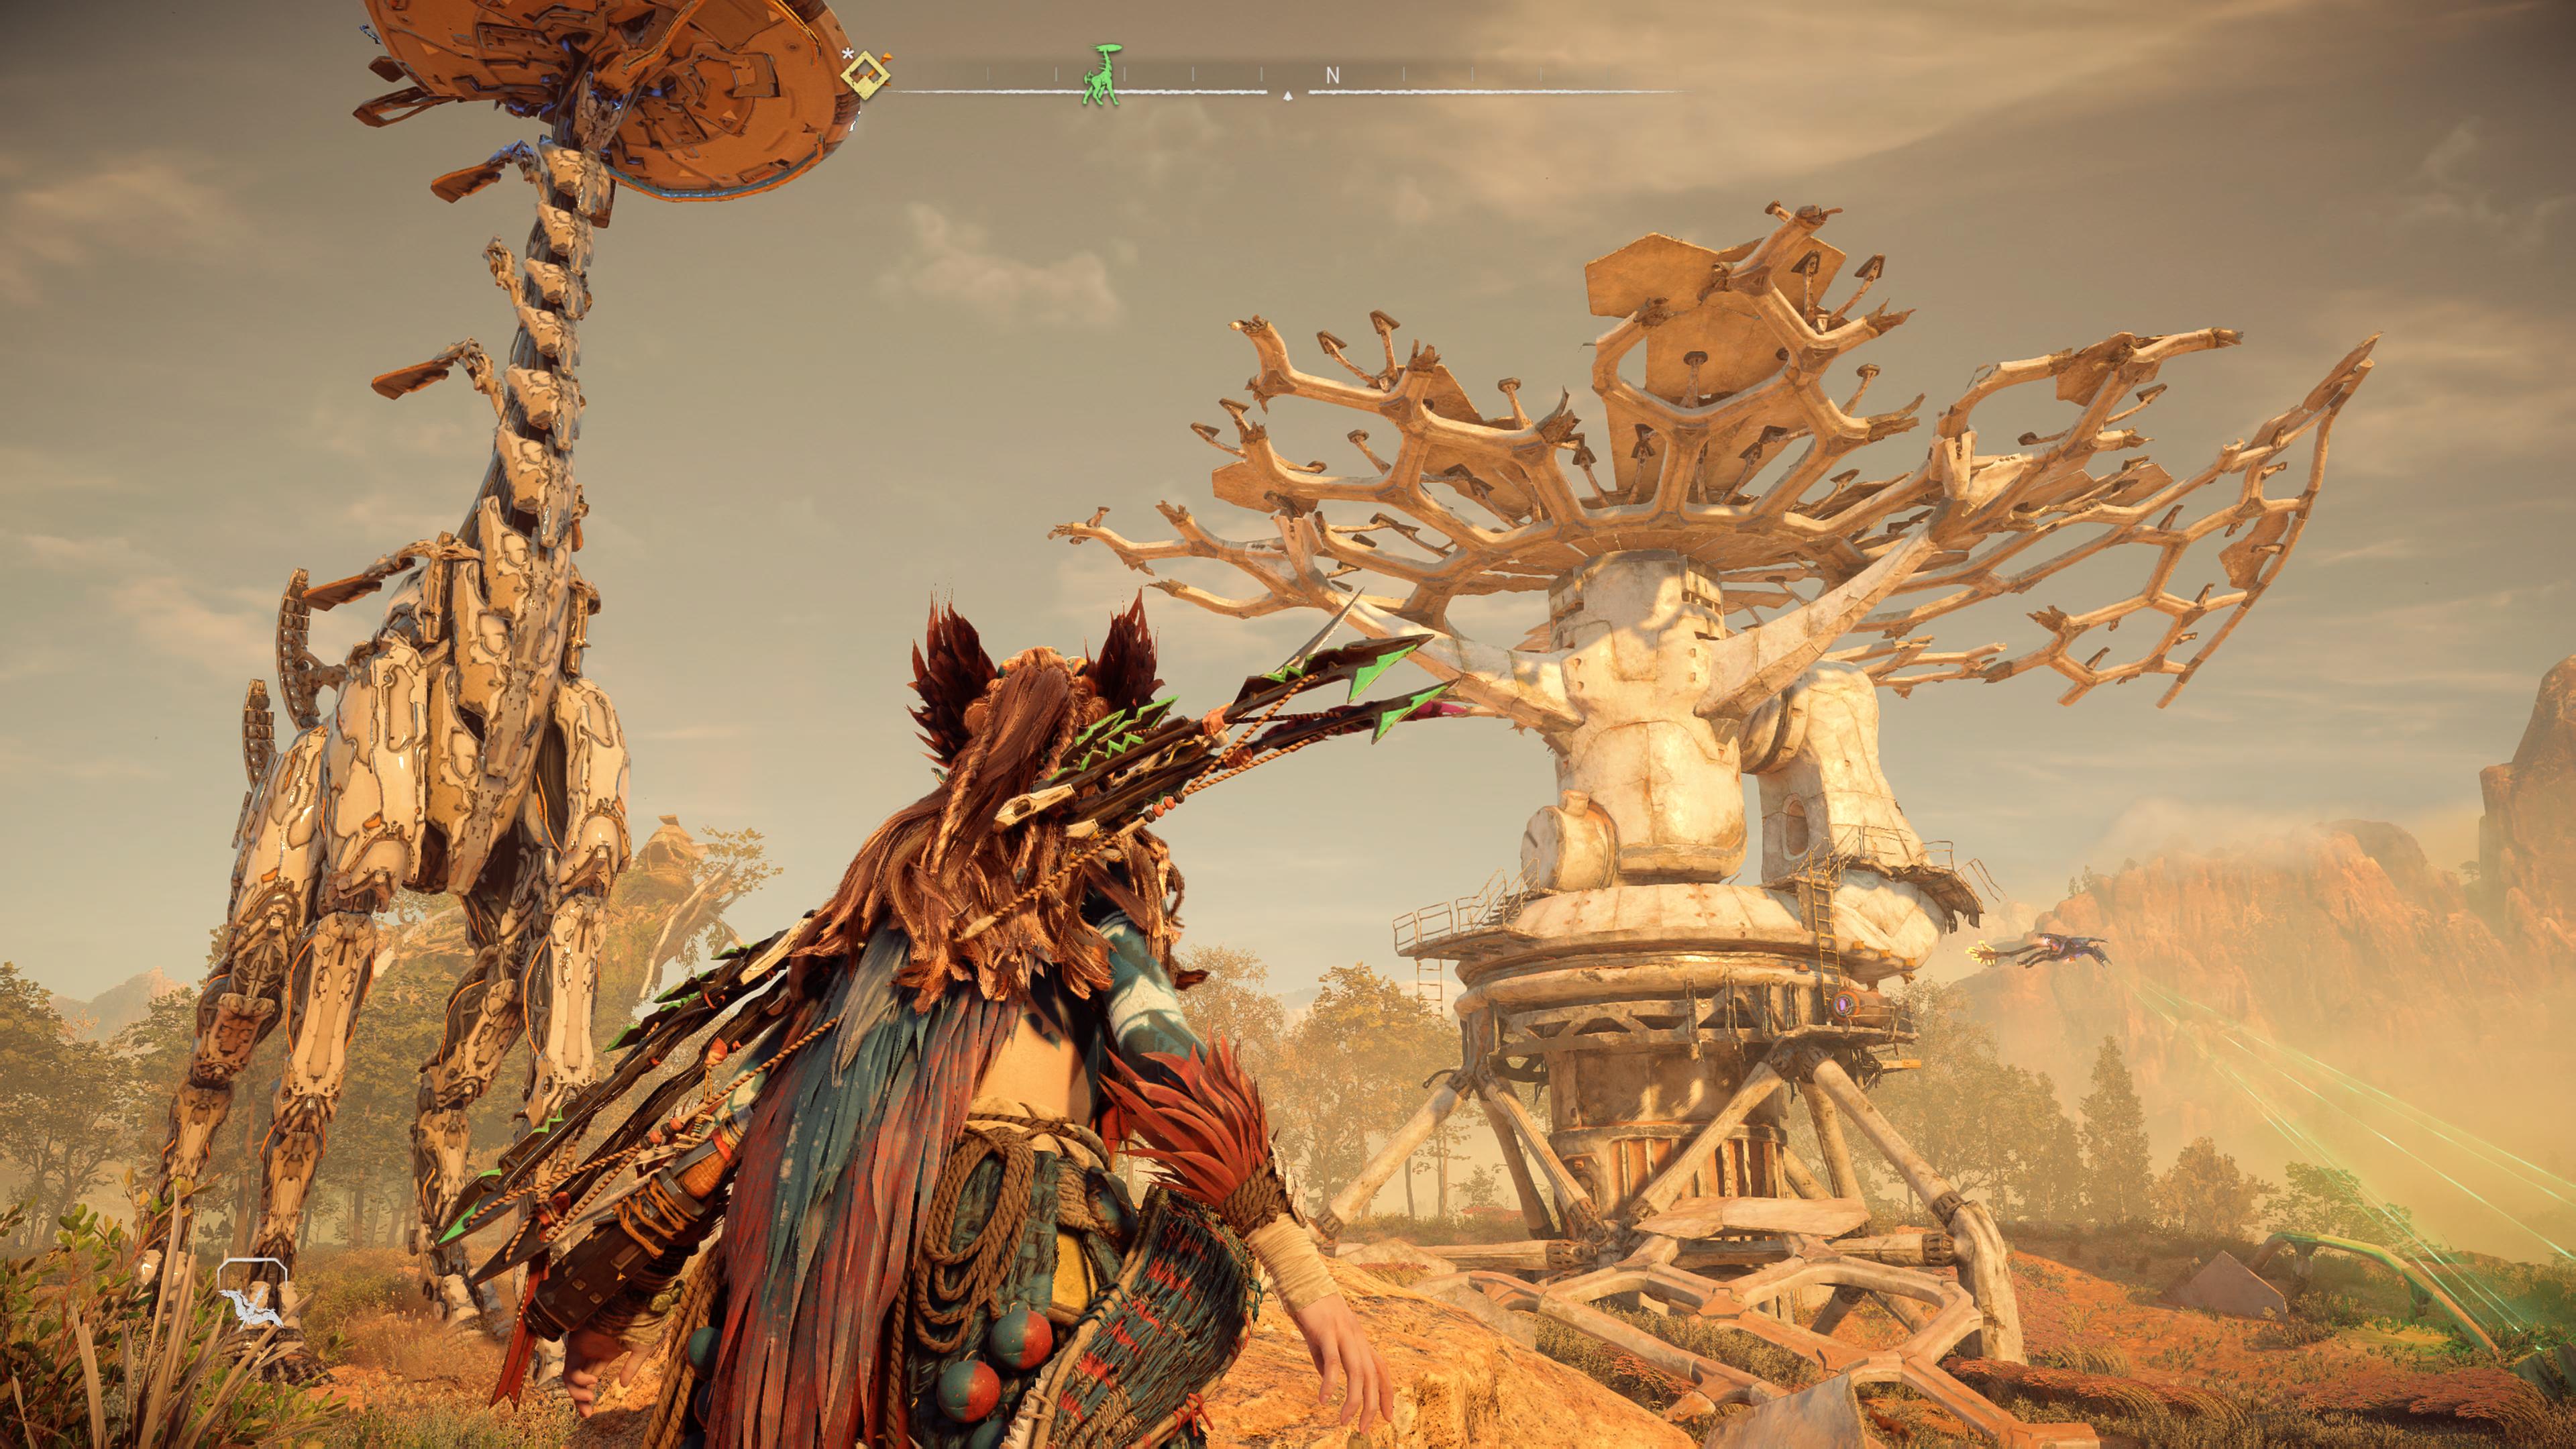
This will almost certainly be the first Tallneck you encounter and it’s probably the most straightforward you’ll come across on your travels, too.
As you approach, you'll notice a Tallneck circling a broken satellite dish that you need to power in order to make a path to the top of the machine
Sign up for breaking news, reviews, opinion, top tech deals, and more.
To start, you need to climb the structure and find a computer terminal that you will use once it's powered. From there, continue your ascent until you are on the platform that houses the satellite.
Look for a yellow bar to the right of this platform. You need to drop off to a lower platform on the right where there will be a power node. Take the battery and carefully escort it to the floor. There is a generator here. Put the battery in the generator.
The Satellite will then power up, creating a path. Head back up to the middle platform and climb onto the ladder and holds provided. Once on top, just glide over to the Tallneck’s head or grab the spines on its neck to climb up. Once there you can Override the machine.
Horizon Forbidden West Tallneck: The Stillsands (South)
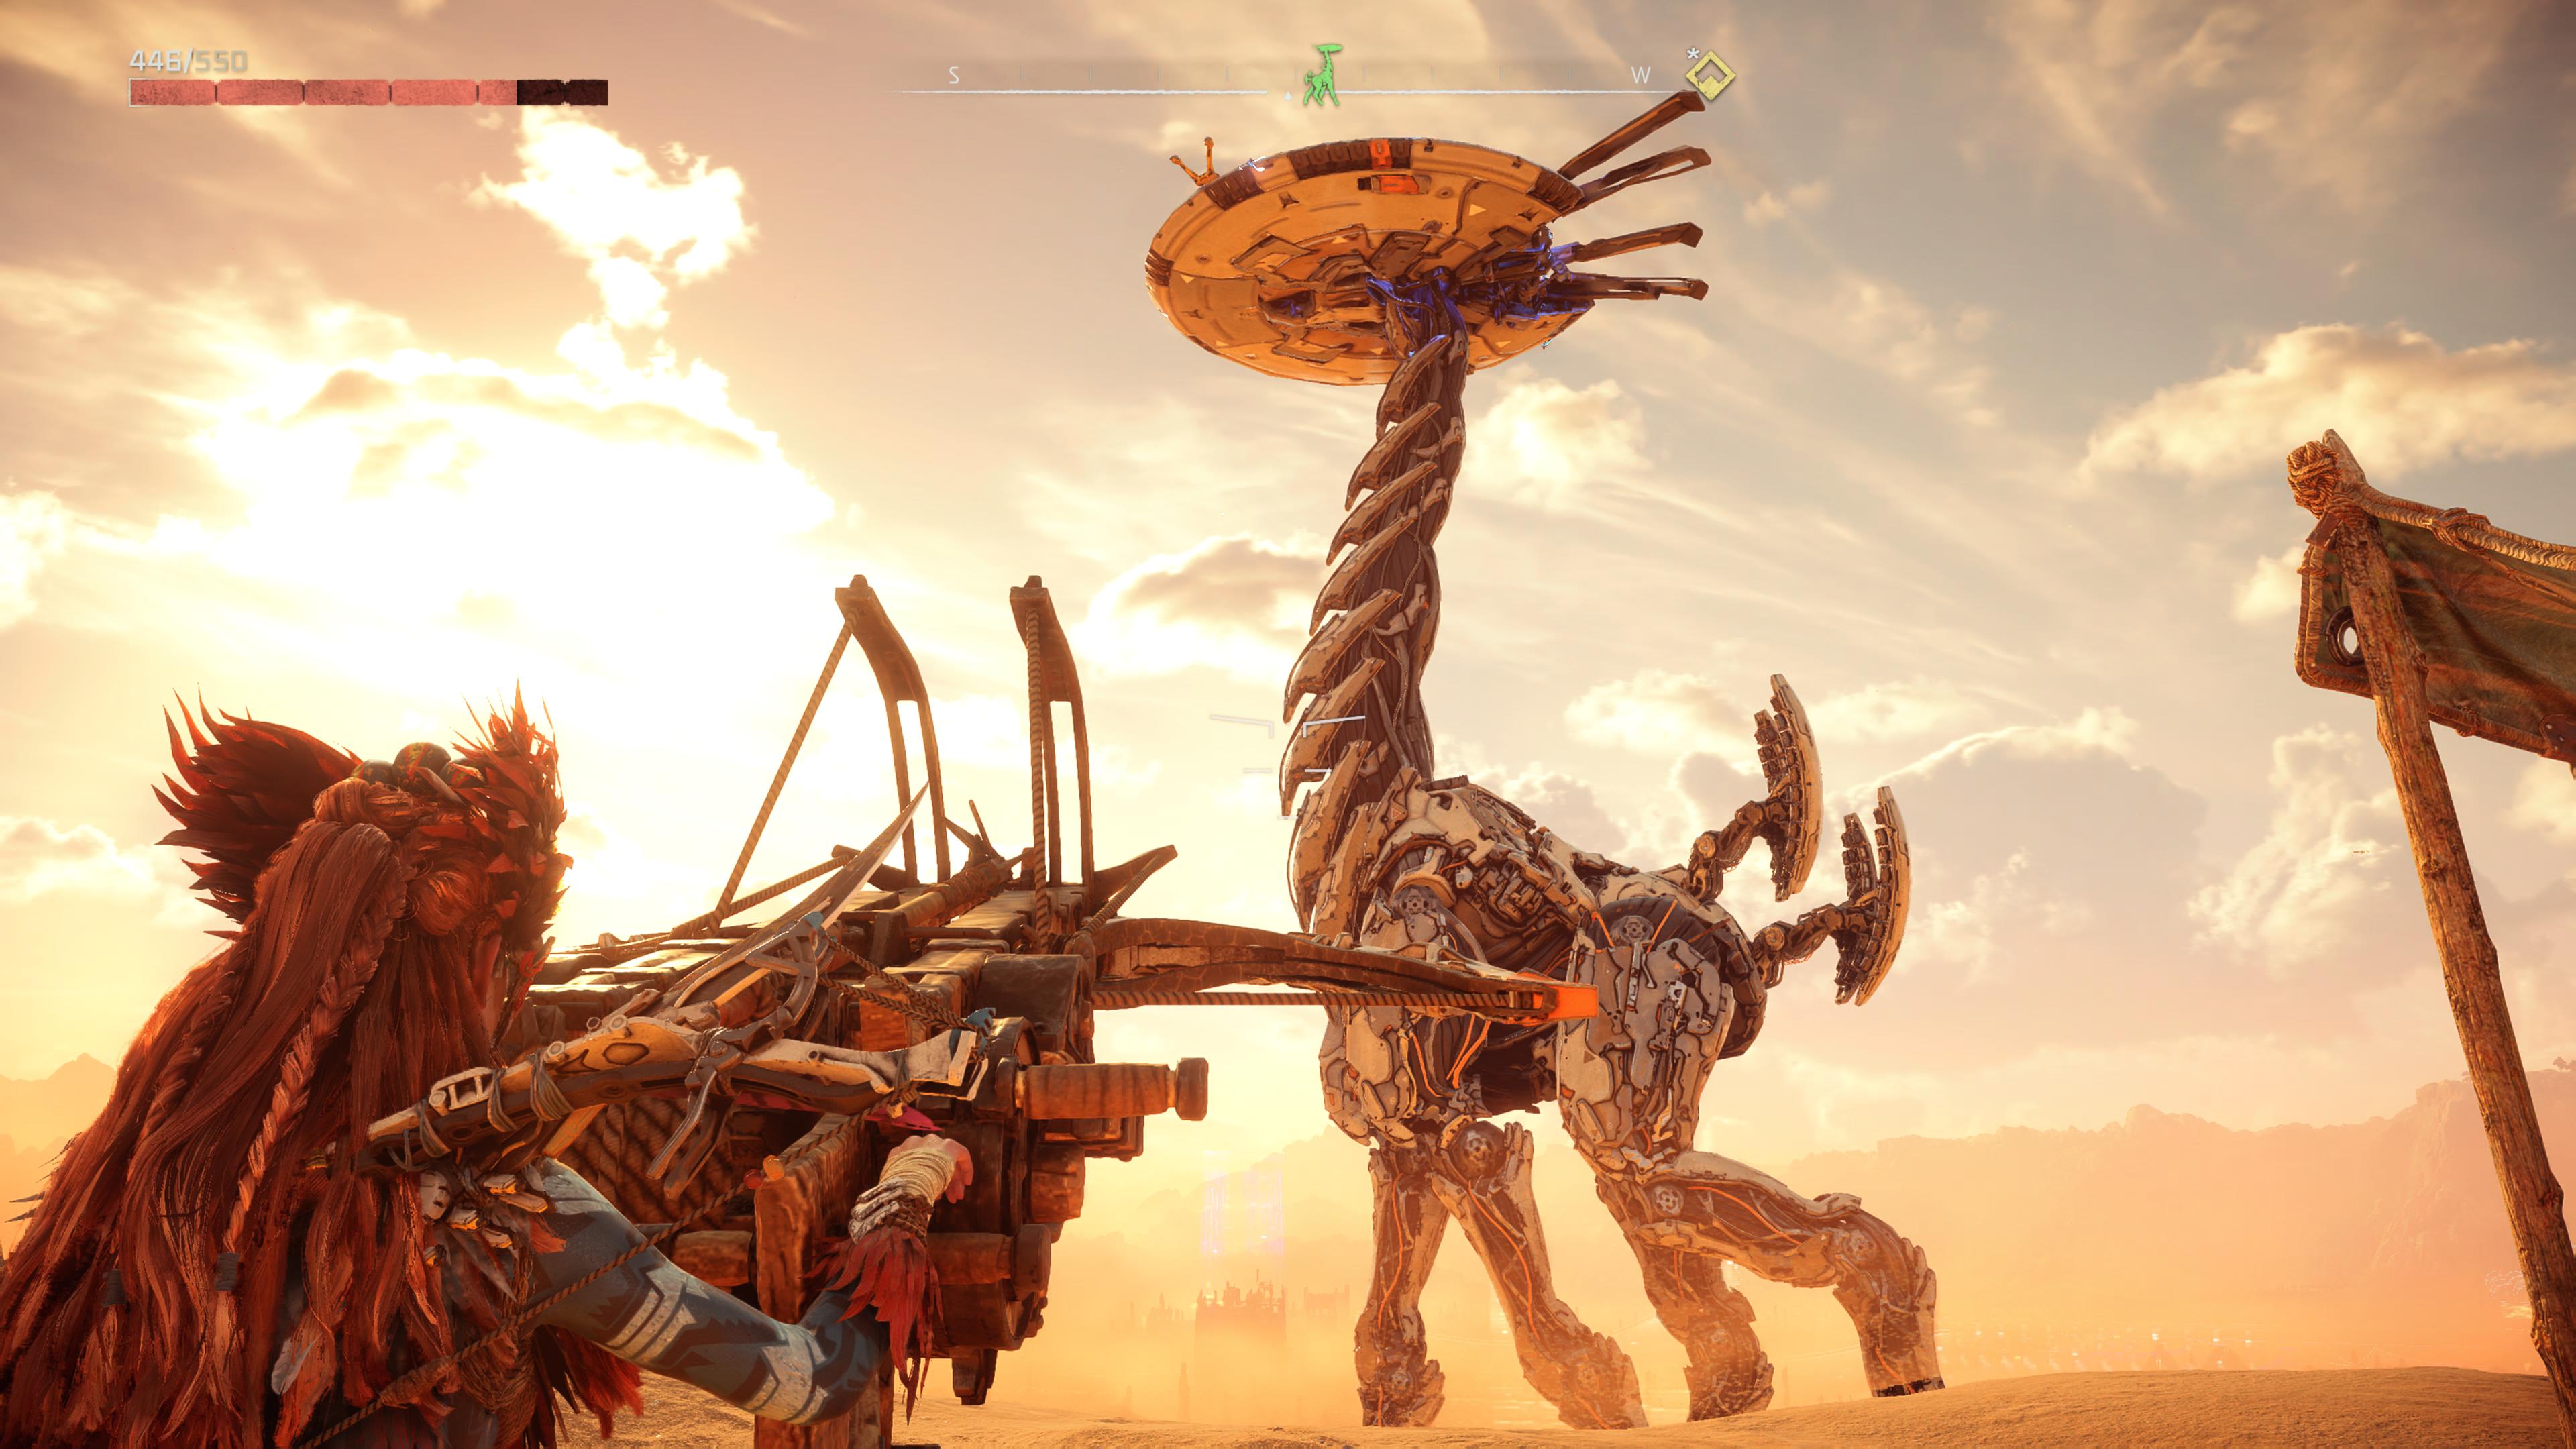
Just to the east of Las Vegas, you will find a Tallneck, though it has seen better days. This one has recently come under attack – however, it seemingly didn’t go well for the attackers who have been wiped out. History couldn’t repeat itself twice right? Your job is going to be going right back where they left off.
There are three ballistas with anchors loaded littered around the arena. You need to attach each one to the Tallneck to bring it down.
That's it... almost. Local machines will show up to try and stop you between each ballista. That said, it shouldn’t be too difficult to dispatch of them and move to the next one.
Once the third anchor is attached, the Tallneck will fall. You just need to walk over, climb on top and you'll be free to Override it.
Horizon Forbidden West Tallneck: The Stand of the Sentinels (West)
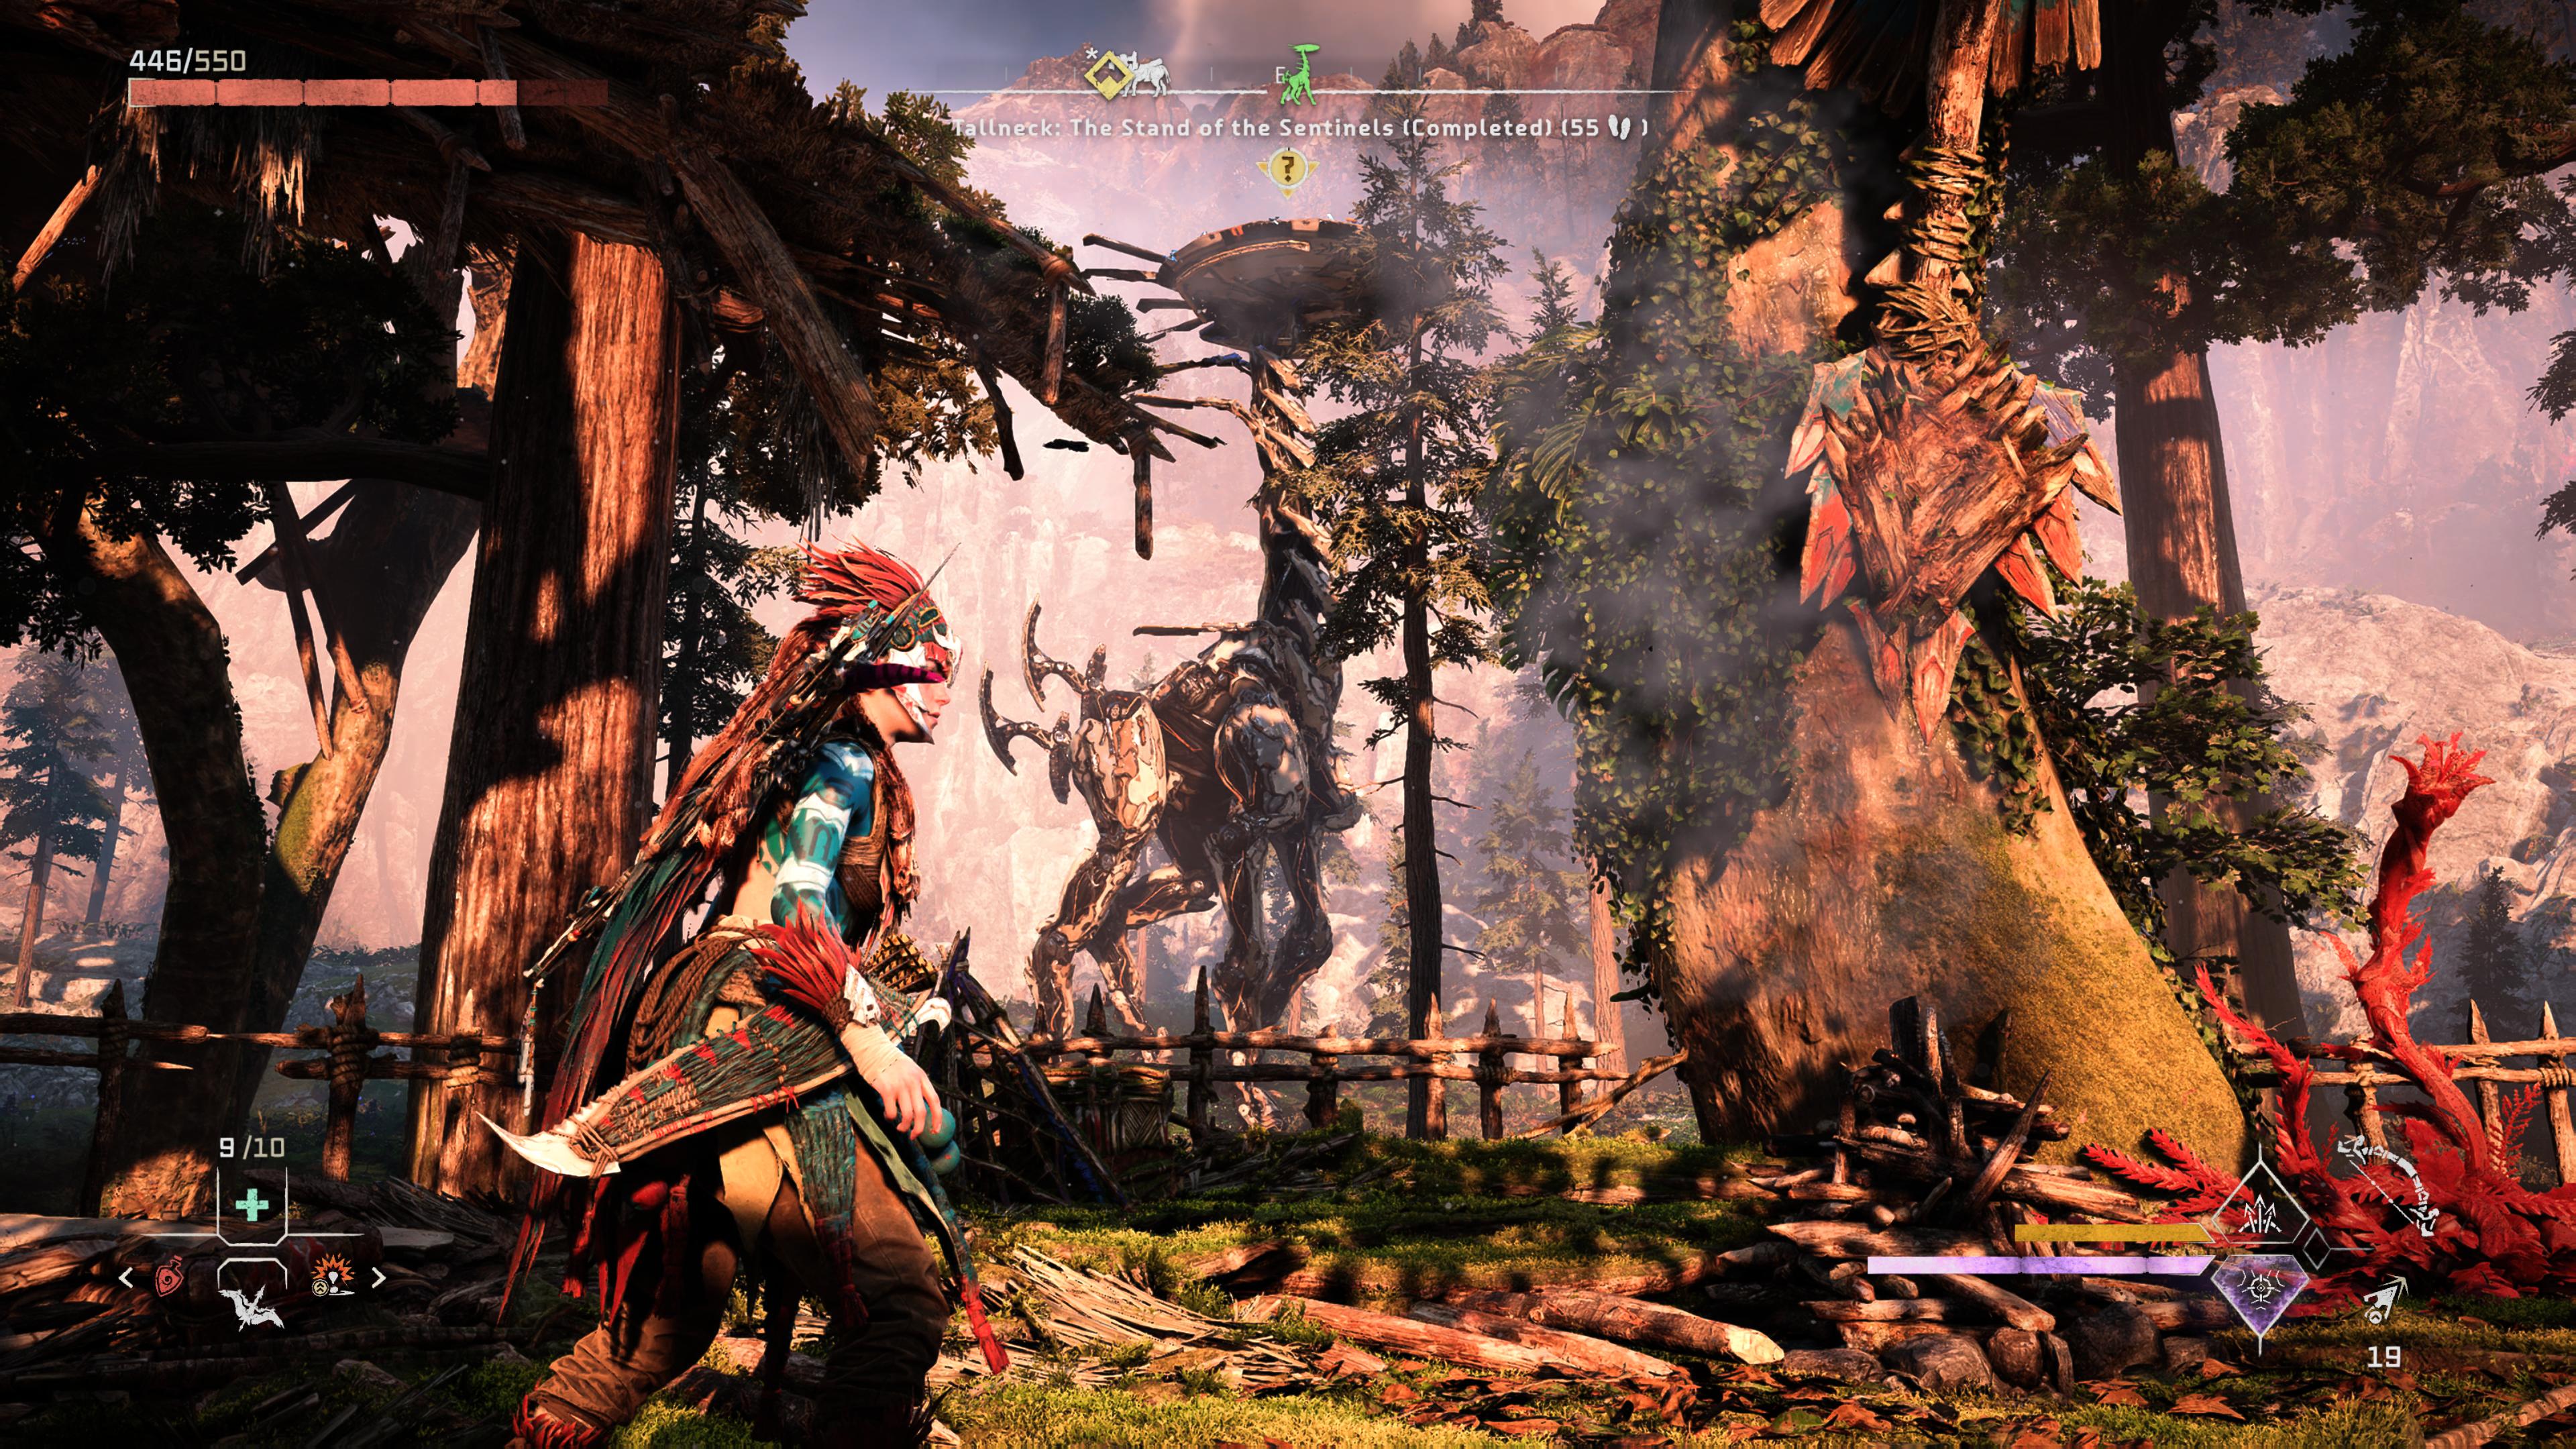
This Tallneck is… well, it’s a pain. It’s a fairly brutal mix of harsh platforming and two fast, punishing enemies. This is easily the most frustrating Tallneck you will encounter.
This takes place in an abandoned settlement among trees, which you need to scale get on top of the roaming Tallneck. To start the run, run into the middle of the settlement from the ground, where there's a ramp that leads to a hook you can grapple to. Climb up and then head left. Move from platform to platform, using yellow bars and ropes to guide you. As you move along the platforms, look for ladders to drop just in case you fall.
On that, if you do fall, be careful. There are invisible Stalkers everywhere, looking to pounce on you. These are a nightmare to track and can jump out of seemingly nowhere to kill you. These will also shoot at you as you climb the lower portions of the settlement, so be wary when dropping below.
Eventually, you will come to a hard stop, where you will need to wait for the Tallneck to pass. Once it does, grab onto the spine. However, you won’t be able to climb up it. Instead, you need to use it to cross the gap.
Once on the other side, follow the path. You will then reach the main platform where there will be several Clamberjaws. You need to get to the top of this platform, but be careful – these robo-baboons will literally pick you up and throw you off the platform to your death in a fairly gnarly animation.
However, once you do finally do all that, you merely have to hop over to the Tallneck as it passes and Override it to clear your map.
(There is an alternate way to get this Tallneck, but it requires you to wait until you unlock something in the Gemini quest. See Tallneck: The Shining Wastes for more information.)
Horizon Forbidden West Tallneck: Landfall (San Francisco)
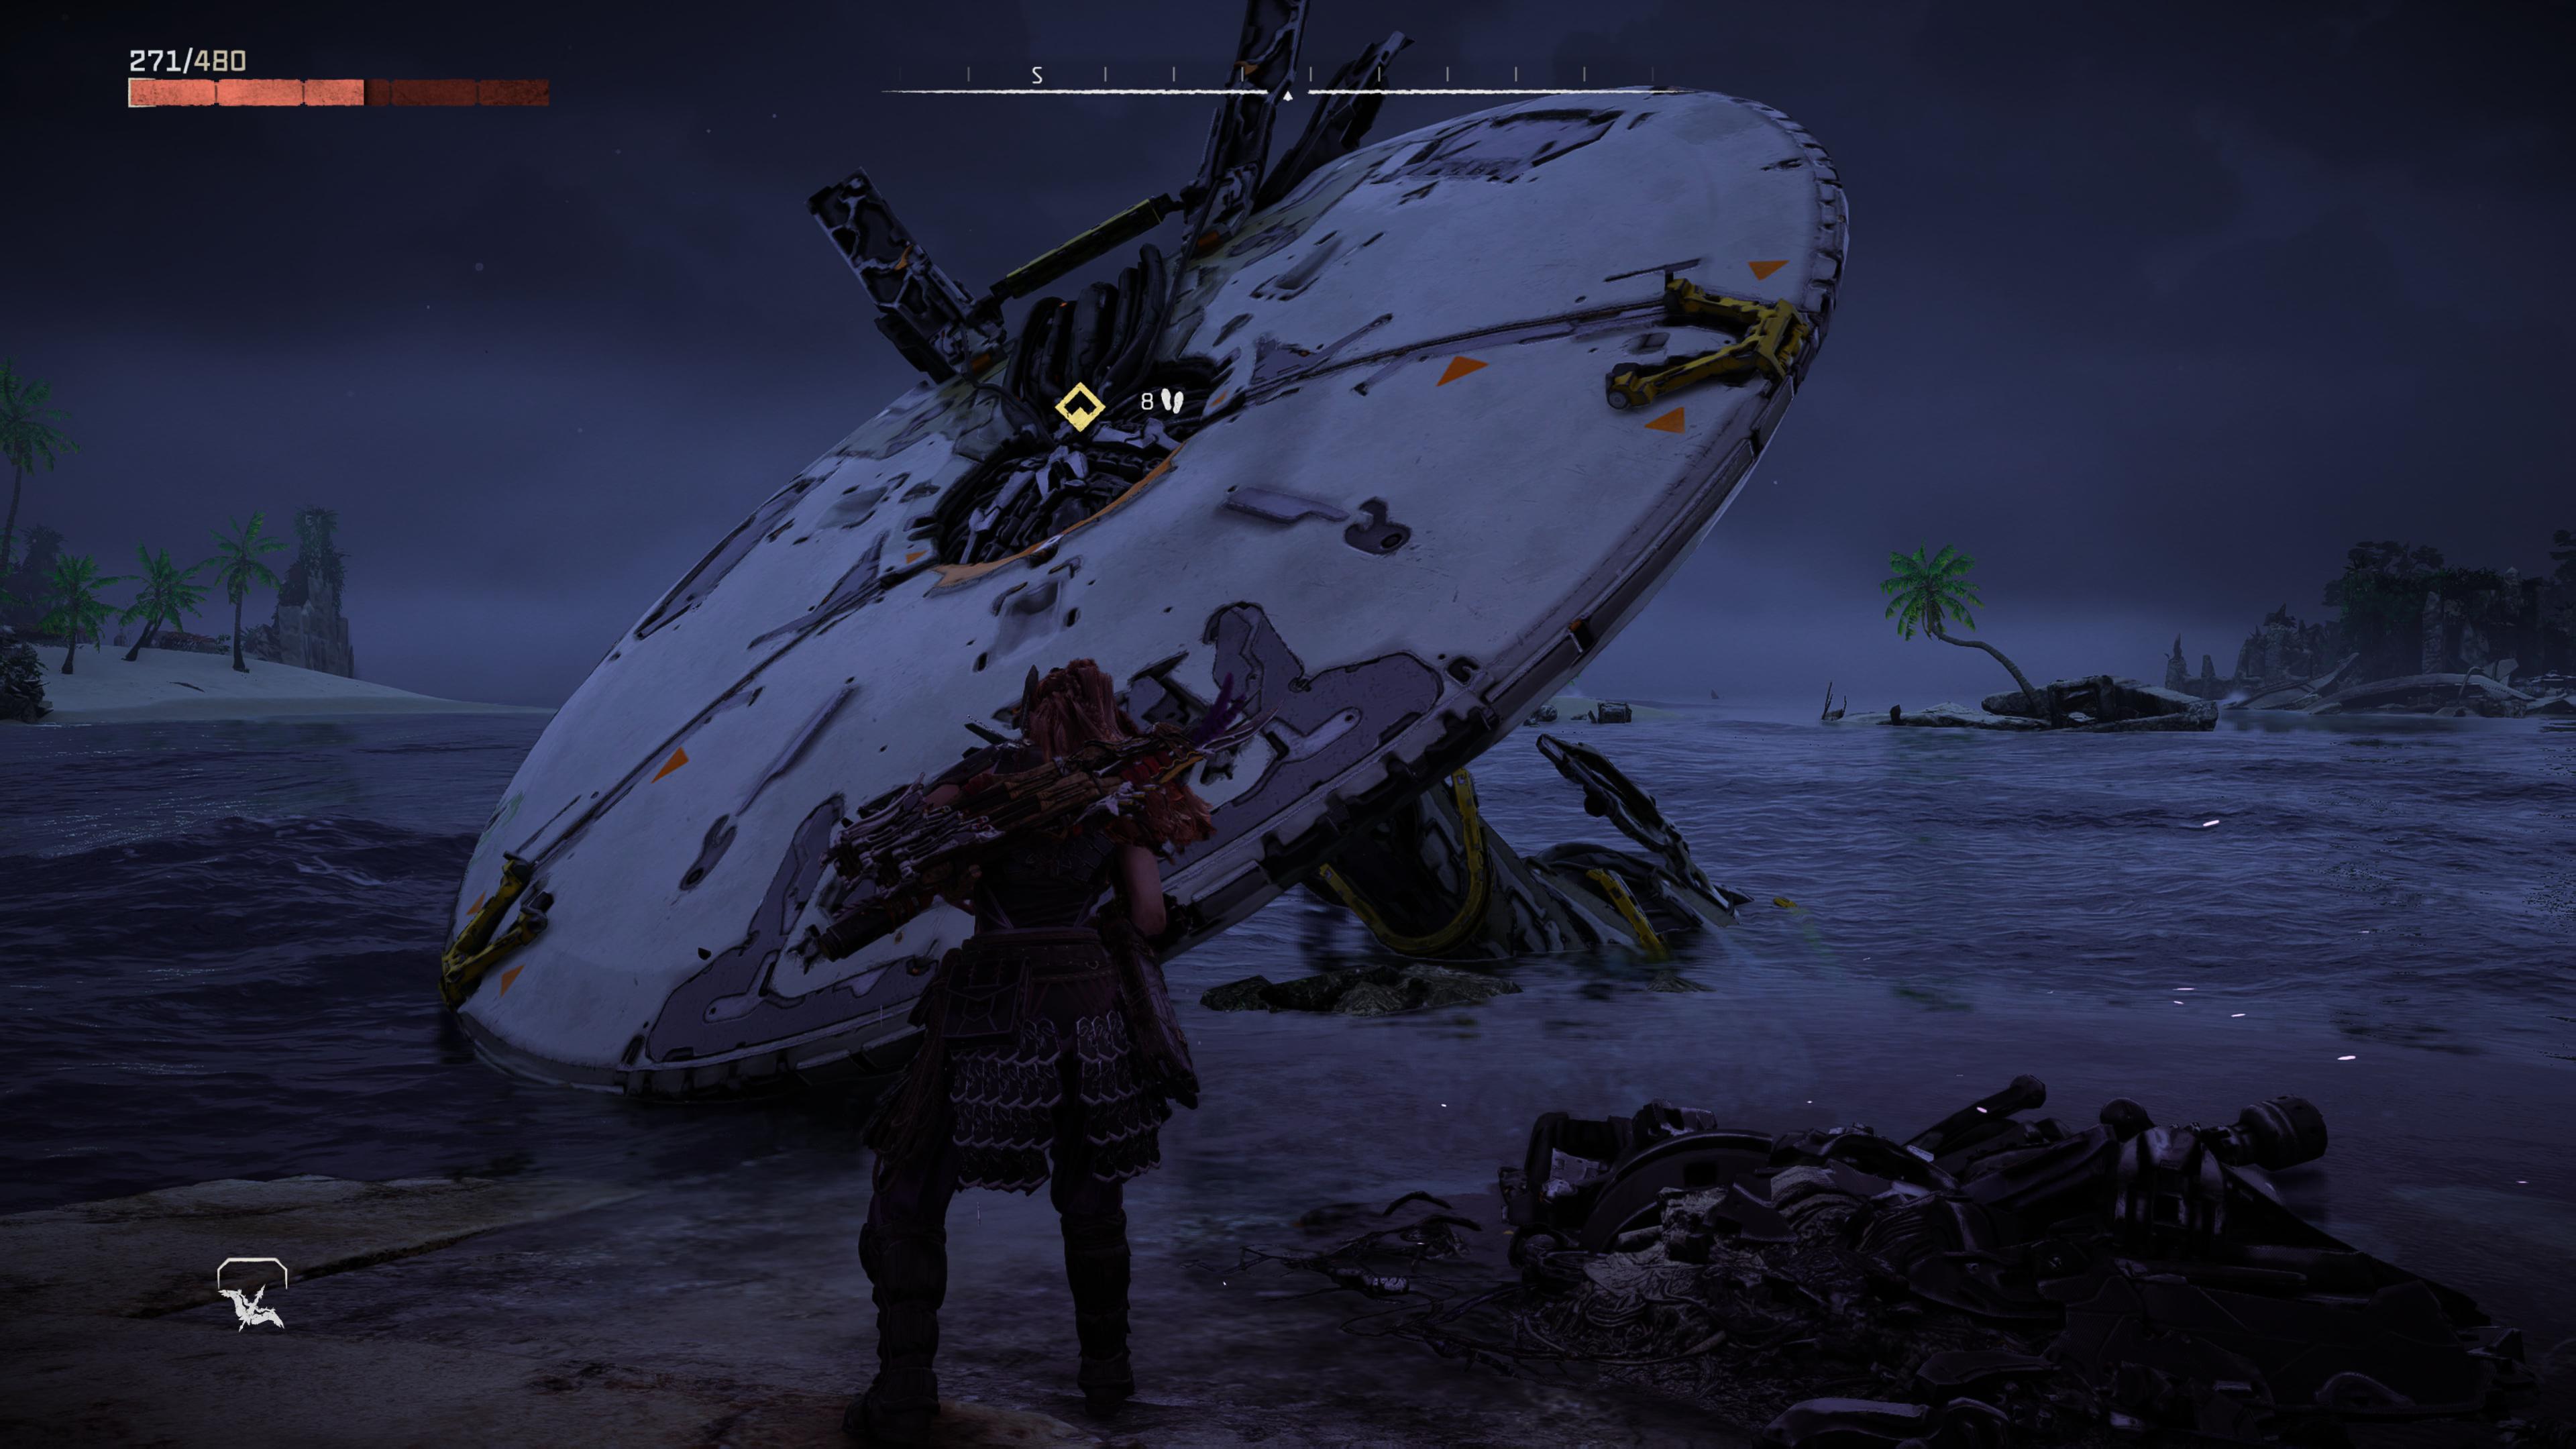
This guy’s had a bad time. When you see this Tallneck off the coast of San Francisco, it’s clear something is up. He’s in the sea, and it seems a strong current has knocked him over.
To start, land on the platform and inspect the Tallneck. Then it's time to take a dip. Jump into the ocean and swim down to inspect its body. You'll notice he is missing two energy cells. You’ll need to go find where these went in and place them back into the Tallneck to get it up and moving again.
Use your Focus to locate them. As you turn away from the Tallneck, you should see two structures, both to the left. One is closer and another is a little further back. Swim to whichever suits you. You'll discover the local Glinthawks have taken the nodes and hidden them in their nest. Fight through them (or run if you think you can make it) until you reach the nest. Then loot the node.
Once you have it, go and do the other set of buildings. Locating the correct nest and fighting off the flying robots.
Then just swim back to the starting point and place them in the Tallneck. It will come back to life, so just climb onto a nearby building to hitch a ride. Reach the top of the Tallneck and Override it to get the map data.
Horizon Forbidden West Tallneck: Salt Bite (North)
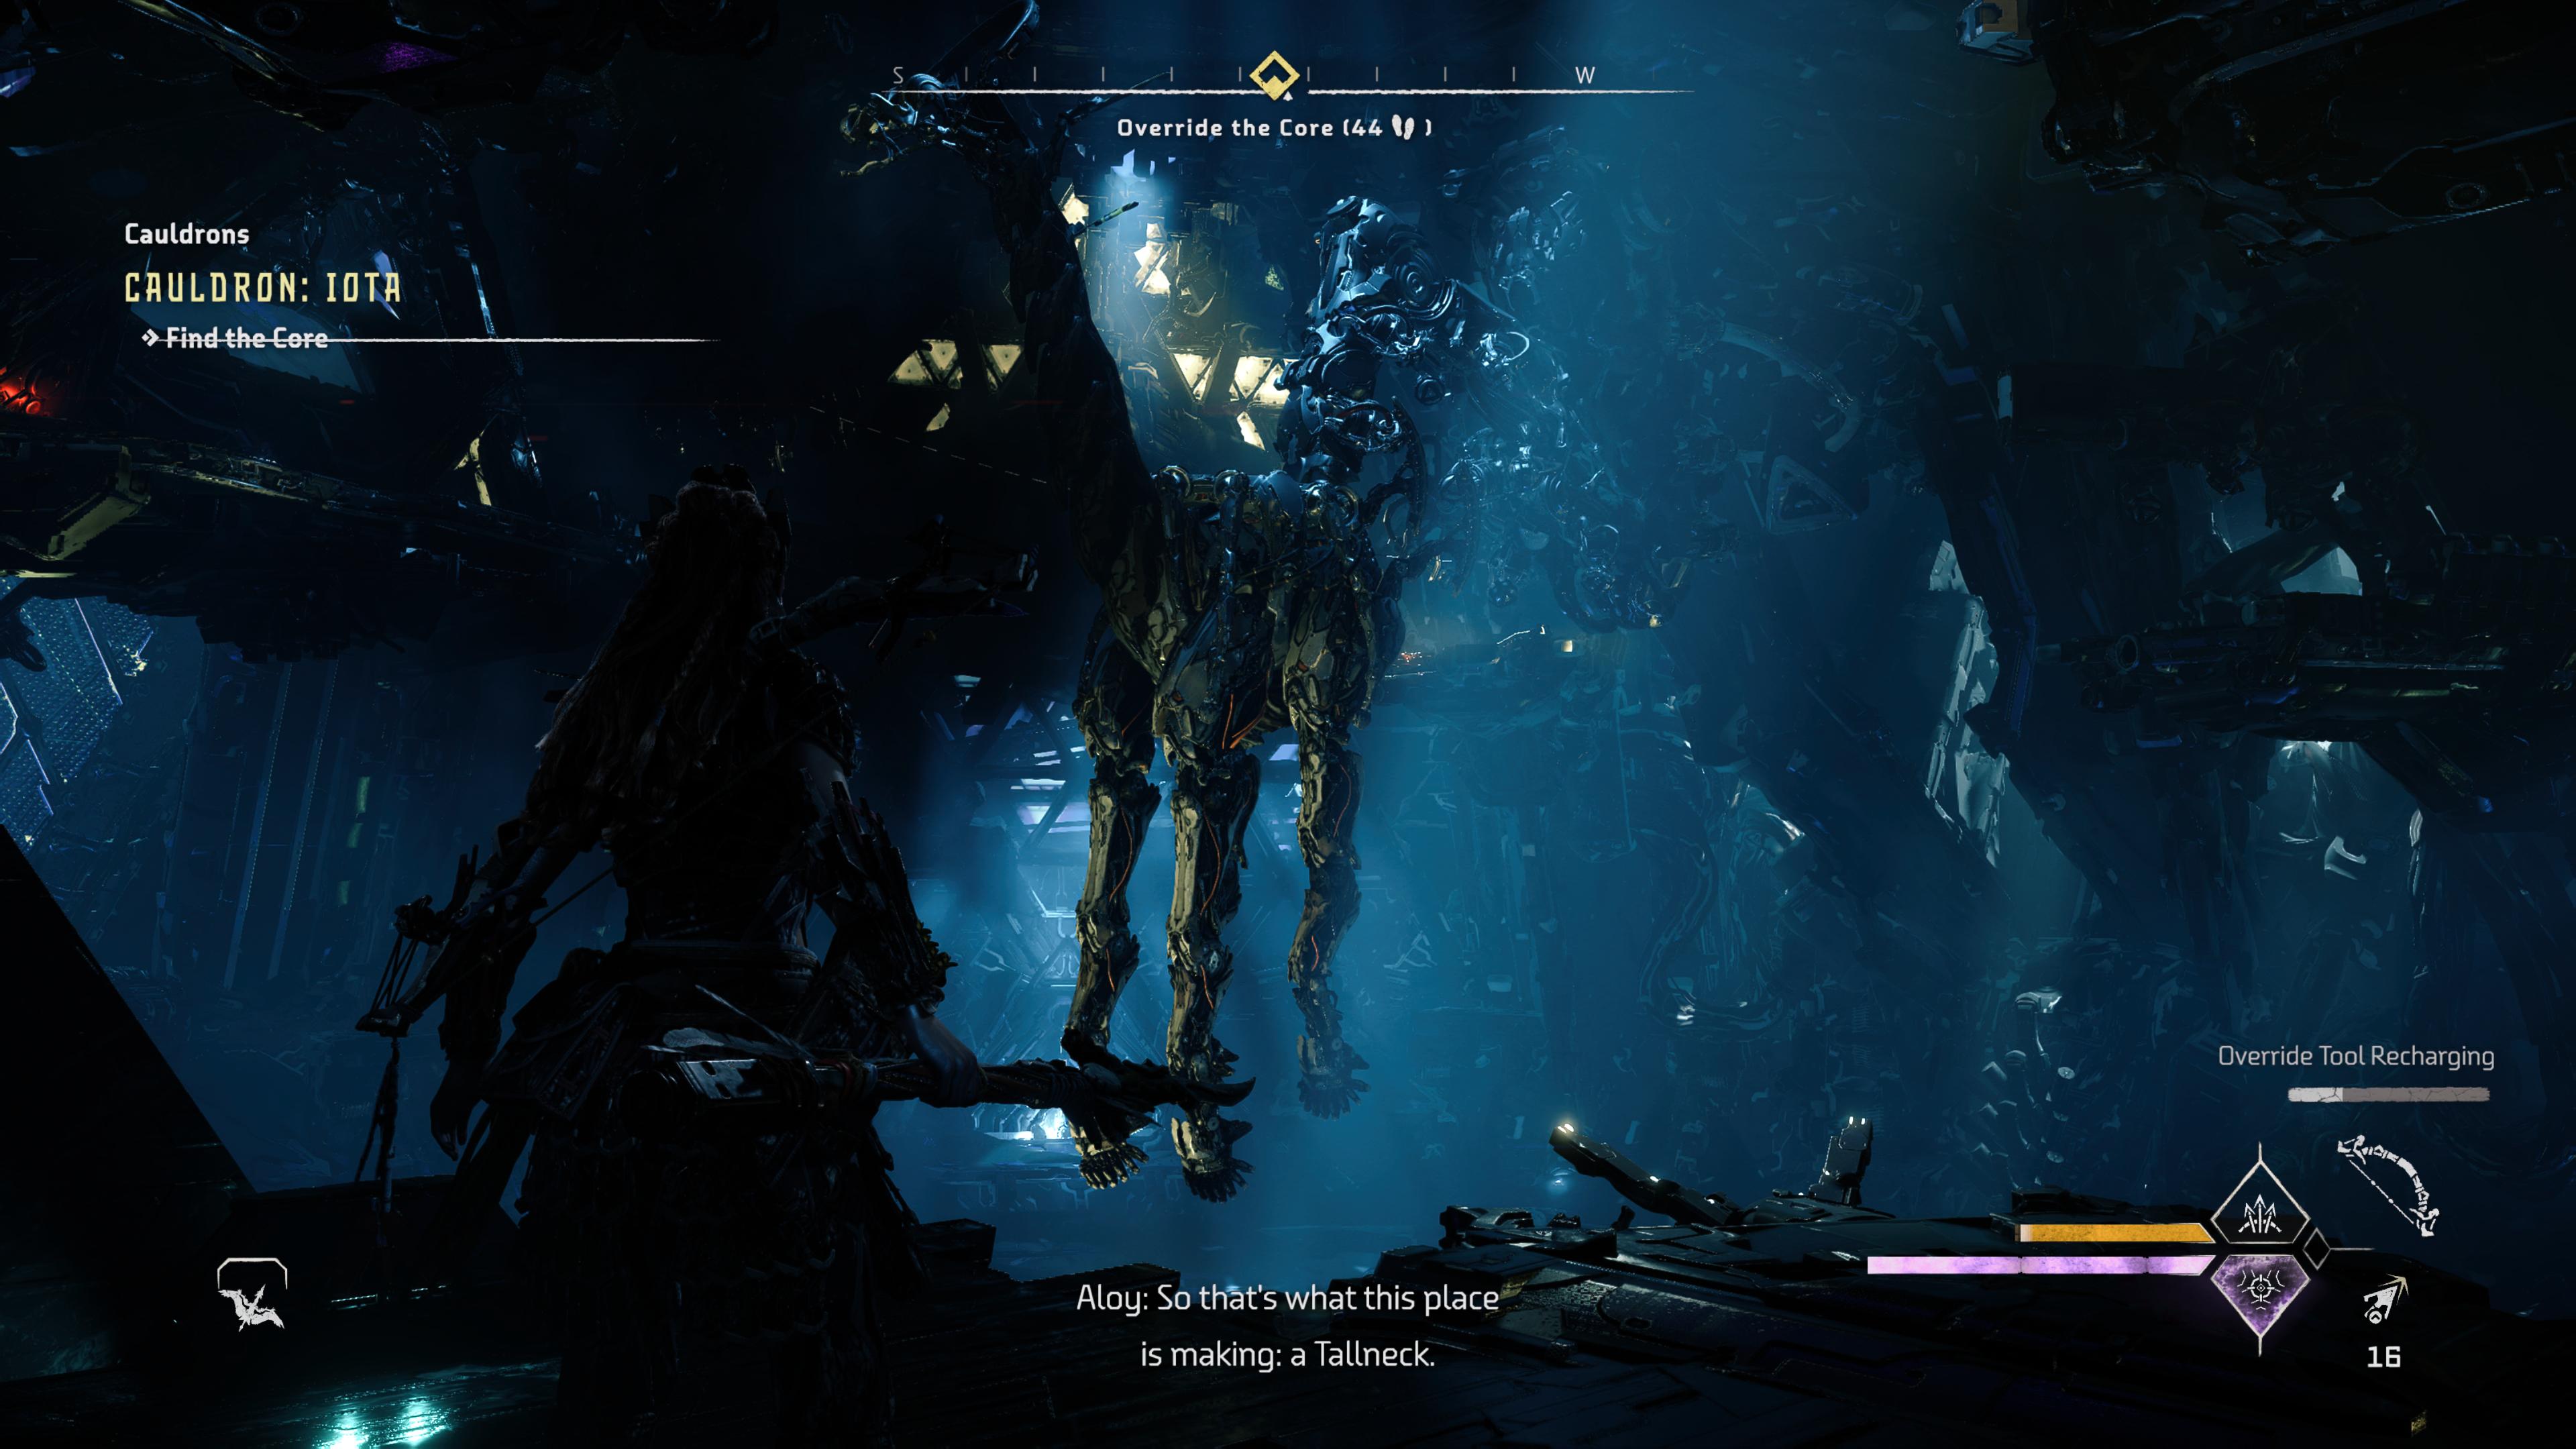
You’re likely looking to the north of the map and thinking, “it feels like there should be a Tallneck up there." You’d be right! However, it’s not on the minimap by default, unlike the others.
That’s because it’s inside of a Cauldron. The Tallneck is still being constructed but the process seems to have gotten stuck and tangled in old machinery. You’ll need to get in and make sure it comes together in the end.
The Cauldron's name is IOTA and it is near the circular lake at the northernmost point of the map. If you can’t yet see that lake on your minimap, head as north from the center of the map as possible, and you should find it. It is just a little east of the lake.
Once you clear the Cauldron, the Tallneck will emerge and you will be able to Override it.
Horizon Forbidden West Tallneck: The Shining Wastes (Center)
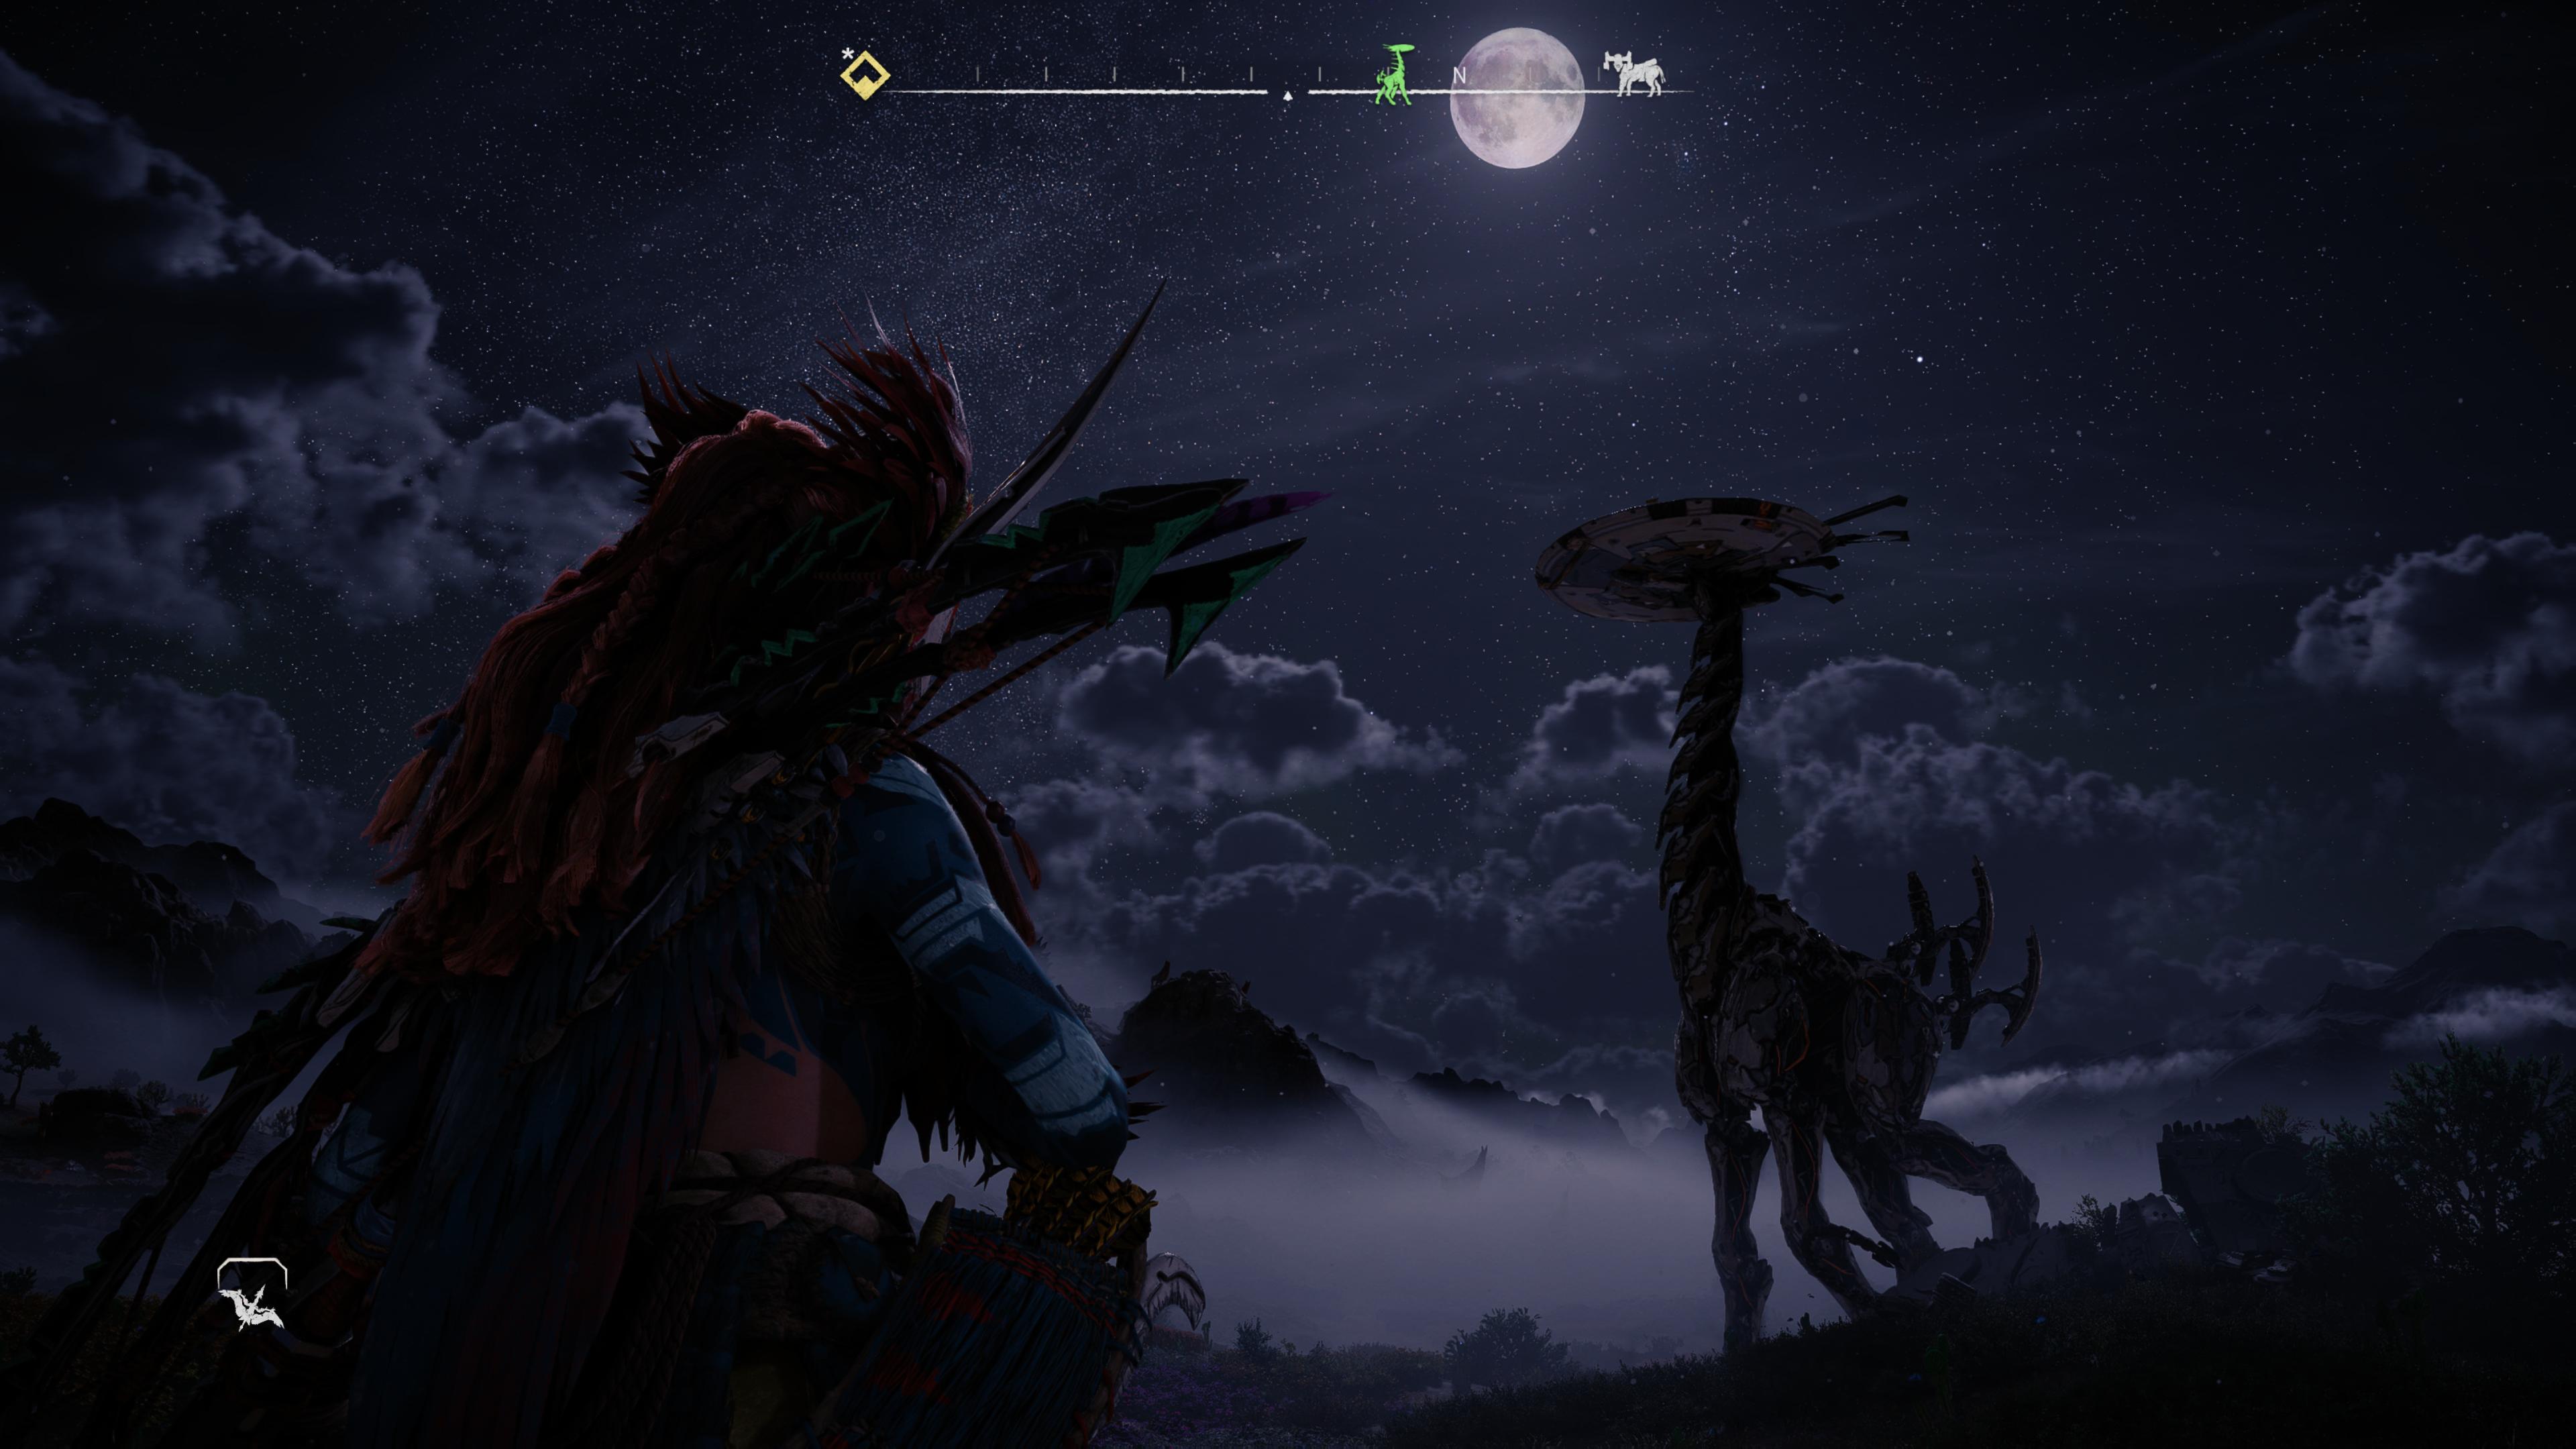
You will likely encounter this Tallneck early in your travels. However, Aloy will mention that this isn’t something she can get to the top of yet. She's not wrong either. You can't climb it as there are no structures in the area to get on top of.
If you are here trying to figure out if you should be able to get to scale this Tallneck yet or not – don’t worry, you haven’t missed it. This Tallneck won’t be scaleable until after the mission Gemini, where you can then use the unlock given during that quest to get to the top of the Tallneck.
If that sounds vague, it's to avoid spoilers. If you haven’t gotten to the Gemini mission yet, it's not scalable.
Tallneck Solution (minor reward spoiler)
If you don’t care about the minor spoiler, or have beaten Gemini and haven’t put it together yet – here you go: You need to use the Sunwing Override to fly on top of the Tallneck. That’s it. Jump off your Sunwing, float down, and Override the Tallneck.
As stated before, once you have the ability of flight, you can also just fly up to The Stand of the Sentinels Tallneck, bypassing any frustrating climbing.
Also, if you've somehow found yourself in this Horizon Forbidden West guide without owning the game but you'd love to start climbing up big robo-giraffes, here's some prices from around the web:
- Horizon Forbidden West Review: Check out our take on the game

Patrick Dane is TechRadar Gaming's Guides Editor. With nearly a decade in the games press, he's been a consistent voice in the industry. He's written for a plethora of major publications and travelled the world doing it. He also has a deep passion for games as a service and their potential to tell evolving stories. To wit, he has over 2000 hours in Destiny 2, over 1000 in Overwatch and is now deeply into Valorant.