How to use Remote Desktop in Windows 11
Control your PC from another device easily
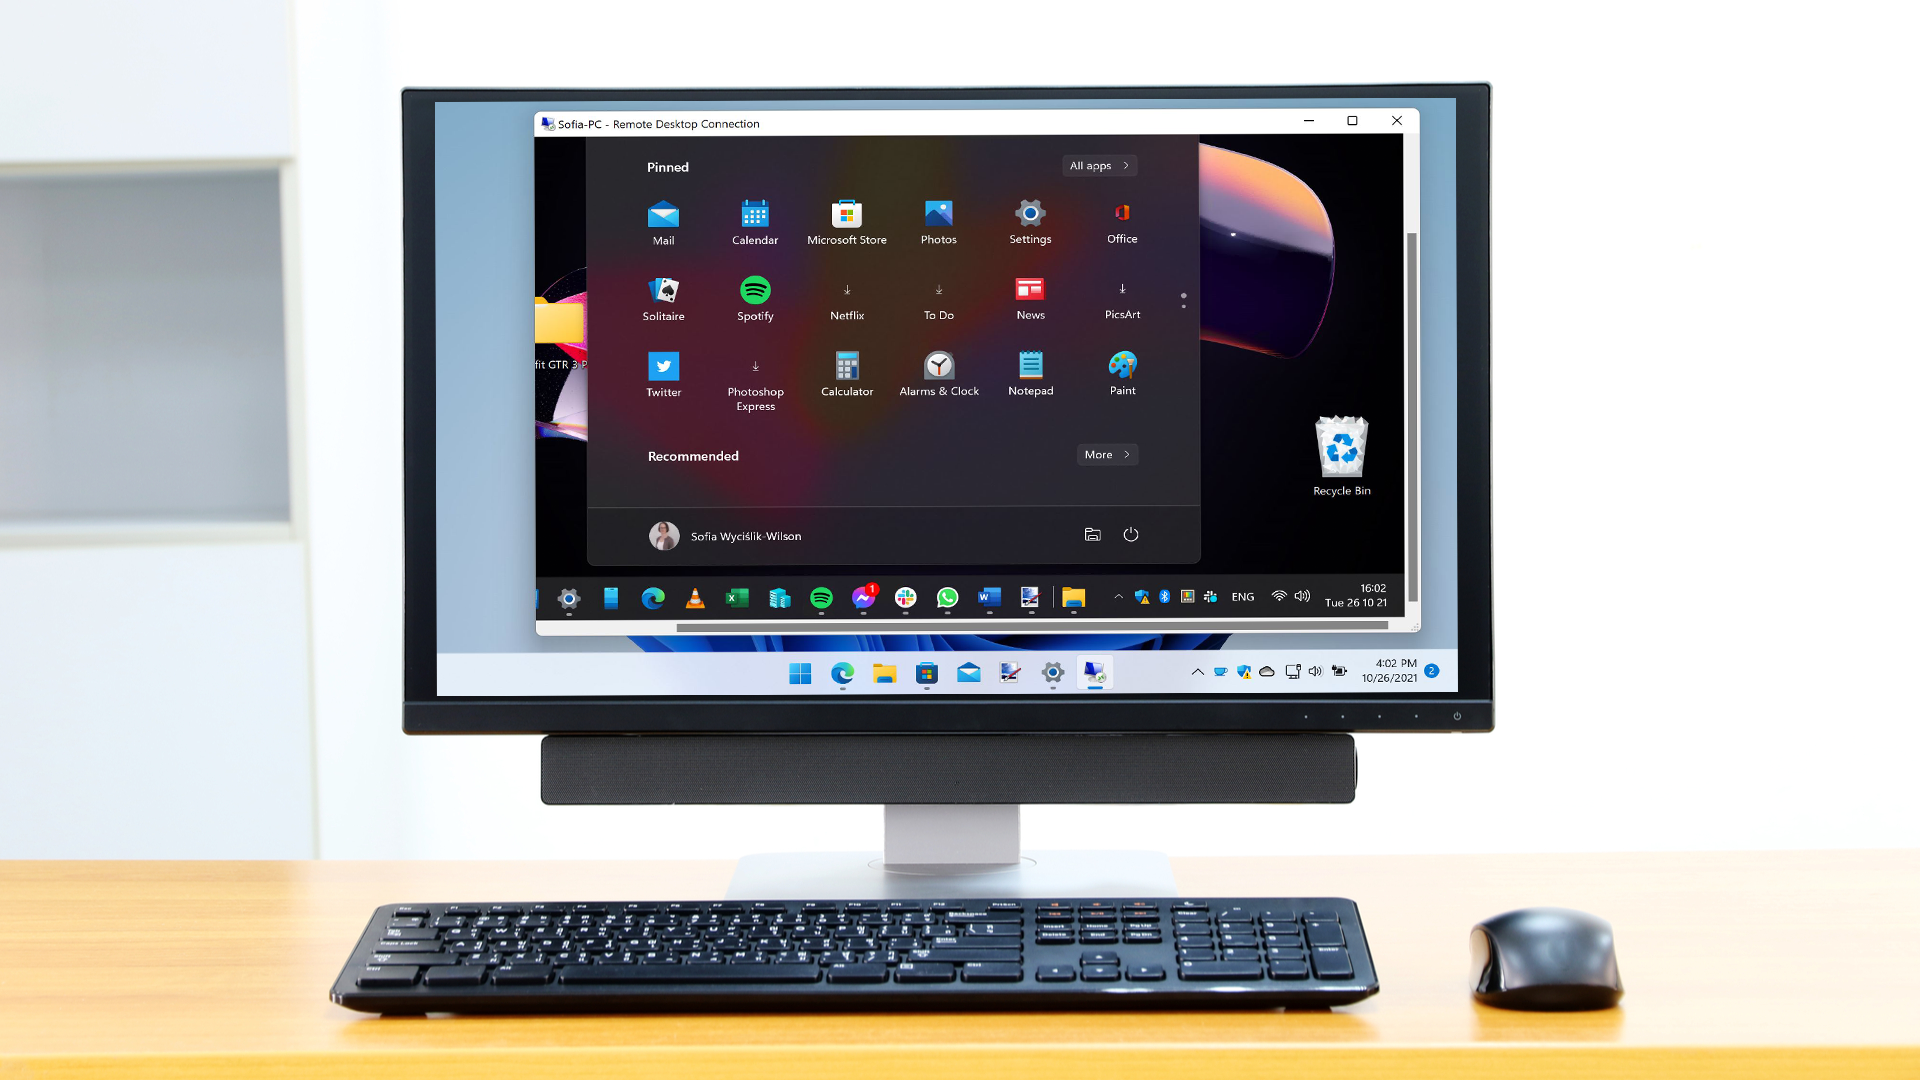
The Remote Desktop feature of Windows is an app that not everyone is aware of, but it is something that would almost certainly be far more widely used if it was better known. In short, Remote Desktop provides a way to control your Windows 11 computer from somewhere else – remote control, if you prefer.
While this is mainly designed with business and technical users in mind, such as remote working or offering remote support, the feature can also be used for simpler tasks such as controlling your upstairs computer from your laptop downstairs.
Assuming you have a network set up, use the following guide to get started with Remote Desktop.
- How to download and install Windows 11 right now
- Windows 11 problems: how to fix the most common issues
- How to check if your PC will get Windows 11 update

1. Open Settings first of all. You can do this by clicking the Start button followed by Settings, or you can use the Windows + I keyboard shortcut. In the list to the left, move to the System section and then click Remote Desktop to the right-hand side.
You can then enable Remote Desktop by flicking the Remote Desktop toggle to the On position. A pop-up will appear in order to double-check that you want to enable the feature – just click Confirm to continue.
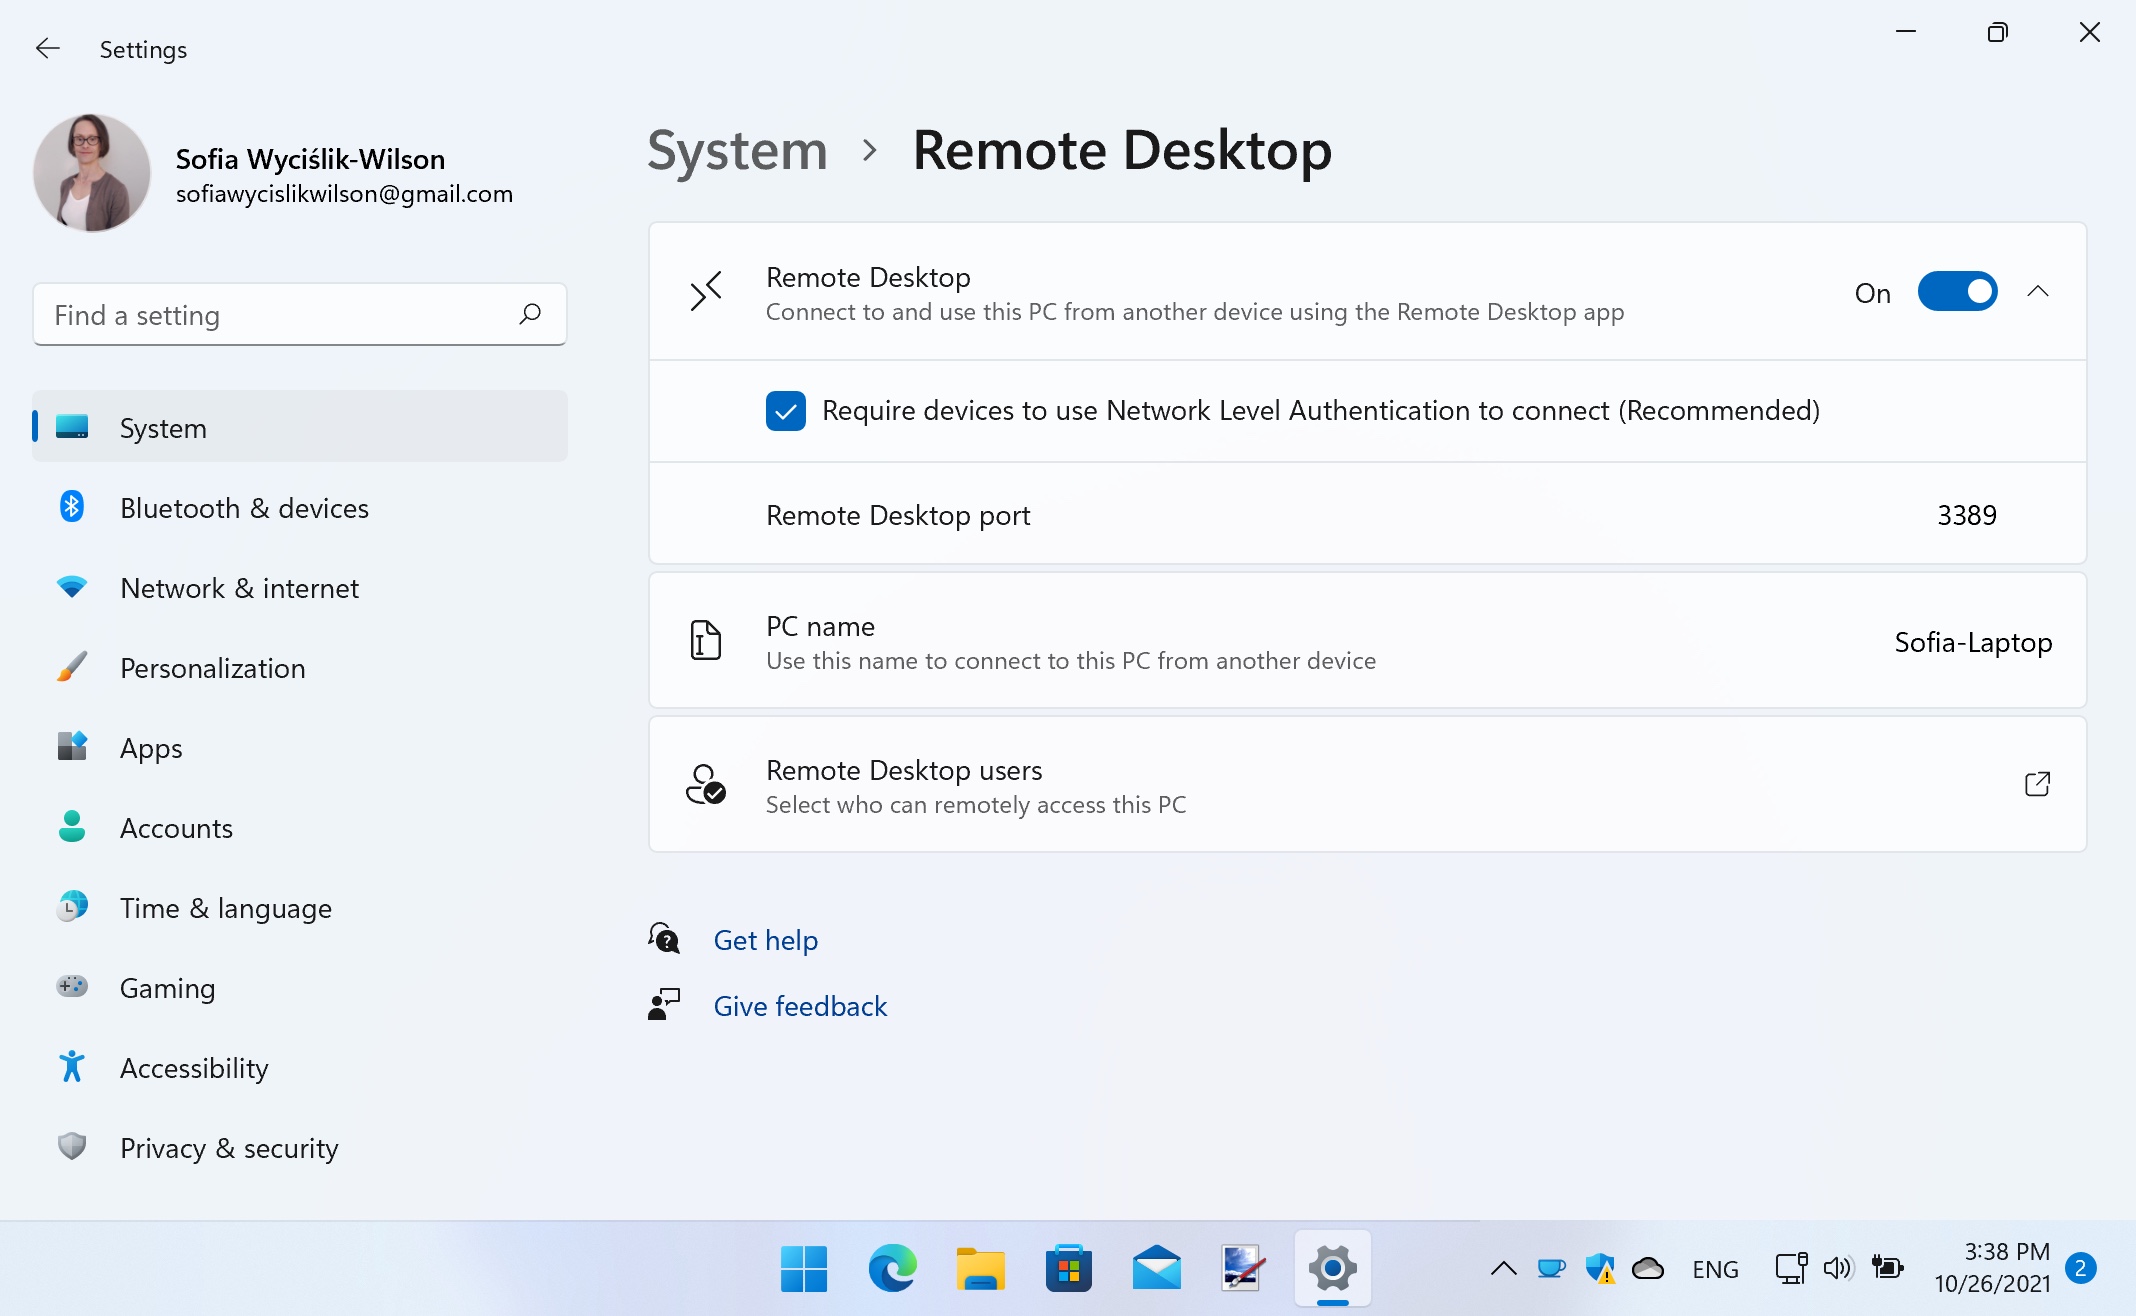
2. To the right of the toggle you will see a small button feature a downward-pointing arrow. If you click this, additional options will appear, although it is not a good idea to change these settings unless you have a particular reason to do so.
By default, Remote Desktop requires devices to use Network Level Authentication in order to establish a connection, but if this proves problematic, or if you have a complex network configuration, you can display is by unchecking the option box. Below this, Windows shows you the port number used by Remote Desktop in case you need to make a note of it.
Sign up to the TechRadar Pro newsletter to get all the top news, opinion, features and guidance your business needs to succeed!

3. When you have Remote Desktop enabled, a new section will slide into view letting you know the name of your computer, as you will need this later on in order to establish a connection.
t is possible you know, or even chose the name of your computer, and it is the same name that is used to identify your computer on your hoe network. If you would like to change the name for any reason, return to the System section of Settings and click the Rename link to the upper right of the window, enter a name and click Next before restarting Windows when prompted.

4. Now that you have Remote Desktop enabled, you can use various tools to connect and remotely control your computer. Windows has its own Remote Desktop Connection app built in, found in the Start menu, so we'll start by looking at this one.
Launch the app from the Start menu of a second computer and type the name of the machine you would like to connect to. You can now jump right in and click the Connect button, or you can configure additional options as described in the next step.
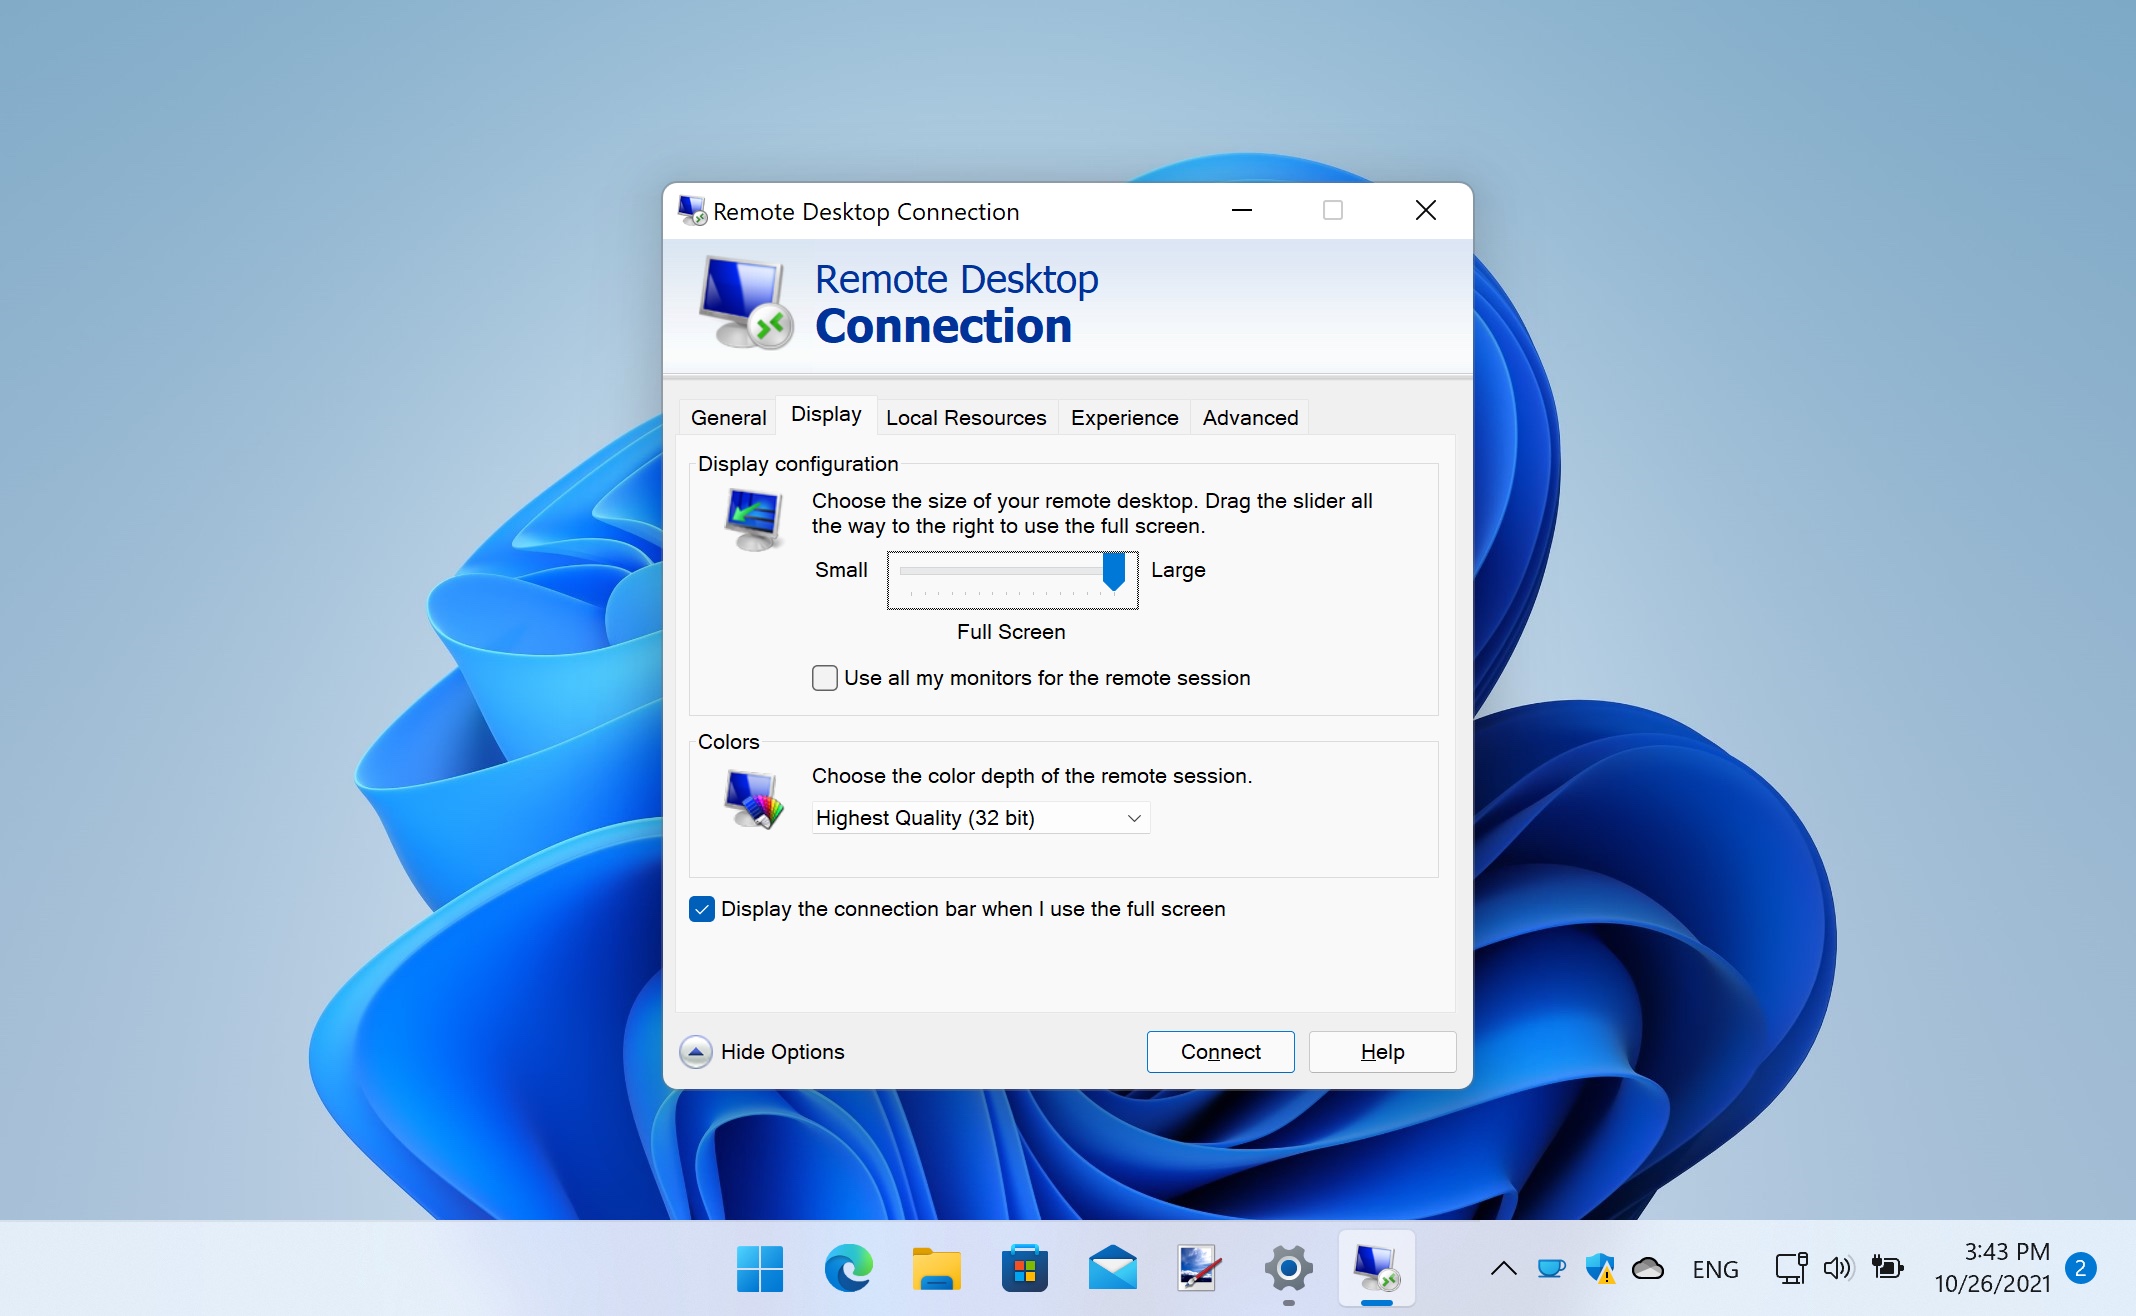
5. Click the arrow next to Show Options and you can specify the username you would like to use to connect with. Moving to the Display tab you can use the slider to choose the size of your remote session window and also specify the color depth that should be used.
On the Local Resources tab, you can choose how audio should be handled between remote and local session as well as choosing what resources should be shared between devices – such as printers and clipboard contents. If you have a slow connection, use the Experience tab to dial back visual option. Click Connect to establish a connection.

6. You will have to provide the login credentials for the computer you are trying to connect to – this is just the same password that you normally use to log into Windows – and then click OK.
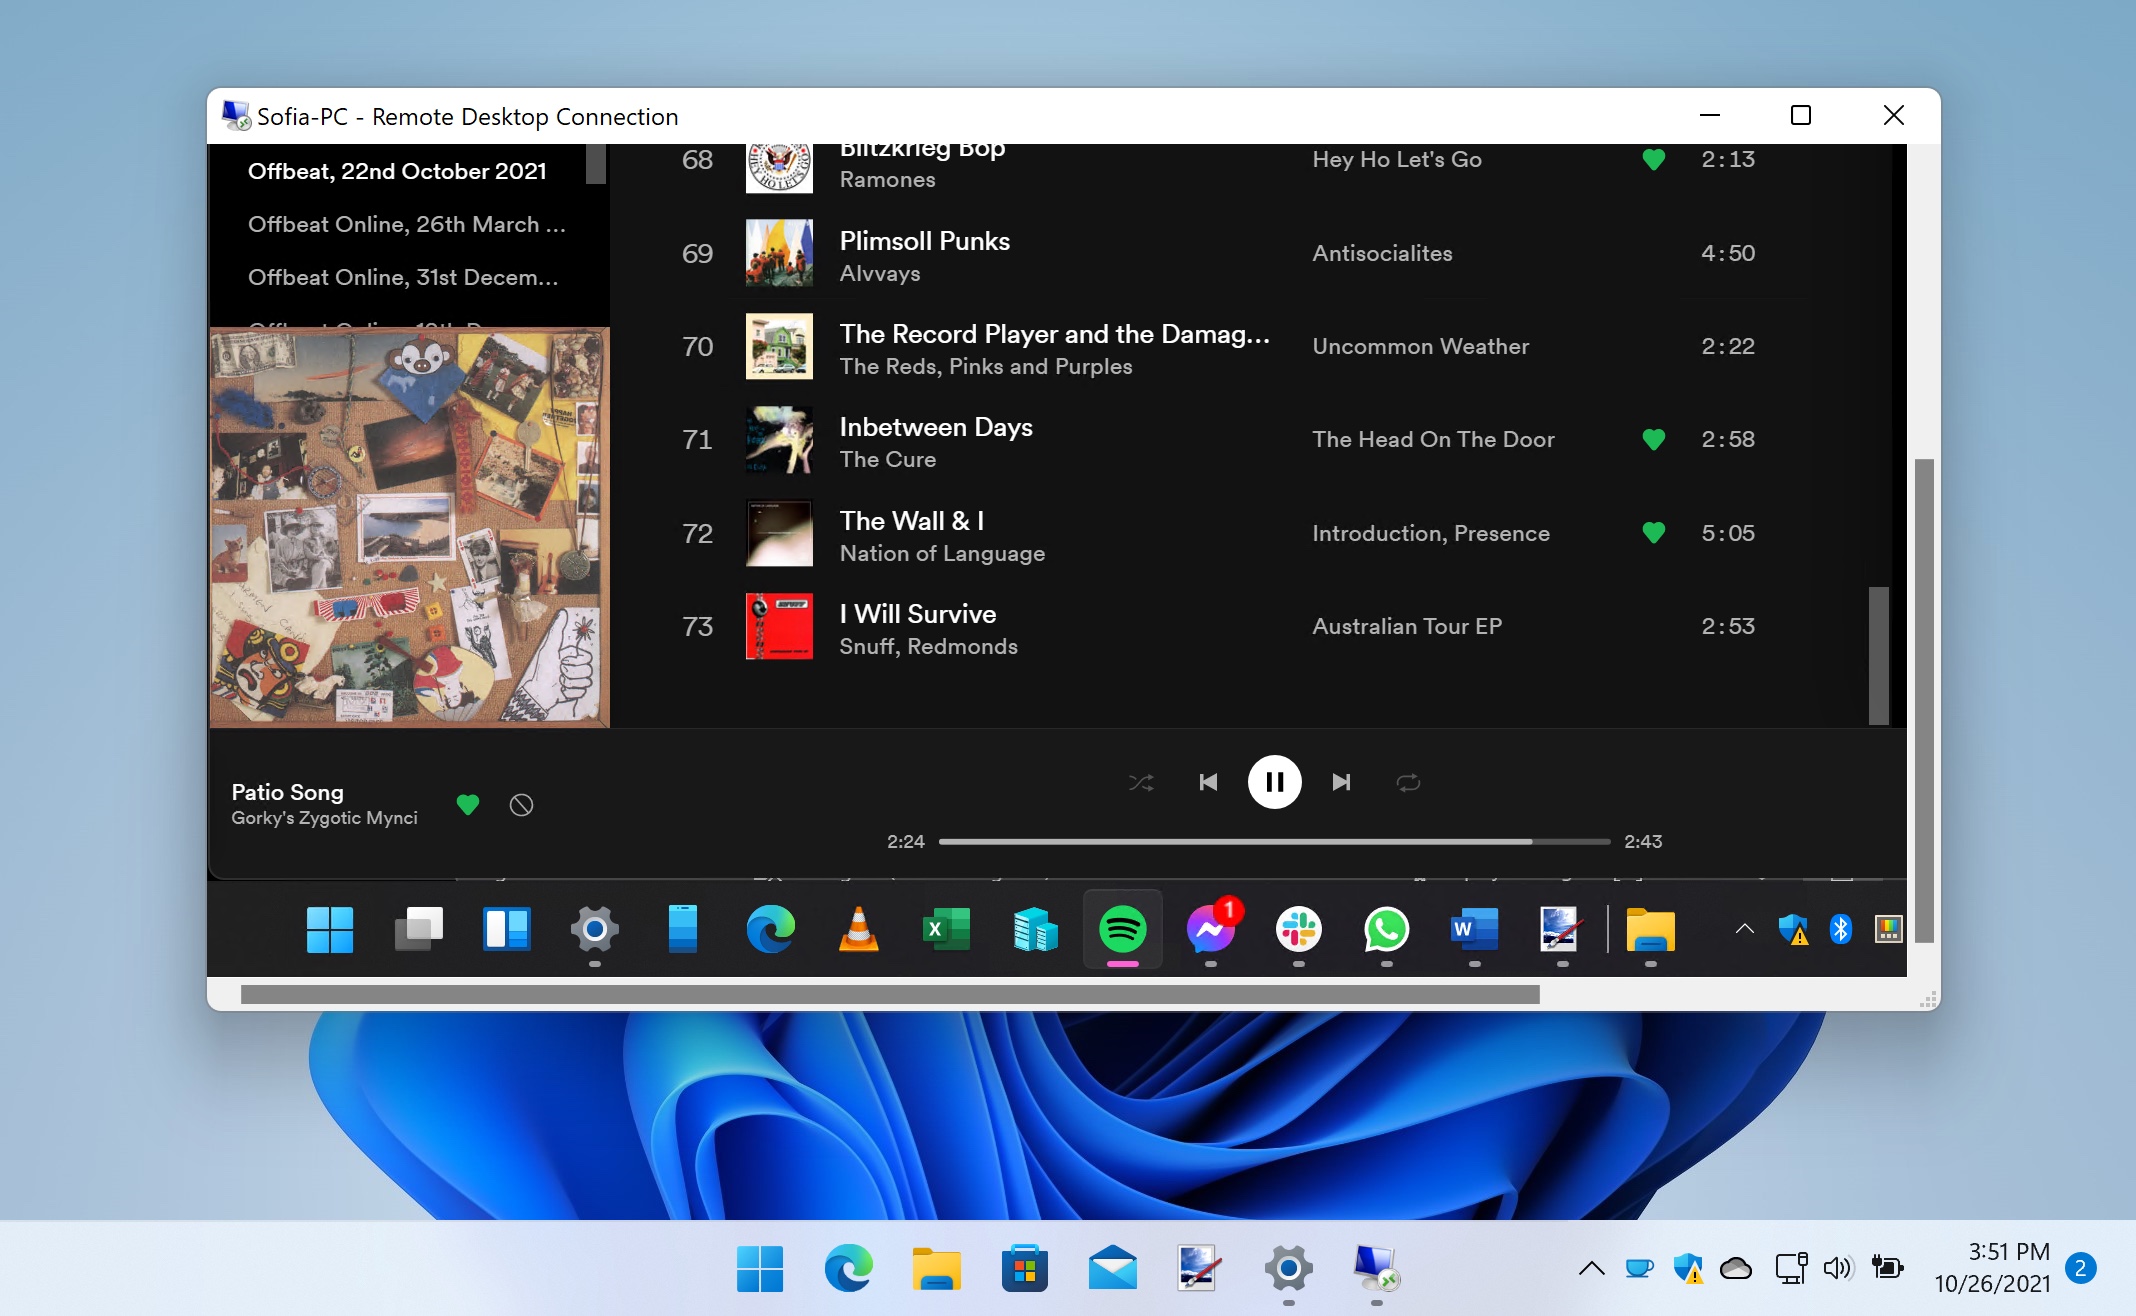
7. You will now find yourself logged into your other PC, ready to use Windows 11 within a window.
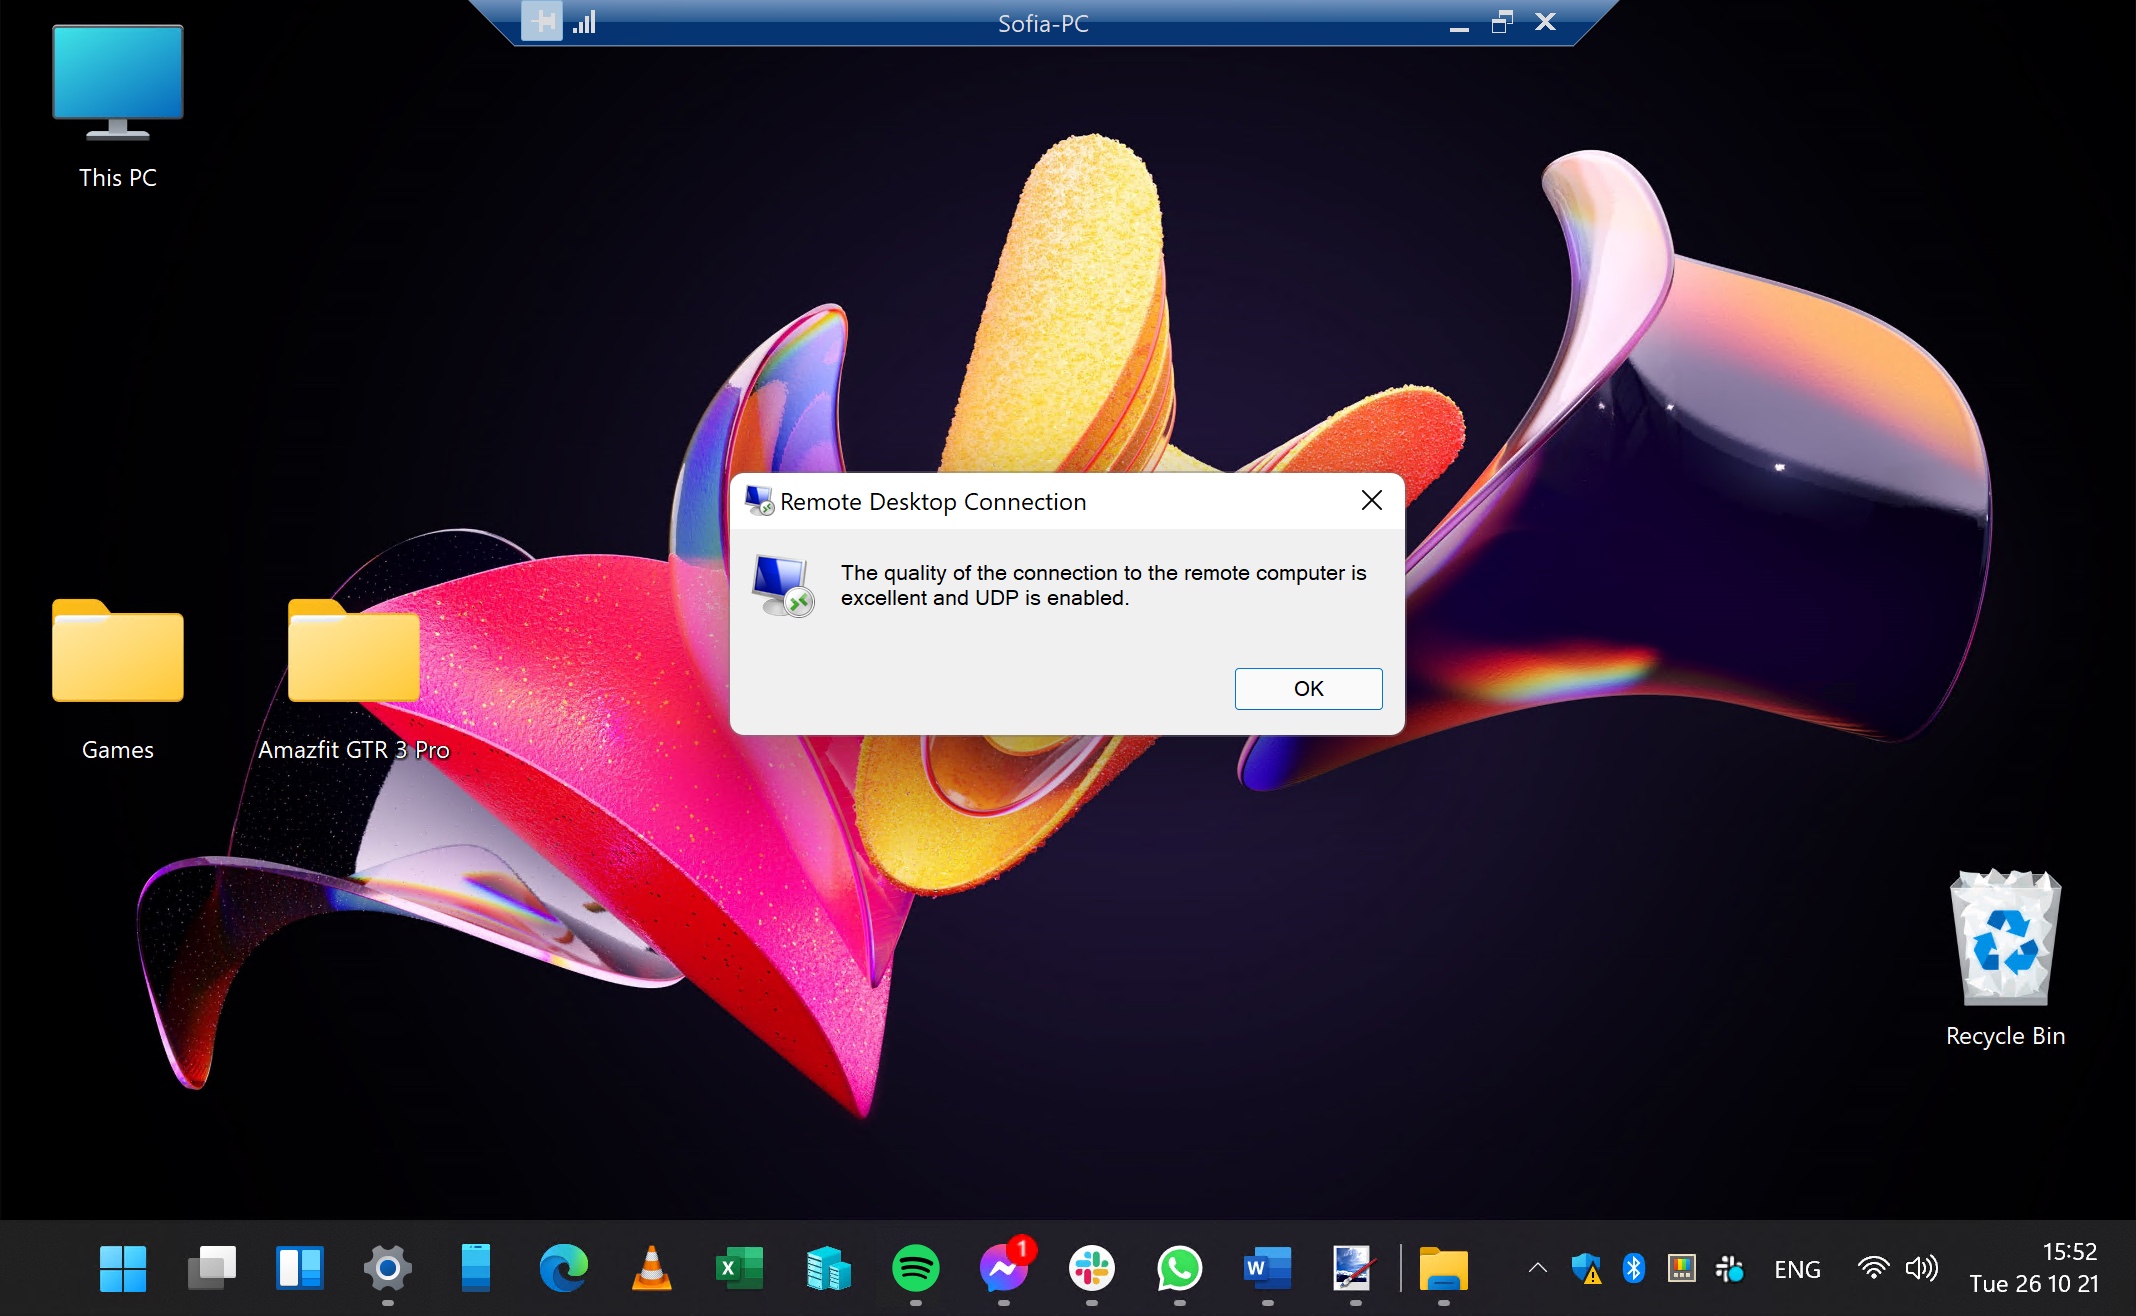
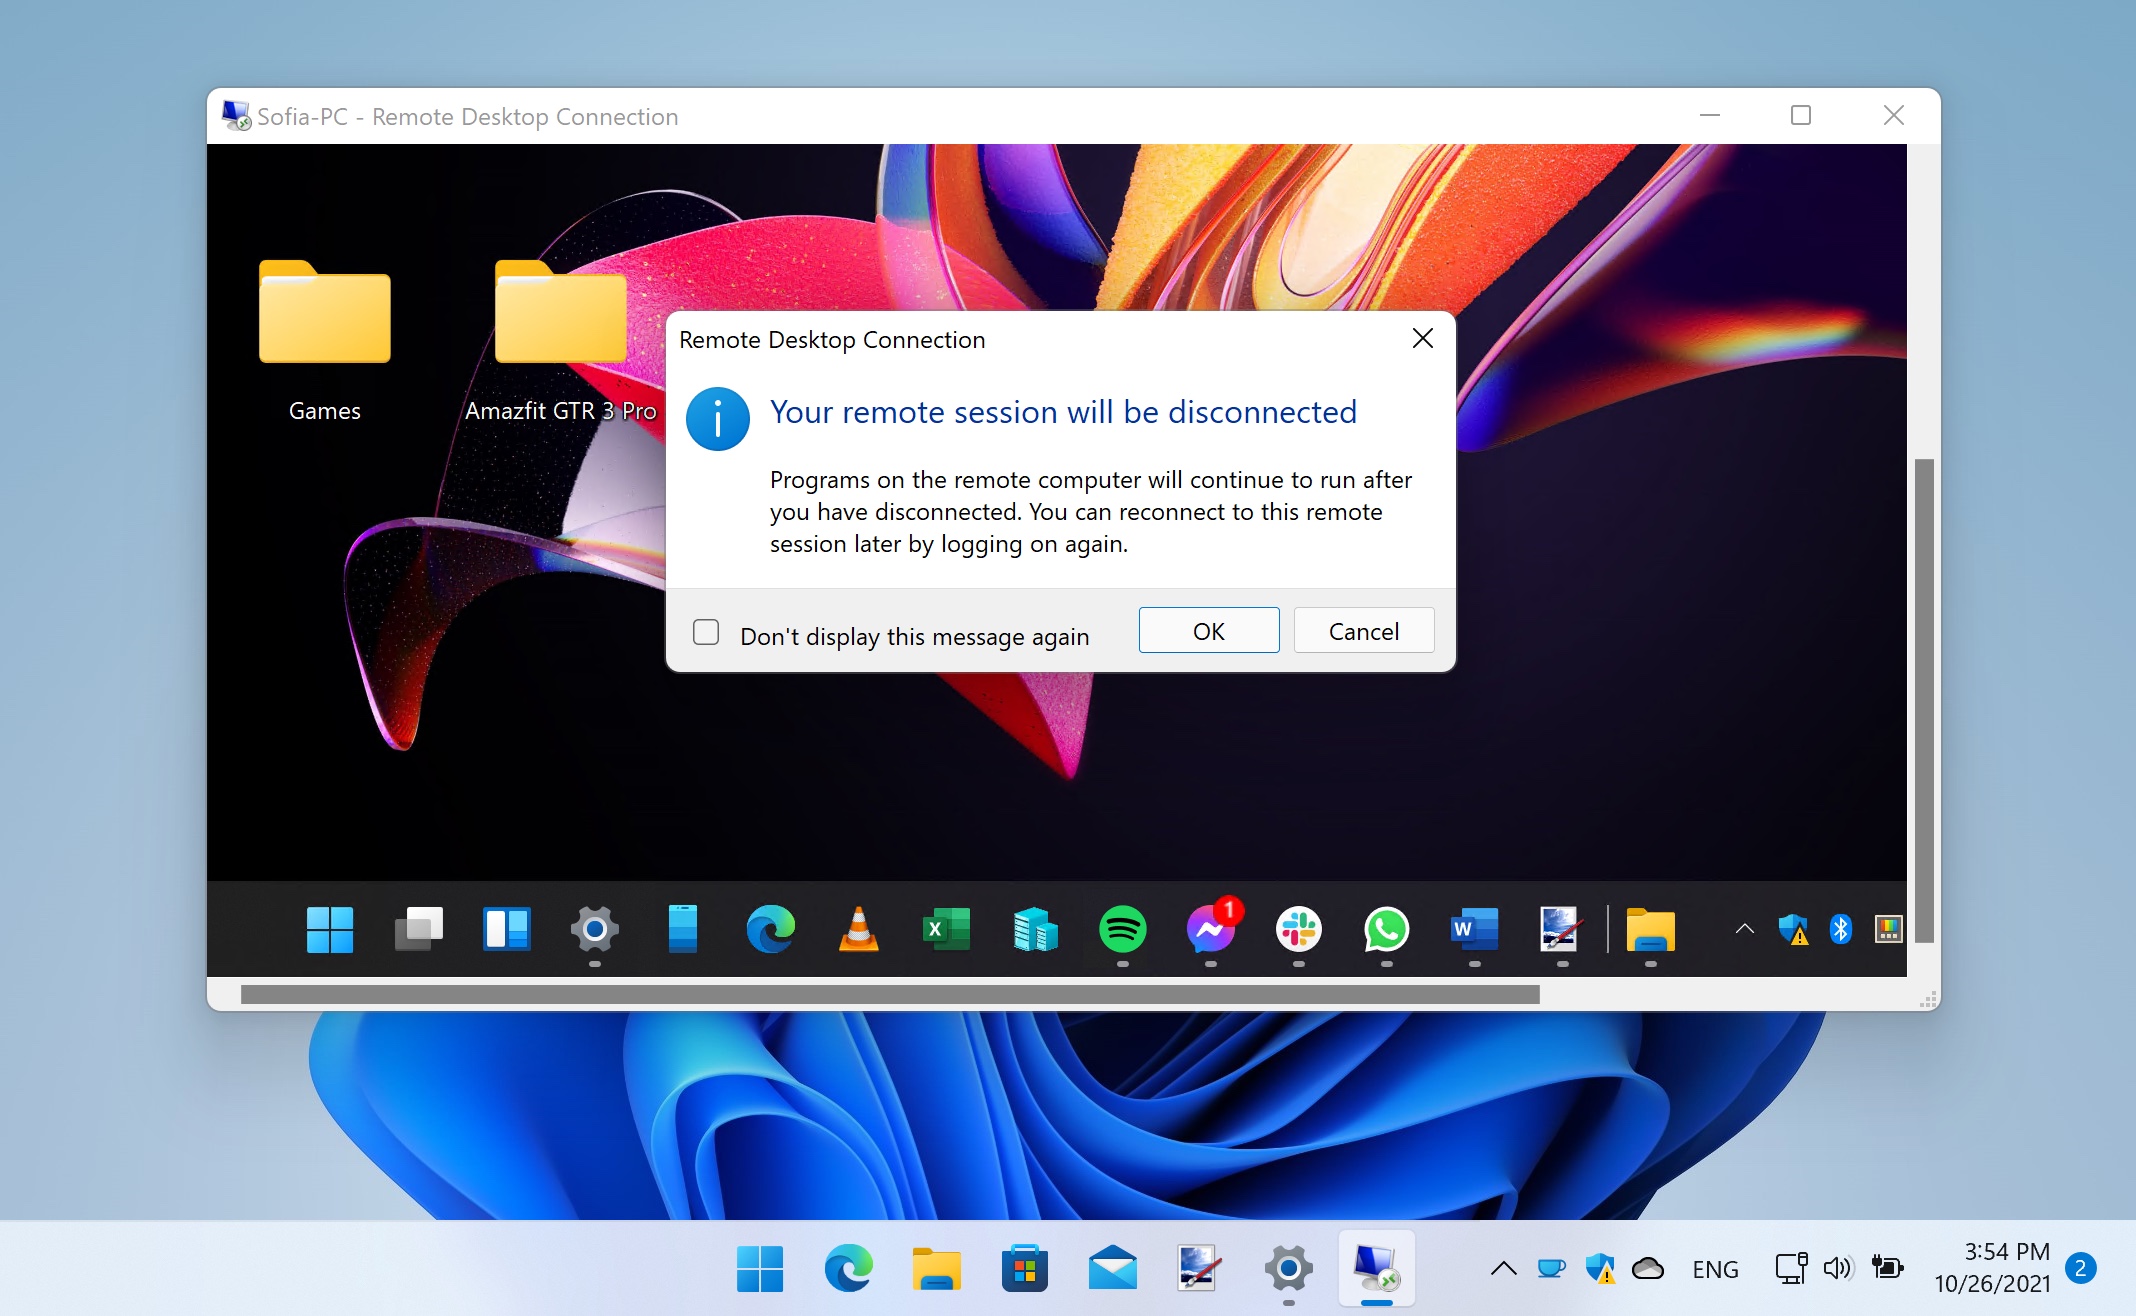
8. If you want to exit the remote access, just press the close icon and you will be brought to a message box, confirming if you want to disconnect the session.
Press OK and the connection will shut down.
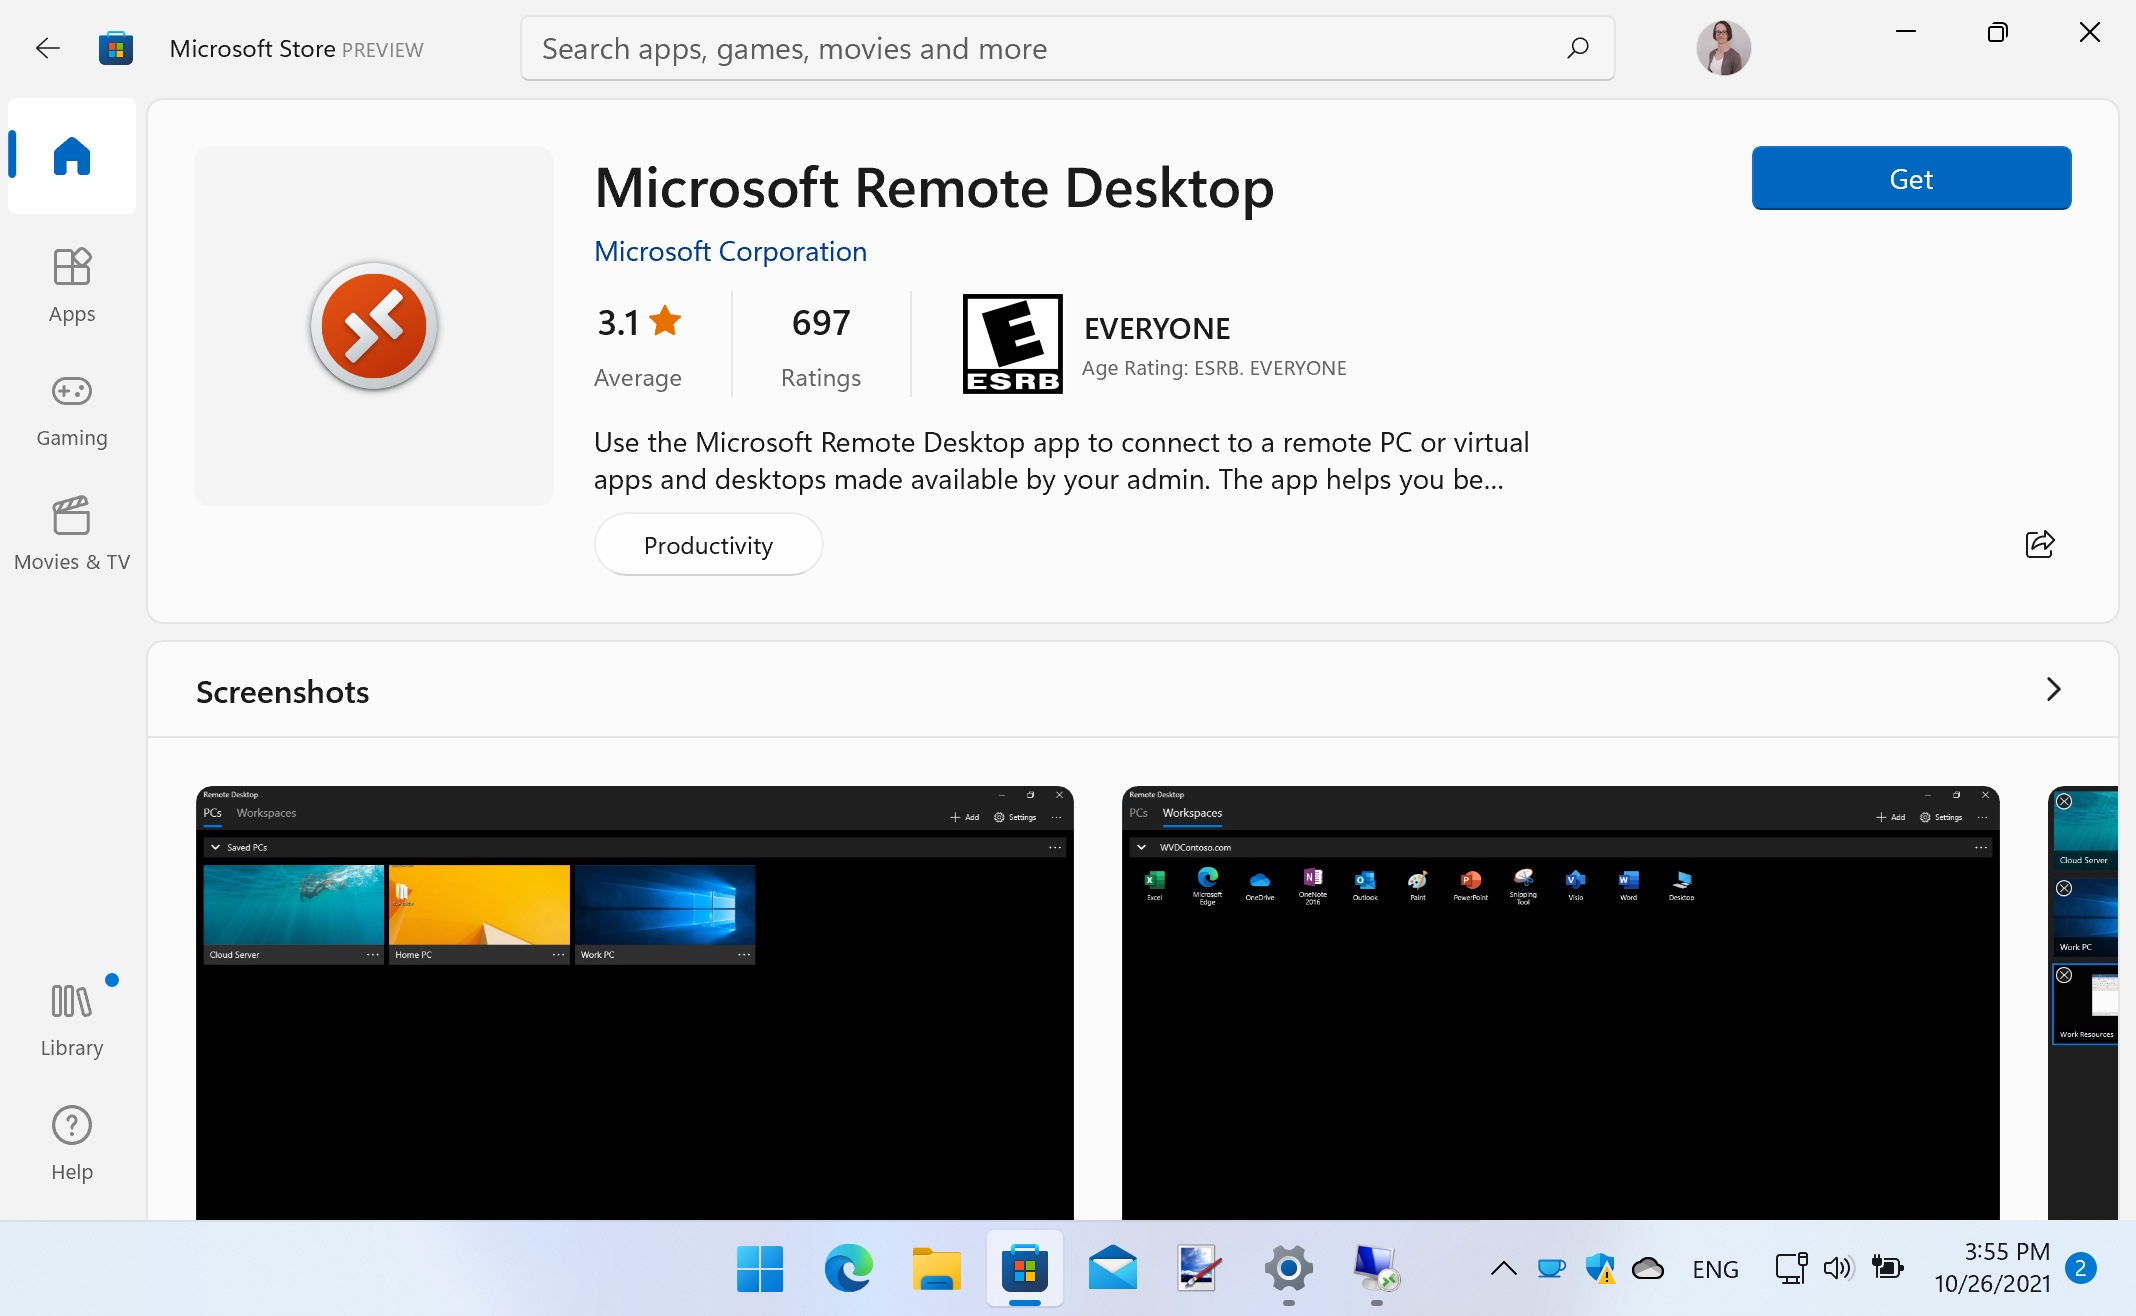
9. Microsoft's Remote Desktop app is also available for mobile devices so you can use your smartphone or tablet to control your PC if you want.
Both the Android and iOS versions of the app are available free of charge and work in very much the same way as the desktop app that we have already looked at.
- Windows 11 system requirements – is your PC compatible?

Sofia is a tech journalist who's been writing about software, hardware and the web for nearly 25 years – but still looks as youthful as ever! After years writing for magazines, her life moved online and remains fueled by technology, music and nature.
Having written for websites and magazines since 2000, producing a wide range of reviews, guides, tutorials, brochures, newsletters and more, she continues to write for diverse audiences, from computing newbies to advanced users and business clients. Always willing to try something new, she loves sharing new discoveries with others.
Sofia lives and breathes Windows, Android, iOS, macOS and just about anything with a power button, but her particular areas of interest include security, tweaking and privacy. Her other loves include walking, music, her two Malamutes and, of course, her wife and daughter.