Linux is a multi-user operating system, even if you are the only person using your computer. The most basic of systems has two users: you and the superuser, which is also called root.
Every file or directory is owned by a user and has settings, called permissions, which specify who can read or write to it. This safeguards your files from being overwritten by another user, or possibly even read by them if so set.
Article continues below 
Create a user
Every user has a home directory. This is usually home/username but it can actually be anywhere – the user created to run a web server will have a home directory somewhere like /var/www. In addition to users, Linux also has groups. A group is basically a collection of users.
For example, if you have a USB scanner on your computer, you often need to be a member of the scanner group to be able to use it.
Now that we understand usernames, groups, UIDs and home directories, we can create a user, like so:
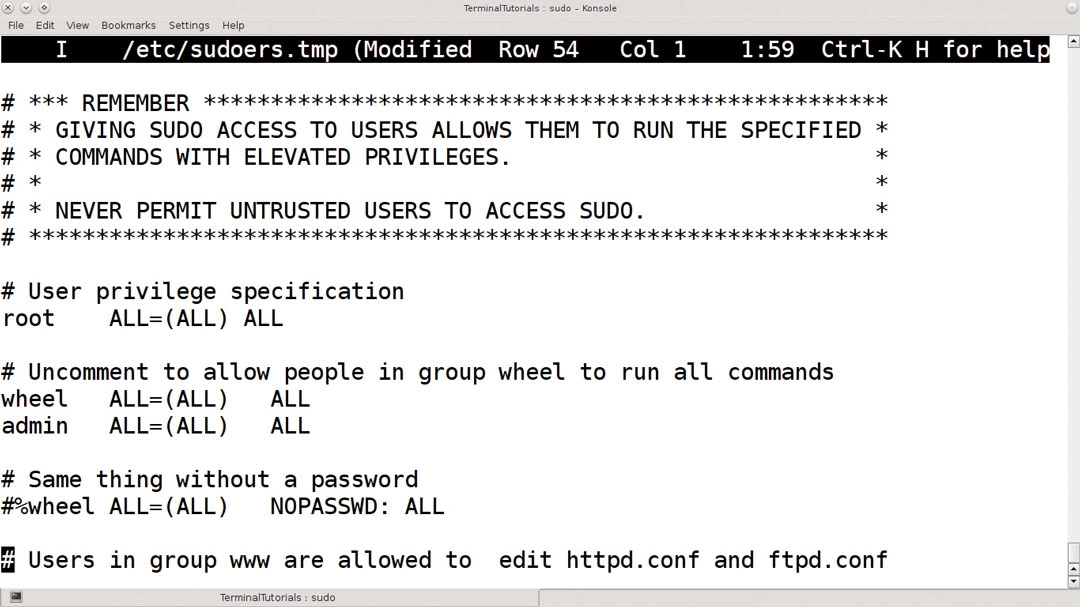
sudo useradd -m -c "John Smith" -g users -G scanner,audio john
We use sudo here because only the root user can create users. The -m option creates a home directory at /home/john, -c specifies a comment to store for the user, which is usually the user's full name, -g sets the primary group of the user while -G adds secondary groups. Finally, we give the user name.
Not all of these options are necessary: if you omit -g, for example, a default group will be used. Some distros use a single group called users for all non-system users, while others create a separate group for each user. The groupadd command works in a similar way, as do both of their counterparts for deleting, userdel and groupdel.
Add a password
We've created a user but they cannot log in yet until we give them a password with the following:
sudo passwd john
This will ask you for the password twice. The passwd command can also be used to change the password of an existing account. If you run it without sudo or a username it will change your own user's password; only root can set passwords for anyone else.
It's also considered good practice to change passwords regularly. You can enforce this with passwd:
sudo passwd --maxdays 60 -warndays 7 john
This password will become invalid after two months and john will be warned about the expiry a week before. The usual rules about passwords apply here: make them long and mixed case, and preferably with numbers. These rules apply doubly to the root password – the key to the kingdom.
User details are stored in /etc/passwd – the password itself is confusingly in /etc/shadow – and both may be edited should you wish to change them. However, making a mistake could prevent you logging in, so use vipw to edit it. This loads a copy of /etc/passwd into your preferred editor (as defined in $EDITOR) and checks its validity when you save it before replacing the existing file.
The format of /etc/passwd is explained fully with man 5 passwd.
Transfer ownership
If you want to change the owner of a file, you need chown:
chown john somefile
chown john:users someotherfile
chown john: someotherfile
chown -R john: somedir
The first of these makes john the owner of a single file. The second command also changes the group. If you don't supply a group after the colon, as in the third example, the group is changed to the user's default group.
When applied to a directory, the -R option also changes all files and sub-directories in that directory. Alternatively, you can change just the group with chgrp. These commands must be run as root. Changing file permissions is done with chmod.
- This article was provided to TechRadar by Linux Format, the number one magazine to boost your knowledge on Linux, open source developments, distro releases and much more. Subscribe to the print or digital version of Linux Format here