


TechRadar Verdict
An absolute powerhouse of an operating system - we're seriously impressed.
Pros
- +
Great place to start for new Linux users
- +
Support for new hardware and fixes for old
- +
Looks great - especially in dark mode
Cons
- -
Installation can involve a few challenges
Why you can trust TechRadar We spend hours testing every product or service we review, so you can be sure you're buying the best. Find out more about how we test.
This article was provided to TechRadar Pro by Linux Format, the number one magazine to boost your knowledge on Linux, open source developments, distro releases and much more. It appeared in issue 264, published in May 2020. Subscribe to the print or digital version of Linux Format here.
Canonical’s latest Ubuntu release, “Focal Fossa”, hit the mirrors at the end of April. So by the time you read this thousands of people will have downloaded it, installed it, and (we’ll wager) been downright impressed with what it has to offer. If you haven’t yet tried it, then you’re in for a treat. Buckle up and we’ll show you what’s new and what you can do with Canonical’s finest.
If you’ve never tried Linux before, Ubuntu 20.04 is a great place to start. You can try it right now (well in the time it takes you to download and write it to a USB stick) without interfering with your current set up.
There are all kinds of reasons to switch to Linux, and with the new Ubuntu release comes one more. Be the envy of your proprietary OS using friends. Never see your computer crippled by updates again. Enjoy a desktop that is not an advertising space. Explore the phenomenal selection of free software, which more often than not is at least as good as commercial offerings, and in many cases is demonstrably superior. Video editing, 3D modelling, high powered number crunching and even AAA gaming are all just a few clicks away. And if your desktop habits are more sedentary, Ubuntu’s got you covered too. Fast web browsing, easy email, fuss-free media playing are all yours out of the box. Read on and see just how powerful this powerhouse of an operating system really is.
- Here's our list of the best Linux training providers around
- Check out our list of the best Linux laptops available
- We've built a list of the best Raspberry Pi distros on the market
Focal Fossa bossa nova
We’ve been looking forward to this release for a while, not because of shiny new headline-grabbing features, but because we suspected it would improve on its great predecessor. And also because it’s named after a type of cat-like creature.
Naturally, everything under the hood has been refreshed. The new 5.4 kernel brings support for new hardware and fixes for old. What most home users will be interested in is the desktop, and you’ll find Gnome 3.36 looks and behaves better than ever. It seems like there’s been a two year game of bug whack-a-mole, both within Gnome and Ubuntu’s take on it, to address niggling performance and memory issues. But with this release, it’s smooth like the wrong kind of peanut butter.
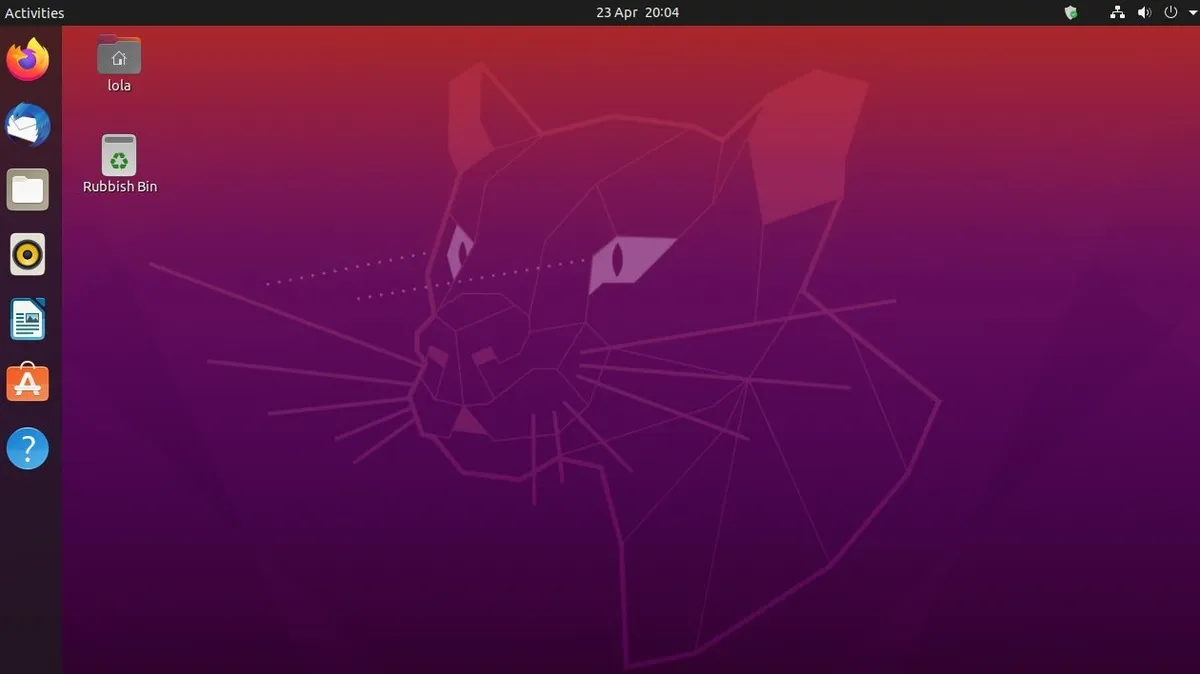
What we affectionately refer to as “the darkening” has come to Ubuntu—like so many desktops and apps it now offers a dark mode (it’s not the default) which some people find easier on the eyes. Light or dark, we think you’ll love the new bold icons and Yaru theme. Gnome’s application folders feature, by which you can drag icons in the Applications menu on top of one another to make a folder, is less clumsy now. And if you remove all but one item from a folder, then the singleton is automatically promoted back to the main menu and the folder removed. Tidy.
If you have a HiDPI display you’ll be pleased to hear that fractional scaling is finally here. And (unlike in 19.10) you don’t need to awkwardly invoke Gsettings from the command line to use it. Previously only integer scaling was available, which meant users often had to choose between tiny text and giant text. Now the Goldilocks Zone can be enabled through a simple switch in Settings > Screen Display, but do note the small print warning about increased power usage and decreased sharpness. At the time of writing, there seem to be issues using this with the proprietary Nvidia driver too, so keep an eye on this bug.
Speaking of Nvidia, their drivers are now included on the install medium, no need to resort to a PPA or (shudder) downloading them from Nvidia’s website. Gamers will be pleased to hear that Feral’s GameMode is part of a standard install. This can rejig CPU frequency governers, schedulers and other frobs to boost framerates. And in case you’re concerned about the 32-bit library palaver, don’t be—everything needed by Steam, Wine and Lutris is still in the repos. If you’re running old 32-bit applications you might run into difficulties, so do test these before getting rid of your 18.04 install.
There’s an opportunity to help the community here if you find one that doesn’t work, do your bit and package it up as a Snap. The Ubuntu Software tool now serves Snaps as the default. Indeed, most applications we searched for were only available in this format, but some packages can be installed from the traditional Ubuntu repos. Of course, you can still install packages from the command line with Apt if you’re not sold on the ‘app store’ mentality. We predict Snaps (and Flatpaks) are going to gain serious traction in the coming months and years.
As you’ll see from the Software application, a number of trendy tools (some proprietary like Zoom and Slack, and some not like Riot and Signal) are now packaged as Snaps. And this number will increase as developers increasingly sidestep the old method of relying on distros to package up their offerings.
Installing Ubuntu
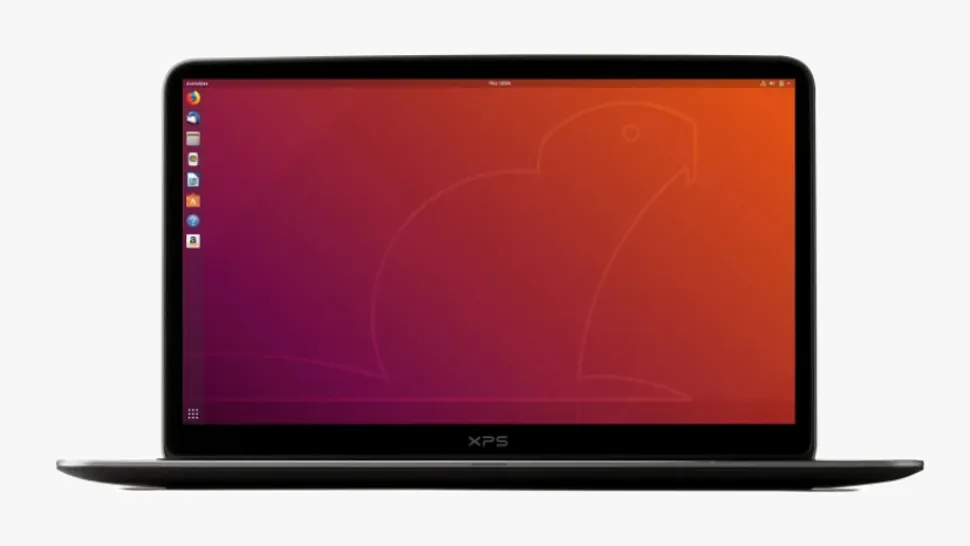
You can download the Ubuntu install image from whatever operating system you are comfortable with. Fire up your browser and head to https://ubuntu.com/download/desktop and hit the download button. If you are feeling charitable, you can also make a donation to Canonical and choose how they invest it, but this is entirely optional.
We’d recommend making a cup of tea while the download completes. You should now have a 2.5GB disk image (ISO) file which you can write to a DVD using the software of your choice (e.g. Toast on macOS, CDBurnerXP on Windows, Brasero on Linux). We know that many PCs and most laptops don’t have optical drives nowadays, but that’s okay—the image can be written to a USB stick, which will probably boot much faster and certainly will be much quieter than booting from DVD. There are programs like Unetbootin that can automatically download distros and set them up in all kinds of fancy ways, but we prefer to keep things simple so here we’re recommending the cross platform Etcher tool. Grab it from https://etcher.io, start it up, plug in a USB drive (make sure there’s nothing precious on it because it’s contents will all be destroyed), and away you go.
You’ll need to figure out how to make your PC boot from USB or optical media before you can enjoy Ubuntu. You have two options, one is to open any provided Boot Menu – not all devices offer this – the key used varies. HP systems use F9, Dell and Lenovo use F12, older AMIBIOS-based systems use F8, Award-based systems use F11. You need to slowly tap the key just after switching on the system. Select any CD-ROM/Optical drive option and you’re good to go. If no boot menu seems available the other option is to select the order of boot devices within the BIOS/UEFI settings. Typically a message should flash up during the system start explaining which key to press. Just as with the boot menu pressing one of Del (the most common), F1, F2, Esc or a ‘special’ maintenance key should provide access. In the BIOS locate the Boot Device menu and ensure the DVD/ optical drive is first in the list. Save and reboot!
You can explore the live environment risk free, but for maximum pleasure and performance install Ubuntu to your hard drive or SSD using the handy 6-step guide below. If you have one we’d recommend installing Ubuntu to its own device, rather than resizing the Windows partition per steps 1 and 2. It should all work fine, and in fact it’s possible to carry out those steps from the Ubuntu installer. But we’ve been around long enough to know things don’t always go as they should. So back up any important data before proceeding. If you have a spare device, just select it and use the Erase disk and install Ubuntu option in step 4. Molto semplice. If you want to play it safe, another option is to install Ubuntu to a virtual machine using Oracle’s VirtualBox and the guide below.
3-step installing in Virtual Box
1. Get VirtualBox
Head to the website and download VirtualBox 6 for your operating system, be that Windows or OS X. Install it and be aware you’ll need at least 20GB of space drive space to store the virtual OS file. You’ll also need the Ubuntu ISO file. Once installed start it and click the ‘New’ button and call it Ubuntu.
2. Create a machine
Choose Ubuntu and the bits should match the ISO you downloaded, click ‘Next’. Under Memory we’d recommend 2048, but if you have an 8GB PC 4096 is best. You can leave all the rest as default settings, apart from the dynamic hard drive size. The default is 8GB, we’d suggest at least 32GB if you can spare. Finish and click Start to get going.
3. Starting virtual Ubuntu
A prompt will appear asking for a disc, locate the Ubuntu ISO file and click ‘Start’. Linux Ubuntu will start, once loaded you’re free to try out Ubuntu or use the Install icon to properly install it to the virtual machine. For extended use, in the virtual machine’s settings under Display, you’ll want to enable 3D acceleration and allocate 16MB.

6-step installing Ubuntu
1. Make room
To create an empty partition for your Ubuntu installation, you’ll first have to squeeze your existing Windows partition. Fire up the Disk Management tool in Windows, and right-click your main partition that’s typically assigned the drive letter C. Then select the Shrink Volume option from the pop-up menu.
2. Shrink Windows
This brings up the Shrink dialog box which shows you the total size of the hard drive and the maximum amount of space that you can squeeze out of the selected partition. To create a new partition, specify the size of the partition in the space provided in megabytes and click ‘Shrink’ to start the process.
3. Updates & plugins
After your computer boots from the Ubuntu installation medium, it’ll display a checklist. Make sure you toggle the two available checkboxes on this screen. The first checkbox option will fetch any available updates from the Internet, and the other will install the plugin required to play MP3 content and WiFi firmware.
4. Use free space
In the screen labelled Installation type, toggle the ‘Something else’ radio button to manually partition the disk. Ubuntu will now show you a list of partitions on the hard drive. Select the one labelled ‘free space’ and click the plus sign (‘+’) to create a partition out of this space you freed up in Windows.
5. Define partitions
In the Create partition box enter the size for the Ubuntu partition. Then use the ‘Mount point’ pull-down menu to select the ‘/’ option. If you like, you can create a separate home partition (if you want to keep user files and system files separate) in exactly the same way. Just select /home from the menu.
6. Localize and personalize
And that’s it. The installer will now start the process of installing Ubuntu. While the files are being copied to the hard drive in the background, it will ask about your locale. In the last screen you’ll be asked to enter your desired login and password details, as well as a name for your computer.
Desktop deep dive
Coming from Windows or macOS, Ubuntu at first glance appears dramatically different, and perhaps even a little daunting. But don’t worry, soon it will feel just like home. Your first port of call might be the Applications menu, which you can get to by clicking in the top left of the screen, or by pressing the Super (Windows) key. This shows any running applications, or if there aren’t any will show frequently used ones. So the first time you click it this view will be barren. You’ll find a grid of installed applications (pictured in the annotation below, which hopefully helps you get your bearings) by clicking in the bottom right, so have a nosey around to see what interests you.
The standard install includes everything you need to get started, and tries to avoid bundling things you don’t. Perhaps we should have mentioned earlier the minimal install option if you don’t need an office suite, games or other fripperies. This saves you around half a gigabyte. Sooner or later you’ll want to add an application or several, and the easiest way to do this is through the Ubuntu Software shortcut in the dock (the one that looks like an orange briefcase). One of our first additions is the Gnome Tweaks tool, which lets you customise desktop’s appearance and behaviour in lots of ways. Depending on who you believe, this either should not exist at all, or should be included by default on the Gnome desktop. We’ll let you be the judge, just search for tweak in Ubuntu software, click the green install button, and confirm with your password.
The installer will have prompted you to add any online accounts you have (e.g. Facebook, Google etc.). These will integrate with your desktop calendar and file manager as appropriate, so you can browse Google Drive or receive notifications about new Facebook likes or pokes (is poking still at thing?). If you didn’t add these accounts earlier you can always add them by going to the Settings > Online Accounts. You’ll probably find you need to log out and log back in before calendars and other things sync properly. If you have successfully connected accounts and are tired of all these notifications you can remove them from here too. Alternatively the Do Not Disturb switch in the calendar panel will silence these and hopefully keep you focused.
Under the hood
We get it. A new Ubuntu release, even an LTS, isn’t the cause célèbre it once was. Even management get that now. Daubing the cover in orange and peppering it with superlatives like ‘must have’ and ‘revolutionary new features’ isn’t going to fool anyone, especially savvy Linux users. We’ve always said that this lack of groundbreaking change is a good thing, it shows Ubuntu has reached such a level of maturity that refinement, and not radical rewriting of the rules, is the optimal path. We also understand that there are plenty of other distros suitable for beginners (and let’s stress here that Ubuntu is extremely popular with professionals too), and maybe some of those don’t get the attention that Ubuntu does. All that aside, Ubuntu remains one of the most popular distros amongst our readers, and indeed Linux users in general.
In particular you’ll find support for AMD’s Navi 12 and 14 GPUs as well as their new APUs, and the open source Nouveau driver has improved colour management. There’s support for Intel’s Comet Lake chips and initial support for their 11th-generation Tiger Lake architecture. The Kernel Lockdown security module also debuts in this release, which limits how userspace code (even if it’s running as root) from interfering with kernel operations. First proposed by security guru Matthew Garrett some years ago, this is aimed at administrators who want to limit the damage a compromised root account can cause. There are a couple of noteworthy filesystem changes—support for Microsoft’s newly (sort of) open sourced exFAT, as well as the speedy VirtIO-FS for sharing directories with virtual machines. Ubuntu also backport lots of features from newer kernels, and one notable addition is support for Wireguard VPNs. In an age of surveillance and dubious sponsored ‘best VPN’ listicles, this will surely be a boon for privacy. It’s early days yet, but we forsee Wireguard being key to demystifying the VPN sphere. It’s small, fast and much easier to get your head around than OpenVPN, being much more akin to setting up an SSH server.
Moving into lower userspace there’s systemd 245, which features the new home directory regime systemd-homed. Don’t worry though, Ubuntu doesn’t use this by default, and to be honest we weren’t able to activate it so it looks like this feature hasn’t been built into the package. Again, early days. There’s also an experimental option to install using the next-generation ZFS filesystem, whose roots go back to Oracle’s Solaris. Licensing conflicts have kept this out of the Linux kernel, and it’s not a thing your average user will want. But if you have insane storage and deduplication requirements, ZFS is a mere checkbox in the installer away. Ubuntu’s zsys middleware will automatically snapshot filesystems before software updates, so that these can be undone if things go south.
There’s a new officially supported target to get excited about, the Raspberry Pi (models 2, 3 and 4). Not only is this great for home users, particularly those who want to take advantage of the Pi 3 and 4’s Aarch64/ARMv8 OS hardware, but having Canonical’s certification will encourage enterprises to do great things with the Pi.
The certification only applies to Ubuntu Server, and that’s the only Raspberry Pi download that’s offered through Canonical’s website, but it’s straightforward to add a desktop, e.g. via the xubuntu-desktop package. If you have a Pi 4 and want to take advantage of its extra oomph, why not go crazy and install KDE Plasma? At the moment the official Gnome desktop isn’t supported on the Pi, but don’t forget an Ubuntu MATE SD card image is available (from https://ubuntu-mate.org) if you want a ready to roll desktop. The MATE desktop is ideal for lower powered devices, or just people who liked Gnome 2. MATE Images are also available for UMPCs such as the GPD Pocket and MicroPC.
Flatpaks can’t be installed from the Ubuntu Software app, but are available from the command line. If you want to install them GUI style you can install the vanilla Gnome Software application, add the Flatpak plugin and then add the Flathub repo with:
Note the message about the search path—a restart is required before Flatpak apps show up in the Applications Menu. Slightly confusingly, you’ll now find two app stores, “Ubuntu Software” and “Software”, in the applications menu. The latter will enable you to install from the whole gamut of package sources--Flatpaks, Snaps or good old fashioned DEBs. So you could even uninstall the [c] snap-store [/c] package if you want.
That's all folks
And with that, we must go. We haven’t covered the dark art of running Ubuntu on Windows via WSL yet, but with WSL 2 going mainstream soon, that certainly will be an interesting endeavour, though perhaps one that interests developers more than home users. If you’re running Ubuntu 18.04 on your server, it’s probably wise to hold off upgrading until the 20.04.1 point release. There’s so much more to Ubuntu and we’d love to hear your opinions on it and all the other flavours. Happy fossicking amongst the Focal Fossa famalam!
- Here's our choice of the best lightweight Linux distros around