TechRadar Verdict
Arriving ready for assembly the Ortur Laser Master 2 15w is surprisingly easy to build. It takes around 15-20 minutes to construct, connect and configure before its ready to get cutting for the first time. Initial results are mediocre at best, but after some experimentation and fine-tuning the Laser Master 2 transforms and proves itself very capable.
Pros
- +
Incredibly cheap
- +
Excellent quality engraving
- +
Good level of compatibility
Cons
- -
Takes a while to fine-tune
- -
Cutting requires experimentation
- -
No protective cover
Why you can trust TechRadar
The Ortur Laser Master 2 15w is by far the cheapest and simplest laser cutter I've used, costing as little as $209.99 at Gearbest(a price that excludes potential taxes and fees). Arriving in a relatively small box with a variety of pre-assembled parts, it takes between 15 and 20 minutes to build, and there's nothing complex or difficult in the process.
Any form of interface is noticeably missing, and it requires a constant wired connection to a computer to get the Ortur working. This connection is easy enough, and once compete, everything starts to look very promising.
Design
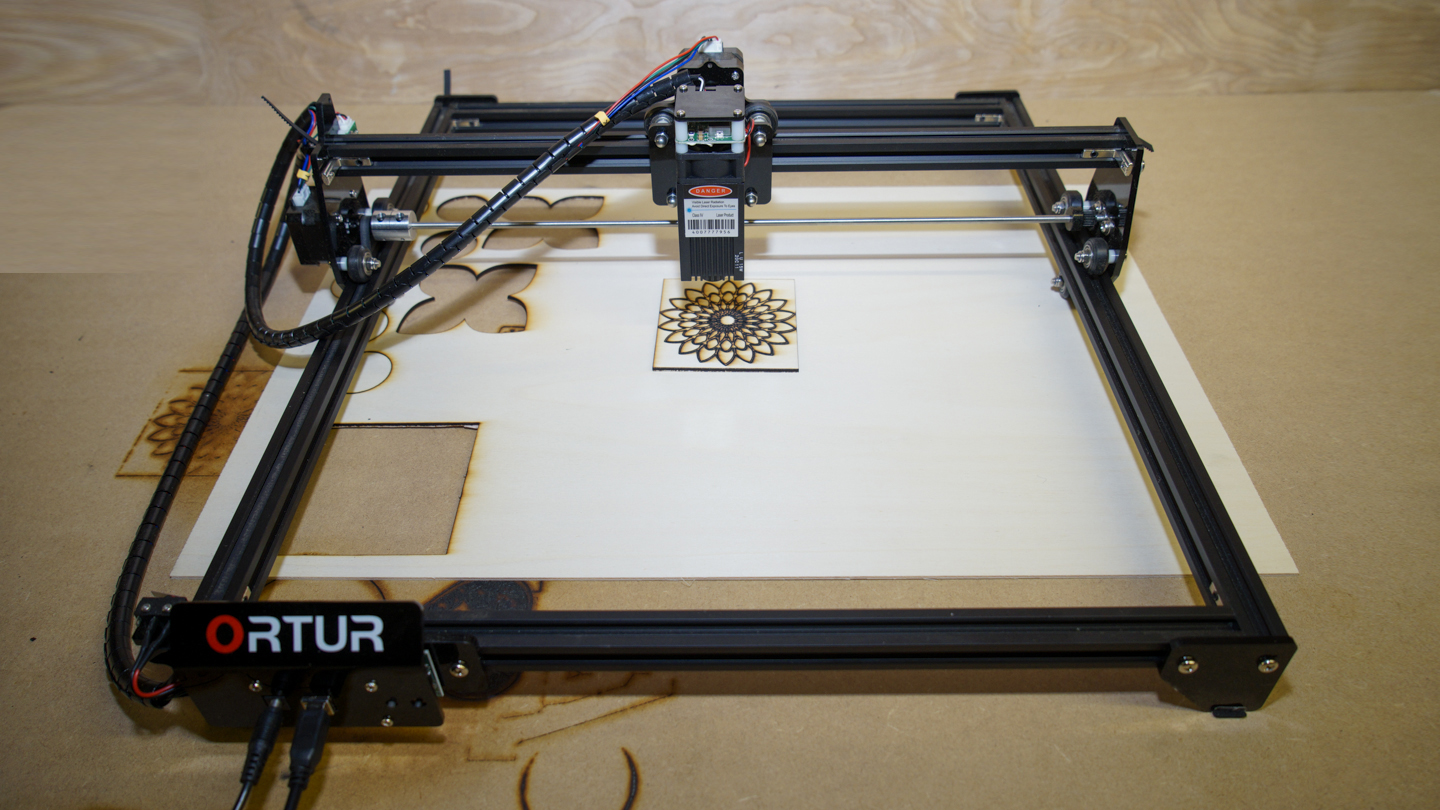
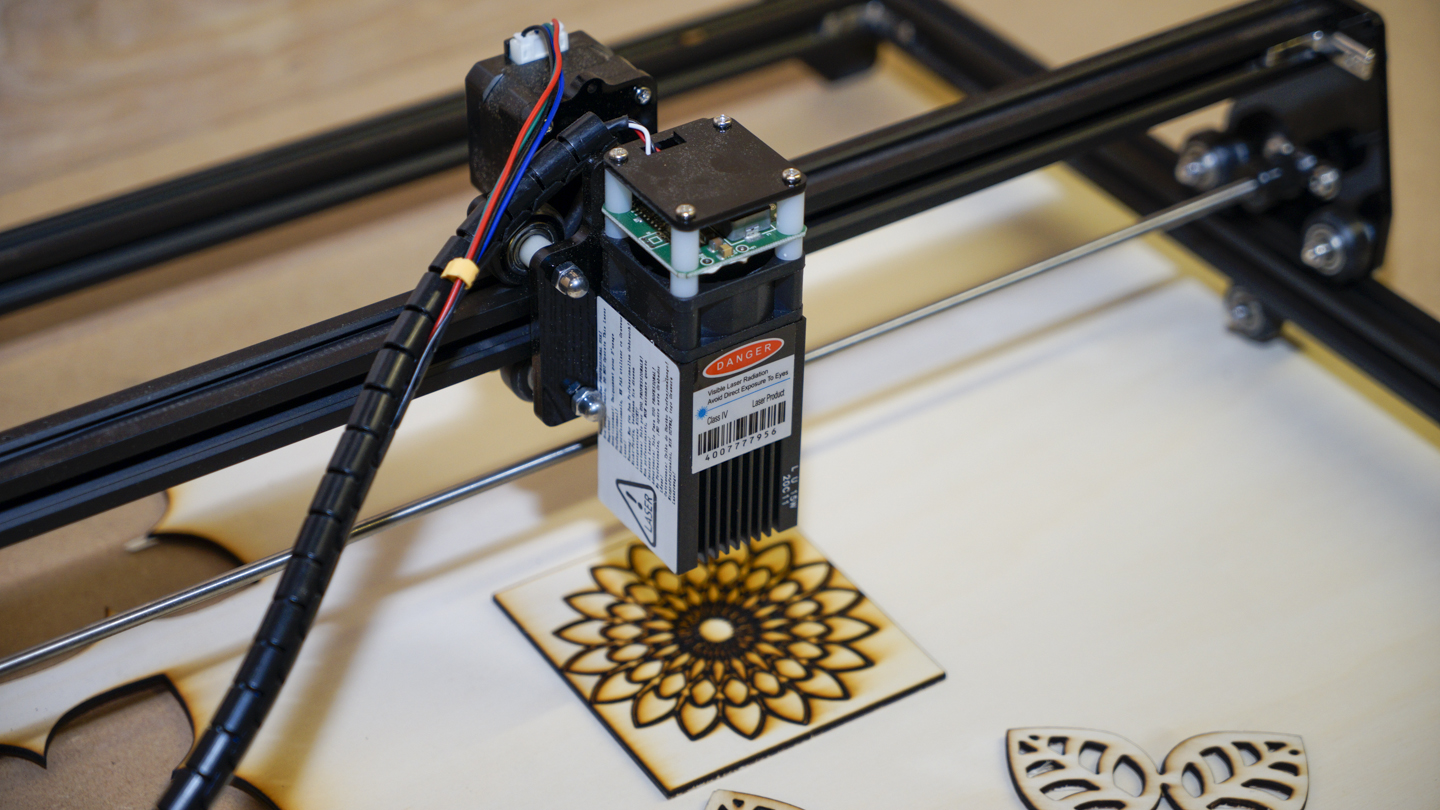
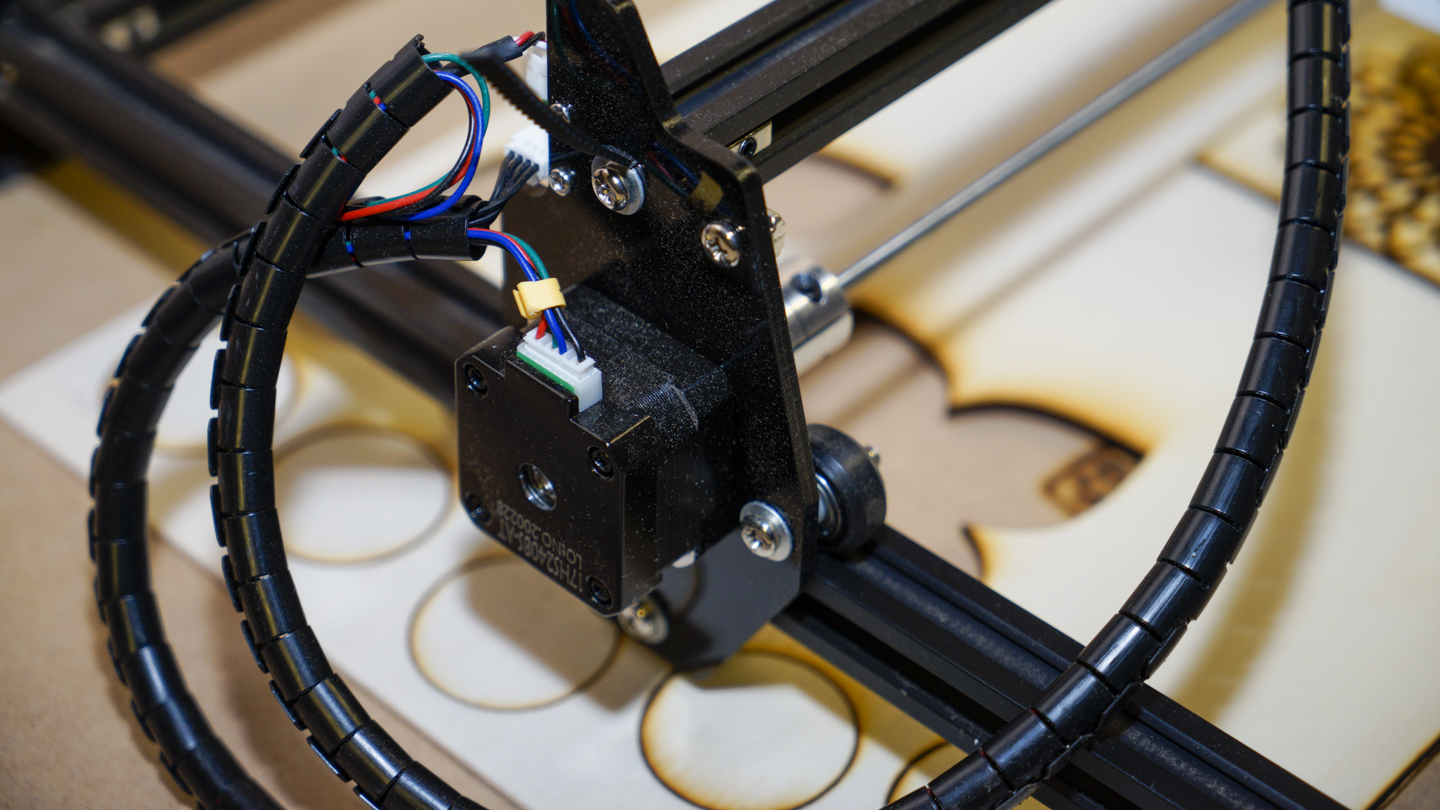
You have simple, and then you have the Ortur Laser Master 2. It's essentially a square frame of bolted together extruded tube with the laser module mounted on runners on top. This enables the X and Y-axis movement of the tool head across the work area, all controlled by the computer connected 32-bit mainboard and two stepper motors.

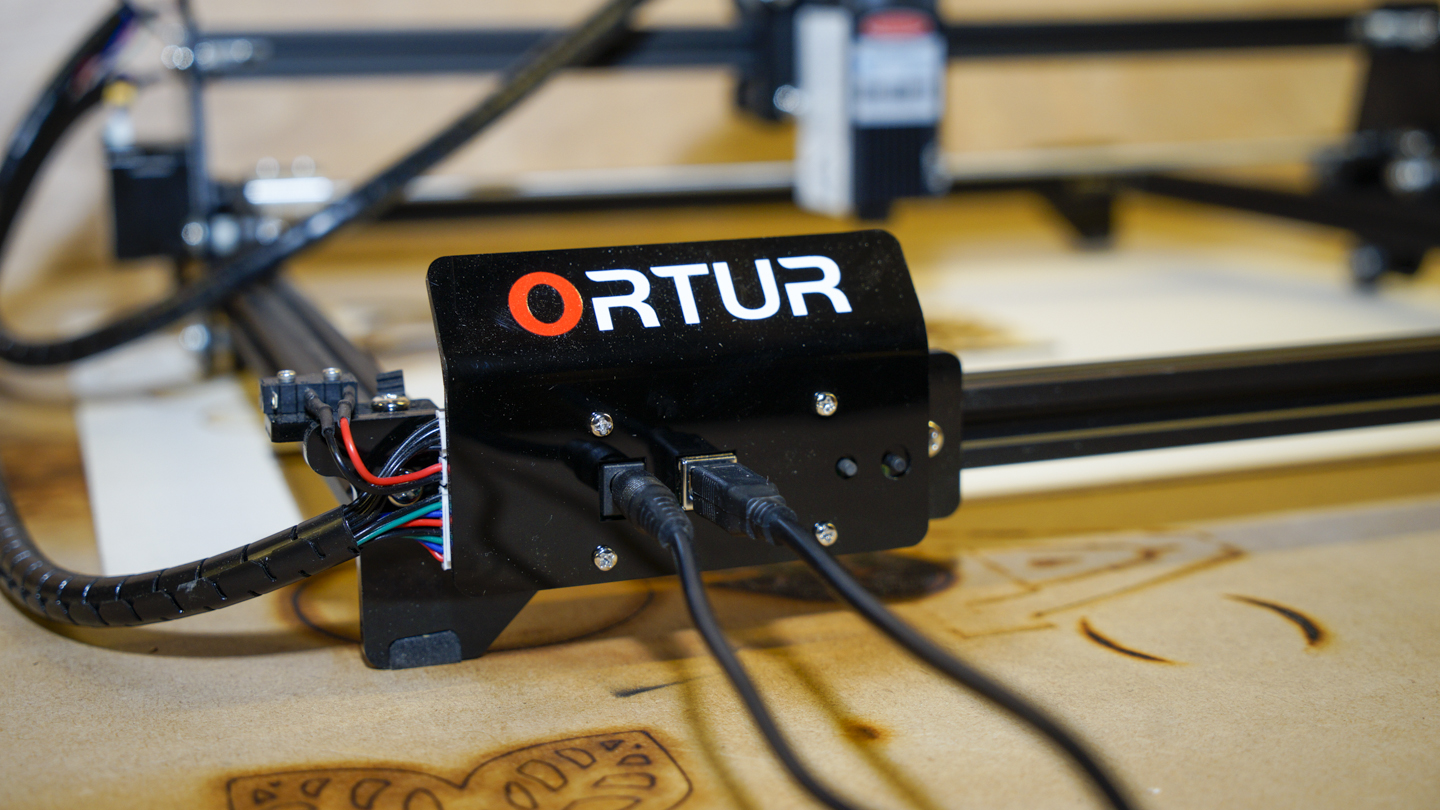
The design is simplistic; you have the mechanical hardware and then the control board. This control board features the power socket and USB port alongside two buttons that power on or kill the power, and that's it.
To control and upload files, the Ortur needs to be plugged into a computer, Mac, PC or Linux running software that's compatible with the system.
As the system is designed around open source designs and code, there's a good amount of software that's compatible and in this test, I used Lasergrbl.
Like many cheap maker machines, the Ortur requires a continued direct connection to computer that needs to stay alive during the engraving or cutting process.
Sign up to the TechRadar Pro newsletter to get all the top news, opinion, features and guidance your business needs to succeed!
There's no protective screen, so when the machine is fired up, it's best not to be in the same room as the Ortur. If you are, then you need to wear protective glasses which are provided.

Features
The big feature of the Ortur Laser Master 2 is the large engraving area at 400mm x 430mm, that's quite impressive for a machine of this price.
While the design is simple, and safety might not seem like a major consideration due to the open design, the company has built-in three clever safety features.
These are the full specs of the Ortur Laser Master 2:
Working area: 400mm x 400mm
Memory: Direct connection to a computer
Laser Power: 15w
Wave Length: 445 ± 5nm
Bed: None
Input file format: NC, BMP, JPG, PNG, DXF, etc.
Software: Open Source software Lasergrbl
Materials: Wood, Metal, plastic and more
Carving Speed: 3000MM / Min and less
The first is the Active Position Protection which is activated by a built-in G-Sensor. If the machine is knocked or moved then the laser automatically cuts out.
Likewise, if you disconnect the USB for any reason, the laser will stop. Finally, if you've manually switched the laser on but don't for any reason move the tool head, again the laser will cut out after a few moments of inactivity.
Although simple, the Ortur benefits from a powerful 32-bit motherboard. This enables fast smooth carving, which is far superior to many 16-bit models. The spec of the motherboard is based around the STM32 MCU chipset which enables <3000mm/min engraving speed, S0-S1000 Laser power, 445+-5nm laser wavelength and 921600 Baud.
Pixel accuracy is what defines the laser cutters quality, and here the Ortur boast a 300pixels per inch or about 0.81um, which is impressive.
Setup overview
Opening the box, which in itself is relatively small, the Ortur Laser Master 2 is carefully laid out within. If you're experienced with building such things, it will take between 10-20 minutes, if not, then even the most inexperienced should have the construction complete within 30-40 minutes.
Once completed, the machine can be plugged into a computer and your choice of software loaded. In this test, I found that Lasergrbl was by far the easiest software to use.

At this point, the quality of the documentation has to be mentioned, like the machine its simple enough but very easy to follow. After the first suggested software, LightBurn failed to work on either Mac or PC I switched to LaserGRBL, and everything on the Windows system was relatively straight forward.
A custom button set is downloaded and installed into the software, the machine connected easily once powered up, and everything was ready to go.

After checking the configuration and running the first test, everything seemed good. The first laser test using the etching mode works well, and from a distance, the result was impressive considering the price.
Switching over to cutting and the power of the laser was instantly apparent, some fine-tuning of the focus was made, along with adjustments to speed, laser power and the number of passes. After a good hour or maybe two of fine-tuning I felt the results were as good as they were going to get.
Ali Jennings is the imaging lab manager for Future Publishing's Photography portfolio. Using Imatest Master and DxO Analyser he produces the image quality tests for all new cameras and lenses review in TechRadar's cameras channel. Ali has been shooting digital since the early nineties and joined Future's Photography portfolio back in 2003.
