Why you can trust TechRadar
Performance
From the outset, it's obvious that the Ortur is a budget laser cutter, and as such, there is far less flexibility over settings. Whereas the likes of the superb SnapMaker 2.0 handles much of the process for you, with the Ortur, the quality of the prints is solely down to the quality of your setup.
After the initial standard setup results were OK but lacking in many areas, there was variable depth with the engraving and far too much scorching around the cuts.

Used as a cutter with 3mm ply the head incinerated the first design leaving a burnt hole and some ash. A slight tweak and things improved, and the machine's potential was starting to become apparent.
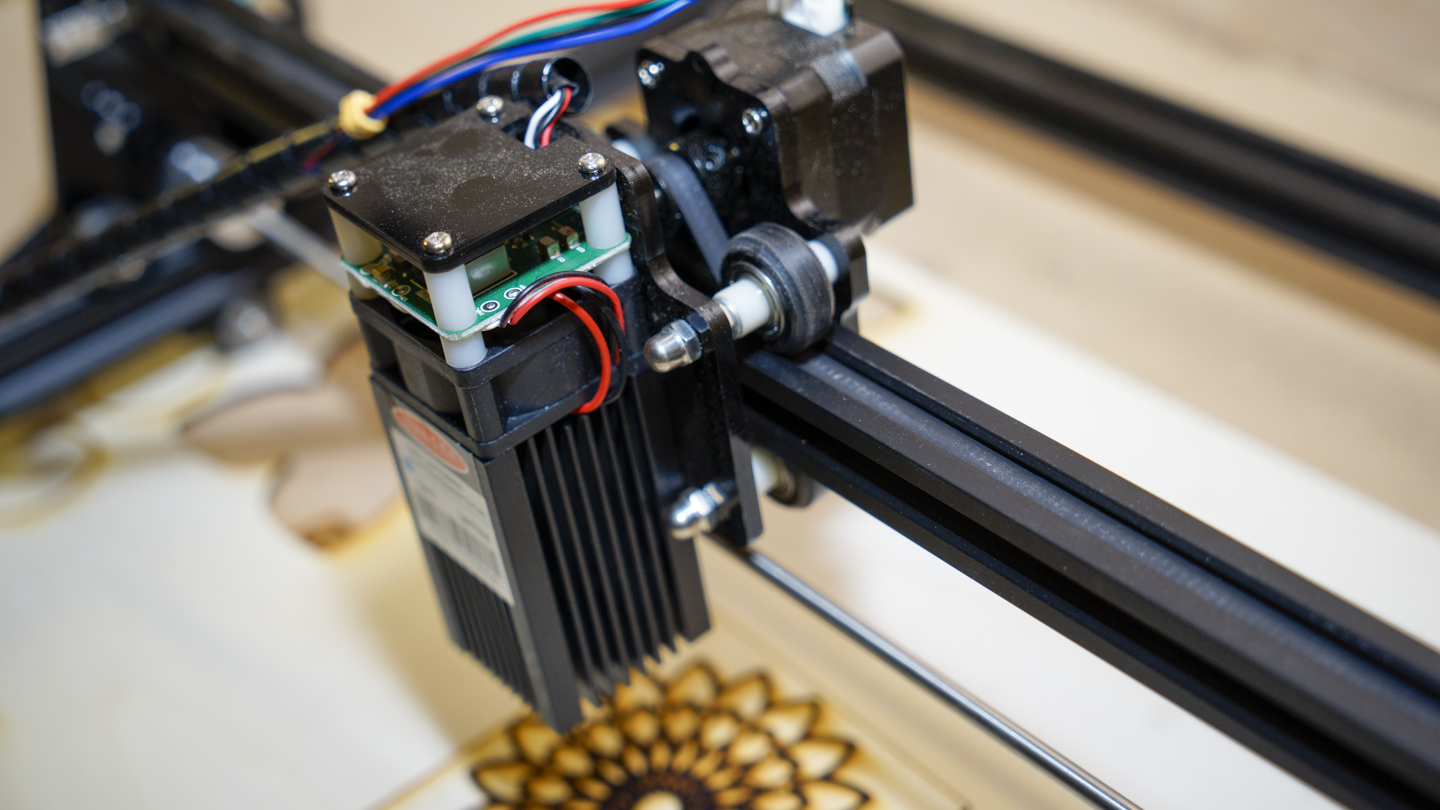
Clamping the machine down was something that I did early on, the extra rigidity helped with the axis accuracy. Also tweaking the focus by turning the laser tool head lens improved the definition of the cut, and the machine was transformed.
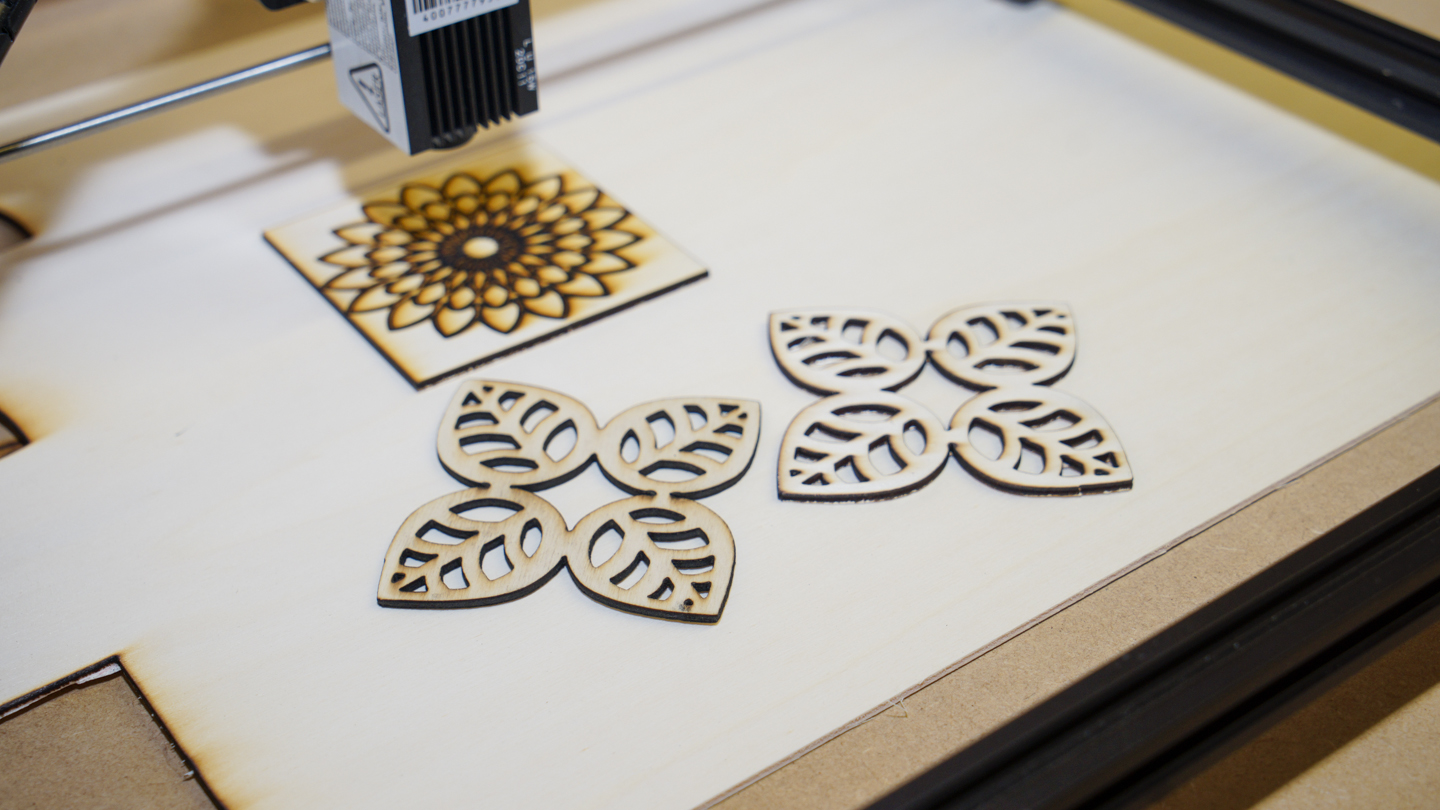
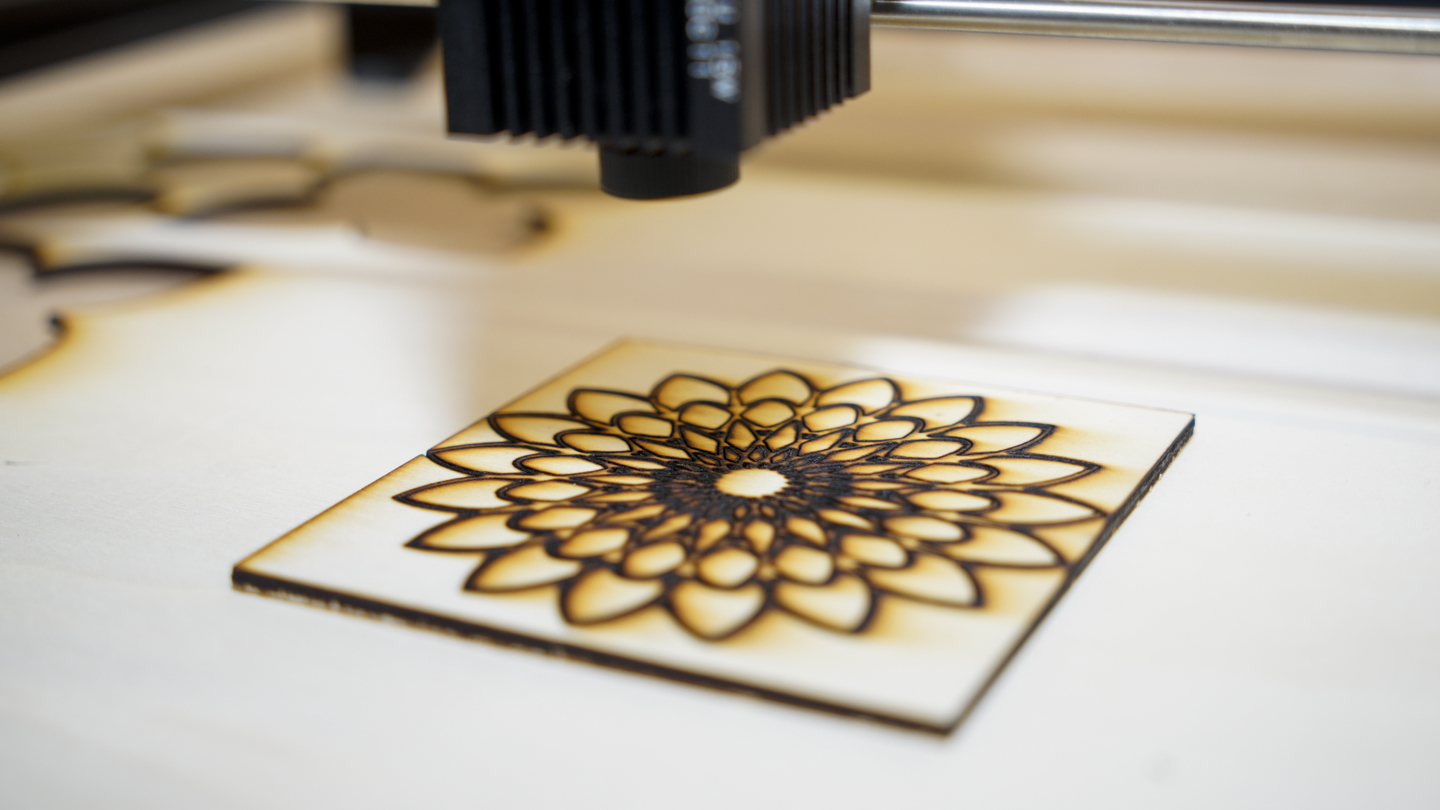
Once these refinements were made, the next set of tests got better with every tweak, reducing the laser power and speed, keeping the passes to no more than three and finally, some impressive results were achieved.
It's worth noting that while LaserGRBL is good, it is open-source, so get your image or vector files ready before the import.
Then in the software, choose how the file will be rendered depending on carving or cutting and select the options that are best suited. For cutting, you need to trace the edges, either as lines around every edge or within the centre.
Sign up to the TechRadar Pro newsletter to get all the top news, opinion, features and guidance your business needs to succeed!

If you've never laser cut before there's a steep learning curve if you have laser-cut before, at school, work or otherwise you'll have probably used a machine that is a little more hands-off. This is a tool that you'll need to experiment with to get the best out of.
Carving and cutting quality
When the Ortur Laser Master 2 arrived, I wasn't expecting much. The design was simple, and while that meant there wasn't much that could go wrong, it also meant that there wouldn't be the usual hoast of auto features that make things easy.
Features such as a camera, so you know exactly where the laser will cut, although the boundary features in LaserGRBL does highlight the cutting boundary.
Then there's a way to adjust the very hands-on focus, and as this has a direct effect on cutting quality, it needs to be spot on.

As it was, when the Ortur arrived and was first built, the carving was OK, but the cutting just incinerated designs rather than cutting. After referring to the manual and then checking the laser focus, I located the issue and slowly adjusted until correct, after that the Ortur transformed.
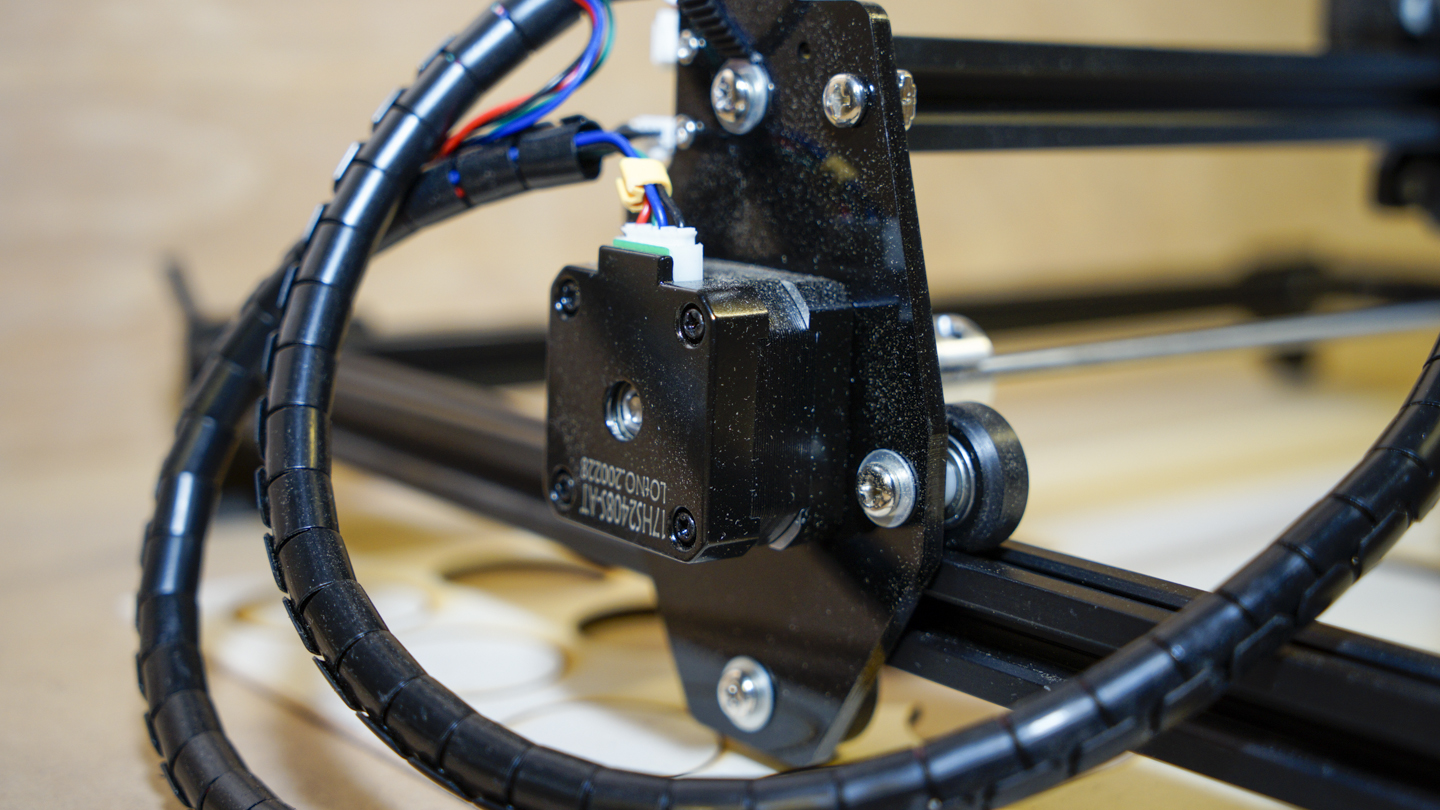
Starting with the X Y accuracy and this is pretty good and differs across the carving area. The closer to the bottom left where the control board is, the more accurate the cut or carve.
Move towards the middle and that accuracy does drop slightly, for most designs the inaccuracy is not an issue, it's less than a mm and can easily be rectified when finishing with a bit of sandpaper. When it comes to carving that accuracy is hardly noticeable.

Clamping the corners of the machine down improved the robustness of and the quality of carving and engraving at faster speeds.
Keeping the speed slow and steady gained the best results by far as it put less strain on the frame.
Slowing down the speed of the machine improved cutting and engraving quality, and lowing the power of the laser for down to S750 seemed to gain the best results although required an extra pass or two.
During the test, I used 3mm Plywood as my material of choice and was able to get some excellent results. I also used paper and card for cutting, and again, the cut accuracy was generally good.
At present, there is a wait on laser grade materials especially ply. You can use standard ply but the results won't be as good due to the layering and glue used.
The main issue was getting the right balance of speed and power. For the price and simplicity, this thing packs in far more power than you would expect.
Final verdict
At the price, the Ortur Laser Master 2 is outstanding as long as you make sure that you carefully follow the instructions when building, then there is very little to go wrong.
If the focus isn't spot on, then it is easy to adjust if slightly nerve-wracking as the laser is on a low power although this is supposed to be safe.
Once you've done your tests, checked out the differences in cutting and carving techniques. You'll also need to become familiar with the settings used between materials, after a fair bit of experimentation the Ortur then comes into its own.
There is quite a learning curve with the Ortur, many of the advanced features that I've come to expect from laser cutters, CNCs and 3D printers aren't available here, it's all a little more hands-on.
However, for all the simplicity this machine has potential, once set up it's easy to use and understand. The open-source software is very good and Ortur supply the customisations to make your life a little easier.
Overall a surprisingly good machine for an incredible price.
- We've also highlighted the best 3D printer
Ali Jennings is the imaging lab manager for Future Publishing's Photography portfolio. Using Imatest Master and DxO Analyser he produces the image quality tests for all new cameras and lenses review in TechRadar's cameras channel. Ali has been shooting digital since the early nineties and joined Future's Photography portfolio back in 2003.
