How to set up a Windows VPN
Configure a VPN on your Windows device in a jiffy

With all the commotion around privacy and security these days, you can never do too much to protect your data online. That’s where VPNs come in: short for Virtual Private Network, a VPN is an app that creates a secure tunnel between your device and every site you visit.
By giving you the option to connect to a virtual location in a different city, state, or even country, you’re able to hide your physical location as you essentially assume the identity of a network in another area.
More than that, VPNs offer an extra layer of anonymity by encrypting your entire network, which is a great feature to have if you’re browsing in public or connecting to an unsecured network.
Because everything you do online is related to your IP (internet protocol) address, a VPN offers a safe and easy way to browse anonymously.
Why you should use a VPN with Windows
One of the best things about VPNs is how compatible they are: they literally have dedicated apps for nearly every device today (including that old BlackBerry of yours).
By downloading and installing a dedicated VPN app on your Windows desktop, laptop, or tablet, you’re instantly able to secure that device while simultaneously opening up a whole new world of browsing possibilities.
While most VPN providers offer apps which are dead easy to use – all you have to do is download the software and follow the simple installation process – we’re going to focus solely on how to set up a dedicated VPN connection manually through Microsoft’s own built-in VPN client.

How to set up a VPN in Windows 10
Note that Microsoft’s built-in VPN client doesn’t actually mean the OS comes with its own VPN. Instead, it’s an easy way to help install and configure a VPN service you already have.
Once you have the VPN configurations downloaded, you can go in and manually add them to your Windows device. Here’s how to setup a VPN on Windows 10.
Begin by clicking the Start button, and then going to Settings.
From there, click on Network & Internet, navigate to the VPN icon, and click Add a VPN connection.
Now you’ll be prompted to enter your VPN’s details. This information is usually found on your download page, though it can vary depending on your service.
Start by clicking on the VPN Provider box and selecting Windows (built-in). Under Connection Name, enter the name of your VPN (this can be any name) and enter your VPN’s Address (which depends on the VPN you’re using).
For VPN Type, you’ll need to check which types of VPN connections your app uses. Most VPN providers offer one or all of the following connections: PPTP, OpenVPN, L2TP/IPSec, or SSTP. If you don’t know which one to enter, you can try each one until your account is confirmed.
Next, under the Type of sign-in info section, enter your VPN account’s username and password, which can usually be found in your sign-up confirmation. Once that’s done, click Save and exit the Settings window.
If configured correctly, you should be able to go to your VPN connection under the Network & Internet settings panel.

How to set up a VPN in Windows 8 and Windows 8.1
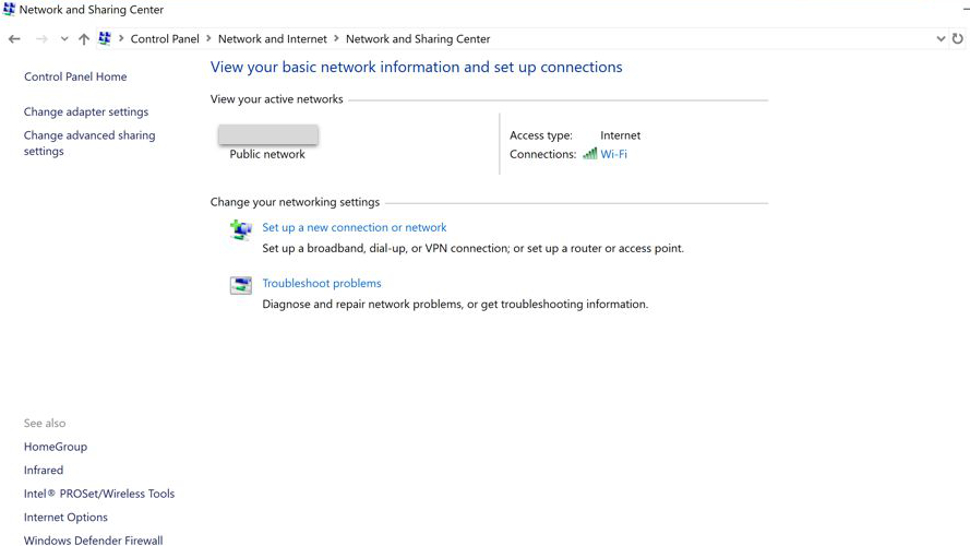
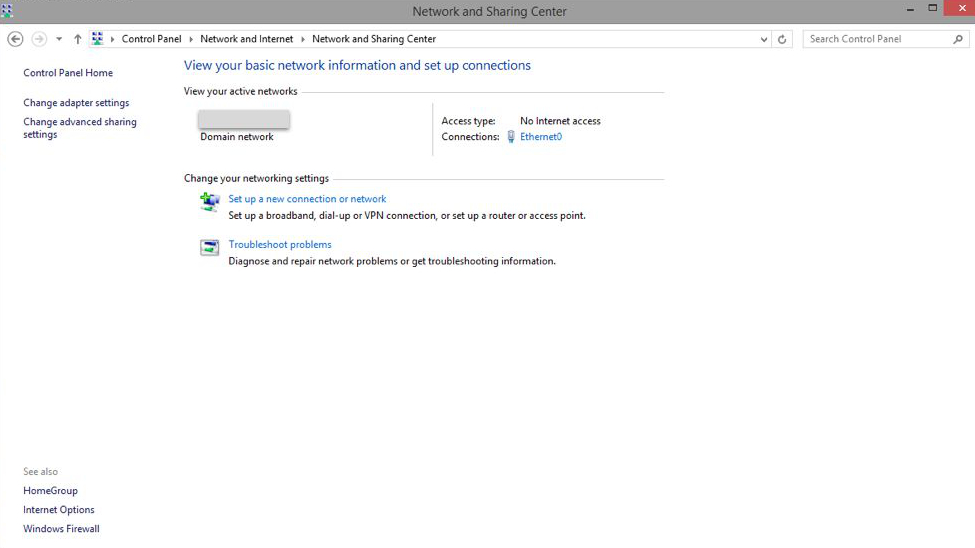
Start by opening the Network and Sharing Center and clicking on Set up a new connection.
Under the Set up a Connection or Network window, click Connect to a workplace. Next, choose the Use my Internet Connection (VPN) option and enter one of your VPN’s IP addresses in the box provided. Note that you can usually find this information on your VPN’s website.
Now, decide whether you want your network to remember these settings and click Create. Your new VPN connection should now automatically populate under the Connections tab.

How to set up a VPN in Windows 7
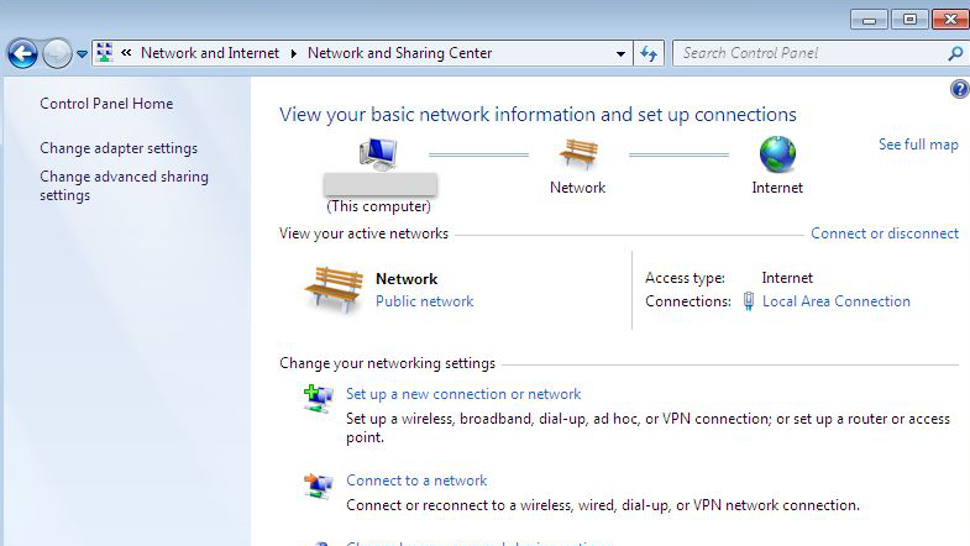
Click on Control Panel and open the Networks and Sharing Center icon. Under Network Settings, click Set up a new connection or Network.
Next, click Connect to a workplace and click on the Use my Internet connection (VPN) icon. Under the Internet address field, type your VPN’s IP address (this can often be found on your VPN’s website.)
Under Destination name, enter the name of your VPN. Remember to check the Don’t connect now; just set it up so I can connect later option and hit Next.
Now you’ll be prompted to enter your VPN account’s username and password. This information should be readily available in your sign-up confirmation page.
Once you’ve correctly entered your login information, click Create. You should now be given the option to connect to your VPN now or connect later. You should also be able to see your new VPN connection under the Connect to a network screen.
Bonus: How to choose a VPN
Now that you know how to set up your own VPN, let’s take a few minutes to highlight what separates a good VPN from a bad one. There are a lot of fly-by-night VPN providers popping up, and it’s important that you do your due diligence when choosing which service to go with.
After all, a VPN is only as good as the privacy protocols behind it.
First off, make sure the provider you’re using offers servers in the locations you want to use. Secondly, look for a VPN that has an overall high rating in terms of reviews and user feedback, and comes with various protocol settings. OpenVPN is the most common VPN protocol today – it’s incredibly secure and is great for streaming.
That said, it’s also worth looking into whether the VPN service in question keeps detailed logs or not. If you care about or value your privacy, you’re probably better off paying for a more secure and anonymous VPN service. These types of VPNs also tend to offer simultaneous connections, so you could actually connect your phone, desktop, and laptop under a single subscription.
We’ve tested a number of different VPNs and have found that ExpressVPN offers the best overall value for the service it provides. If you’re looking for a secure, easy-to-use VPN with great customer support, we suggest starting there.
We've also highlighted the best VPN services of 2019
Sign up to the TechRadar Pro newsletter to get all the top news, opinion, features and guidance your business needs to succeed!

Désiré has been musing and writing about technology during a career spanning four decades. He dabbled in website builders and web hosting when DHTML and frames were in vogue and started narrating about the impact of technology on society just before the start of the Y2K hysteria at the turn of the last millennium.