How to cancel your IPVanish subscription and get refunded
Done with your VPN? We'll show you how to cancel your IPVanish account
Sometimes a VPN (Virtual Private Network) serves its purpose. Whether it's because you no longer have a need for all the good stuff a VPN brings, the service didn't live up to your expectations, or any other reason, there's no sense in throwing away money, particularly with customer-friendly refund policies.
Also, IPVanish doesn’t have a free trial per se, but it does offer a seven-day no-questions-asked money-back guarantee which allows you to test their services without limitations during that period.
This guide will show you how to cancel your subscription with IPVanish. One final word of advice, though: if you want to cancel due to technical issue(s), make sure to check in with the customer support first. As is usually the case, these are the most common problems with VPNs and trained teams can resolve them efficiently, especially seeing as IPVanish's support is available 24/7 via live chat or email.
- Check out our list of the best VPN services
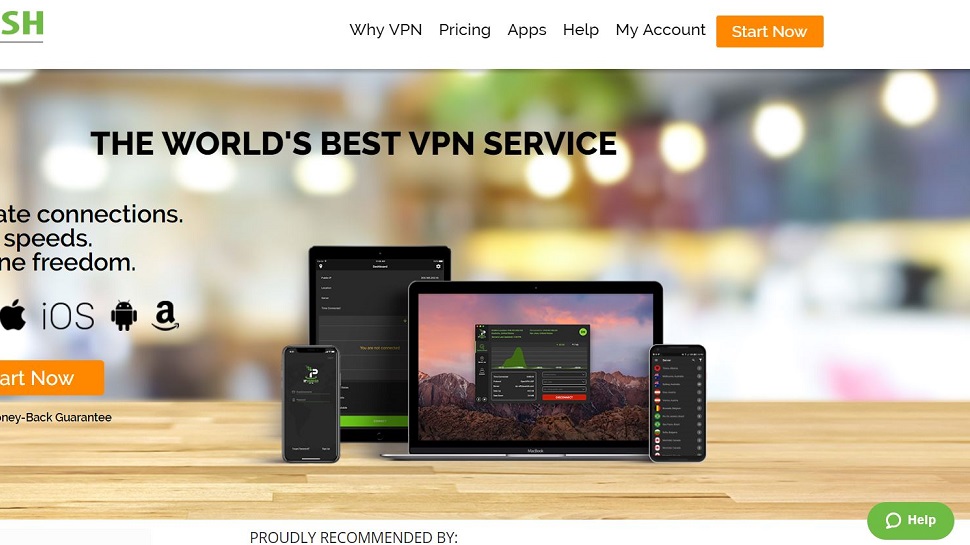
1. Go to the website
Open your web browser and navigate to IPVanish’s website
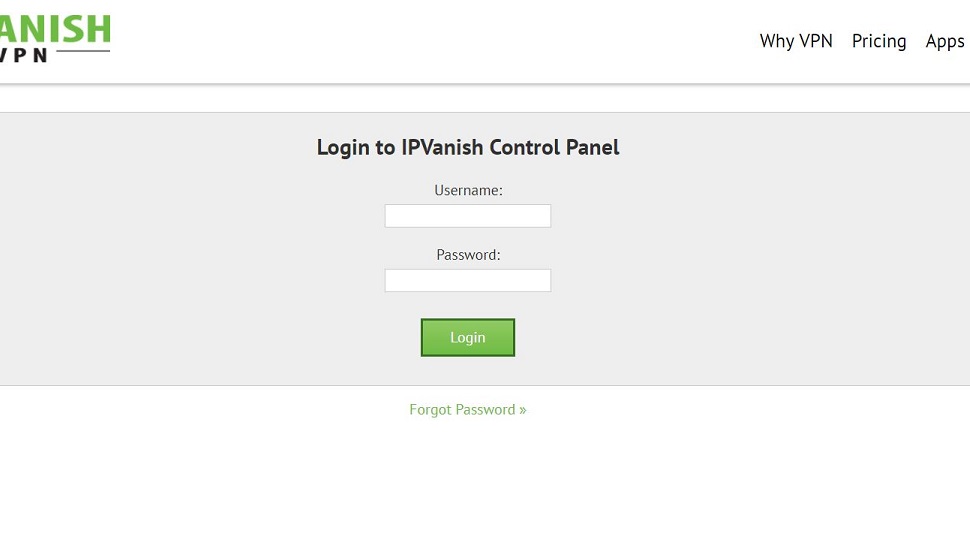
2. Log in
Click the My Account link in the top right part of the website, enter your login details, and click the green Login button.
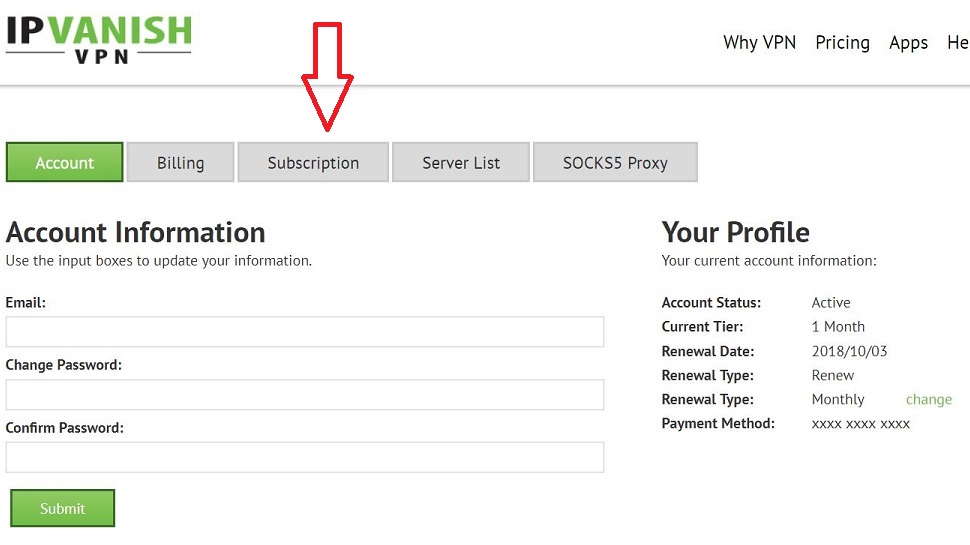
3. Go to subscription settings
To see your subscription settings, click Subscription.
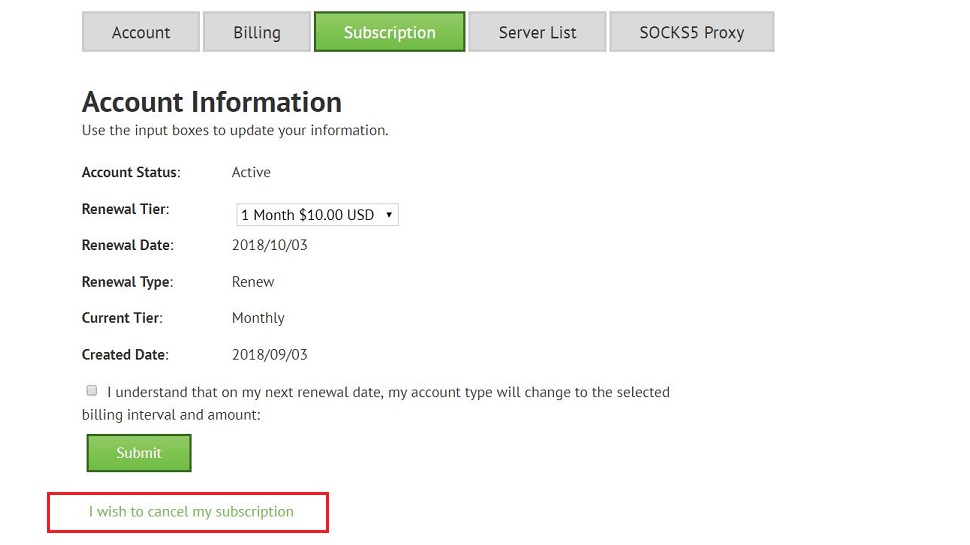
4. Cancel your subscription
Below the green Submit button, you will see a link that says I wish to cancel my subscription. Click the link.
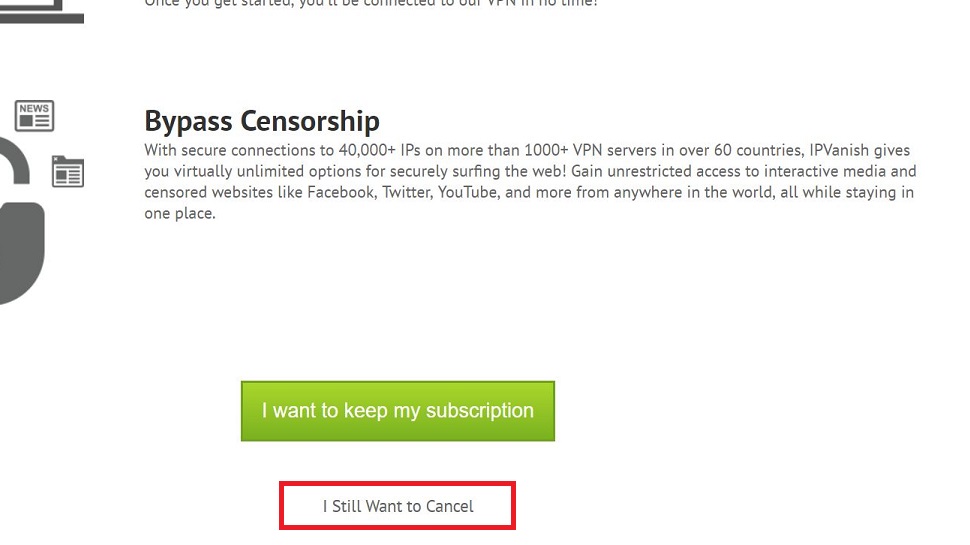
5. Confirm
Scroll down the next page and click I Still Want to Cancel.
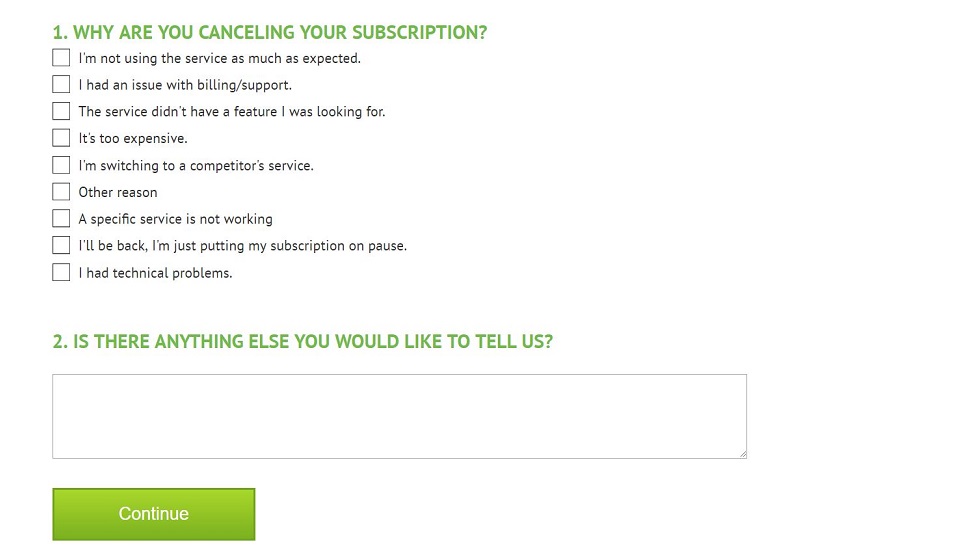
6. Confirm again
The website will ask you to state your reason for cancelling the subscription. Check the box next to the reason, enter any additional details if you want, and click the green Continue button.
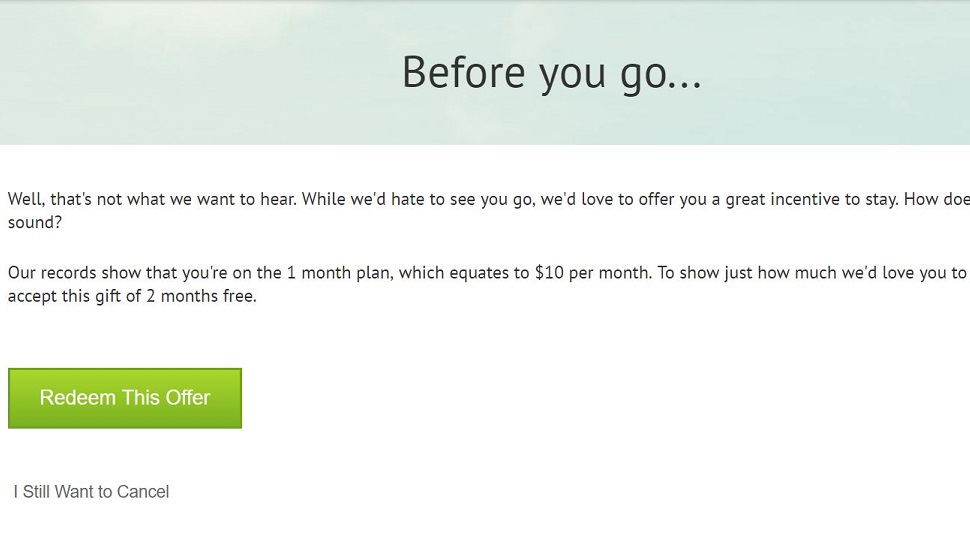
7. And confirm again
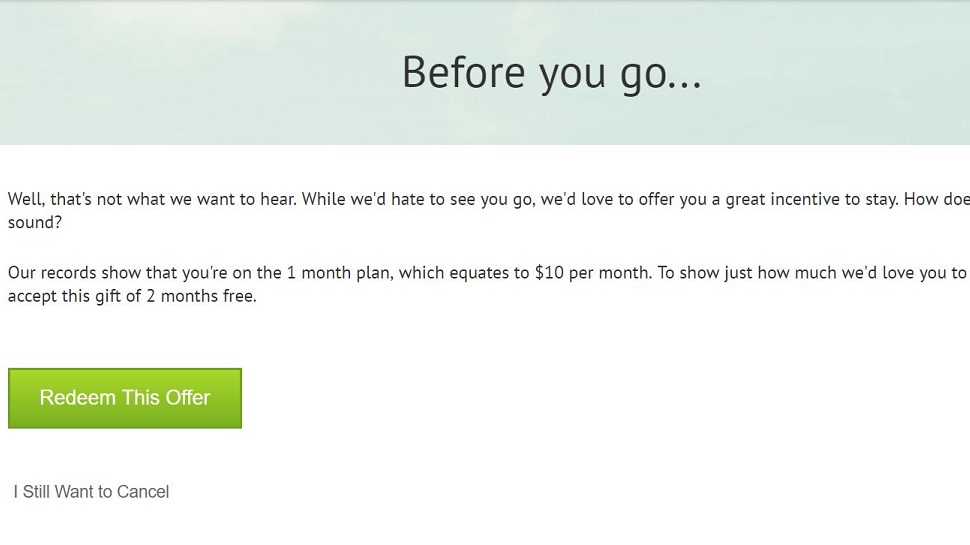
The guys and gals at IPVanish will be really sad to see you go so they will offer you some sort of a sweet deal to try to keep you. If you’re still keen on abandoning them, click I Still Want to Cancel.
8. That’s it!
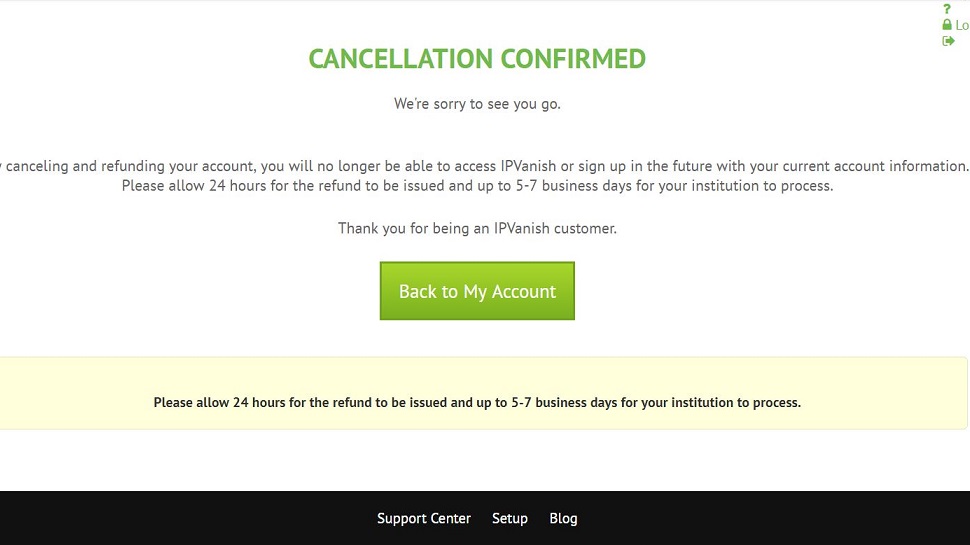
You will get a message telling you that you have successfully cancelled your subscription and that you will be refunded (if the seven-day refund period hasn’t expired yet).
9. Contact customer service (just in case)
Although IPVanish says you will automatically receive a refund if you complete the cancellation at the website within the first seven days of your subscription, we nevertheless suggest contacting the customer service just to make sure.
The easiest way to contact IPVanish customer service and ask about your refund is to click the green Help button in the bottom right corner of the website. Just type anything in the empty box and press Enter. You will see a Live Chat button in the lower right part of the pop-up window.
Click the button and their friendly customer service will be happy to answer your questions.
Sign up to the TechRadar Pro newsletter to get all the top news, opinion, features and guidance your business needs to succeed!

Désiré has been musing and writing about technology during a career spanning four decades. He dabbled in website builders and web hosting when DHTML and frames were in vogue and started narrating about the impact of technology on society just before the start of the Y2K hysteria at the turn of the last millennium.