


Who needs the likes of Sky Anytime or Virgin Media's on-demand services when you can build your own personally tailored digital media library?
Imagine being able to watch your movies and TV shows or listen to your entire music collection from any room in your home without having to dig out CDs, sit through DVD intros or browse a library of content, 90 per cent of which you have no interest in. In this tutorial, we'll show you what kit you need to make that dream a reality.
We'll open with a quick look at how you can build your own cheap set-top box for accessing your digital media using the versatile Raspberry Pi, and then we'll reveal what you need to look for in the computer - PC or Mac - that you intend to press into service as your media hub, storing, organising and delivering media to every other device on your network.
We'll also take an in-depth look at XBMC, our choice for both media server and client. We'll reveal the different ways you can get it onto your system, plus how you can customise it to cover all your media sharing and playback needs, plus use it in conjunction with another popular media server - Plex.
Build a set-top box
Even the smartest TVs aren't that smart - yet. If you're in the market for a set-top box offering easy access to internet media as well as the video, music and photos stored on your network, then you could opt for a plug-and-play system such as the Roku LT or WD TV Live for around £50/US$50 or £90/US$110/AU$150, respectively.
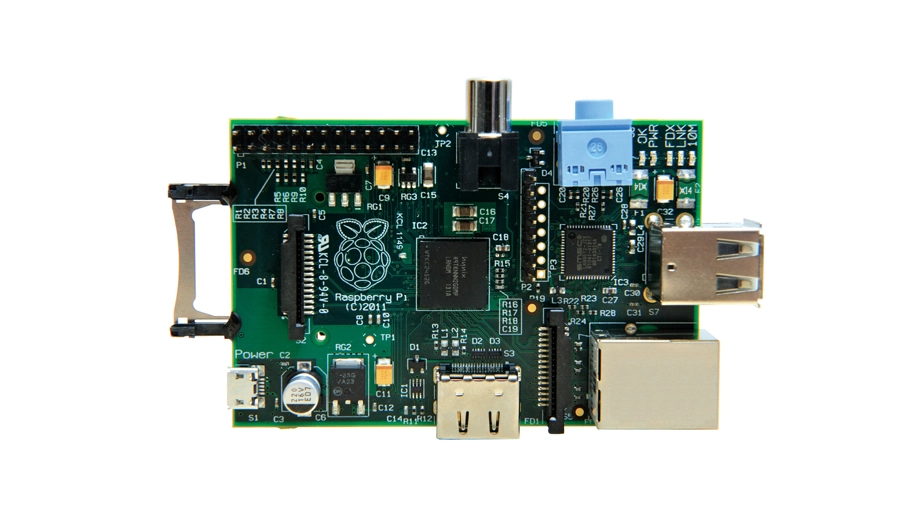
Both have their limitations - you're tied into whatever online services they're able to provide, for example - so why not build your own custom set-top box using the Raspberry Pi Model B? Buy it from the official RS Components store and you can also easily add the additional components you'll need, such as a PSU, case, SD card and cables, although you might want to source a compatible 8GB Class 10 SD card from elsewhere for maximum speed.
You'll also need your own keyboard and mouse to set it up - non-Bluetooth wireless models should work, but you may want to unplug the USB connector and plug it back in after rebooting the Raspberry Pi each time. Once set up, however, it should also work with various remote controls, including the official XBMC remote app for Android and iPhone.
The Raspberry Pi has enough grunt to act as a media server - such as with SqueezePlug - but for the purposes of this tutorial we're suggesting you use it as a cheap media centre only.
Build a media server

While you can use your day-to-day PC or Mac as your media server, it's probably easier to press into service a dedicated machine for the task. This could be an older computer otherwise destined for the scrapheap, or you might be in the market to purchase a brand new desktop or laptop for the job - if so, a living room-friendly box such as those offered by Zotac fits the bill perfectly.
Either way, you need to make sure your wannabe media server meets the following specifications, which will make it capable of streaming HD video to the rest of your network.
First, it needs either a beefy processor (2GHz dual-core processor or better) or graphics chipset that supports hardware accelerated video decoding. Chipsets meeting these requirements include Nvidia's GeForce 8 series or later, Intel's GMA X4500HD or later, and AMD's Radeon R700 (HD4000) or later.
So practically any modern PCI-E graphics card will fit the bill really, meaning that upgrading will cost you next to nothing. Sadly, older PCs with the depreciated AGP slot will have to rely on the processor being beefy enough to handle the strain.