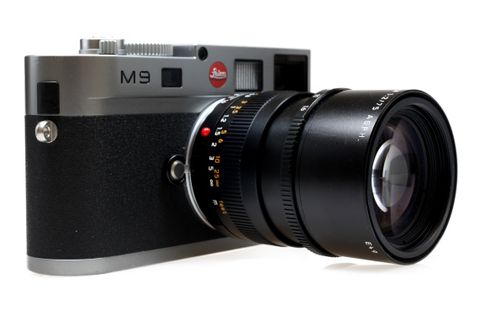
TechRadar Verdict
A beautifully-crafted camera, capable of excellent image quality, but expensive
Pros
- +
Superb overall image quality
- +
Built to last
- +
Compatible with a range of high-quality optics
Cons
- -
Very expensive
- -
Auto white balance issues
- -
Diopter correction only possible with additional optics
Why you can trust TechRadar
The Leica M9 is the camera that M-series photographers have been waiting a long time for.
It's Leica's first digital rangefinder complete with a full-frame sensor, which allows mounted lenses to be used at their true focal length.
Although it continues a range that's well into its fifth decade, digitally speaking the Leica M9 builds on the M8 and M8.2 models released over the past five years, and in many respects isn't far removed from those. Leica has, however, now managed to integrate a larger sensor into the same size body as before, and claims to have worked around the issues associated with doing so. It sounds impressive, but can something so small really deliver images to rival the best DSLRs?
Marginally cheaper than Canon and Nikon's most senior full-frame DSLR offerings - the Canon EOS 1Ds and Nikon D3x- the Leica M9 is the smallest full-frame digital camera available. Building on the digital M8 and M8.2, which each sported APS-H CCD-sized sensors, it incorporates a full-frame alternative that holds a respectable 18MP.
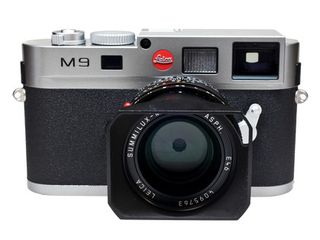
The sensor uses a micro lens construction that offsets the lenses towards the peripheries. This maximises their light-gathering capabilities and minimises corner shading – a trouble spot with wide-angle, wide-aperture cameras.
Leica's digital camera has two processors to help sort through images quickly – which you need when dealing with 18MP RAW and JPEG images at the same time.
With a fast SDHC card in place, we managed six or seven consecutive RAW and JPEG (or simply RAW) files before the Leica M9 stopped us. It takes a while for the camera to flush these out to the card, although once it's processed a few it's ready to carry on shooting.
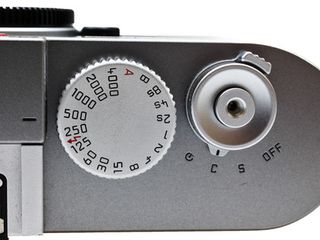
Fortunately, Leica uses Adobe's DNG RAW format, which is instantly compatible with Adobe Camera Raw, and, fittingly, a copy of Lightroom is supplied with the camera as standard.
Video recording for home movies and Live View were both left out of the Leica M9, as the nature of the CCD's operation ruled out their inclusion.
Captured images are displayed on a 2.5-inch LCD screen, at 230,000 dpi resolution. This is pretty basic for even a cheap compact camera, so to see one on a rangefinder that costs over £4,000/$7,000 is disappointing. It can be difficult to see in bright light, and when zooming into images it can take a while to fully render details, but it's usable the rest of the time.
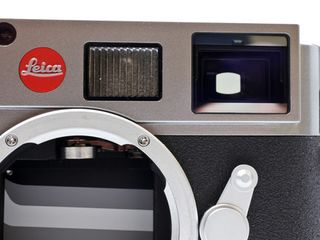
The Leica M9's viewfinder features automatic parallax correction and framing lines for composition. These change according to the lens used and are displayed in pairs, so that 35mm and 135mm are shown together, as are 28mm and 90mm, and 50mm and 75mm. As these only work up to a minimum focal length of 28mm, external hot shoe-mounted viewfinders are available for shorter focal lengths, from 18mm up to 28mm.
Inside the finder, exposure information is displayed in a style as minimal as the camera itself –four LEDs show numerical information such as shutter speed, and a handful of symbols indicate exposure-related information, such as under and overexposure.
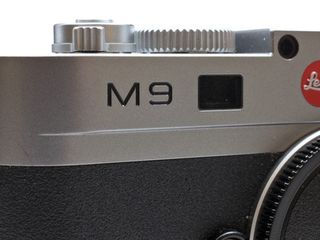
Composition and focusing happens through the camera's finder. This is sized to be larger than field of view of the lens used (down to 28mm), and it displays the most basic exposure information in large red LED.
Focusing requires the lens ring to be rotated until the floating image lines up with the one visible through the viewfinder. This needs to be done carefully and accurately, or else the image won't be sharp when viewed at 100%.
Diopter correction is possible to help with this, although only through a supplementary lens attached over the viewfinder, available in -3 to +3 diopter strengths, which needs to be bought separately.
