How to build the best Raspberry Pi media server
Make your own set-top box
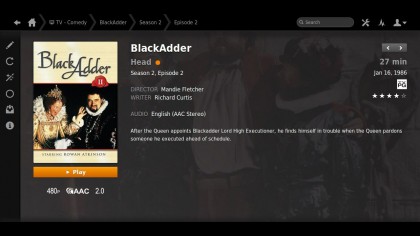
One of XBMC's biggest plus points is its versatility, thanks to the dozens of plug-ins and add-ons that make it so much more versatile. The XBMC Wiki reveals how to install them, and you'll find all sorts of goodies hidden away.
Make sure you explore the Videos section if your server doubles up as a media centre - here you'll find add-ons for accessing all kinds of online content from around the world, including catch-up TV services.
XBMCbuntu tweaks

If you've installed XBMCbuntu, then you also have access to the underlying Linux installation. To access XBMCbuntu, click the power button in XBMC, but choose Quit. Select XBMCbuntu from the drop-down menu and log in using the password you created during the XBMCbuntu installation process.
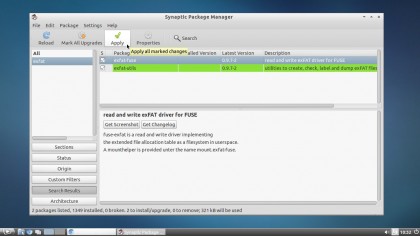
From here you'll find yourself in a modified version of Ubuntu. Click Start > System Tools > Synaptics Package Manager to add additional components. Use the Search tool to find what you're looking for - you only really need to access XBMCbuntu to add components not available to XBMC itself, such as exFAT-Fuse if your media is stored on an ExFAT-formatted disk.
Speaking of exFAT, you'll also need to install gedit in order to add the requisite command to the fstab file to make XBMCbuntu automatically mount your exFAT drive each time you start your media server - something like /dev/sdb1 /media/exfat exfat-fuse defaults,nobootwait,user should do the trick.
When you've finished tweaking in XBMCbuntu, make sure you click Start > Logout > Logout, then select XBMC and log back in. This ensures your PC boots straight into XBMC the next time you start it.
Plex Media Server

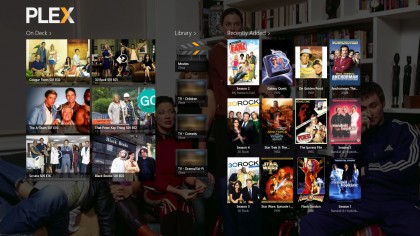
If you're wedded to Plex Media Server rather than XBMC, then installing it as your principal media server inside XBMCbuntu is simple - you then use XBMC as your media centre on this PC.
Sign up to the TechRadar Pro newsletter to get all the top news, opinion, features and guidance your business needs to succeed!
First, download and install the Ubuntu version of Plex Media Server, then set it up via Start > Sound and Video > Plex Media Manager. Finally, download both PleXBMC and PleXMBC Helper to your Downloads folder.
To complete the configuration of Plex with XBMC, go to System > Settings > Add-Ons > Install from zip file. Select Home > Downloads and install each add-on in turn. You're now able to browse your Plex media from within XBMC (select Videos > Add-ons > PleXBMC to do so).
Switch on and access the server

When it comes to turning XBMC into a media server, you'll find the setting you need - Share video and music libraries through UPnP - under Settings > Services > UPnP.
Once enabled, you can access any video and music added to your XBMC library from another UPnP-capable device on your network, including other computers, that Raspberry Pi set-top box you created earlier and most smart TVs.
You can also access your media via your tablet or phone - you'll find an official free XBMC app for Android, while iPhone, iPad and iPod touch users can try the likes of AirPlayer or Media Link Player Lite apps.
If you've got Plex Media Server running in the background, you can also purchase the Plex apps through the relevant app store. Note that these will only give you access to any content you've set up using Plex Media Server, though.