How to use Zoom on Mac: the complete Zoom for Mac guide
Zoom continues to be the go-to app for millions of users each day
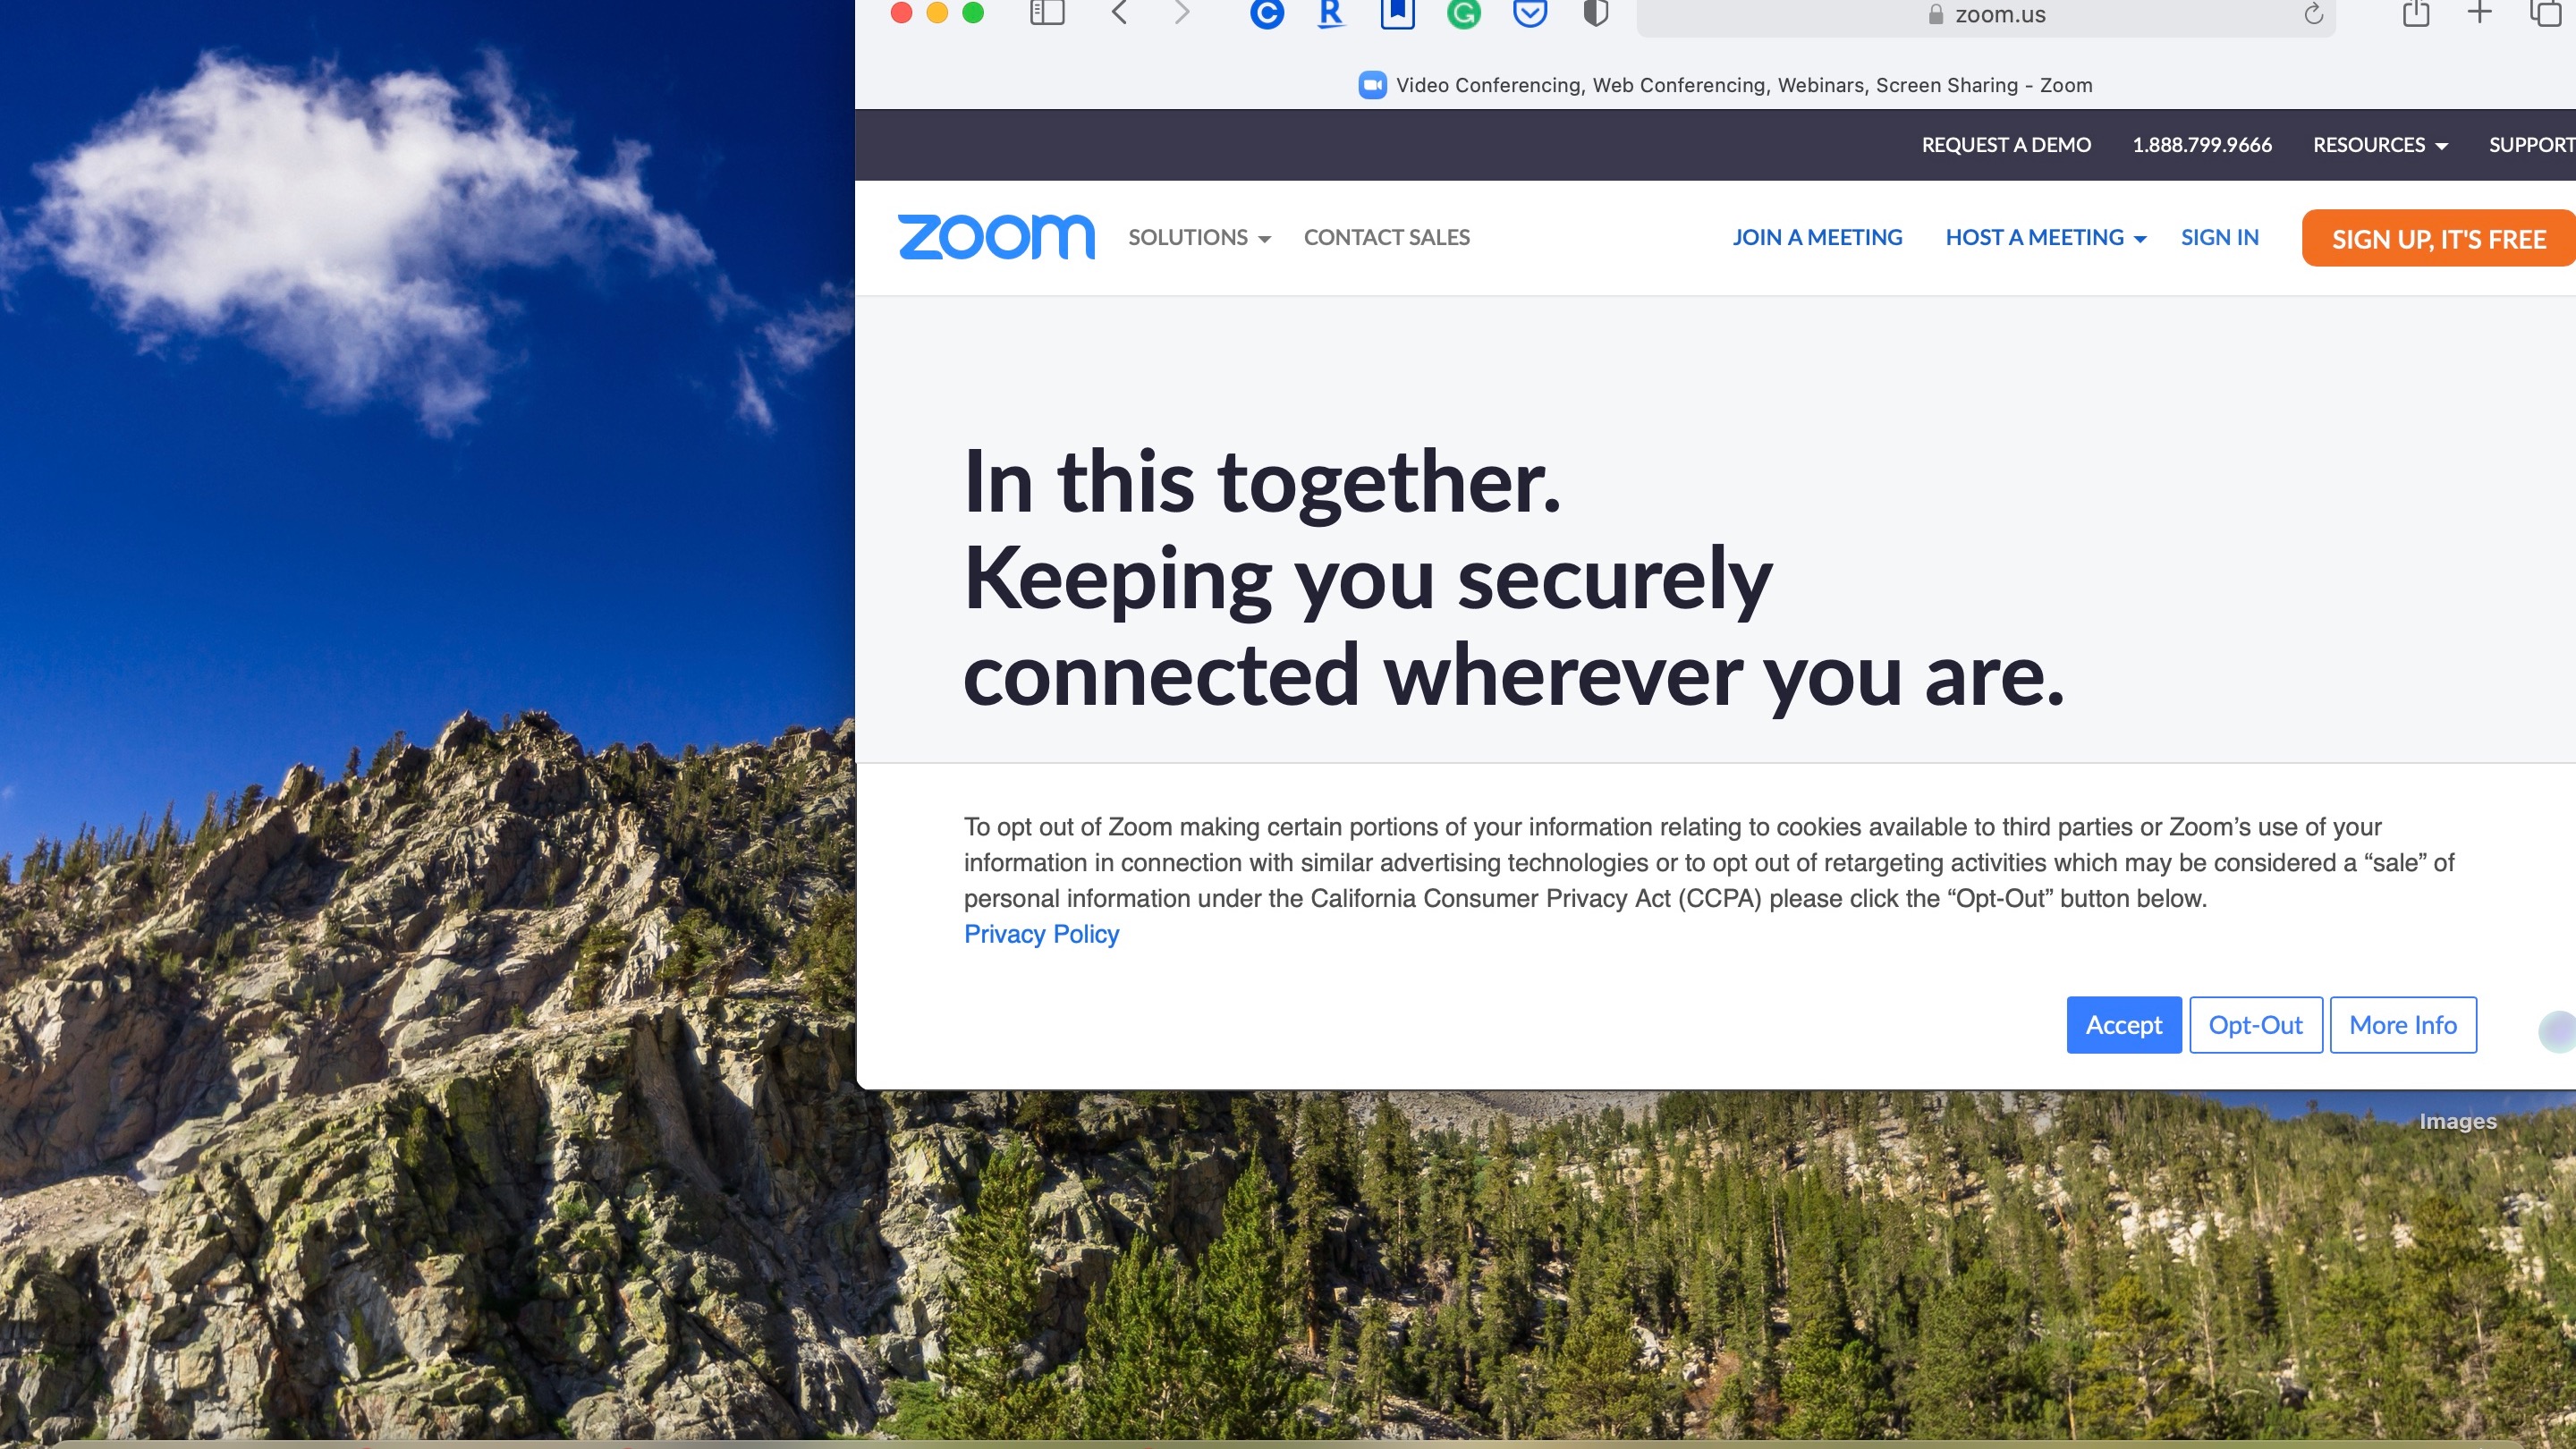
Video conferencing platform Zoom remains an essential tool as the world continues to recover from the pandemic. Once primarily used for businesses to host meetings with associates and clients, the freemium tool also provides an excellent way for family members and friends to stay in touch.
Zoom is an easy-to-use, high-quality video and audio conferencing solution available in free and paid versions.
To attend a Zoom meeting on Mac, you don’t need to register or sign in to an app. To host a meeting, you do need to create a free account, however. Premium versions offer attendance for up to 1,000 participants, event recording, unlimited phone calls, and more. A free account limits the number of users and length of each meeting.
The Zoom app is available on all major desktop and mobile operating systems, including Mac, which you'll learn more about below.
For more information, visit our how to use Zoom guide.
Paid or free?
Zoom video conferencing is available in various paid plans with add-ons; there’s also a free plan. The latter limits meetings to 40 minutes for up to 100 participants, with unlimited one-on-one sessions available free of charge. The least expensive paid option increases participant size up to 1,000 with a Large Meetings add-on and allows meetings of up to 30 hours. Cloud recording and social media streaming are also options.
To use Zoom on your Mac, follow these directions:
Sign up to the TechRadar Pro newsletter to get all the top news, opinion, features and guidance your business needs to succeed!
1. Sign-up for Zoom
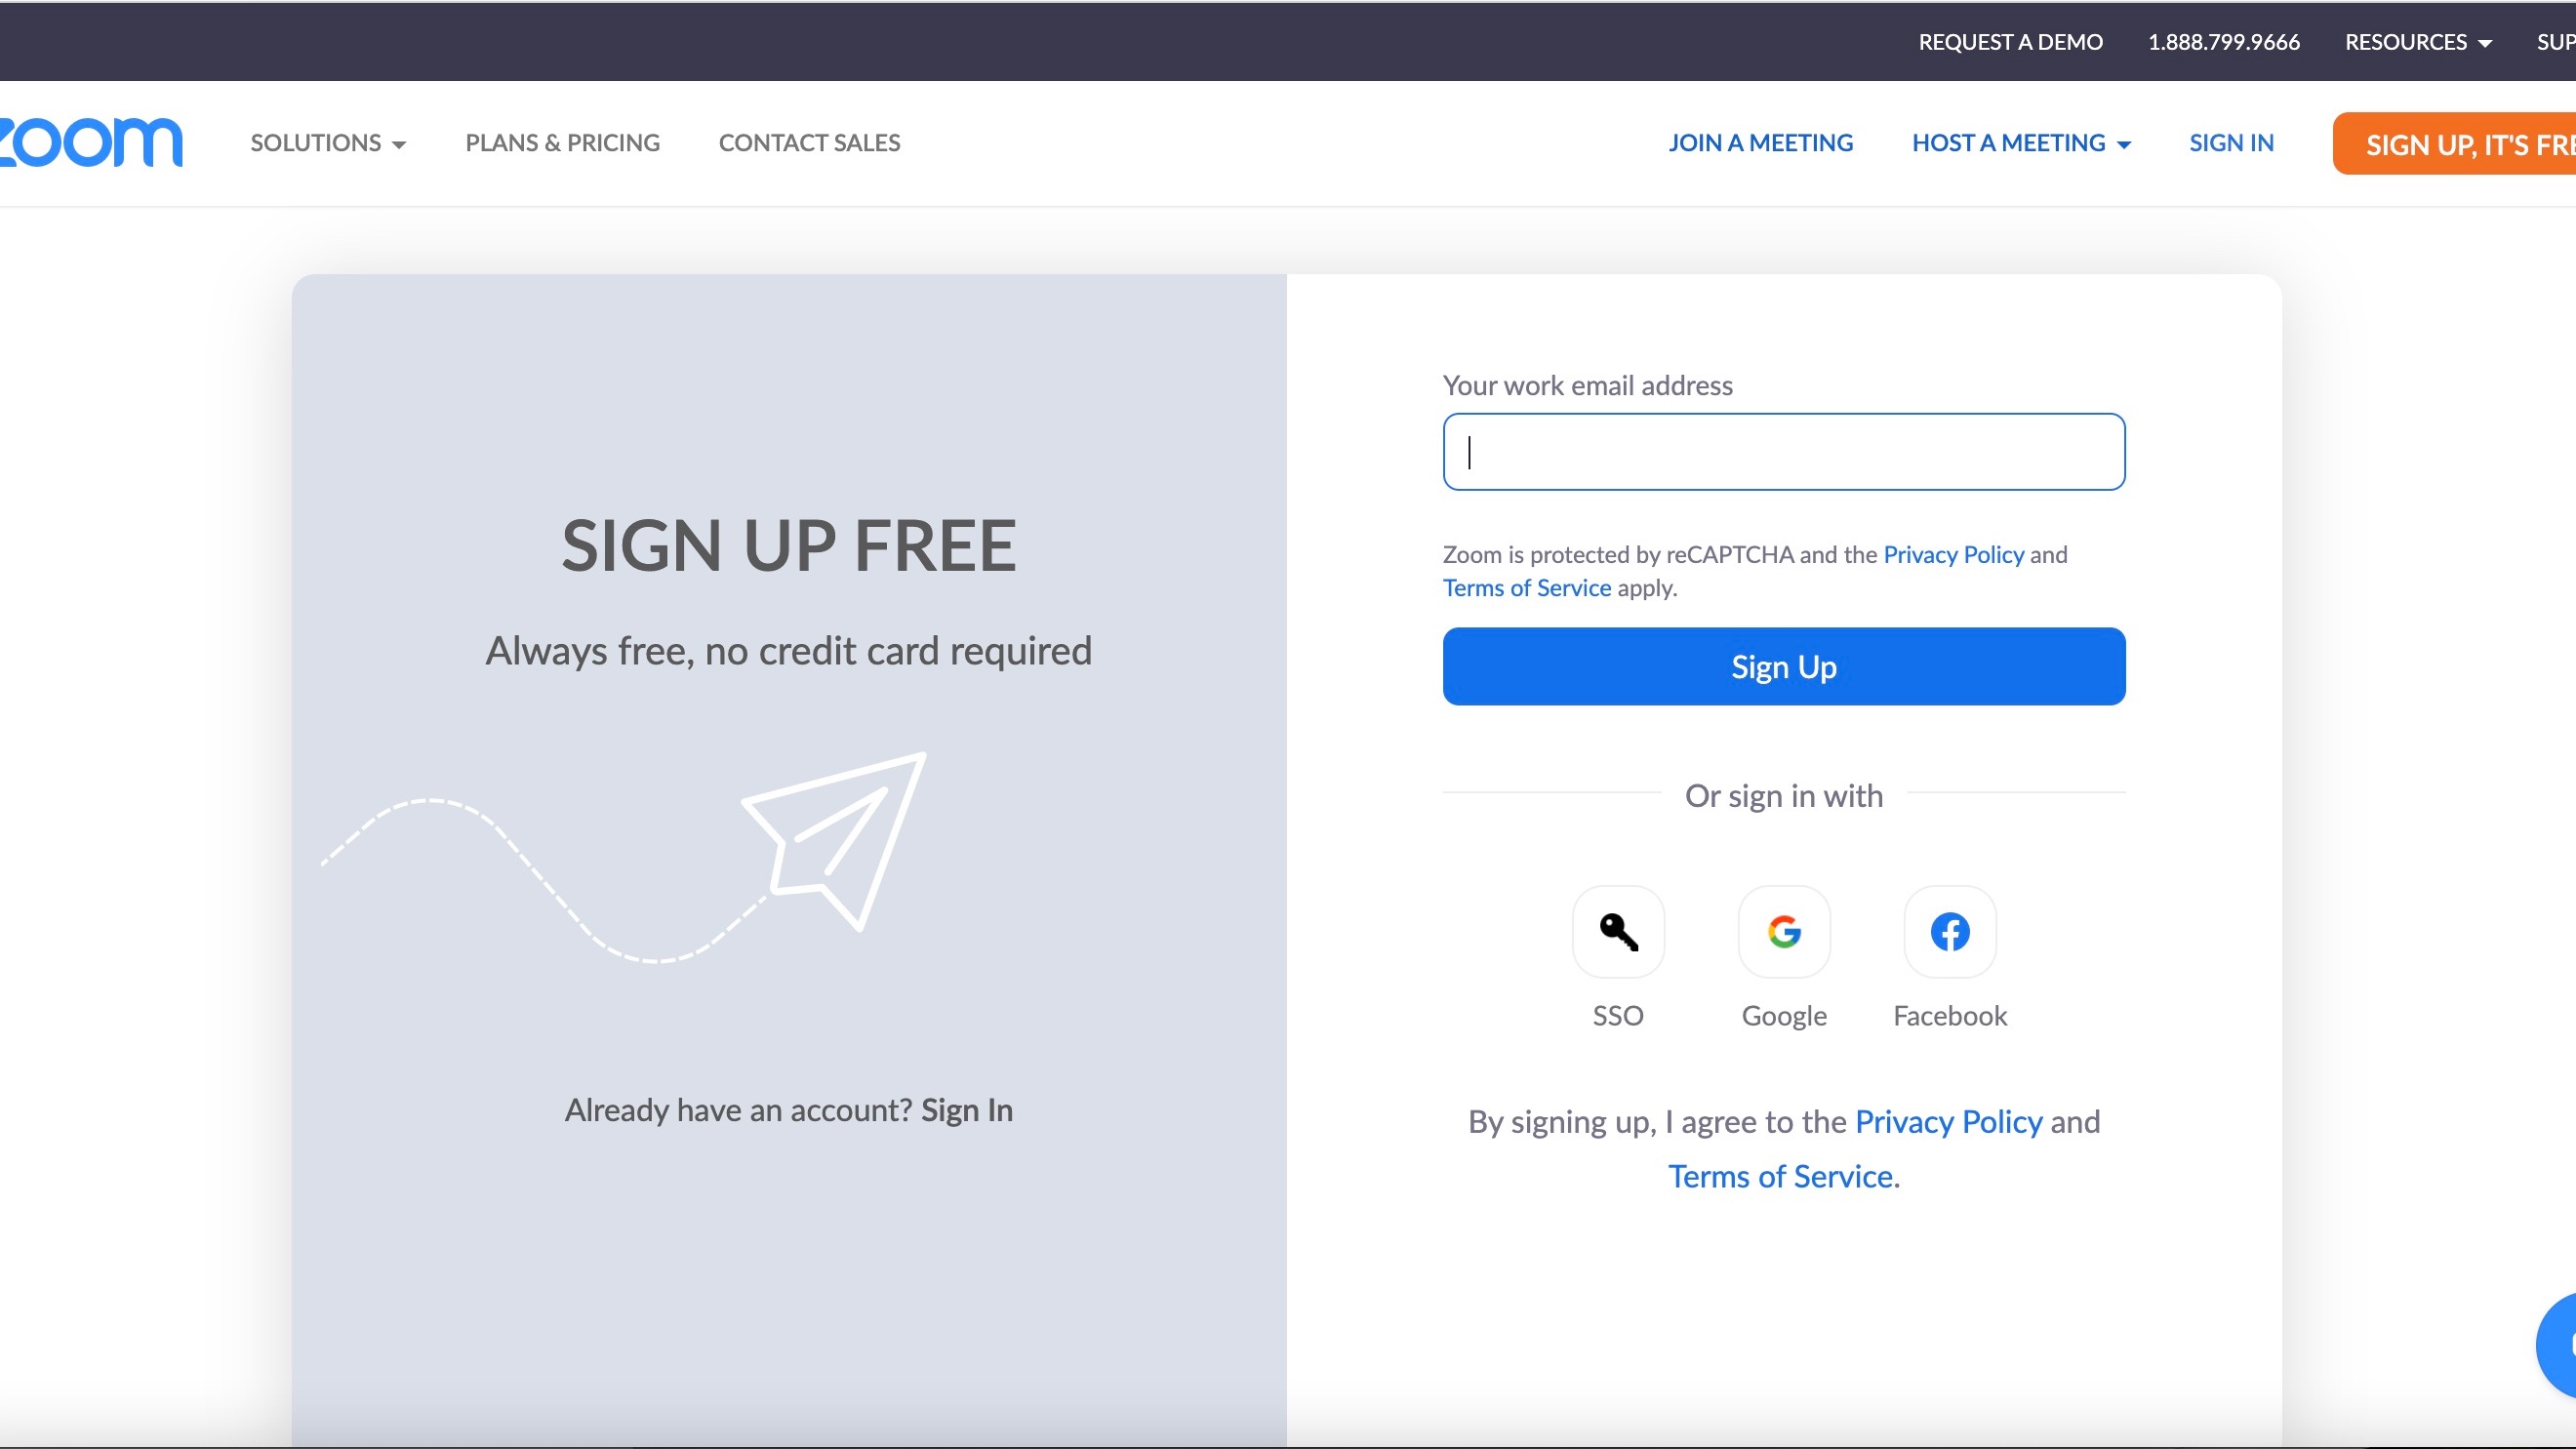
If you don't have a Zoom account and plan on hosting meetings, you'll need to create an account from the Zoom website. Click 'Sign up, it's free' at the top right of the website. Enter your birthday on the next screen, then select 'Continue'. Add your email, which will be used as your Zoom username. You can also sign in to your SSO, Google, and Facebook accounts. Following additional directions to create a Zoom account.
2. Download Zoom software
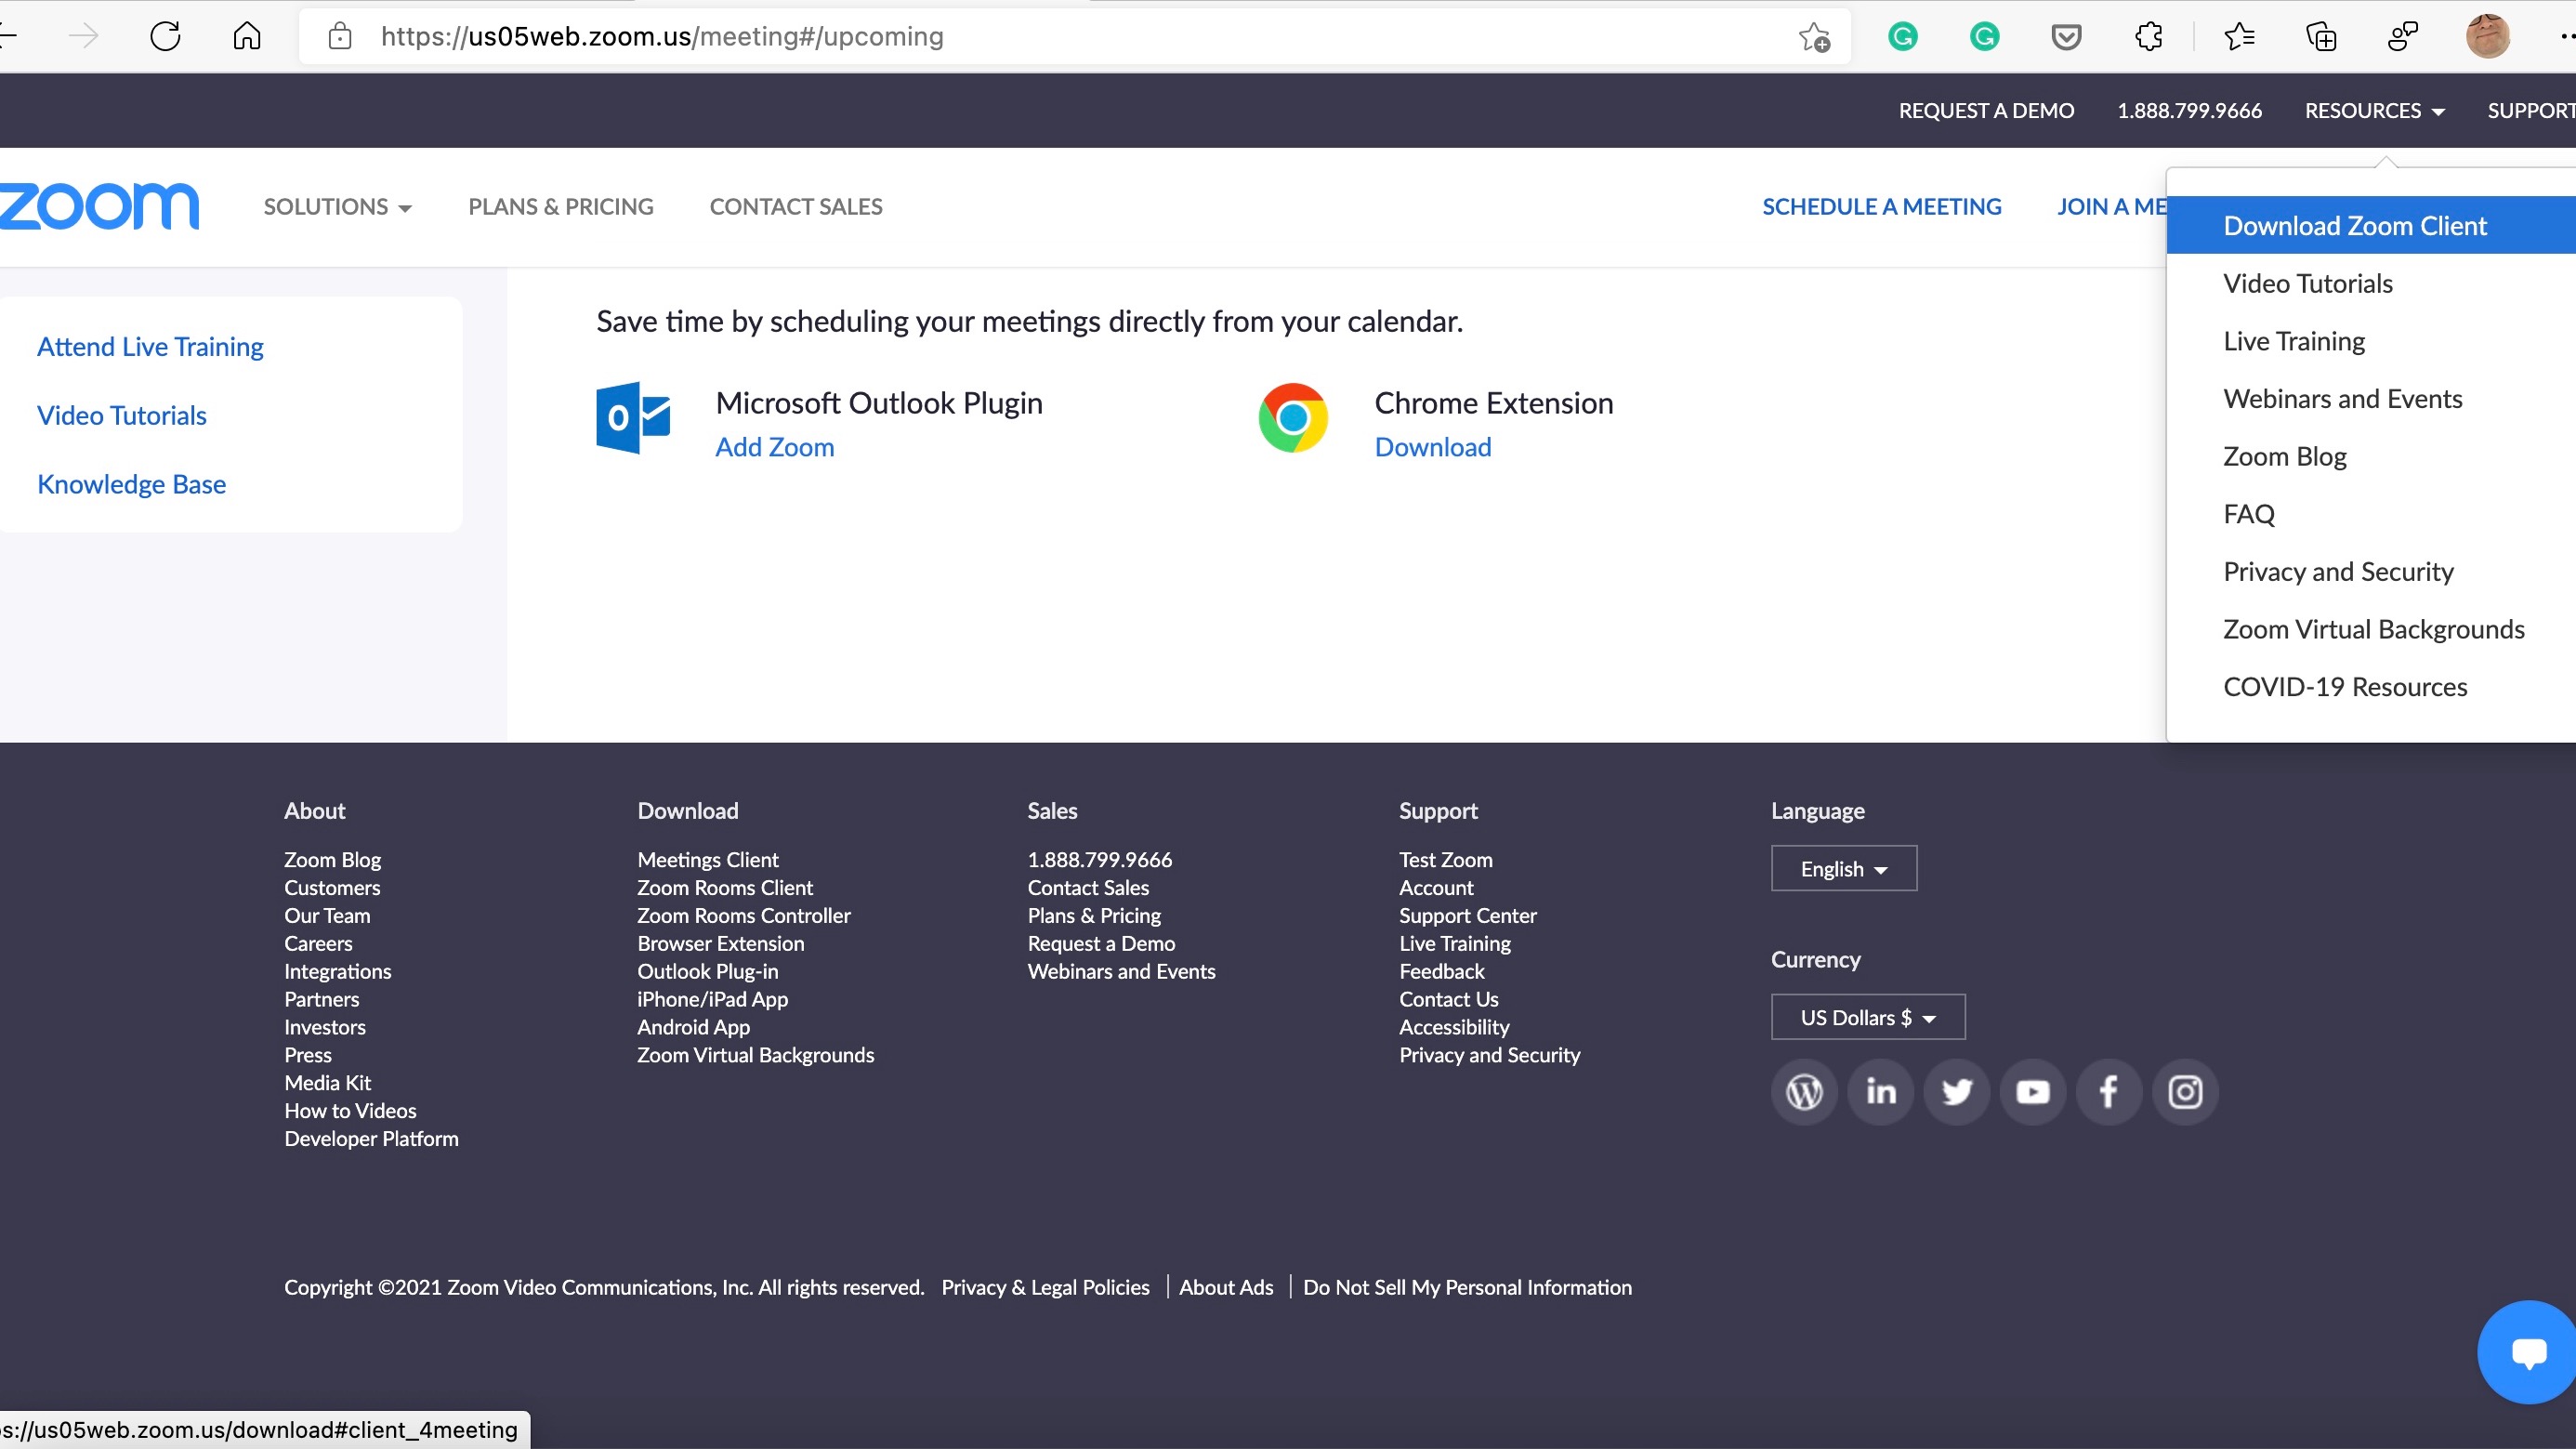
You should now download the Zoom Mac client from the Resources menu at the upper right of the webpage. Click 'Download Zoom Client' from the menu pull-down. Besides the Mac client, you can also install and use Zoom plugins for Microsoft Outlook for Mac and the Chrome browser. In this example, we're only using the Mac client.
3. Hosting a meeting
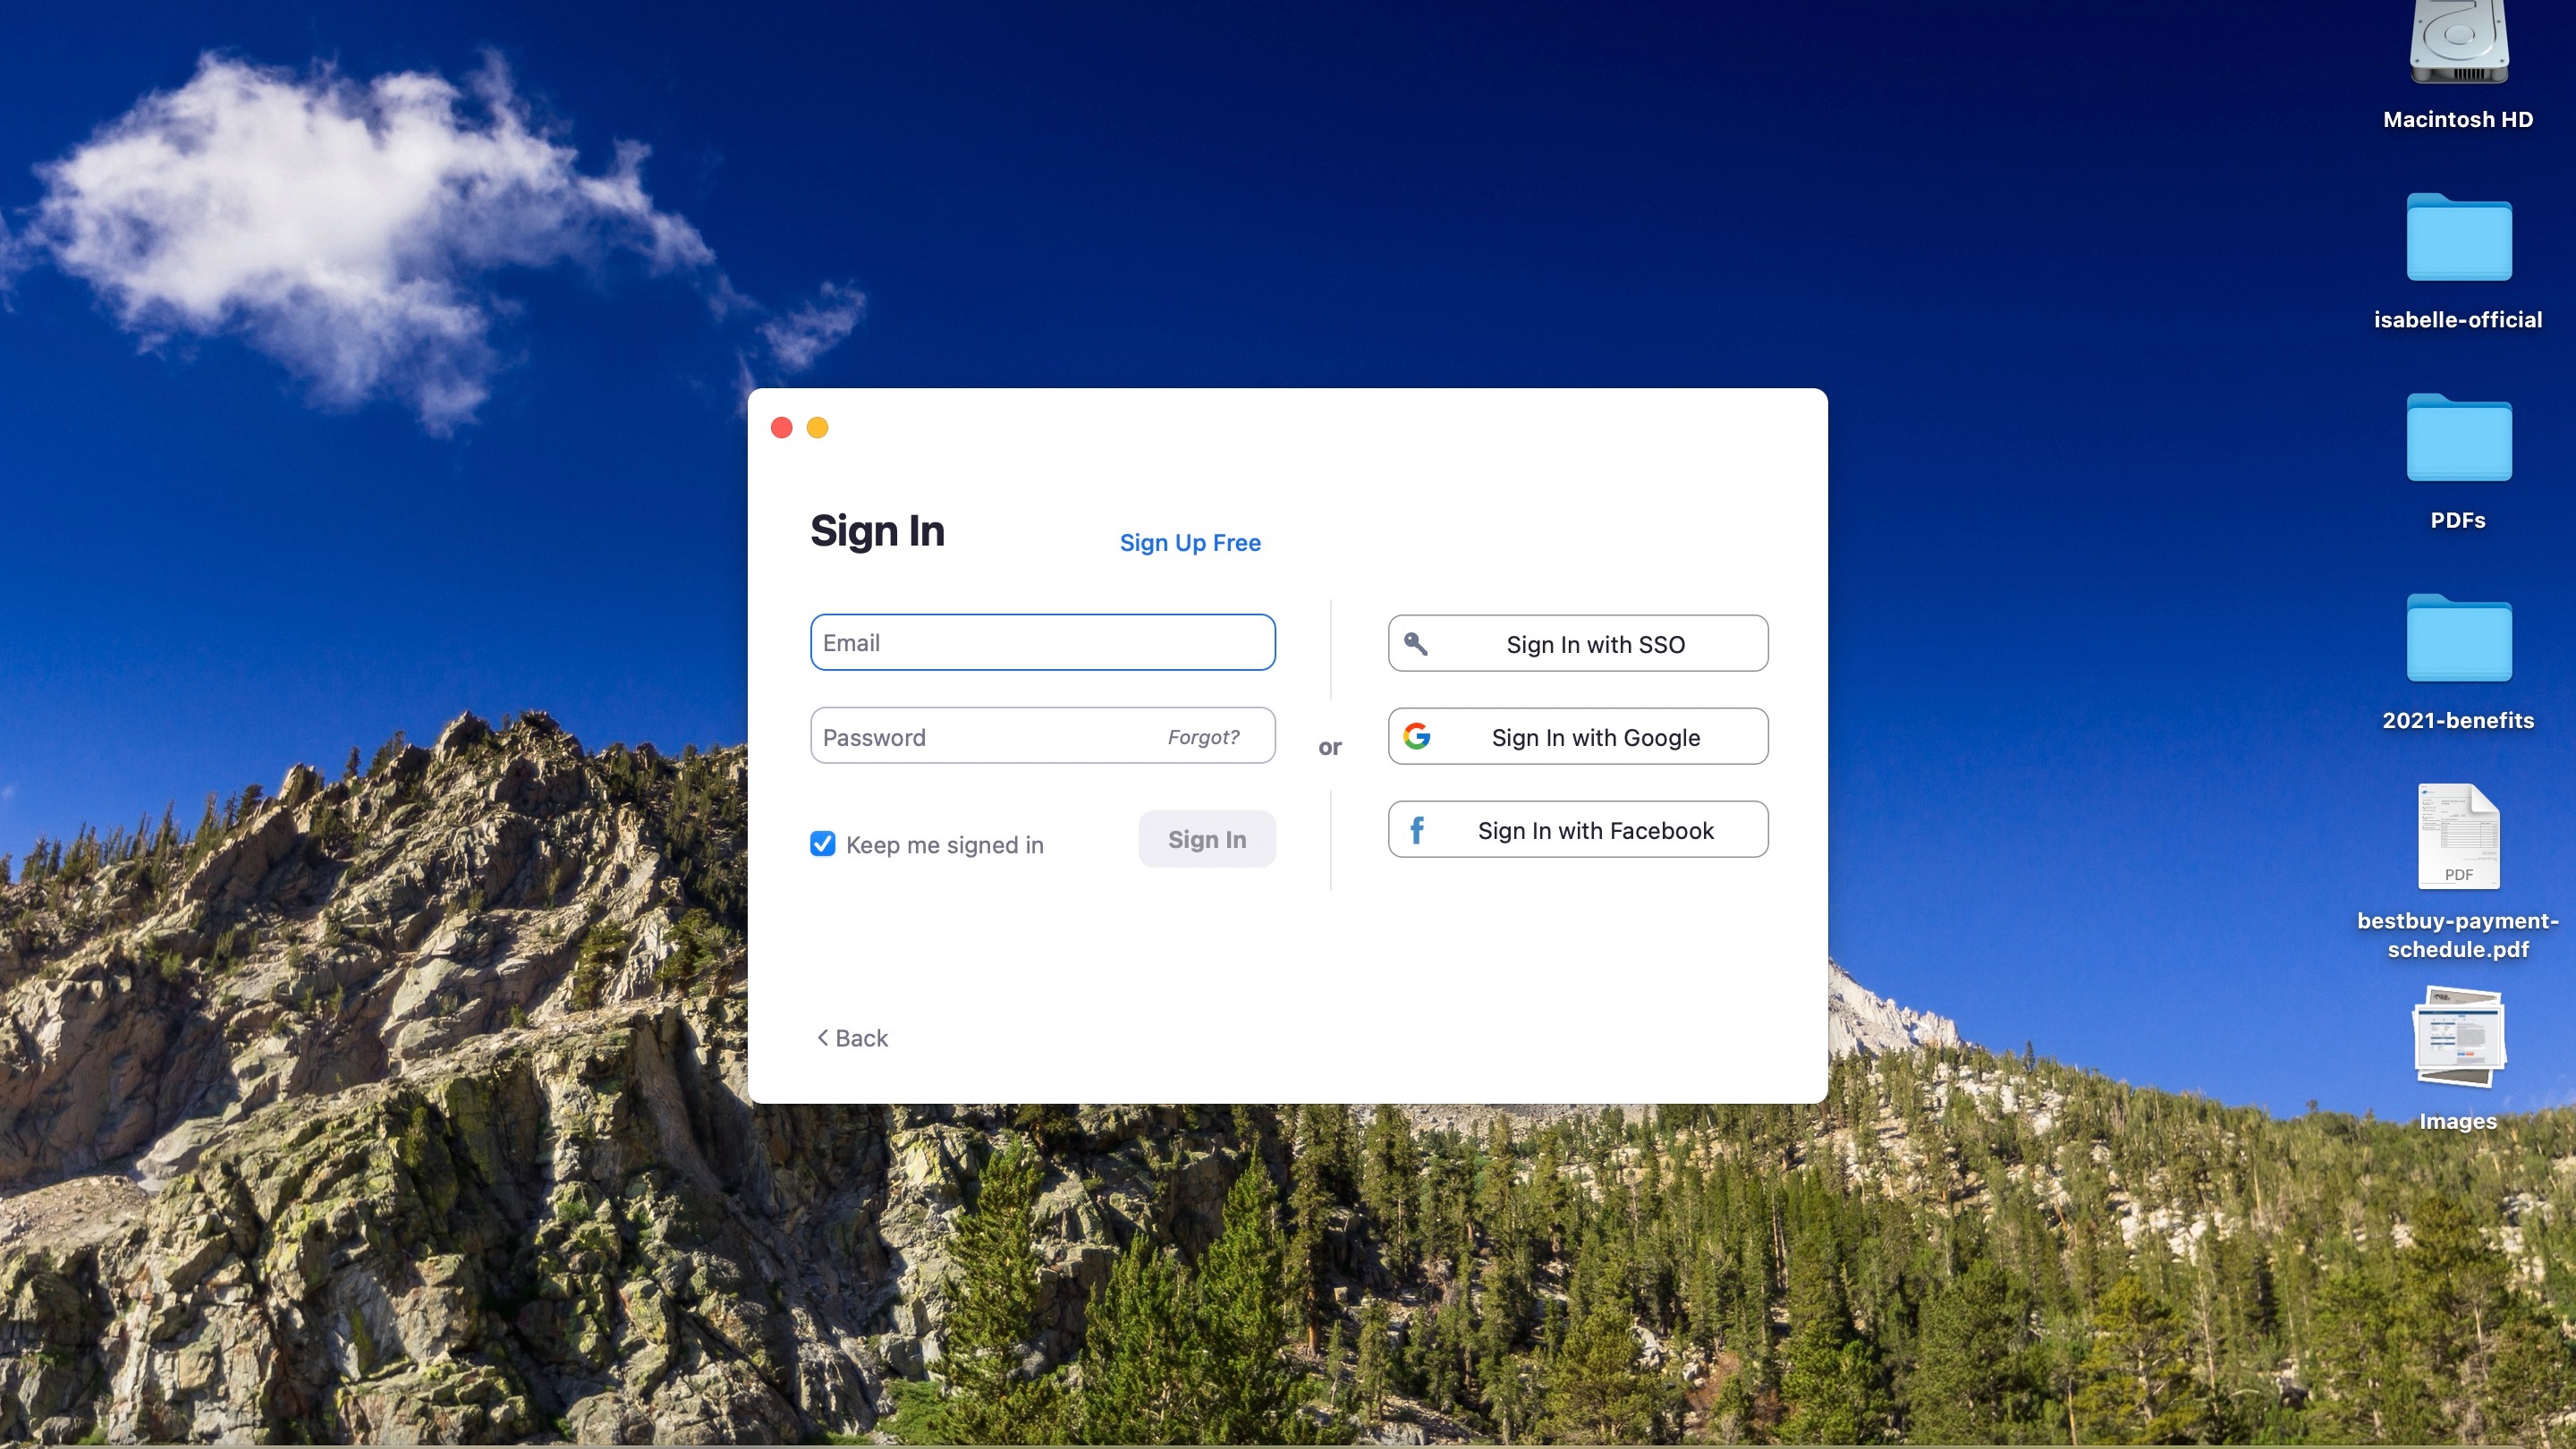
Once you’ve installed the Zoom Client for Mac, you’re ready to go. Click the ‘zoom.us’ app from the Applications folder. Choose ‘Sign In’, then log into your Zoom account using your newly created credentials. Choose ‘New Meeting’ to hold a new meeting right now. Otherwise, select ‘Schedule’. After starting a new meeting, choose ‘Join with Computer Audio’ or ‘Test Speaker and Microphone’, depending on your choice. At the bottom, select ‘Recipients,’ then ‘Invites’. Add users to attend from your Contacts or email.
You can 'Mute', 'Stop Video' and 'Chat', and more from the Zoom menu. When the meeting is finished, choose 'End'.
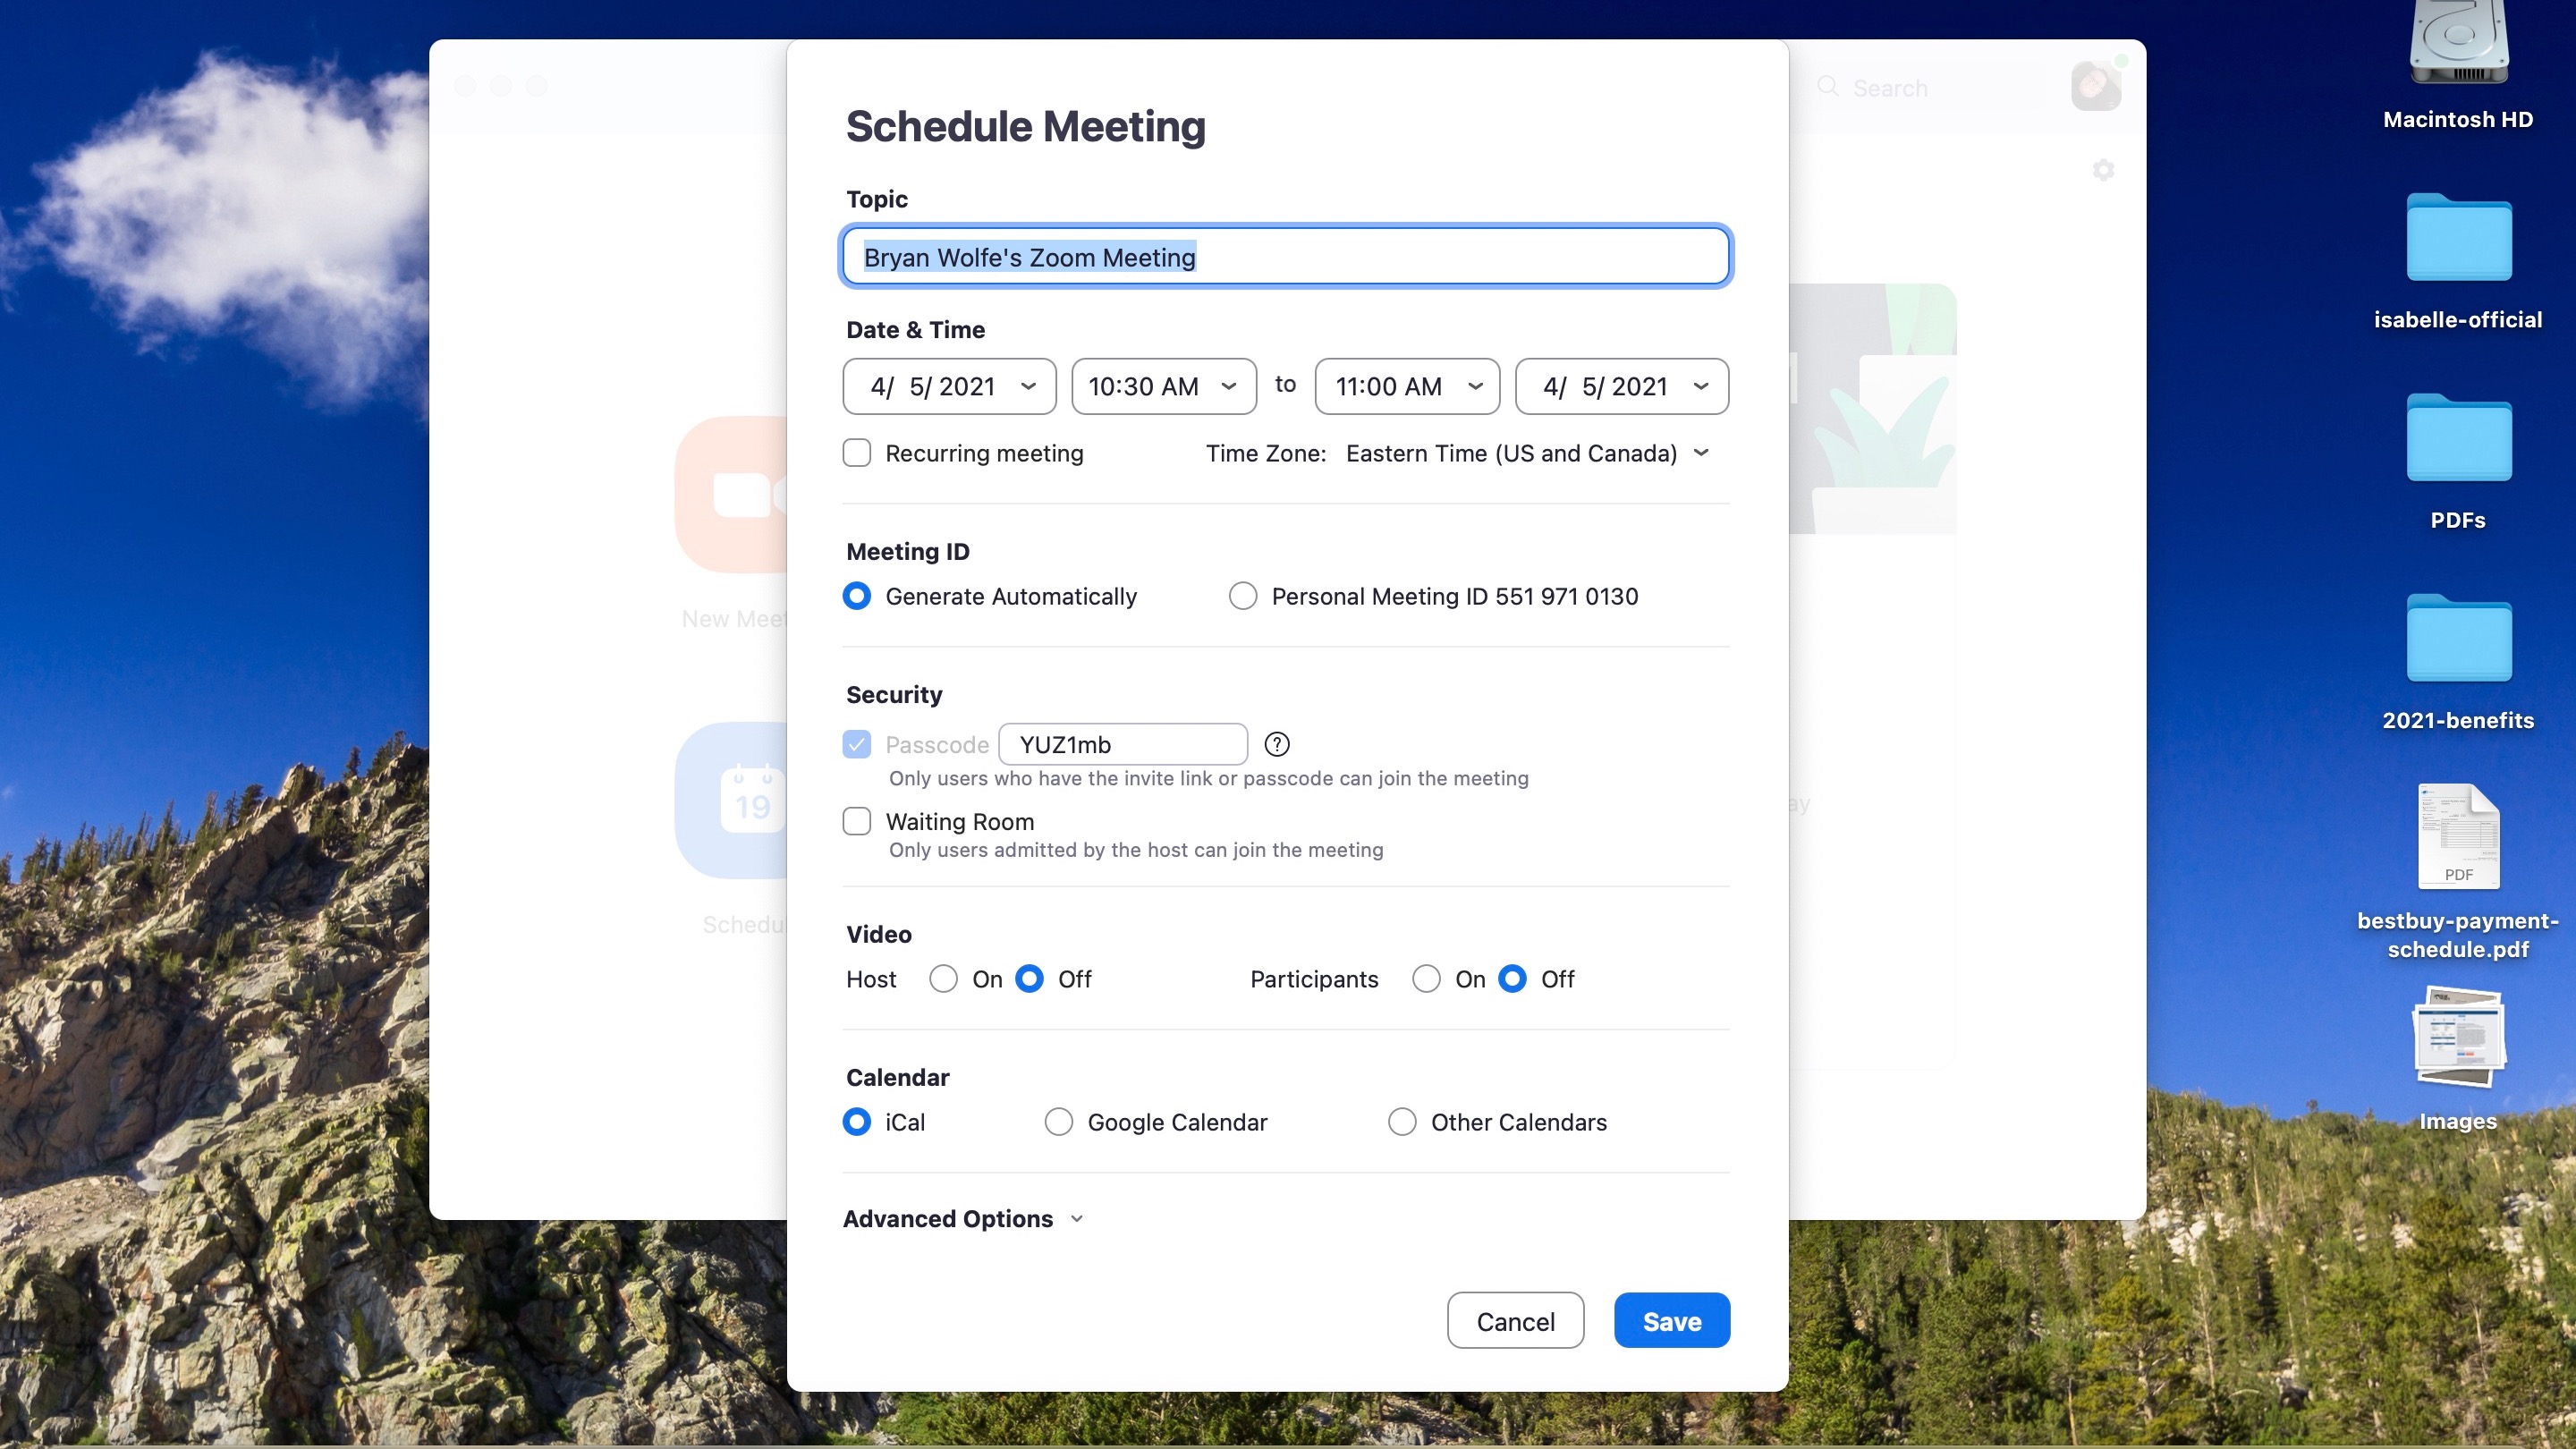
4. Scheduling a meeting
If you don’t want a Zoom meeting immediately, you can schedule one. Click ‘Schedule’ on the main Zoom screen. On the next page, add information about the meeting, including the date and time, topic, and the calendar to send out and manage invitations. On Mac, you can use iCal, Google, or another calendar. Then, choose ‘Save’. You can now send invitations to your meeting using the calendar you selected.
To review, update, and delete scheduled meetings, choose ‘Meetings’ from the top menu in Zoom. From this screen, you can select ‘Copy Invitation’ to paste the meeting information into Messages or email for further invites.
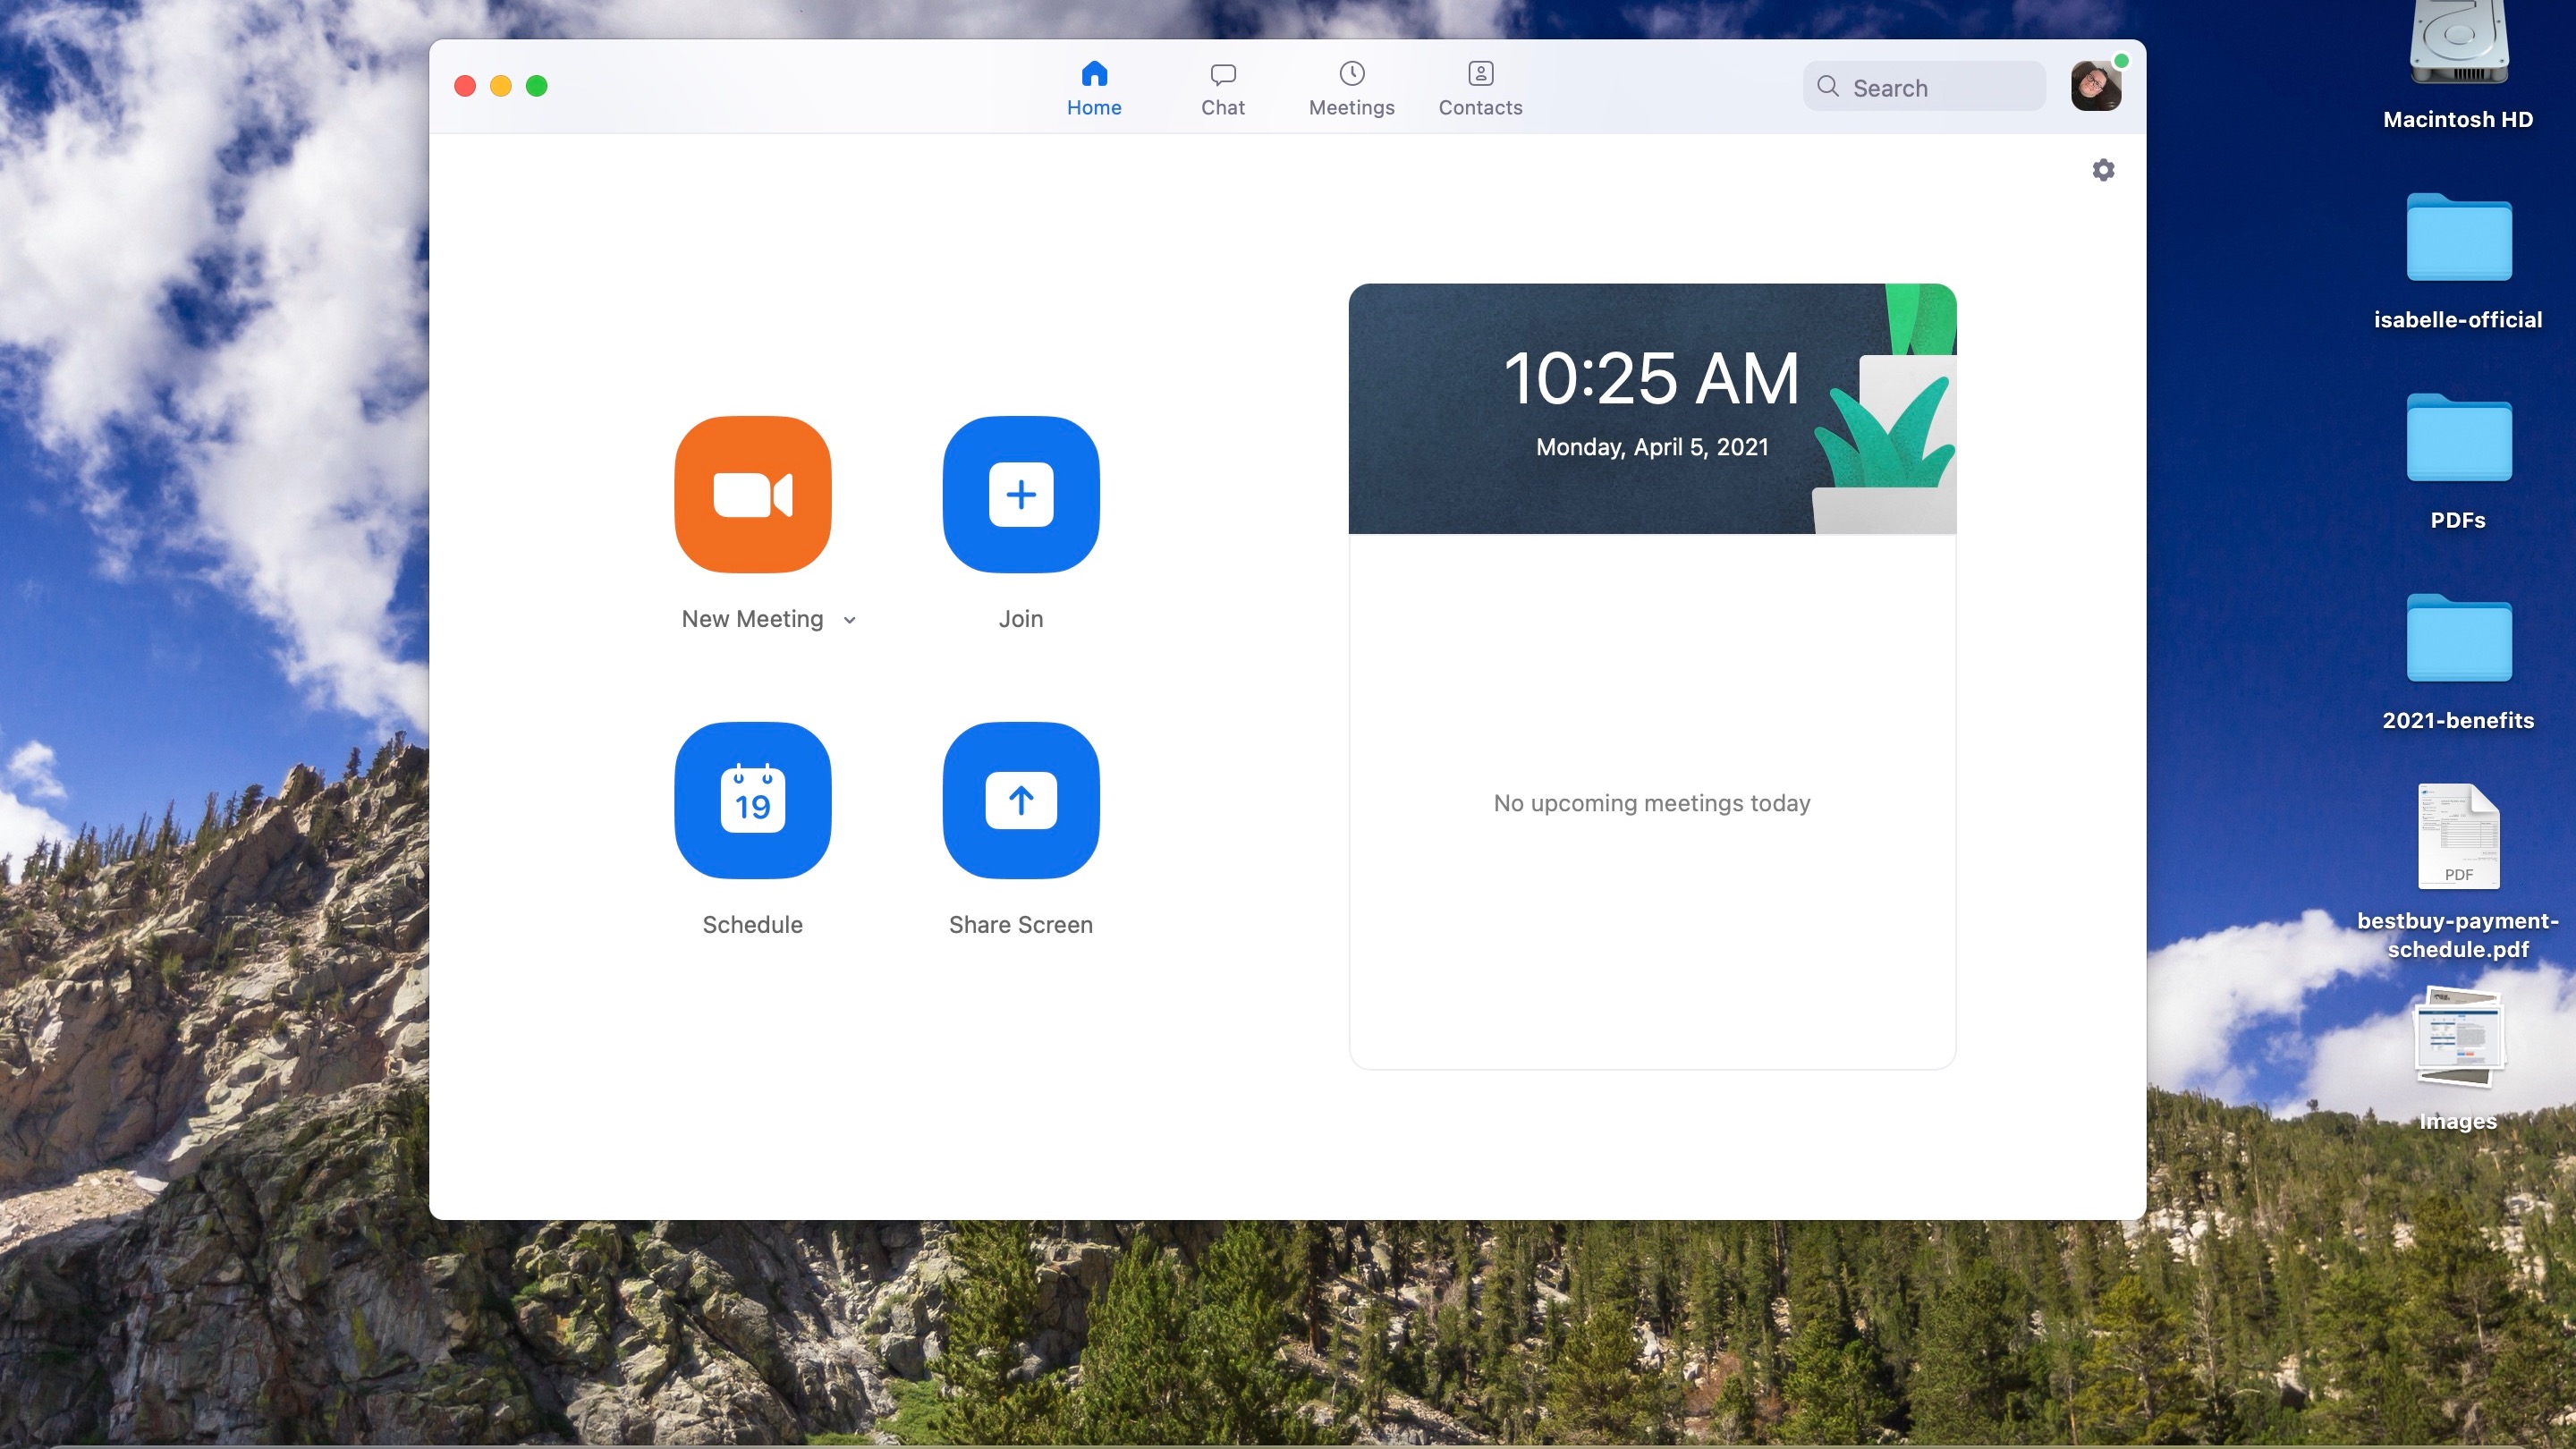
5. Join a meeting
There are different ways to join a Zoom meeting. For one, you can click on the link in the email, text, or calendar invite you received ahead of the meeting time. By doing so, the Zoom client opens and proceeds with joining you to the meeting. You can also choose the 'Join' button on the main Zoom page, then enter the meeting ID or personal link name. Either are mentioned in the invitation. You can join with video, audio, or both, and leave the meeting at any time.
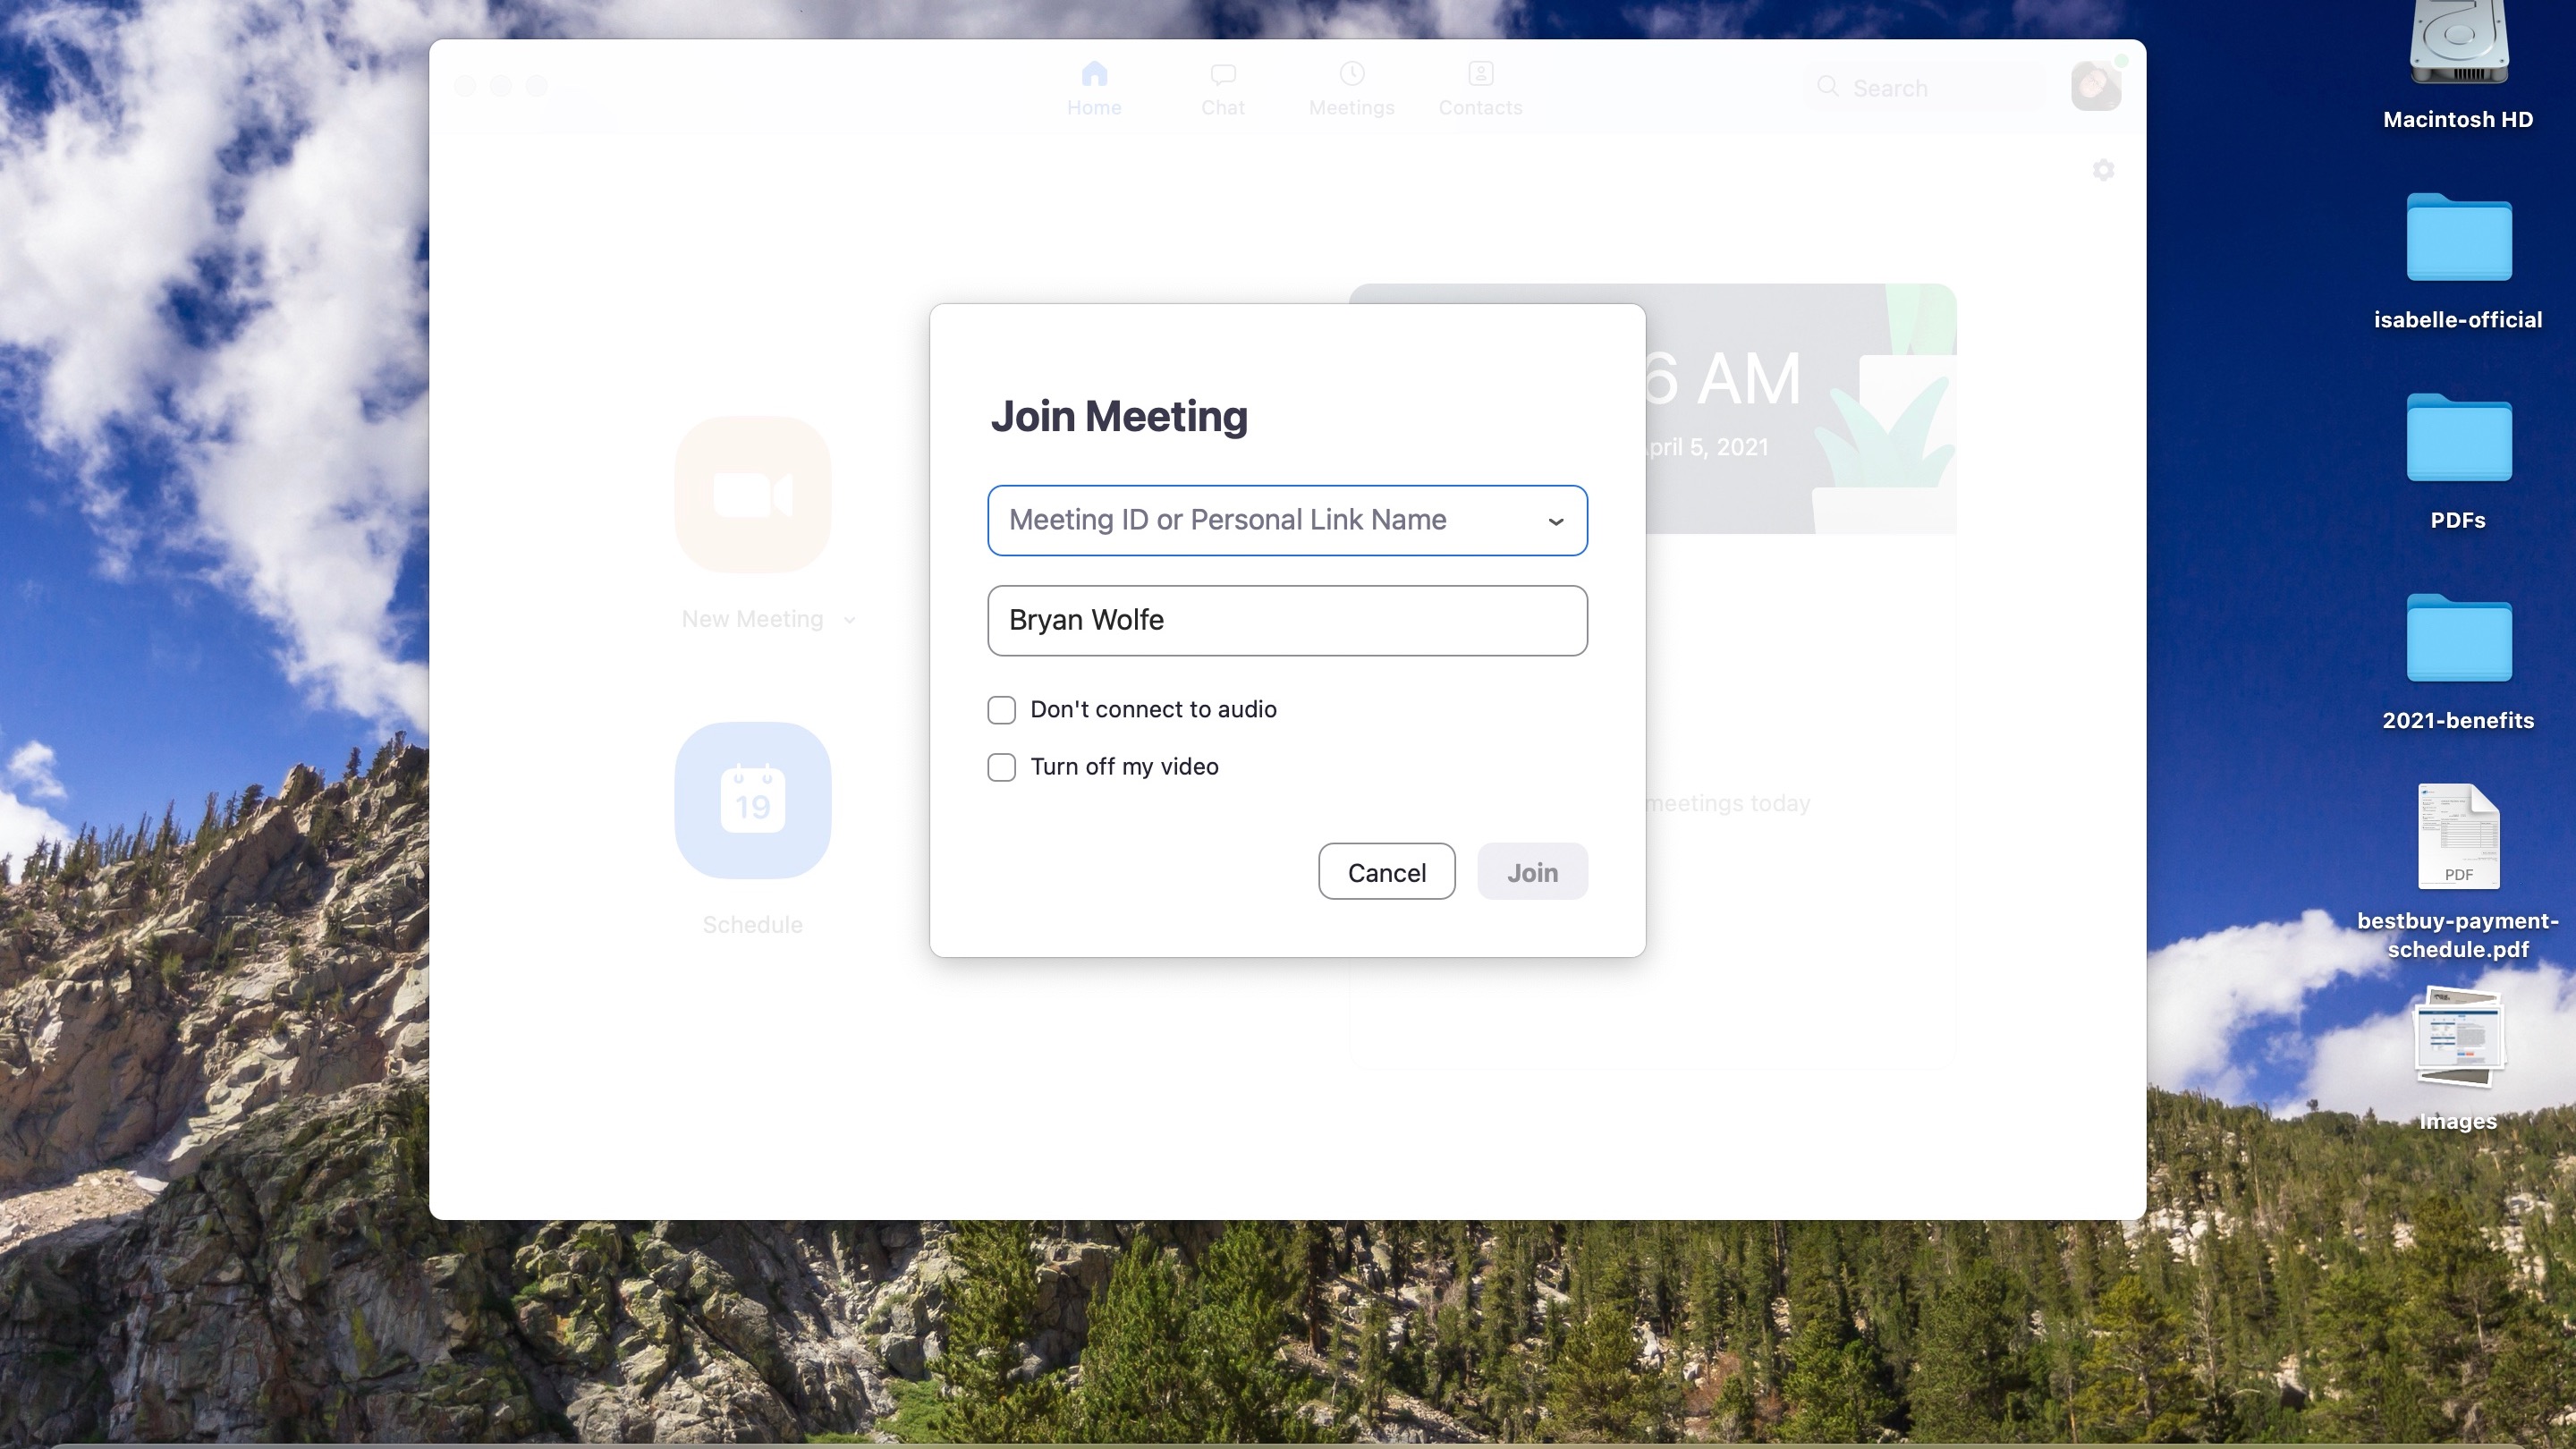
6. Sharing screen, recording and more
In the Zoom client for Mac, you can share your screen as the host and record the meeting using the buttons on the bottom menu of an active meeting. You can also implement security settings, such as adding a waiting room. When activated, a waiting room is where visitors will go in Zoom first ahead of a meeting. The host must allow each recipient to enter the actual meeting before joining. You can also use the built-in chatting feature to text everyone in the meeting. The feature is ideal for sharing links and other information.
- Here are the best Macs you can buy today
Bryan M. Wolfe is a staff writer at TechRadar, iMore, and wherever Future can use him. Though his passion is Apple-based products, he doesn't have a problem using Windows and Android. Bryan's a single father of a 15-year-old daughter and a puppy, Isabelle. Thanks for reading!
