Outgrown iPhoto? How to step up to Aperture
Apple offers a great next move if you need more than iPhoto can offer
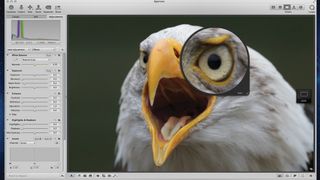
Apple's photo editing program, iPhoto, is brilliant. It probably came pre-installed on your Mac, and if you only edit a few photos and you're fully comfortable with how that app works, it's a great program to stick with.
Apple offers another image editing app, though - Aperture - which offers a greater range of editing options and a finer level of control over images.
With the release of Aperture 3.3 in 2012, Apple changed the library structure of Aperture and iPhoto (9.3 and above). This means the images stored in iPhoto can be easily moved into Aperture with no tedious importing.
What Aperture may do, however, is upgrade your library, and this can take some time if your library has a lot of images in it. Aperture v3.3.1 fixes a bug that could cause it to freeze or quit during this library upgrade process - check you're using this version or newer.
Once your library's upgraded, you can do something you couldn't before - you can open your iPhoto library in Aperture. If you want, you can open your Aperture library in iPhoto too, and that app reflects the changes you've made to images in Aperture. Here, we have a look at this process and the benefits of using Aperture instead of iPhoto.
How to switch from iPhoto to Aperture
1. Switch programs
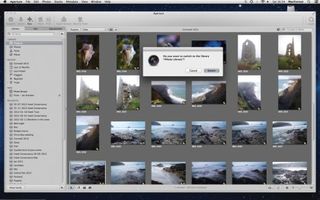
Apple has made it simple to switch your photo library between the two apps. The File menu in iPhoto has an 'Open Library in Aperture' option. Select this and Aperture asks if you want to open the iPhoto library. Aperture has a similar option to move your photos back the other way.
Get daily insight, inspiration and deals in your inbox
Get the hottest deals available in your inbox plus news, reviews, opinion, analysis and more from the TechRadar team.
2. Import a library
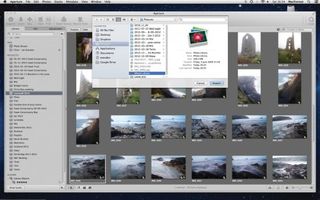
Aperture also has an Import command on its File menu which is useful if you have more than one library. Click it and select Library. Your iPhoto library is usually found in Pictures in your Home folder. Upgraded iPhoto and Aperture libraries share the same pink flower icon.
3. Switch between apps
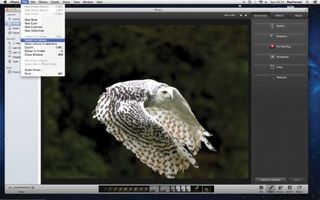
You might want to pop back into iPhoto to make edits that you know it can make quickly and easily. You can't have a library open in both Aperture and iPhoto, though. To find out which library you're using, Command-click the 'iPhoto' in the title bar and the path appears.
4. Merge libraries
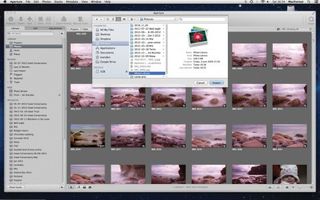
If you're working with more than one image library, you can merge them all into one. In Aperture, select File > Import > Library with a library already open to import the pictures from other libraries into the current library, leaving the other libraries where they are to be deleted.
5. Save space
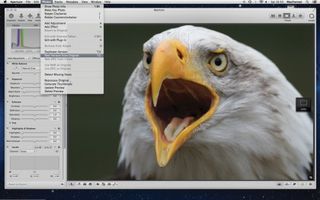
iPhoto lets you keep multiple versions of a photo and revert to the original image. It stores every version as a separate file within the library. Aperture saves your versions as one file, a small space saving that adds up if you have thousands of image files.
6. Organise easily
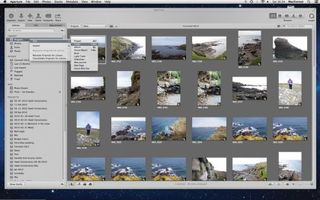
Aperture makes it easier to organise libraries that may contain thousands of images. It automatically groups events by year, and within each you can create nests of folders. Keep on top of Faces, Places and Keywords. Searching out an image becomes easier too.
7. The Aperture Vault
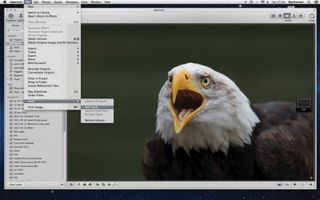
Aperture has its own backup system, called a vault, which backs up everything in your library. Creating a vault, or many vaults, on an external drive is a great way of backing up. If you've added photos to your library, go to File > Vault > Update all vaults to back them up.
8. Ready to go
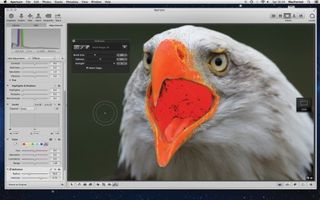
Unlike in iPhoto, where an effect affects the entire image, Aperture lets you select areas of your photo to work on. Any effect can be brushed over specific areas of an image, shown in red above, and the Quick Brushes make it easy to apply them.
Most Popular


