TechRadar Verdict
The Original PRUSA SL1 is easy to setup and the device's print quality far surpasses FFF 3D printers, even the Original PRUSA i3 MK3s.
Pros
- +
Incredibly cheap for an SLA printer
- +
Outstanding print quality
- +
Open source resin compatibility
Cons
- -
Resin is always messy
- -
Steep learning Curve
- -
Can't see print until it raises from the tank
Why you can trust TechRadar
3D printing technology has come along way in a short time, and while FFF (Fused Filament fabrication) is still the most popular format, there are other technologies.
SLA or Stereolithography, for its full name, is a form of 3D printing that uses a liquid resin rather than a solid filament. A UV light from the print head is projected into the resin and cures it layer-by-layer, once finished the excess resin is washed off and the print left to cure.
As you can imagine, there's plenty of scope for mess, but the resulting prints are generally nothing less than incredible.
The SL1 is an MSLA 3D printer a variant on the SLA technology.
Rather than a print head that moves from one location to the next, it uses a high-resolution LCD that displays a mask; then a UV LED panel projects light through the mask to expose and cure the resin.
As each layer is exposed all at once, the print process is far faster than the same resolution printed on an FFF or standard SLA printer. This makes it more akin to a DLP printer technique.
So why choose the SL1 MSLA printer over the MK3s FFF printer?
Sign up to the TechRadar Pro newsletter to get all the top news, opinion, features and guidance your business needs to succeed!
The Original PRUSA i3 MK3s is a workhorse and forgiving, excellent for functional parts, models, prototyping, and getting into 3D print technology.
The Original PRUSA SL1 is more refined, less forgiving, but the quality is as close as your going to get to injection moulding, and therefore favoured by jewellers, modellers and dentists because of the high-quality detailed durable finish.
FFF printing is an easy and reliable 3D print solution, there's little mess and you can print at scale, it's also very forgiving.
SLA, on the other hand, is generally restricted by small print areas and needs more time in the preparation and finish, however, you do get a better visual quality print.
As you can imagine with lights and lasers, SLA technology is more advanced than FFF, less accessible and usually far more expensive.
This is where Prusa Research is focused, doing the same for SLA 3D printing that they have done for FFF, and all under the Open-Source banner.
The Original PRUSA SL1 is Open-Source, and you have the choice to build your own from scratch, assemble the kit or buy one expertly pre-built by Prusa Research.
Design
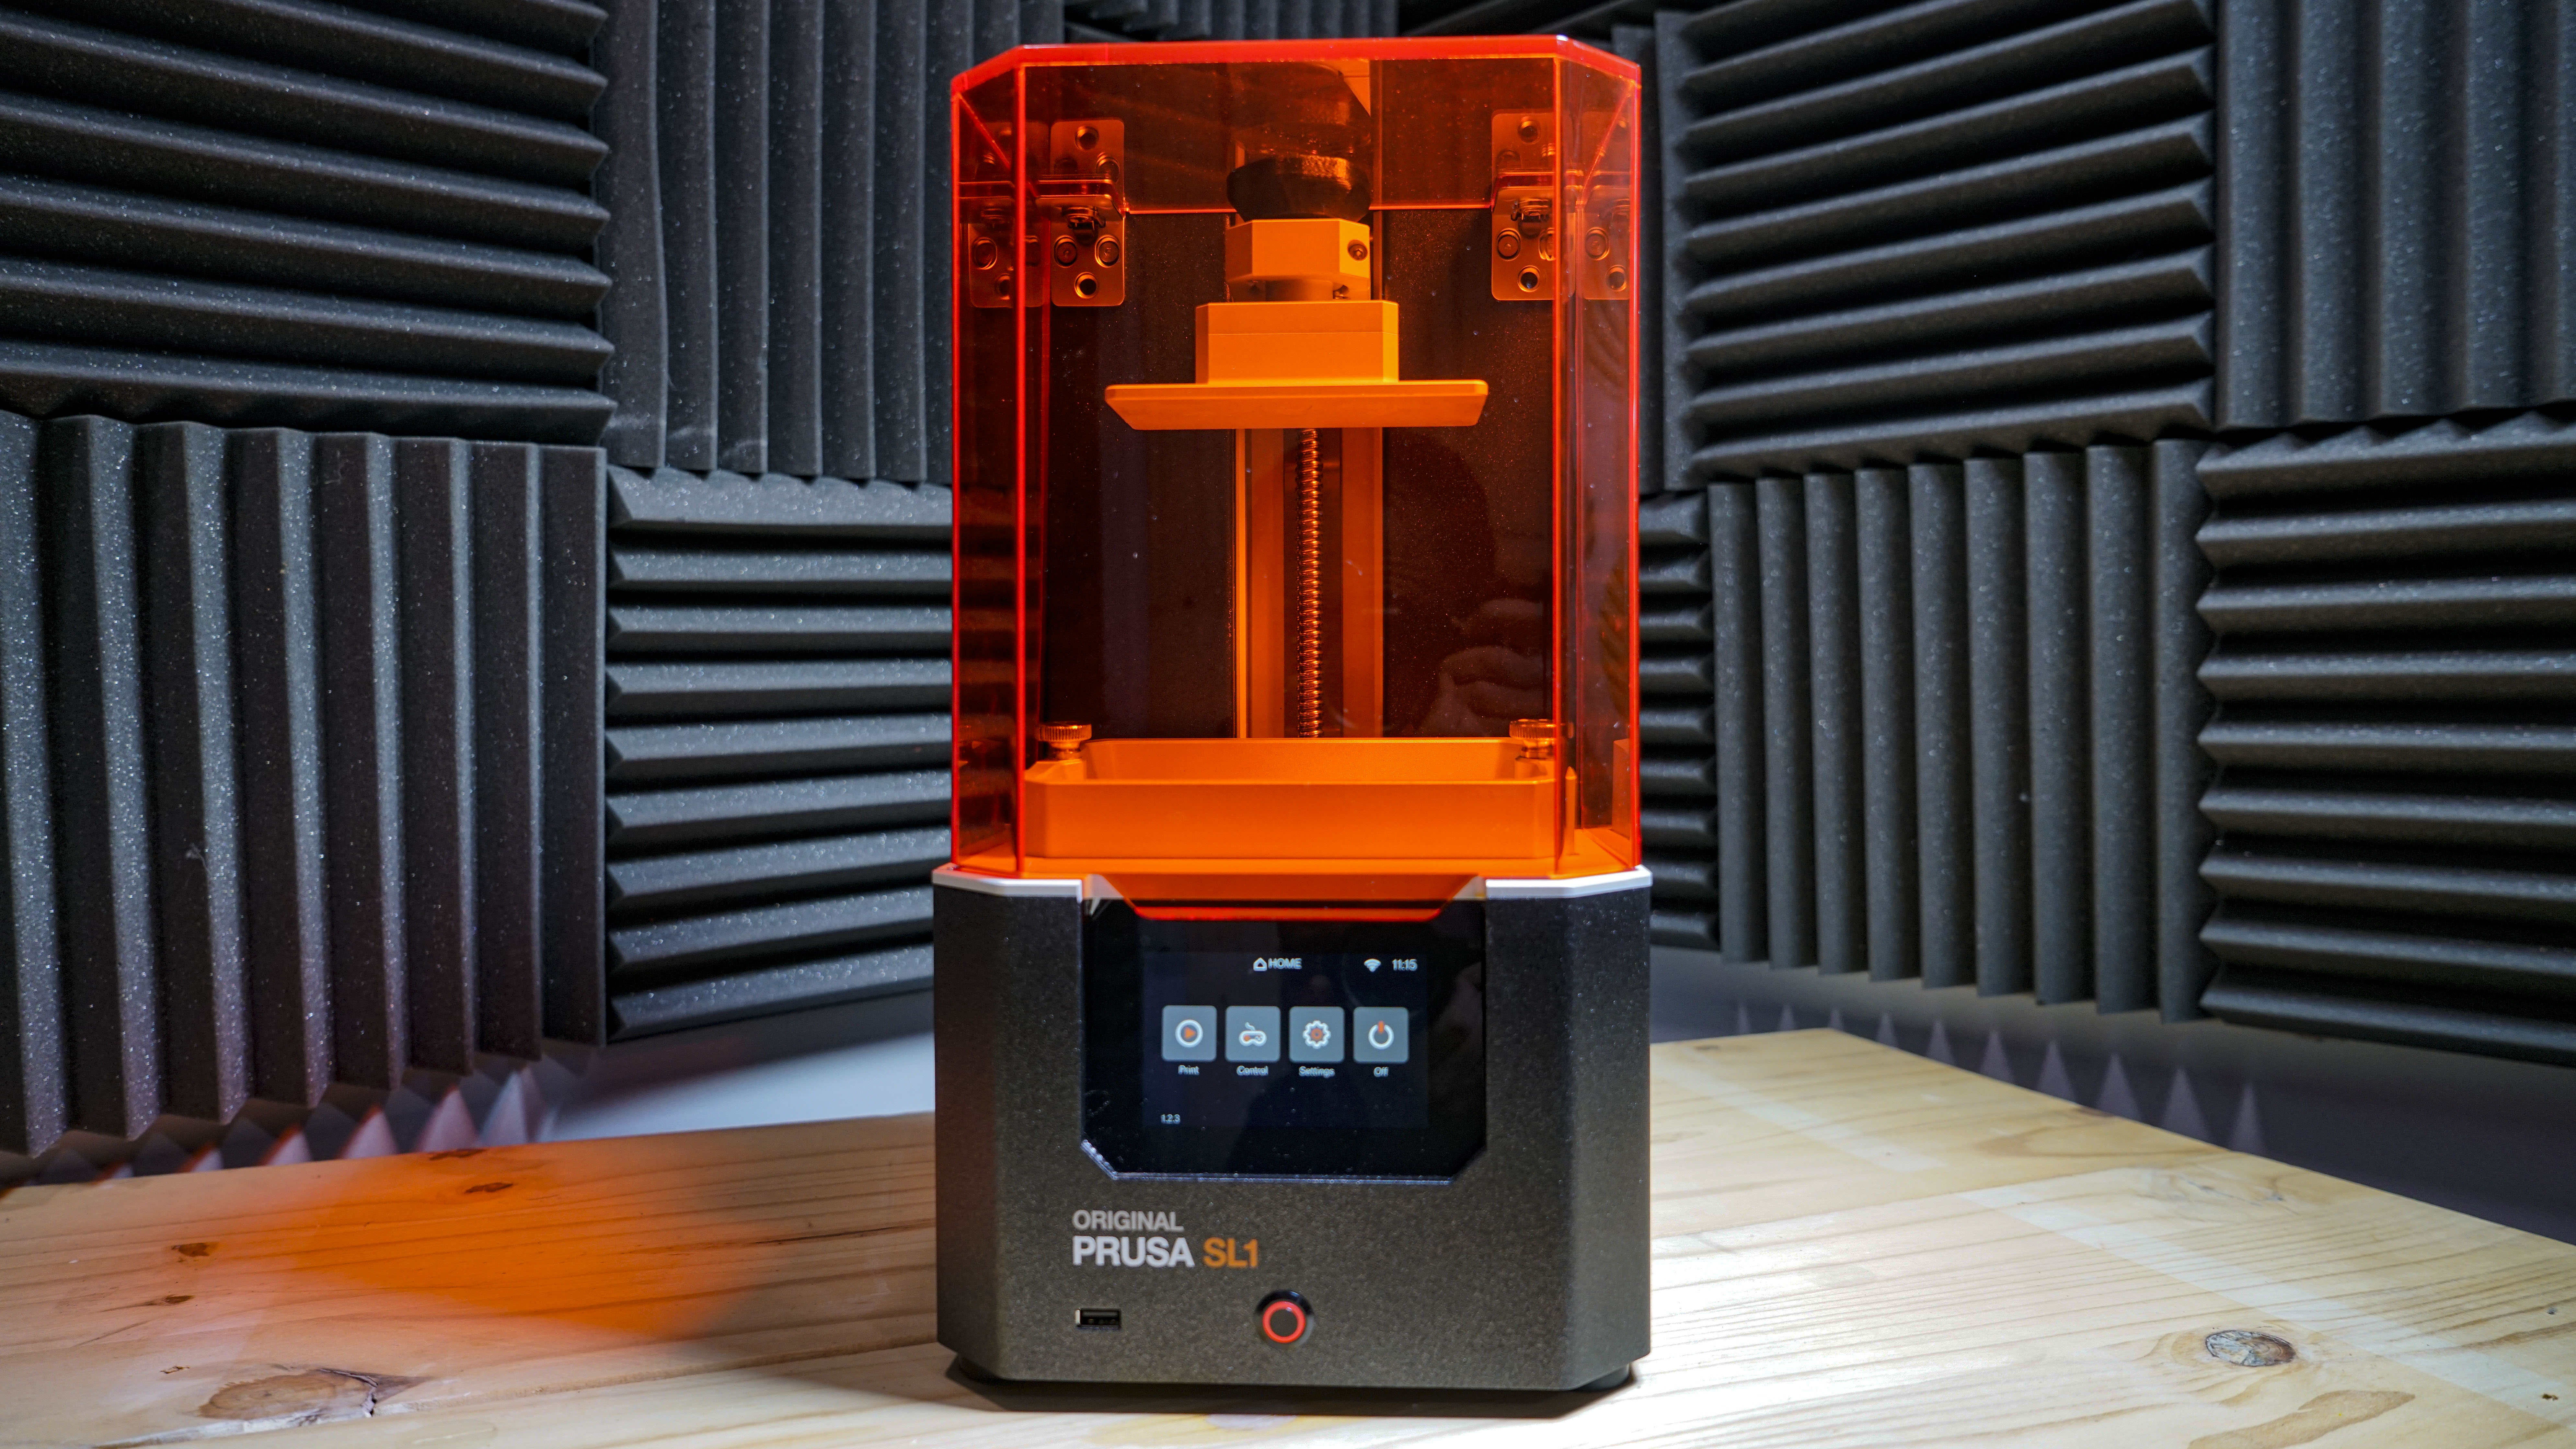
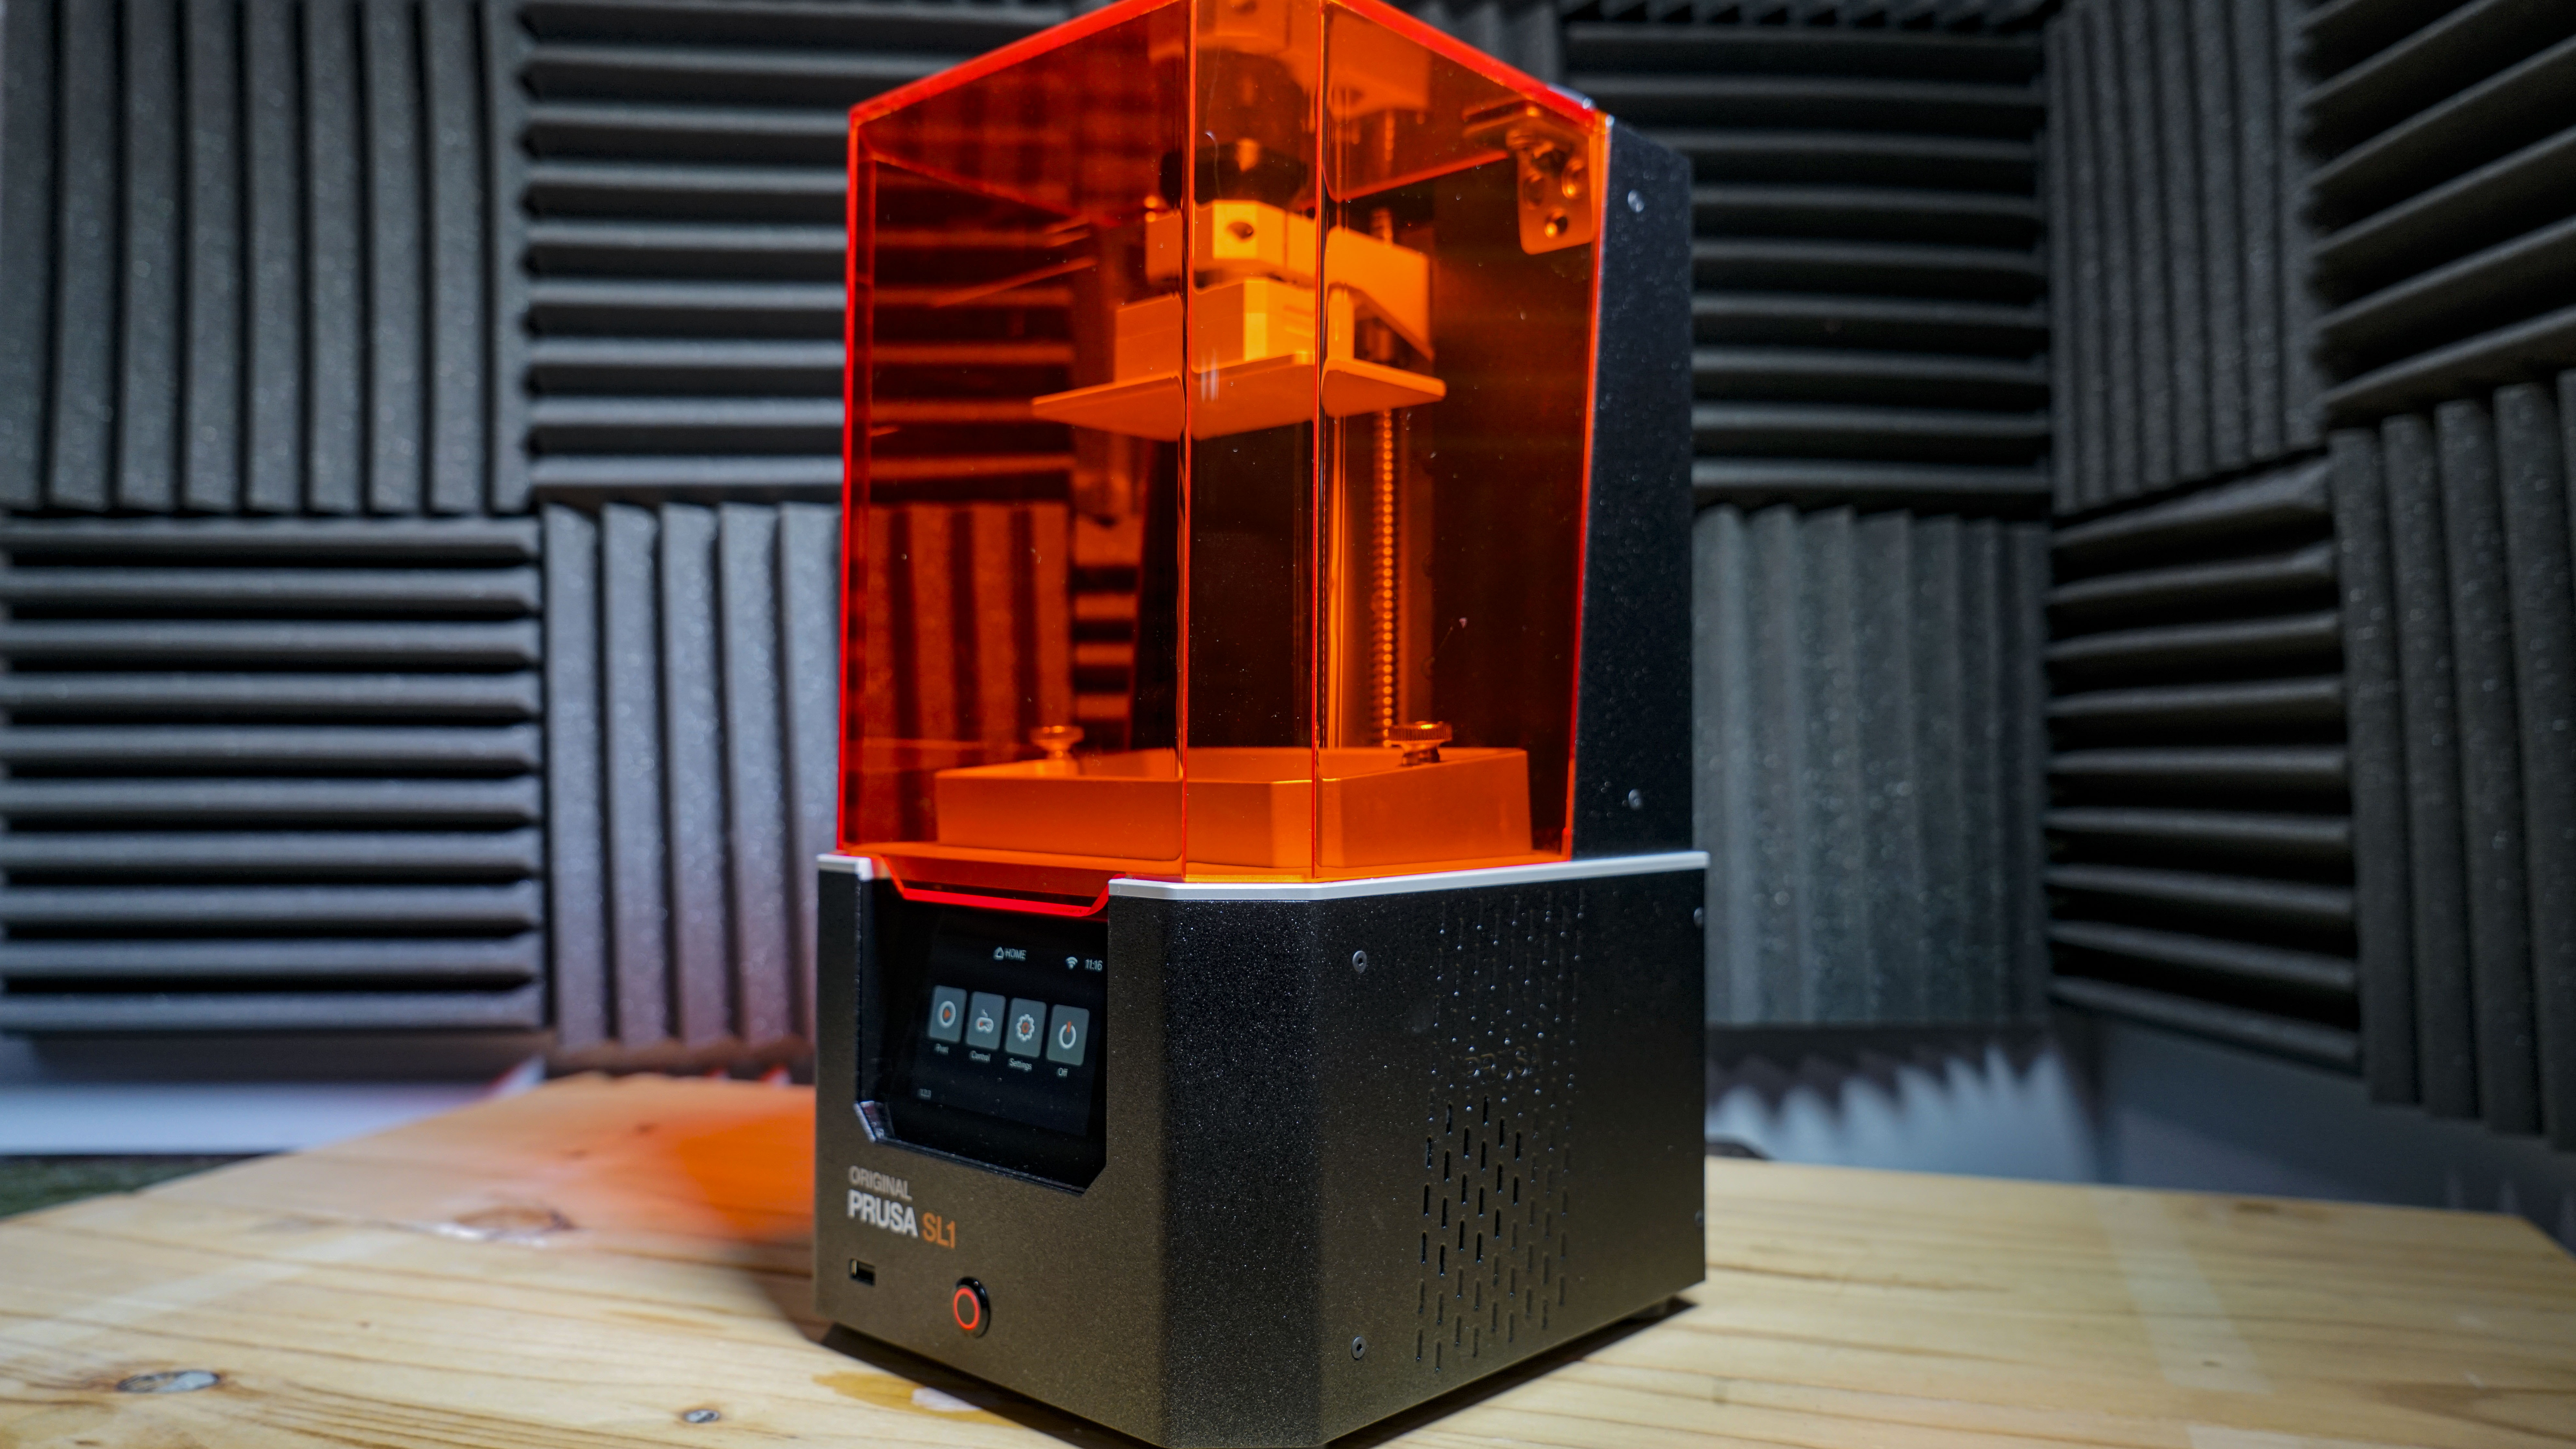
The Original Prusa SL1 is one of those devices that has an instant magnetic appeal. As soon as someone walks into the workshop, they're checking out the slender black and orange box.
Aesthetically it looks the business, large transparent orange door that flips open to reveal the build plate and resin tank.
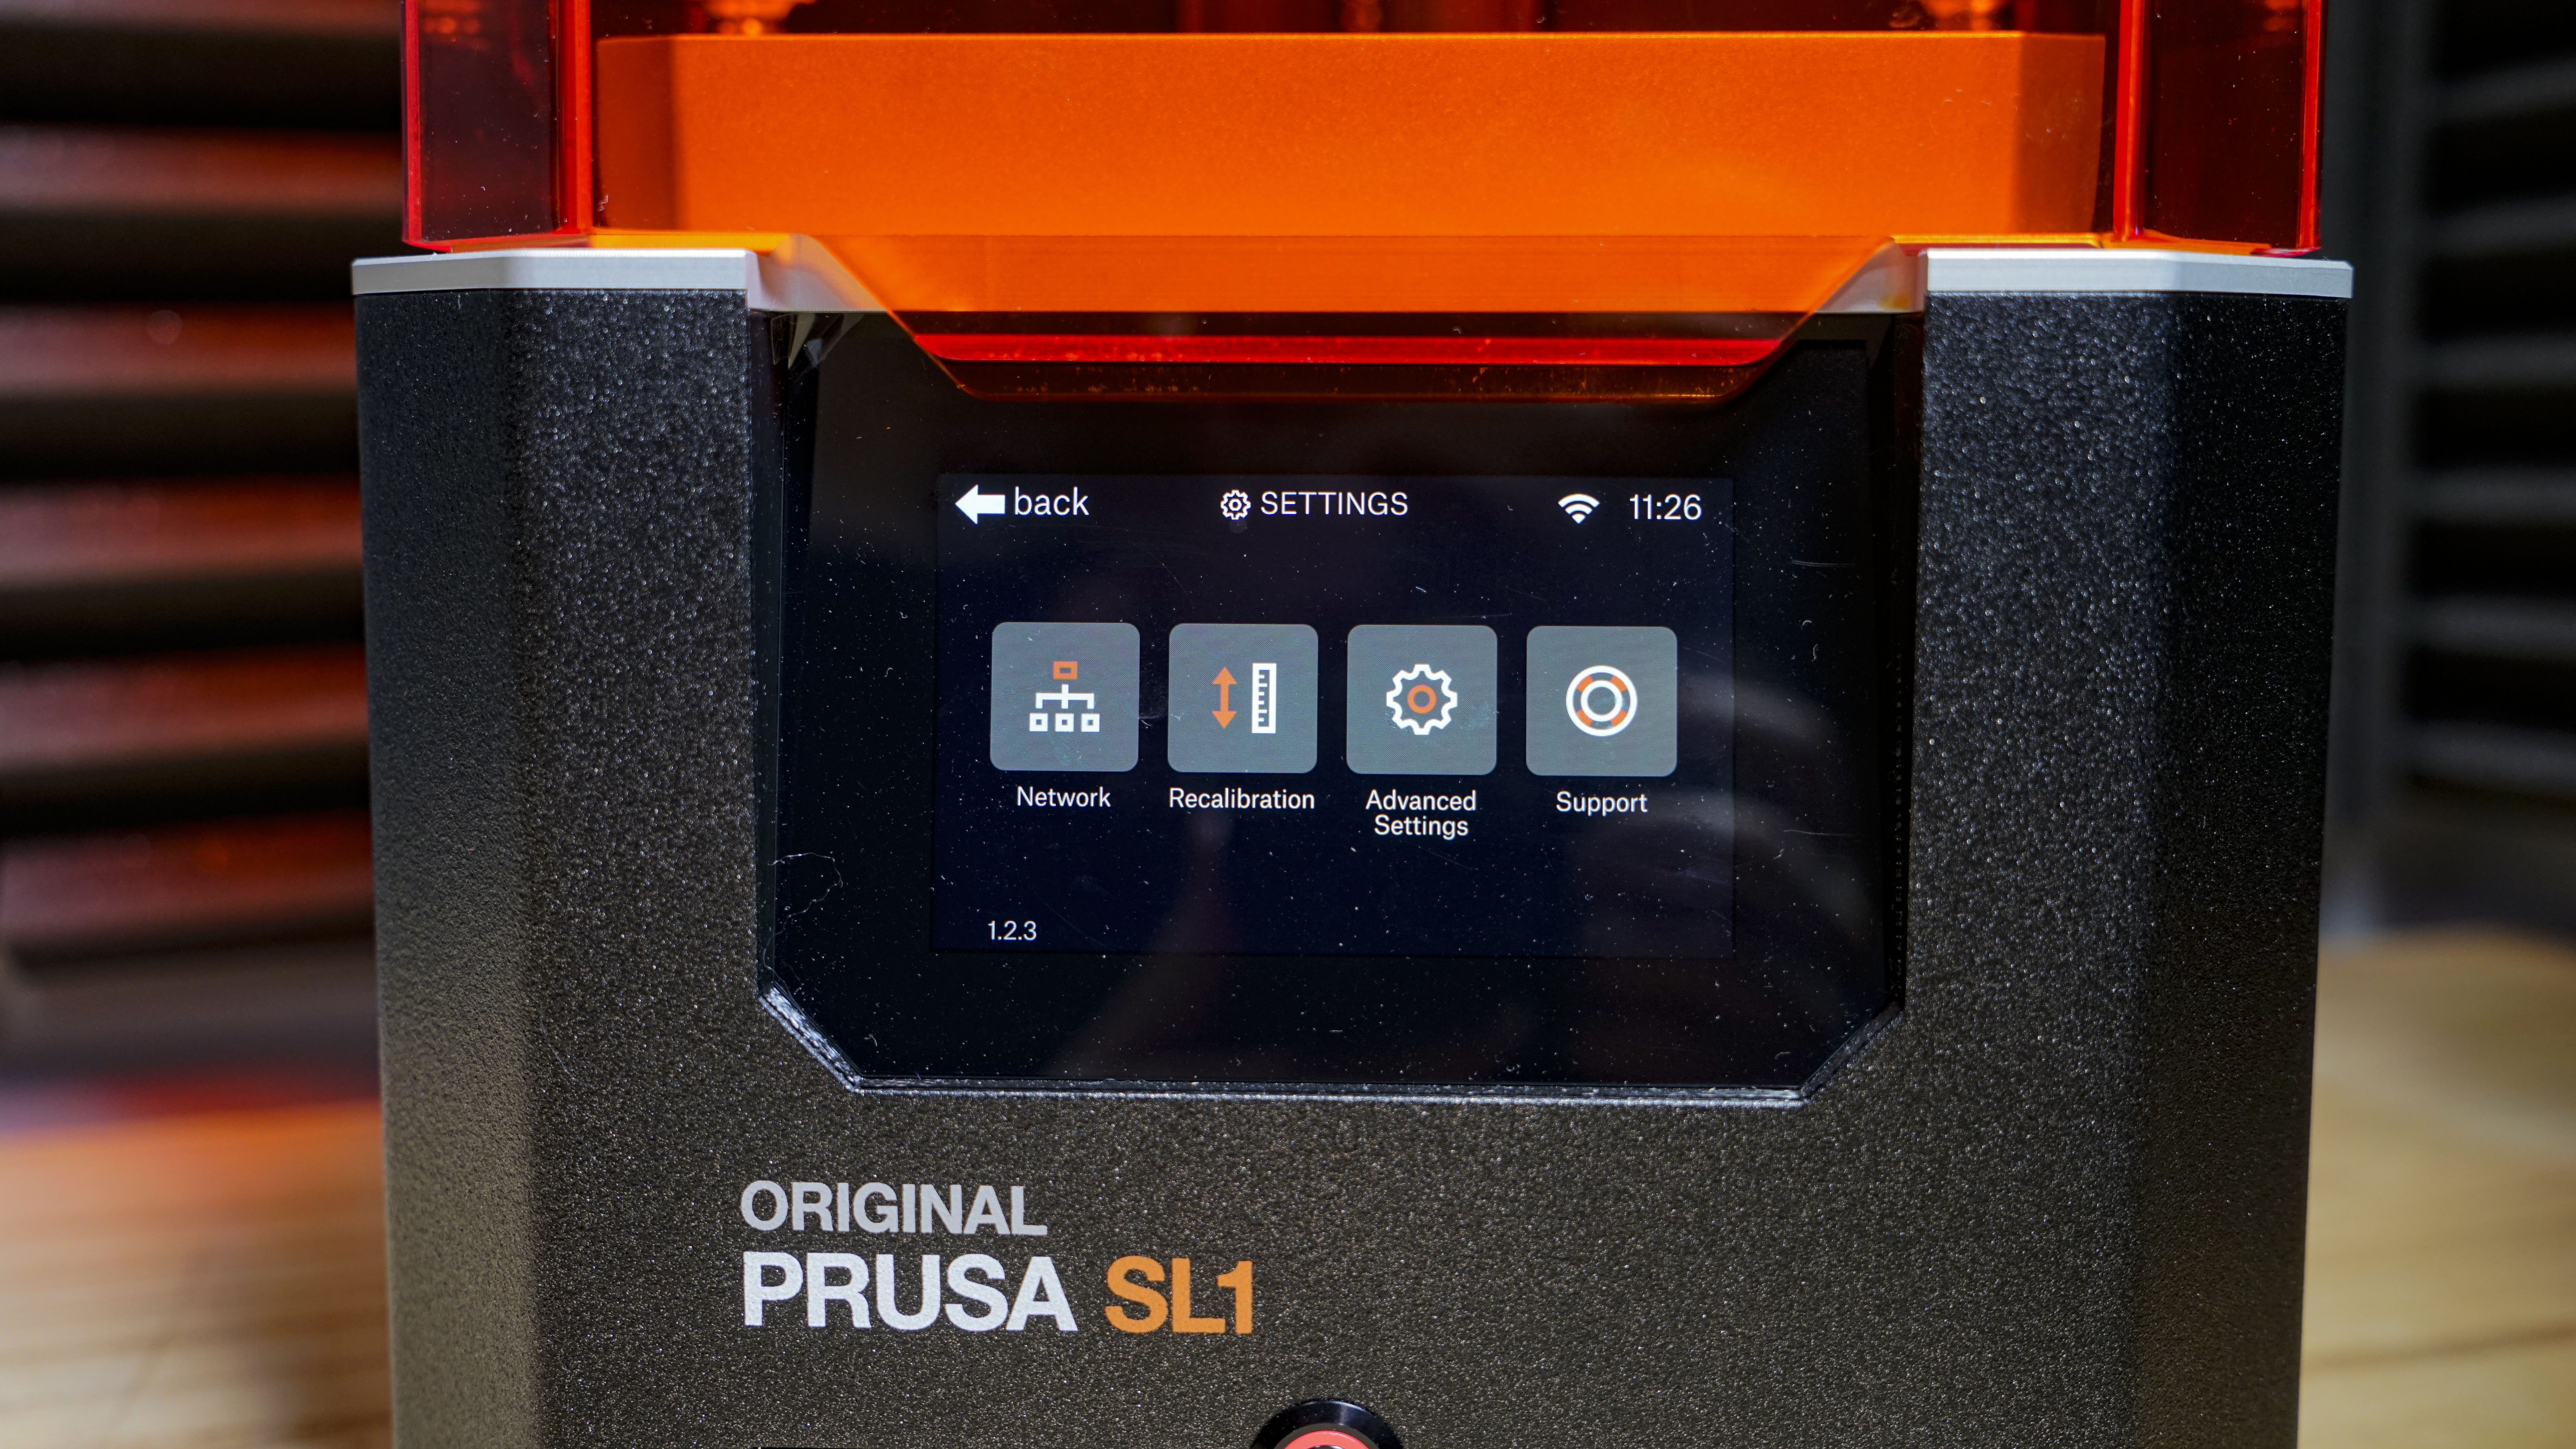
On the base is a large LCD touch screen that enables you to navigate settings quickly. There's nothing here that looks openly Open-Source, this feels like a proper commercial product.
That quality and precision sum up the design and build of the SL1, it's solid and needs to be to produce SLA prints, as unlike FFF printing there's very little margin for error.
From the UV protective orange door to the industrial lead screw, solid metal tank and build plate, the SL1 instantly feels one up on many other SLA printers that I've looked at.
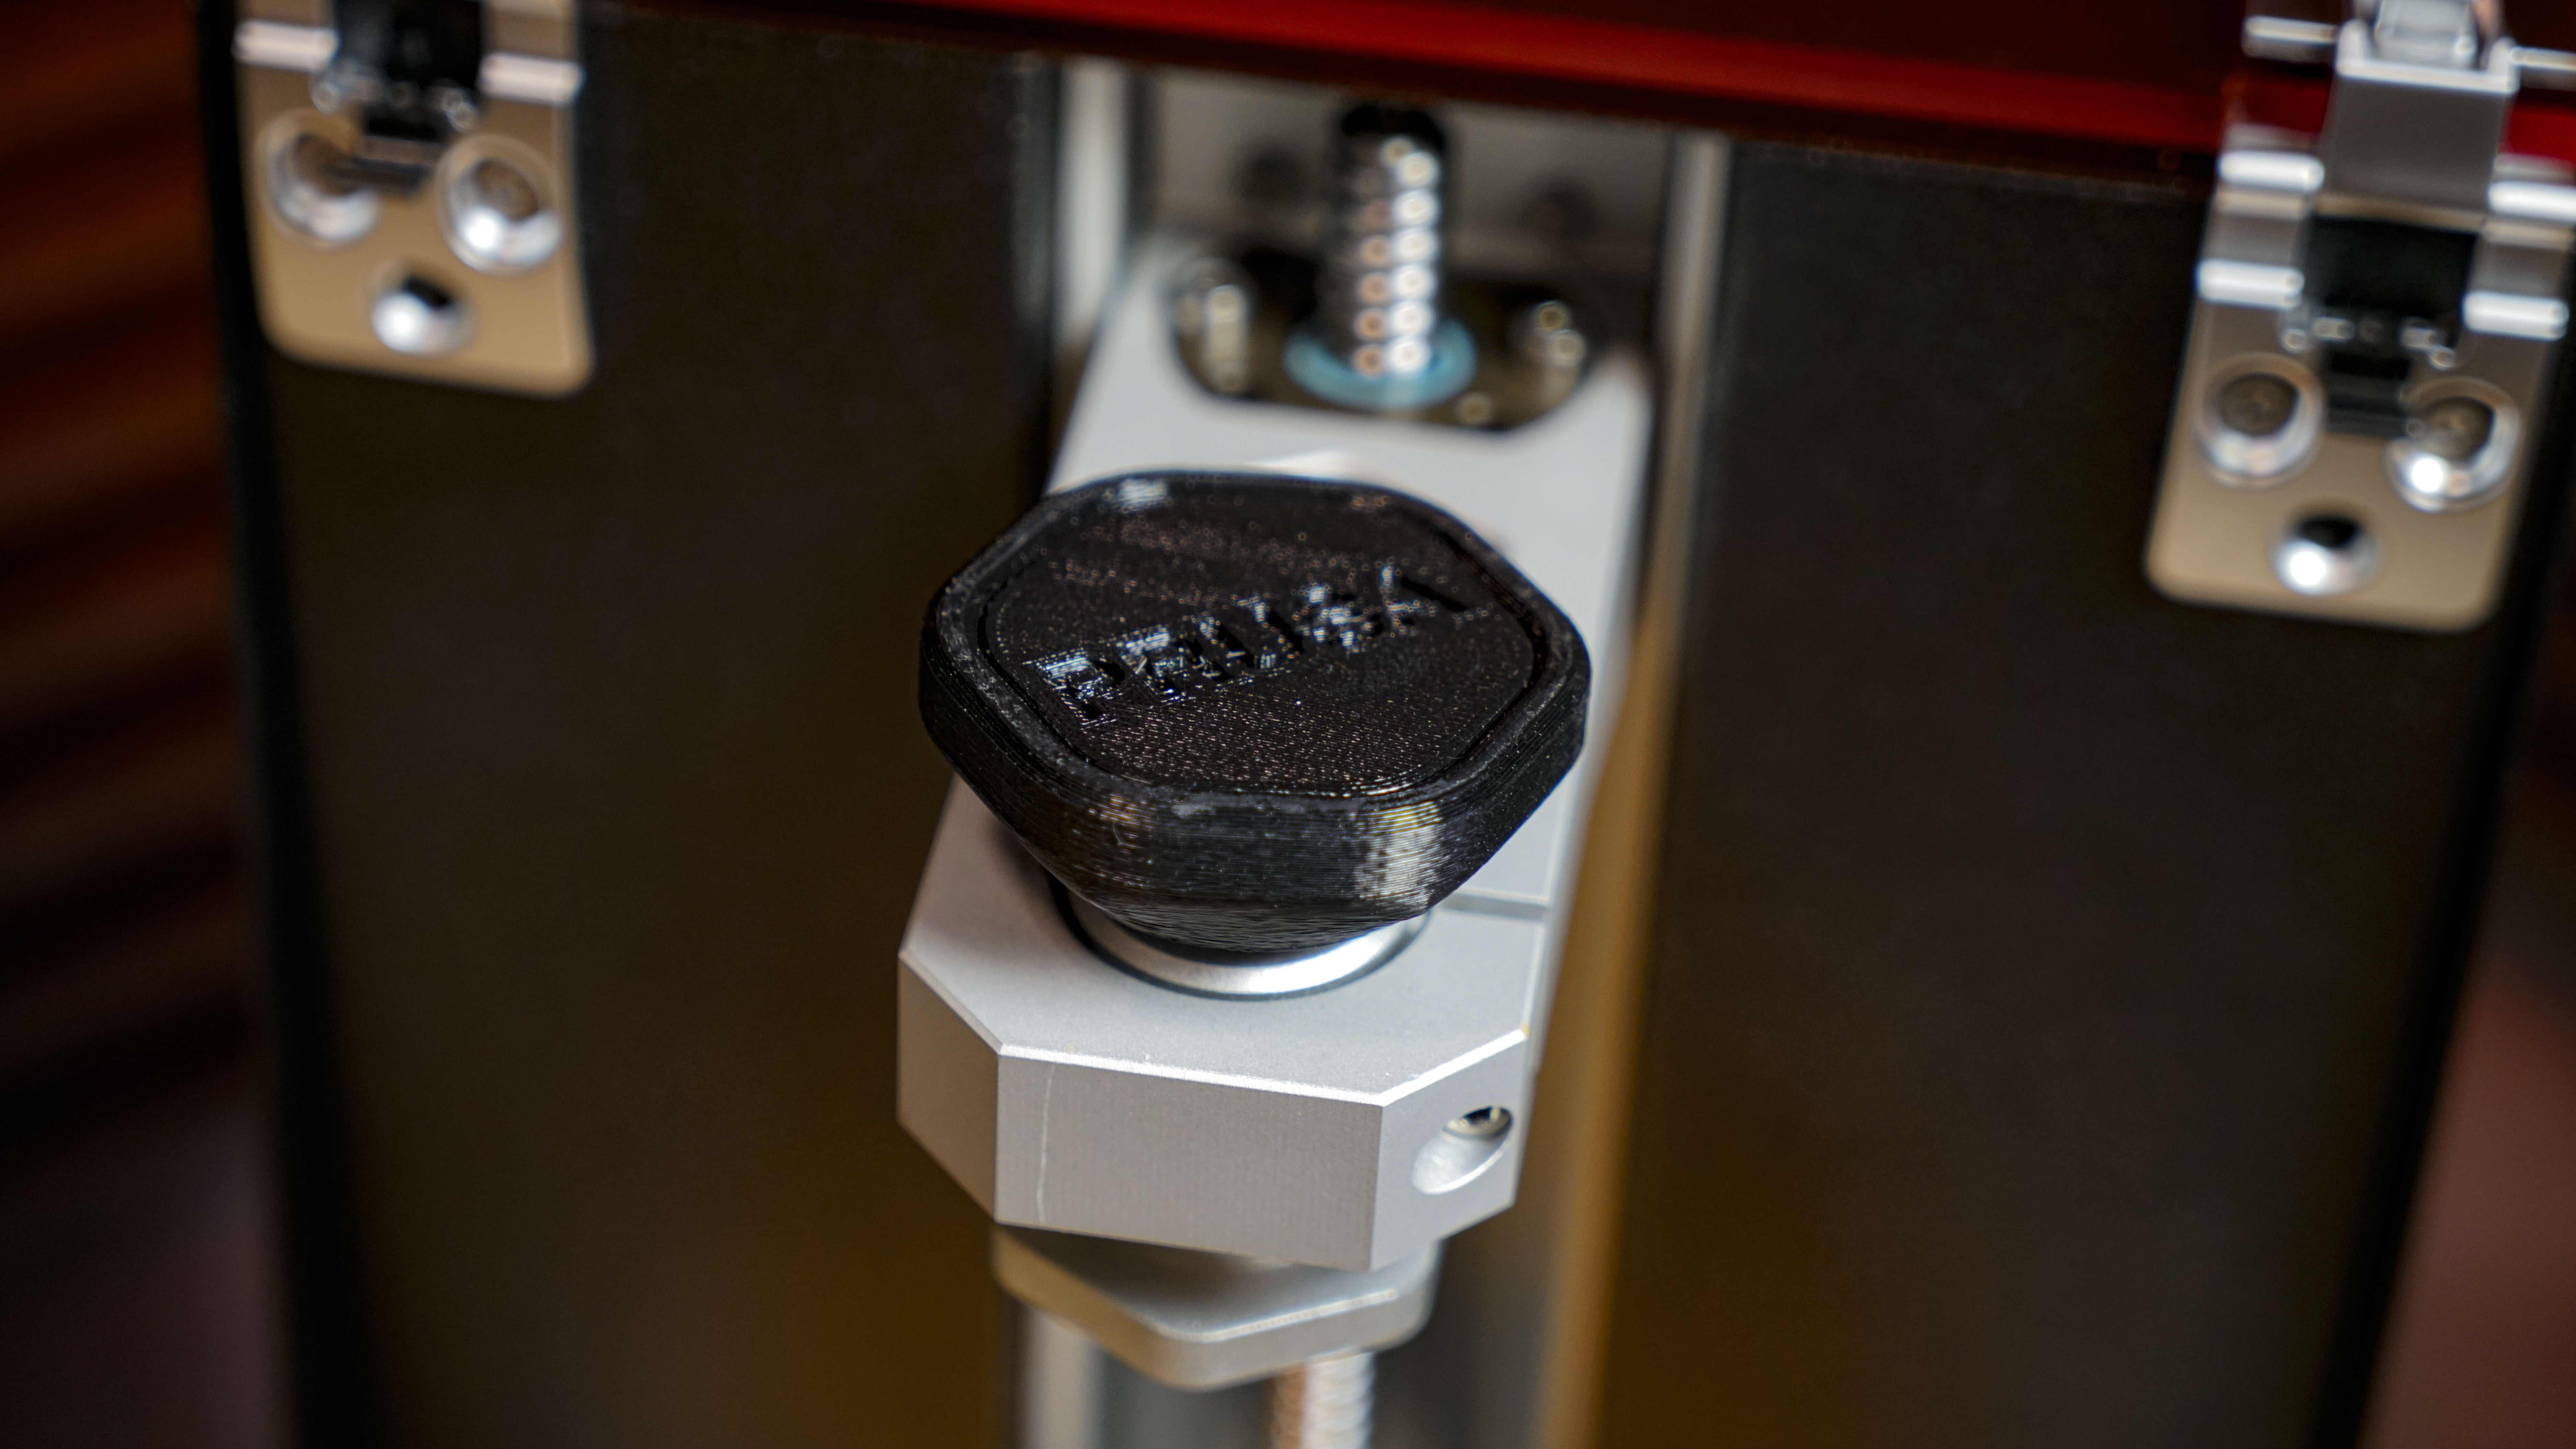
Take a closer look, and you can see those small hints that this printer has it's feet firmly based in the world of Open-Source. The fixing knob on the build plate is 3D printed.
There are a few other 3D printed parts on the machine such as the covercheck cover, blower fan duct and touchscreen frame, a little nod to the Open-Source community, and just letting you know you could build it if you wanted.
Interestingly the 3D printed part is printed with an FFF printer rather than SLA. The only reasons I can think of for this is that it's cheaper to produce and if printed by the SL1 you may not realise that the part was 3D printed.
One aspect of the SL1 that instantly stands out is size and weight. This is by no means a large machine, and the small footprint is ideal for location in a workshop.
Although the printer is compact, it has a good weight to it, and a stable surface or table is the best option. Although in operation, the printer is quiet and doesn't vibrate or wobble in the same was as an FFF printer.
Unlike FFF printers, no material option enables you to use this printer in a small confined space without the fumes getting to you. By the very nature of SLA printing, it is more industrial, and a decent workshop is the best option or at the very least a very well vented room. Thanks to the filter assembly you are able to attach a hose and direct all the fumes to outer space.
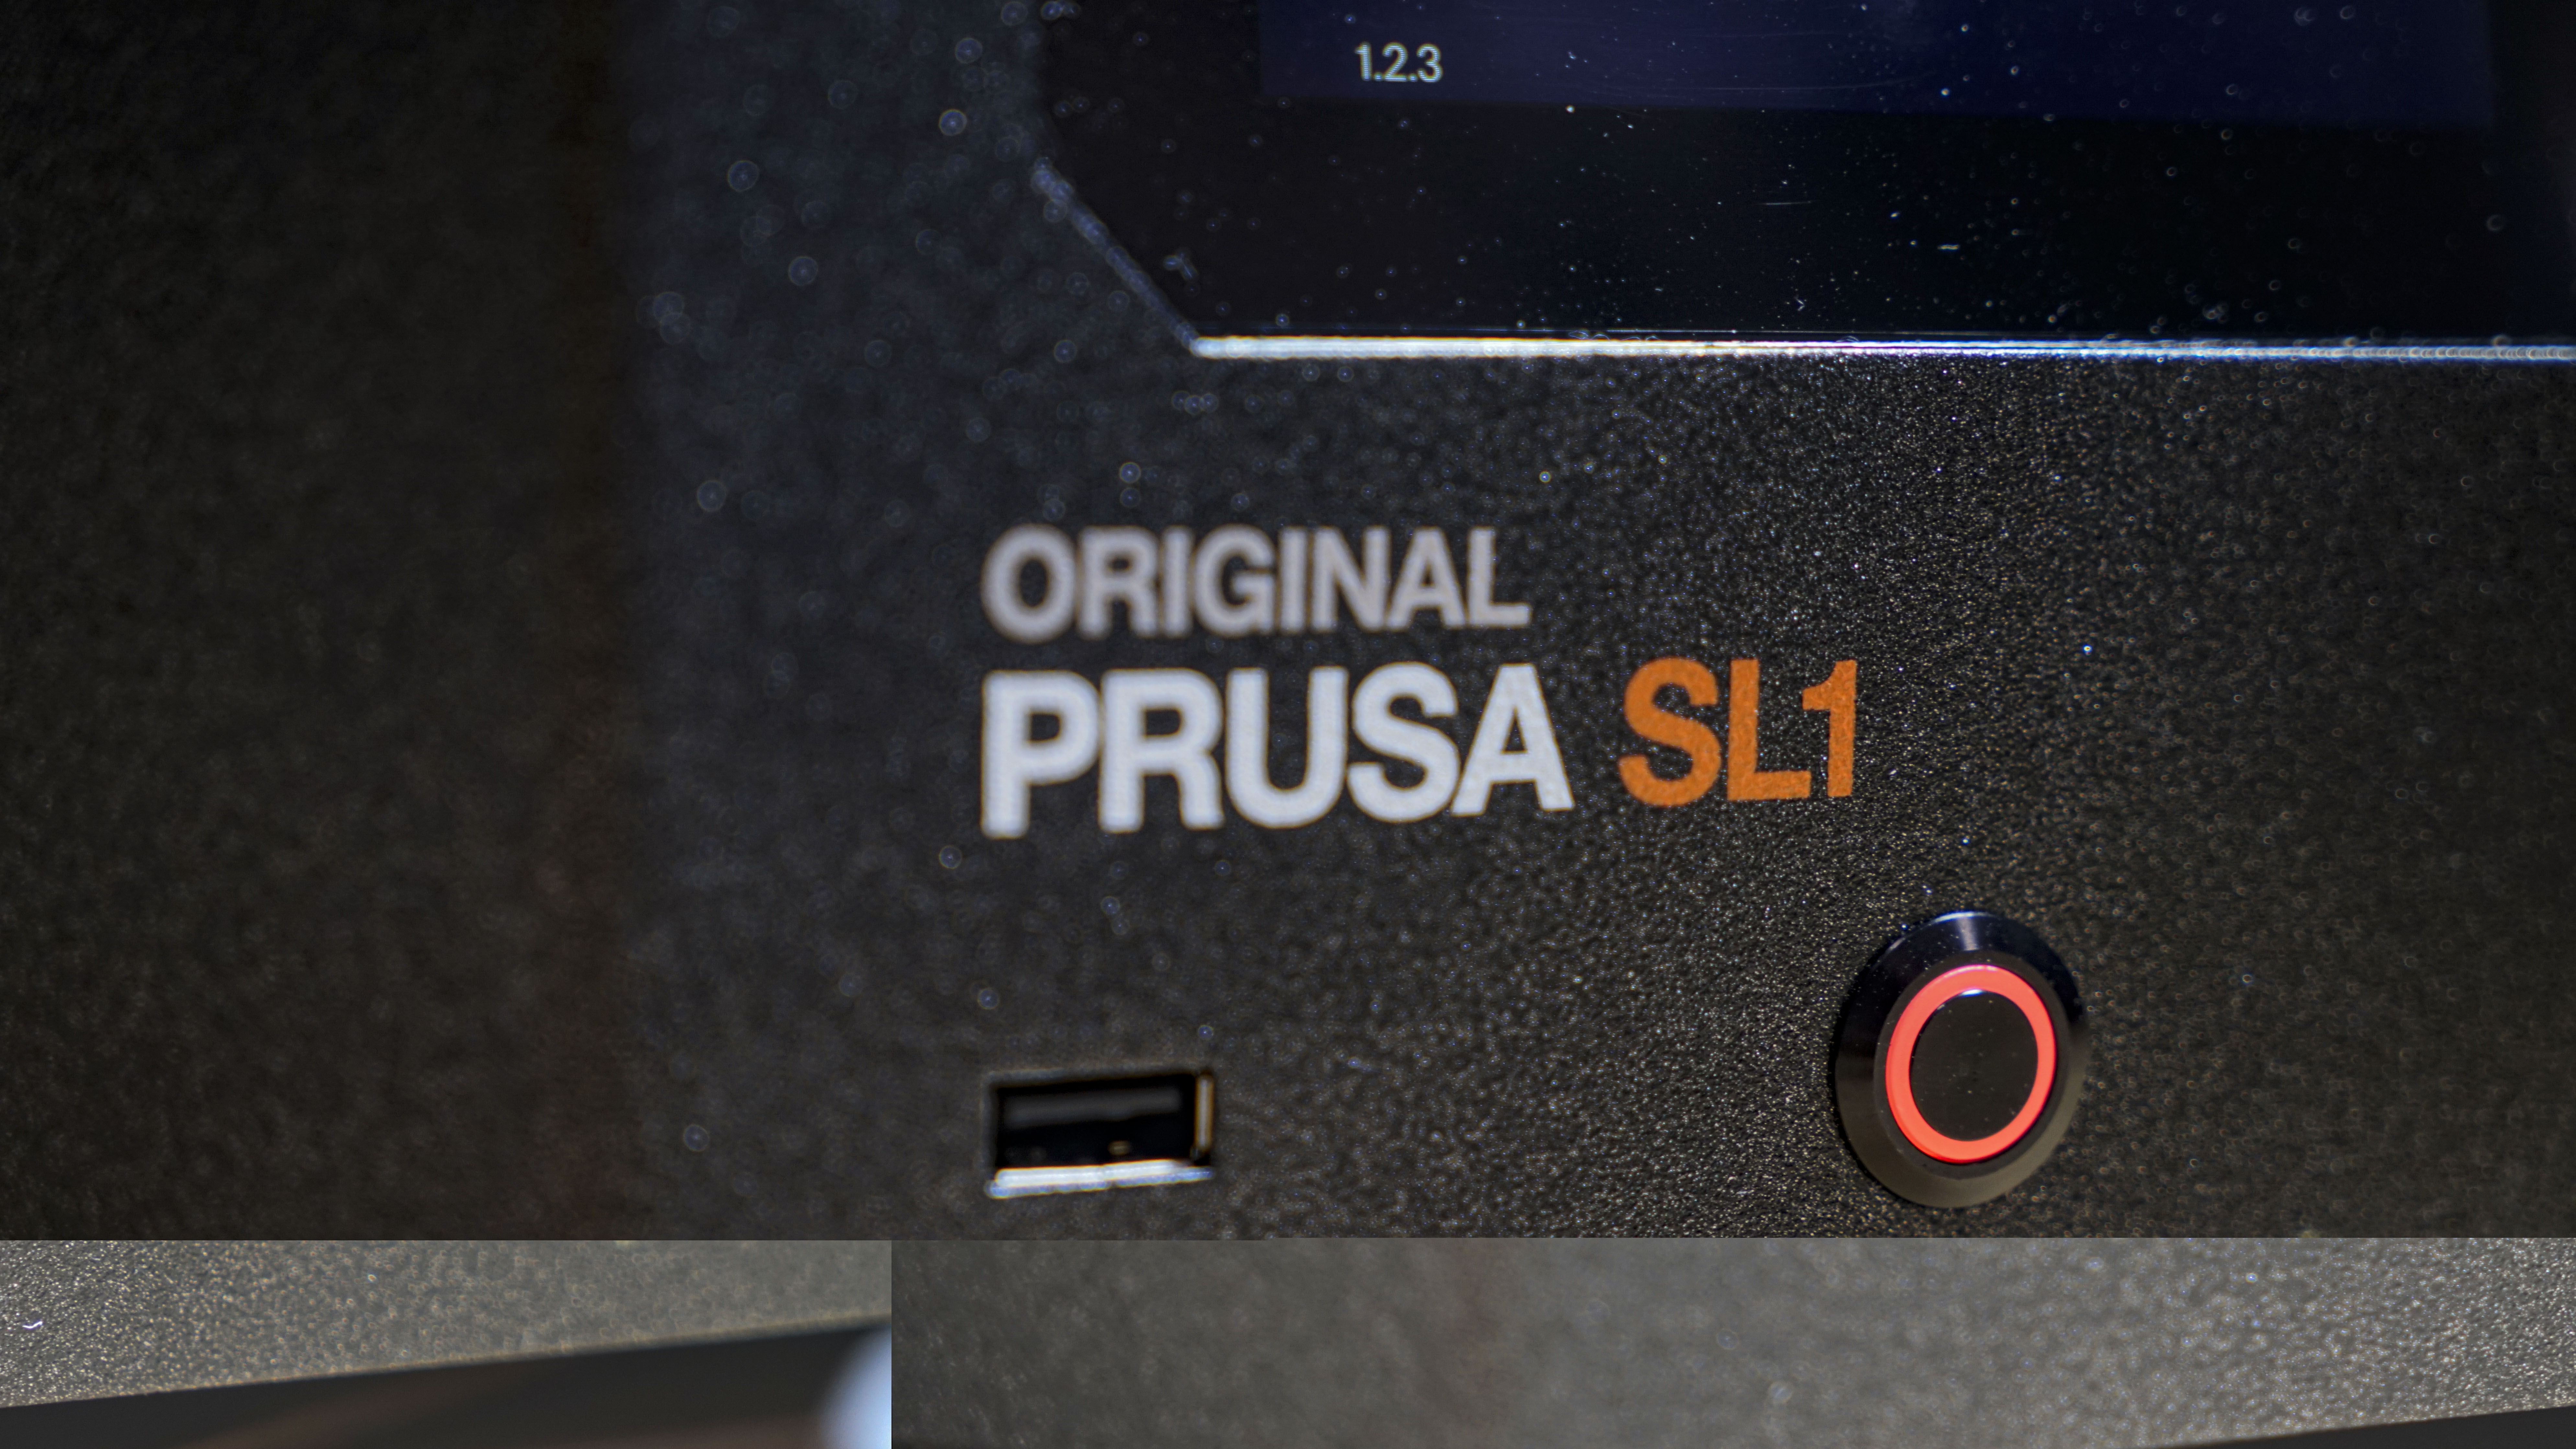
Connectivity can be a real 3D printing headache, but here Prusa Research has opted for every type of connection going, Wi-Fi, Network and USB.
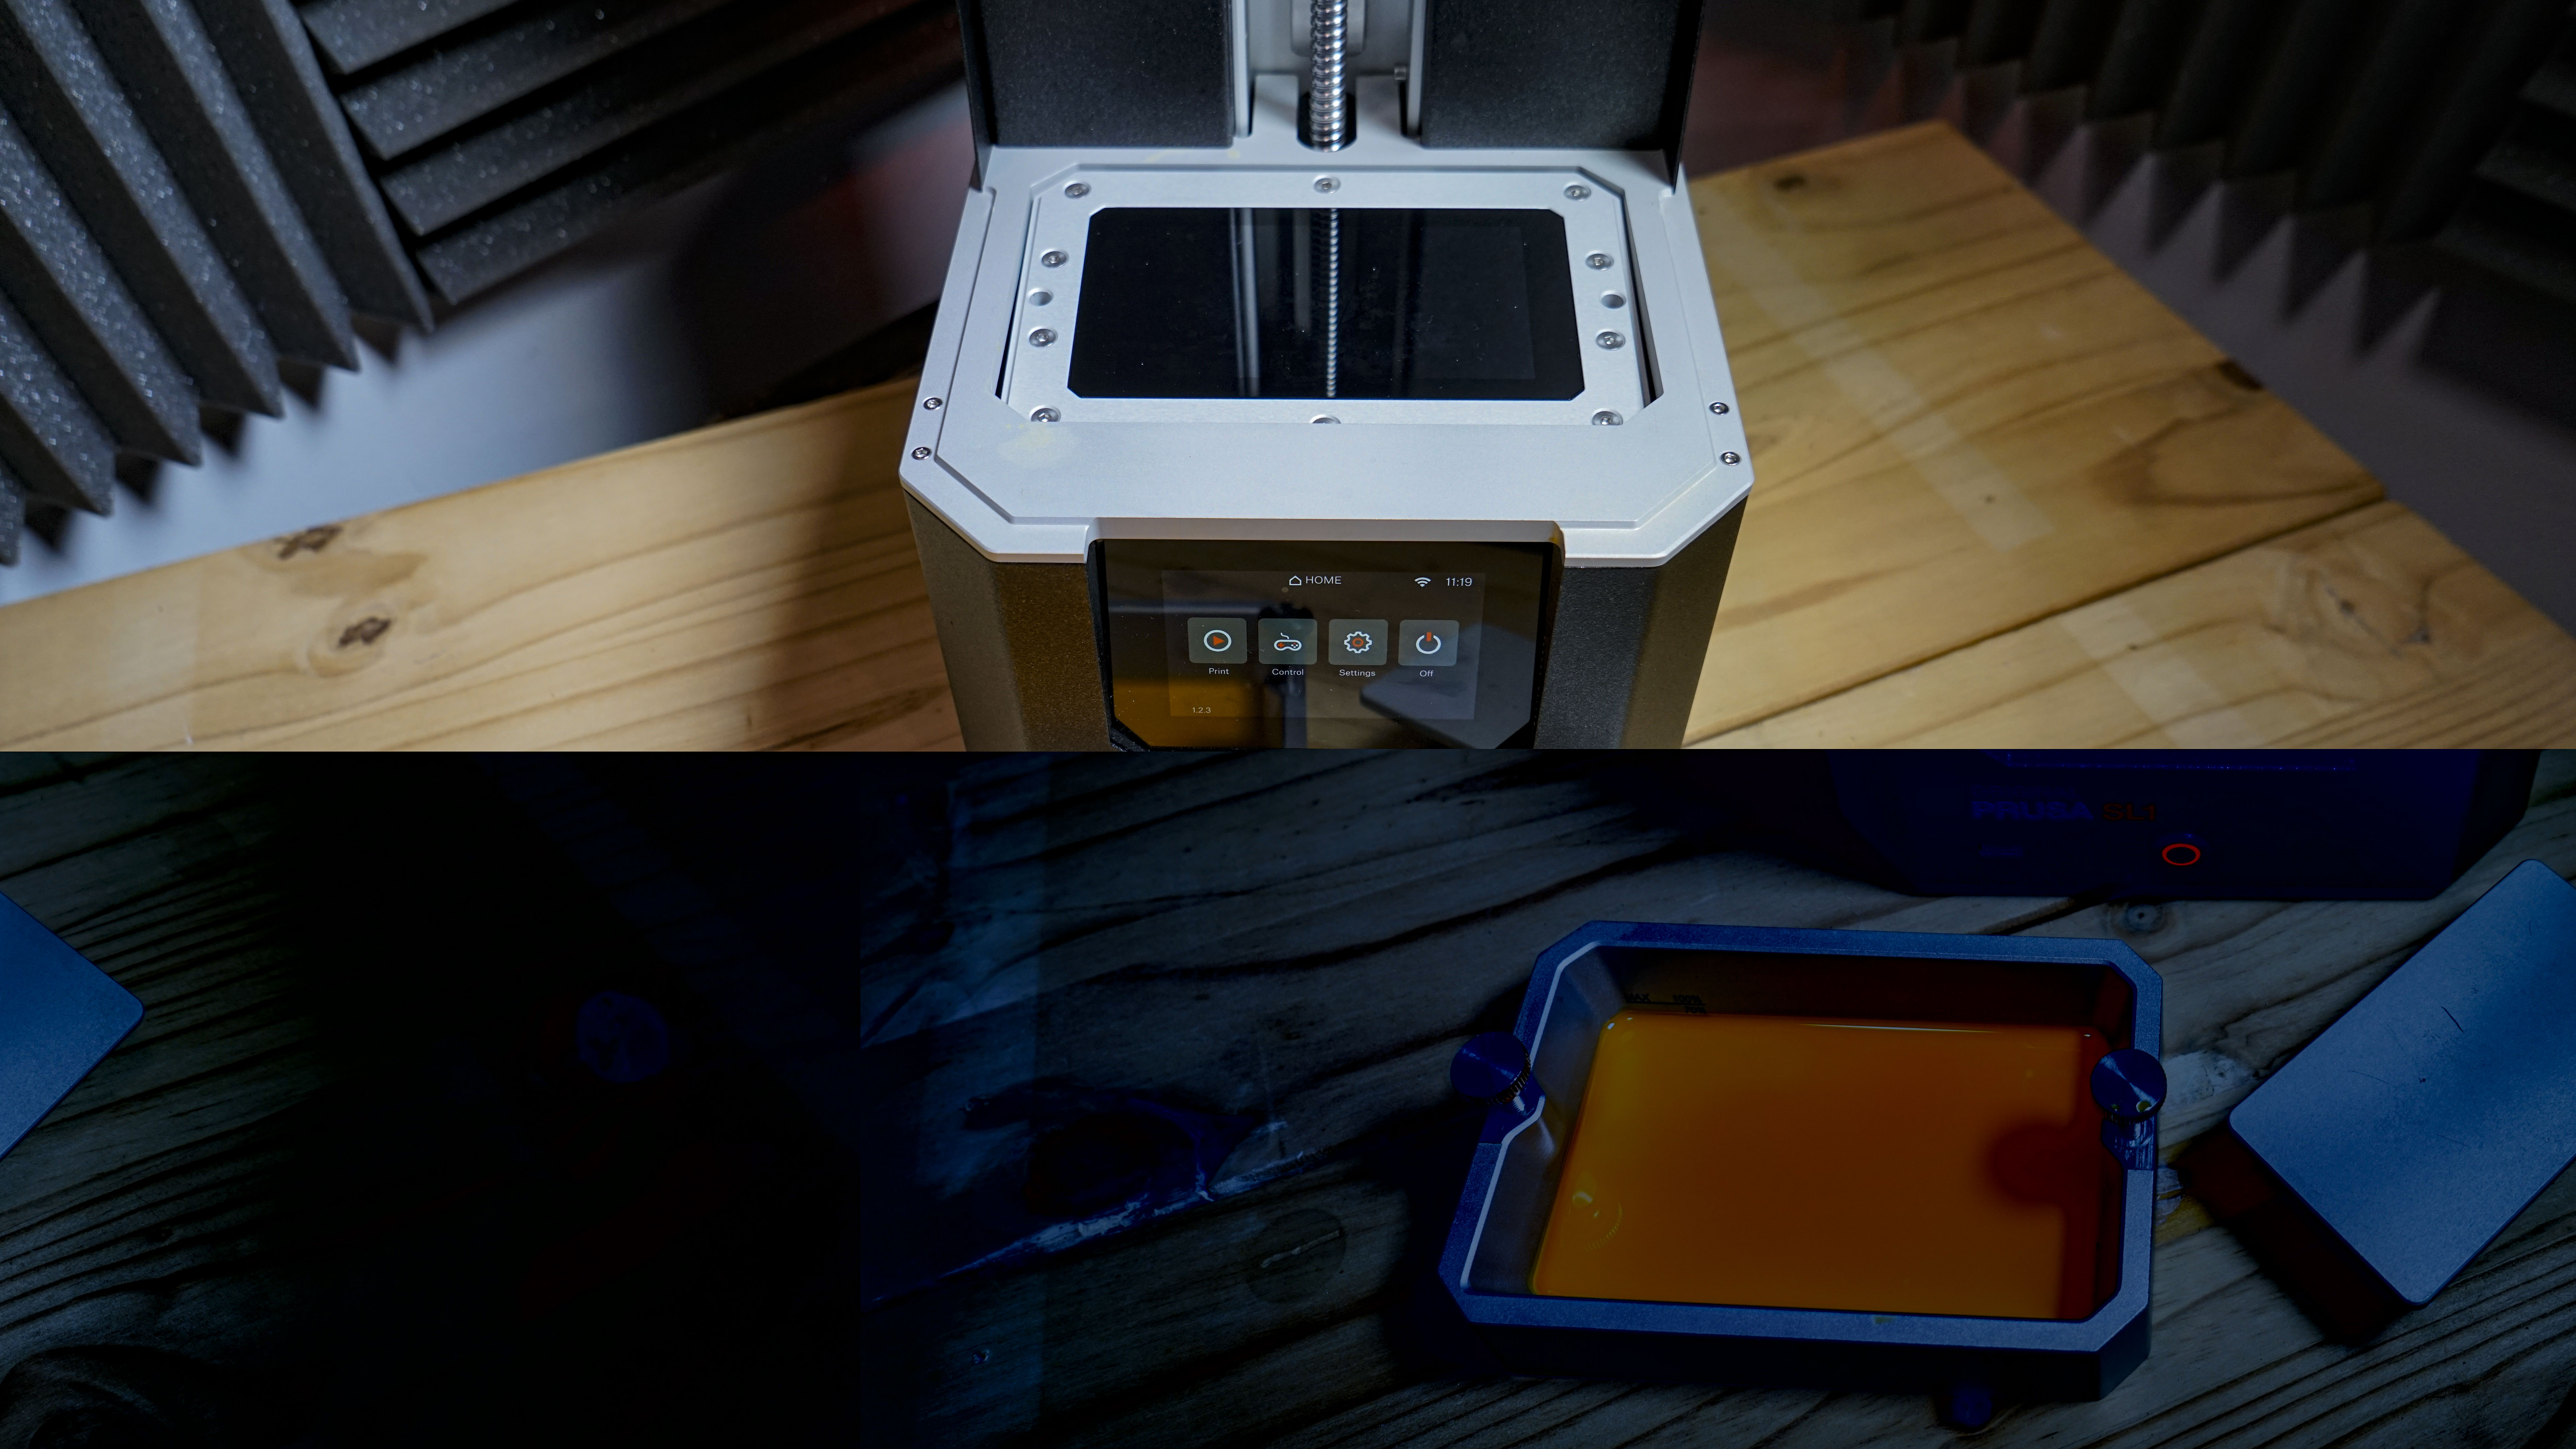
Ease of use has been carefully considered and opening the door; you can see that the build plate is easily removable once the print has finished.
This feature is vital due to the finishing process that's required with SLA prints.
Then there's the bolt in tank, the tank itself is solid and made to last, but the perishable film base that will inevitably degrade over time is replaceable.
There's a lot to be said for the design ethics of Prusa Research making sure that these parts are serviceable.
Features
When it comes to features, you can see the difference between SLA and FFF 3D printers. SLA will inevitably have a far smaller print platform and build area than FFF, but the print resolution will be far higher.
Let's take a look at the main features:
The exposure method or MSLA system uses an LCD screen to display a mask and a UV LED to cure the resin. The LCD is a 5.5-inch with a resolution of 2560x1440p, Quad HD or Wide QHD, and has a fixed XY resolution of 0.047mm (47um).
Each layer takes around 6 seconds to expose whatever the size of the print, as it exposes the entire layer in one go. The UV wavelength is 405nm, and light intensity is cca 990mW/m2.
The ball screw Z-axis, which looks incredibly robust is powered by the Trinamic stepper drivers enabling a minimum layer height of 0.01mm, the motors are also incredibly quiet. Although Prusa Research states the normal workable range for a standard user is between 0.025 and 0.1mm per layer.
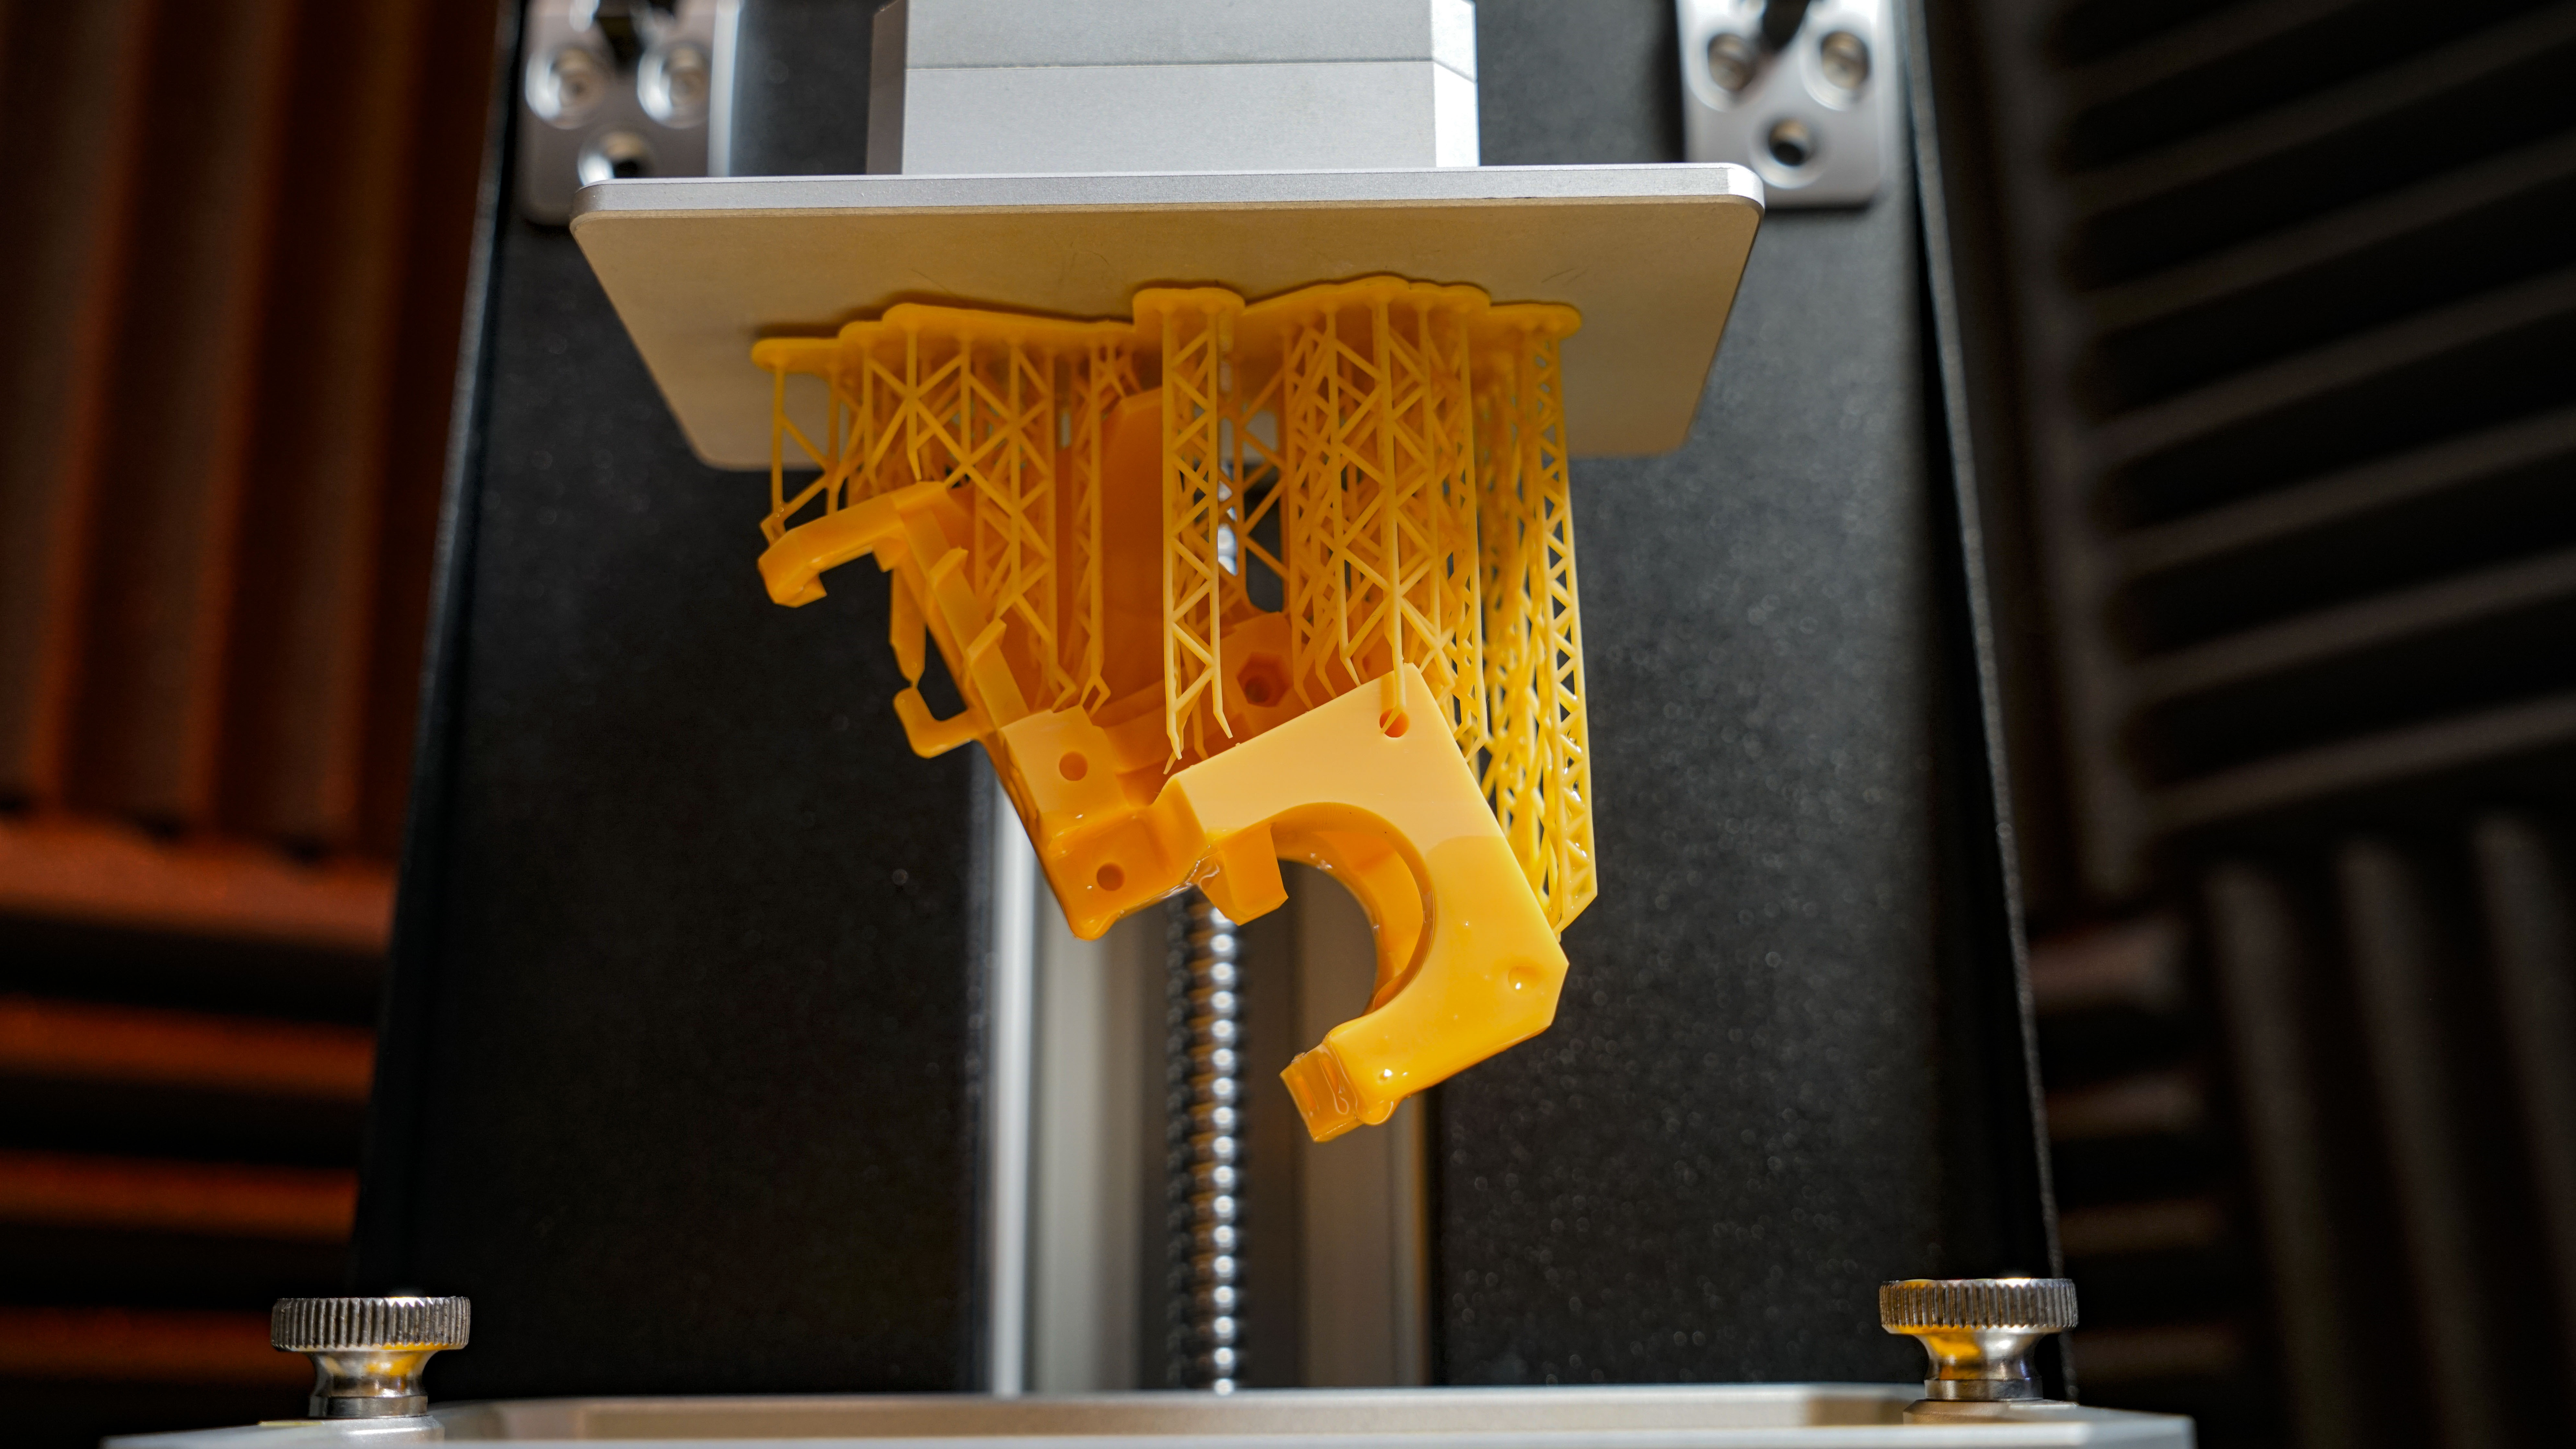
The print area of an SLA printer is generally far smaller than that of an FFF printer, and here the SL1 has an area of 120x68x150mm. This might not sound large, but in the SLA world, that's OK, but is still on the small side.
Resin can suffer from all sorts of issues; testing any SLA printer will highlight almost everyone in a very short time. Prints sticking to the exposure surface rather than the build platform, cured bits of resin floating around and so the list goes on.
Various manufacturers have come up with different solutions, and here Prusa has gone for a unique tilting tank.
It's a decent approach and keeps the resin moving through the print process; it's also far faster than wiper arms and some other methods employed by other manufacturers.
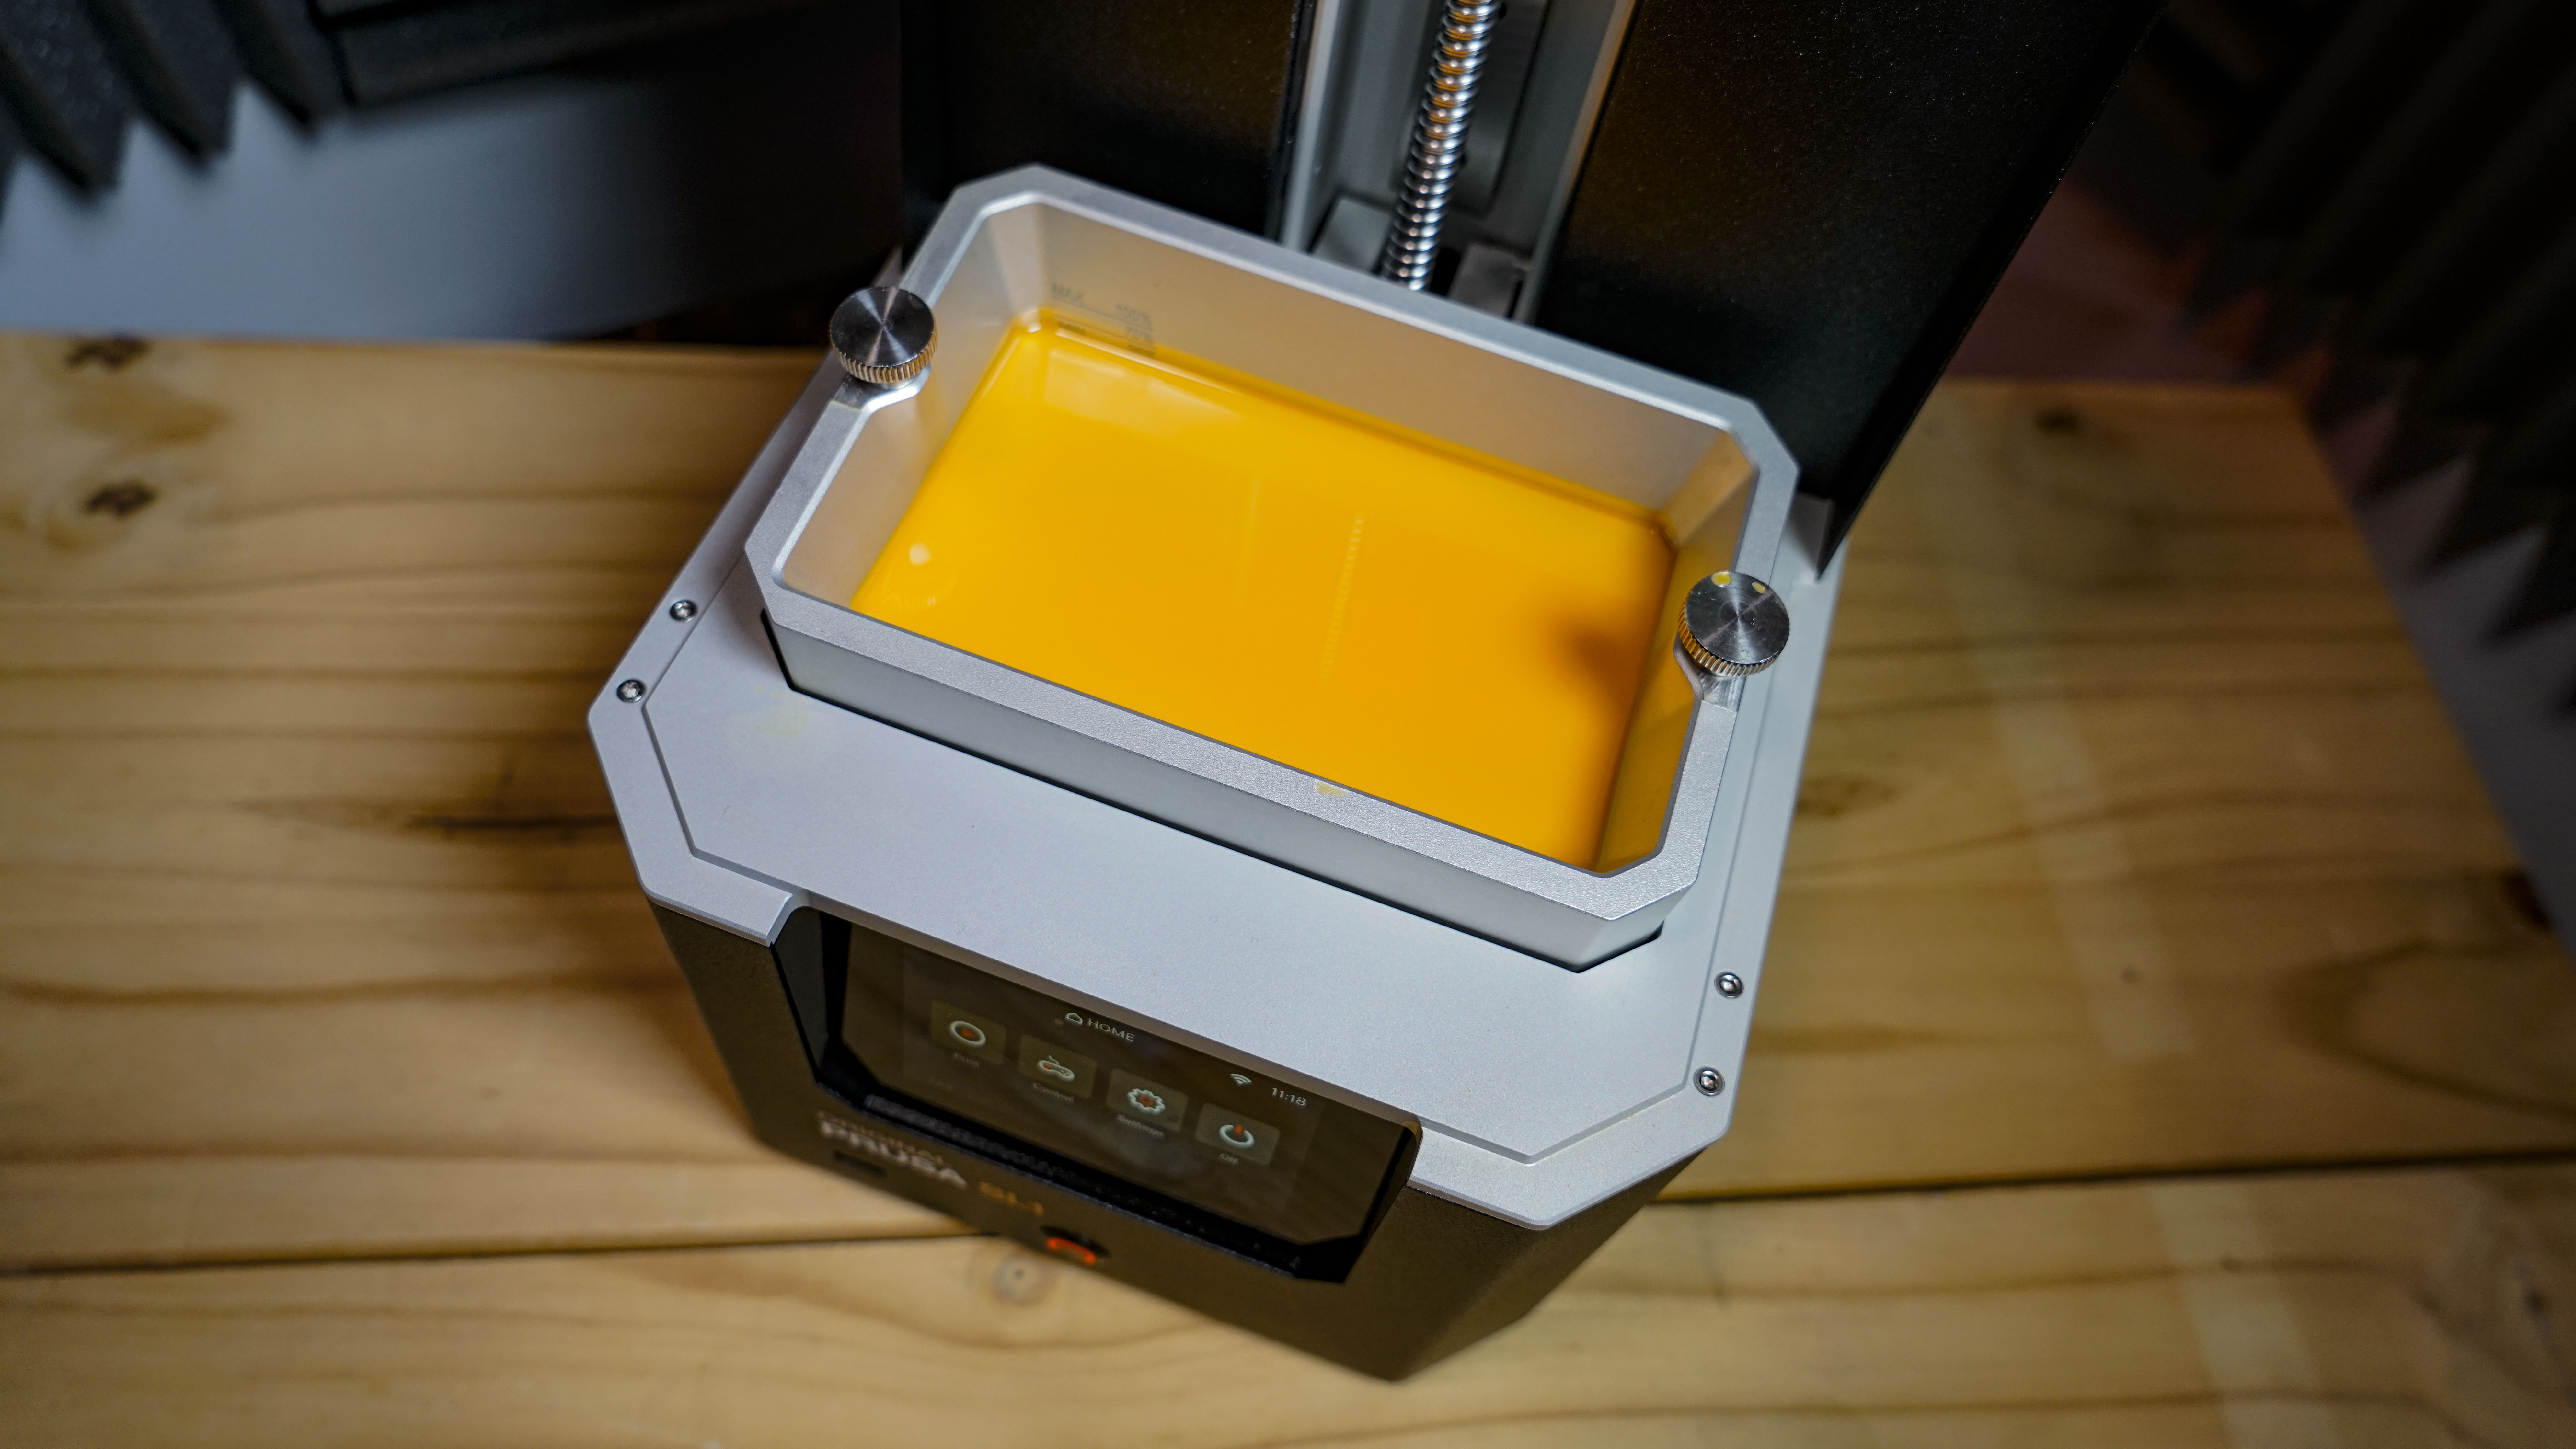
When it comes to resin levels you add resin by hand before the print, there are no pipes or reservoirs to fill. The level of the resin is measured by a sensor hidden away in the printing platform.
This measures the volume of resin in the tank and ensures that there's enough resin to complete the job. If the resin is below the required amount, then a warning will appear on the front LCD screen.
Another stand out feature of the tank is the FEP transparent film on the base. This can be replaced when the film starts to discolour or becomes damaged.
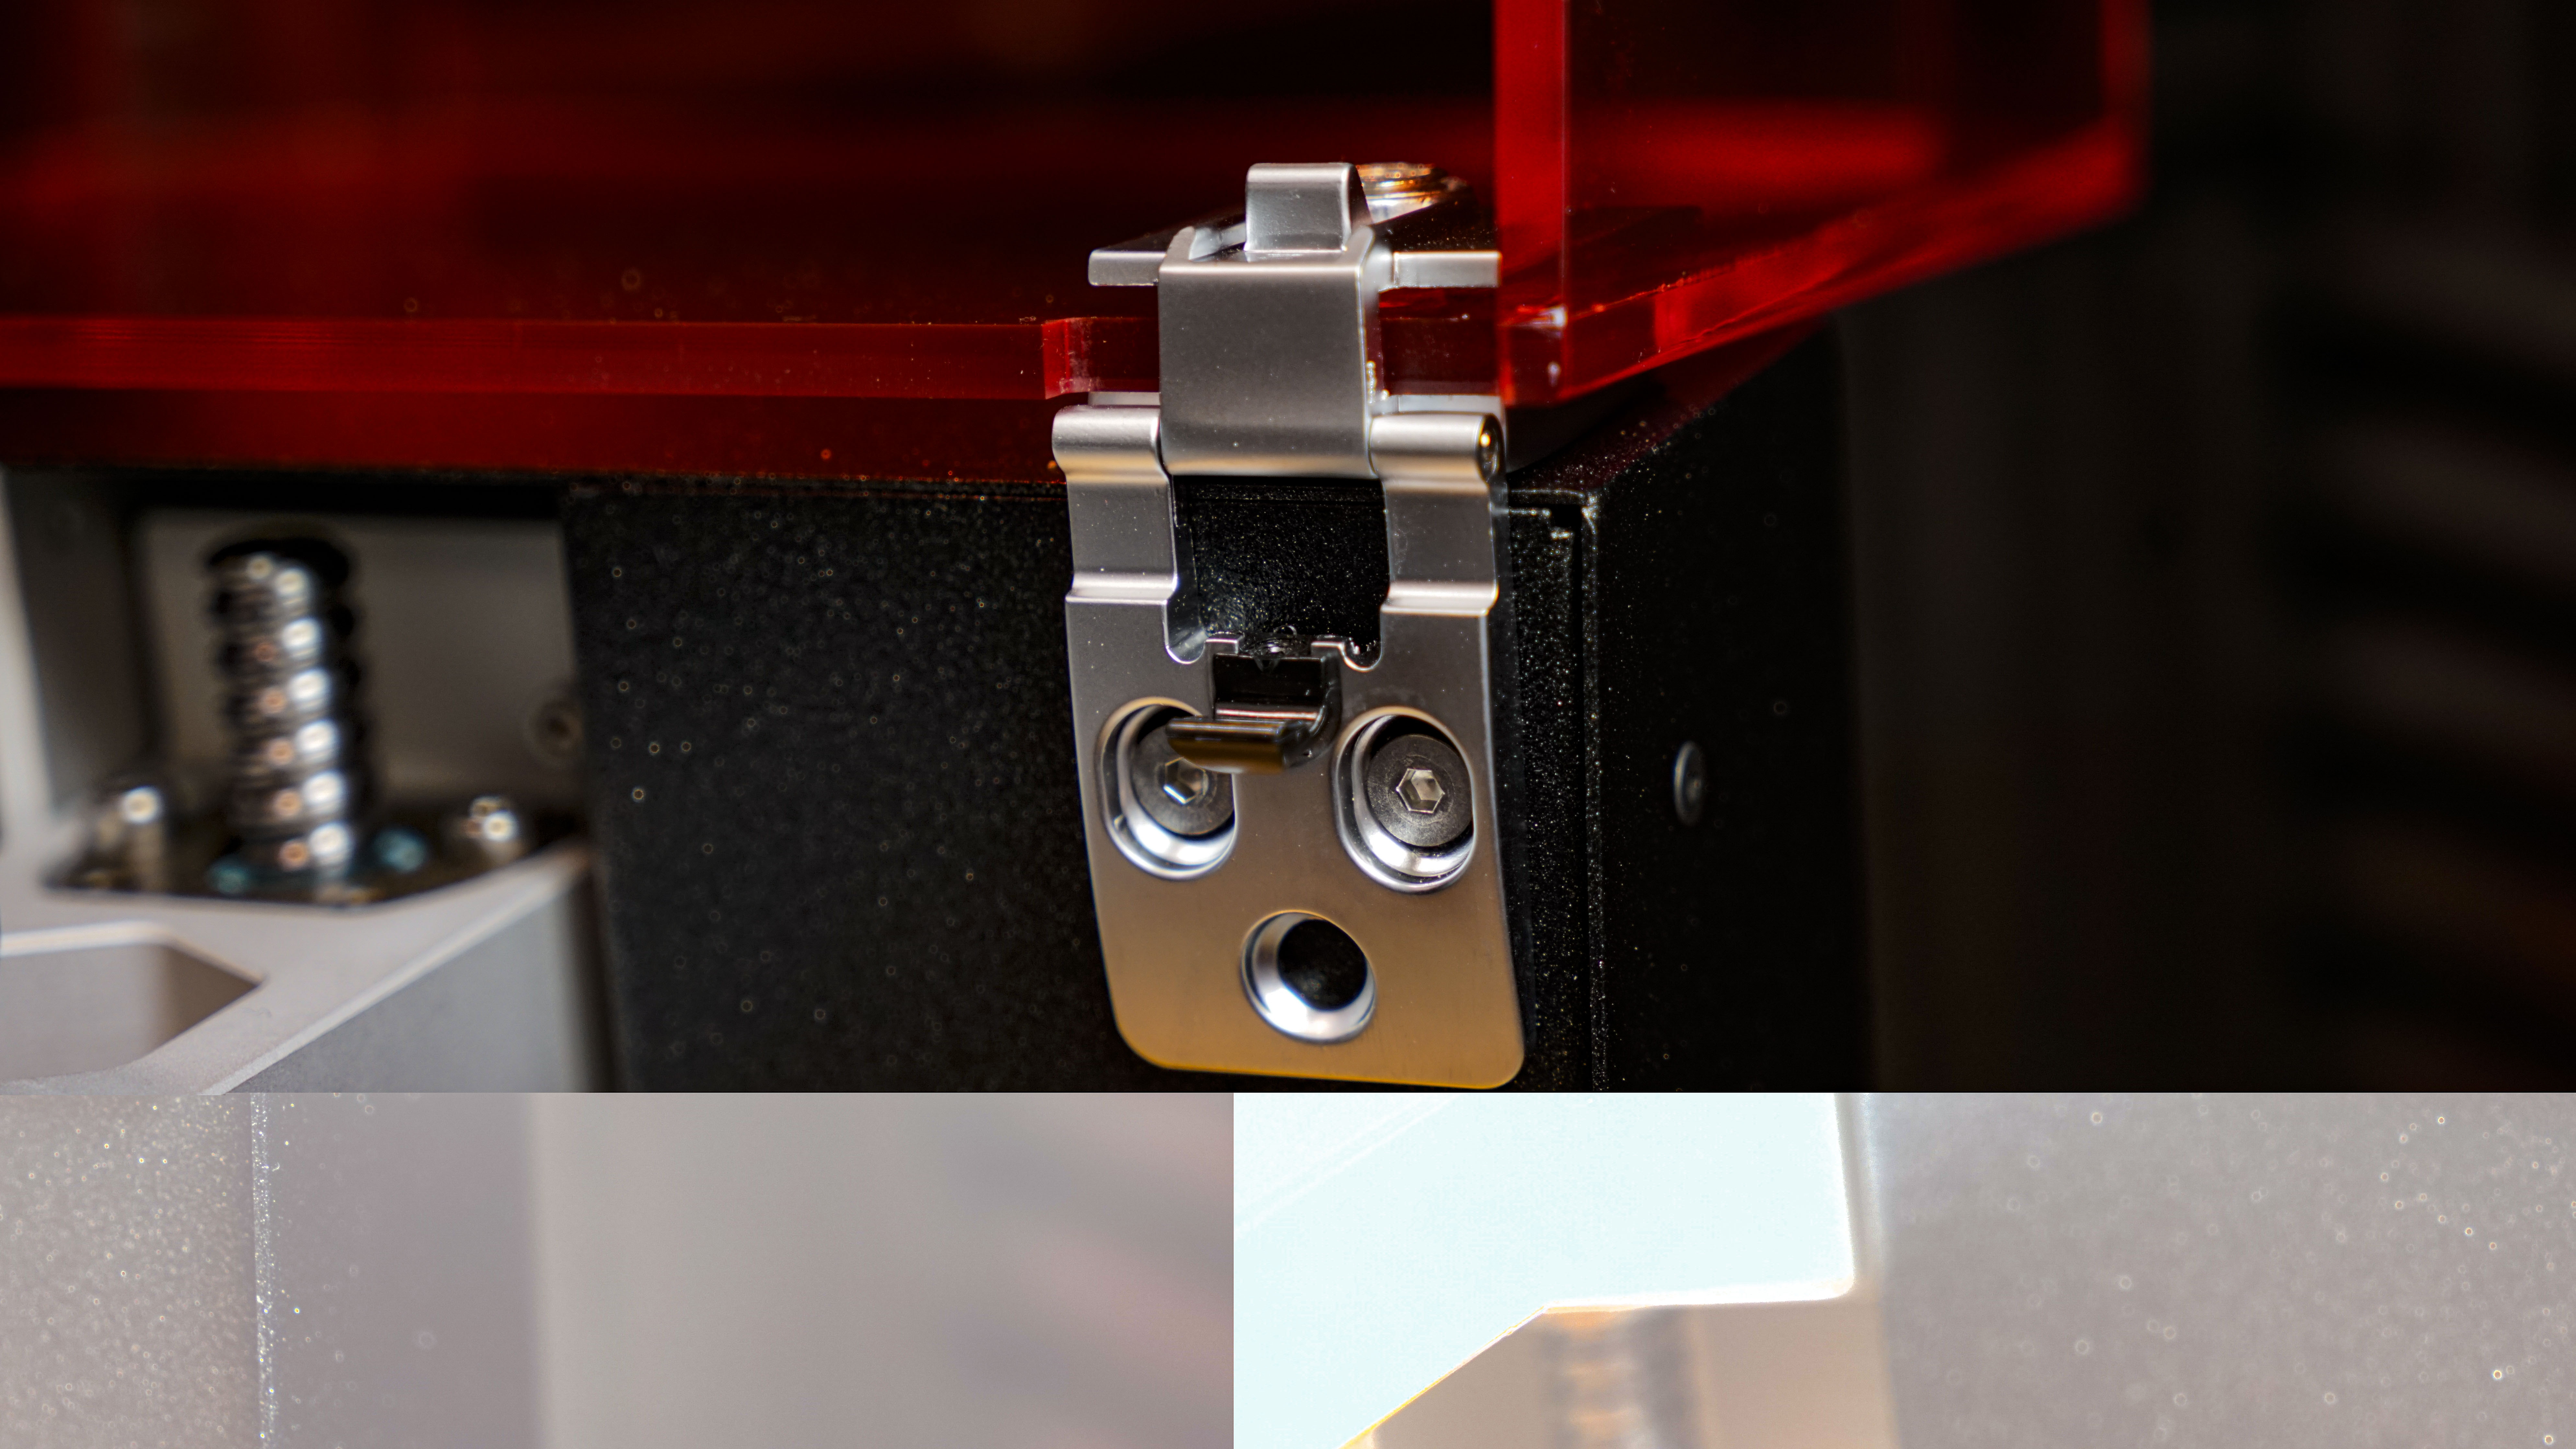
To do this the bolts holding it in place can be removed and a new FEP film can be placed in. The process is easy and takes about 10 minutes to complete.
The SL1 is also not tied to proprietary resins and is compatible with any UV sensitive liquid resin.
The build platform, as with much of the construction, is solid metal and has a couple of features that aid with easy calibration and print removal.
A ball joint connects the main arm to the build platform, and this is released for free movement during the step-by-step calibration process. There's also a release knob on top that enables the build platform to be slipped out once a print is complete.
For me, one of the most significant issues with SLA printing, aside from dealing with the resin, is the smell. The entire process gives off fumes, but it is possible to attach a hose to the filter assembly and route that in to an extractor..
However, there are a few design elements that help with the fume issue. A lid covers the main print area containing some of the fumes and there's a fan and filter at the back of the machine. It would have been good if the rear extraction fan had the ability to link into an extractor easily.
Sizewise the printer is actually quite small and comfortably fits on most surfaces, even a shelf, and measures in at 400x237x225mm.
A big part of the Original PRUSA SL1 is the software. PrusaSlicer has grown and developed and is now a formidable force.
The SL1 can communicate with the software in a range of ways, from direct connection to Network, Wi-Fi or USB.
On the front of the machine is the control panel, and of all 3D printers that I've seen this is one of the clearest and easiest to use.
Initial instruction for set-up then calibration are clear and concise, with images to help guide you when needed.
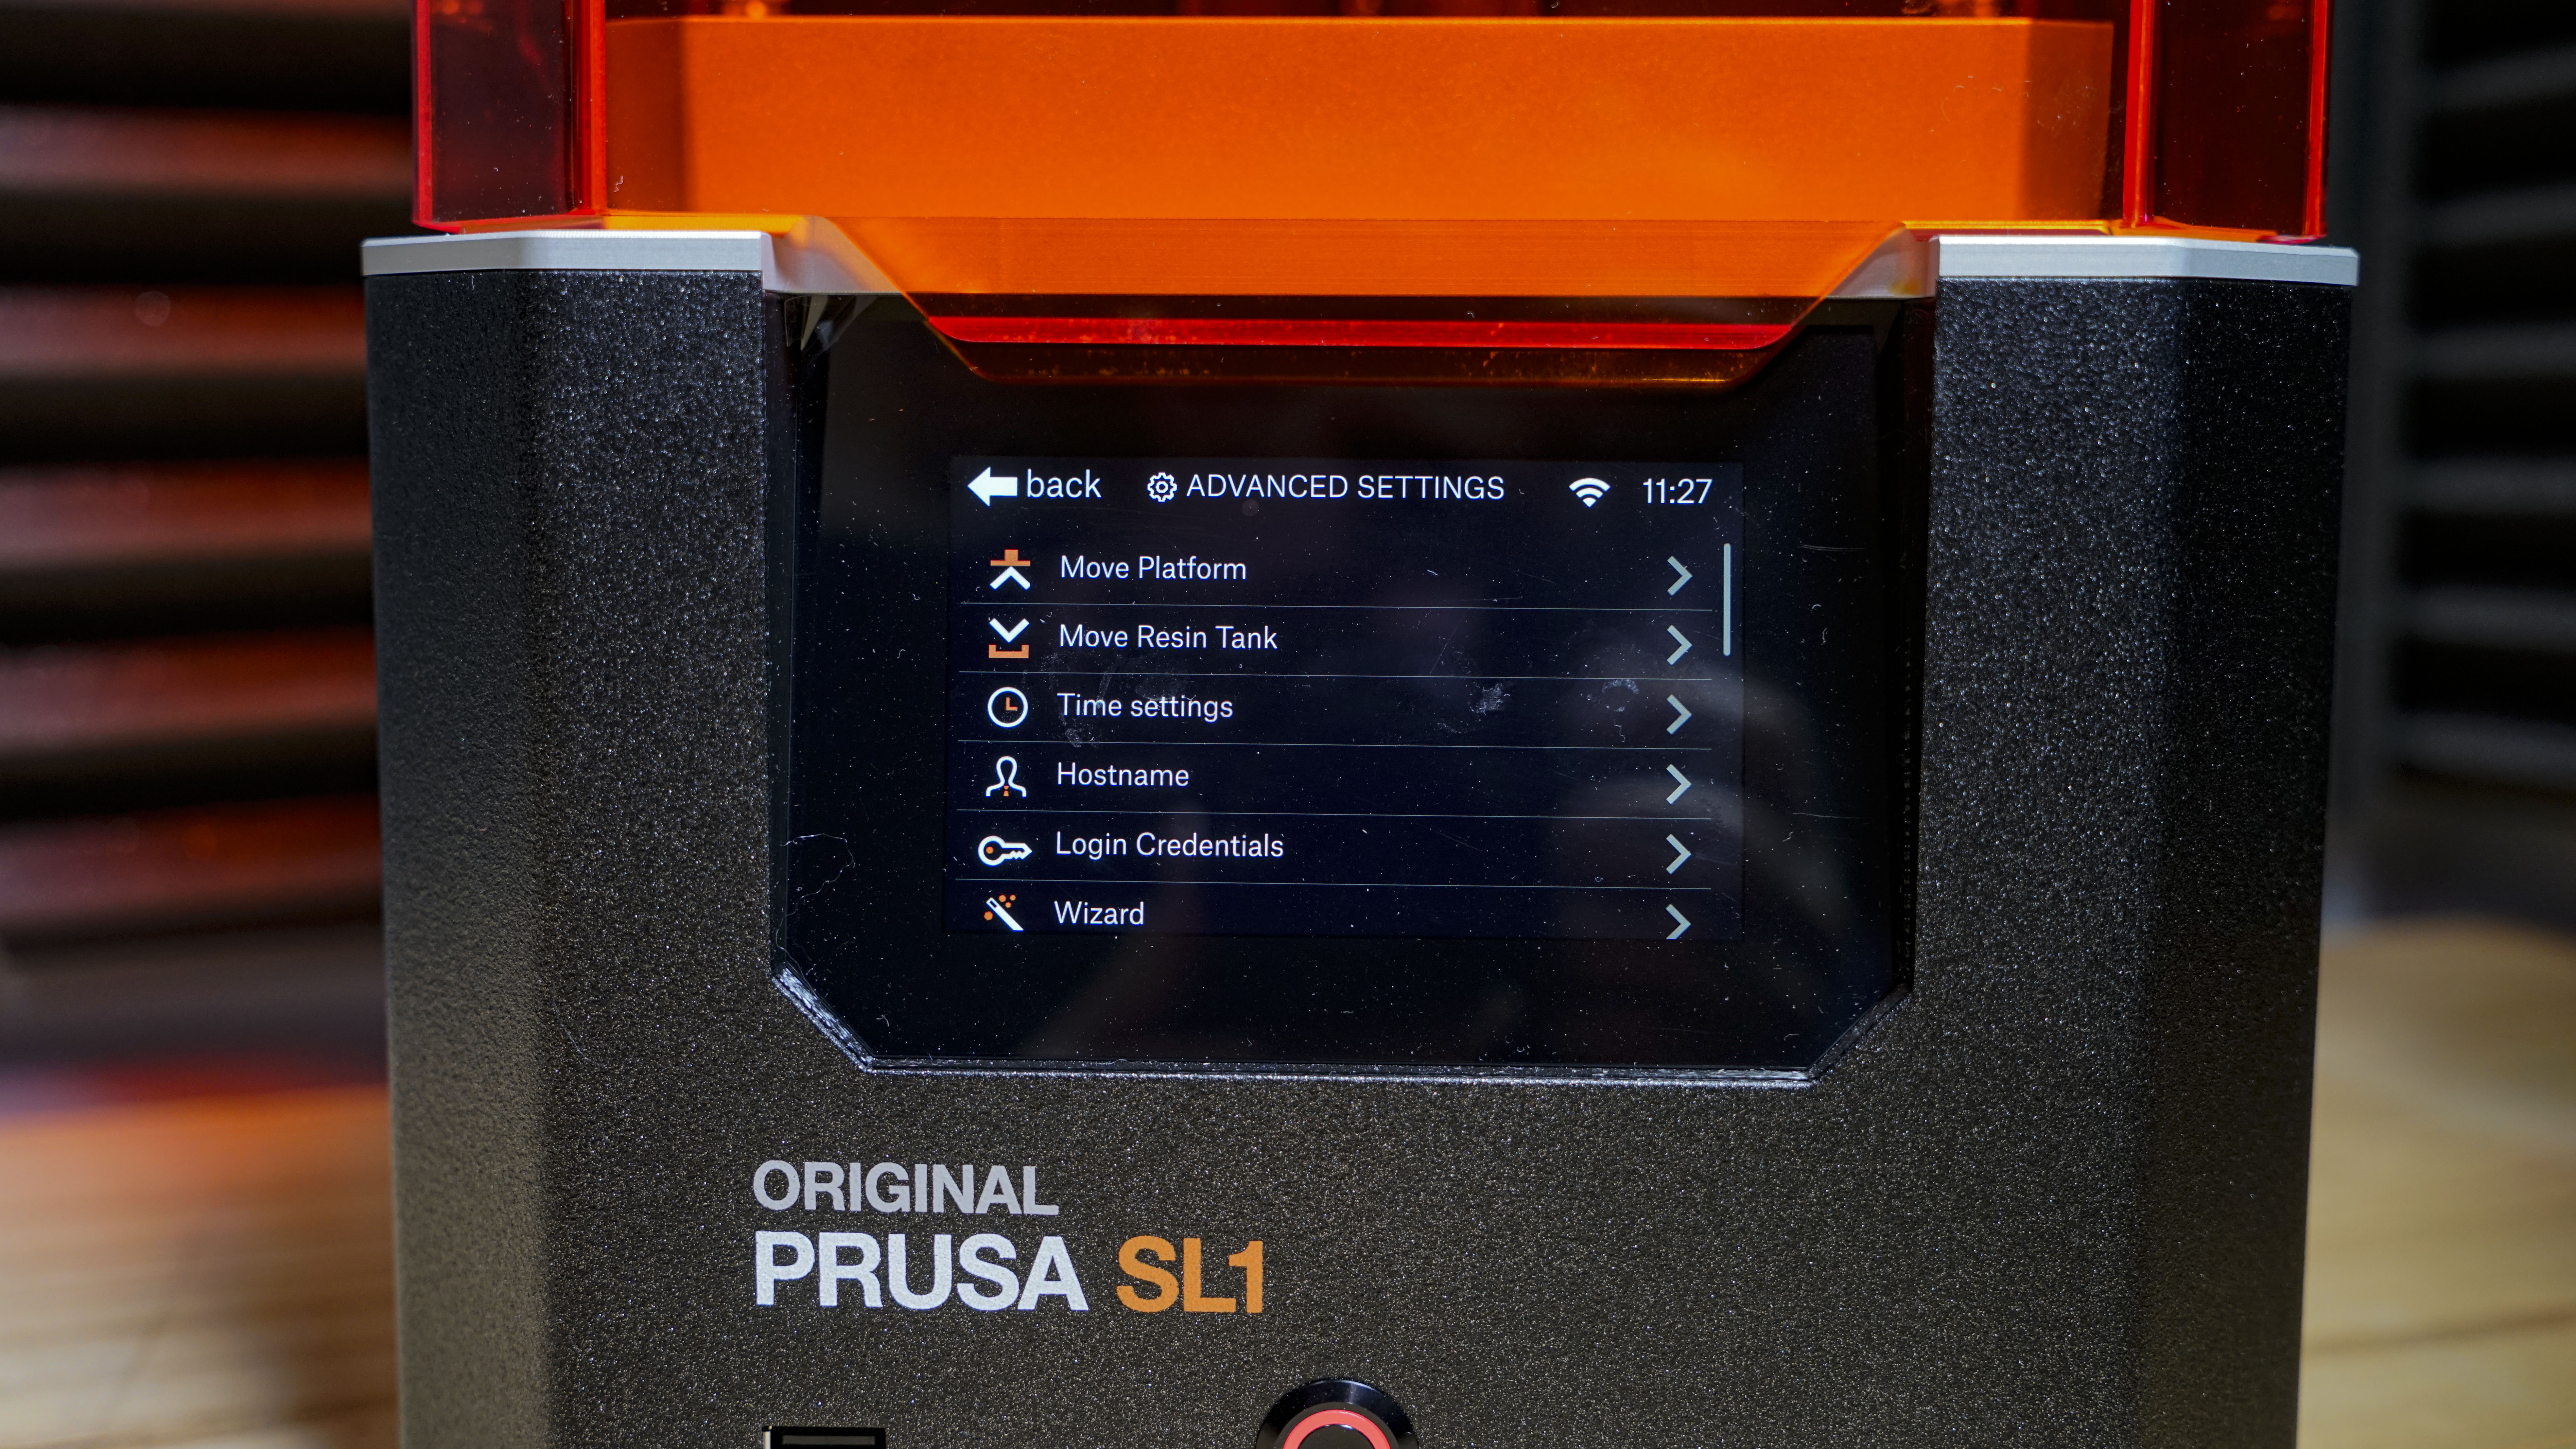
During printing, it shows you the progress and enables you to check settings and make adjustments to options such as exposure easily.
The design of the printer and software is all very clever and slick.
Set-up overview
These are the full specs for the Original PRUSA SL1:
Build Volume: 120 x 68 x 150mm
Connectivity: Wi-Fi, Network, USB
Size of pixel: 47um in XY axes
Layer Height: 0.025-0.1
Bed: 120 x 68mm
Print Surface: 120 × 68 × 150 mm
Software: PrusaSlicer
Materials: Resin
Included Material: 500ml Resin
Power: Global
When you buy a pre-built Prusa, you essentially know what you're going to get. Everything has been carefully assembled and tested, there may be an identical kit version that you can build yourself, but the pre-built is assembled with care and diligence.
The Original PRUSA SL1 arrives almost ready to go, you need to remove the packaging, there's a guide as soon as you open the box, and this 100% guided approach continues once the power is switched on.
Prusa is leaving nothing to chance by incorrect user set-up. It's almost impossible not to follow the directions, and within five minutes the SL1 is unpacked, and the few parts that need to be attached are bolted in place.
Once powered up, the machine is ready for calibration, and as with every part of the process, Prusa has created a guide to handhold you through.
Once complete you can then connect the printer to the PrusaSlicer software through your chosen method.
In this test, I used the Wi-Fi connection, setting this up involved going through the menu on the printer, select the Wi-Fi network, add the password, and that was it.
Then in PrusaSlicer pop along to the Printer Settings, and the SL1 can be found by clicking browse and then entering the API Key / Password.
The final part of the printer set-up is to add the Resin which is poured directly into the tank once the tank is bolted into place.
Ali Jennings is the imaging lab manager for Future Publishing's Photography portfolio. Using Imatest Master and DxO Analyser he produces the image quality tests for all new cameras and lenses review in TechRadar's cameras channel. Ali has been shooting digital since the early nineties and joined Future's Photography portfolio back in 2003.
