Create CGI characters in 60 minutes with Autodesk Flow Studio
What I learned by creating a few CGI characters with Flow Studio
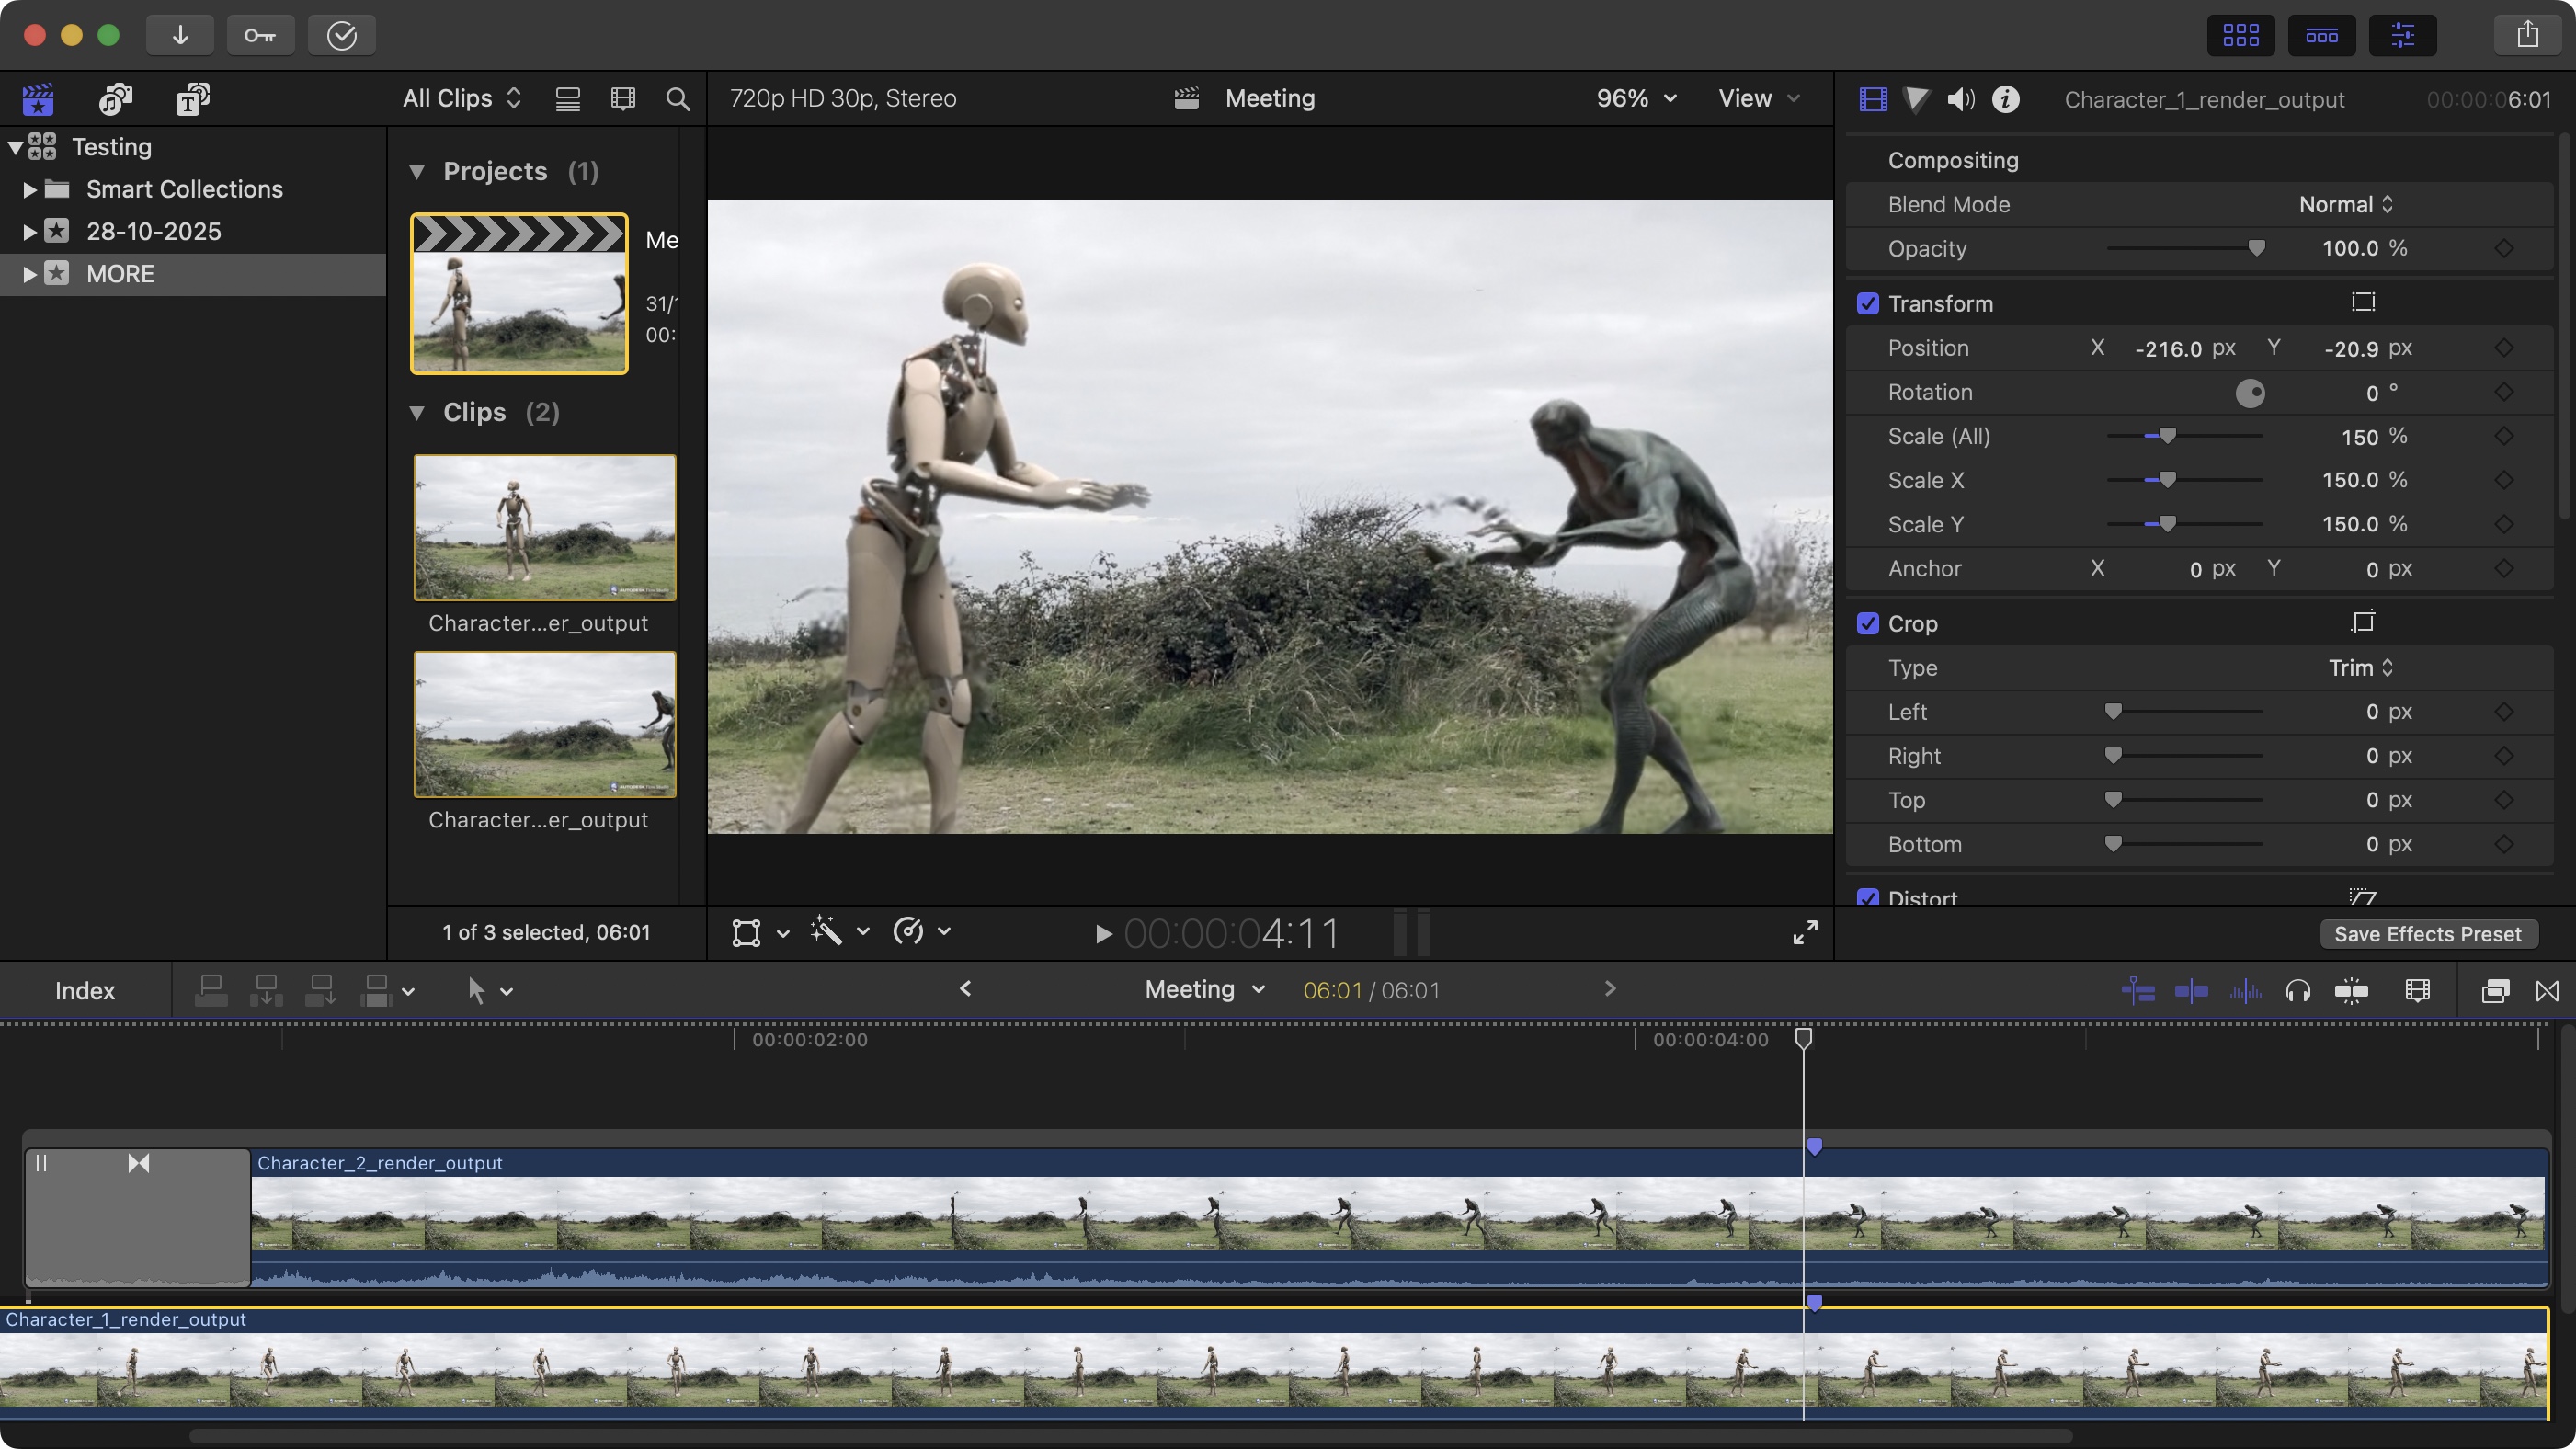
Having at a good look at Autodesk’s Flow Studio, I thought it would be fun to check what I can do, and what I can learn about the service, by adding a CGI character (or two) to a scene using their off-the-shelf characters (if you want to know just how impressive I thought Flow Studio was, check out my previous article).
Generally speaking, VFX work is something for the pros. They do these amazing special effects, blending them into realistic (or actually real) settings, and when done right, it’s absolutely seamless. Don’t expect Flow Studio to replicate all of that - that’s not its job. Its aim is to work alongside a traditional VFX workflow, saving creators oodles of time in the process, since most of the grunt work is done automatically in the background. But automation can only take you so far, which is why Flow Studio has advanced features, that allow you to tweak the parameters and customise the output until it’s as perfect as you can make it. You’re even able to export the data and work on it further on a dedicated app such as Blender or Maya, to end with a truly professional output.
As you’d expect with today’s mindset, this is a subscription-based service, but what’s amazing, is that Autodesk also offer a free tier. Now granted, you can’t do too much with it, especially since you’re limited to, at most, 15 seconds of footage each month (per account), so it’s clearly a tier aimed at enticing people to open their wallet… but enthusiastic amateurs can do a lot in 15 seconds (or with multiple accounts… just saying), so let’s get started!
You can try out Autodesk Flow Studio by clicking here.
If you’ve been following me on this journey, we’ll start here by going over some familiar territory, but this is a necessary trip down a well trodden path in case you’re just joining us now. Welcome aboard.
Let’s Get Started
You can’t do anything with Flow Studio without creating a free Autodesk ID first. All you need is an email address, hand over your name, and set a password. It’s nothing you haven’t done a hundred times before.
Once logged in and in Flow Studio proper, click on the ‘Create New Project’ button. You’ll need to choose between one of four different types. Two are free, although ‘AI Motion Capture’ is mostly useful when exporting data to another piece package, so let’s focus our attention on ‘Live Action Easy’. This gives Flow Studio full control over the project. ‘Live Action Advanced’ allows you to alter some parameters, but it’s only available to paying customers. So ‘Easy’ is it for the purposes of this exercise.
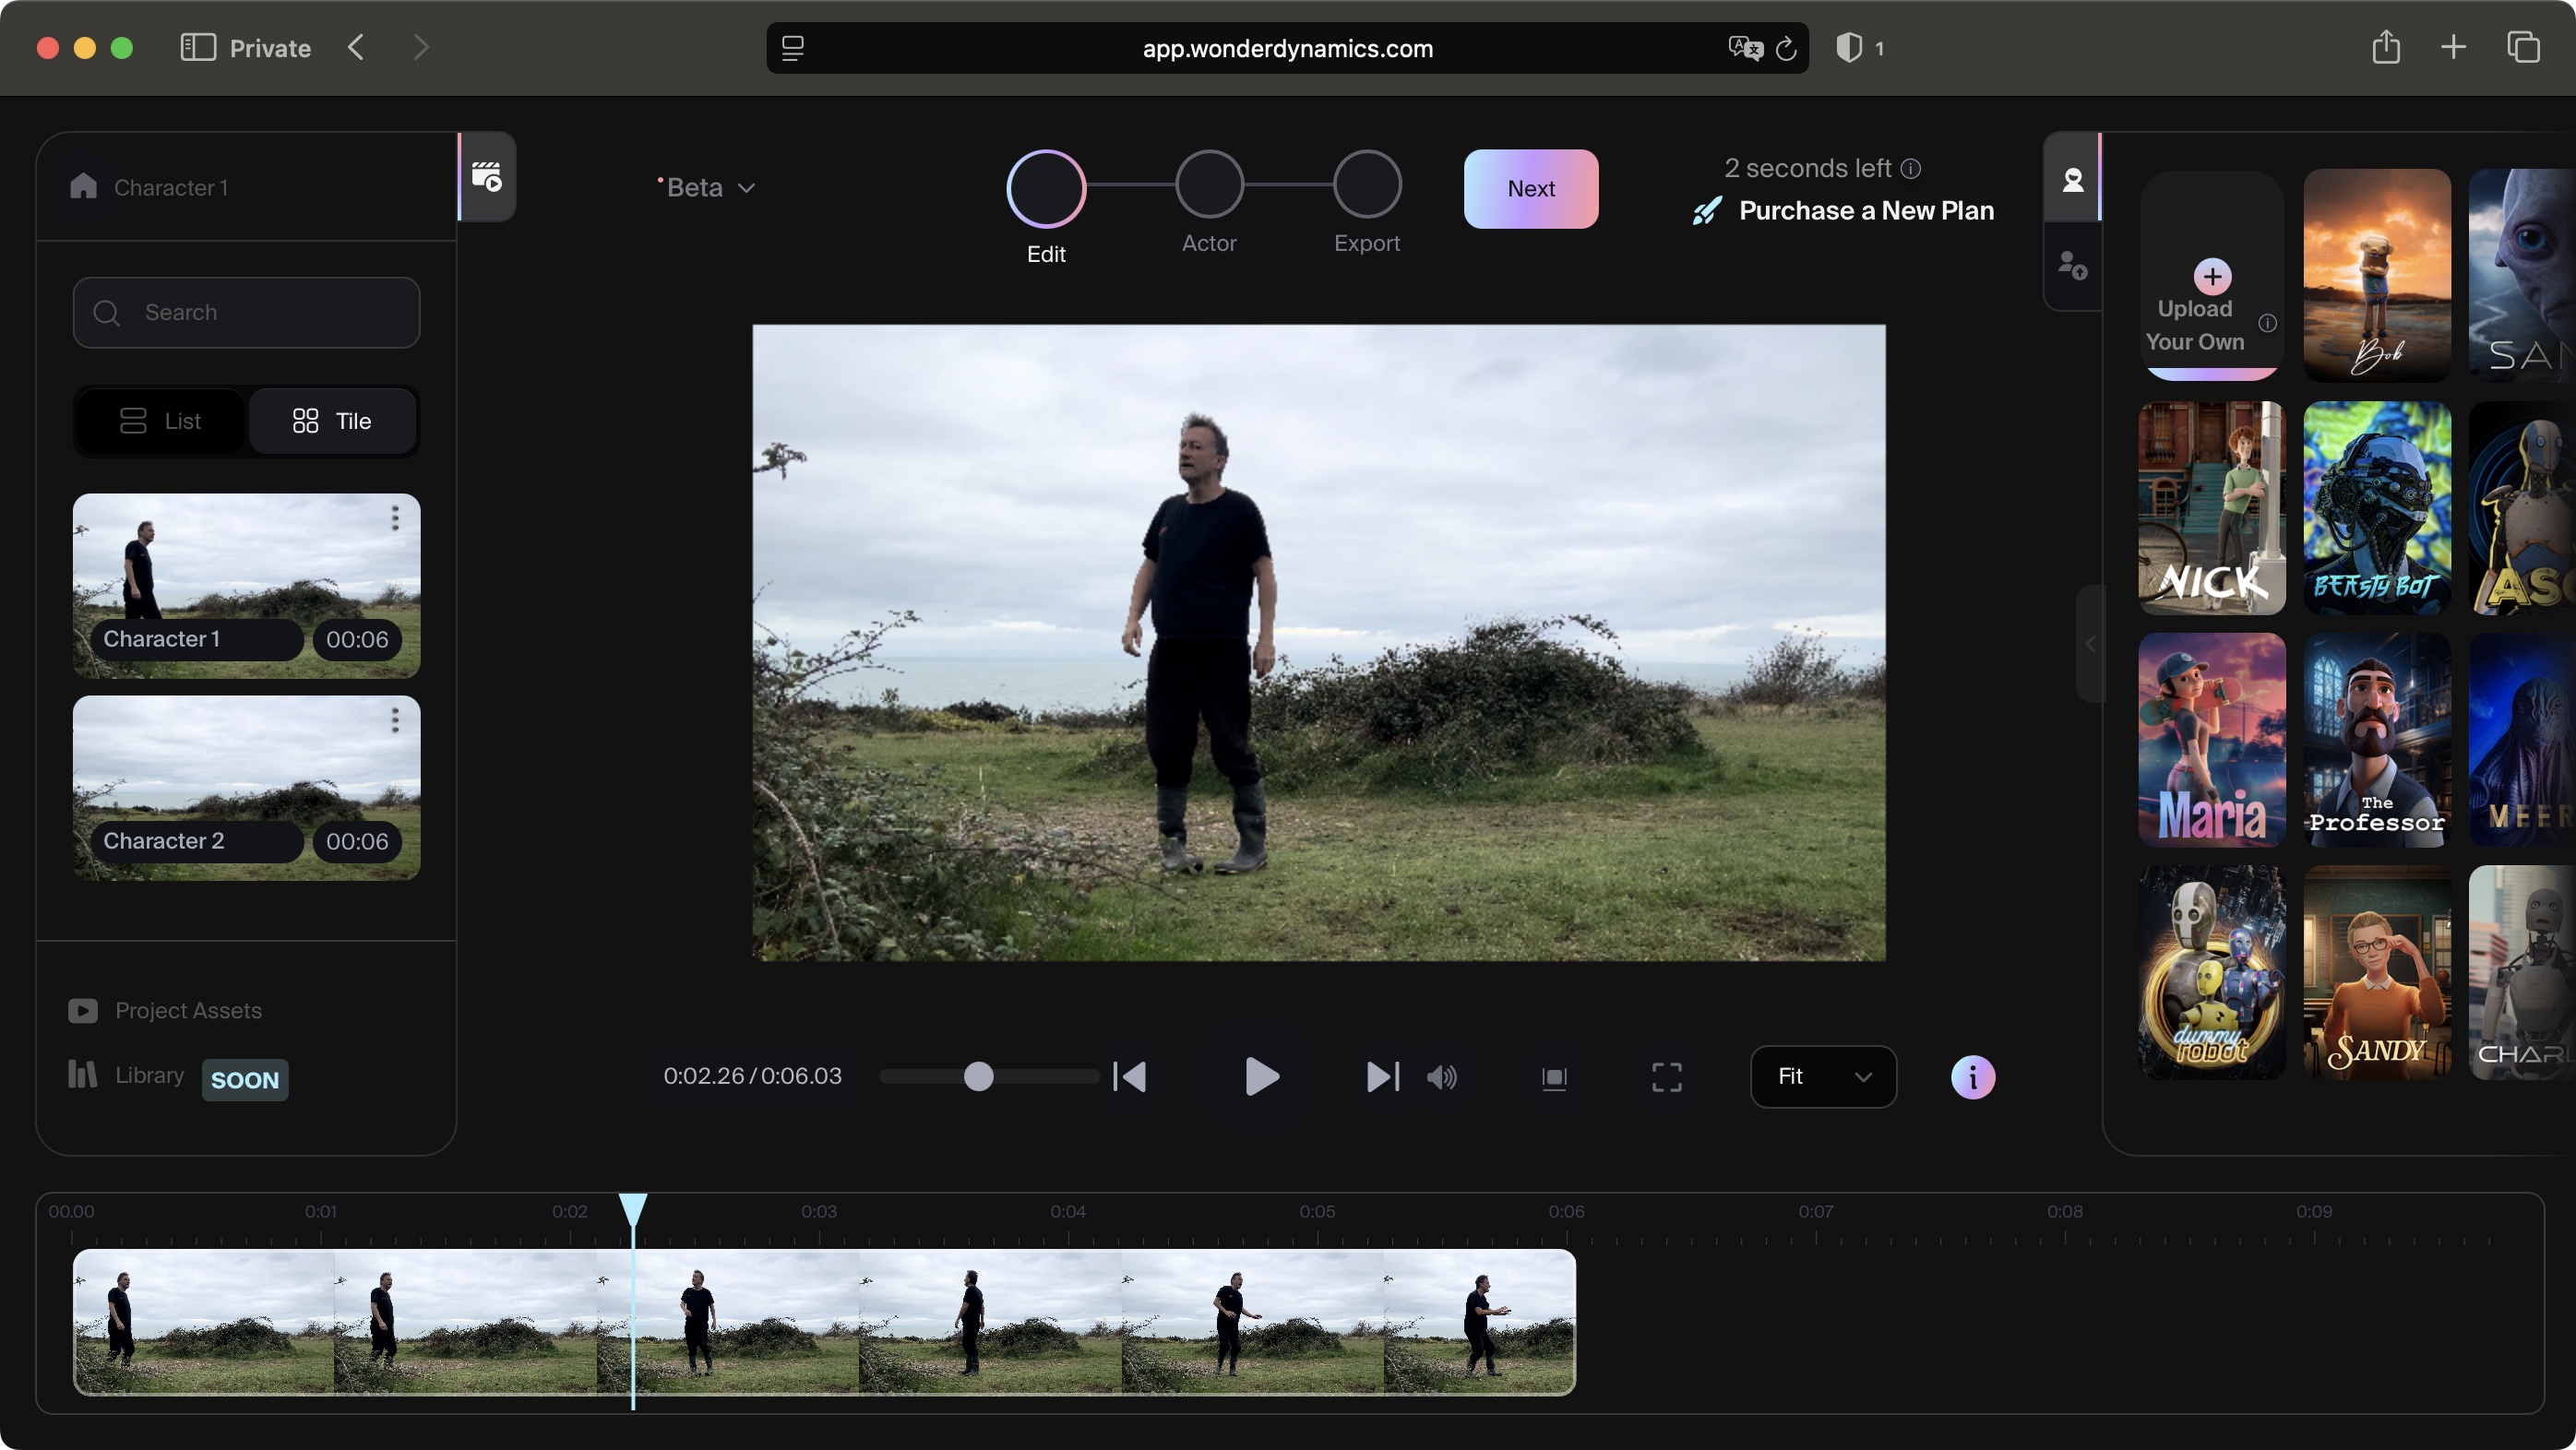
You’ll find the interface is now divided into three sections: to the left is a sidebar from which you can access your media, your existing projects, and create new ones; the central section is where you’ll add your footage, and to the right is the sidebar hosting the 11 CGI characters you can play with (or bring in some of your own, if you have any).
The beauty of Flow Studio is you don't create your CGI character's movements from scratch. Instead, it copies whatever an actor's done on film, leading to much more natural, fluid motion. This means that Flow Studio will analyse the footage, determine what are people and what’s the background in the selected frame, separate the two, create a clean plate for the background (ie recreate what’s behind the actor through digital cleverness), and, having transformed the actor into an animated wireframe construct, apply the CGI character onto that and remove the actor entirely from the shot.
That’s the plan anyway, so you can guess there’s a heck of a lot of heavy lifting going on in the background as all this is done automatically - no interaction is required nor requested: Flow Studio works on its own to deliver the goods.
OK, so I need some footage - something Flow Studio can’t provide (at least not yet!!), so I went and looked for a willing guinea pig, and when I couldn't find one of those, I used myself as a test subject. The sacrifices one makes for TechRadar!
Close Up
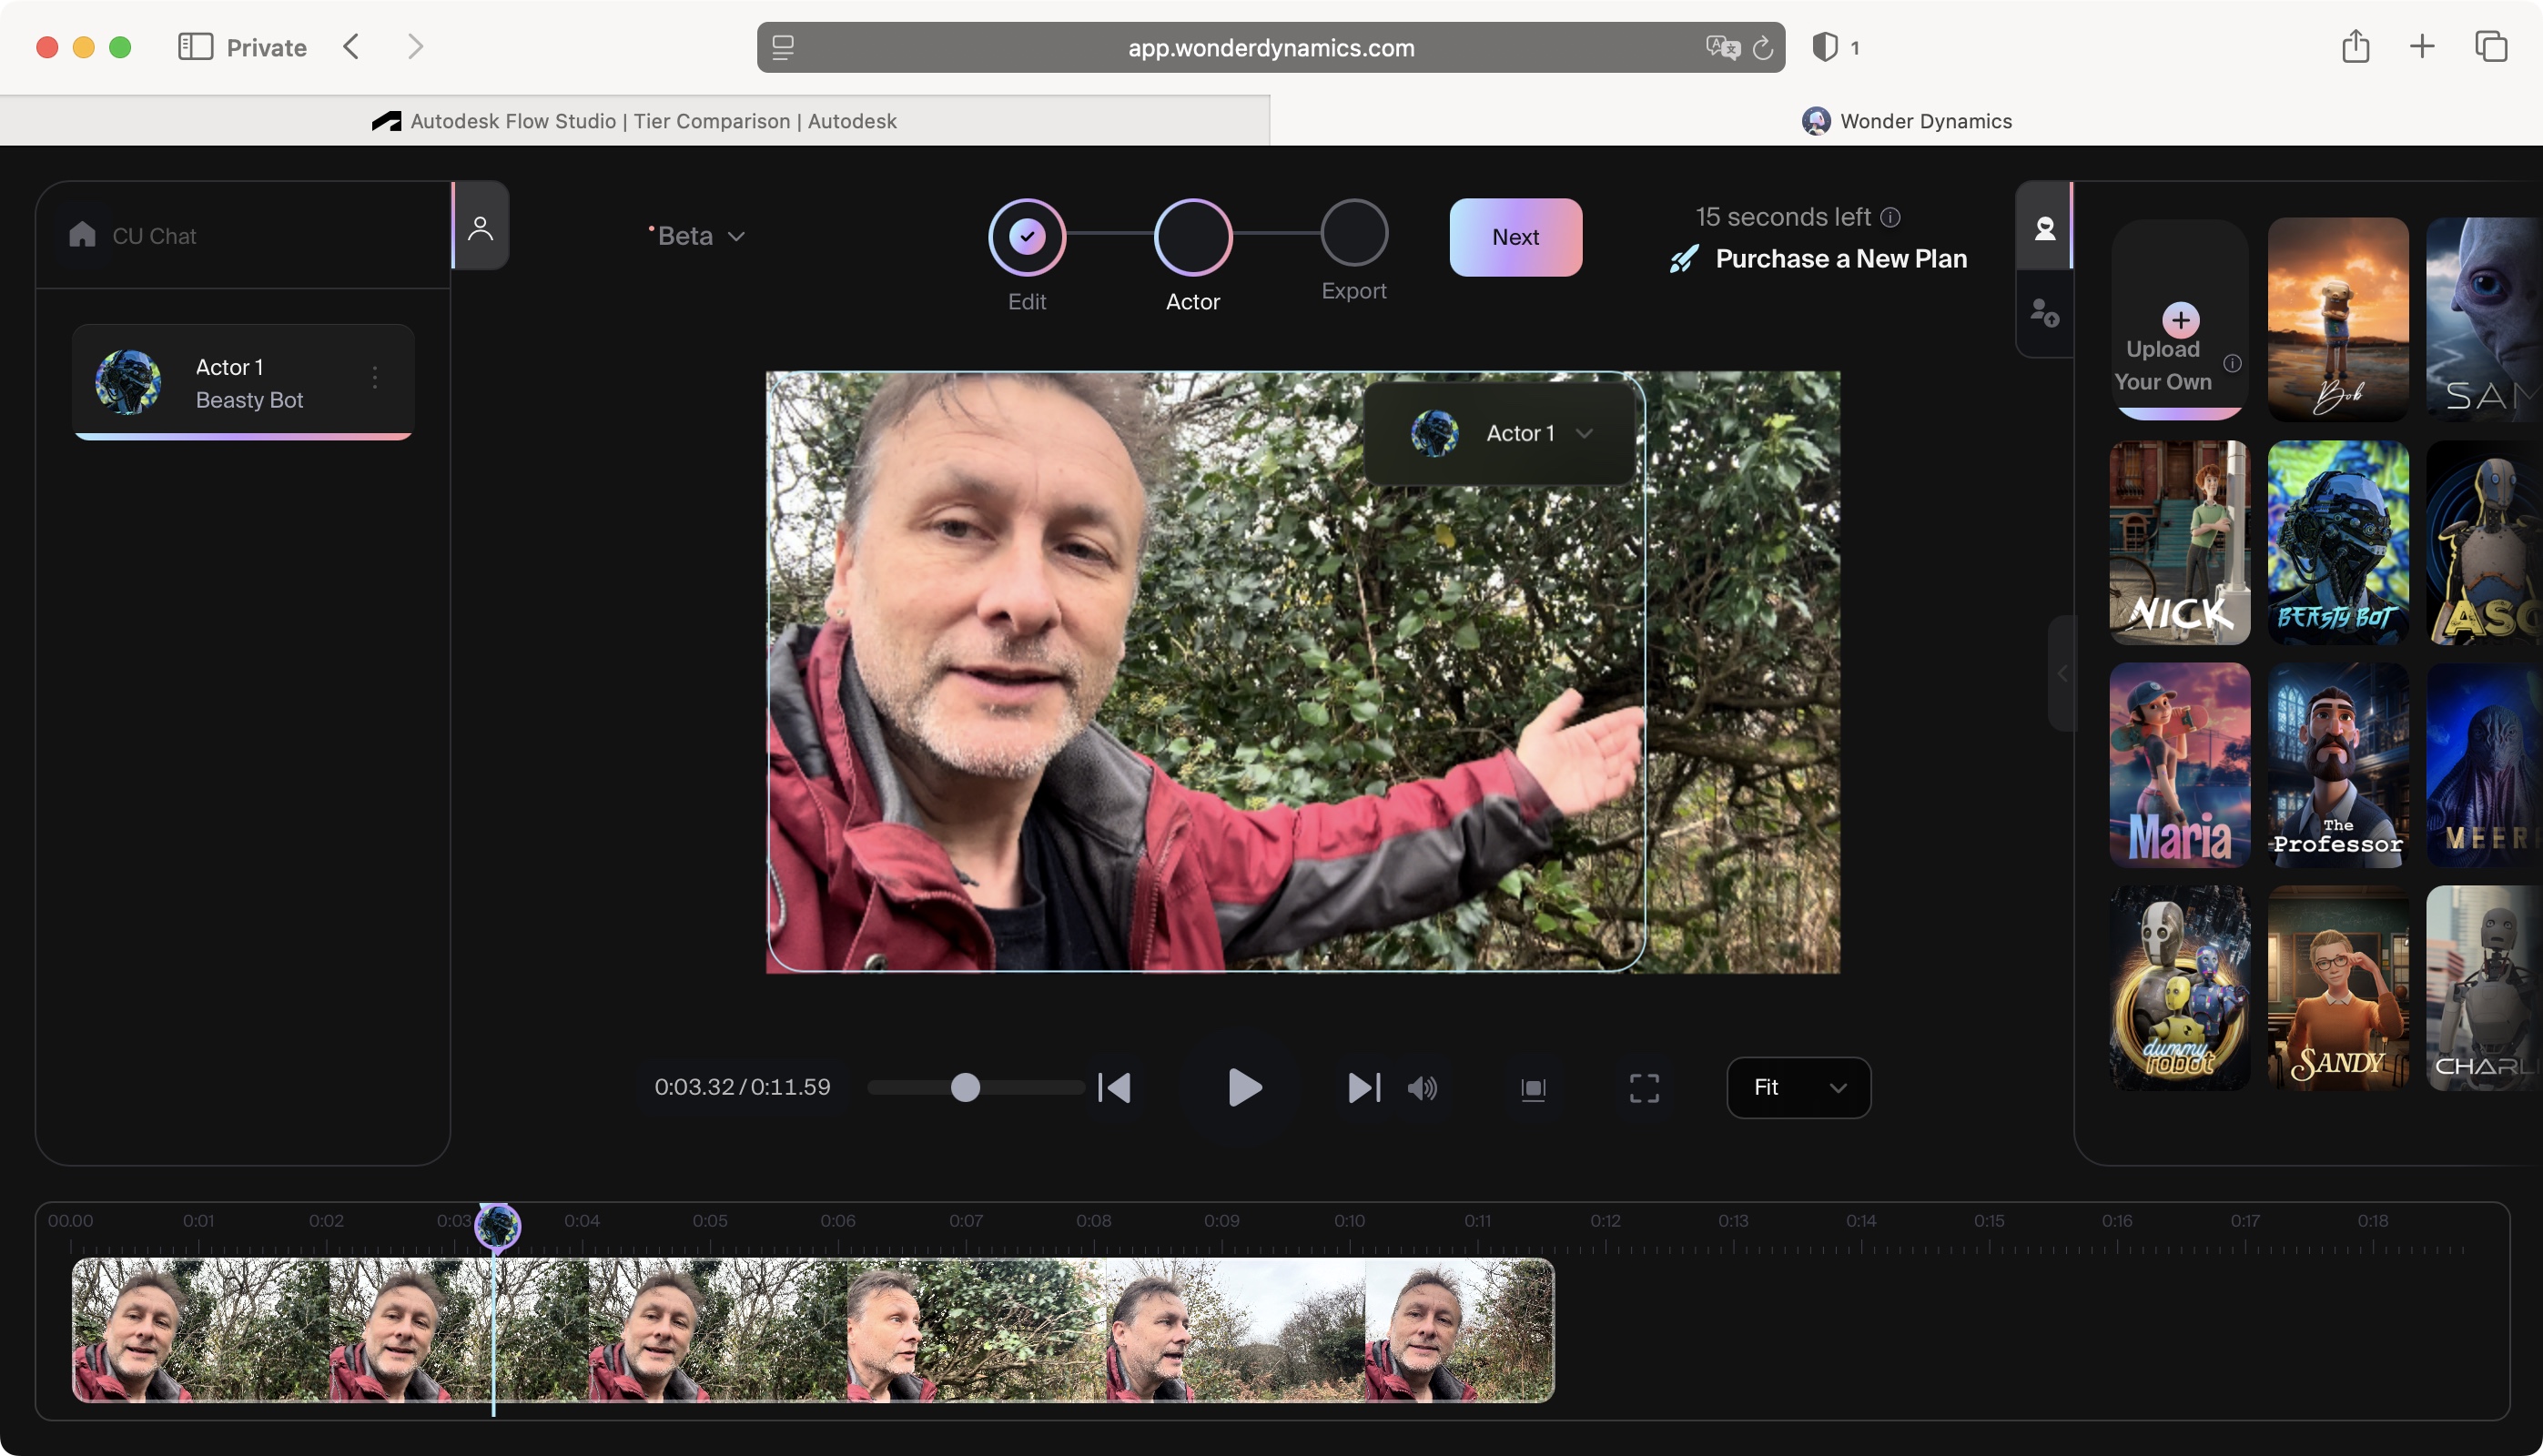
I decided to try a close up shot first. In my initial exploration of the service, I noticed that the one time I experienced an issue with the process was when I used a clip with two people in a tight mid shot, so I wondered just how close could I go before I encountered major issues with the technology.
To make it even trickier for Flow Studio, I decided to hold the camera as I walked and talked, meaning the background would be constantly moving behind me, and to make it worse, that background would be a complex one. I don't see why I should give the tech an easy ride, do you?
There were no issues with importing the clip (not that I was expecting any). I dragged the clip from the sidebar to the centre of the interface, moved the playhead at the bottom of the interface until I could see myself clearly in the shot, clicked on the ‘Next’ button and ‘Scan frame for actors’. Despite being really close up, Flow Studio had no problem finding me and putting a thin rectangle around my outline. I then dragged the ‘Beasty Bot’ character onto that rectangle and proceeded to exporting the result.
This is probably the biggest disappointment of Flow Studio for me: you can’t have a preview - even a super low res one - before getting the service to do its work (and you using up your precious seconds). Still, that’s the way it works, so that’s what we have to deal with. The maximum output for the free tier is 720P irrespective of the original’s resolution, but it’s not as bad as it sounds - I didn’t experience any issues with the resolution during all the tests I ran with the service.
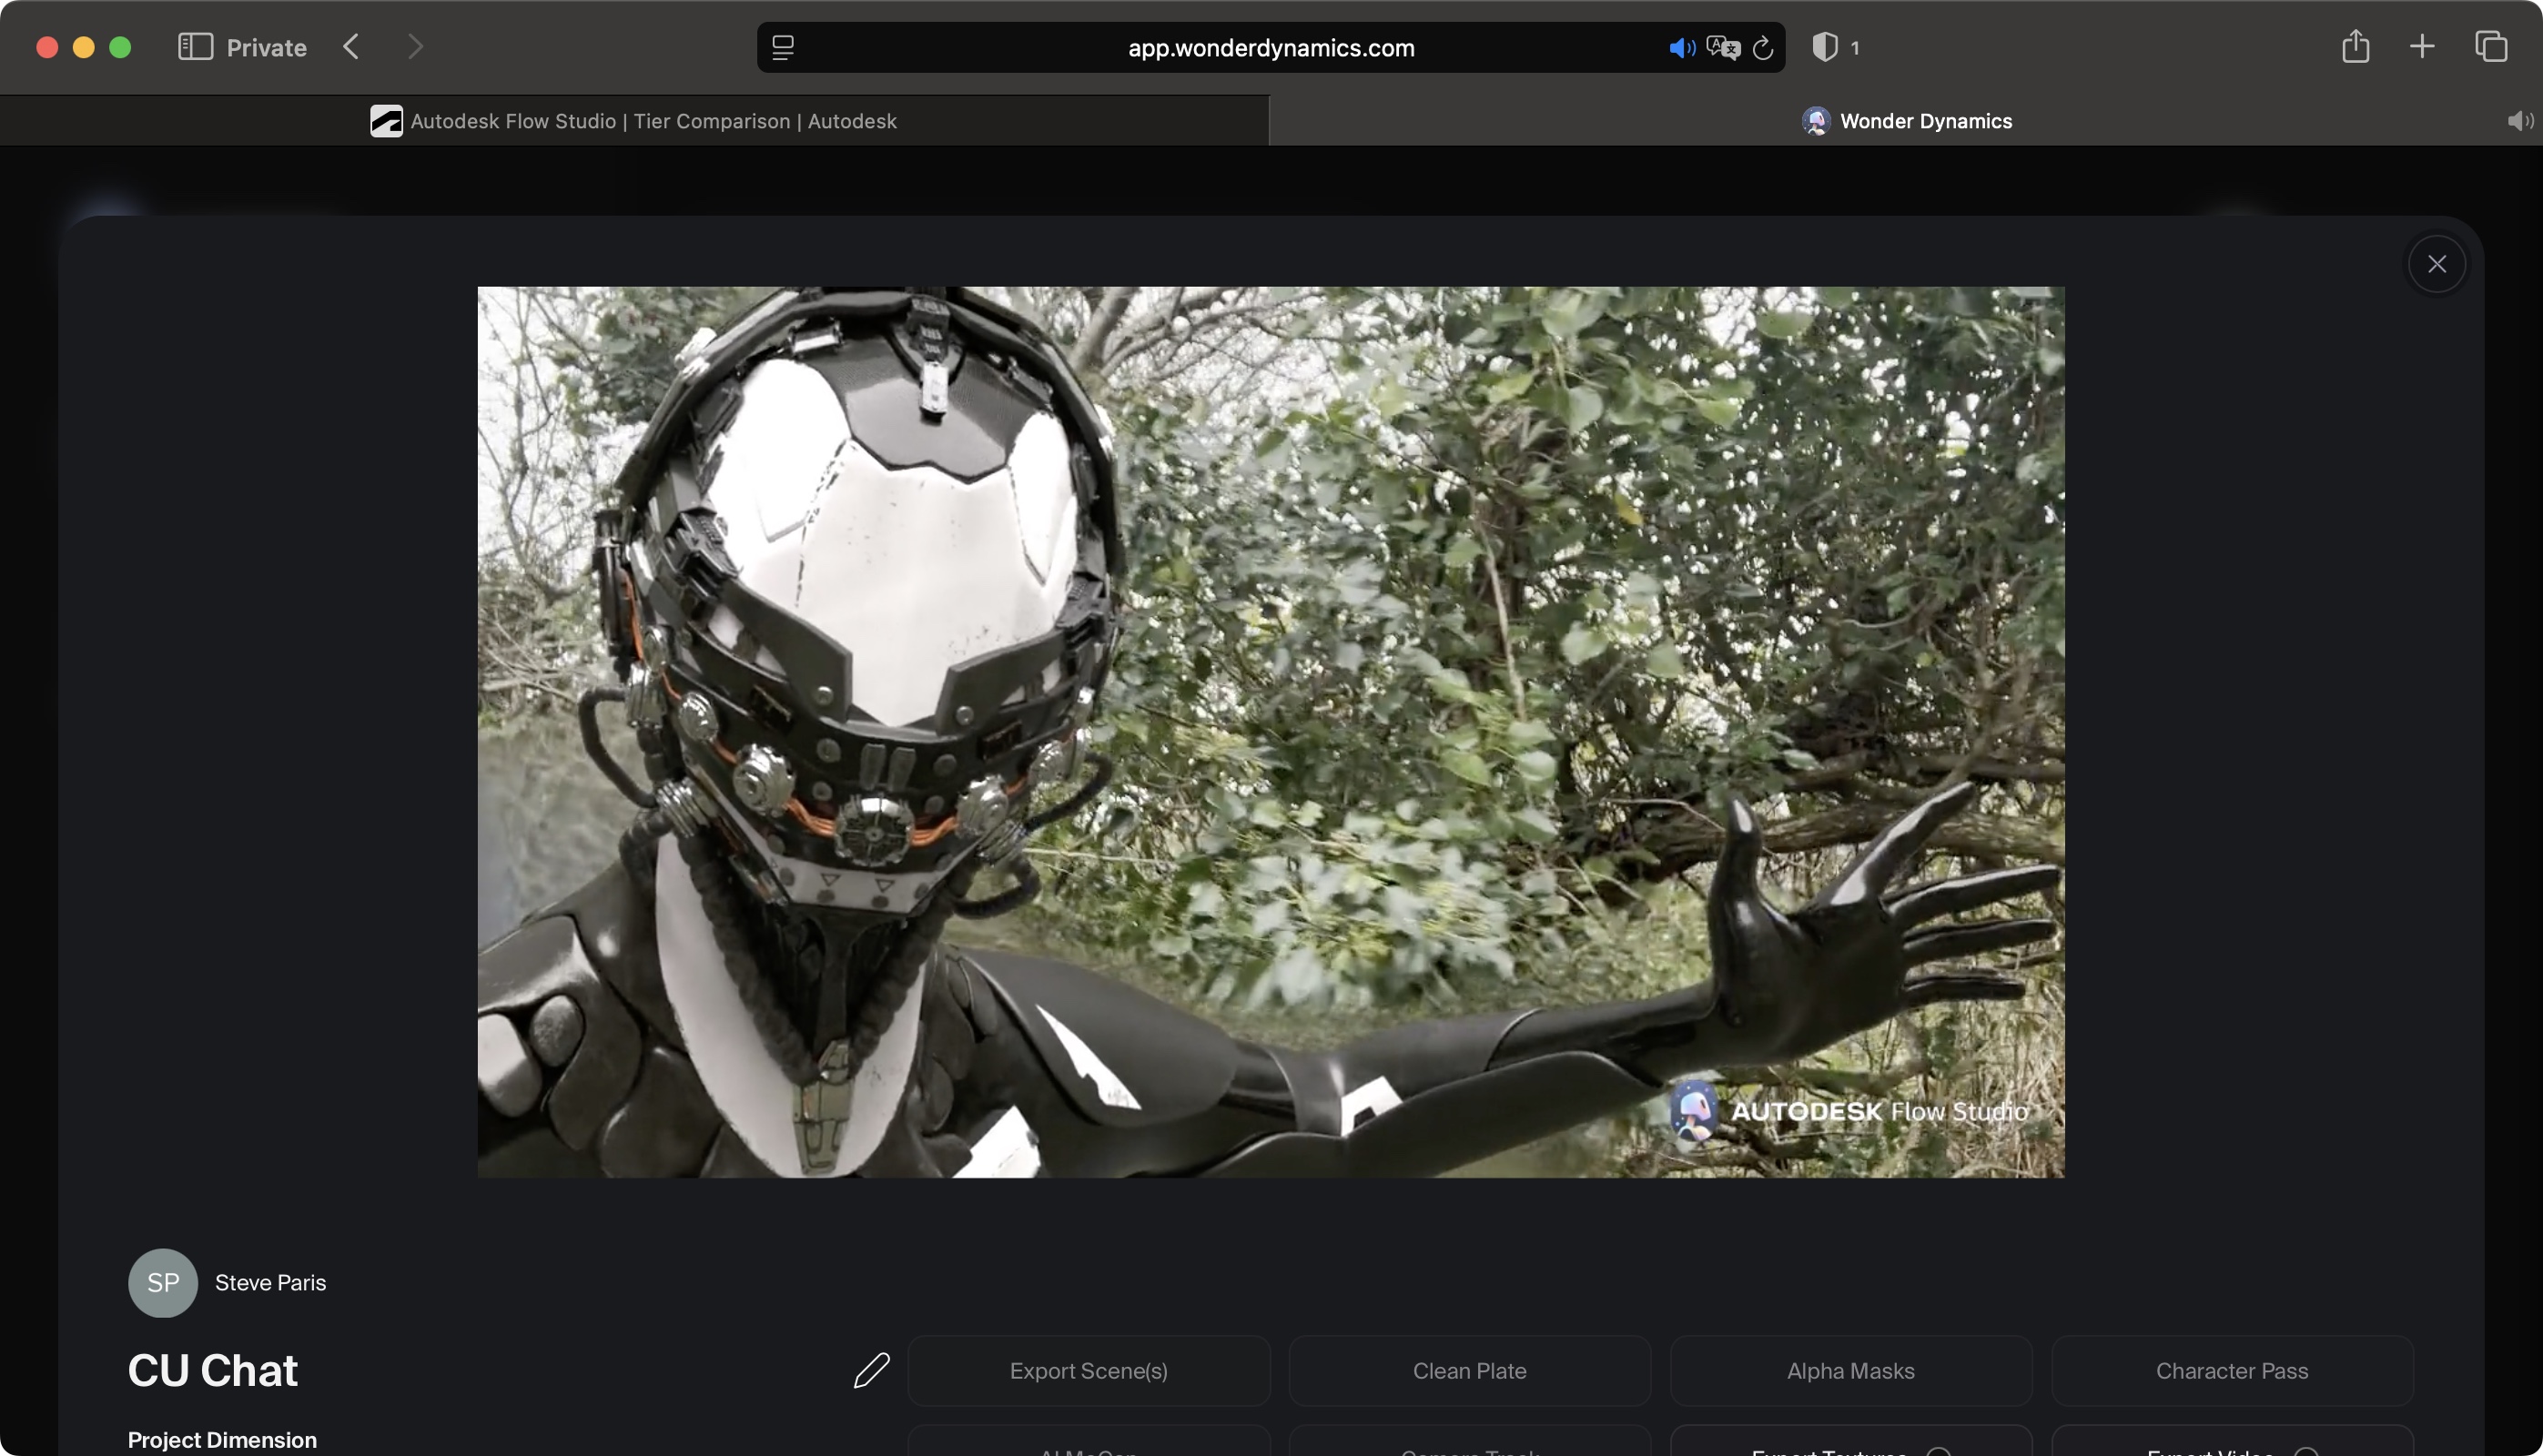
And the result was… much better than I had anticipated. OK you can’t expect miracles from an automated system, especially when the moving background behind me was complex (multiple trees and foliage). It was to be expected, and you can tell there were glitches around my neck and arm, represented by some blurry, furry looking effect in the clean plate, but overall, the output was on the low side of acceptable (you can’t see the artefact in a screenshot - a still image definitely looks much better than the resulting video).
What did surprise me was the fact the close-up didn’t cause any problems for Flow Studio. In the previous example I mentioned above, a few frames at the start were unaffected and you could still see the original actor, followed by a few frames of the CGI-character directly overlayed on the actor, and only after that did the actor fully disappear. None of this happened here, and ‘Beasty Bot’ replaced me fully and accurately, from beginning to end.
Multiple Characters
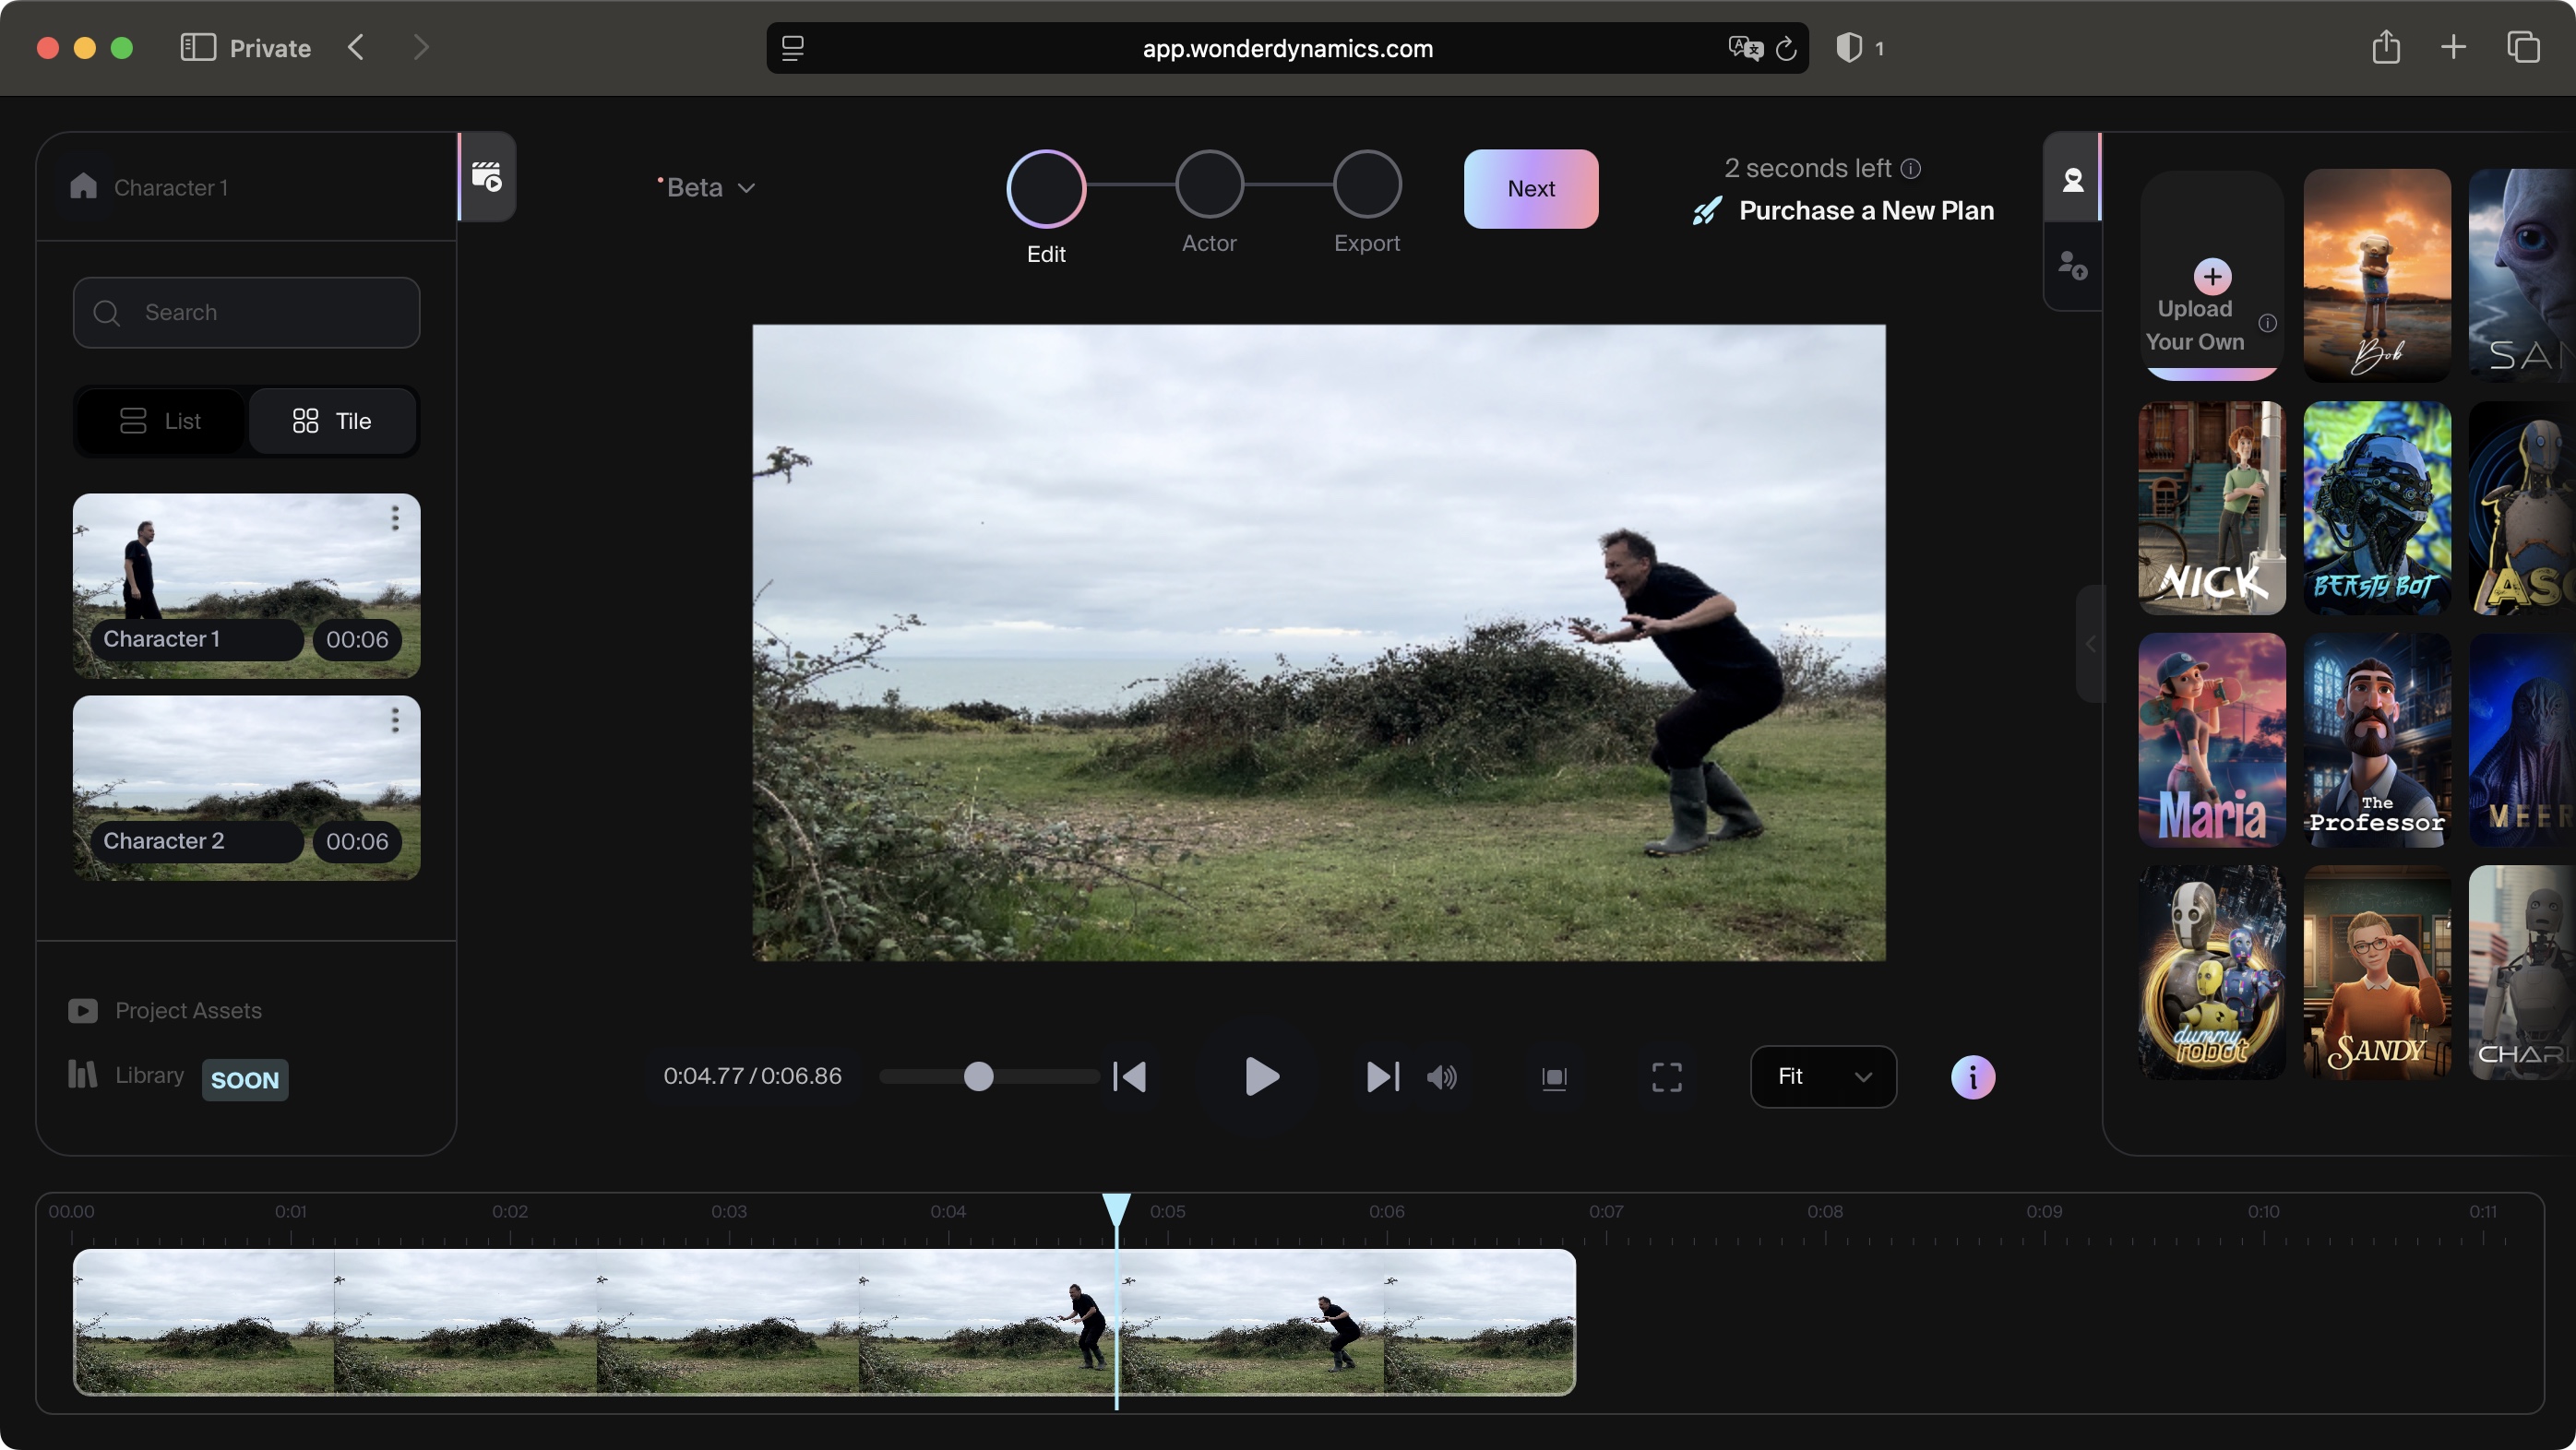
So what else could I try, I wondered. How about multiple characters? I have to admit using multiple CGI characters sounds like fun, but unfortunately, the free tier doesn’t allow you to do that: it can detect multiple actors in the same shot, but you can only alter one of them… which sounds like a challenge to me!
But how can I do this? The solution was obvious to me: I’d keep the project simple, using a single fixed camera (in my experience a non-moving camera will give Flow Studio the biggest advantage when creating an excellent clean plate), and do two shots: one for one character on the left side of the screen, and a second one, for the other, on the right, all performed by my very willing and accommodating guinea pig - myself. As part of the ‘keep it simple, stupid’ mantra, there characters will have the decency of remaining on their side of the frame - no touching, no physical contact, so swapping of places: they’re just going to look at each other, and stare - or growl - whatever suits them, as long as they stay on their respective sides.
Obviously the plan will be to merge those two shots together to give the illusion they were in the same scene at the same time… which is something Flow Studio doesn’t accommodate; it works wonders transforming people into CGI characters, but you can't edit with it. For that, you have to make use of your favourite video editing app. But first, I need Flow Studio to work its magic.
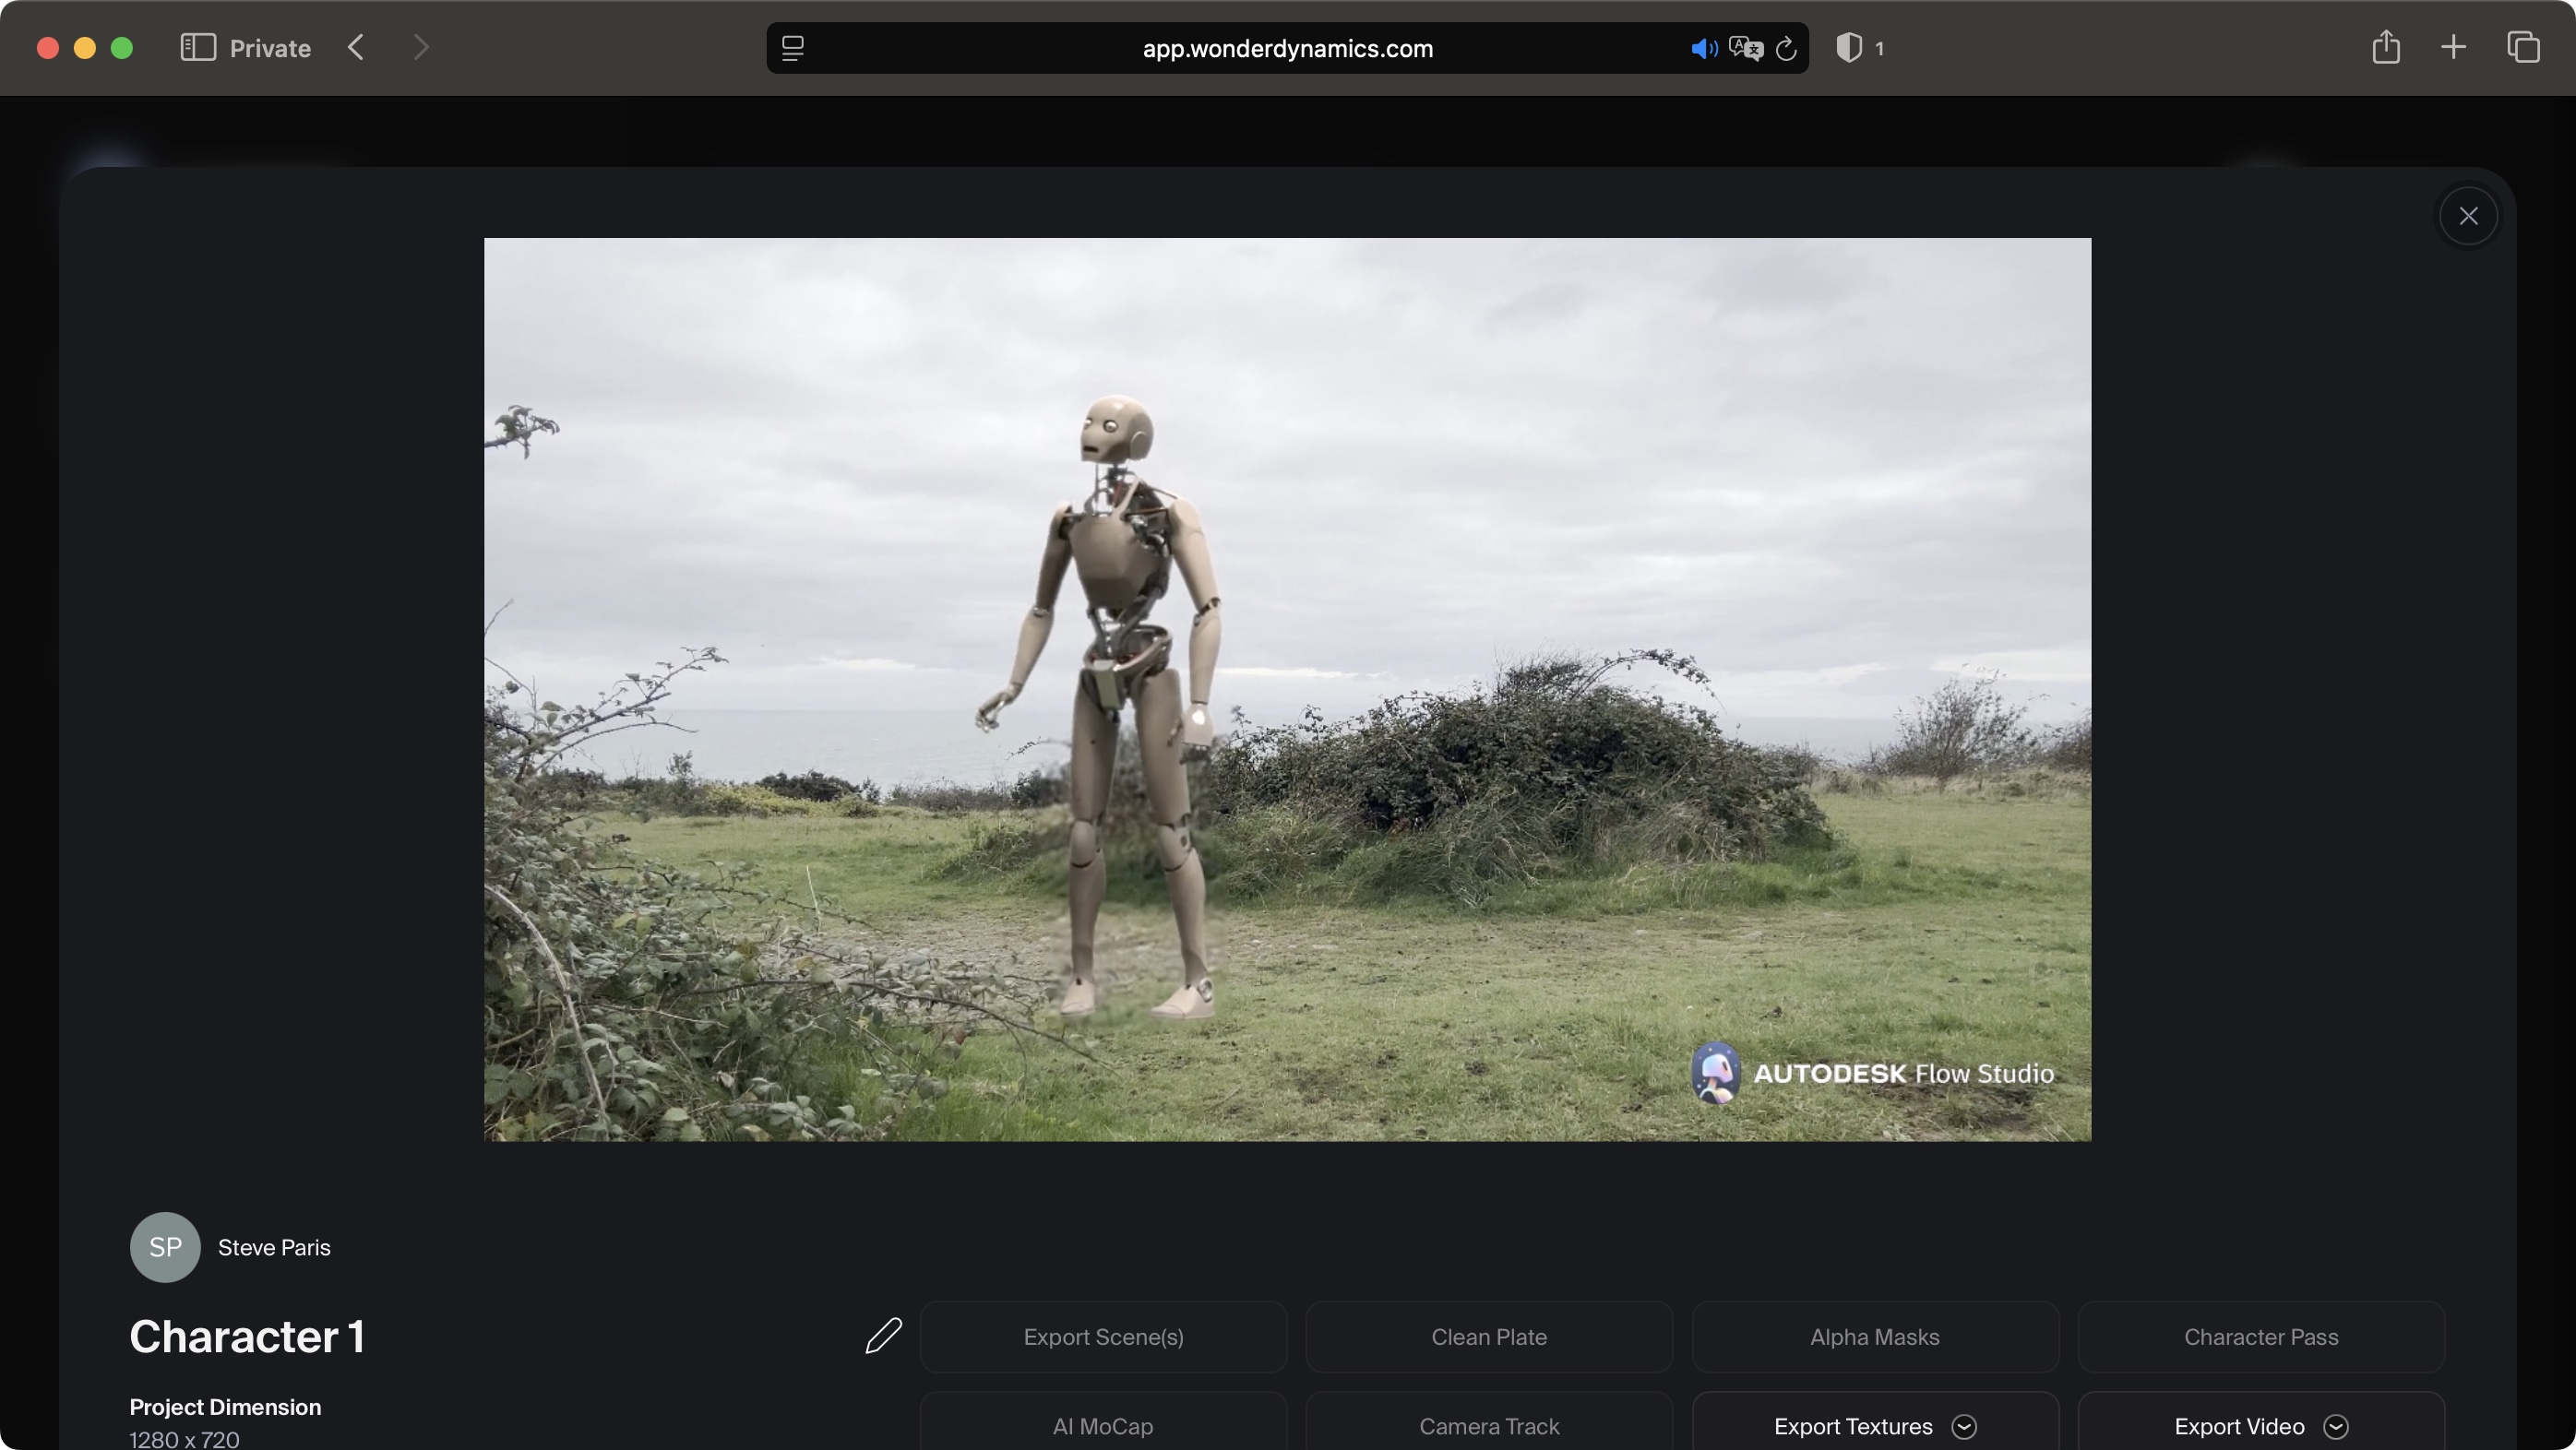
The process here is exactly the same as above: create a new ‘Live Action Easy’ project, select one shot, identify the actor, and instruct Flow Studio to replace it with Charlie the Robot - a cool CGI character with a lot of holes where parts of the human body should normally be, to put the clean plate to the test - and export the clip.
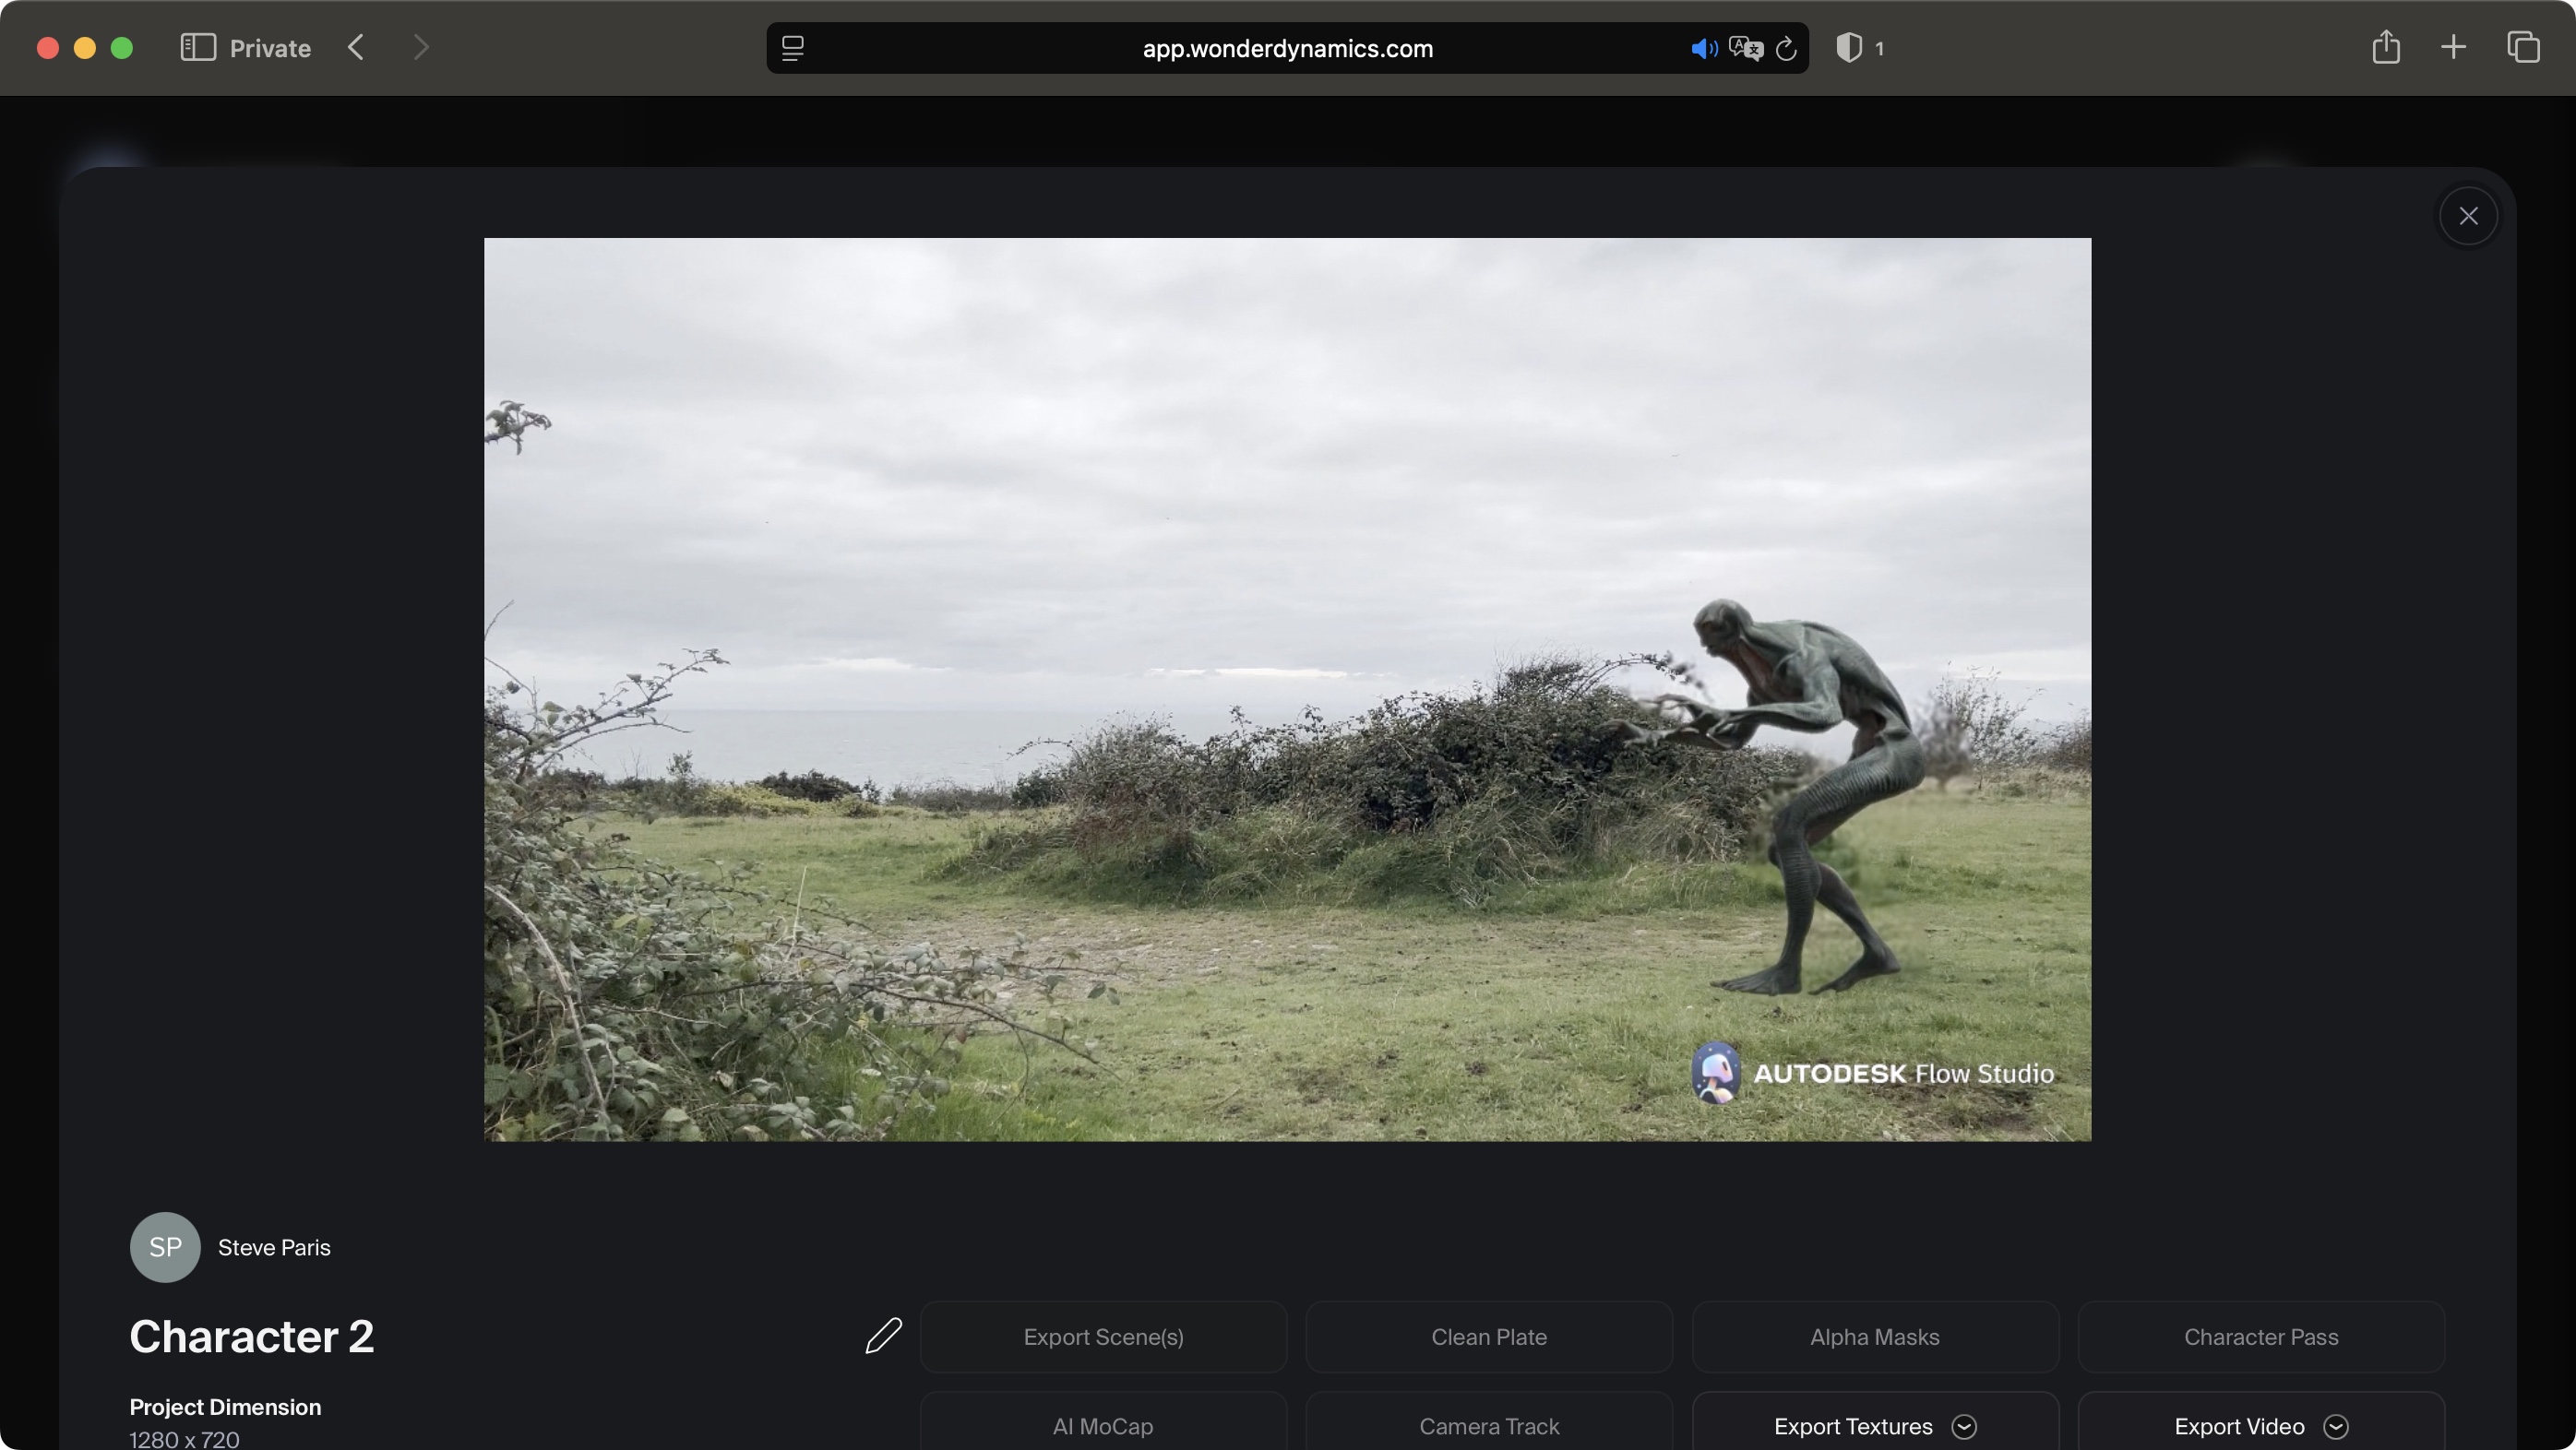
Now one good thing about Flow Studio is it doesn’t lock you out when rendering. This enabled me to create another project, and transform the actor in the second clip with Meera - an ideal creepy-looking alien, just what I was after. There’s no need to wait for one render to be done before starting another: you can have as many on the go as you please - provided you don’t exceed those precious few seconds Autodesk give you each month.
When the conversions were done, I felt Flow Studio did a good job. The only issue I had were with the feet for both characters. Charlie was supposed to start walking from behind some low branches and bushes, but Flow Studio couldn’t cope with that and made him walk in front of them instead. It was somehow worse for Meera, as it didn’t appear to walk into shot, but somehow glided in… maybe Flow Studio has an issue with characters walking into shot? Also, any kind of interaction with the scenery was clearly very difficult to achieve, even with the grass these two were walking on, so the effect very much felt like they were pasted onto the background, like stickers - animated stickers - and if you just focussed on the feet you couldn't help but notice how fake it looked.
However, having said that, the overall results - i.e., anything above the ankles - were very good. The clean plate for both was excellent, even though the background was quite complex, and considering this is the free part of the service, there was nothing that was truly a deal breaker: yes it’s not perfect, but I’d easily give it 90% considering the value offered. Imagine what you could do with control over the parameters, or by sending the data to another app like Maya and Blender to fine tune it further… and just imagine how much time this service will have saved you by doing so much of the grunt work for you.
As it stands, for myself, I imported these two clips into my favourite video editor, blended them together, cropped them just above the ankles, and I created a scene where a naïve robot meets a grumpy alien creature. I’ll be expecting my Oscar any day now.
Sign up to the TechRadar Pro newsletter to get all the top news, opinion, features and guidance your business needs to succeed!
Steve has been writing about technology since 2003. Starting with Digital Creative Arts, he's since added his tech expertise at titles such as iCreate, MacFormat, MacWorld, MacLife, and TechRadar. His focus is on the creative arts, like website builders, image manipulation, and filmmaking software, but he hasn’t shied away from more business-oriented software either. He uses many of the apps he writes about in his personal and professional life. Steve loves how computers have enabled everyone to delve into creative possibilities, and is always delighted to share his knowledge, expertise, and experience with readers.

