TechRadar Verdict
A key innovator in the laser engraving and cutting industry, while Acmer might not match the product design of xTool or WeCreat, when it comes to form and function, these machines pack in everything. The P3 is easy to set up, and while the diode laser is slightly underpowered, the fact that you also have access to an IR laser with the flip of a switch does boost its usability. It can cut easily through a 3mm base wood and mark metal out of the box, making it, for the price, one of the best laser engravers on the market.
Pros
- +
Two-in-one engraver
- +
Brilliant closed design
- +
Modular head design for upgrades
Cons
- -
Light leaks out of side vents
- -
The diode laser is slightly underpowered
- -
Similar to software still in beta
Why you can trust TechRadar
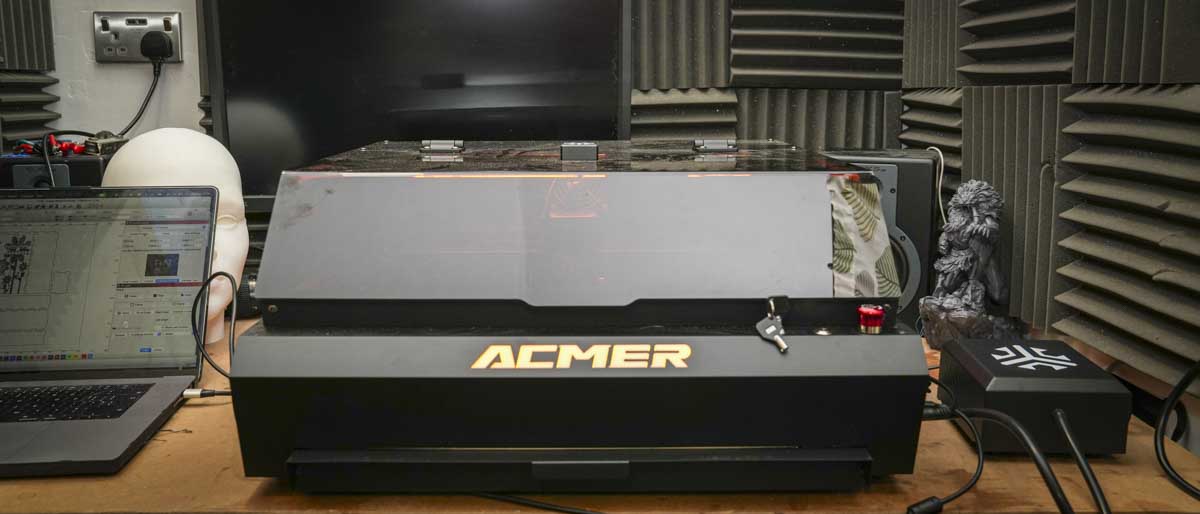
The Acmer P3 IR&Diode machine sits somewhere between the open-framed DIY options that dominate the market and the more refined, product-designed examples from the likes of xTool and WeCreat. The P3 is well-designed and looks like a typical piece of workshop equipment rather than something for a swanky studio, with its main focus clearly on workshop users rather than the arts and crafts movement.
Getting set up with the machine, power supply, air assist, and extraction is quick and easy, with everything in the instruction manual clearly laid out. It's one of the fastest machines I've ever needed to set up. My one issue when it arrived was that it had undergone some heavy abuse in transit, with a small split in the upper Perspex cover that you may spot in the images. However, due to the design, rather than being a write-off, it was easy to remove and replace. That's one thing I really like about this machine: although it's high-quality, you always feel like you can get in and fix things as and when needed.
One of the things I noticed very early on was that, although a fully enclosed machine, there are two vents on either side where quite a bit of light leaks out. While these vents are required, it's probably worth finding some way to cover them while still allowing airflow if you're thinking about this machine.
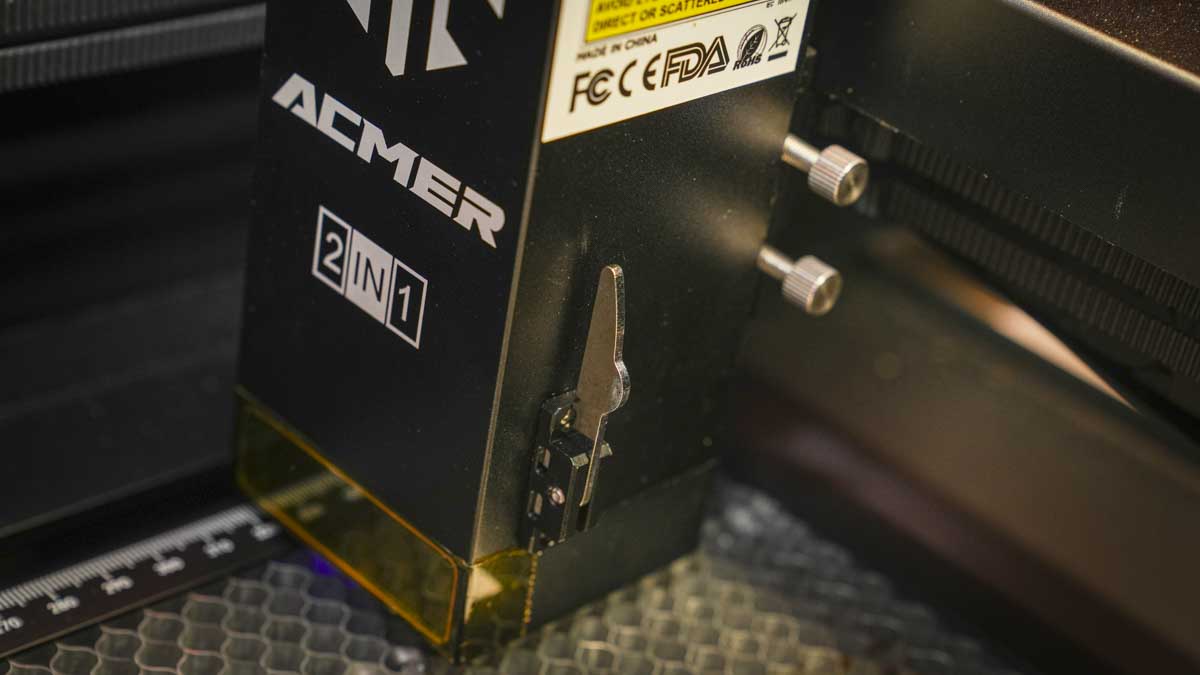
General use is quick and easy, and it's got a mechanical focus pin, which makes the adjustment for each material thickness very straightforward. ACMER also includes a few test materials in the package and some test charts so that when it comes to setting up LightBurn (as in this review), it's very easy to quickly dial in the settings needed for certain materials.
The big focus here is the ability to switch between the 10W diode and the 2W IR laser, which happens with the flick of a switch on the side of the laser module. Once done, you can adjust the settings in LightBurn and instantly switch from cutting and engraving wood and light materials to engraving metals. It's worth noting that, like most machines, it's not able to deal with acrylics.
Another feature I really liked, aside from being able to switch between the two types of laser, is the small built-in camera. Using the options within LightBurn, you can quickly set this up to first see the screen and then use the overlay for accurate engraving on smaller objects such as keyrings, wallets, and even bottles.
Overall, I was really impressed with the speed, accuracy and resolution the laser and engraver were capable of. I also liked the design; it was very workshop-like rather than product design. It just looks the part, and if you need to make alterations to your workload, that's all easy enough, too.
Sign up to the TechRadar Pro newsletter to get all the top news, opinion, features and guidance your business needs to succeed!
It may not be the very best laser engraver I've tested, but if you're looking for a good, reliable laser engraver with the potential to do both IR and diode engraving, then this is a great option. If you need a powerhouse for cutting, then with just the 10W diode head, you may struggle with anything over a 3mm base. However, this is Acmer , and there are other modular head options, including more powerful 24W and incredibly powerful 48W diode heads, that can be quickly swapped out to further boost the P3's capability.
ACMER P3 IR&Diode: Price & Availability
The Acmer P3 IR&Diode is widely available and can be purchased with a variety of different option directly from the Acmer website with the model review costing $1495 / £1510. However, at time of review, it's currently dicounted.
ACMER P3 IR&Diode: Design
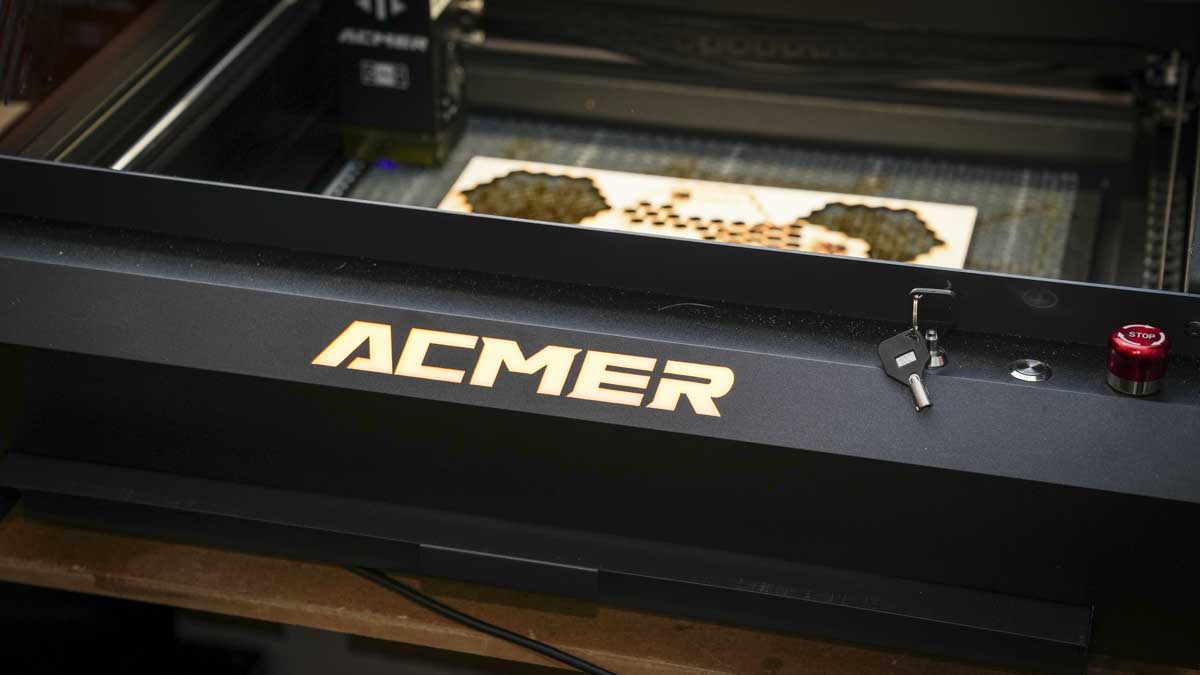
If you'd walked into a laser-equipped workshop 10 years ago, you would have found a machine that looked very similar to the Acmer P3 IR&Diode, even if it was on a larger scale. The Acmer P3 two-in-one is a stereotypical laser engraving machine. Its large, protective Perspex orange cover helps shield you from the power of the internal lasers. The layout and design are all very well thought out, clearly reflecting the years of industry experience that the manufacturer has had.
Everything, from the array of ports that allow you to connect directly to a computer or transfer files using a TF or microSD card to the ability to switch fans on and off via switches at the back, the emergency stop button at the front, and a modular design, enables you to start with one style of head and upgrade as needed.
The physical size of the machine is relatively large at 585mm x 660mm, with a relatively low height of 270mm, meaning it will generally fit on most work surfaces without much issue. Because it's built into a sturdy, enclosed frame, it's also relatively manoeuvrable. While still weighty, it's lighter than the fully enclosed studio machines you often see.
Though the machine is a similar size to many others, the actual material work area is 400mm x 390mm, considerably larger than most, especially when you consider the price.
Another key feature is the redesigned belt system. It uses a CoreXY structure, commonly seen in 3D printers, which rapidly increases operating speed. This machine has a maximum engraving speed of 800mm/s, and through the testing process, it proved that it's more than capable of hitting that speed accurately.
One of the standout features is the ability to switch between a 10W diode and a 2W IR laser, making it a true two-in-one machine. The switch is quite literally a physical toggle on the side of the module head: flip it down for the 10W diode and up for the 2W IR. There are no markings on the head, but a small red or blue LED allows you to differentiate between the two. These lasers serve different purposes; while the 10W is good for engraving all types of wood, the 2W is better suited to engraving metals.
The 10W diode will cut a 3mm baseboard without too much trouble, but the 2W IR is designed purely for engraving. So, if you plan to cut metal, this isn't the right tool.
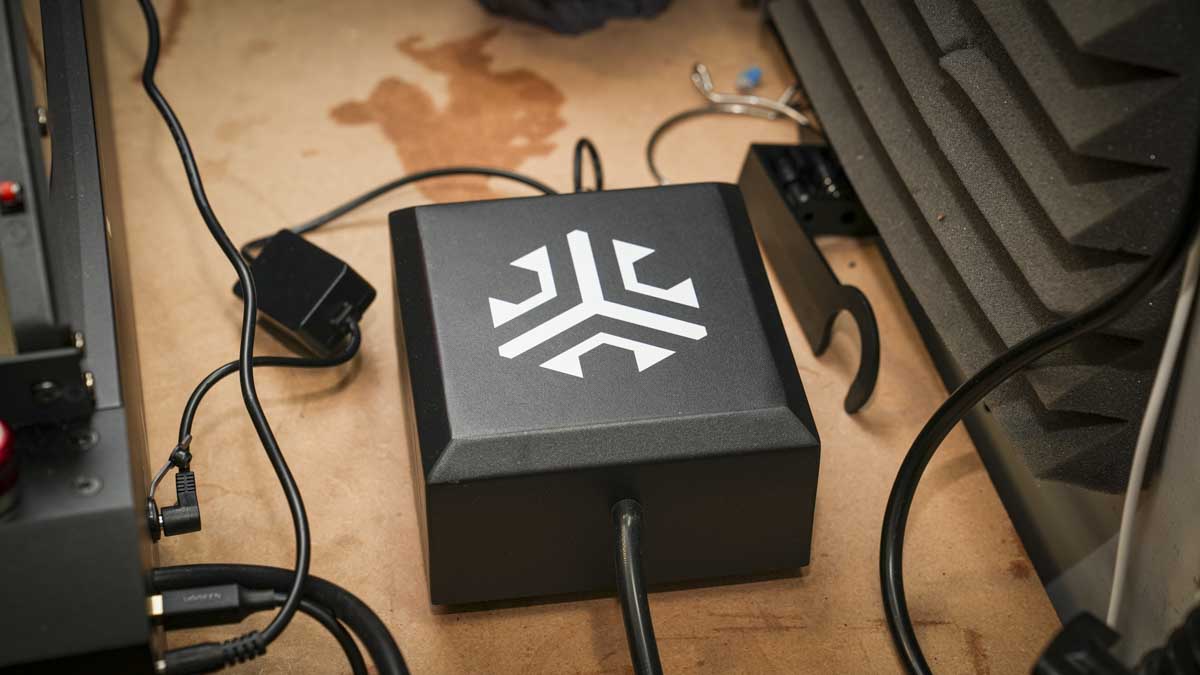
Looking over the machine, there are a few other key features. One I always like to see is a built-in camera. It helps you position your engraved designs accurately over your materials. While it does take some calibration at the start (via LightBurn), the process should take no more than 10 minutes.
Another handy feature is the included air assist. This clears smoke from the head area, giving the laser a clear path and improving performance. The difference in the quality of the cut with and without is marked as I discovered when first using the machine and forgot to properly connect the Air Assist; essentially, its inclusion helps to reduce the effects of scorching.
Likewise, the extractor helps pull smoke away from the work, again boosting the quality of the cut and engrave. As this is a high-powered laser, safety features are included: key activation (which can be bypassed), an on/off switch, and an emergency stop button. Around the back are additional switches for air assist and lights.
On the side of the machine are ports, including USB, assist connections, and the TF/microSD card slot. When it comes to design, it's exceptionally well thought out and clearly intended as a workshop rather than a studio machine.
ACMER P3 IR&Diode: Features
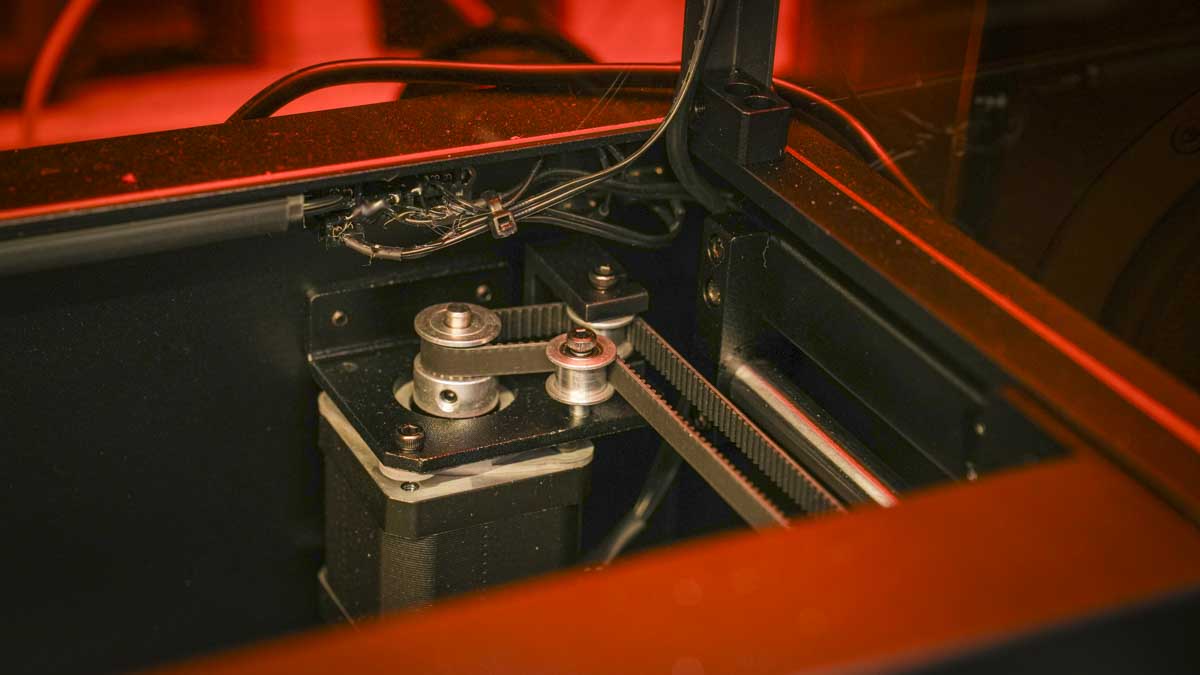
When it comes to features, this machine packs them in. While it might look like a piece of workshop equipment from the 1990s, it's actually cutting-edge, with a new belt system based on the CoreXY structure that enables maximum speeds of up to 800mm/s.
Lifting the Perspex protective cover reveals the laser engraving head. The P3 is available in several different versions, including this two-in-one model with a 2W IR and 10W diode laser. There's also a 24W diode and a high-powered 48W option which when fitted would enables you to make full use of that maximum speed.
What I really like is the modular design. It allows you to quickly unplug and replace the modular heads depending on your workload, which makes switching tasks incredibly easy.
Another major feature I always look for is the HD camera, which is built into the Perspex lid. It provides a large visualisation of the 400mm x 390mm work area. Set-up and calibration using the LightBurn software (used during this review) was simple.
Print Technology: Dual‐Laser (10 W diode + 2 W IR)
Power Options: 2W IR, 10W diode (24 & 48W diode options)
Build Area: 400 x 390mm
Motion System: CoreXY, 800 mm/s, 2000 mm/s² acceleration
Cutting Capability: 45 mm dark acrylic, 30–50 mm wood
Safety Compliance: Class 1, multi-safety interlocks, flame/tilt sensor
Air Management: Fume extraction + micro-airflow + air-assist pump
Camera & Software Support: 400×400 mm HD camera, LightBurn, LaserGRBL, ACMER app
Accessories & Extensibility: Rotary module, conveyor, chuck module, honeycomb bed, risers
Though I used LightBurn for its flexibility and speed, the P3 is also fully compatible with LaserGRBL, which is free, and the Acmer app. I tried the app and found it somewhat limiting for my needs, though it appears to be developing into a more intuitive and comprehensive tool. Currently, it remains in beta.
Another design feature I like is the removable base tray, which contains the honeycomb grid. If you need to engrave longer items, this is possible, with a maximum length of up to 4m, though the width remains fixed at 400mm.
Like all good workshop equipment, the P3 gets the basics right. It's part of a larger ecosystem, with the two more powerful 24W and 48W diode laser heads available for cutting and engraving. Personally, I'd opt for at least the 24W alongside the two-in-one model. There's also a rotary engraving option that plugs directly into the P3 interface, enabling you to cut or mark glass bottles, decorations, and a wide variety of curved or cylindrical items.
ACMER P3 IR&Diode: Performance
Getting started with the P3 two-in-one is relatively fast. Once unpacked, the instruction manual is clearly laid out, unlike many other manufacturers who only include a leaflet. Acmer's instructions walk you through each step, even if you've never used an engraver before.
Another thing I found helpful was the inclusion of test materials and a test sheet that shows the power settings needed to cut or engrave. That meant I could quickly dial in the required settings when laying out designs in LaserGRBL.
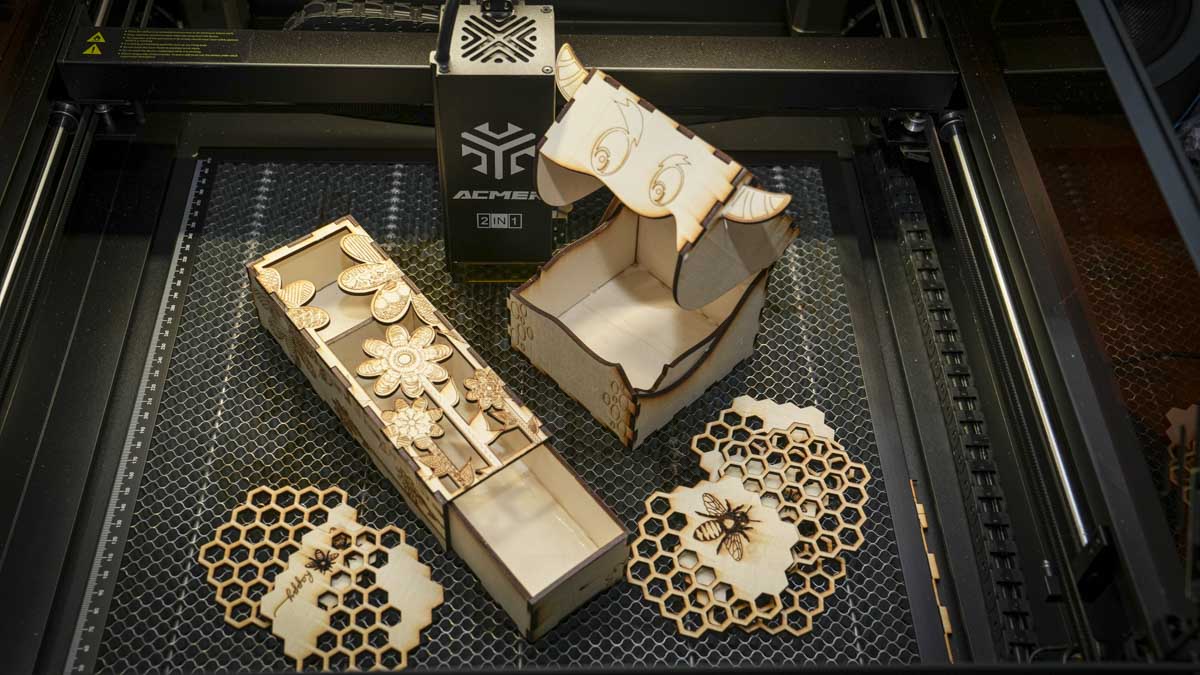
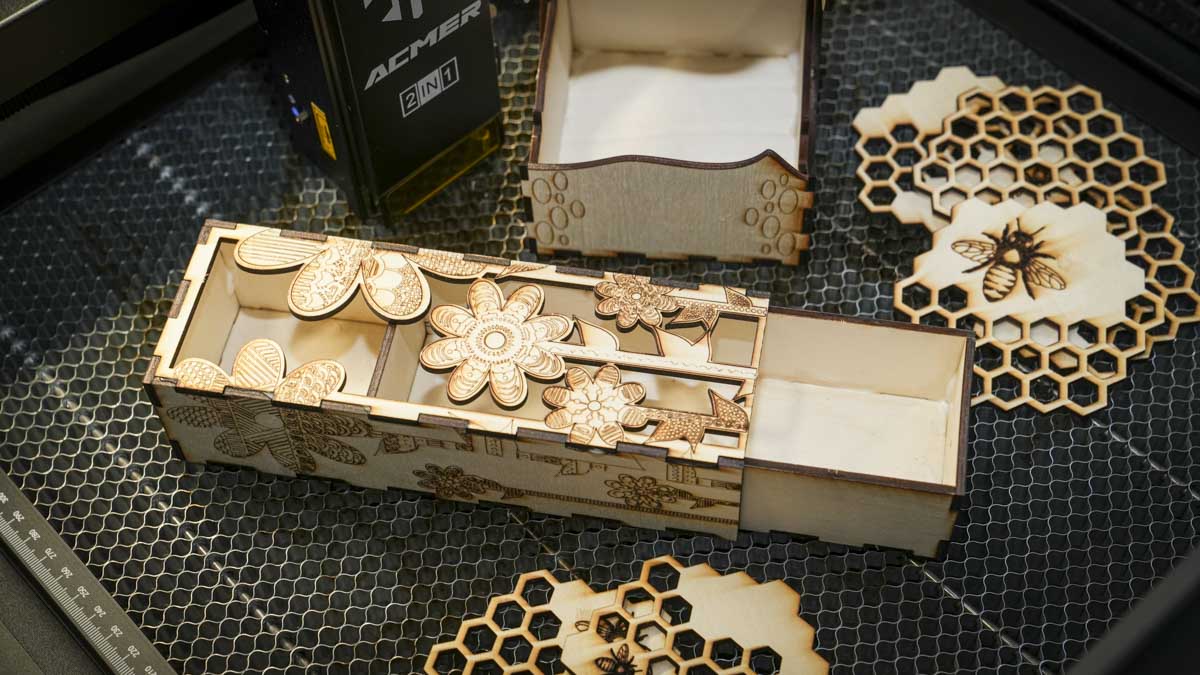
For my first two projects, a box and a pencil box, both requiring a 3mm baseboard, I set the main cut at 175mm/min at 100% power. For darker engraving, I used 600mm/min at 60% power, and for lighter engraving, 600mm/min at 40%.
The results were good. There was some scorching around the edges, and setting the speed to 200mm/min was too fast for a clean cut. At 175mm/min, I got a clean cut, and the slight scorching was easy to sand away. That scorching was caused by the air assist not having been plugged in, and once the unit was up and running the cuts and engraves were even cleaner.
The engravings at 60% and 40% power came out very clearly. I originally tried 40% and 20%, but the lighter areas were too faint, boosting both settings by 20% made a noticeable improvement.
After the initial projects, I tested something more precise: engraving a wooden keyring. Before switching to the IR laser, I wanted to test the accuracy of the camera overlay. For small objects like jewellery, precise positioning is essential.
Using the camera (mounted in the lid) requires calibration via LightBurn. It walks you through a test engrave to align the image with the software's representation. My first attempt was 1cm out, but after recalibrating, which took about 10 minutes, everything aligned perfectly. I then engraved a design on the keyring and achieved very accurate results.
In terms of performance, the laser felt slightly underpowered. For basic use, cutting 3mm baseboard, it's absolutely fine. While you might get a little scorching, the cut quality and engraving resolution are excellent. Personally, I'd also buy the 24W head for thicker materials or to boost speed, as 175mm/min is quite slow.
Switching to the IR laser is quick: flip the switch on the module head, and LightBurn will update accordingly. Then, just lay out your design, place the metal, align using the camera, and you're ready to go.
As with most IR lasers, it's possible to engrave in colour by adjusting the wavelength. However, the actual results can be inconsistent. Pale pinks and blues are achievable but not guaranteed. This is a universal challenge and not unique to this engraver, it just takes experimentation.
When it came to the ease of use and performance one feature that really stands out is that 2-in-1 head. I really liked the ability to switch between diodes and IR lasers. A few minor issues, like light leakage from side vents and the slightly underpowered feel of the 10W diode, could be improved. But overall, the engraving quality is excellent.
I also like the manual focus pin system. While there are auto-focus models, I prefer the control of this method. The only concern is a small amount of play between the head and the mounting plate, if you don't tighten it fully, the head may shift slightly, affecting focus. That said, the modular design, workshop-friendly features, and strong out-of-the-box performance make the P3 a very good option.
ACMER P3 IR&Diode: Final verdict
When it comes to the performance of the Acmer P3 two-in-one, taking everything into account, it's an extremely solid workshop machine. If your projects involve cutting 3mm baseboards or engraving metals, then this is a great option. It's easy to use, accurate, and relatively fast, but what really stands out is how robust, user-friendly and upgradeable it is.
If you do decide to install one of the larger module heads, either the 24W or 48W for cutting thicker materials, it takes only a few minutes and requires little to no recalibration.
It's clearly designed as a base unit, and it comes with everything needed: fixtures, fittings for extraction and air assist, and the option to attach a rotary module.
As an all-in-one machine, it offers a lot at a competitive price. While there are a few other machines on the market that come close, the ACMER P3 stands out. The two-in-one capability means you can cut wood and engrave while also having the flexibility of IR for marking metal—making it suitable for a wide range of projects.
Though a few areas could be improved, they're minor and easily solved with a little DIY.
Should I buy the ACMER P3 IR&Diode?
Value | Great value for money, with the option to increase power using the 24W or 48W module | 4.5 |
Design | Workshop-studio hybrid design, especially with the inclusion of a built-in camera | 4.5 |
Features | Packed with features and upgradeable via additional modules | 5 |
Performance | The 10W diode laser is a little underpowered, but the inclusion of both laser types gives a decent balance | 4 |
Total | One of the best laser engravers on the market for dual-function metal and wood engraving | 4.5 |
Buy it if...
You need to engrave metal.
The quick switch on the side of the module head lets you change laser types in seconds—far quicker than other models that require full head swaps.
You need flexibility
You can buy a 24W or 48W laser module to boost power, turning the flexible two-in-one machine into a powerful, upgradeable workshop unit.
Don't buy it if...
You have a stylish design studio.
Although this is a fully enclosed engraver, it lacks the sleek, product-designed look found in some studio-targeted models.
You need to cut metal.
While powerful laser modules can handle wood with ease, they won't be sufficient for cutting metal—marking is only possible with the IR module.
Want more crafting tools? We tested out the best 3D printers and these are our top recommendations.
Alastair is a photographer, filmmaker and tech writer who has been working in the publishing industry since the late 1990s. For more than 25 years he has covered photography, video and technology across Future's photography, technology and gaming brands. He runs a photography and video production company and lectures in TV and film. He can usually be found testing mini PCs or prototyping and prop building with the aid of 3D printing.
You must confirm your public display name before commenting
Please logout and then login again, you will then be prompted to enter your display name.
