TechRadar Verdict
High output and high storage mean that this is excellent for most home uses in an emergency or using off peak charging to use during the day.
Pros
- +
Near silent operation
- +
Nice, large carry handle
- +
Easy, intuitive to use product and app
- +
SolarPanels have sun angle indicator built in
Cons
- -
Only two AC sockets
- -
No IP rating or socket covers
- -
Propriety DC solar cable, sockets and plugs
- -
App sometimes lags
Why you can trust TechRadar
I write this review a few days after the Spain and Portugal electricity blackouts, this showed how reliant our societies are on electric power. The blackouts, perhaps the worst in recent memory in some places lasted up to 23 hours. One of the biggest sale items at the time being portable power banks as people were desperate to keep small electronic devices powered.
However, even these small power banks only have around 10,000mAh and can only power devices that often use a form of USB charging. This leaves anything running on 240v mains electricity often without power such as fridges and freezers.
Having reviewed the best portable power stations from varying brands across the years, the noted mainstays of the industry was a copy and paste with few tweaks here and features there. Nearly all of them were of a large boxlike design often with a status screen, varying power in and outputs and maybe an app. Portable only in the sense that you could pick it up and cart it off elsewhere, but some of them were bulky and pushing north of 20kgs in weight.
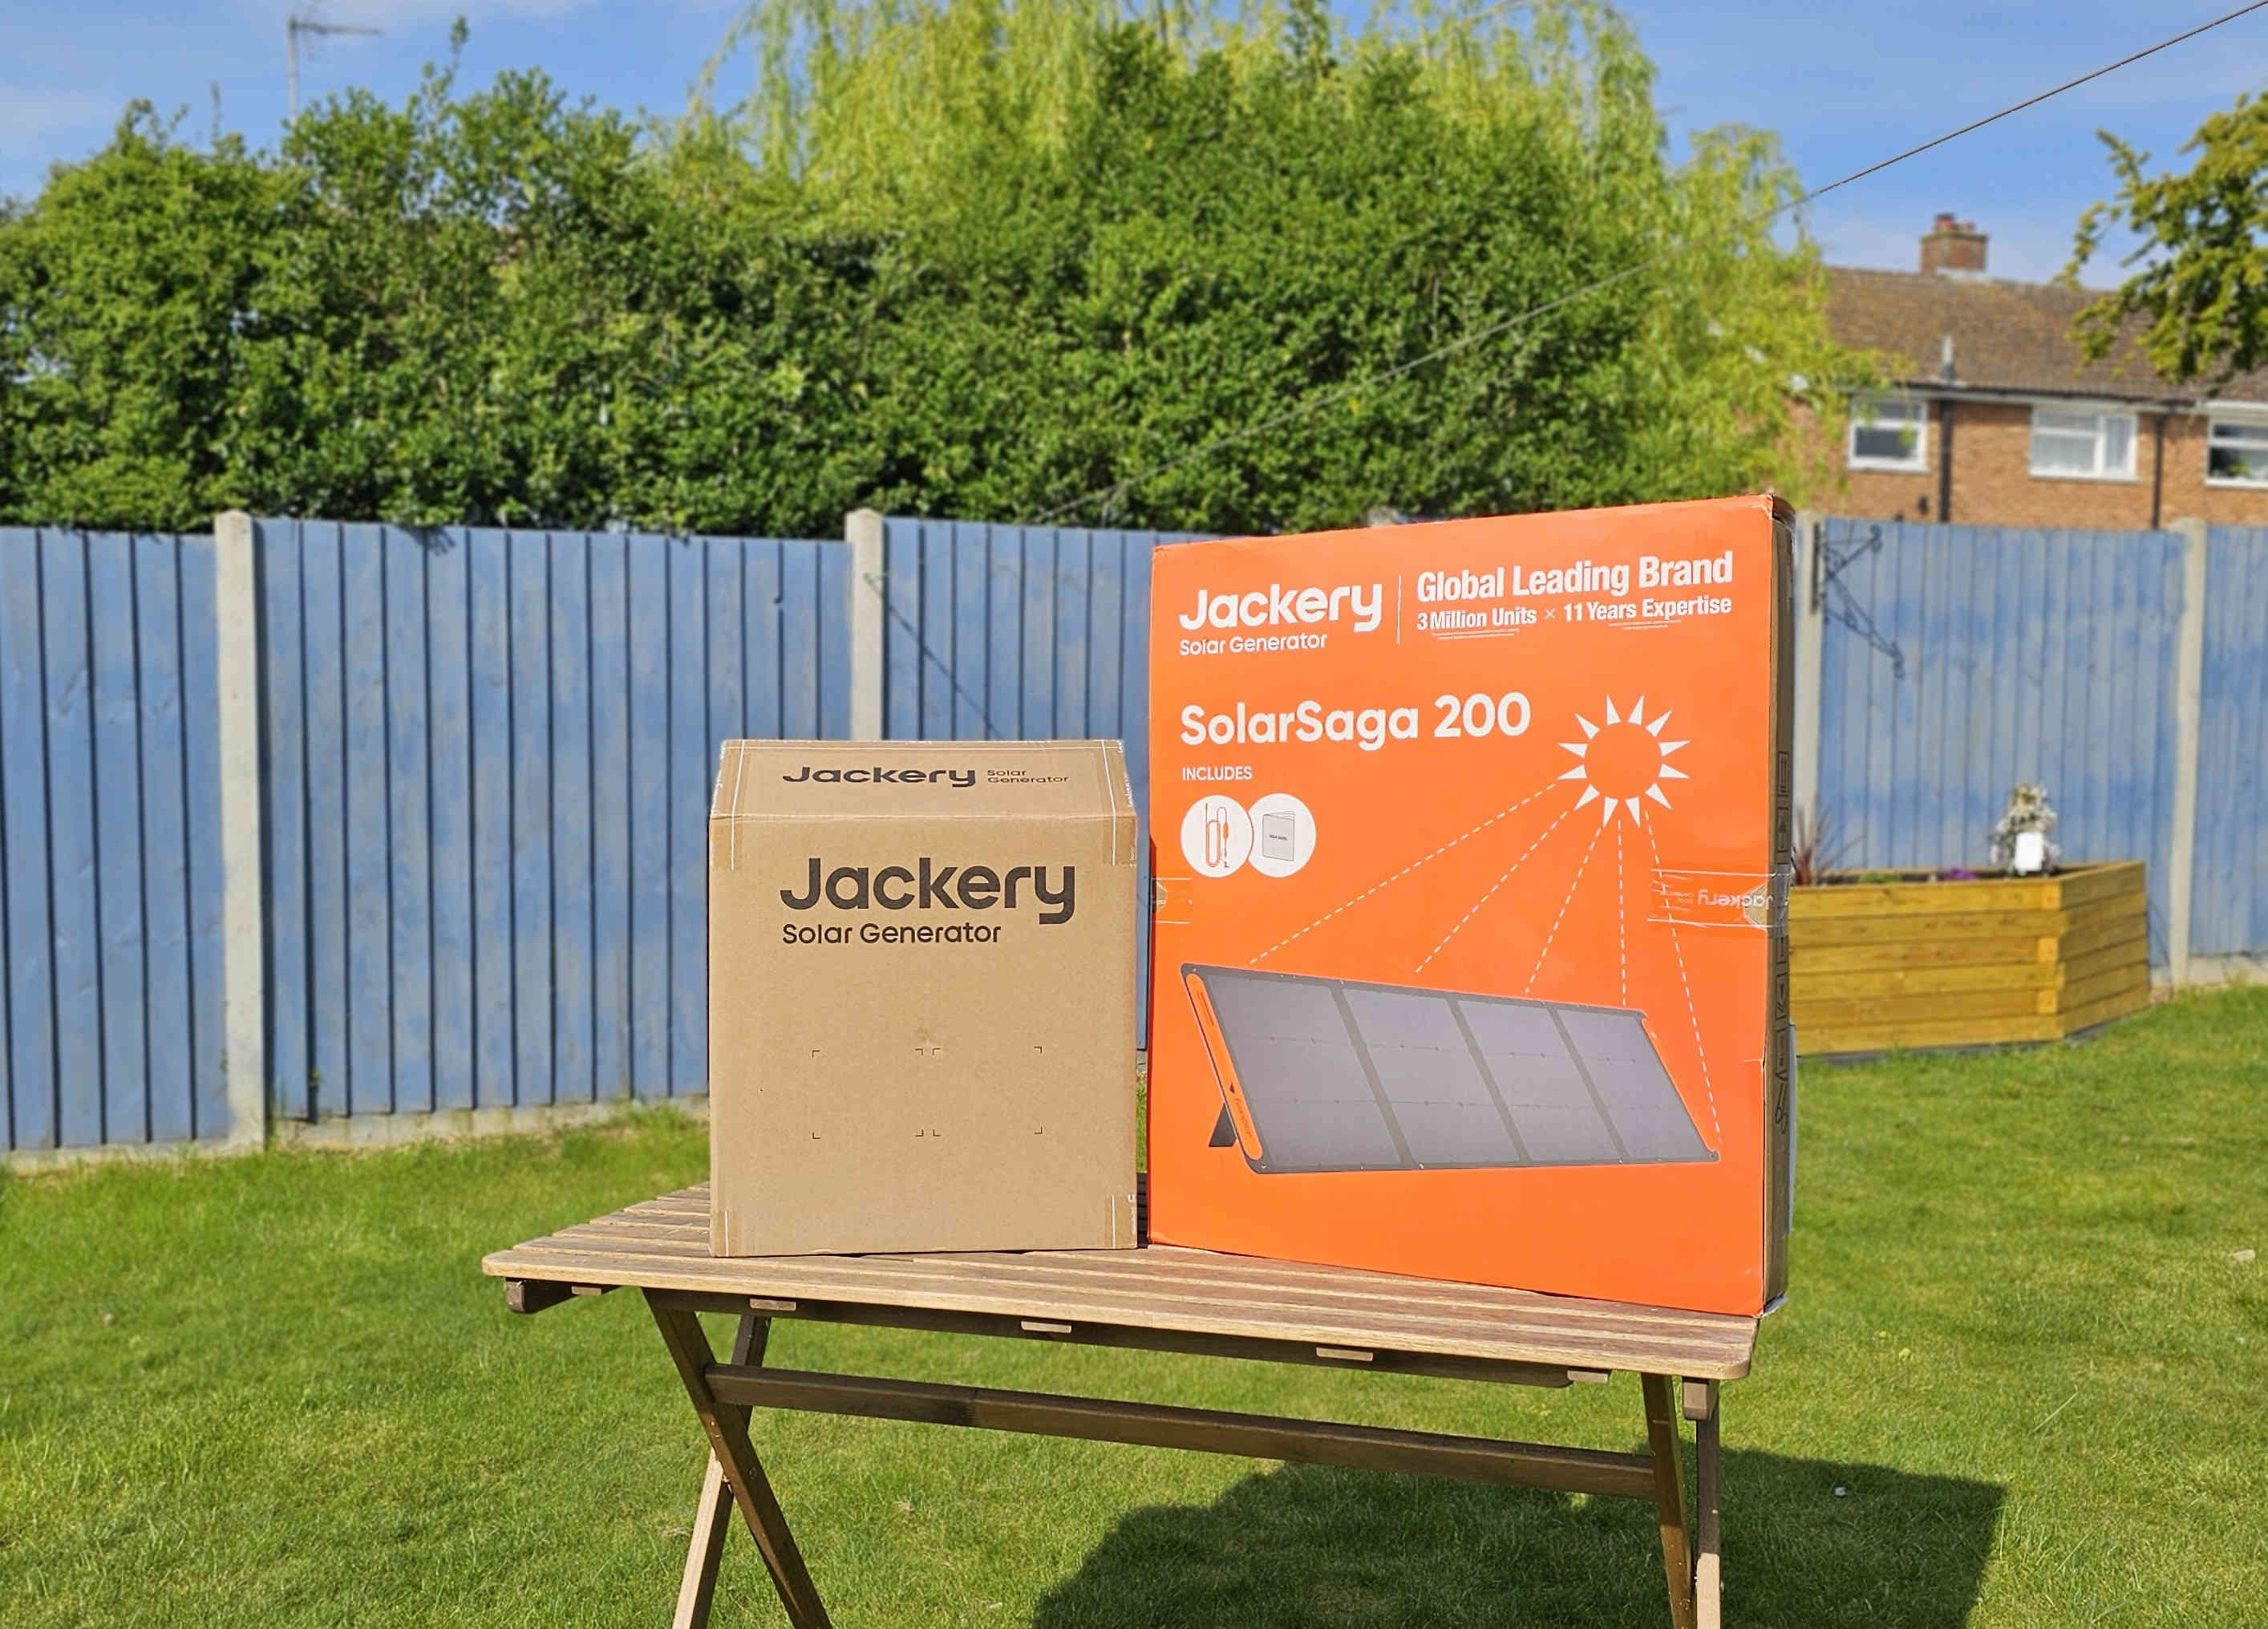
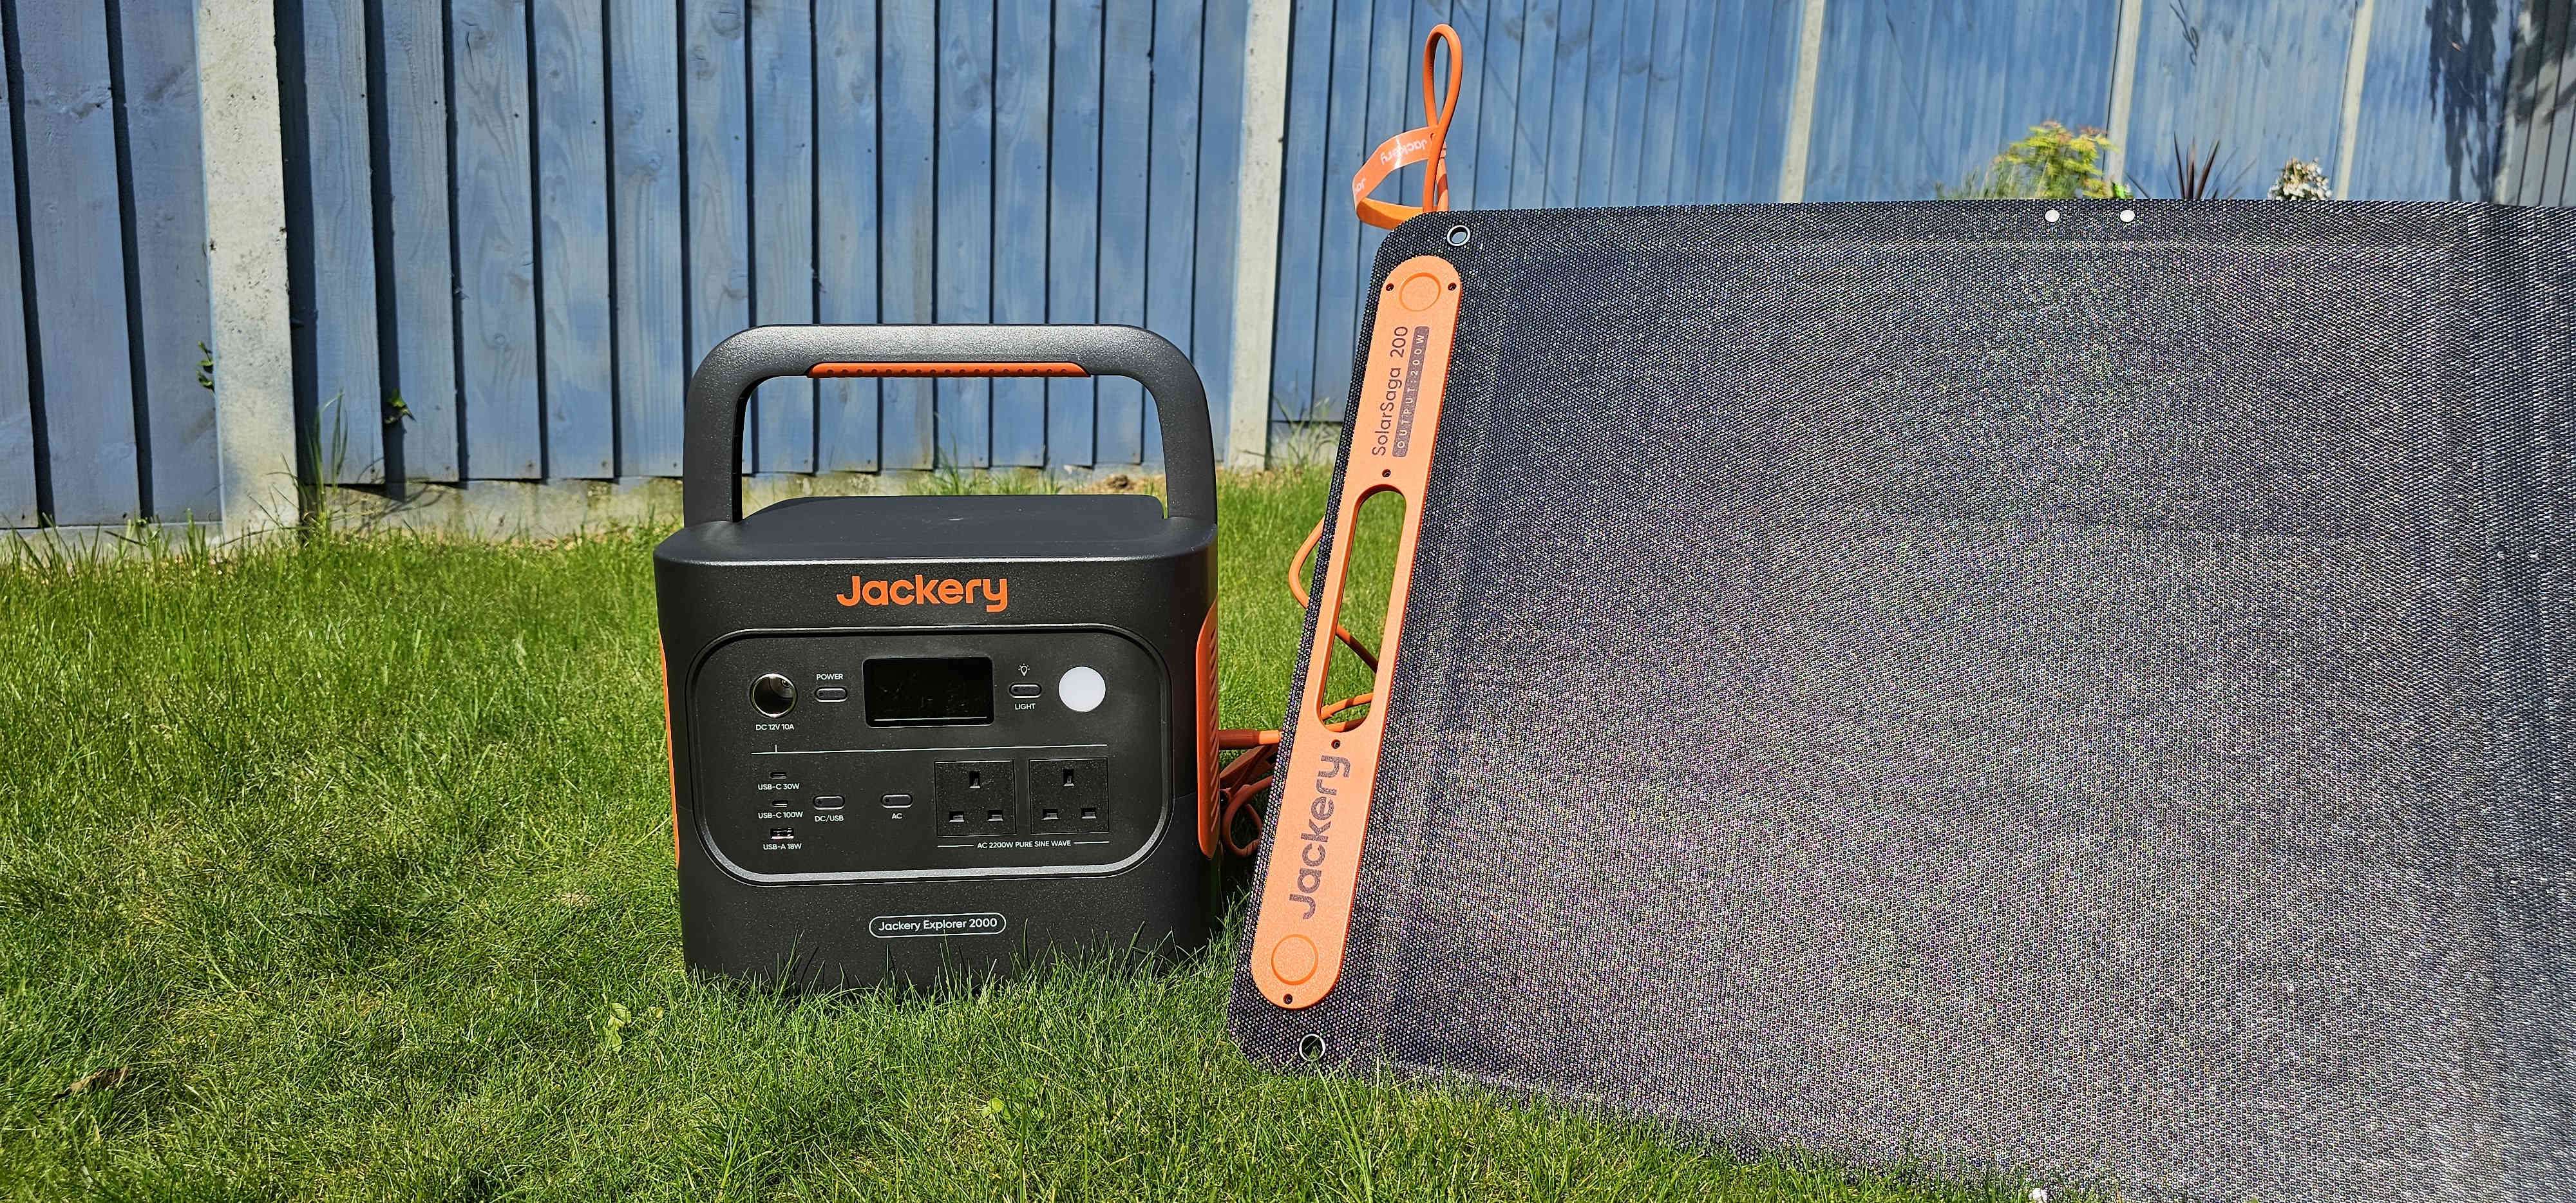
The Jackery Solar Generator 2000 v2 is almost no different except in this package you get not just the portable power station, but also a portable solar panel as a combo, however both are available for purchase separately as the Jackery Explorer 2000 v2 Portable Power Station and Jackery SolarSaga 200W Solar Panel.
We start on the Jackery Explorer 2000 v2 Portable Power Station part of the combo.
Jackery Explorer 2000 v2: Portable Power Station
Packaging
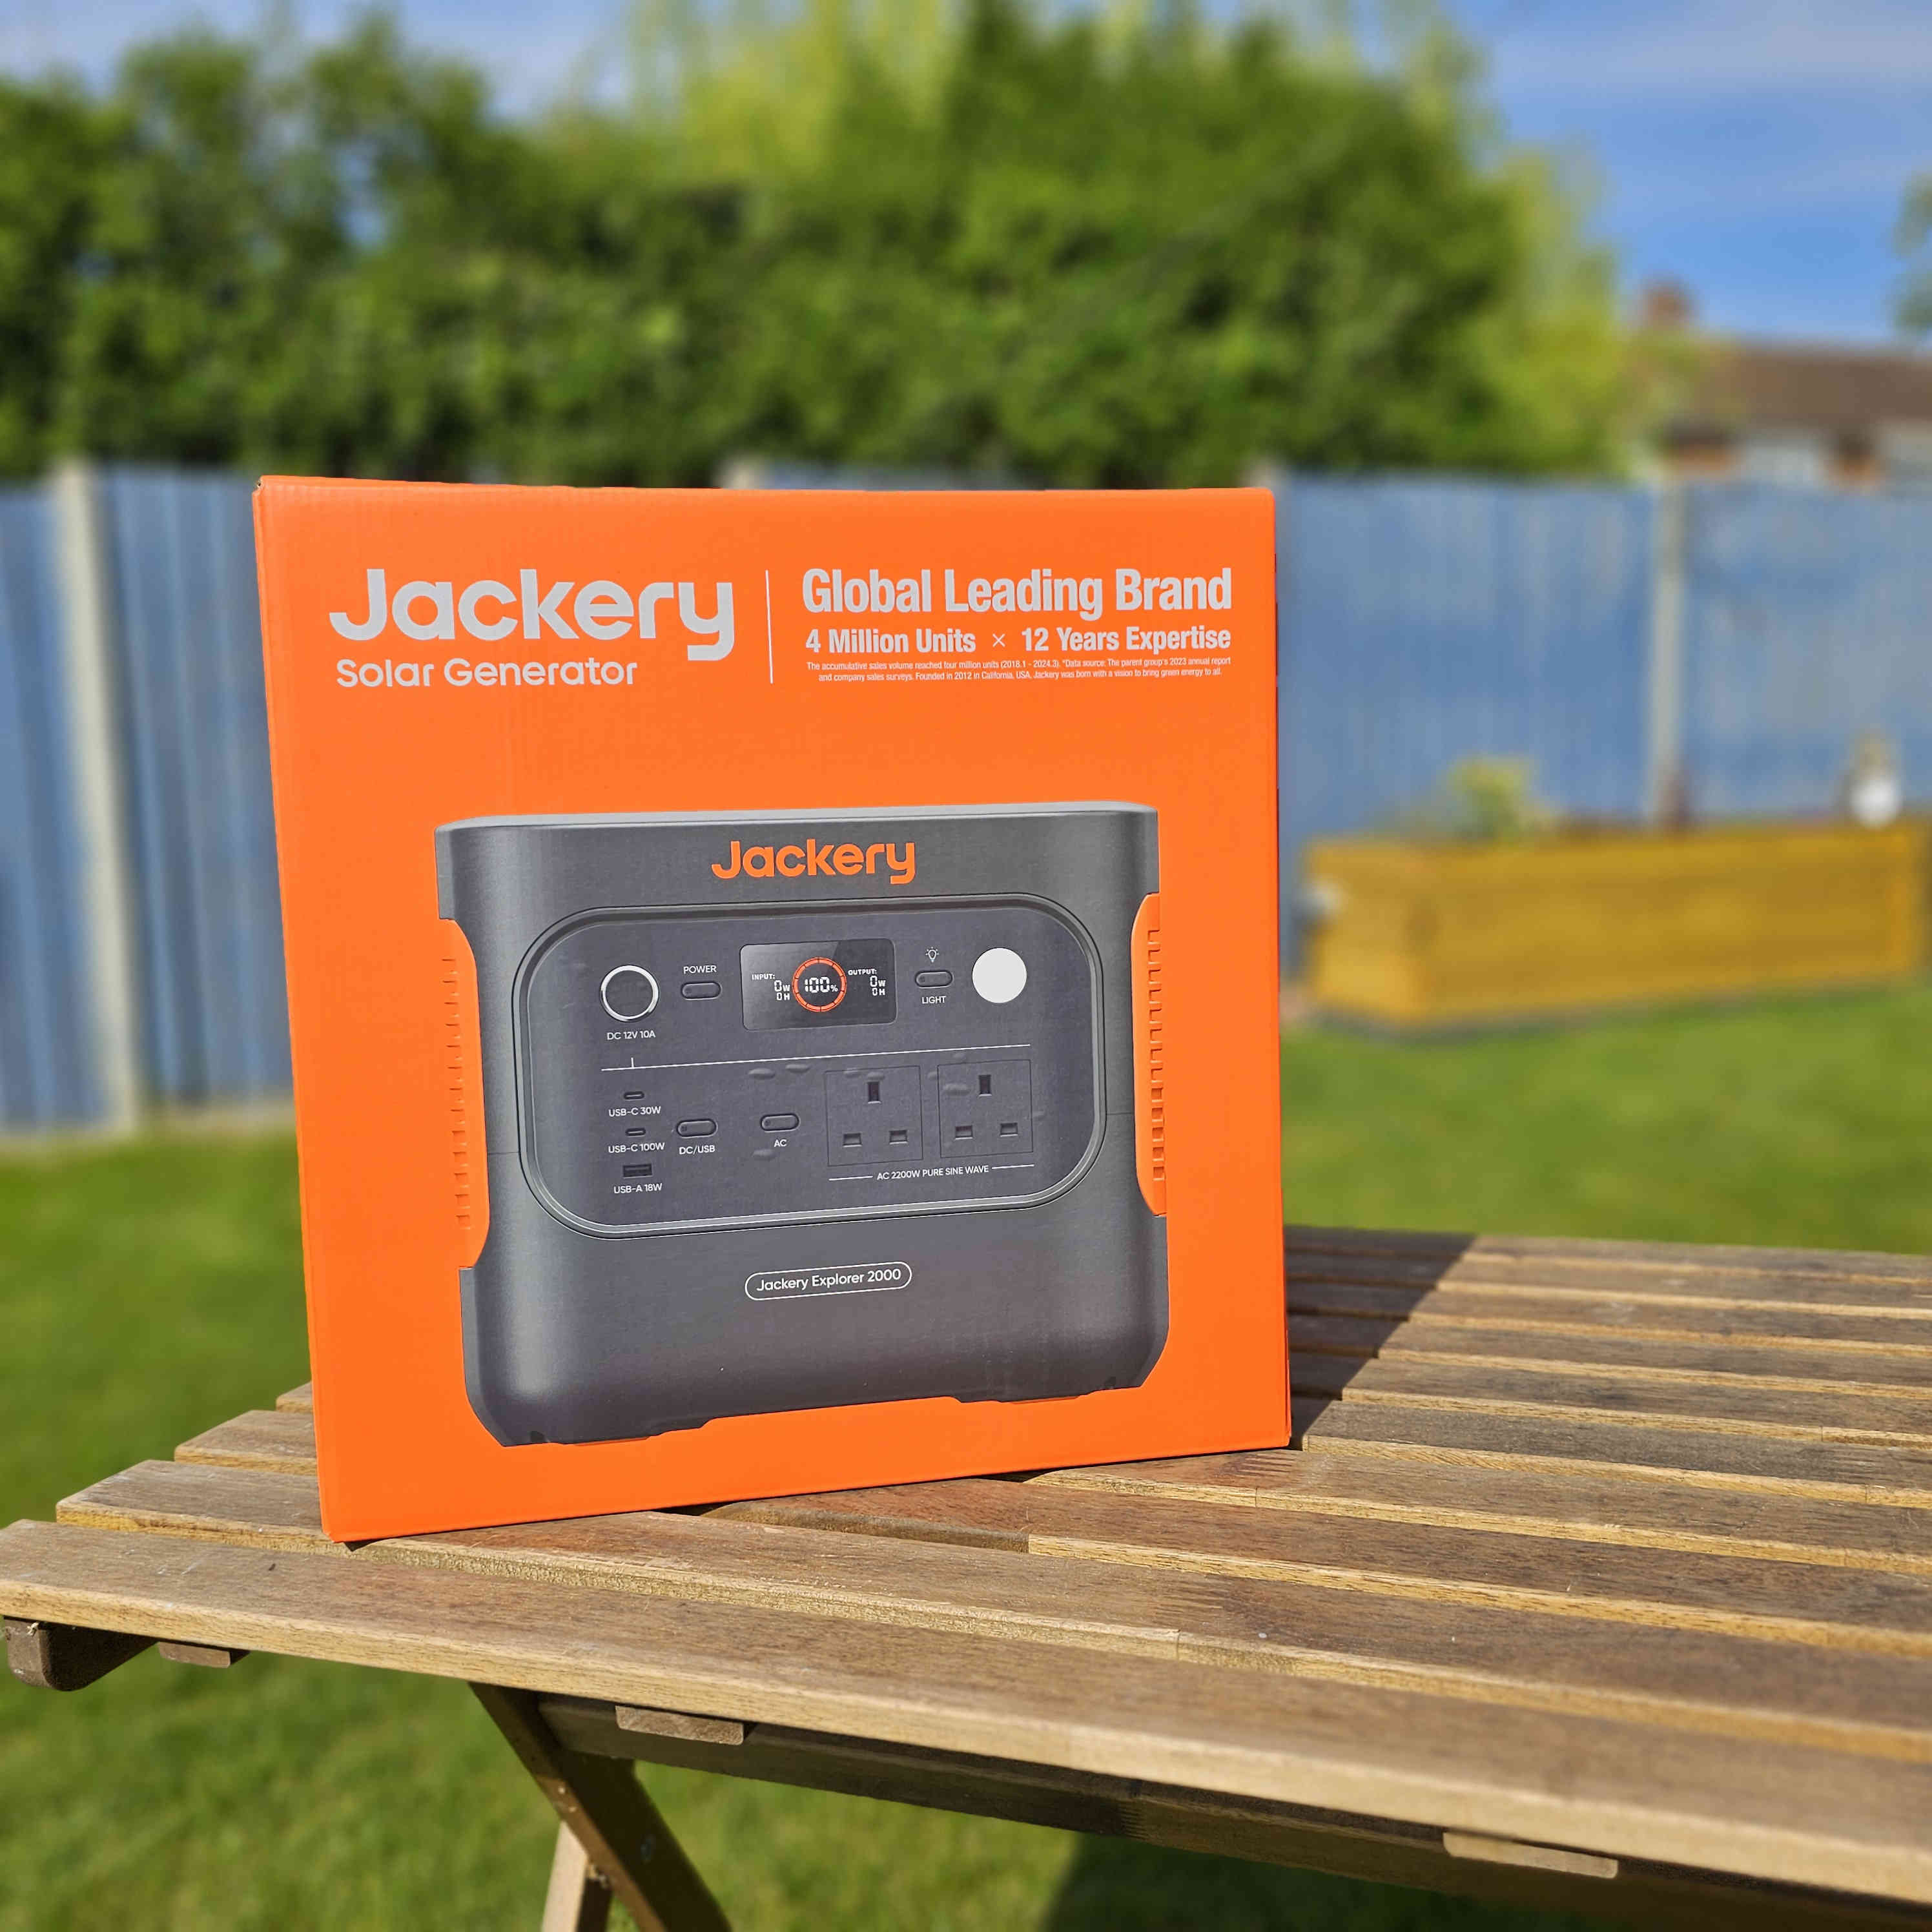
Starting with the Explorer 2000 Power Station, I opened the cardboard box to be presented with an orange box and helpful pull-out handles, removing this gave us a nice orange box, the sort you would see on shop shelves to market the product to you.
The back of the box shows that this power station has a capacity of 2042Wh or 45.6Ah from its Lithium Iron Phosphate (LiFePO4) cells, its in and output rates and some basic specifications.
Sign up to the TechRadar Pro newsletter to get all the top news, opinion, features and guidance your business needs to succeed!
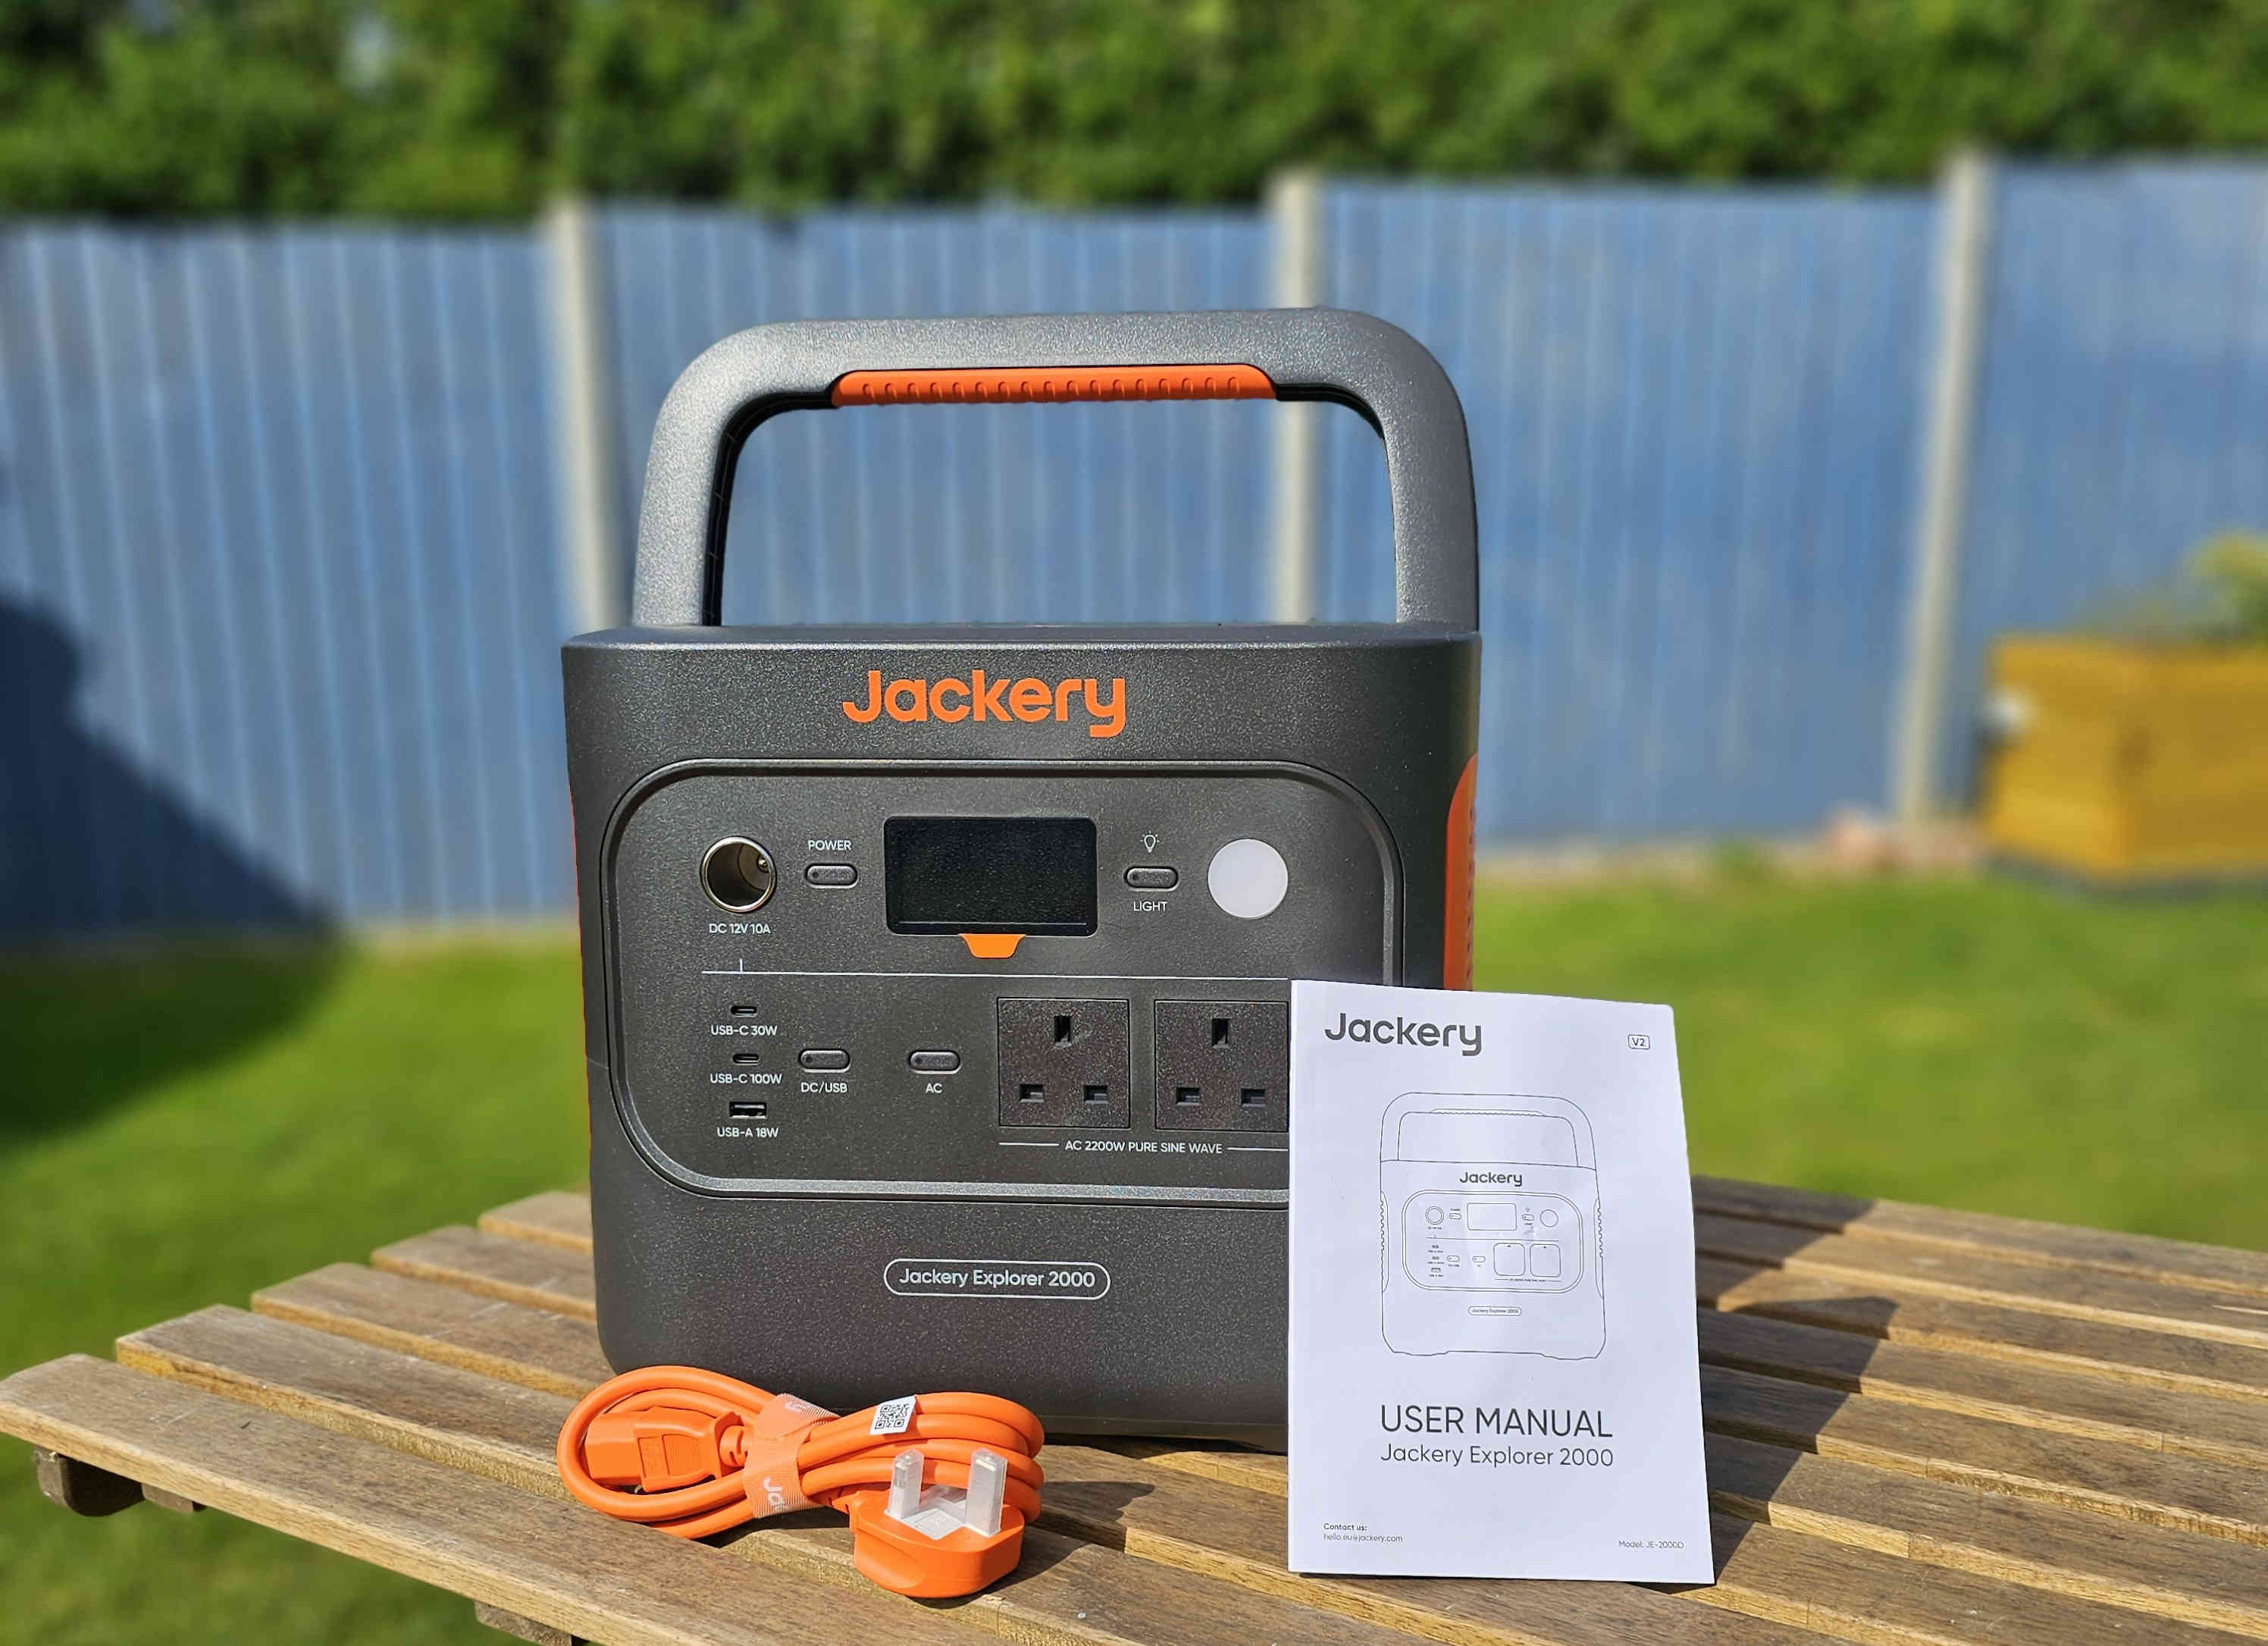
Opening this orange box gives us the accessories tray consisting of only the AC power cable and manual. I do want to point out I was very impressed with the orange box packaging using only sturdy corrugated cardboard with a felt liner, no plastics in this box whatsoever.
The power station
Once the power station was removed from the box, I noted its dimensions being on average about the same size here and there as other power stations I had reviewed in the past.
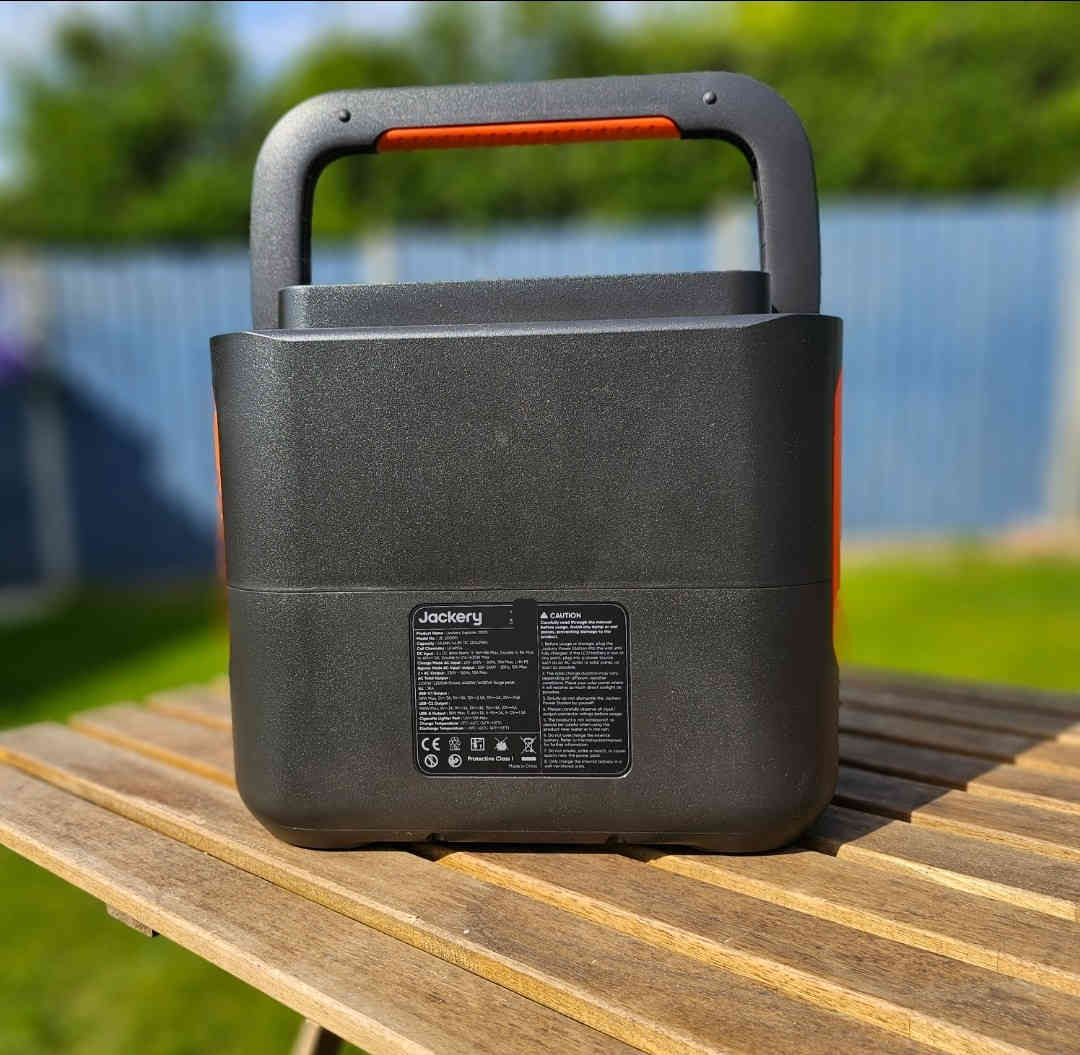
A quick visual inspection, I noted that all the output ports are at the front, the sides have ventilation slots with the AC and DC input ports on the right side. The back was plain save, for an information label and the bottom had large, wide sturdy rubberized feet.
One notable feature was the large carry handle on the top, possibly one of the best ones I had seen on any portable power stations as these are heavy with the Jackery weighing in at 17.5kgs (38.6lbs). The handle can be stowed away when not in use.
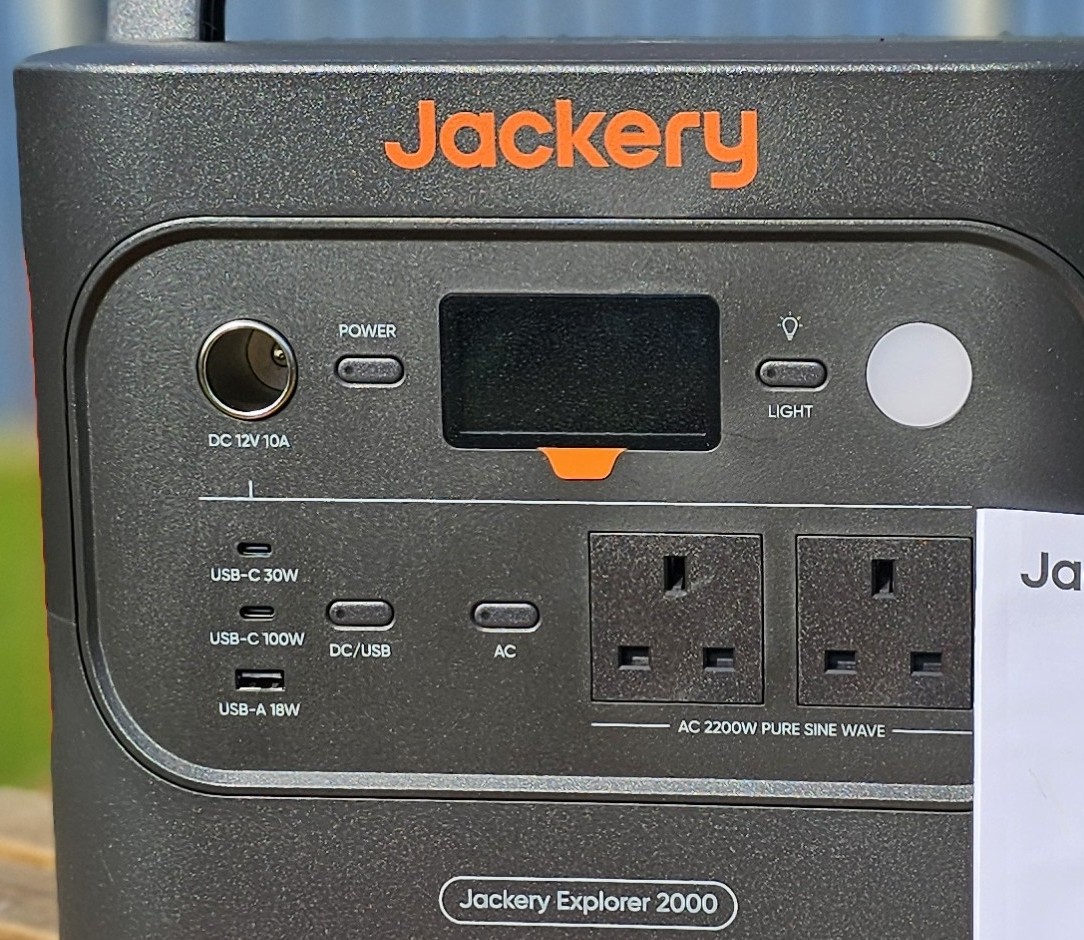
We will start discussing the output ports, all of which can be found on the front of the Jackery. The on/off switch can be found to the left of the screen which after a short press powers the unit on.
On the other side of the screen is a “Light” button which illuminates the small light, the white round disc, to the light button’s right. This light can be used as an emergency light source, it can be cycled from steady on dim, bright and SOS mode.
Below the lights are the AC power sockets, in this model the UK type G socket. Other models featured in the past had three or four but this only has two. The inverter Jackery has provided is capable of providing a pure sine wave to closely mimic that of the grids alternating current. It has a maximum wattage output of 2200W but can support a brief surge peak of 4400W should it be necessary. The sockets can be turned on or off using the small button labelled “AC” to the right.
To the left of the sockets are a column of three USB power outputs, two USB-C and one USB-A. The top USB-C has a max draw of 30W, the middle USB-C 100W and the lower USB-A only 18W draw.
Above the USB outputs is the 12V DC output capable of a 10A draw. The USB and 12V DC outputs can be switched on and off by the small button to the right of the USB outputs.
Curiously, all the outputs have no covers such as the rubberized ones we often see on other power stations. This means that the Explorer 2000 has no IP rating. An odd choice for a product marketed for on-the-go power to be charged by solar so long as its dry.
In the upper center is a small status screen that shows all the useful information that you will need at glance.
In the center is the remaining battery percentage surrounded by a battery power indicator, to the left in the input wattage and time to full charge and to the right is the output, also in wattage and remaining time until the battery is fully discharged.
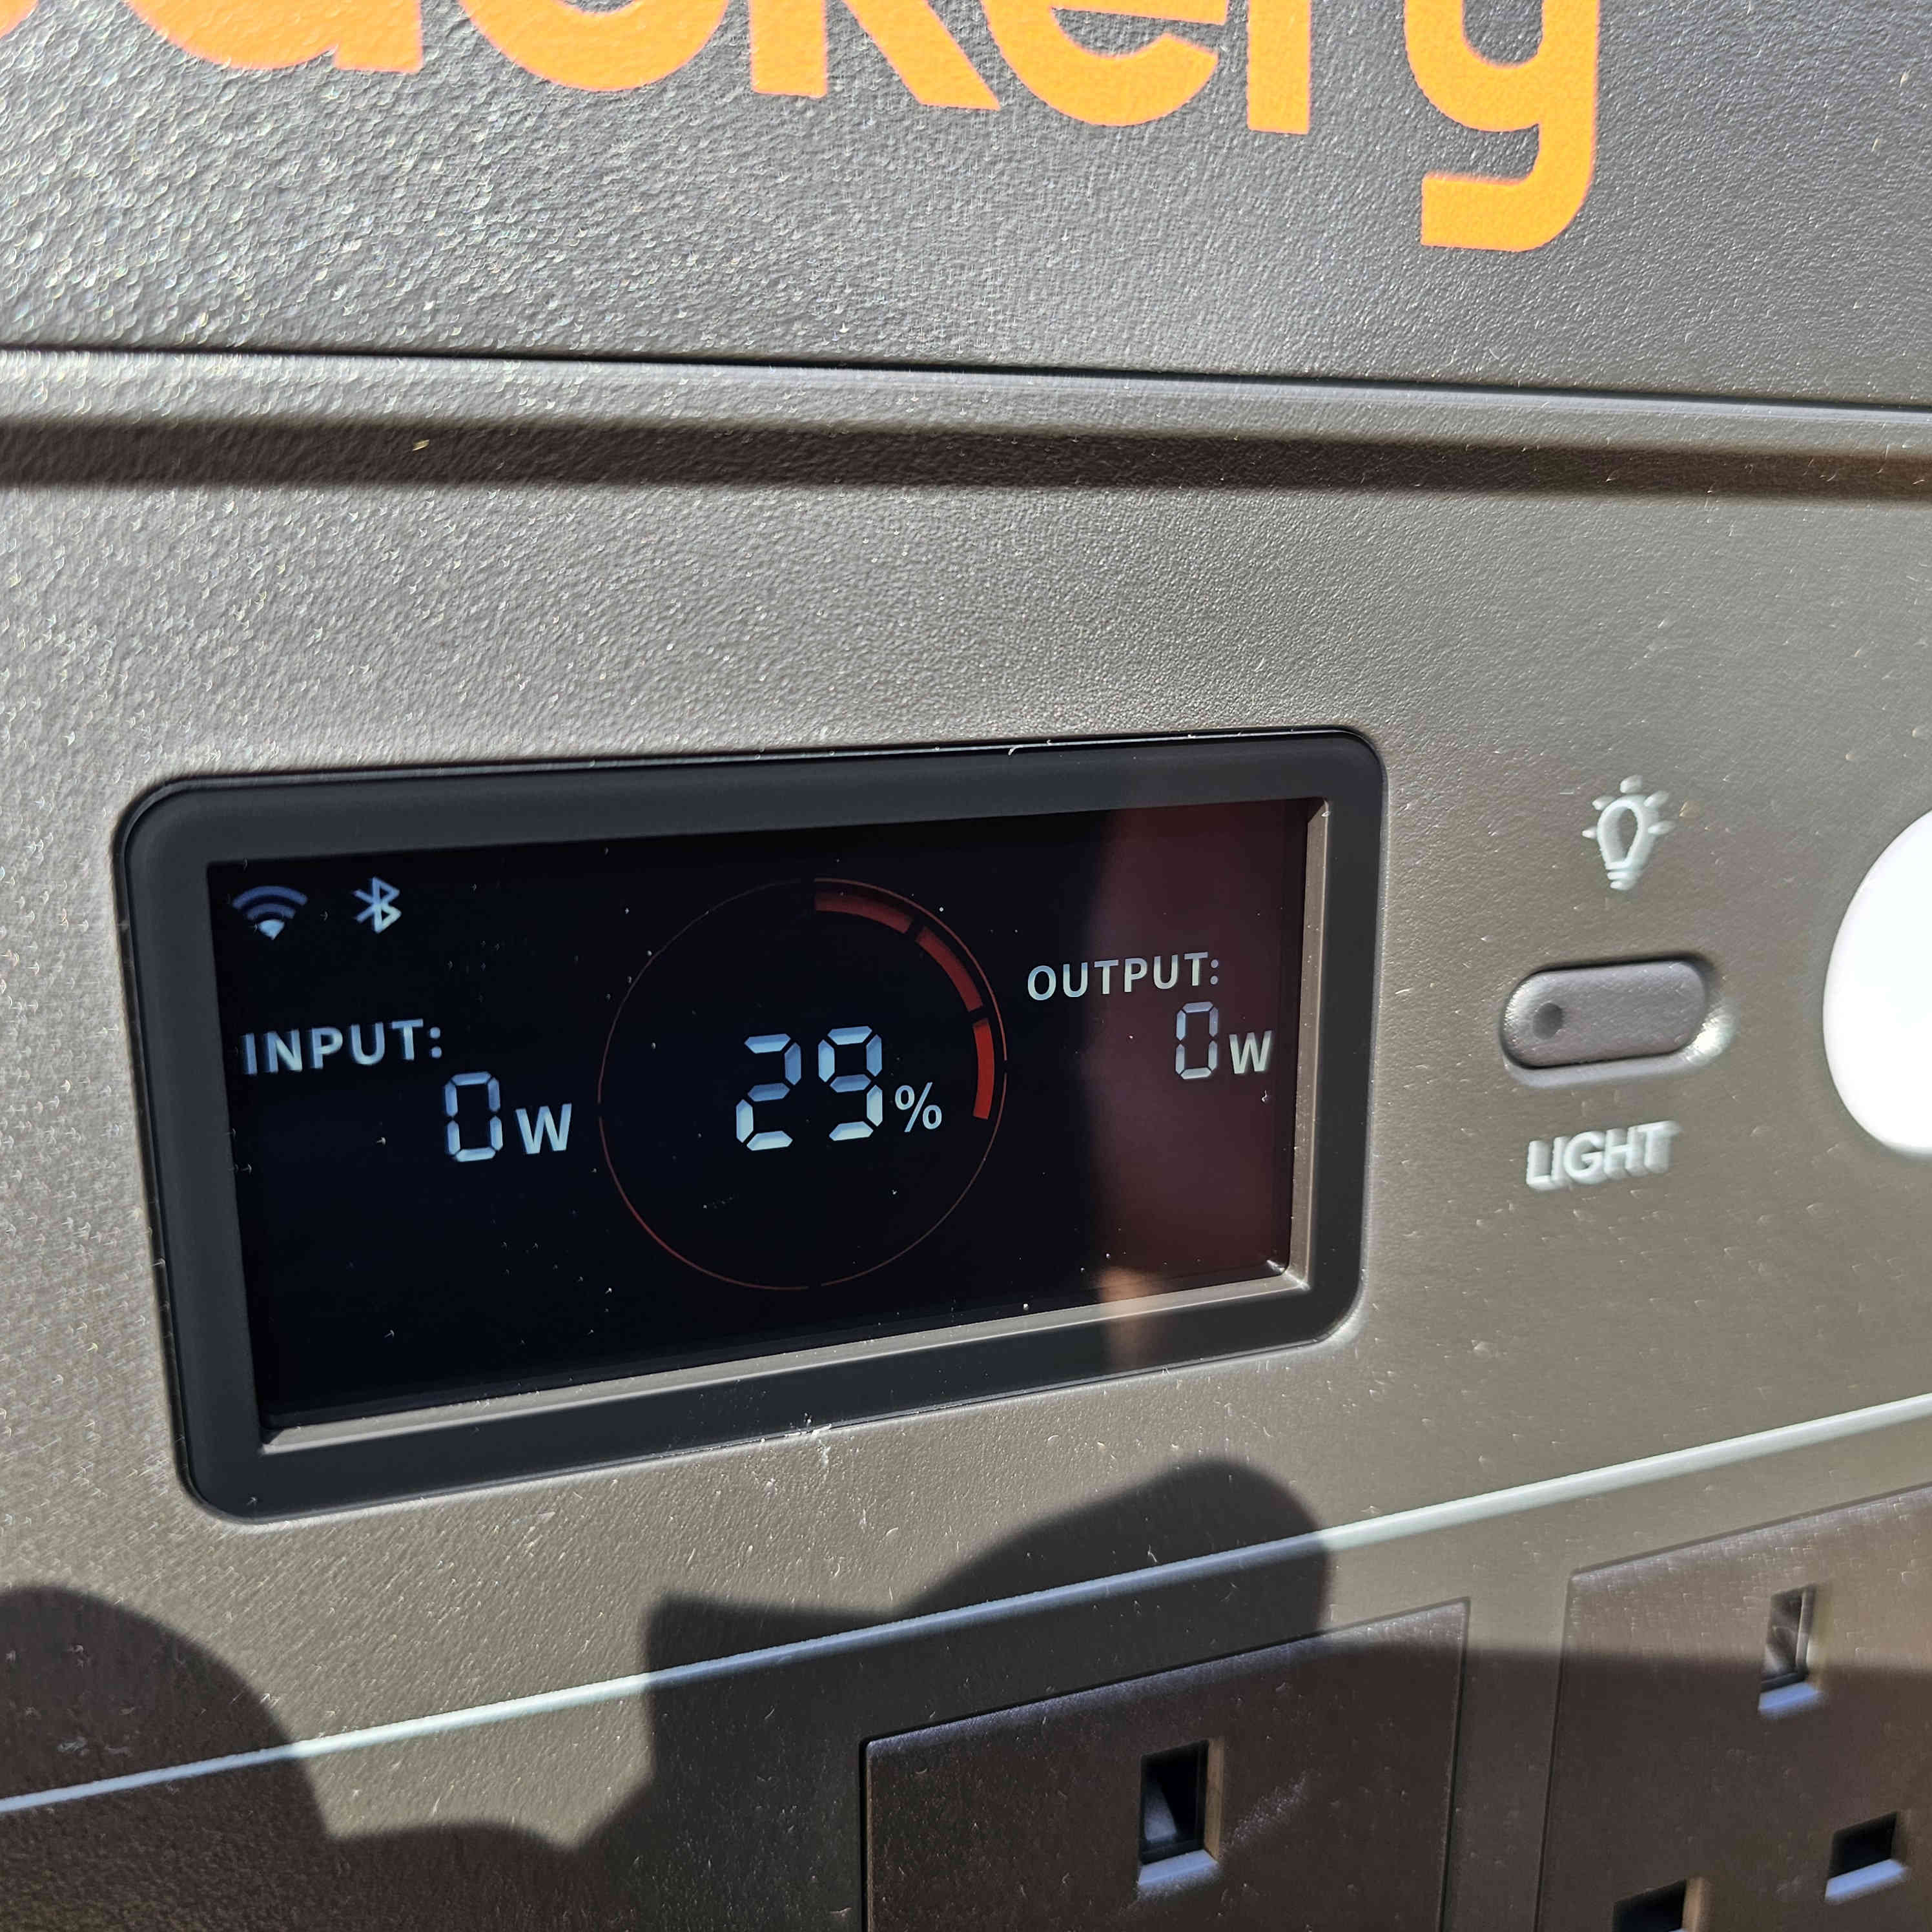
To the top left is the status symbols for WiFi, Bluetooth and different modes, to the top right is the AC power indicator for 110 or 240v and 50 or 60Hz AC. Bottom left is the method of charge symbols for mains, car or solar charging and lastly to the bottom right are the various fault symbols.
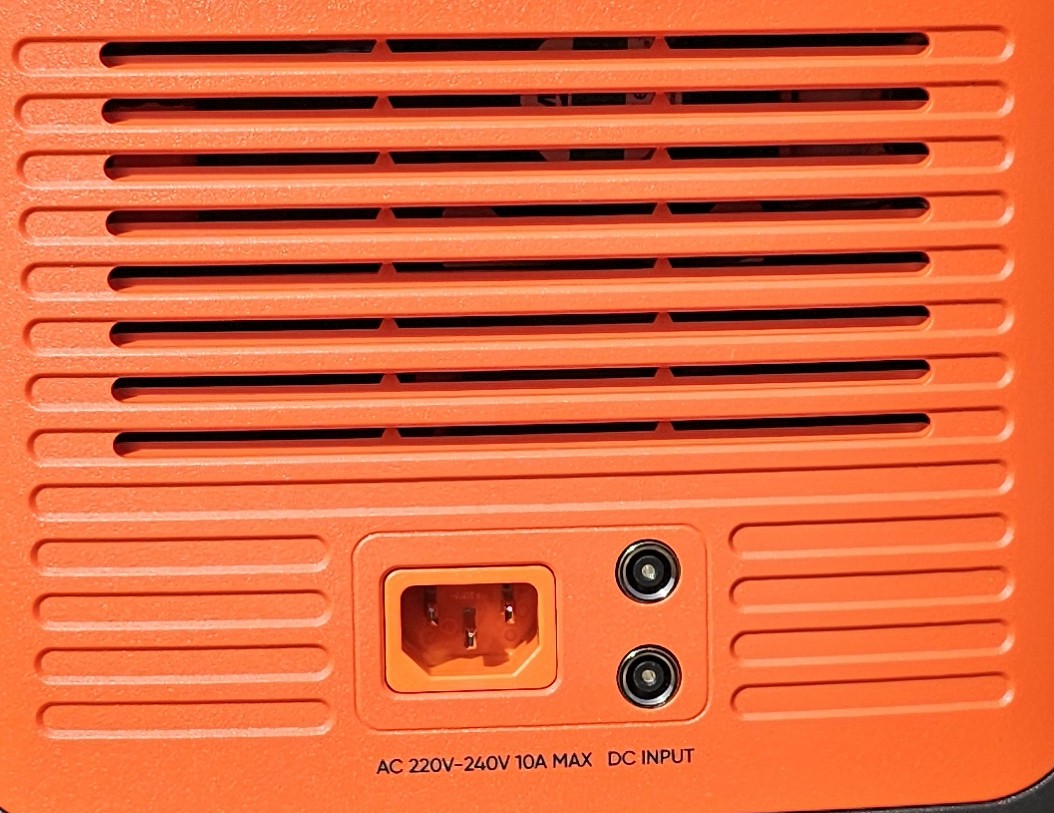
To the side of the Explorer 2000 are the input sockets of which there are only three and none of the have covers or any ingress protection. That said, I was glad to see that the mains input was via the standard IEC14 socket. The other two were the DC inputs which worried me as I had not seen these kinds of DC inputs on previous power stations from other brands.
Using the product
I used the Explorer 2000 on a few tasks through the house, this included running a Ninja Double Stack air fryer which drew a max of 1600W cooking for about 25 minutes, the Explorer 2000 had no problem powering this going from 100% to 80%.
I then used it for my steam generator iron which drew a max 2100W, again the Explorer 2000 had no issues powering this along but I did hear the fan (for the first) kicking in. That said the fan is incredibly quiet, barely audible even, more so outside. My quick 45-minute ironing session took the battery from 80% down to 40%.
The handle made transporting the battery around the home easier than some of the others I have used in the past making it not feel too heavy.
Jackery Explorer 2000 v2: The SolarSaga 200W Solar Panel
Now moving onto the Jackery SolarSaga 200W Solar Panel
Packaging
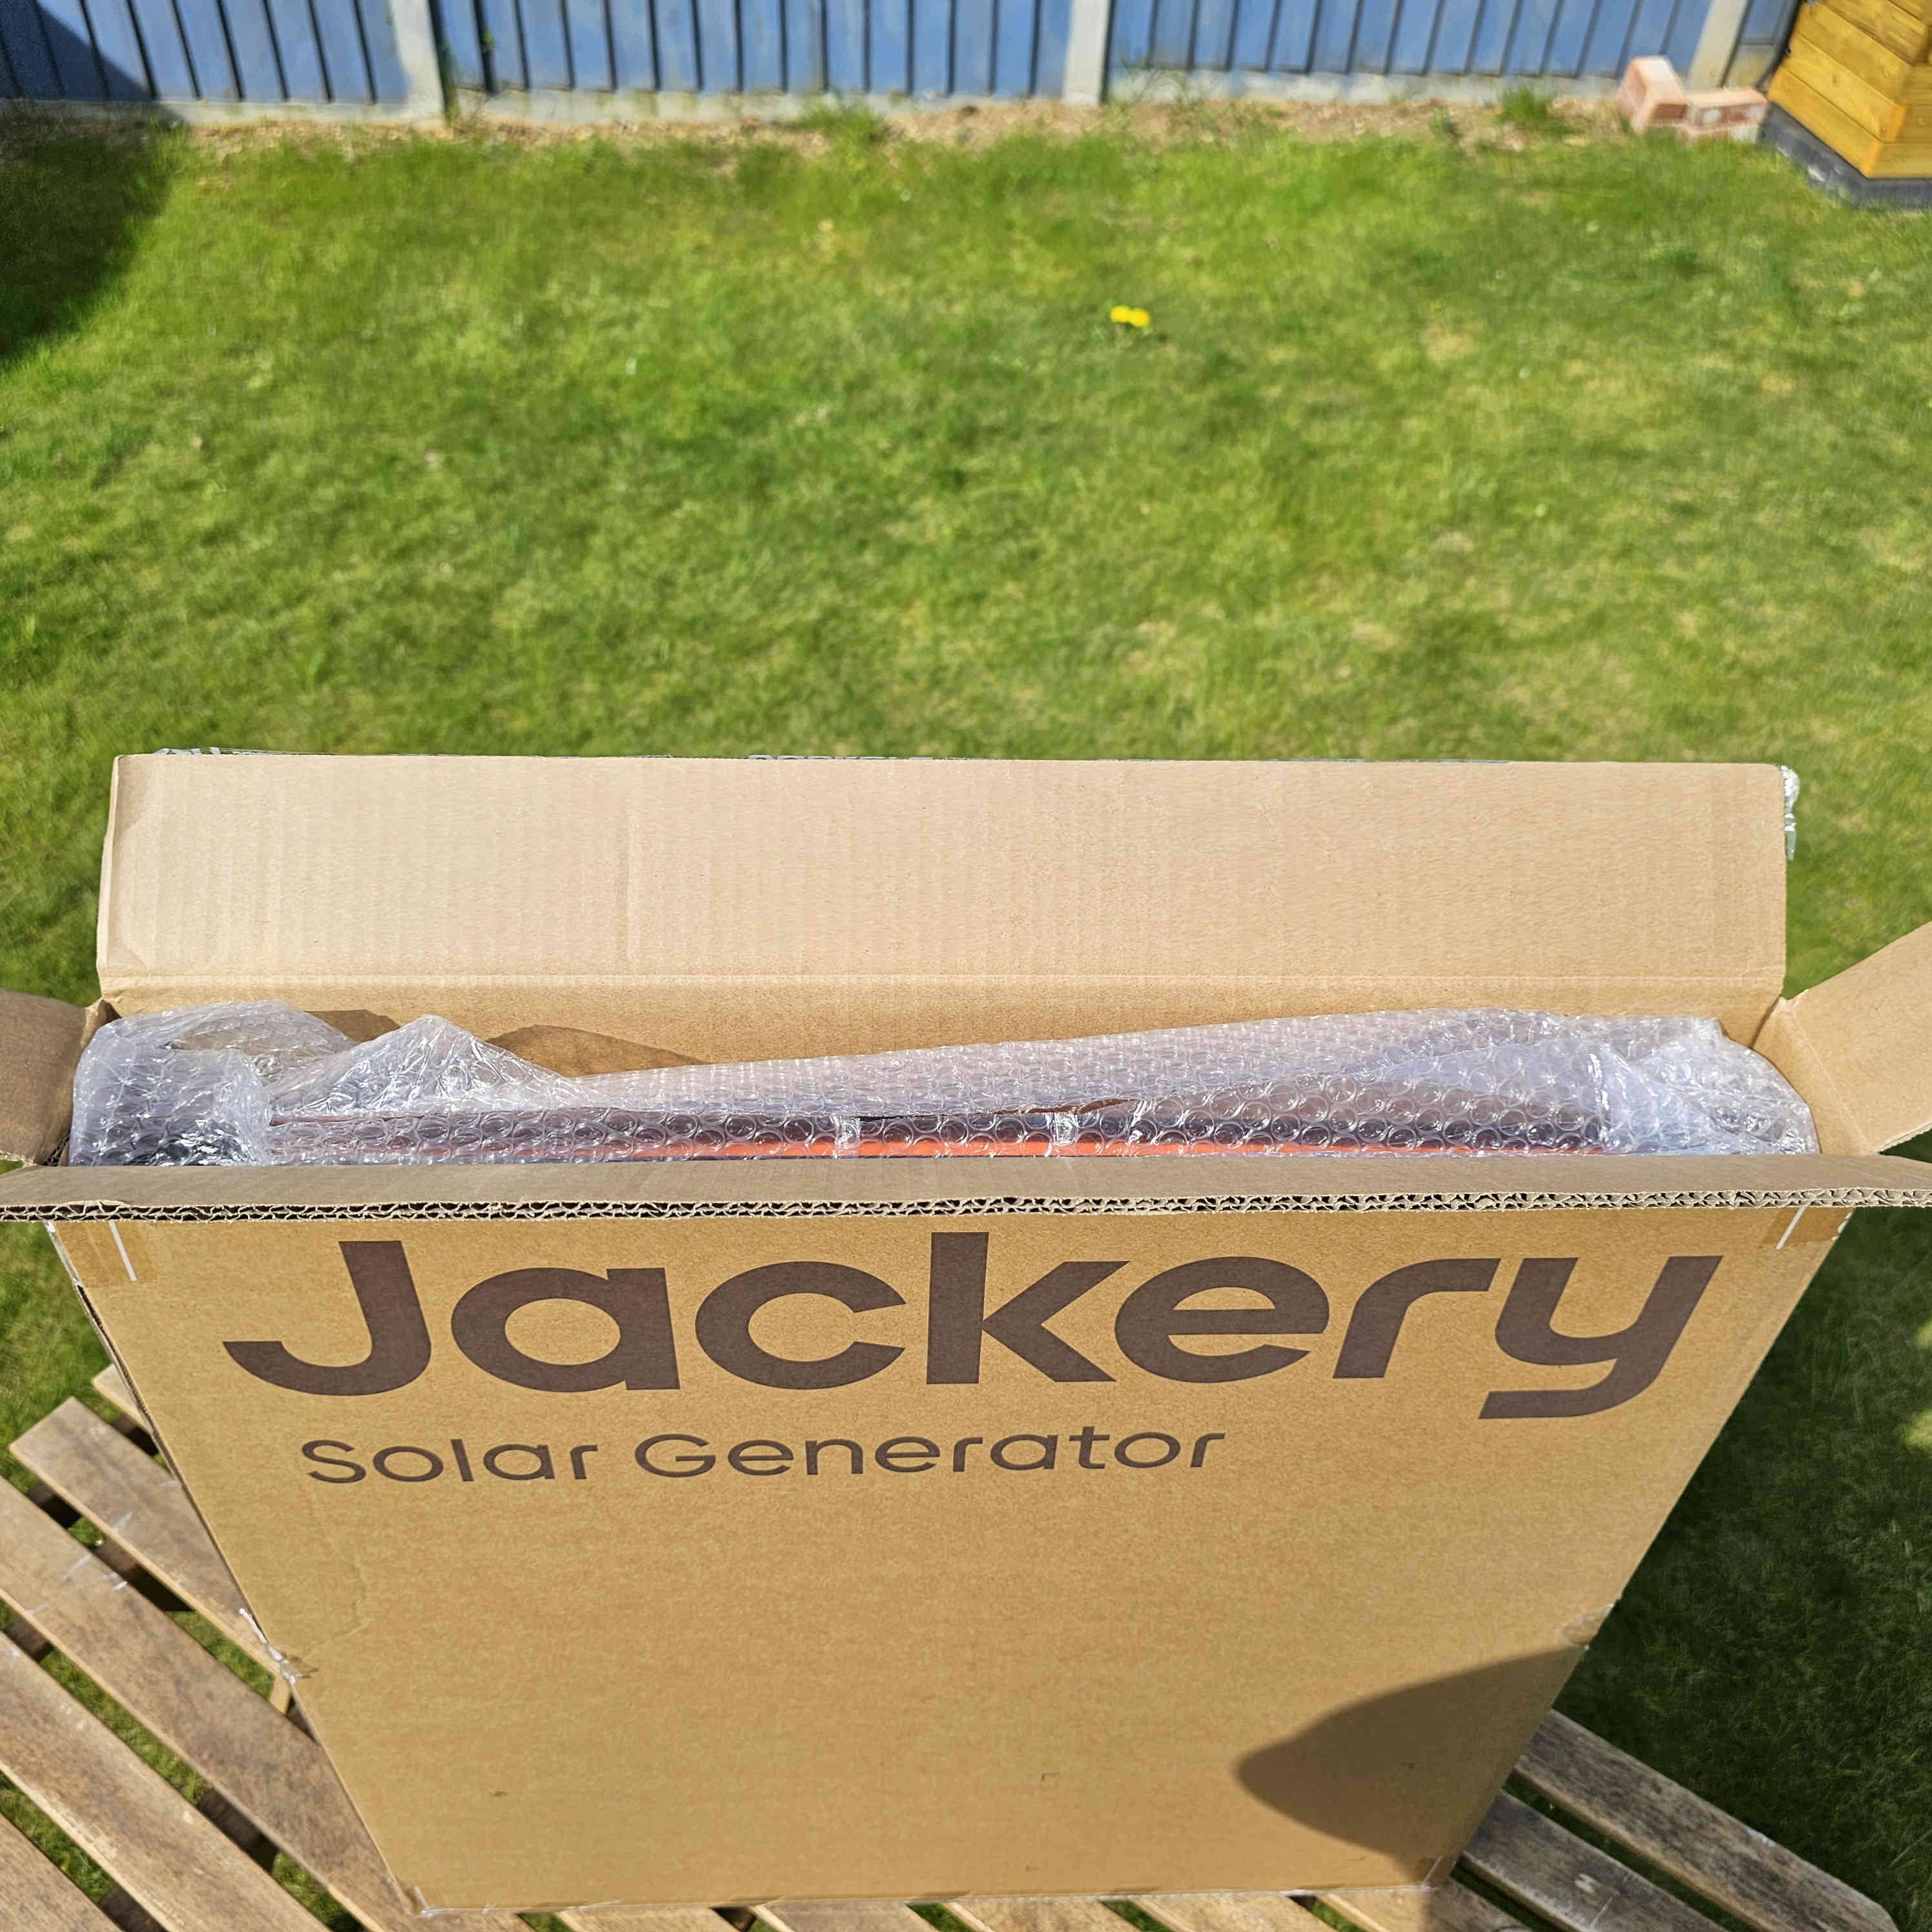
The Solar panels were shipped in a rather flat looking box covered in a glossy sleeve, removing this we came to the brown box containing the panels.
The panels were wrapped in bubble wrap and pulling it out was fairly easy as the handles are at the very top.
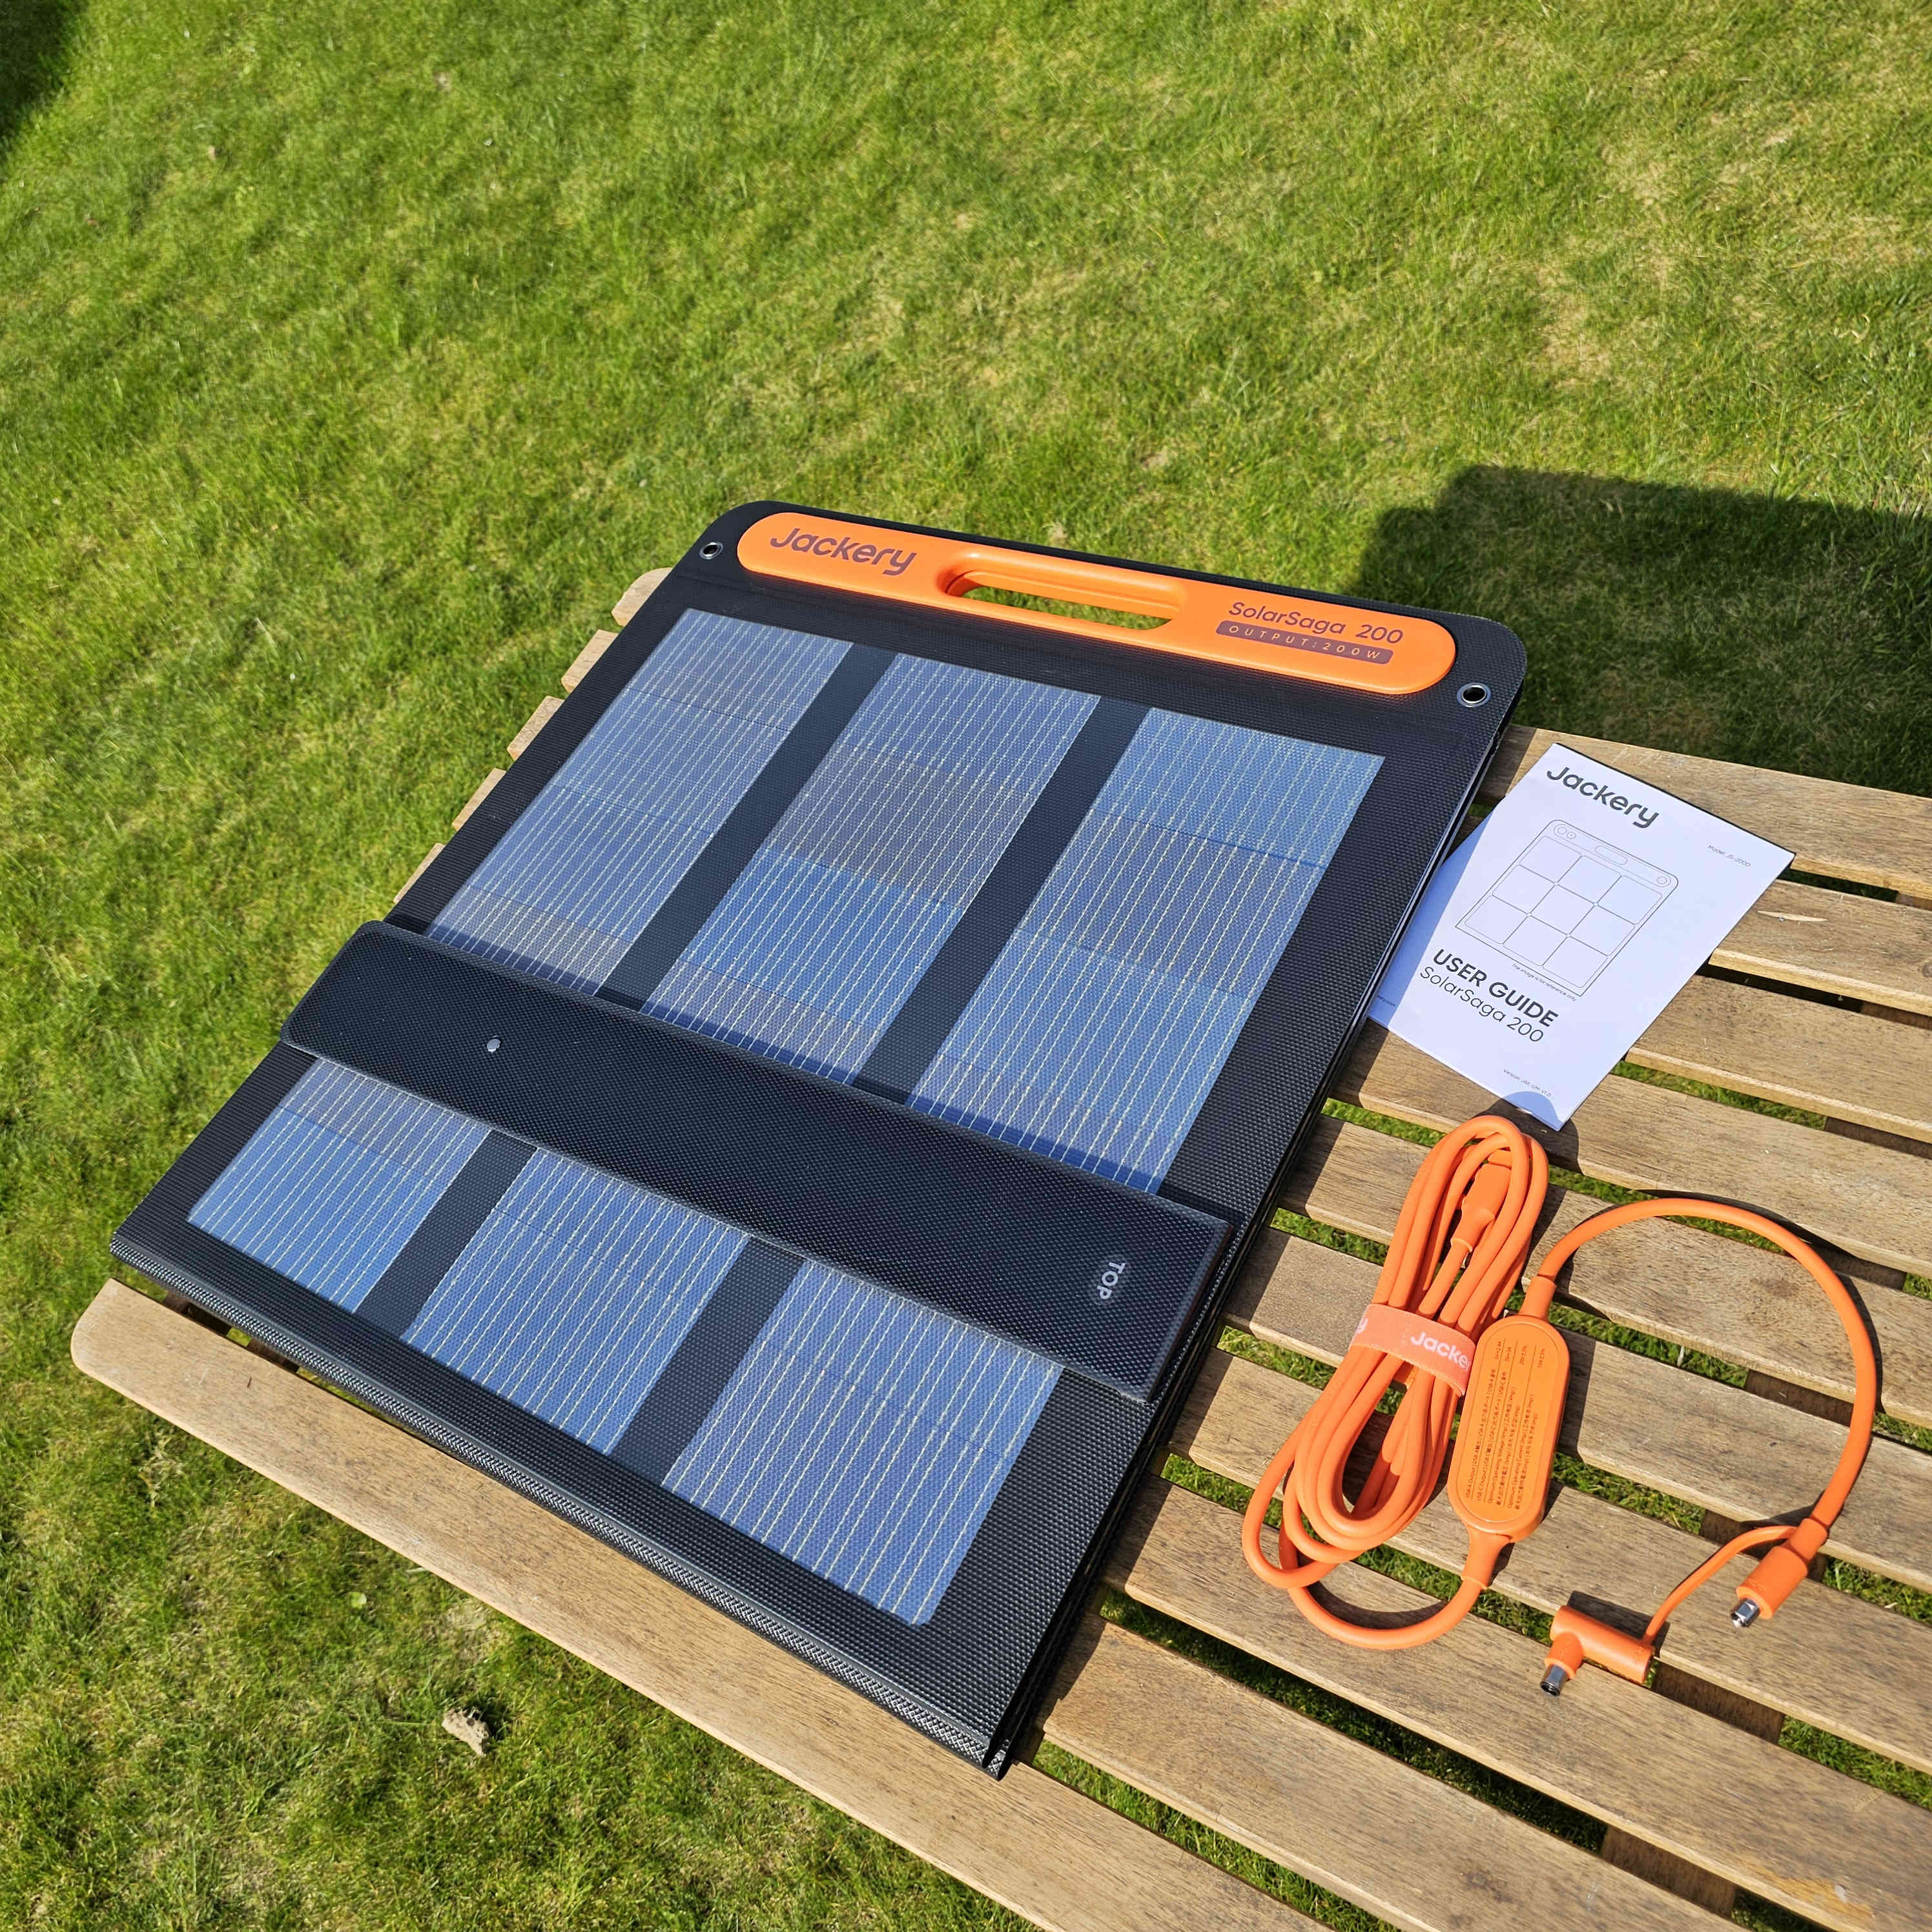
The only items in the box are the panels, cable and manual. I started with the cable as this is the main interface between the panels and the Explorer 2000.
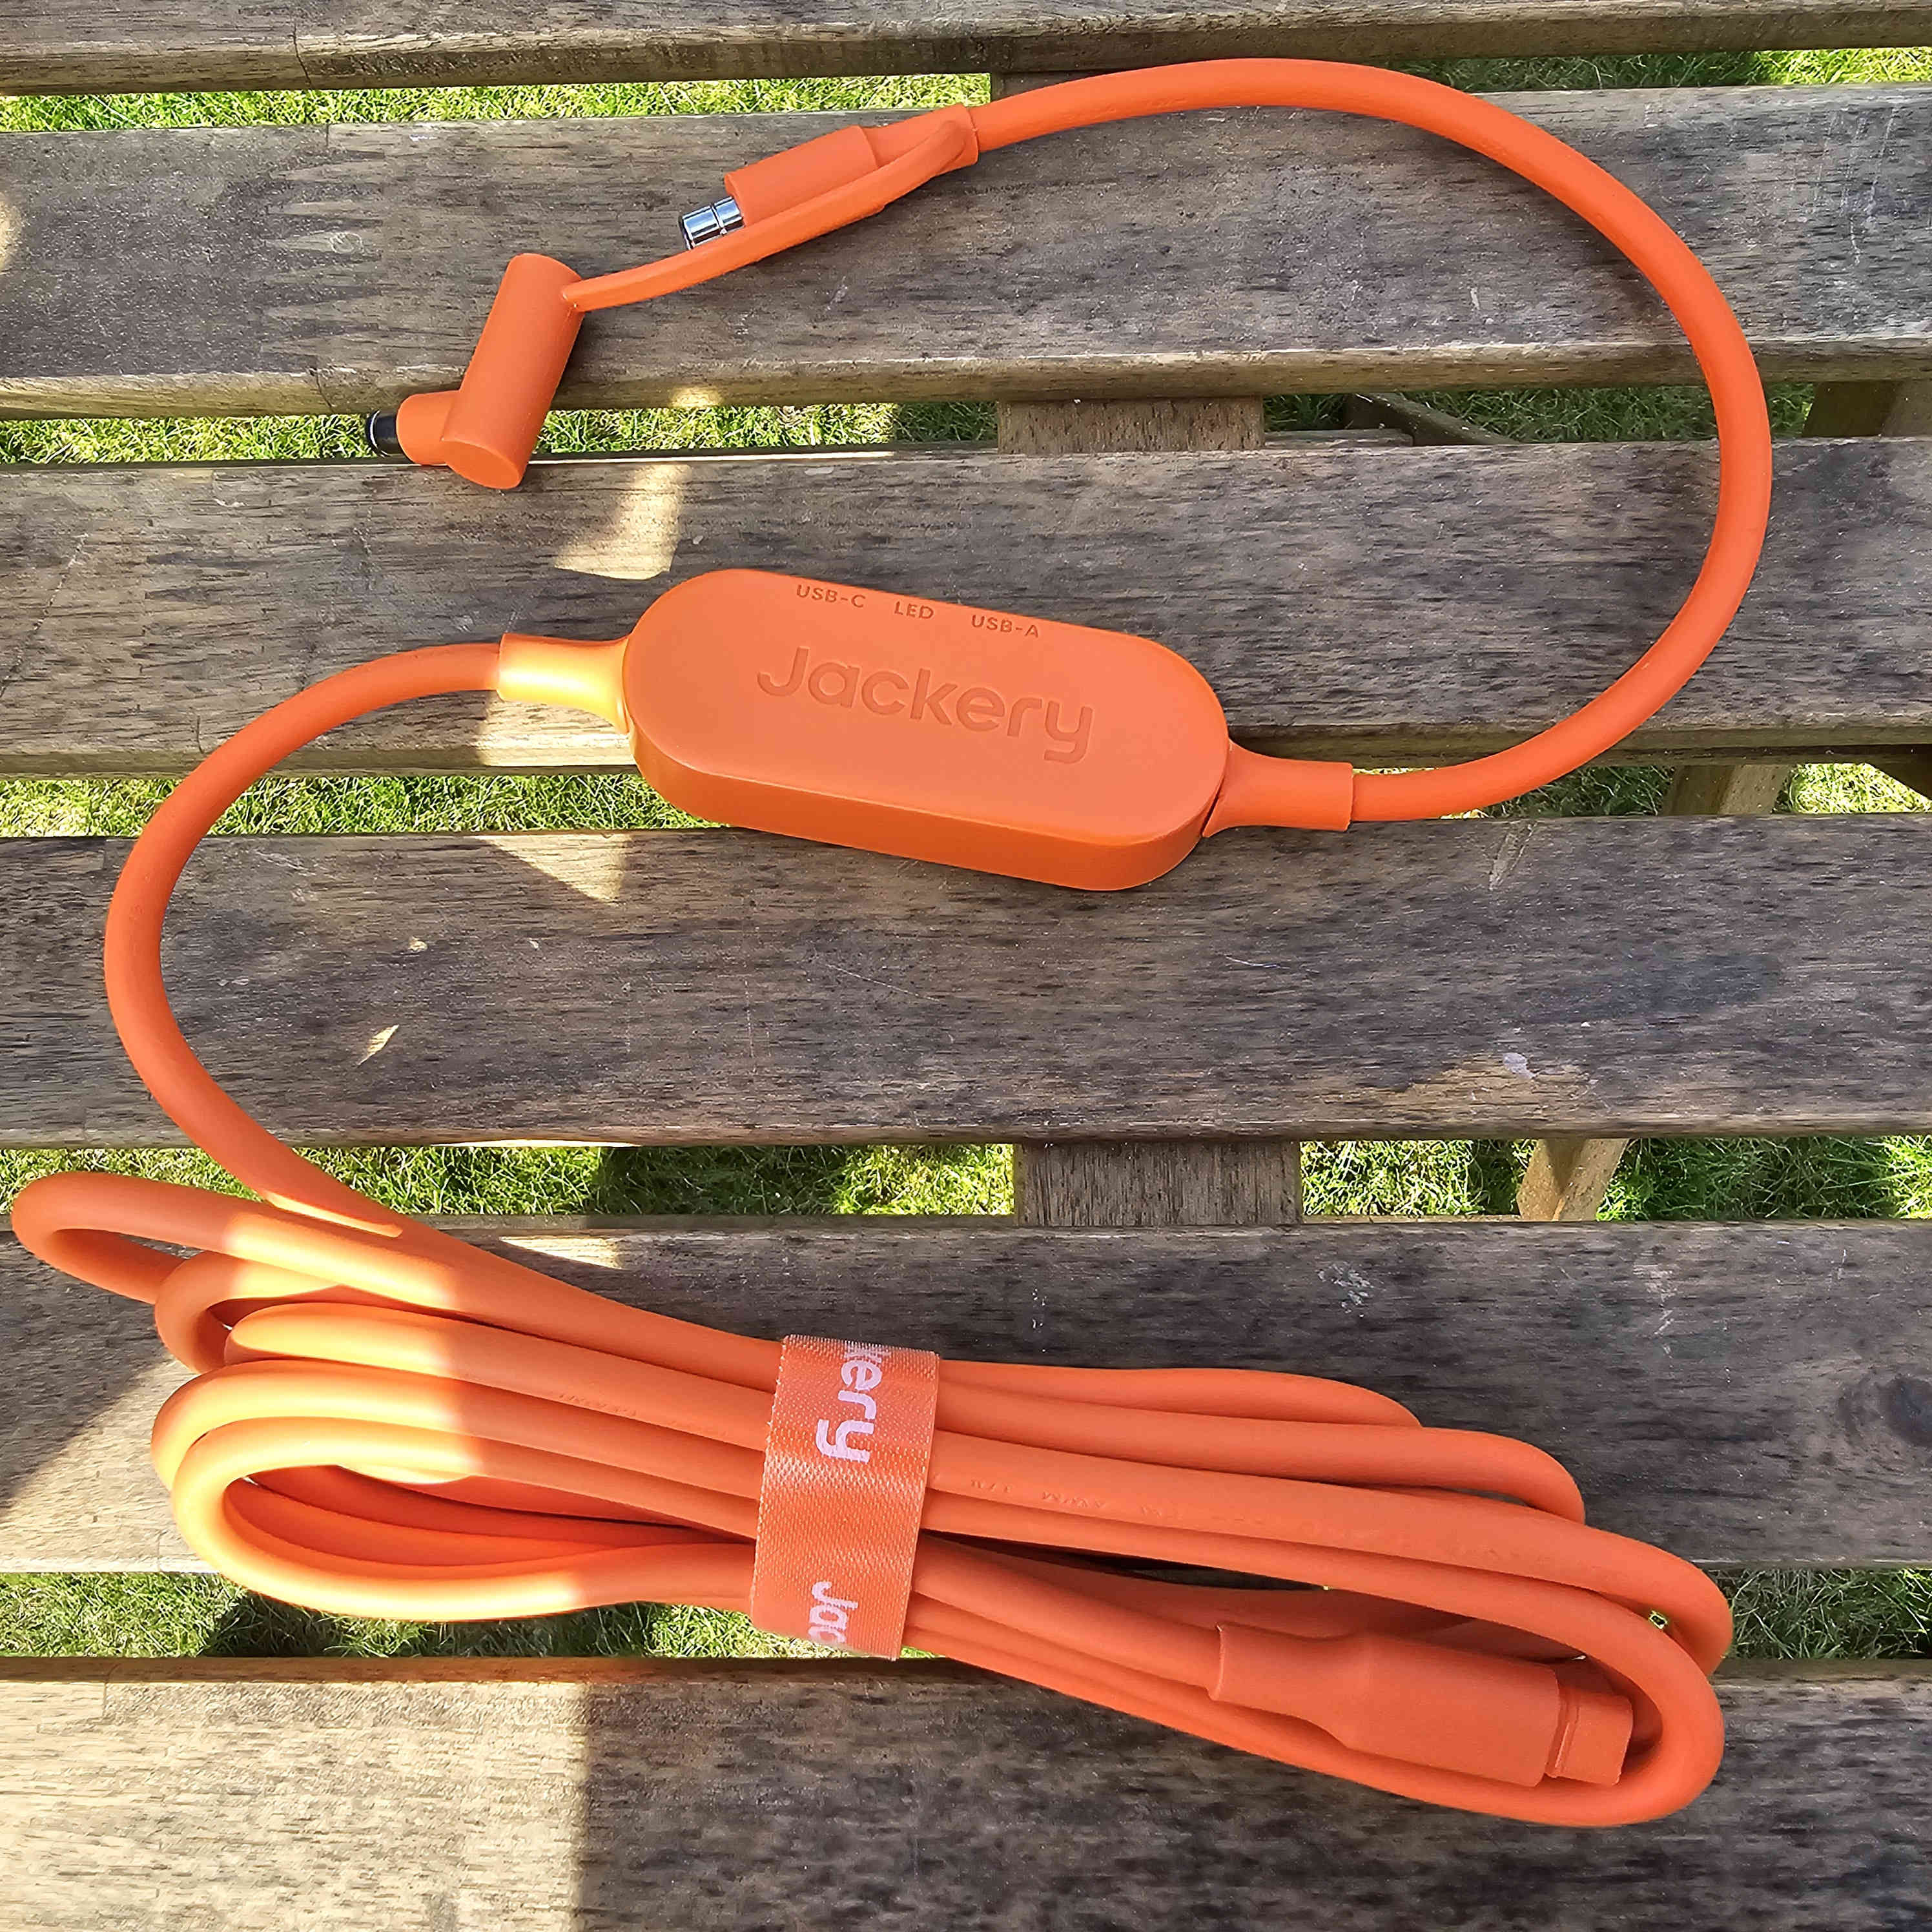
To say I am a little disappointed with the cable wouldn’t be a stretch. Solar panels such as those large ones mounted on homes and even smaller flexible ones from other brands often use the industry standard MC4 connectors.
Not so here, the SolarSaga’s output is via a proprietary socket and plug and on the other end is another non industry standard socket and plug, the cable has two adapters so that you can use either the DC 8020 or DC 7909 plugs. The industry standard is often the XT60 plug seen on so many other power stations.
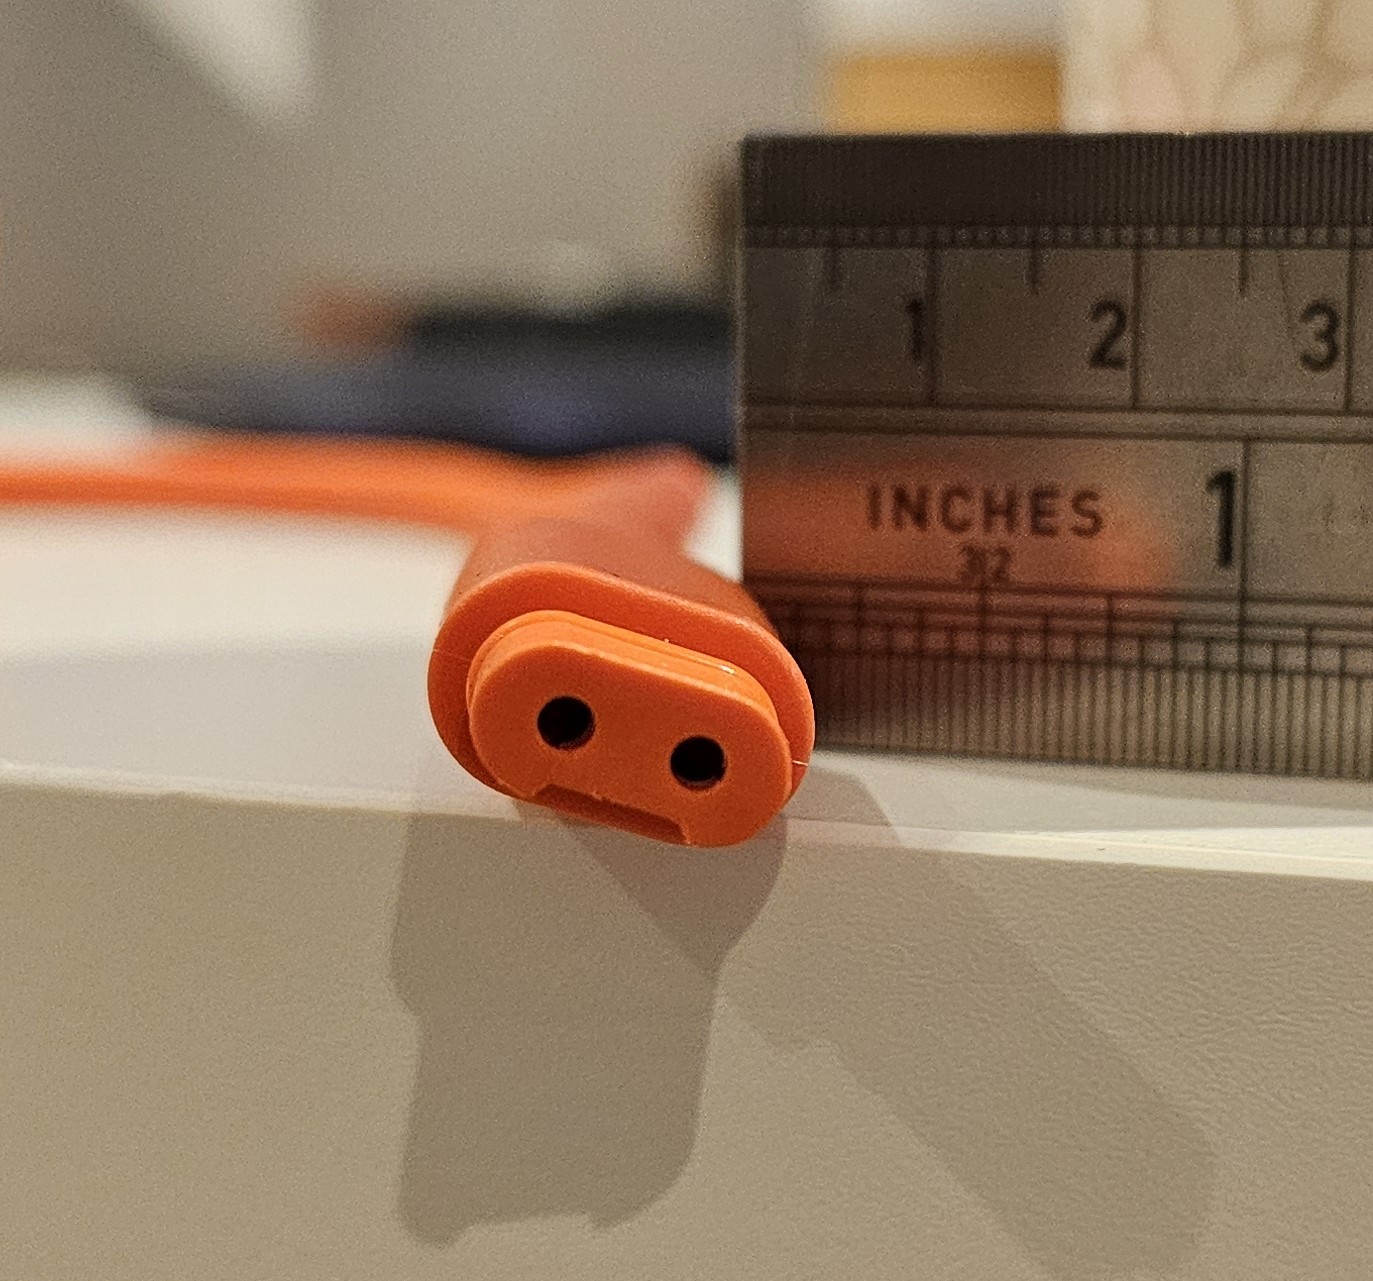
This means that you cannot use these panels on other power station brands or charge the Explorer 2000 with an aftermarket set of panels without the use of adapters. Furthermore, if you lose or damage the SolarSaga cable, you’re stuck. The UK, US and other international Jackery websites do not list the cable for separate purchase, so ensure that you look after it.
The only plus of the cable is that on the end towards the battery is a small box containing a USB-A and USB-C charging ports.
The panels themselves are non-ridged panels with a max peak output of 200W over 4 panels (50W per panel) with a Open Circuit voltage peak of 25V. The panels are kept together with a series of press studs on the corners and the legs are kept in place by Velcro pads. Once side of the panels has the main circuit bar were the cable plugs into.
Once fully unfurled and opened up the panels take a surprising amount of room, fully extended measures 235cm or 92.5inches. I found these panels a little fiddly to get up and running as the legs are only on the end panels leaving the two in the middle to sag a little
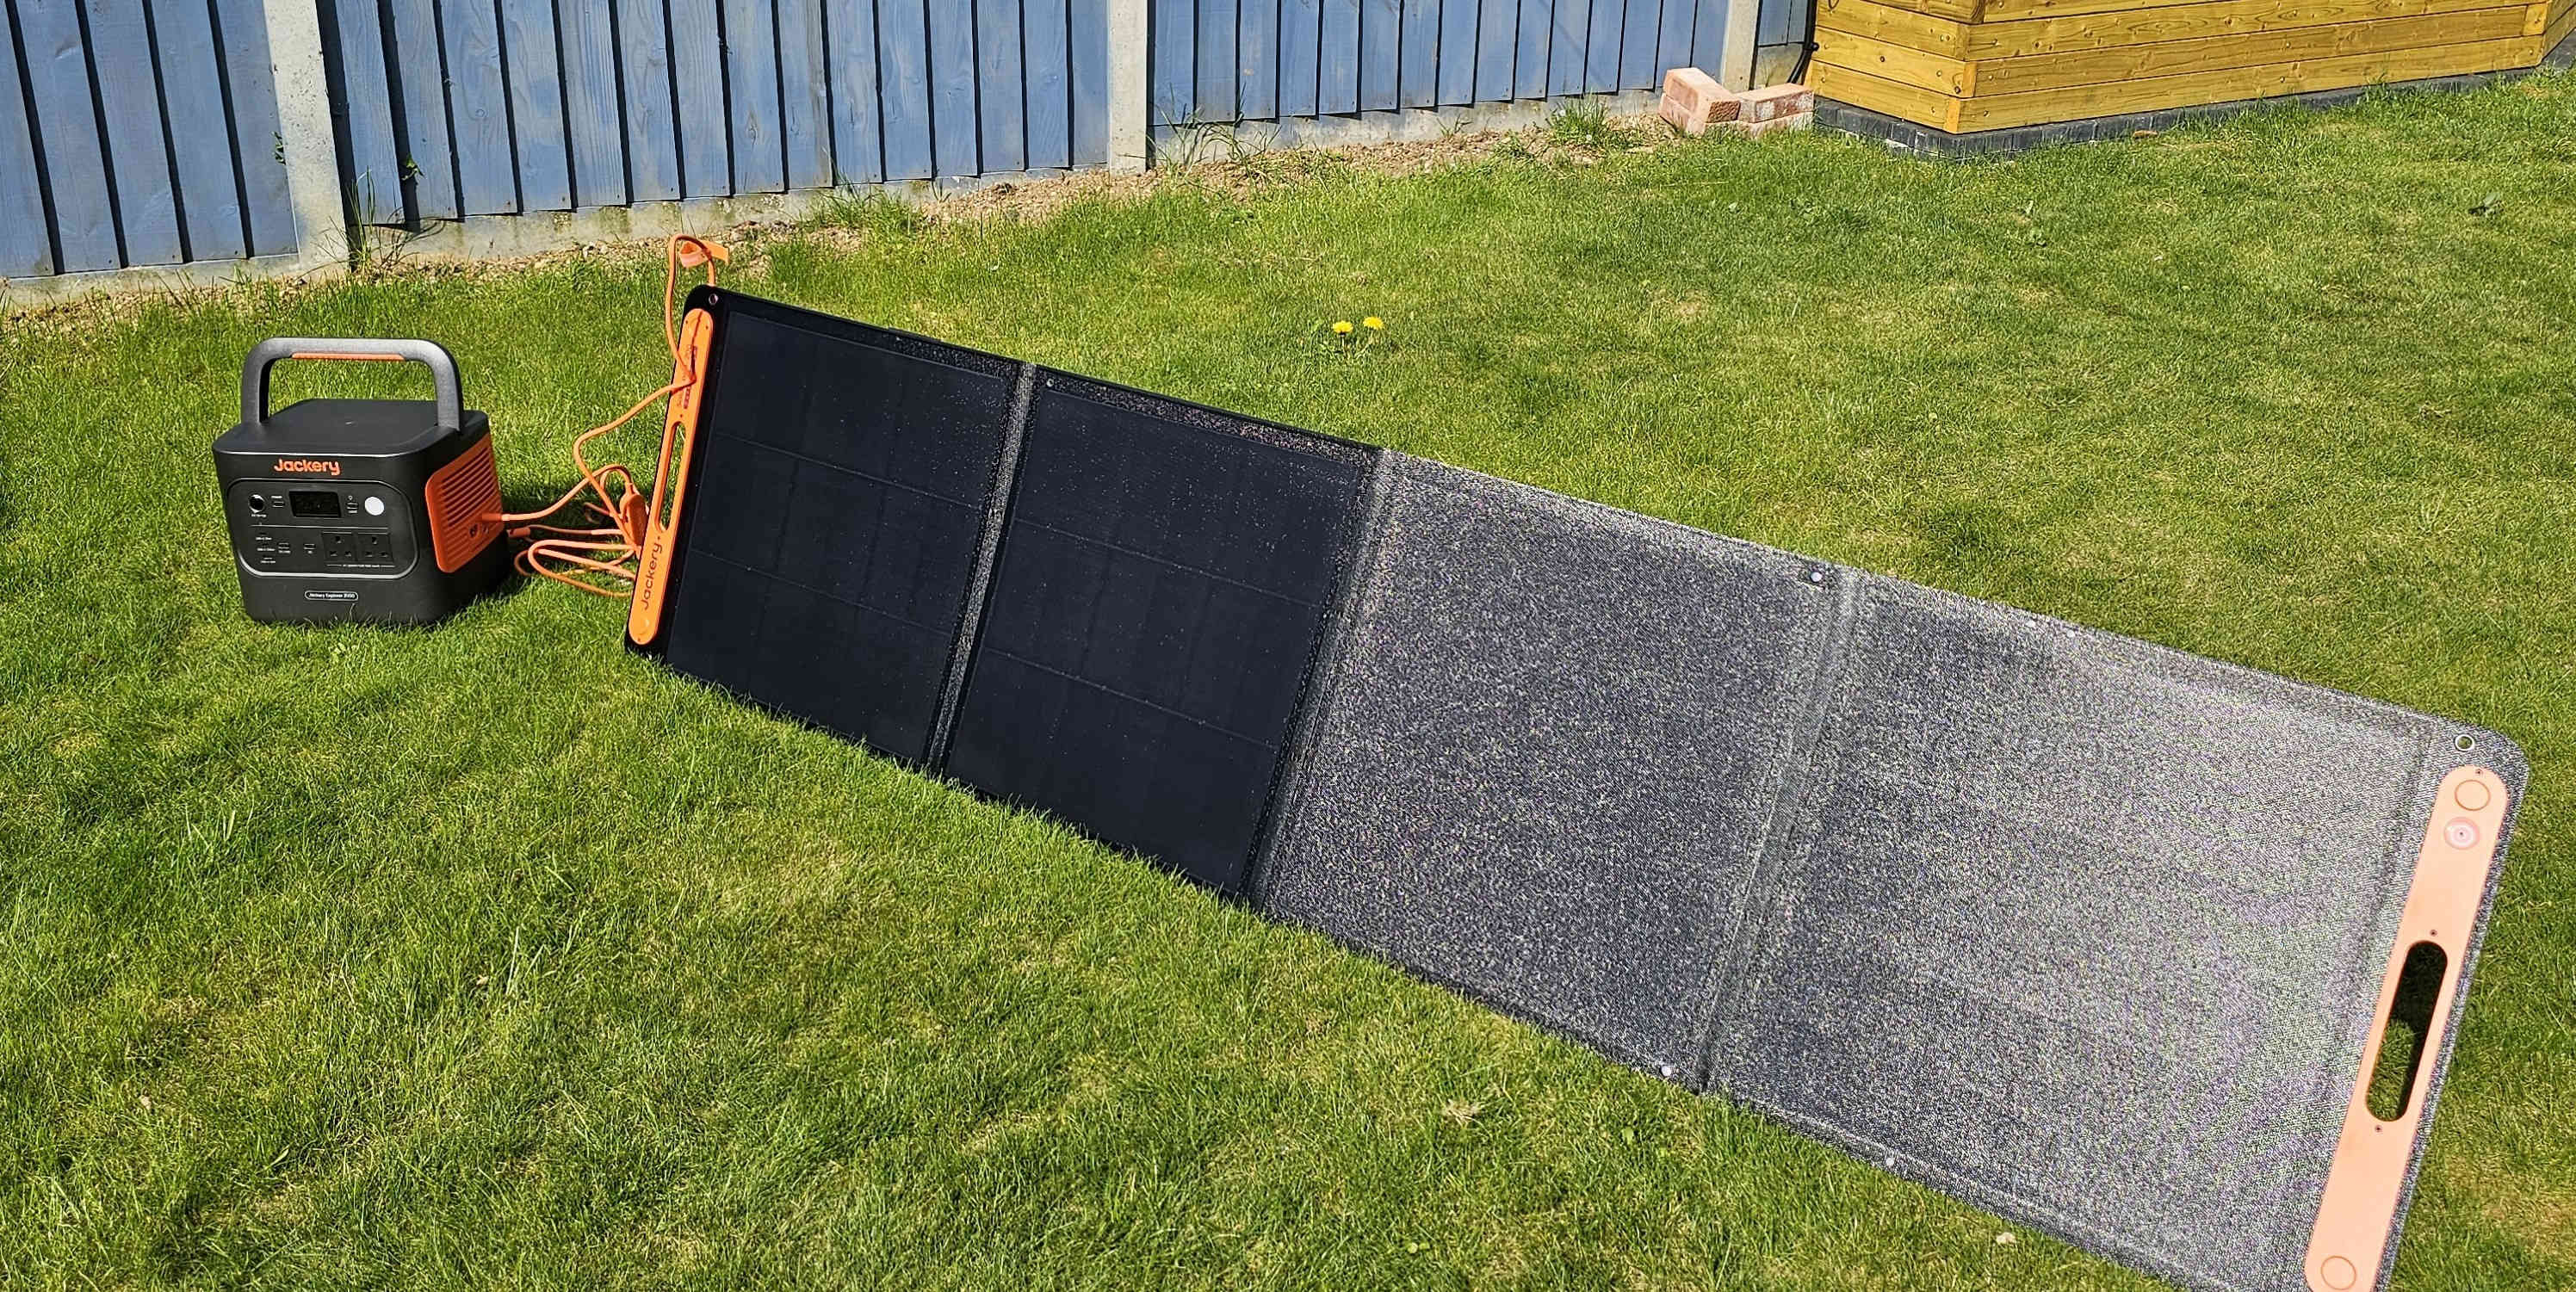
To assist with aligning the panels with the sun, Jackery have thoughtfully included a Sun angle indicator on one of the ends of the panels, all you have to do is align the panels until shadow dot is in the middle of the white circle.
Once all connected you simply leave, it, occasionally moving the panels as the day goes by to ensure that they are at the optimum angle and face to the sun. During the day I monitored the input from the panels into battery and saw an average of 165W during the day with peaks hitting 180W. Solar panels rarely, if ever, hit their advertised peak output so the amounts I saw were about right.
On a recent, sunny day I set the Jackery Solar Generator 2000 v2 up, between 1015Hrs and 1815Hrs, some 8 hours’ worth of charging, occasionally turning and re-angling the panels, the Explorer 2000 v2 went from 29% to 70%. It wasn’t a perfect test by any means, as during the latter part of the day the shade from my garden fences cast shade on the panels.
During the solar charge test, the Explorer 2000 stated an estimate 9 to 10 hours of solar charging needed to reach 100%. Of note there are two DC sockets and the SolarSaga 200 only used one of them, the manual does state that two SolarSaga 200s can be paired to double the charge rate thereby halving the time to charge fully.
Once I set up the Jackery Explorer 2000, I delved into, you guessed it, the app. A quick app download, registration and I was in. Adding the battery to the app was a simple and quick affair.
On the home screen you are greeted by your Jackery products, on this occasion the Explorer 2000 and state of charge.
Tapping on the battery led me to the main status screen of the battery showing is state of charge, inputs, outputs, WiFi signal strength, temperature and some basic controls.
Tapping on the cog on the top right led to more in depth controls and settings and through this the product specifications.
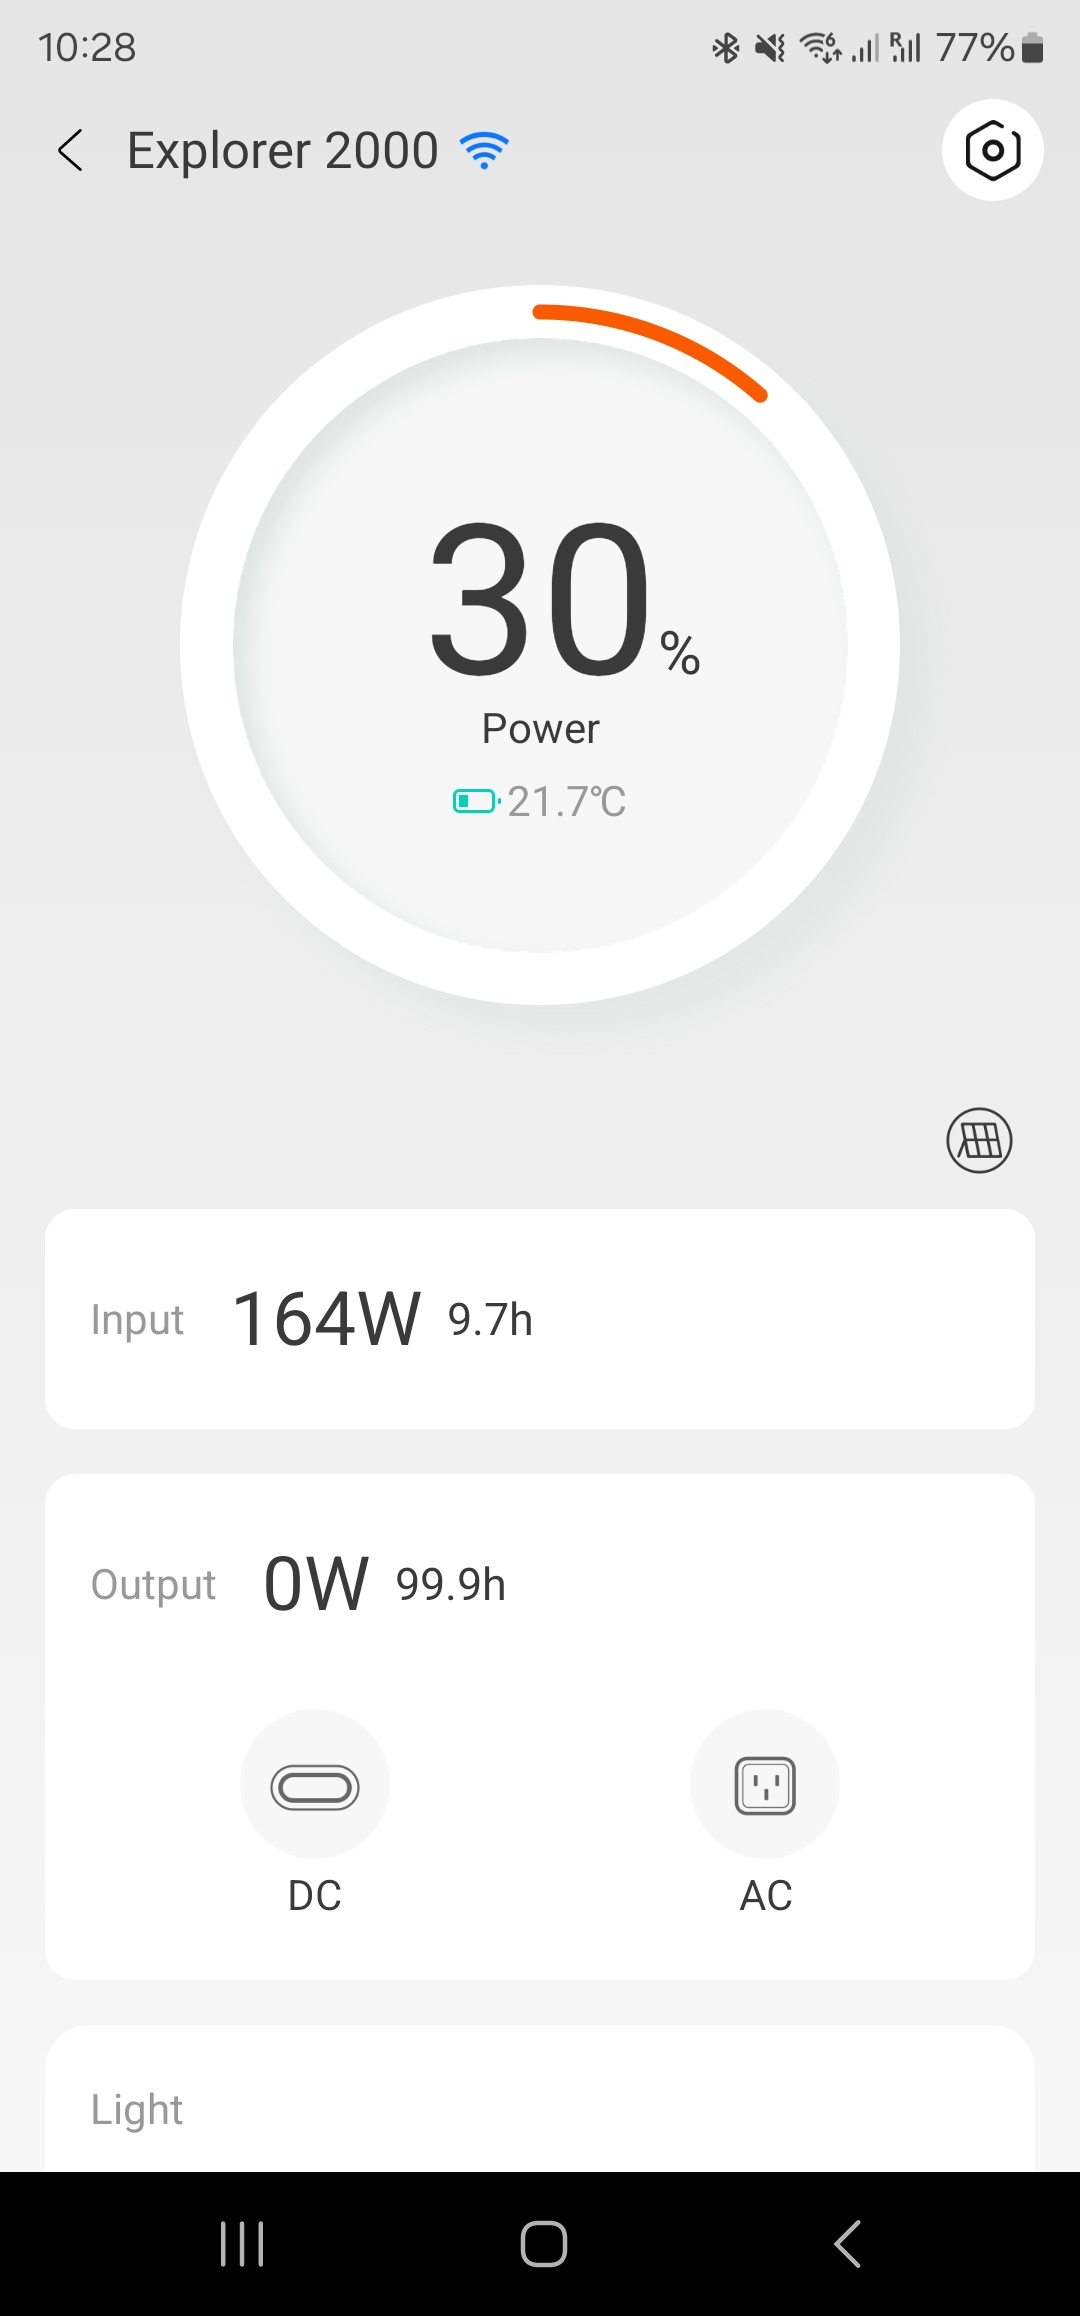
Using the app, I did find it somewhat laggy. I would click on say the USB icon to switch on USB charging and it would take about 5 seconds before the icon lit up and my phone acknowledging charge. Sometimes I found I had to click back to leave the battery status page and then click back into the battery to see that it had done what I asked of it.
Jackery Explorer 2000 v2: Final Verdict
Another solid product by Jackery and if recent events are anything to go by, maybe having one of these at home isn’t a bad idea after all. An old saying comes to mind “I’d rather have it and not need it, than need it and not have it”.
High output and high storage mean that this is excellent for most home uses in an emergency or using off peak charging to use during the day.
The only cons are that the SolarSaga cable is proprietary and not available anywhere else and a somewhat at time slaggy app.
We've compiled a list of the best laptop power banks.
My interest has been piqued by everything electronic since a young age, with a penchant for the dark art of tearing things apart. My daily duty is to marry software and hardware modules and I have to admit that this is much harder than cooking. When I’m not busy at work, I’m on the lookout for the latest and greatest hack! I am passionate about portable power generators (or power stations) as well as maker products such as the Raspberry Pi and any similar SBC (single board computers)
You must confirm your public display name before commenting
Please logout and then login again, you will then be prompted to enter your display name.
