TechRadar Verdict
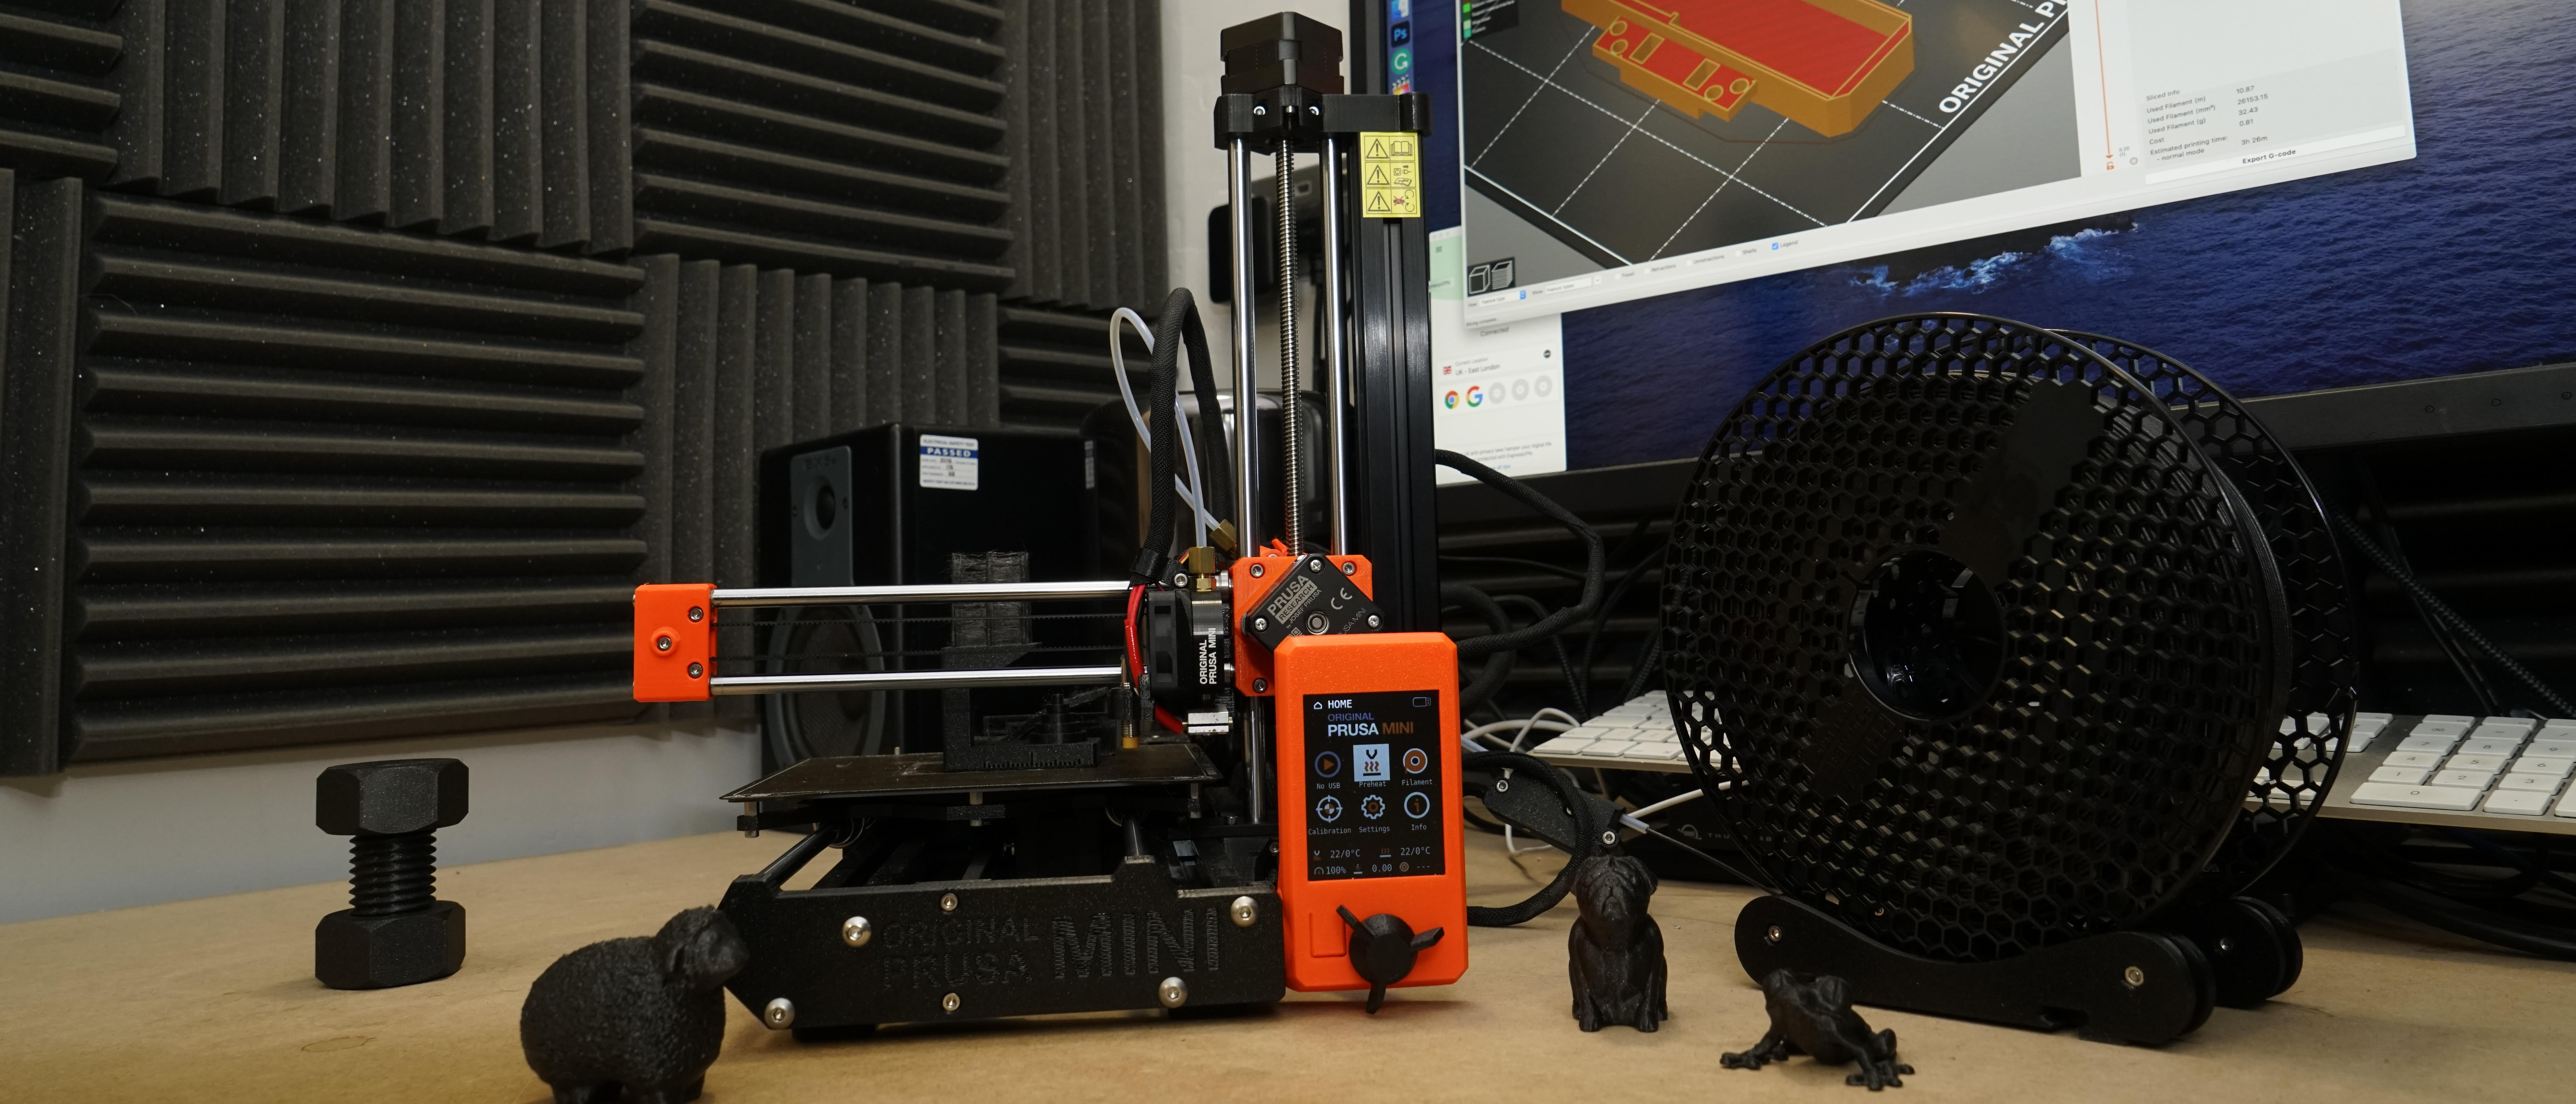
Compact, easy to use and capable of producing prints of a quality and scale that defies both the size and price of the printer. The printer arrives part assembled, taking around 10-15 minutes to complete. The print quality exceeds any other printer in this price range, and while there are a few minor flaws, there's no doubt that this printer marks a significant point in 3D printer accessibility.
Pros
- +
Incredibly cheap
- +
Prints as good as a £1000+ machine
- +
Robust and easy to use
Cons
- -
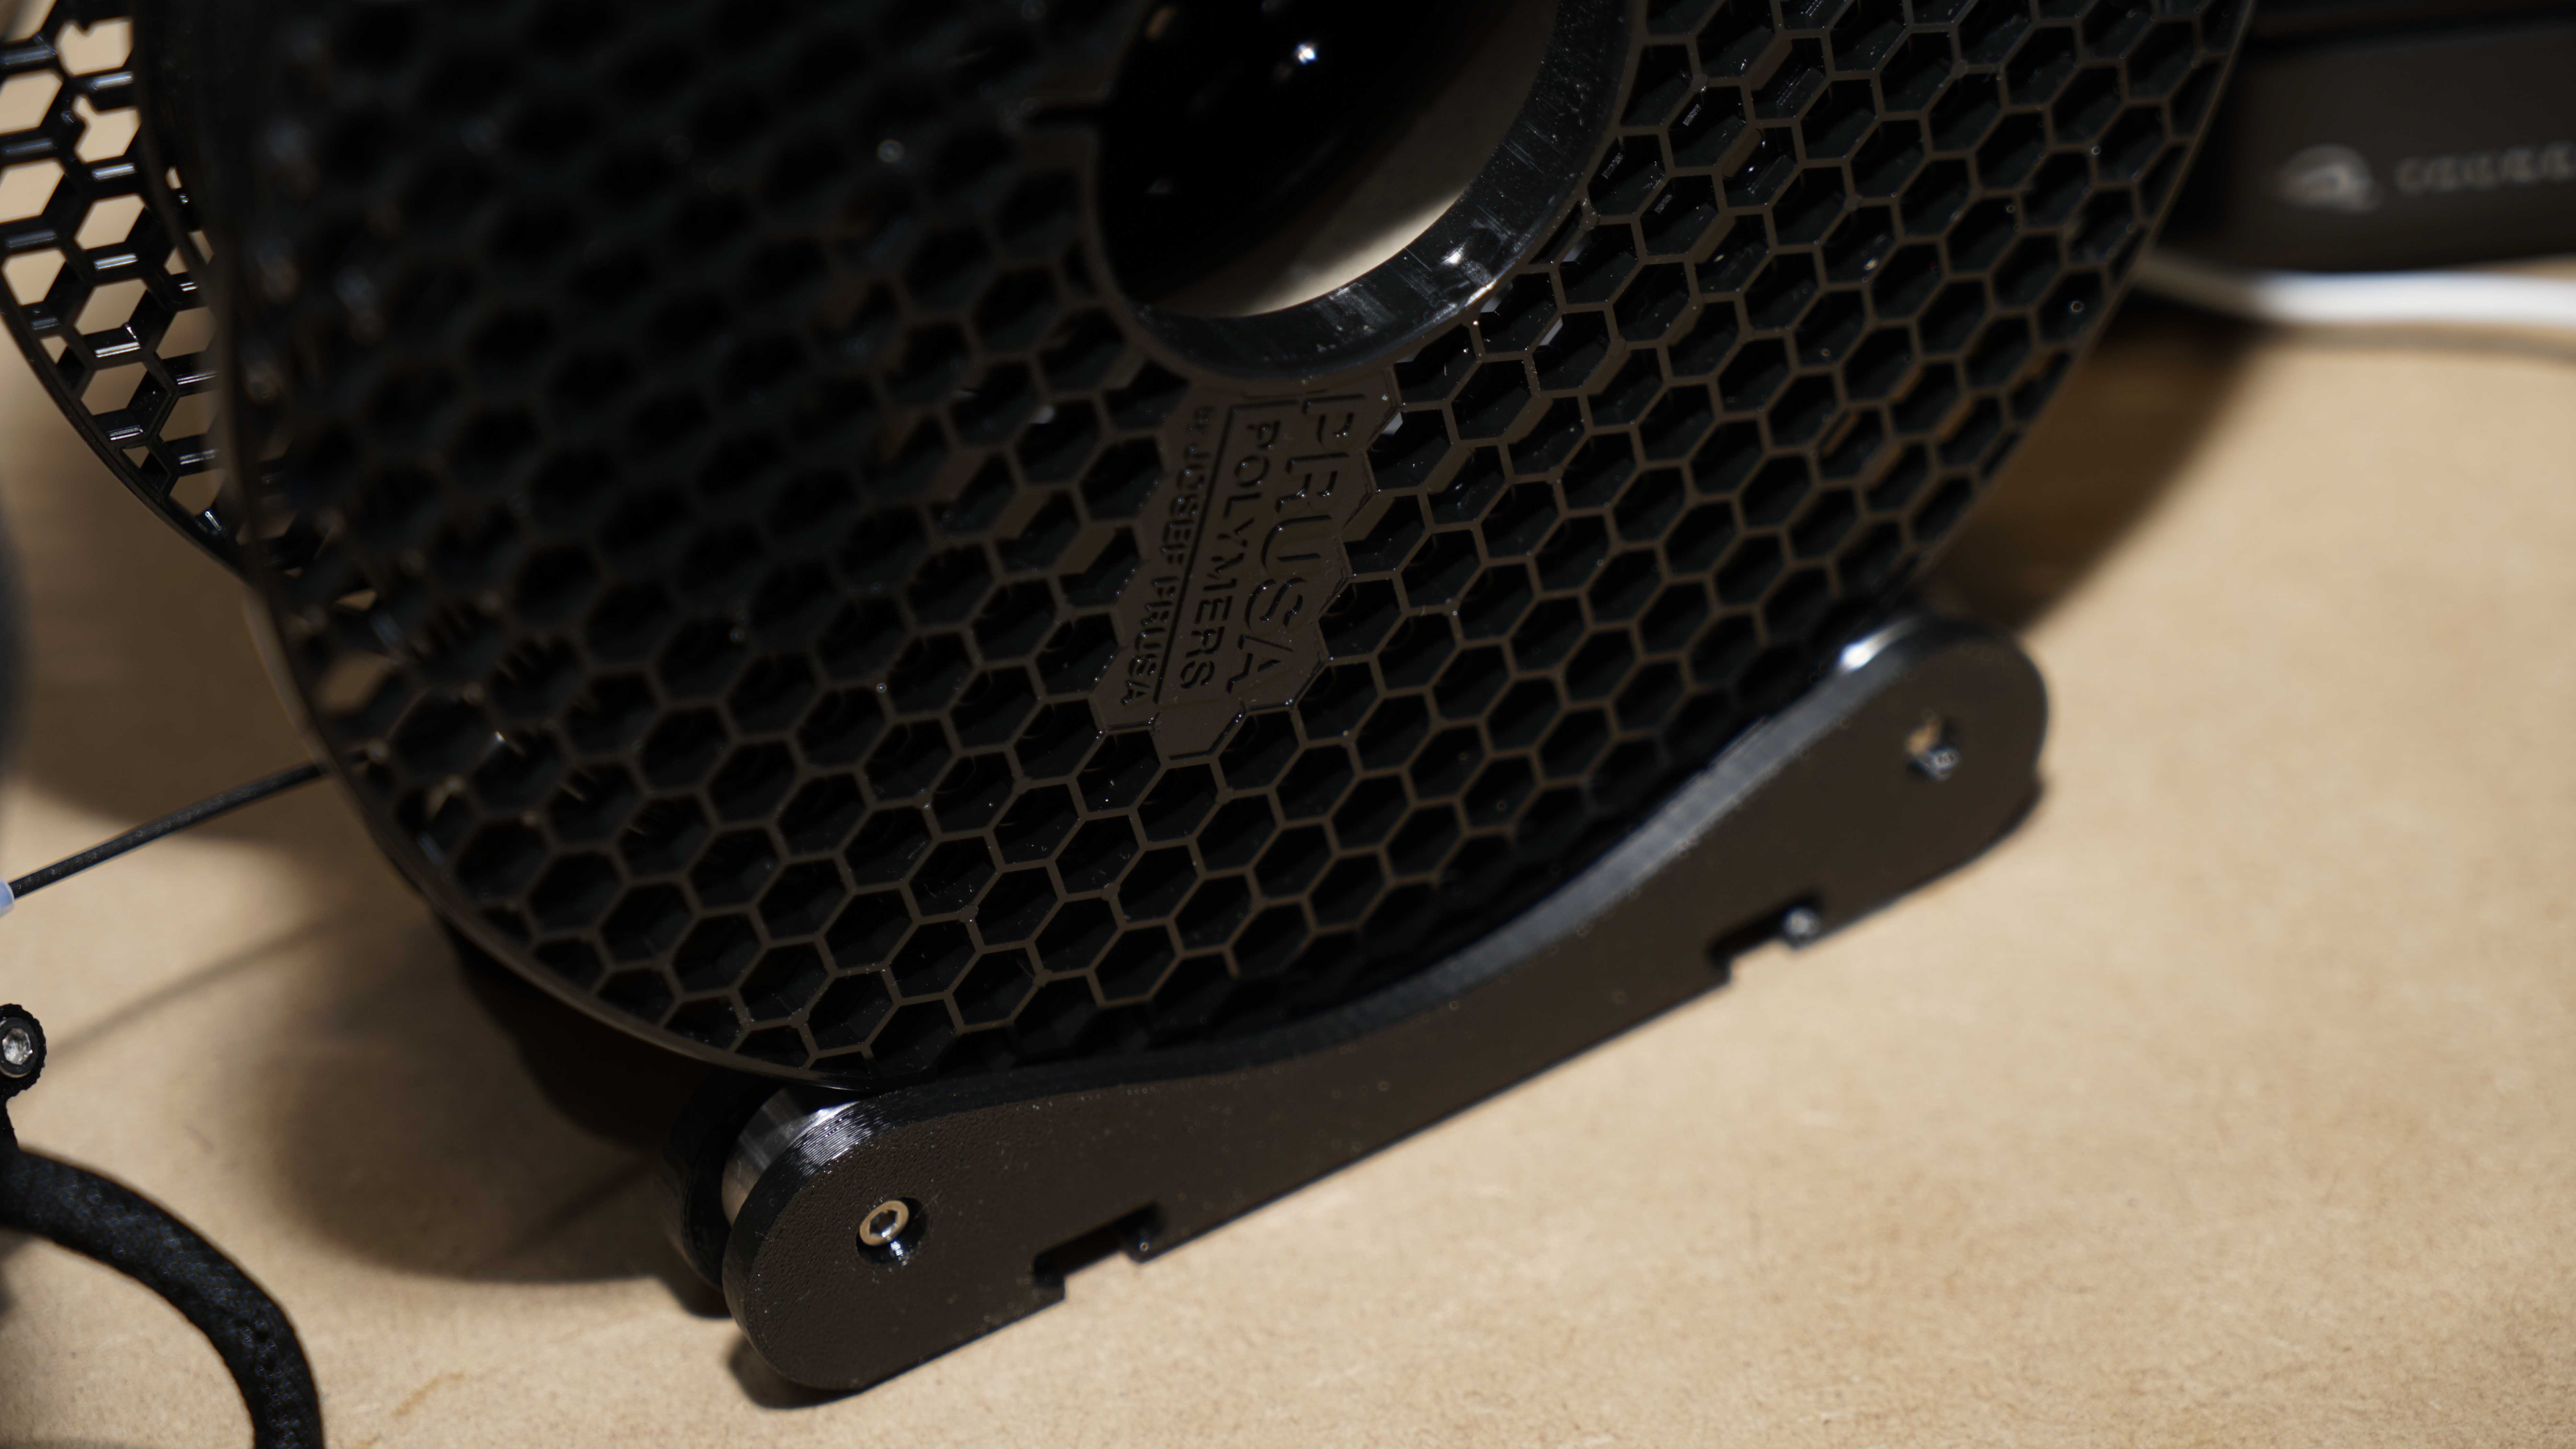
The reel sits separate to the machine
- -
Some parts need a tweak
- -
Fine stringing for some prints
Why you can trust TechRadar
I first saw the Original PRUSA MINI at the TCT print show in 2019, at the time it was creating huge amounts of interest due to the size, features and rumoured price. Almost a year later and the MINI is on sale, albeit with a waiting list, and that's no surprise when you look at what it has to offer.
The MINI is essentially a big printer in a small body. The print surface is around 40% smaller than the MK3s, but when it comes to print quality, there would appear to be little if anything in it.
The MINI also features a 32-bit mainboard, very unusual for this price of printer, and on top of that it borrows many high-end features from it's larger sibling.
Considering that the MINI is half the price of the MK3s, has similar print quality, the addition of an LCD screen, better connectivity, a seemingly better mainboard, is the MINI actually better than the Original Prusa i3 MK3s?
Design
Since the Original Prusa i3, the core design of the Prusa FFF printers hasn't changed. Each generation is a tweak of the last, with improved components mixed with knowledge and experience.
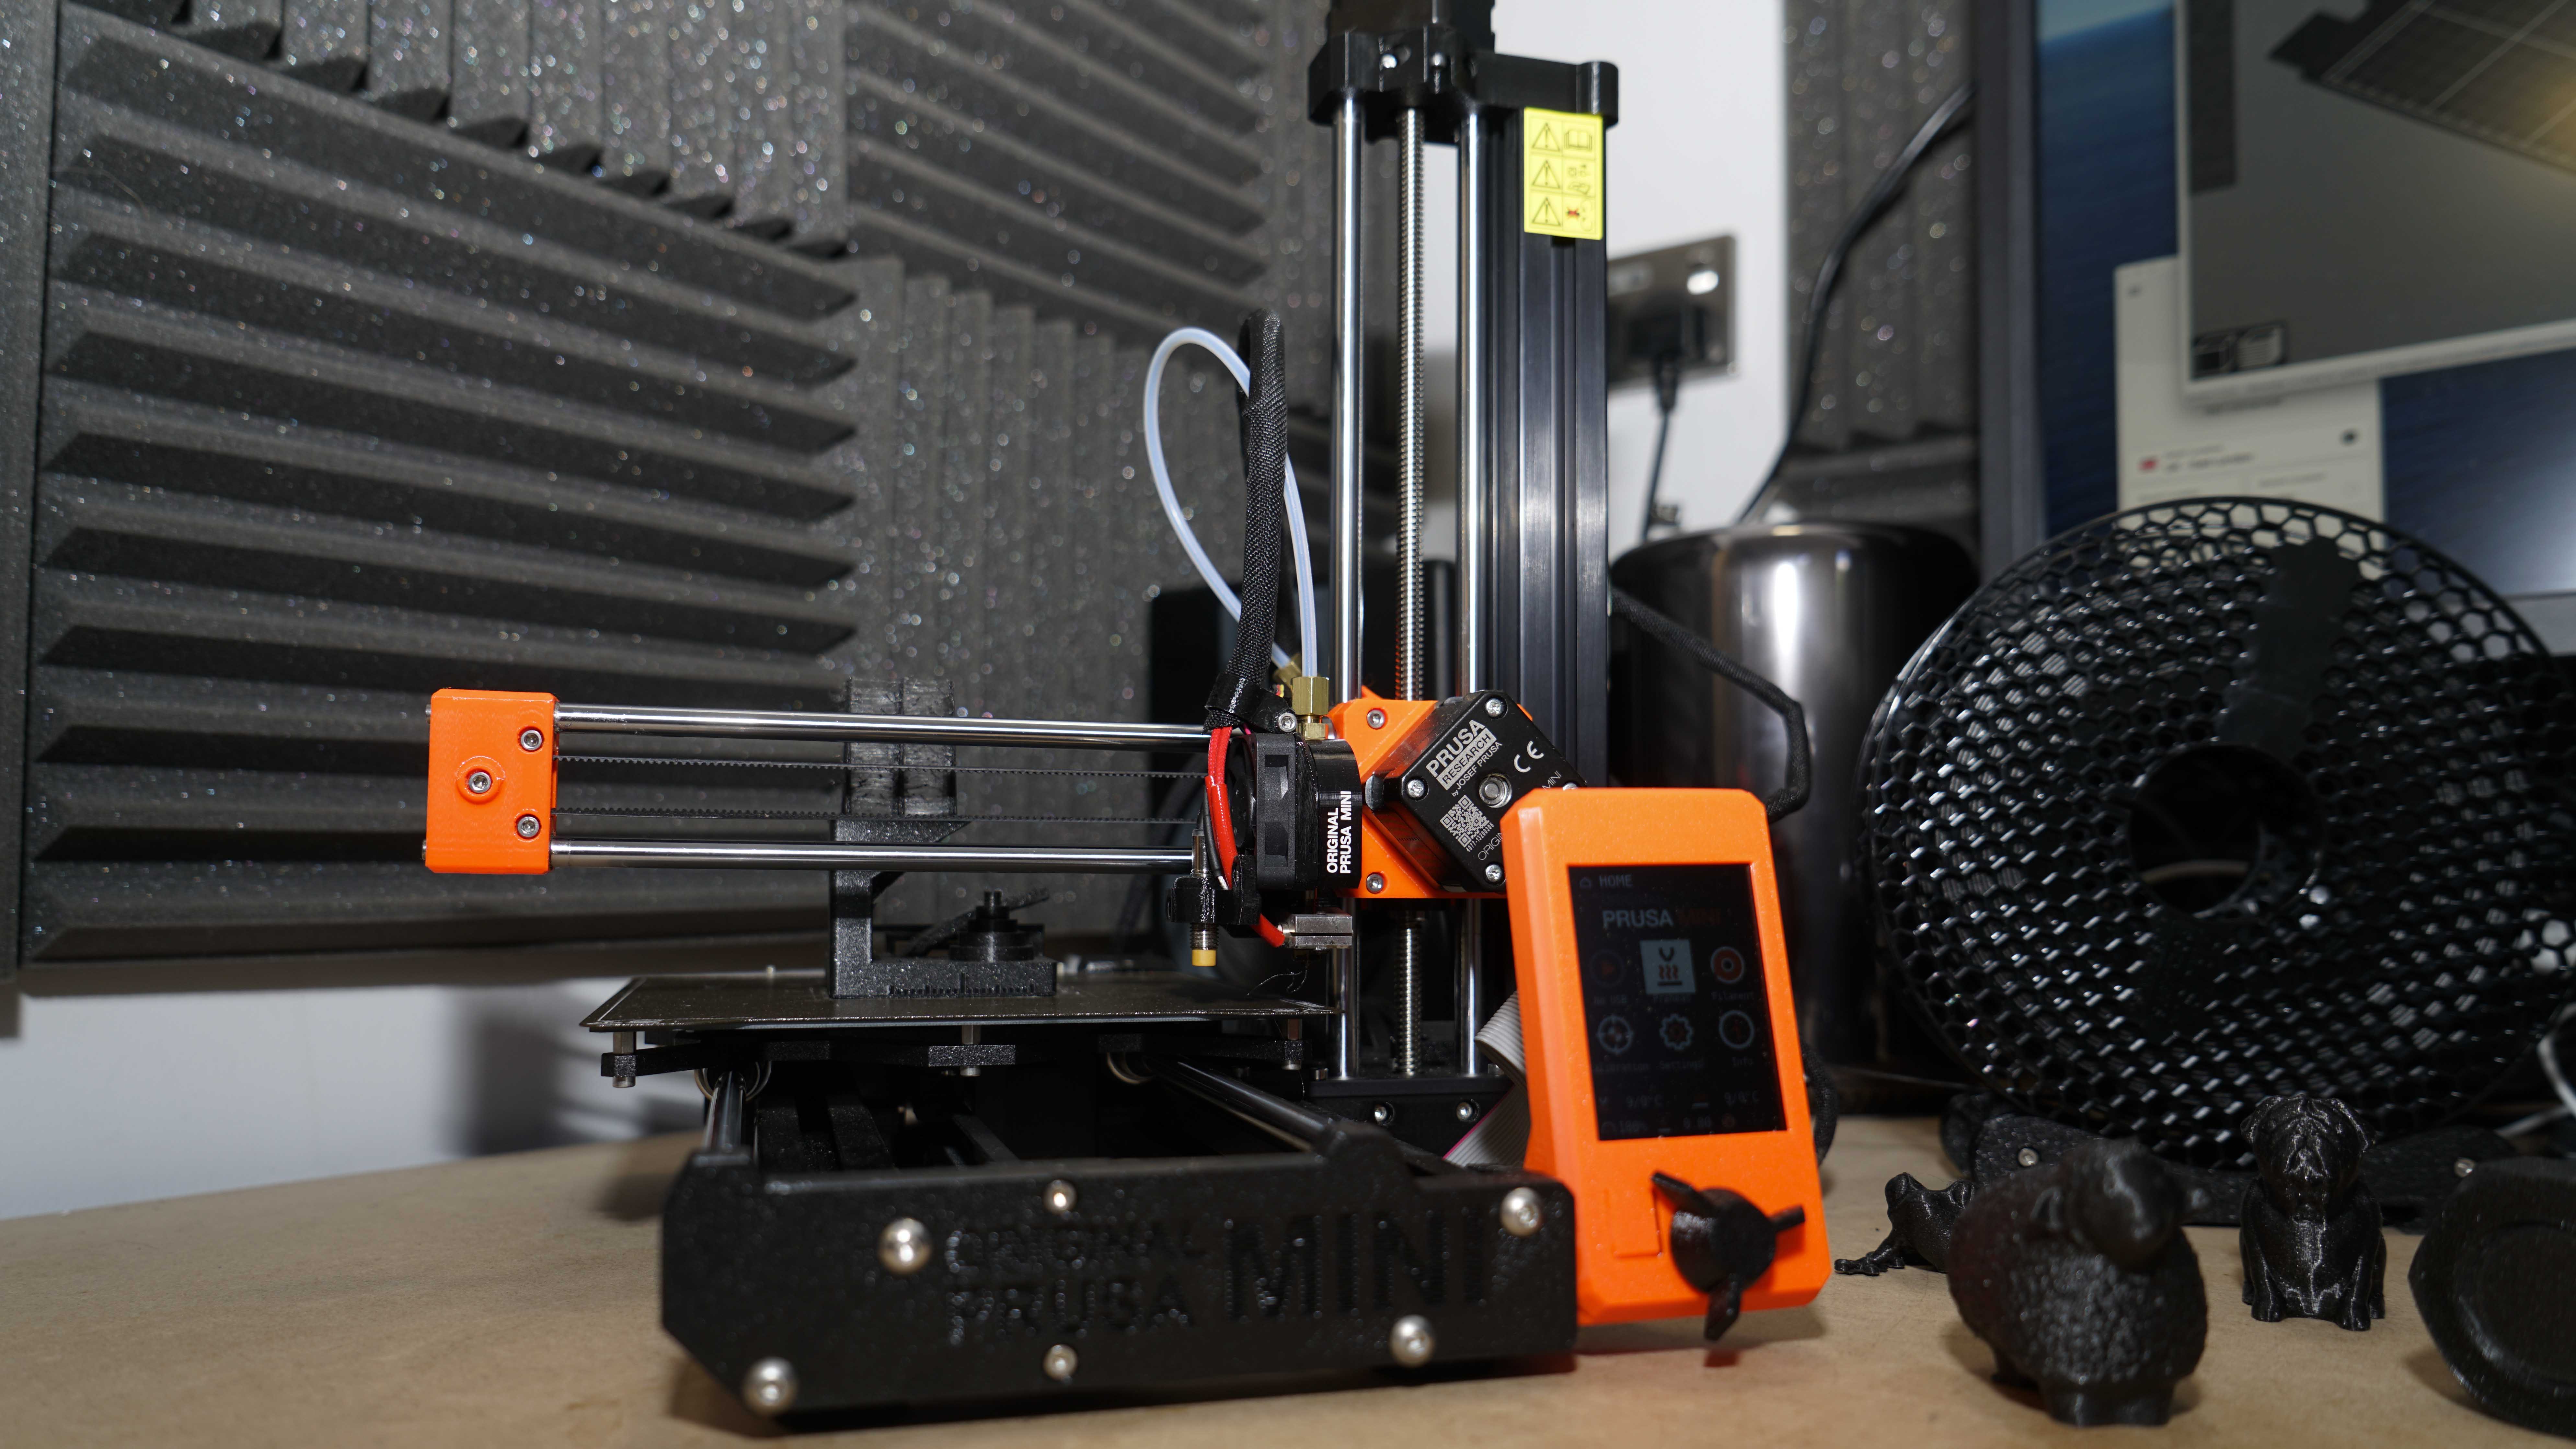
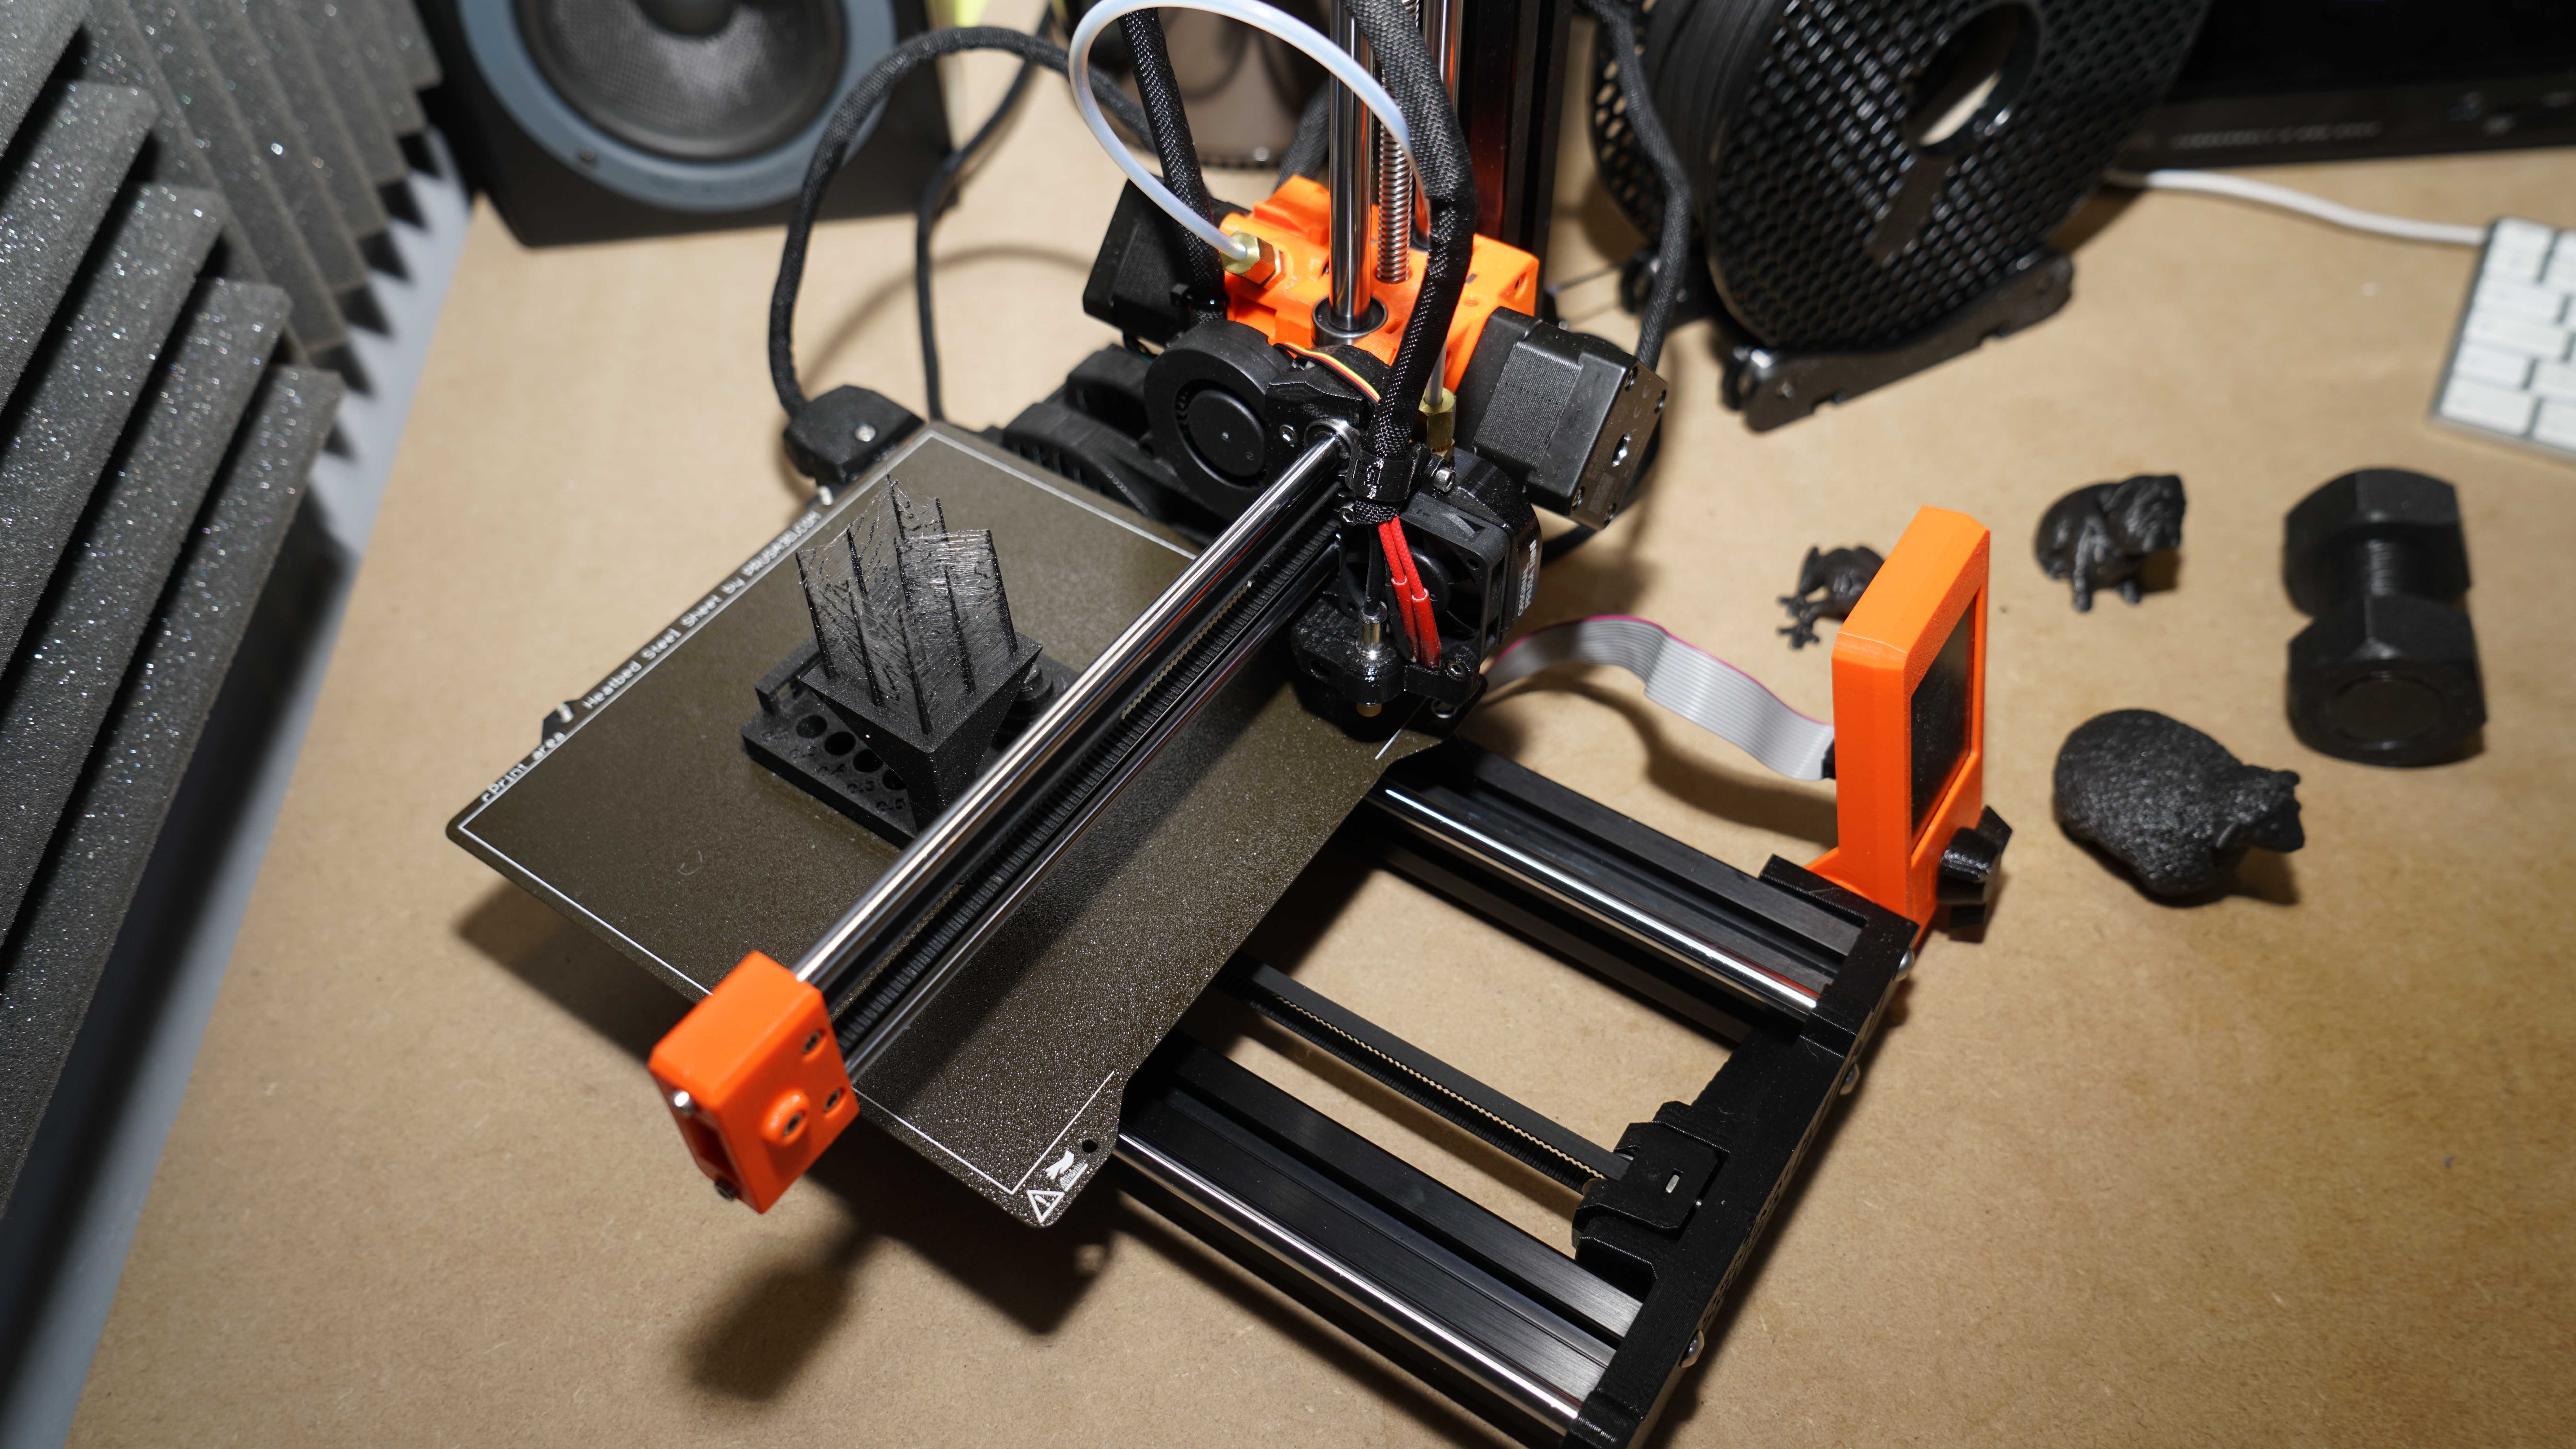
The Original Prusa MINI is something completely new. The metal frame is gone, and instead tube extrusion creates the mainframe of the machine.
It's a simple one-arm construction which is a complete break from the iconic Prusa machines. A single tube extrusion raises vertically for the Z-axis, and the X print head then moves along the X-axis arm.
Sign up to the TechRadar Pro newsletter to get all the top news, opinion, features and guidance your business needs to succeed!
The same 30mm tube extrusions that feature in the design of the MK3s are used. In the larger machines construction, they provide a solid and robust structure, here on the smaller machine it almost seems overkill but provides an incredibly solid machine once constructed.
Another break from the usual Prusa direction is that the MINI is only available in a partially assembled kit, there's no fully assembled or full kit version, as yet at least.
While the MINI may be Prusa's entry-level model, it still has as much if not more potential than the MK3s. The 32-bit mainboard is an exciting addition and while there haven't been the development years that 8-bit control boards have had, that additional processing power should open up many new features, speed and options in the future.
As we've seen in previous Prusa 3D printers while the design may look simple, the quality of parts and detail make the Prusa MINI stand out. Initial impressions are that while the MK3s may be the flagship machine, the MINI has far more potential due to its enhanced control board and size.
Features
The MINI is the exact opposite of what you would normally expect from an entry-level machine. There's no feeling of specifications being cut or lesser quality parts being used to hit a price point.
When it comes to Prusa Entry Level, that means that this 3D printer has been designed for the entry-level. Those users with little or no prior knowledge of the technology.
In taking that approach, the printer has been designed to be as simple as possible, with control and features all being accessed through a friendly and easy to use interface.
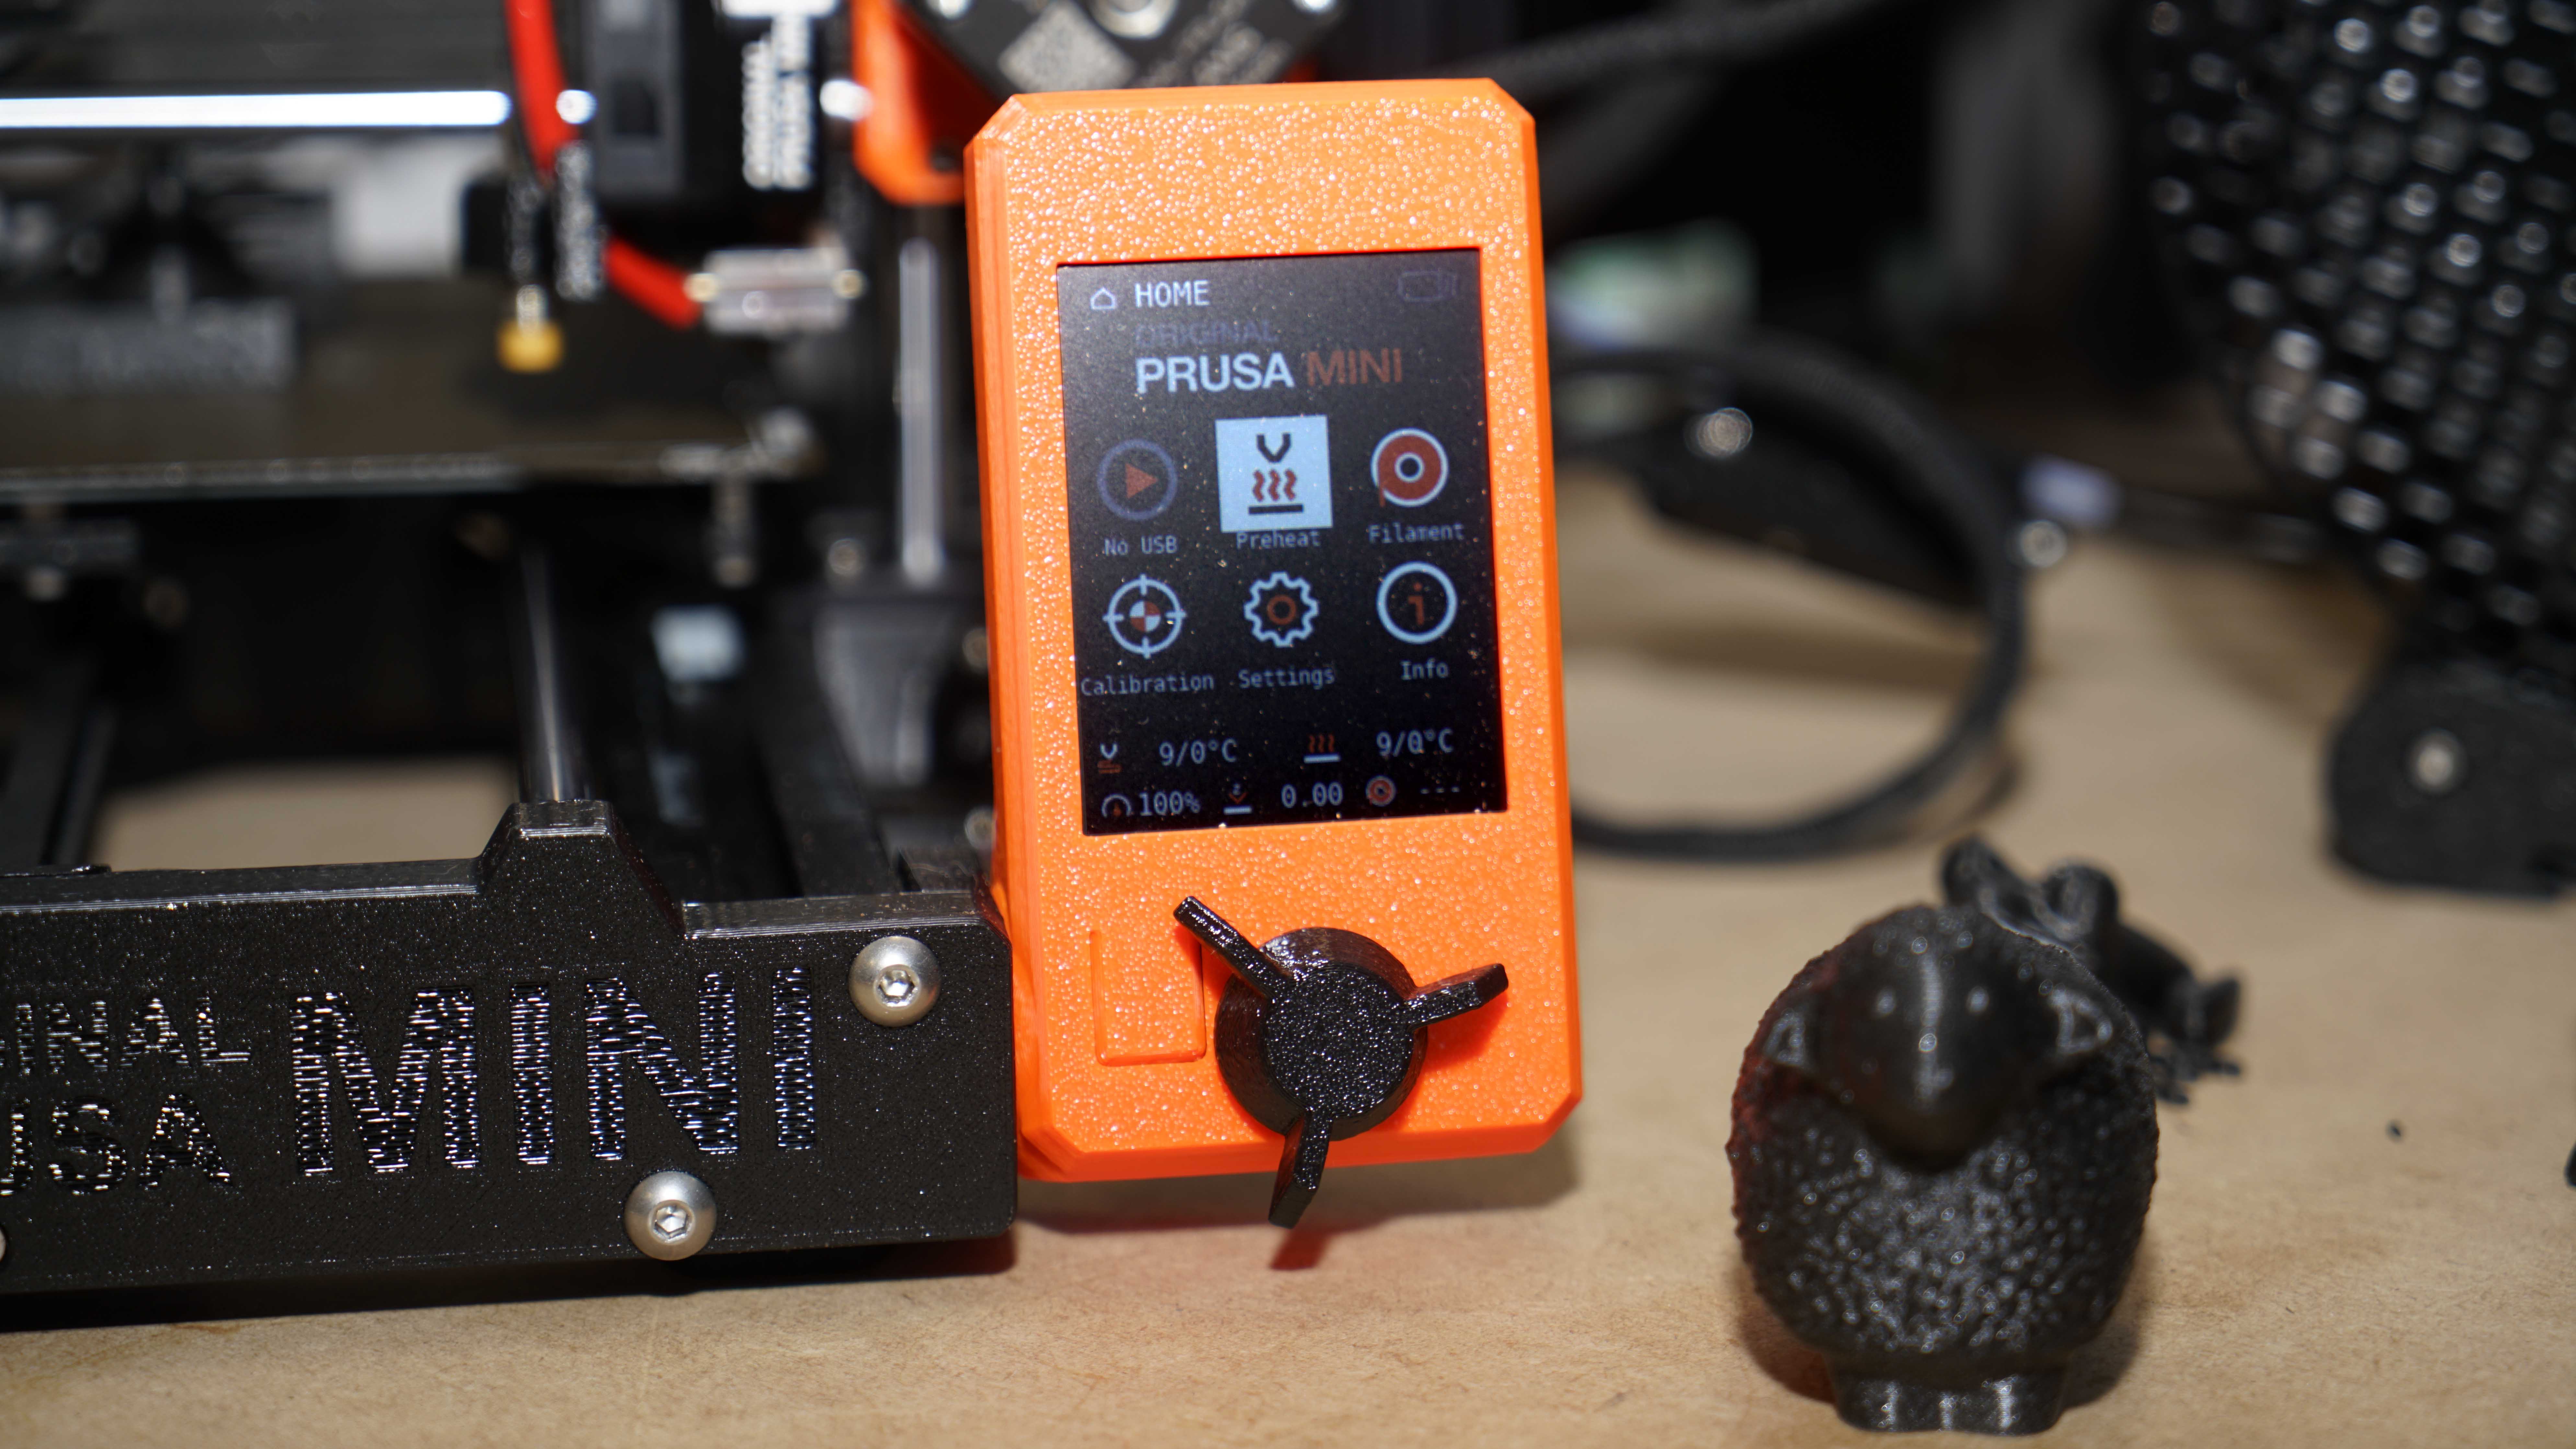
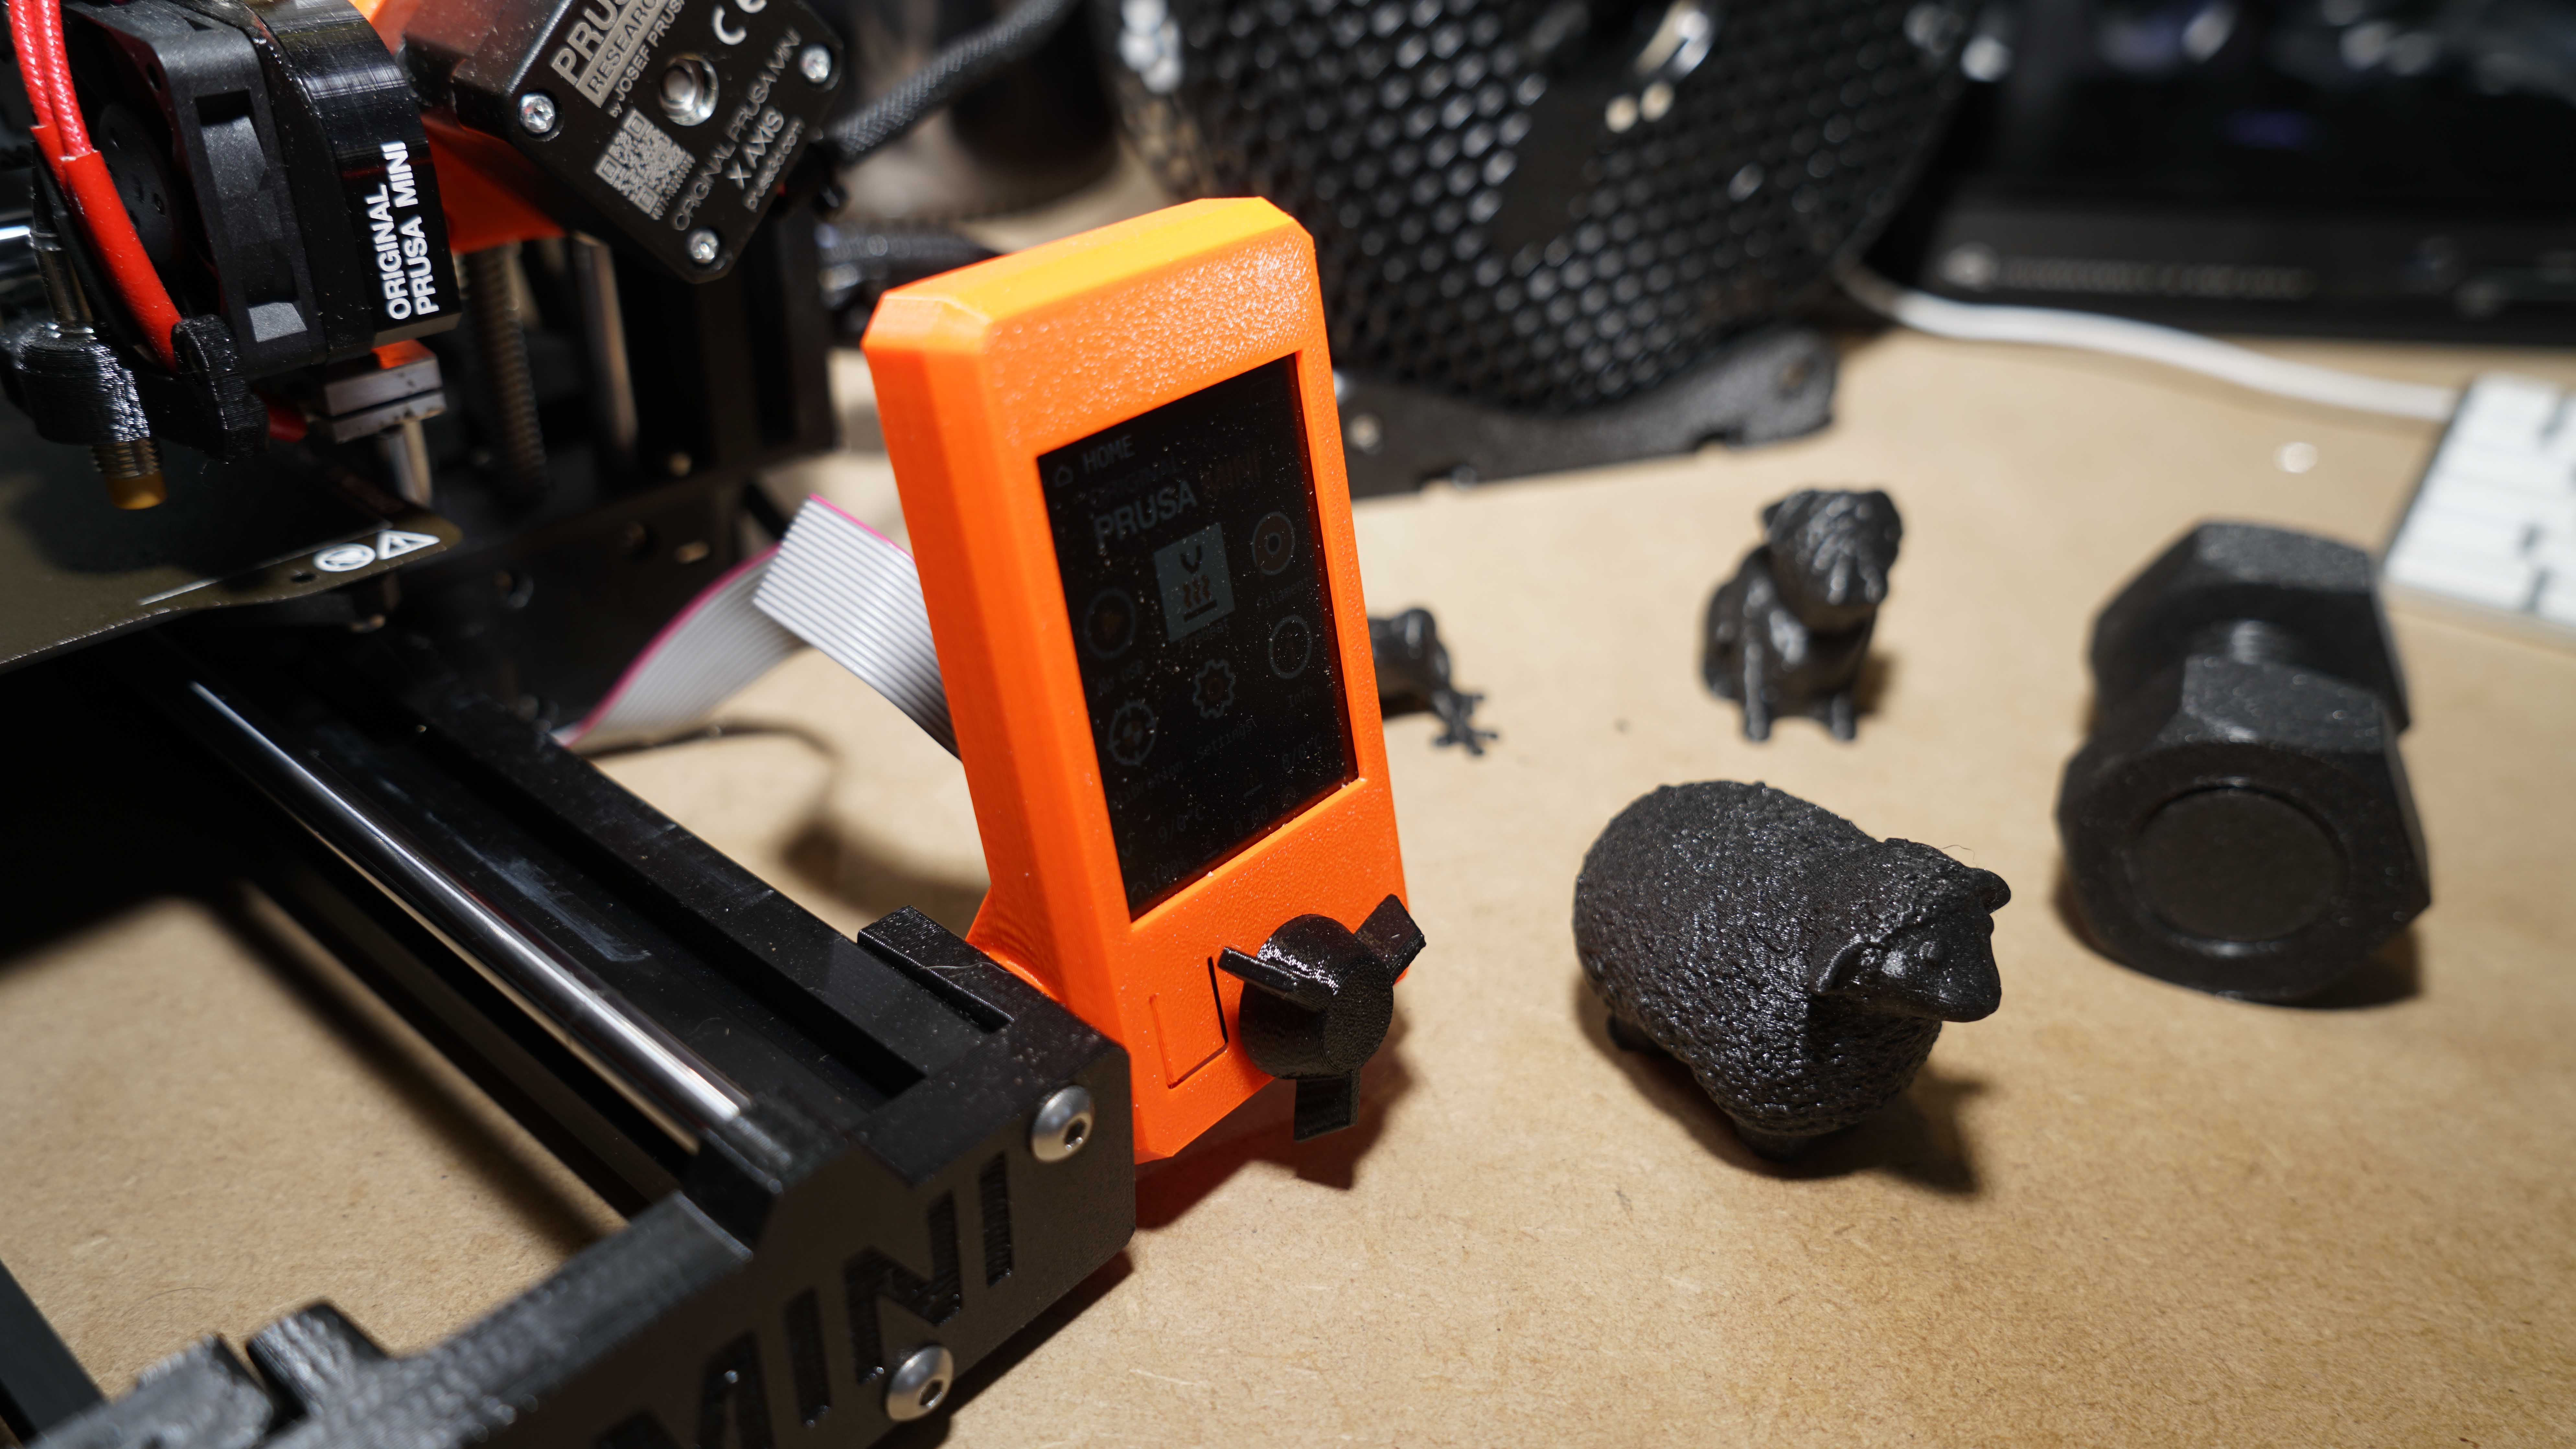
The 2.8-inch 65k colour screen makes navigating the options and settings easy, and on first starting the machine it takes you step by step through the set-up process.
The MINI is compact at just 33x33x38cm, but despite the size, it still weighs in at 4.5kg.
The design of the printer maximises space, and while the physical form is small, the build volume measures 18x18x18cm.
As with the MK3s, the print bed is magnetic, and a PEI plate is supplied, and there's an option for a textured plate as well. These sheets are steel, making it easy to remove models once complete.
Auto bed levelling is built-in, and through the interface, there are plenty of options for adjustment.
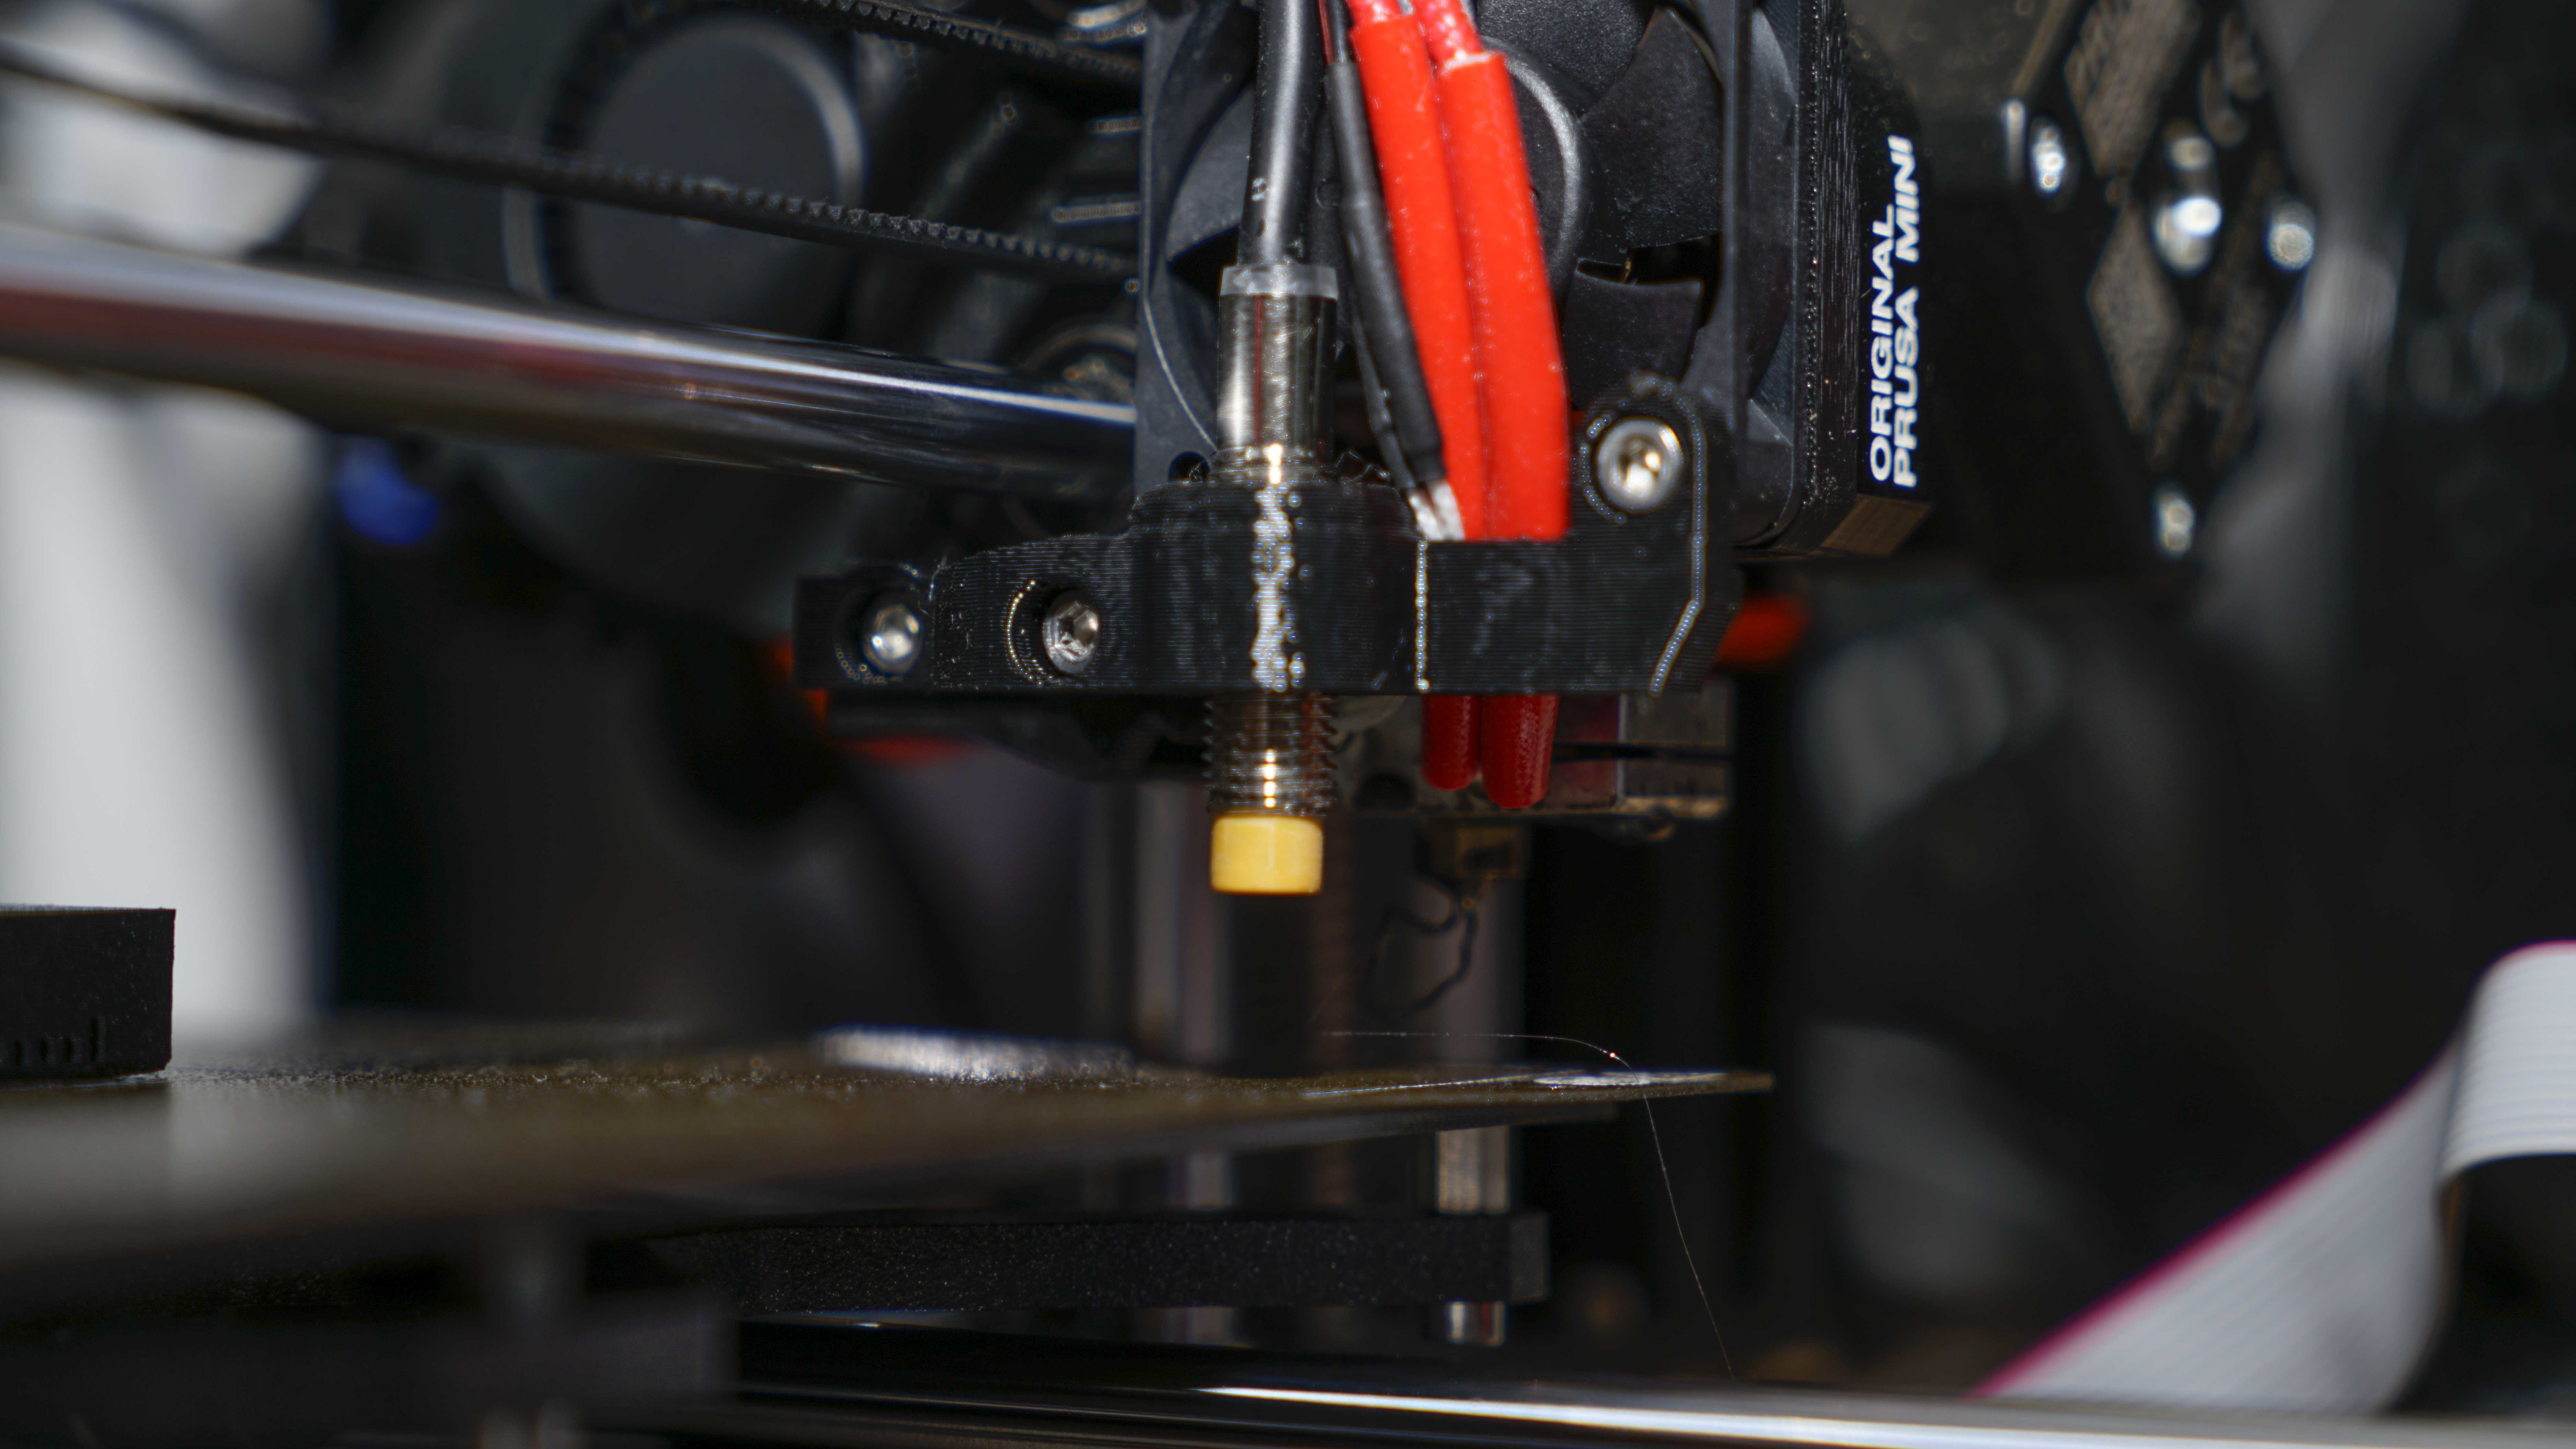
Like the MK3s the MINI uses a 0.4mm nozzle designed for 1.75mm filament with a layer height range between 0.05 to 0.35mm. The print head has a maximum travel speed of 200+mm/s.
While the hotend doesn't quite match the temperatures of the MK3s, it's still very respectable with a range of between 100ºC and 280ºC. This means that it has full support for the majority of popular materials including PLA, PETG, ASA, ABS and Flex.
The mainboard is an interesting option that should offer plenty of scope for future developments. The custom 32-bit Buddy Electronics features STM32 and Trinamic 2209 silent stepper drivers.
While this new mainboard has far-reaching potential it's use in the MINI could be seen as a testbed for the next generation of printers, after all, Prusa Research has been developing 8-bit for years. In contrast, this board is relatively new, and as yet development expertise is only in its infancy.
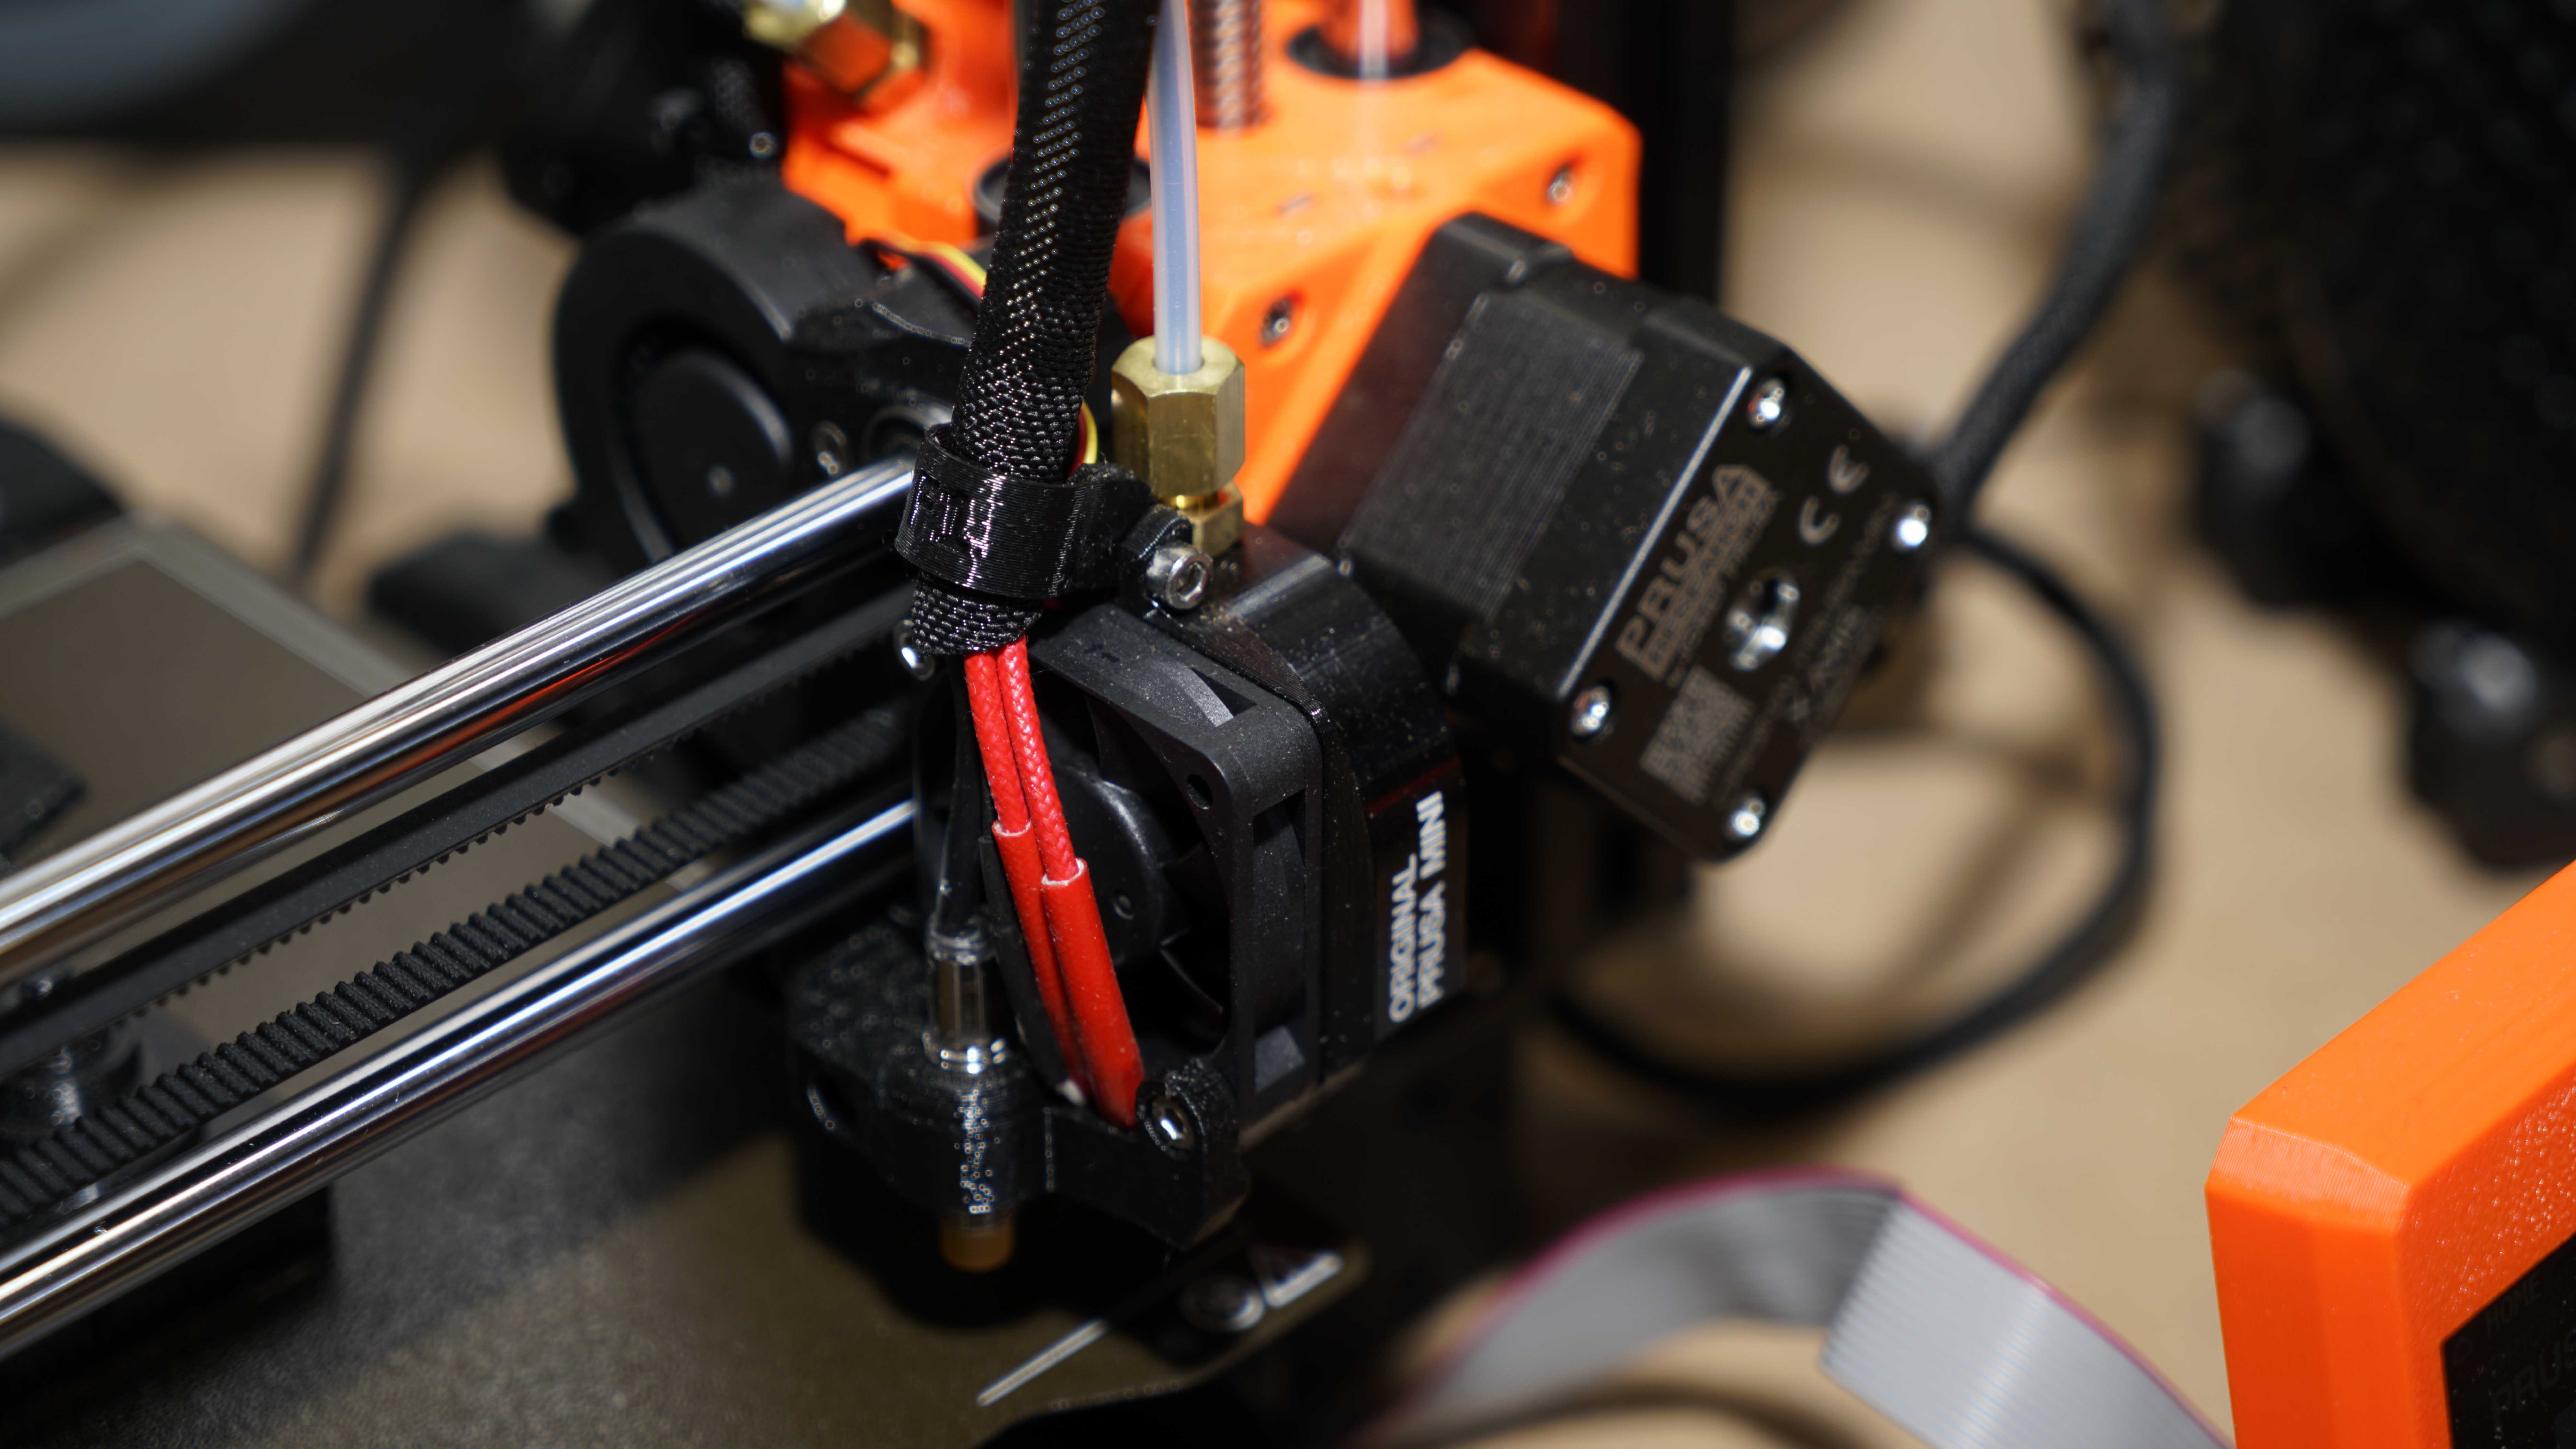
Due to the design of the printer, it uses a Bowden 3:1 geared system that sees the stepper removed from the print head. On the small frame, this should help to prevent any minor vibration from the stepper during printing.
A welcome feature is the addition of a network LAN port as standard and USB port. This makes for easy connection, compatibility and expansion in the future.
As well as the printer, there are several optional extras that are available.
At present, a filament sensor and there's the option of a textured print platform. If you have the skills, then you can also add a Wi-Fi board for around £10.
Josef Prusa also keeps the files for the build updated on the website, so if there are build enhancements, then the parts are usually freely available for download and you can print and install them yourself.
Setup
Putting together the MINI takes around 10-15 minutes but can be a little fiddly. It's important to follow the instructions to ensure the correct cable routing and parts positioning.
As awful as it sounds sitting and reading carefully through the instructions before you begin will save you an incredible amount of time. There are small tricks through the construction that you need to follow, without adhering to those tricks finding out how to fit some of the bolts can be near impossible.
During set-up there were a couple of tricky areas, one is aligning the screws when bolting the vertical and horizontal sections, this is the bit you need to pay attention to in the instructions.
The other is the positioning of one of the cables through the 3D printed control box, which just seemed to be about a centimetre out of place. A bit of wiggling and all bolted together fine.
Here are the full specs of the Original Prusa Mini:
Build Volume: 18x18x18cm
Memory: SD Card
Nozzle size: 0.4mm
Layer Height: 0.05-0.35mm
Bed: Magnetic PEI
Print Surface: PEI or optional textured
Software: PrusaSlicer
Materials: PLA, PETG, ASA, ABS, Flex
Included Material: PLA
Power: 160W
After construction, the MINI can be powered on, and you've walked through the calibration process. It's' always at this point where I feel like a video guide on the machine might have been a good idea considering the entry-level point of this printer. However, the machine does automate most of the process and once complete, you're ready to print.
Print files from CAD or download can be opened in the PrusaSlicer software and prepared for print. The application is a free download and available for Linux, Mac and PC.
PrusaSlicer supports STL, OBJ, 3MF and AMF files which are opened within the application ready for slicing. You can then adjust the quality settings and export out to the supplied USB drive.
Once done, this drive can be ejected from the computer and plugged into the side of the control box and the file located using the interface.
An alternative way to send files across is through a network, again set-up is straightforward and once done. The printer will appear in the PrusaSlicer interface.
Performance
The Original Prusa MINI might be an all-new design, but the experience and expertise of the design Prusa Research team shines through.
Once assembled and the filament is loaded, you're ready to get printing.
To help get you started Prusa Research supplies a series of ready to print files on the USB Device, these are a great place to get started. Select print from the interface, and then go, and the printer handles the rest. It's a nice simple to follow workflow.
During the test, there was little to fault with the actual performance of the printer. It is louder than the MK3s, and while the footprint of the machine is small, once you line up the reel on its rollers, the machine still needs quite a bit of space.
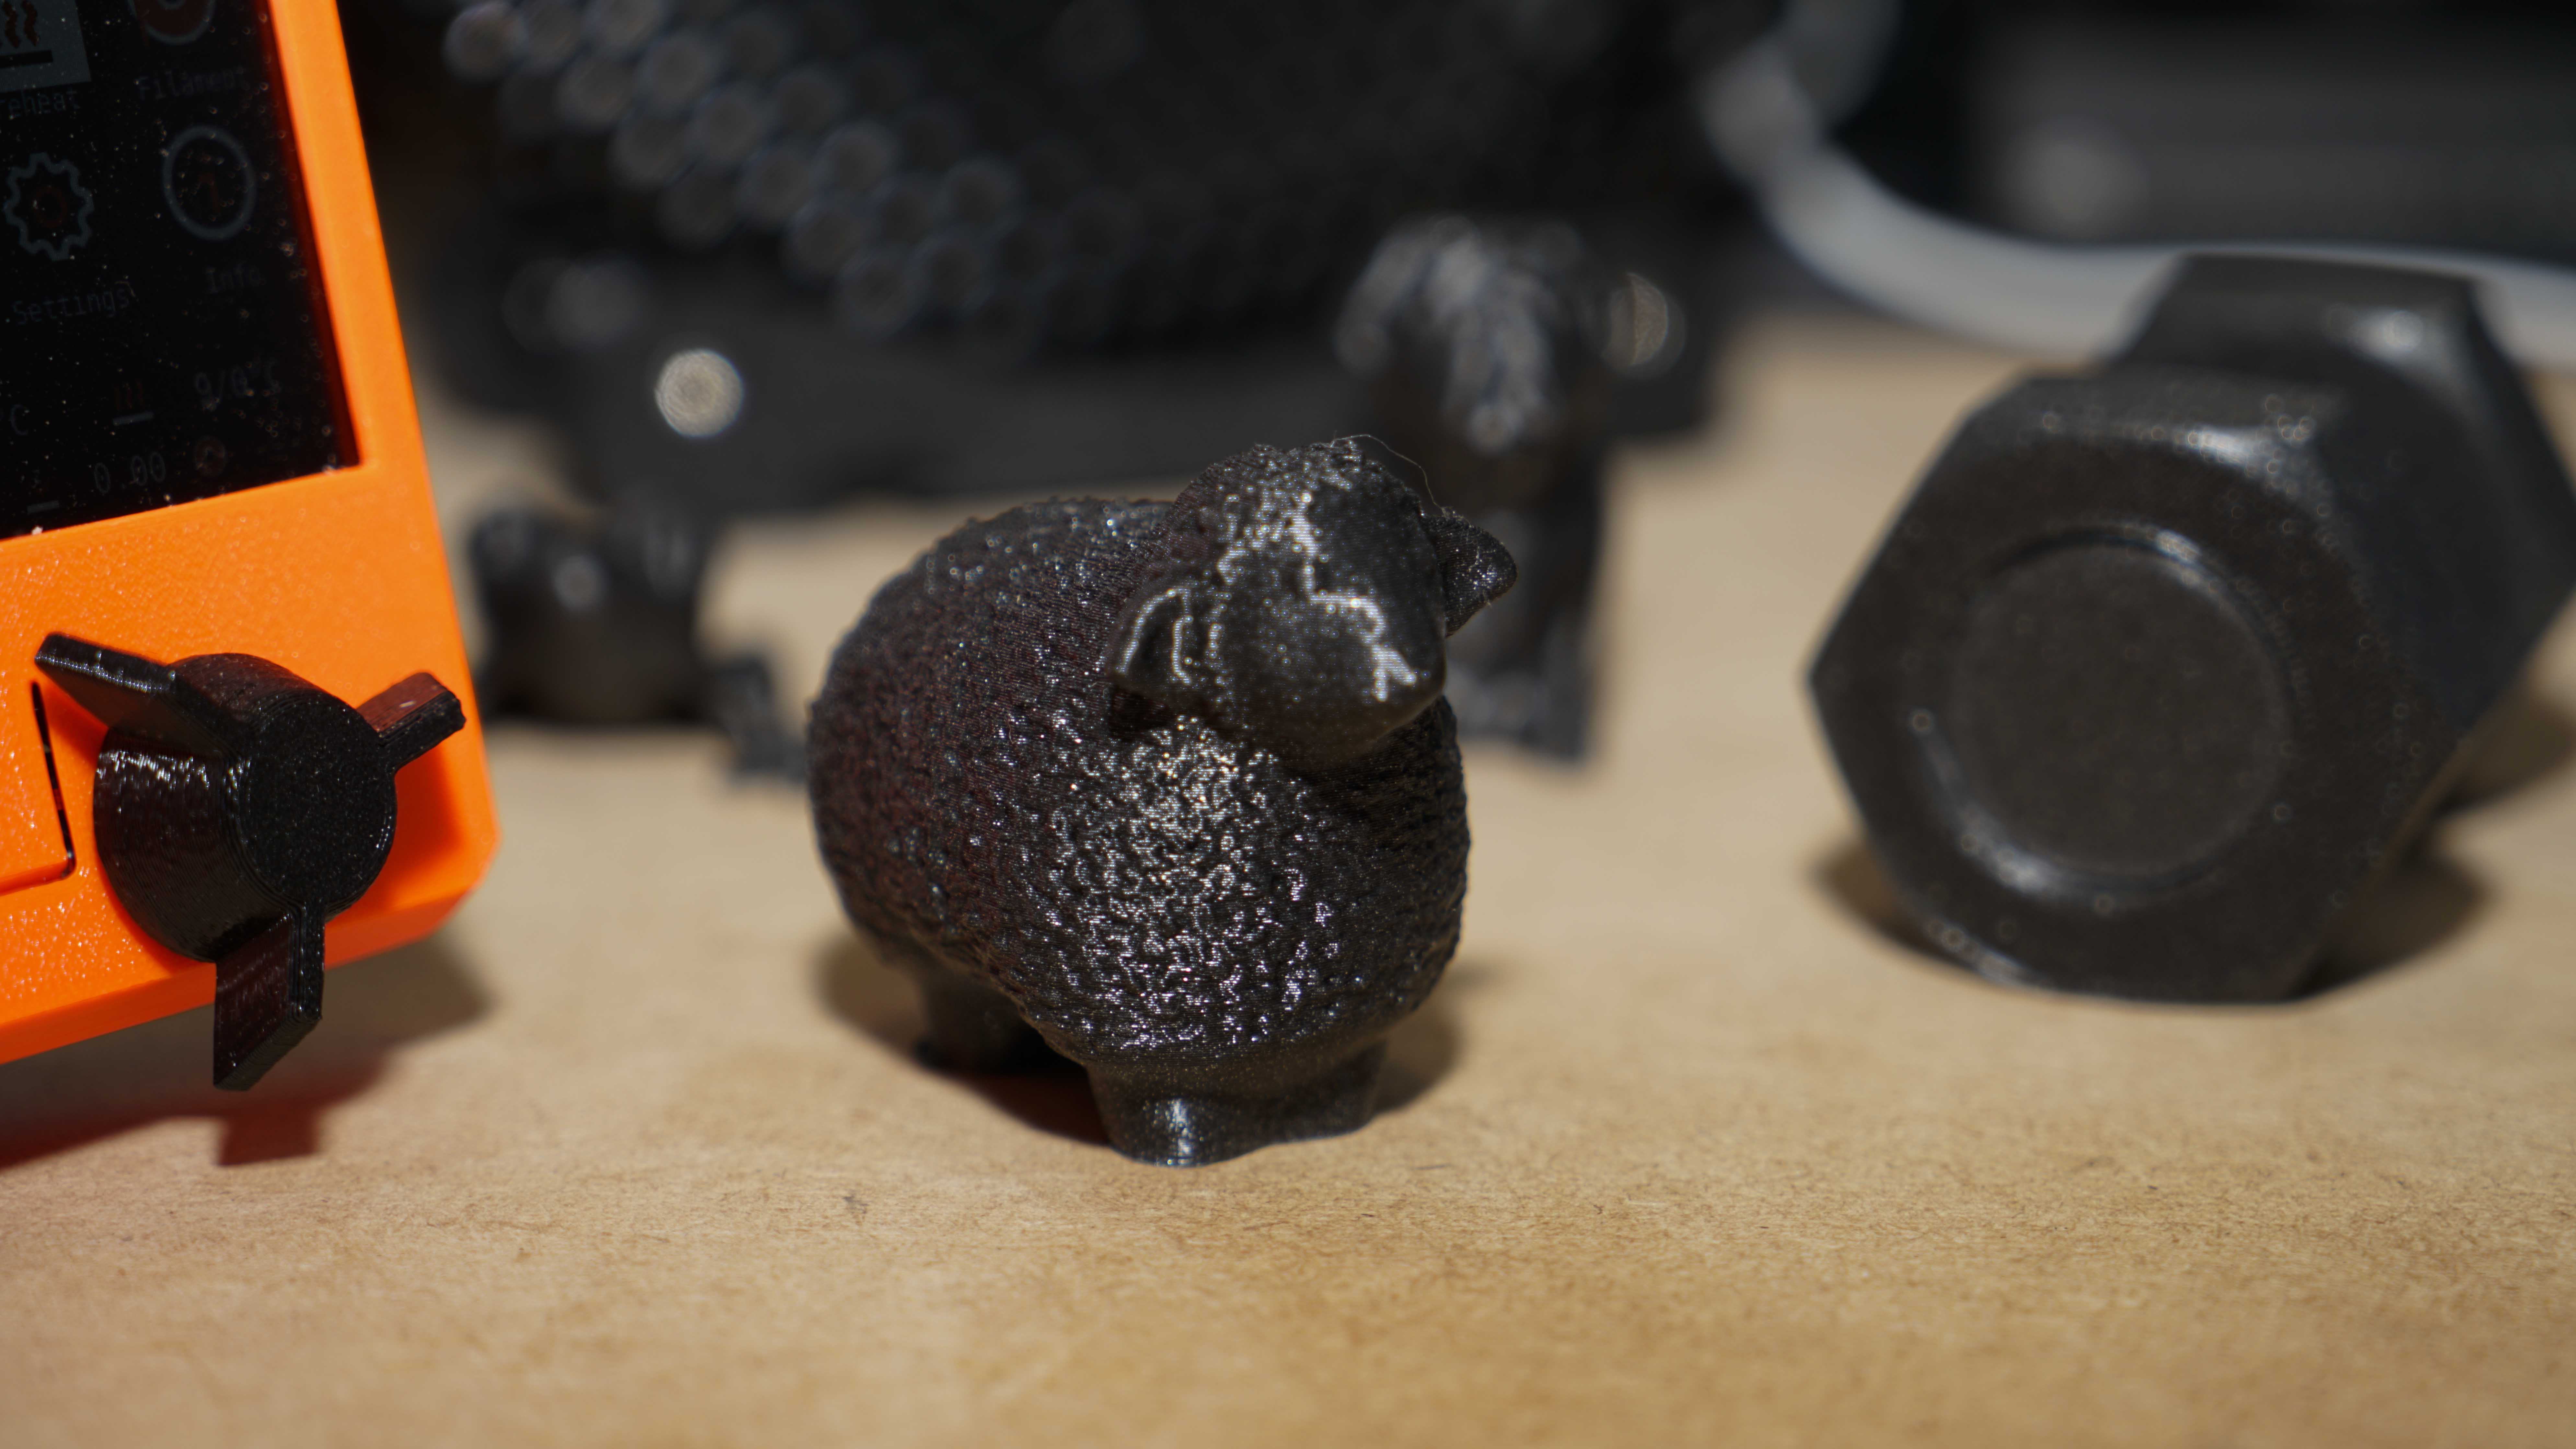
The first set of prints using the filament supplied looked as good as anything produced by the MK3s.
Overall detail was excellent; the only quality issue was fine stringing on some of the detail.
After a solid two weeks of testing, I found that reliability for the small printer was good. I had few failed prints, and aside from a small tweak to the bed level, there were no other adjustments needed in that time.
Print quality
Dimensional accuracy - score of 4
- Target 25 = X: 24.73mm / 0.27mm Error | Y: 24.91mm / 0.09mm Error
- Target 20 = X: 19.79mm / 0.21mm Error | Y: 19.90mm / 0.10mm Error
- Target 15 = X: 14.83mm / 0.17mm Error | Y: 19.97mm / 0.03mm Error
- Target 10 = X: 19.98mm / 0.02mm Error | Y: 10.02mm / 0.02mm Error
- Target 5 = X: 5mm / 0mm Error | Y: 5mm / 0mm Error
X Error Average = 0.17
Y Error Average = 0.048
X&Y Error Average = 0.11
Fine Flow Control - score of 2.5
Fine Negative Features - score of 5
Overhangs - score of 3
Bridging - score of 5
XY resonance - score of 2.5
Z-axis alignment - score of 2.5
Adding up the totals gives a final score of 24.5 out of 30.
Final verdict
The Original Prusa MINI is simply the best 3D printer available. It's not just a matter of price but convenience and ease of use. The small size and robust build make it easy to transport, but it's the print quality the shines through with the results being as good as any FFF printer out there.
While there are a few design features that are a bit annoying such as the cable routing and separate reel holder, once constructed you'll never notice the cable hole again, and I'm sure someone will design an alternate reel holder in time.
That's the great thing about PRUSA printers, they adapt and enable you to improve them over time.
For the price, you get an incredible amount; this is by no means a budget 3D printer, it's a true entry-level printer that should be the first choice for crafters, modellers and engineering enthusiasts. There is very little to fault with this compact machine.
Ali Jennings is the imaging lab manager for Future Publishing's Photography portfolio. Using Imatest Master and DxO Analyser he produces the image quality tests for all new cameras and lenses review in TechRadar's cameras channel. Ali has been shooting digital since the early nineties and joined Future's Photography portfolio back in 2003.
