Horizon Forbidden West Cauldrons: locations and override codes
Brew up a storm with the Horizon Forbidden West Cauldrons

Sign up for breaking news, reviews, opinion, top tech deals, and more.
You are now subscribed
Your newsletter sign-up was successful
Join the club
Get full access to premium articles, exclusive features and a growing list of member rewards.

Trying to get your hands on the Horizon Forbidden West Cauldrons codes is a tricky yet worthwhile venture. Completionists will also need to seek these sprawling underground areas in order to get the Platinum Trophy, so there are more reasons to plumb their depths besides the obvious.
You’ll unlock the ability to override machines fairly early on in Horizon Forbidden West, but will need to seek out upgrades in order to tame more powerful beasts. It’s absolutely worth your time too, as the machine override skill is extremely useful for combat and map traversal. Nothing beats sneaking up to a mechanical mammoth, taming it, and then having it fight an enormous robo-tyrannosaur in your stead. It’s a real spectacle, especially when you’re playing on a console that's as powerful as the PS5.
If you want to experience a power trip like no other by taking over machines, you need to get their override codes - and you’ll find those in the cauldrons that are littered throughout the game world.
Article continues belowThere are six cauldrons in Horizon Forbidden West in total, with two of them being tied to the main story and the rest being entirely optional. Think again if that sounds easy, because seeking them out is not always straightforward.
Each cauldron is different and possesses its own challenges to overcome. Here’s where to find each Cauldron, and what you'll need to do to get access to their cores..
Horizon Forbidden West Cauldrons
Horizon Forbidden West Cauldrons: TAU - Level 15
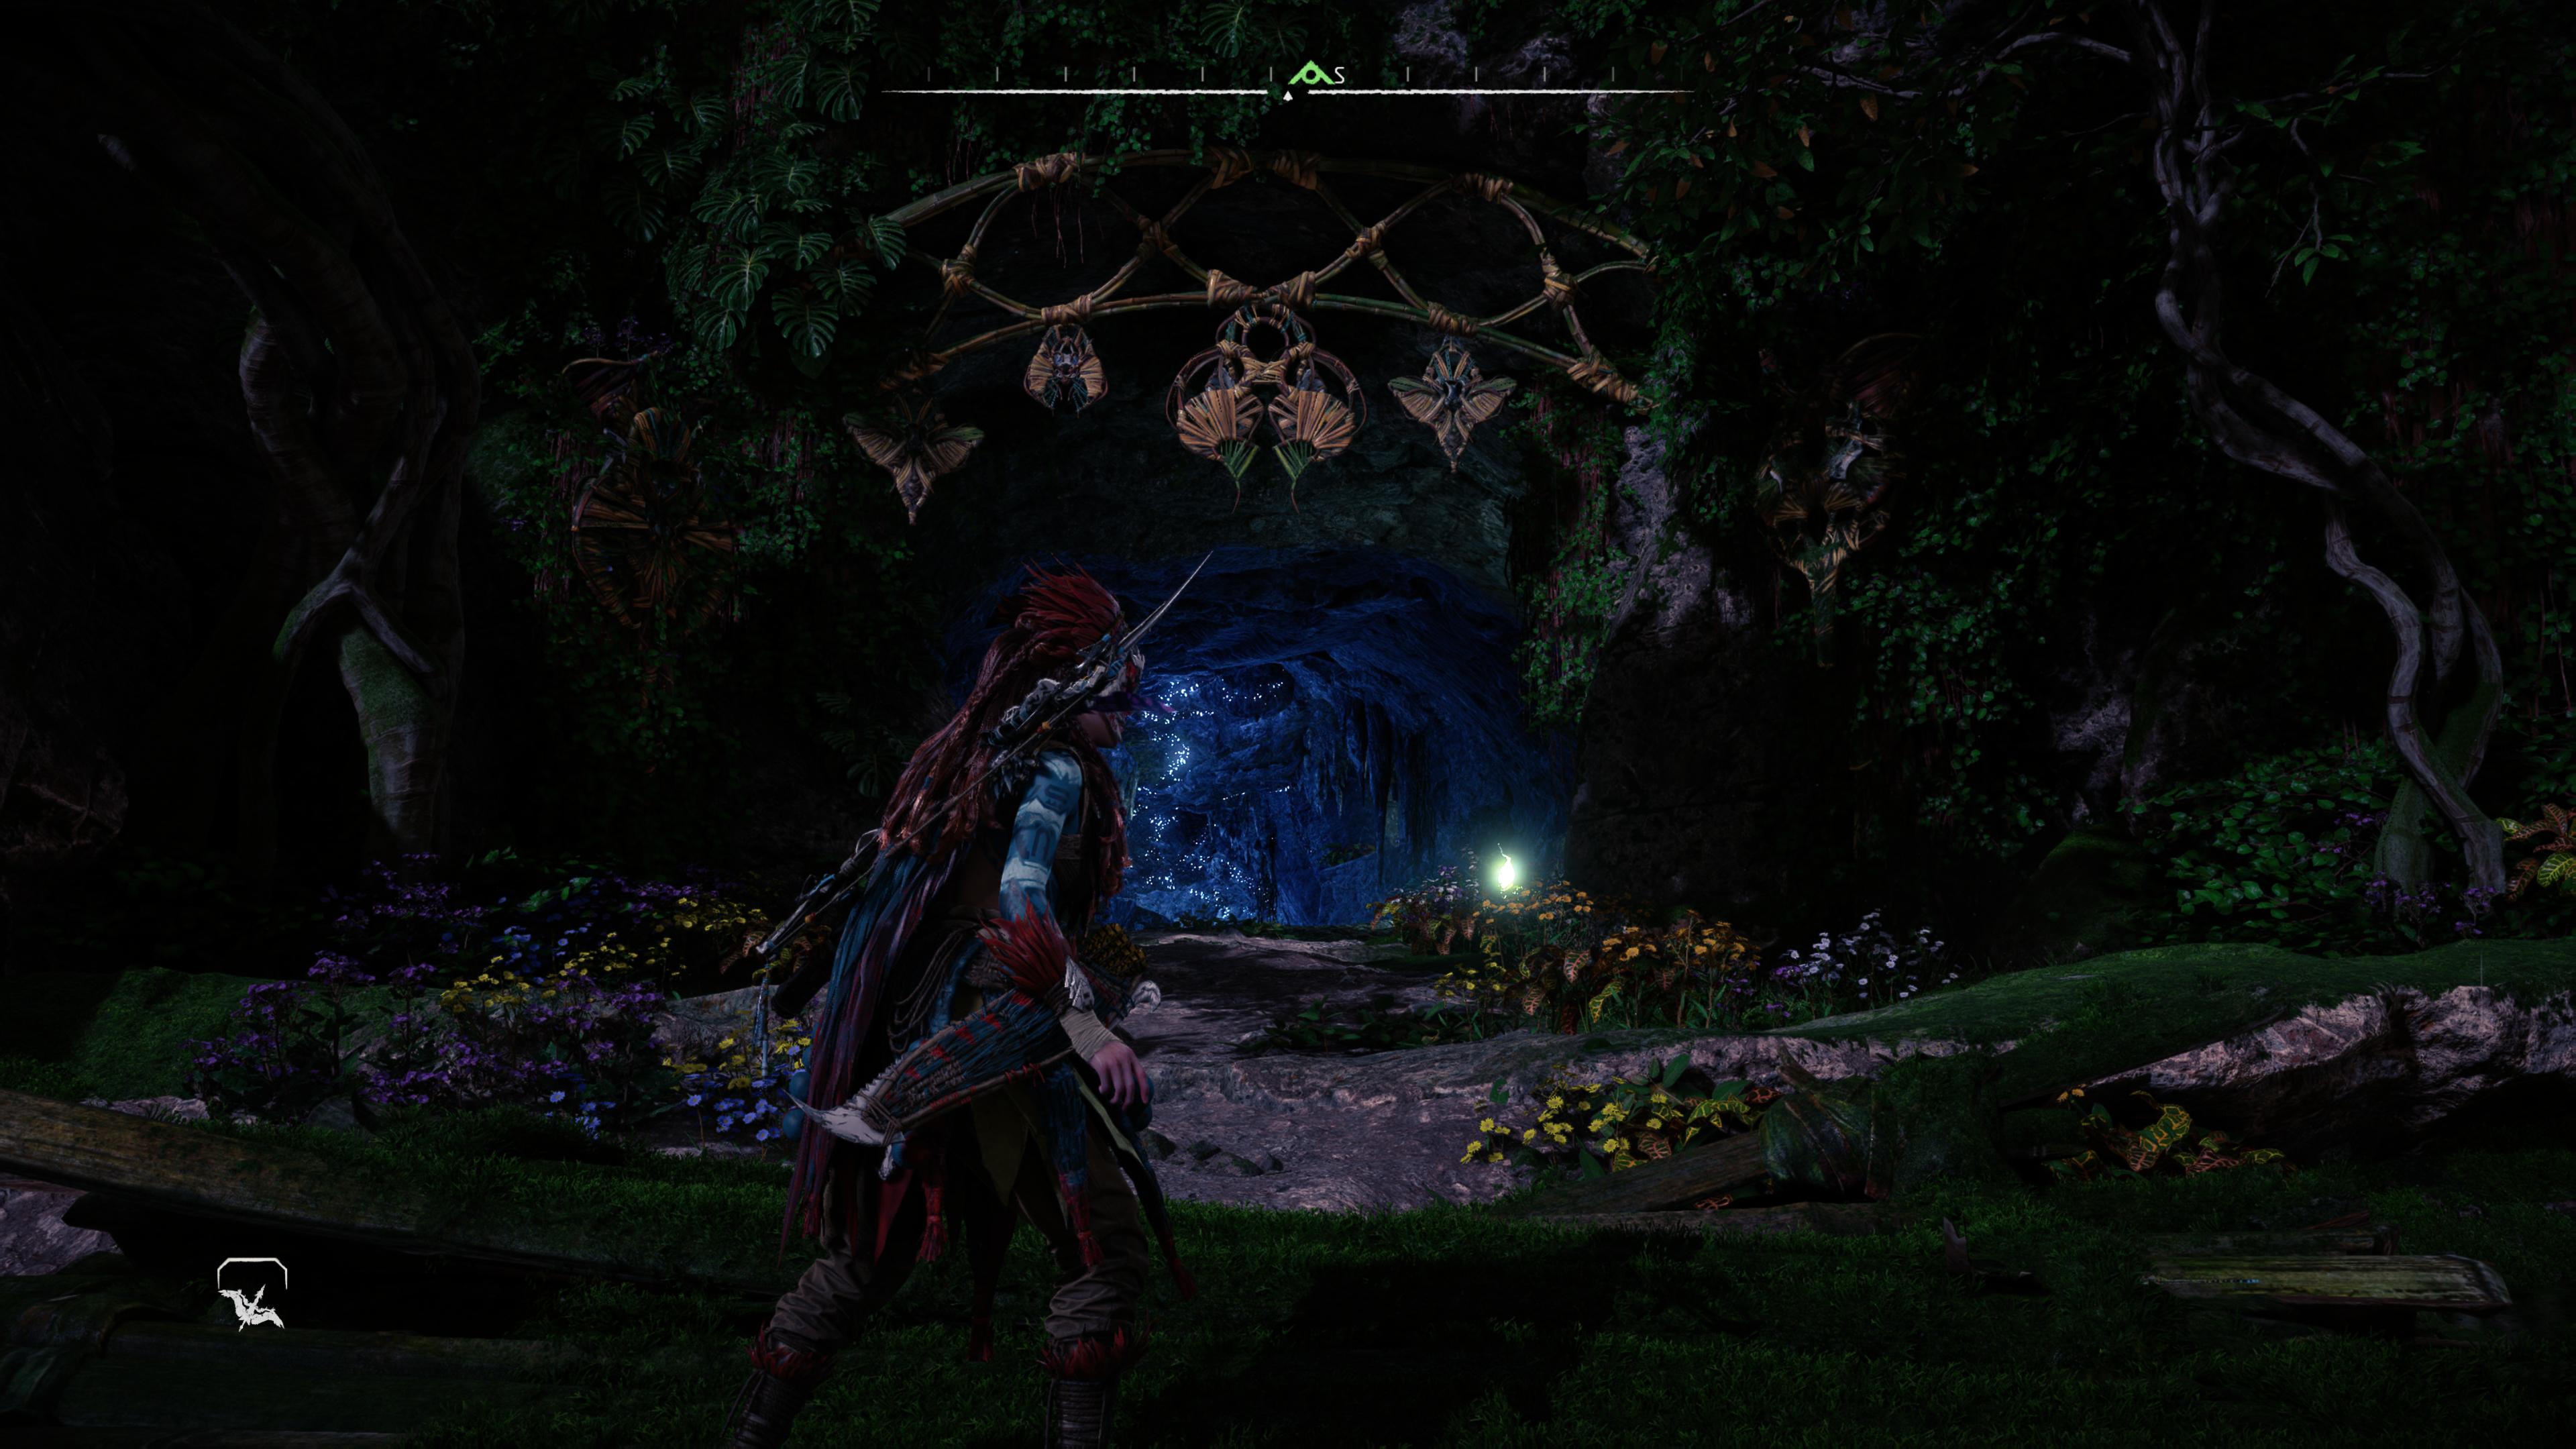
The TAU cauldron will likely be the first you get access to because it's part of a mission earlier in the campaign. That mission is the level 15 main quest called The Dying Lands, which has Aloy, Varl, and Zo going into the cauldron to see what’s going wrong with once-reliable machines.
There’s nothing overly complicated about this cauldron. The way is well-marked, only requiring you to learn how to open up and time climbing routes, as well as using floating platforms to maneuver. The mechanics you learn here will help you in future cauldrons though, so make sure you process what you're doing.
Sign up for breaking news, reviews, opinion, top tech deals, and more.
This one shouldn’t be hard to find. As it’s a main story quest, the game will direct you right to it. There’s no need to find it. You’ll be shown it when you reach the mission. That said, for reference, it is just west of the Plainsong Settlement
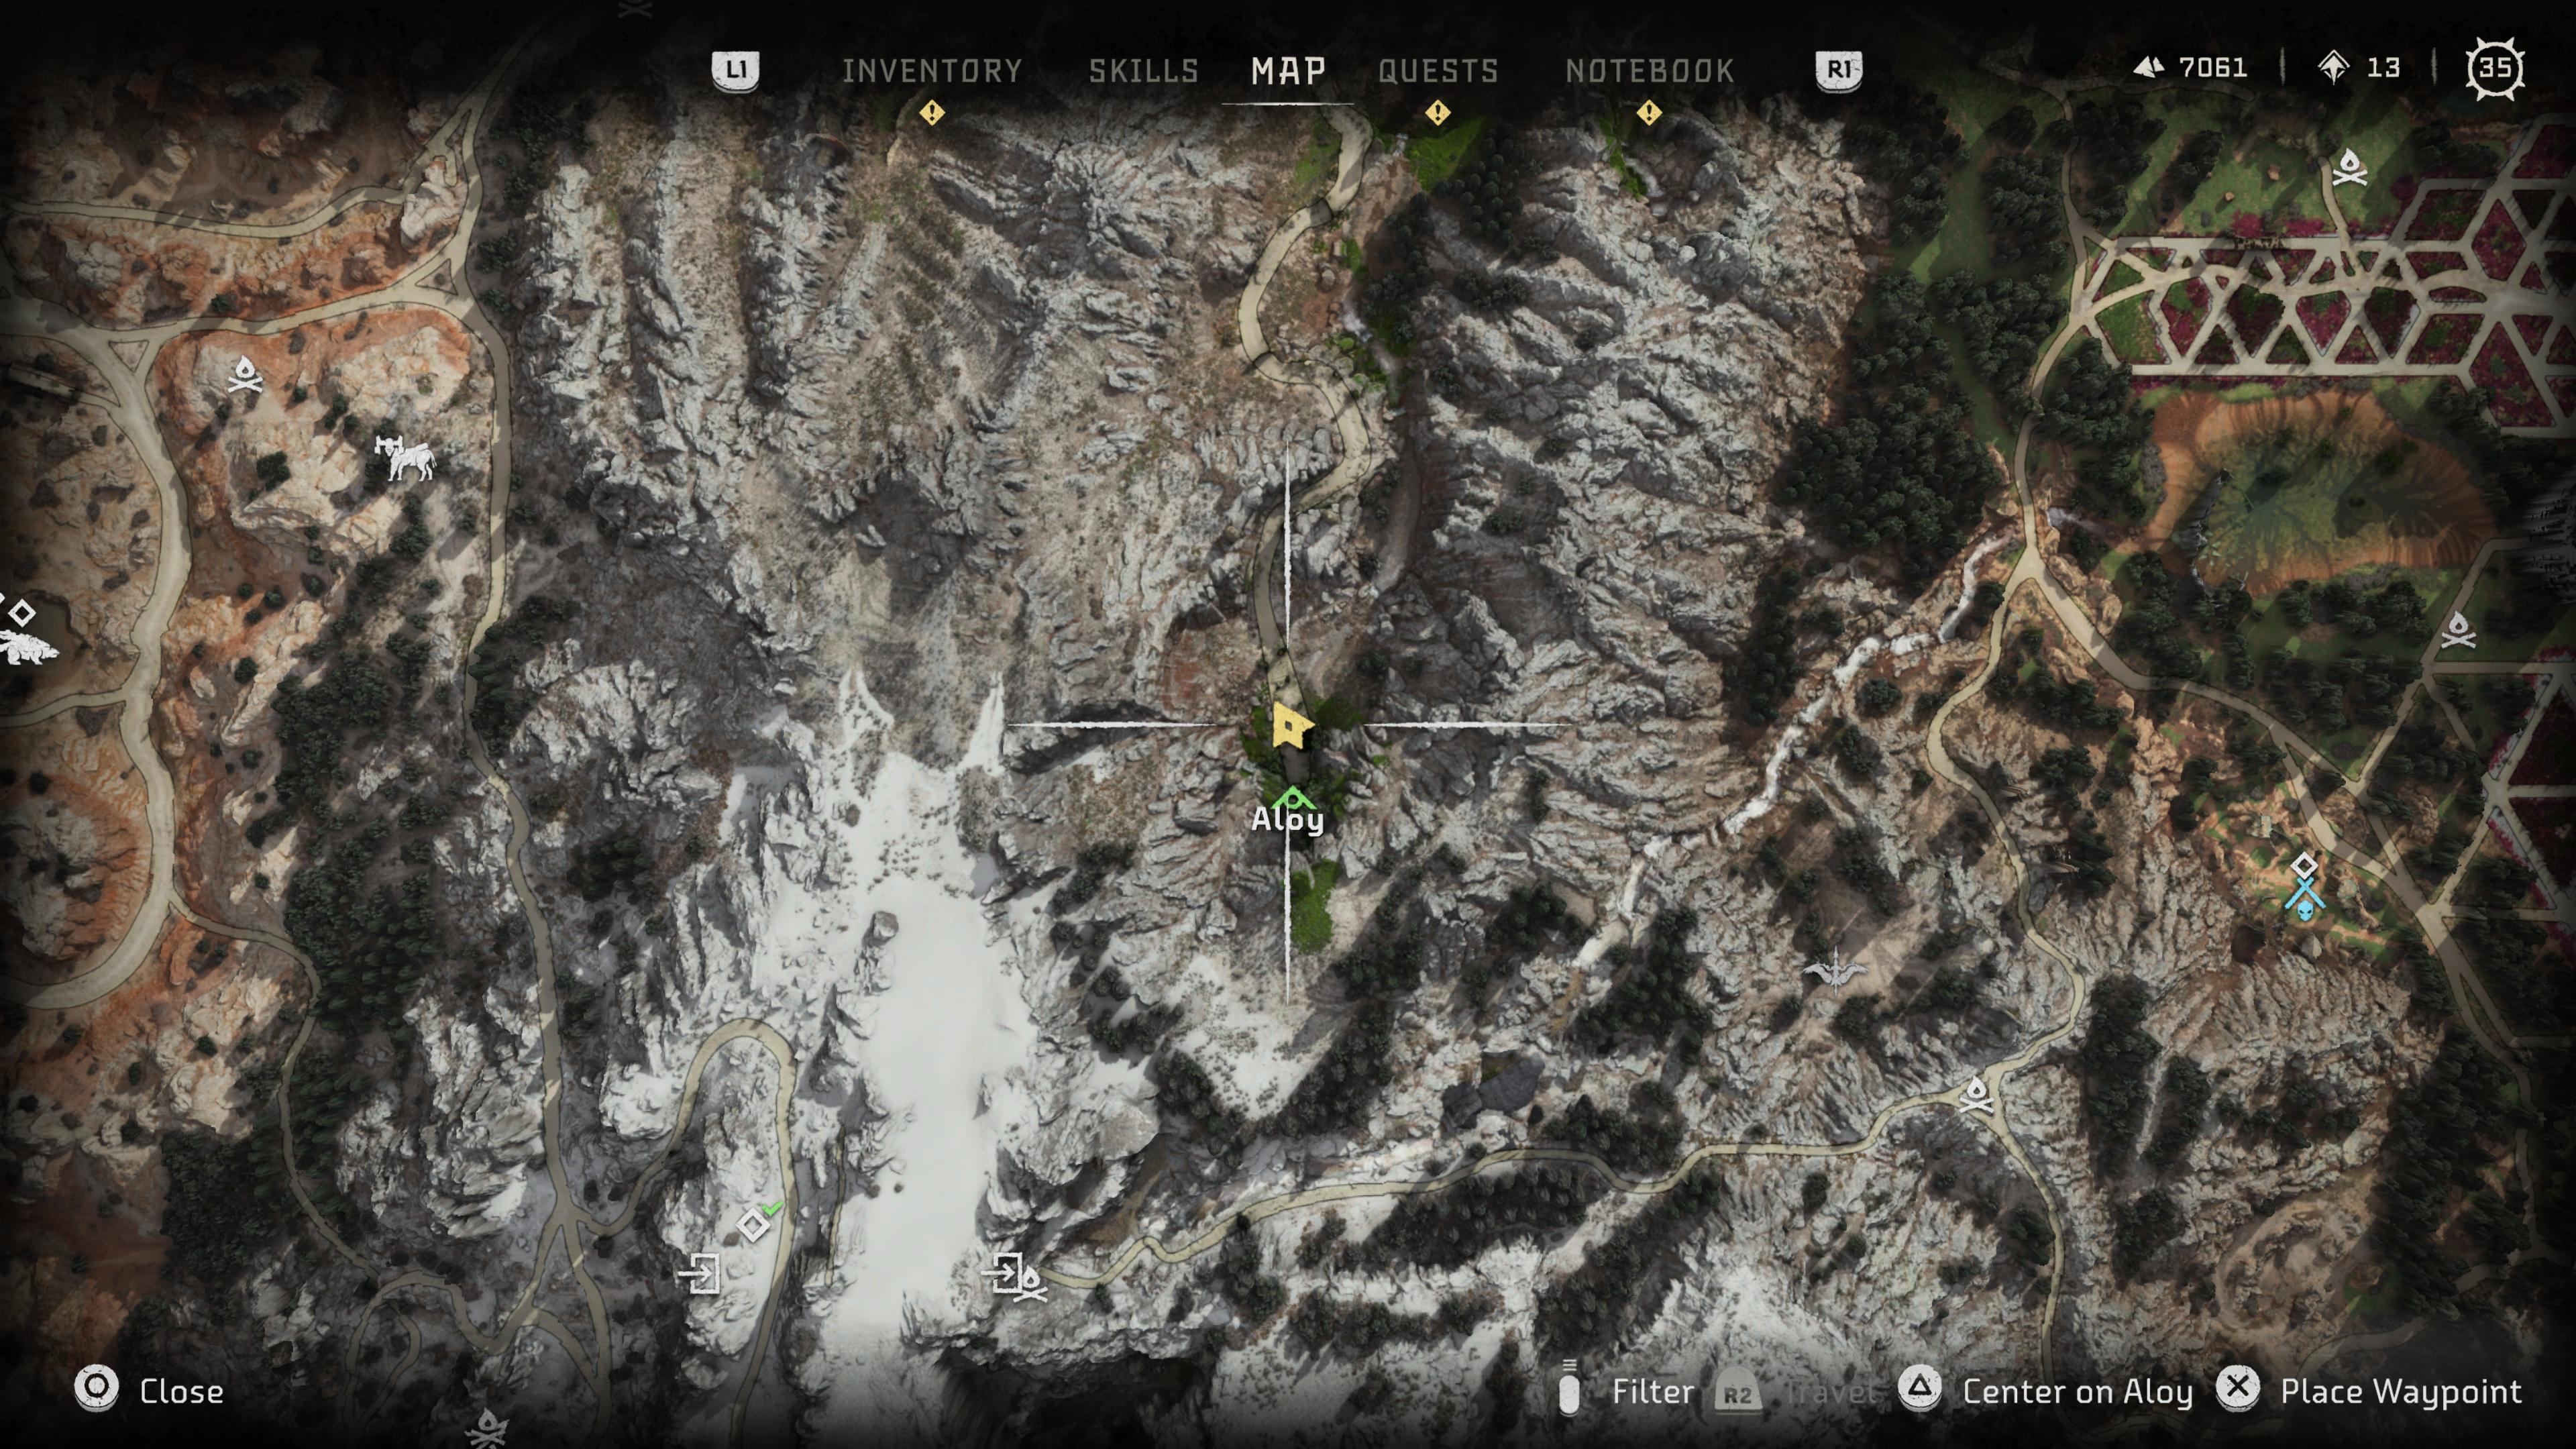
Unlocking TAU provides you with the following codes:
- Plowhorn
- Bristleback
- Grimhorn
Horizon Forbidden West Cauldrons: MU - Level 18
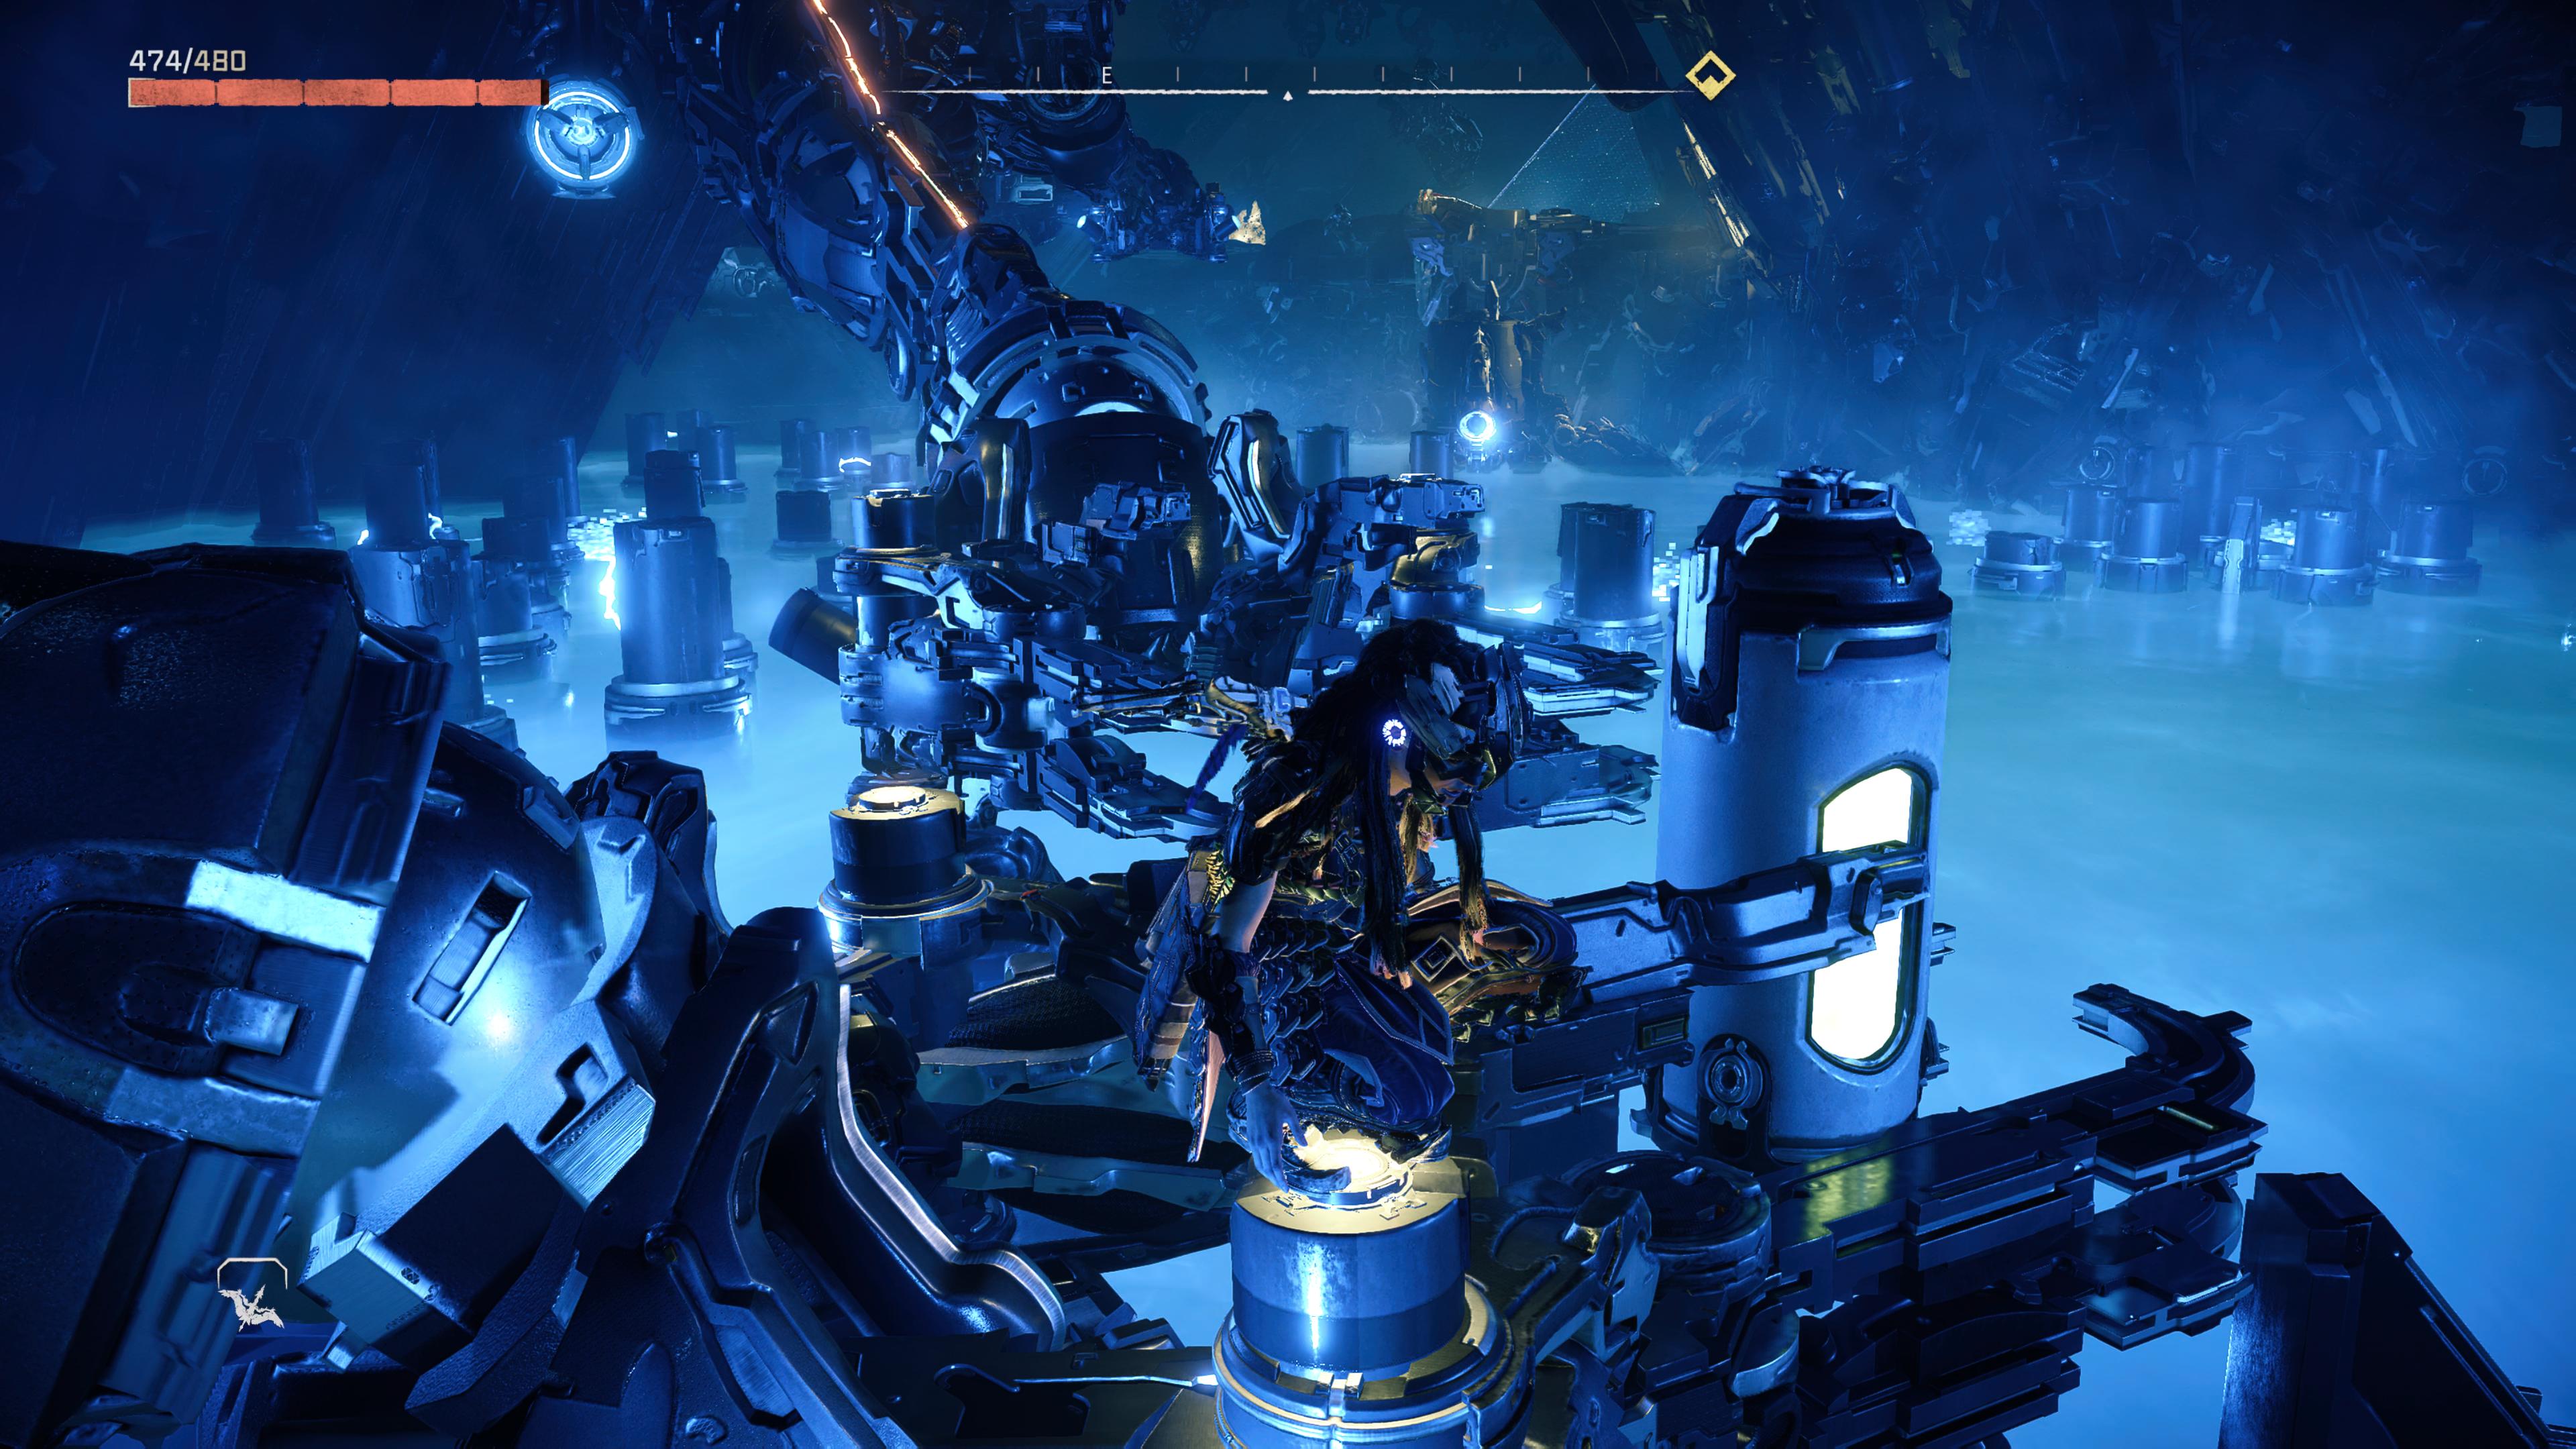
Cauldron MU is one of the more straightforward in the game. This, not unlike TAU, is a fairly bog-standard cauldron. You’ll have to fend off some machines along the way, but it’s nothing too tough if you are around level 18.
There is some tricky business around jumping from big, swinging robot arms that can make for some awkward platforming. That said, it’s fairly straightforward and you should be able to just hop on through.
MU isn’t too hard to find, but it’s also not near any big settlements, so you will have to travel a bit into the wilderness to get to it. It’s located to the southeast of the map, nestled in the mountains to the west of Stone’s Edge.
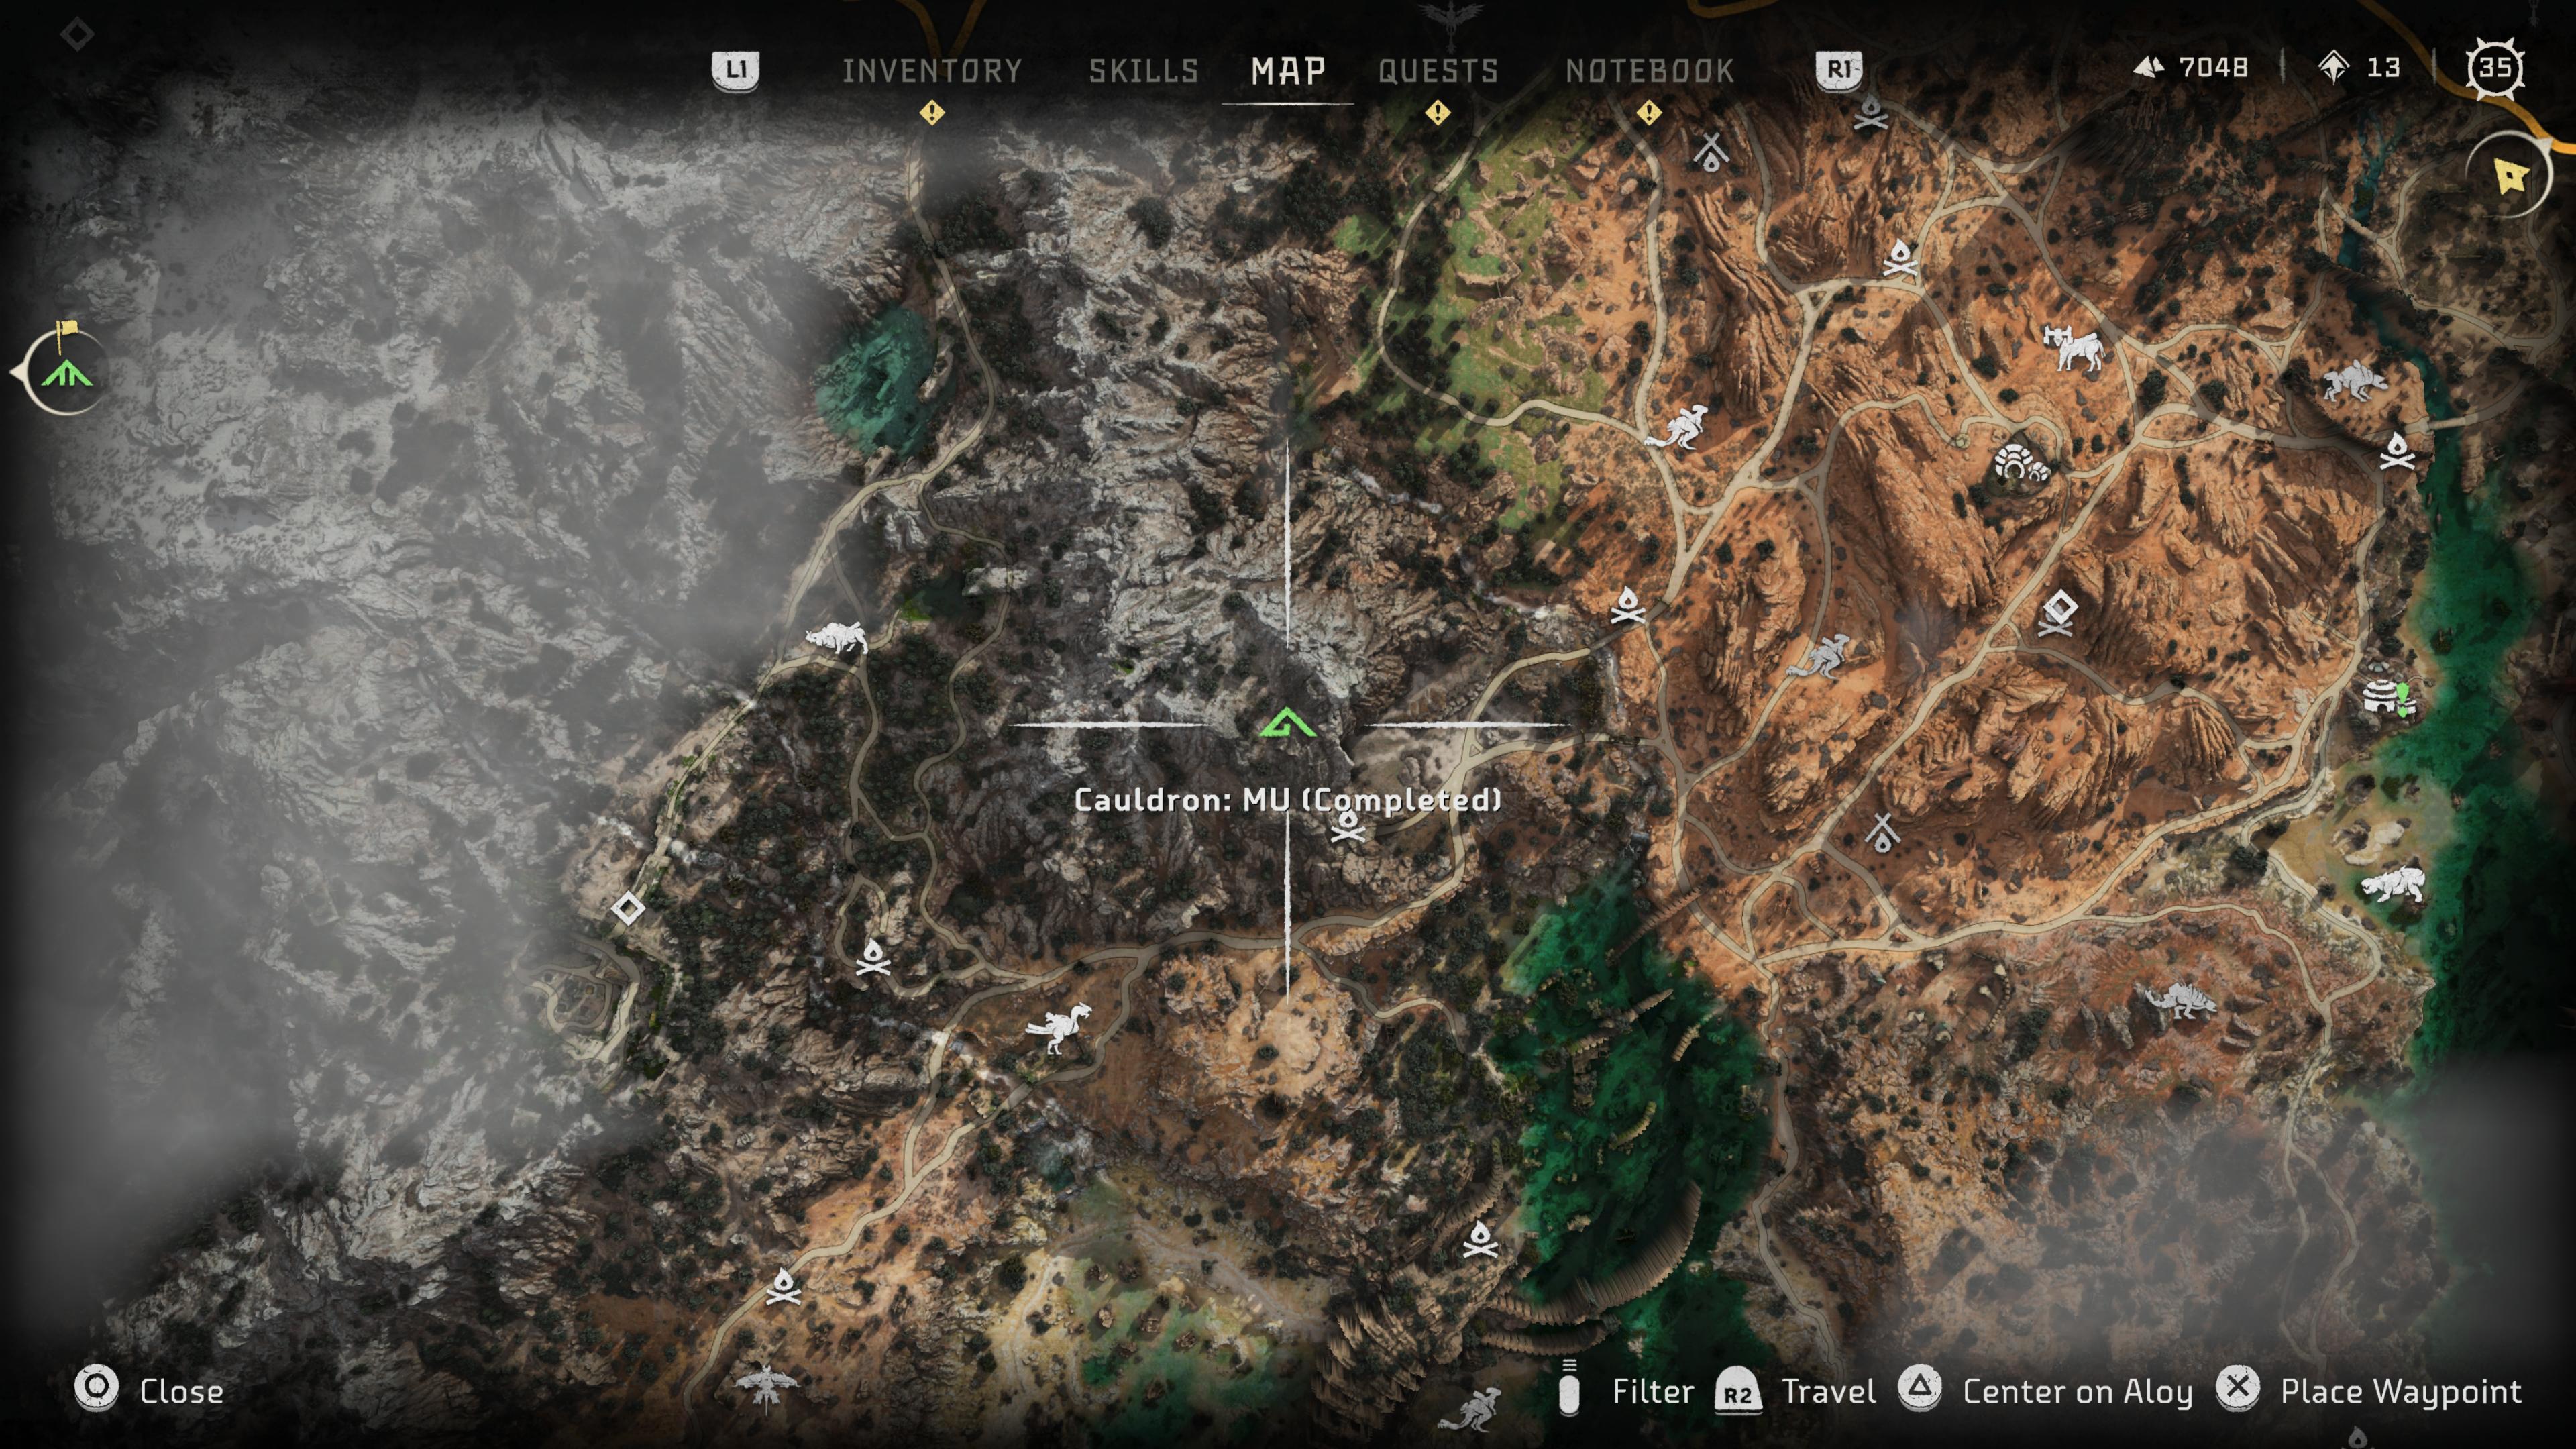
Here are the override codes gained through MU:
- Burrower
- Scrounger
- Fanghorn
Horizon Forbidden West Cauldrons: IOTA - Level 22
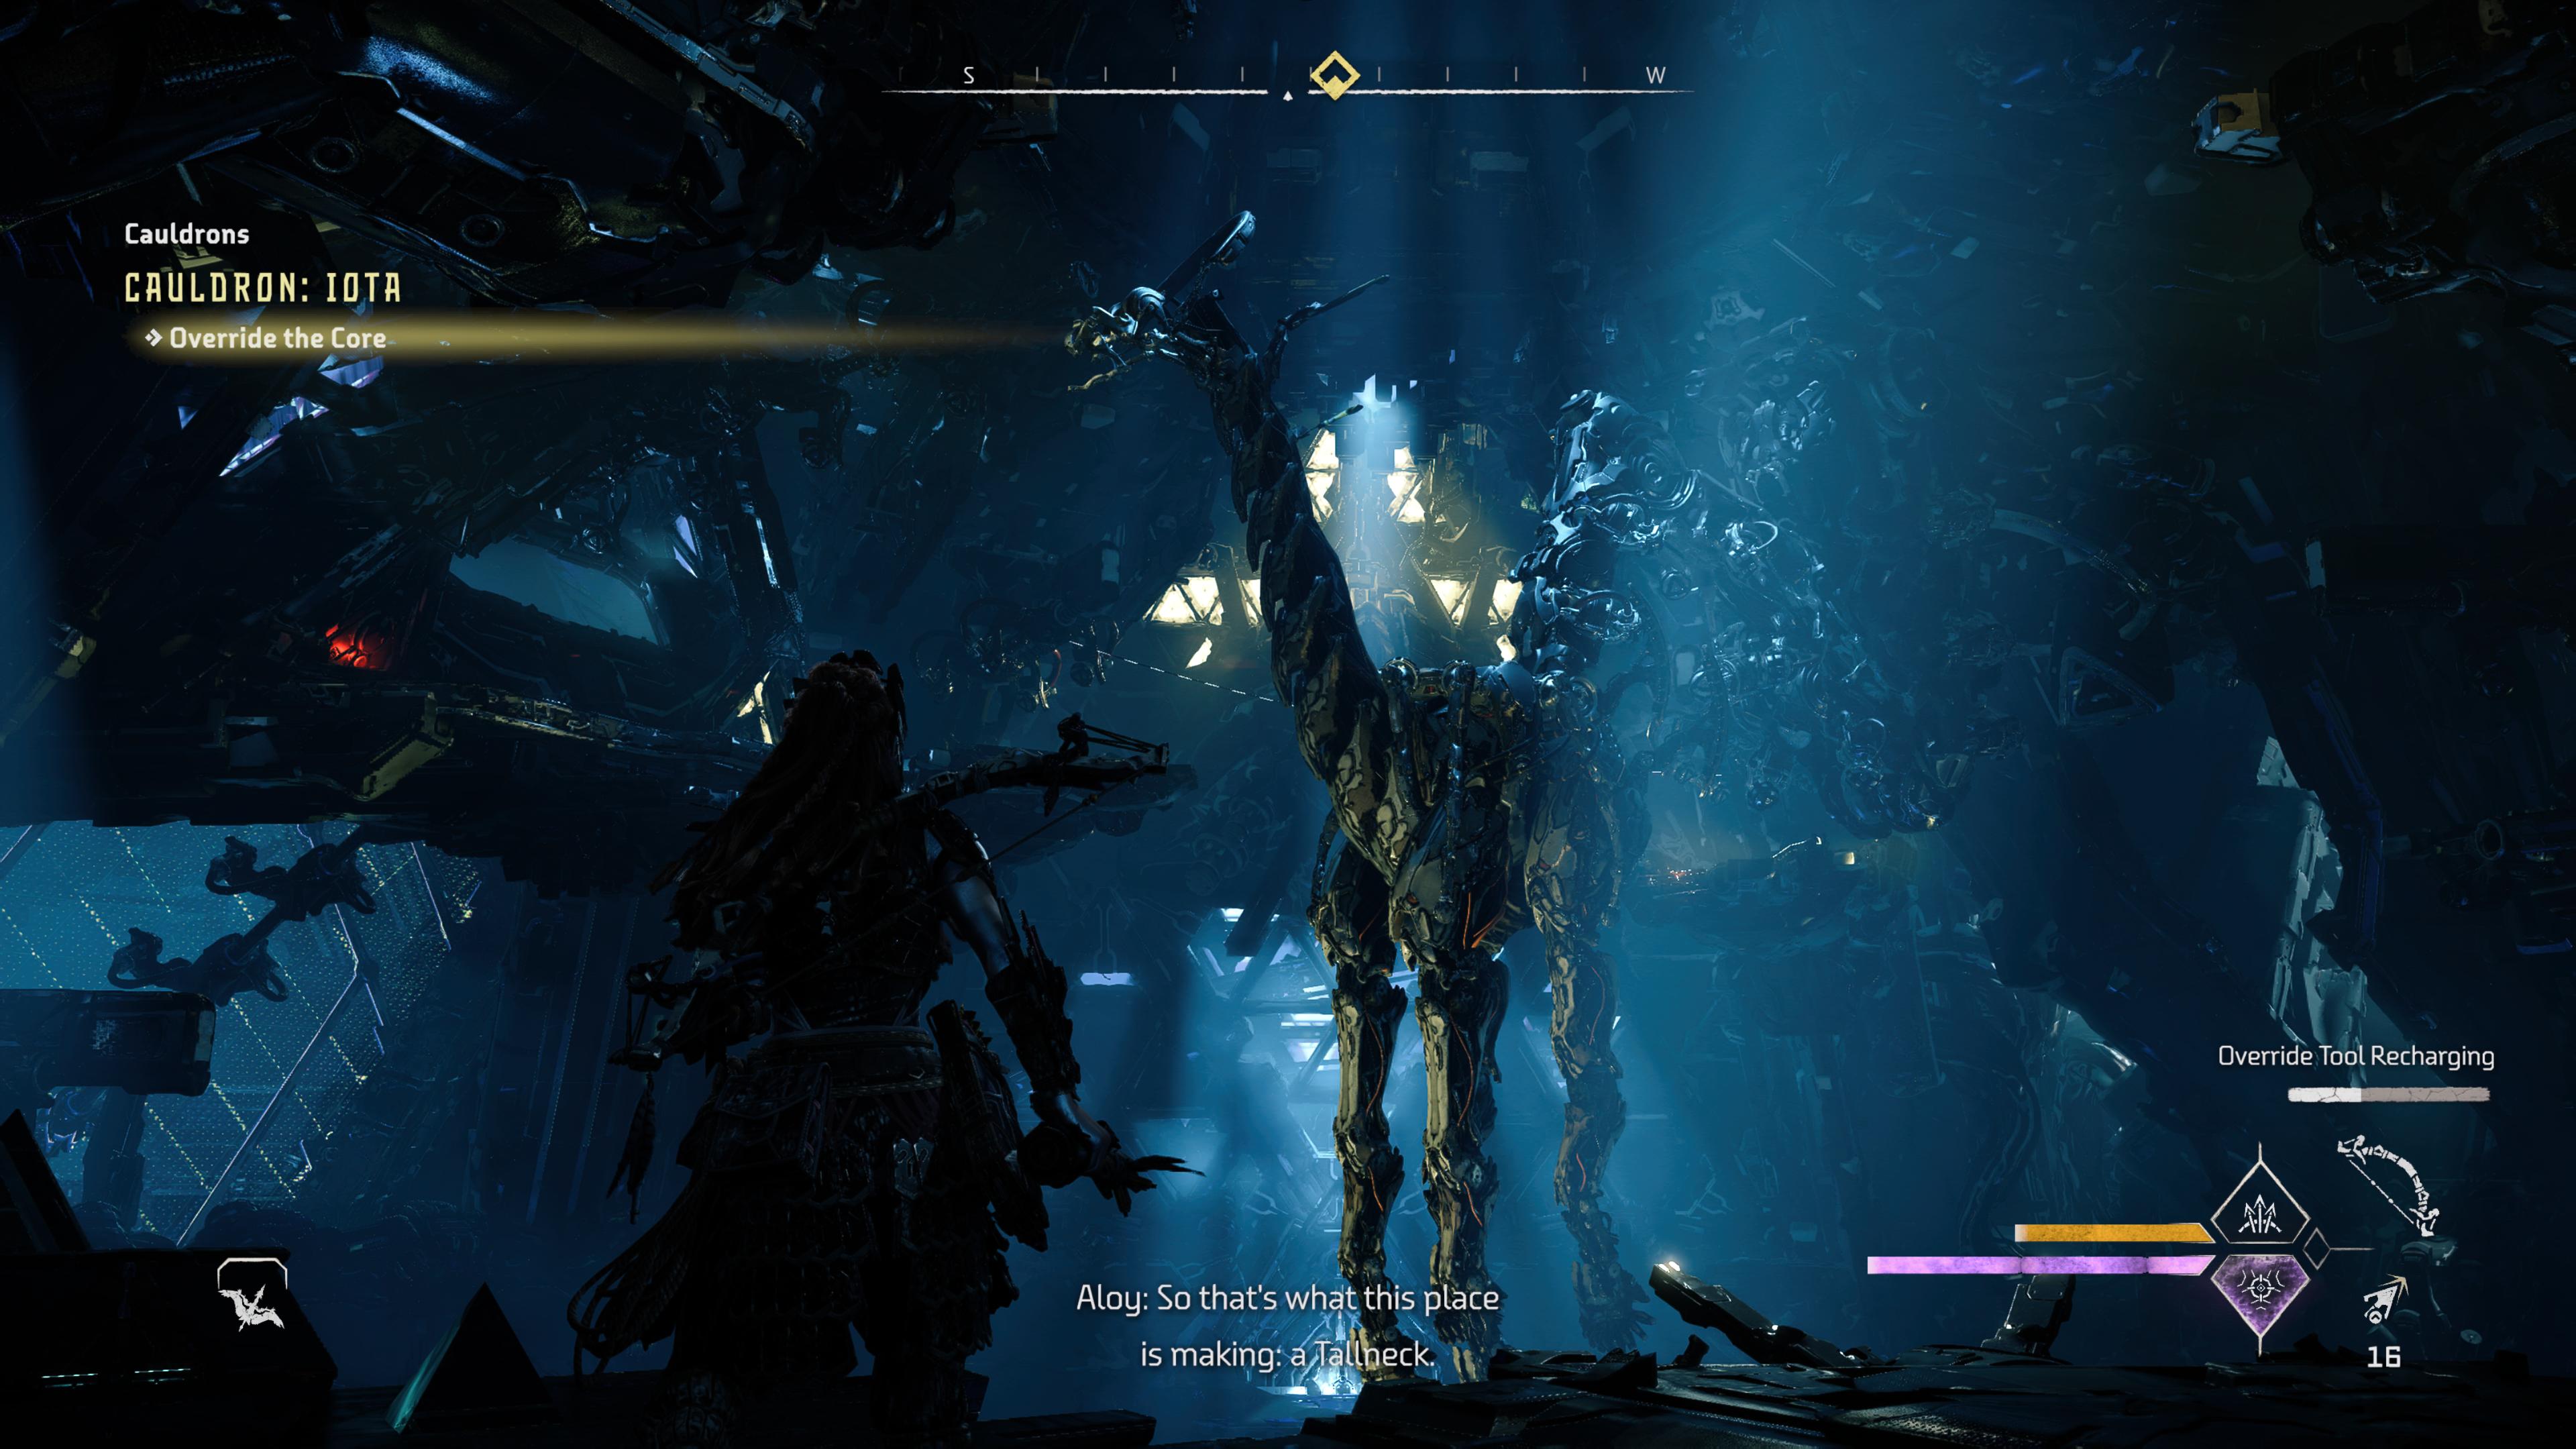
IOTA’s gimmick is a fun one. You’ll notice that the entrance is flat on the ground and you can’t enter. In order to get in, look for a small crevice to the south of the platform. At the end of the rock formation, you'll find a way in.
Once there, you’ll find that a Tallneck is being built but machinery has become jammed. Your job to complete this Cauldron is to try and rebuild the Tallneck. This, as ever, will involve killing some creatures and platforming in order to free the machinery assembling the towering robo-giraffe.
The bonus to finishing this cauldron is that it also opens up a Tallneck to override. If you were wondering where the last one was on your minimap, you found it.
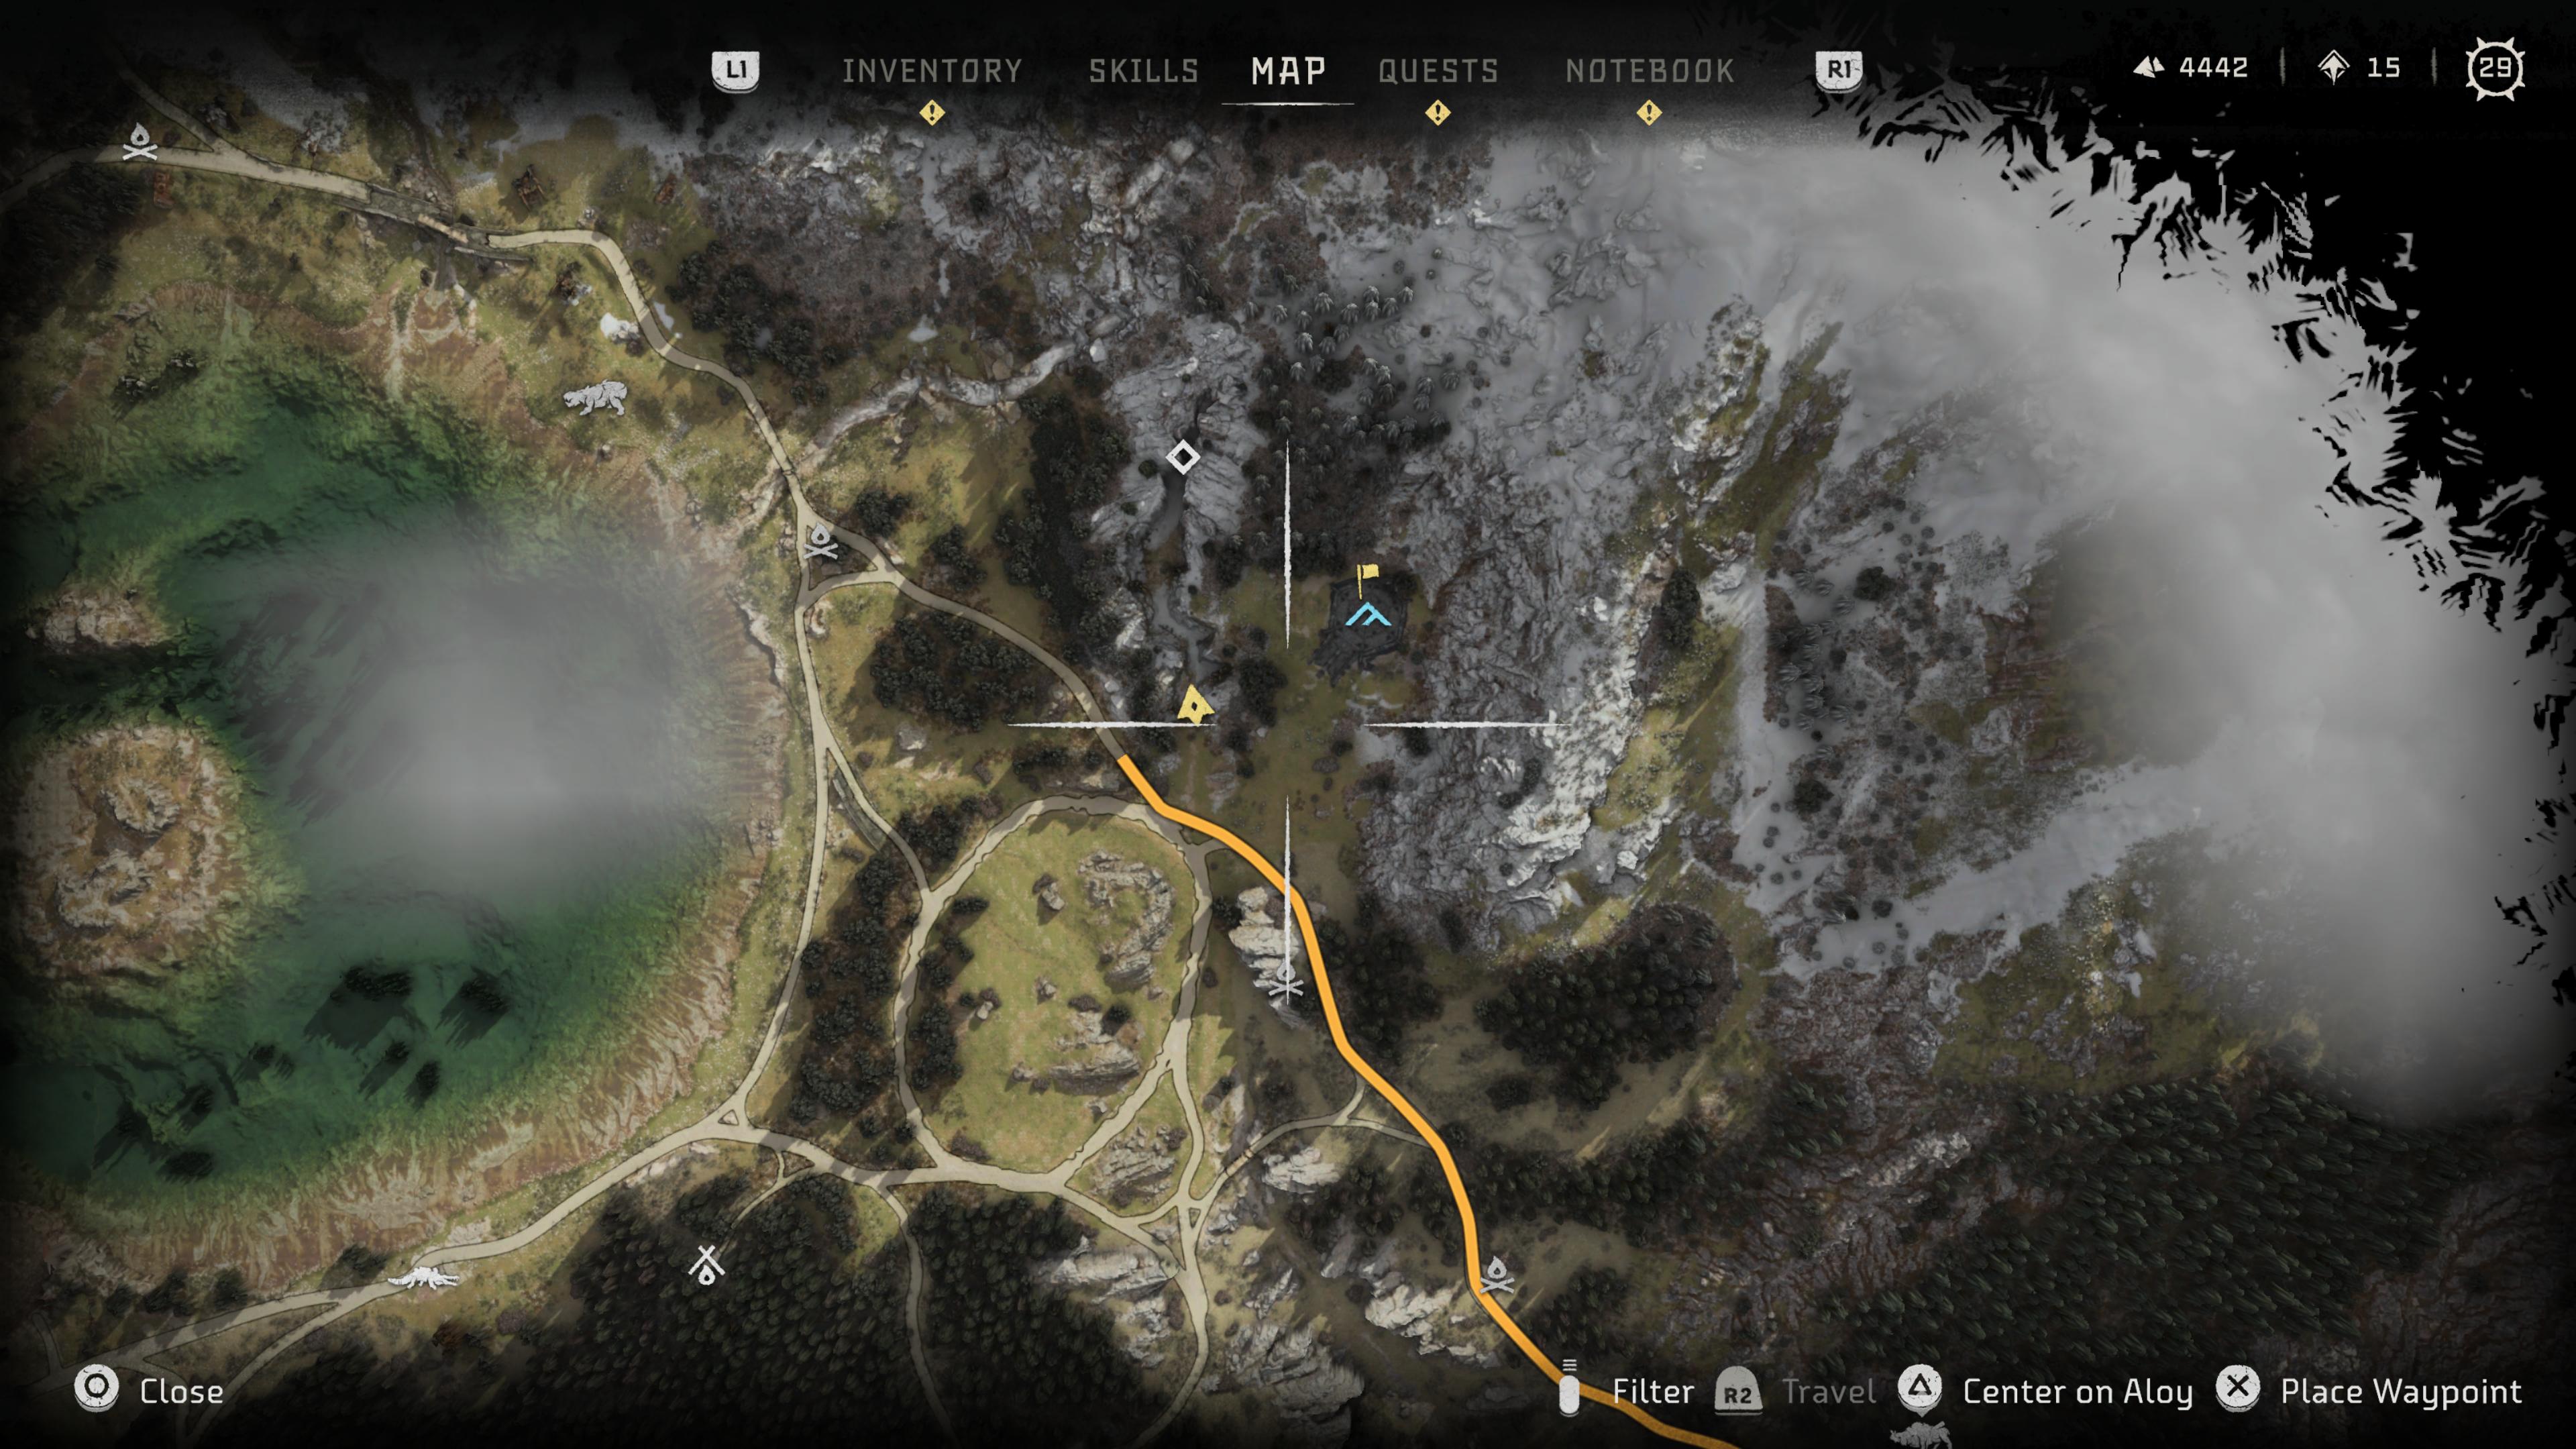
IOTA is the northernmost cauldron. Not a lot of main story missions take place in the area so it can be a little tough to locate. To get there, it's about as middle north of the map as you can get. It’s a little northeast of Salt Bite or directly north of Stalding Spear. If you need further clarification, it’s just east of the circular lake at the top of the map.
With this cauldron, you'll get the following override codes:
- Leaplasher
- Scrapper
- Skydrifter
- Lancehorn
- Longleg
- Clawstrider
- Bellowback
- Glinthawk
- Ravager
- Snapmaw
- Rollerback
Horizon Forbidden West Cauldrons: CHI - Level 30
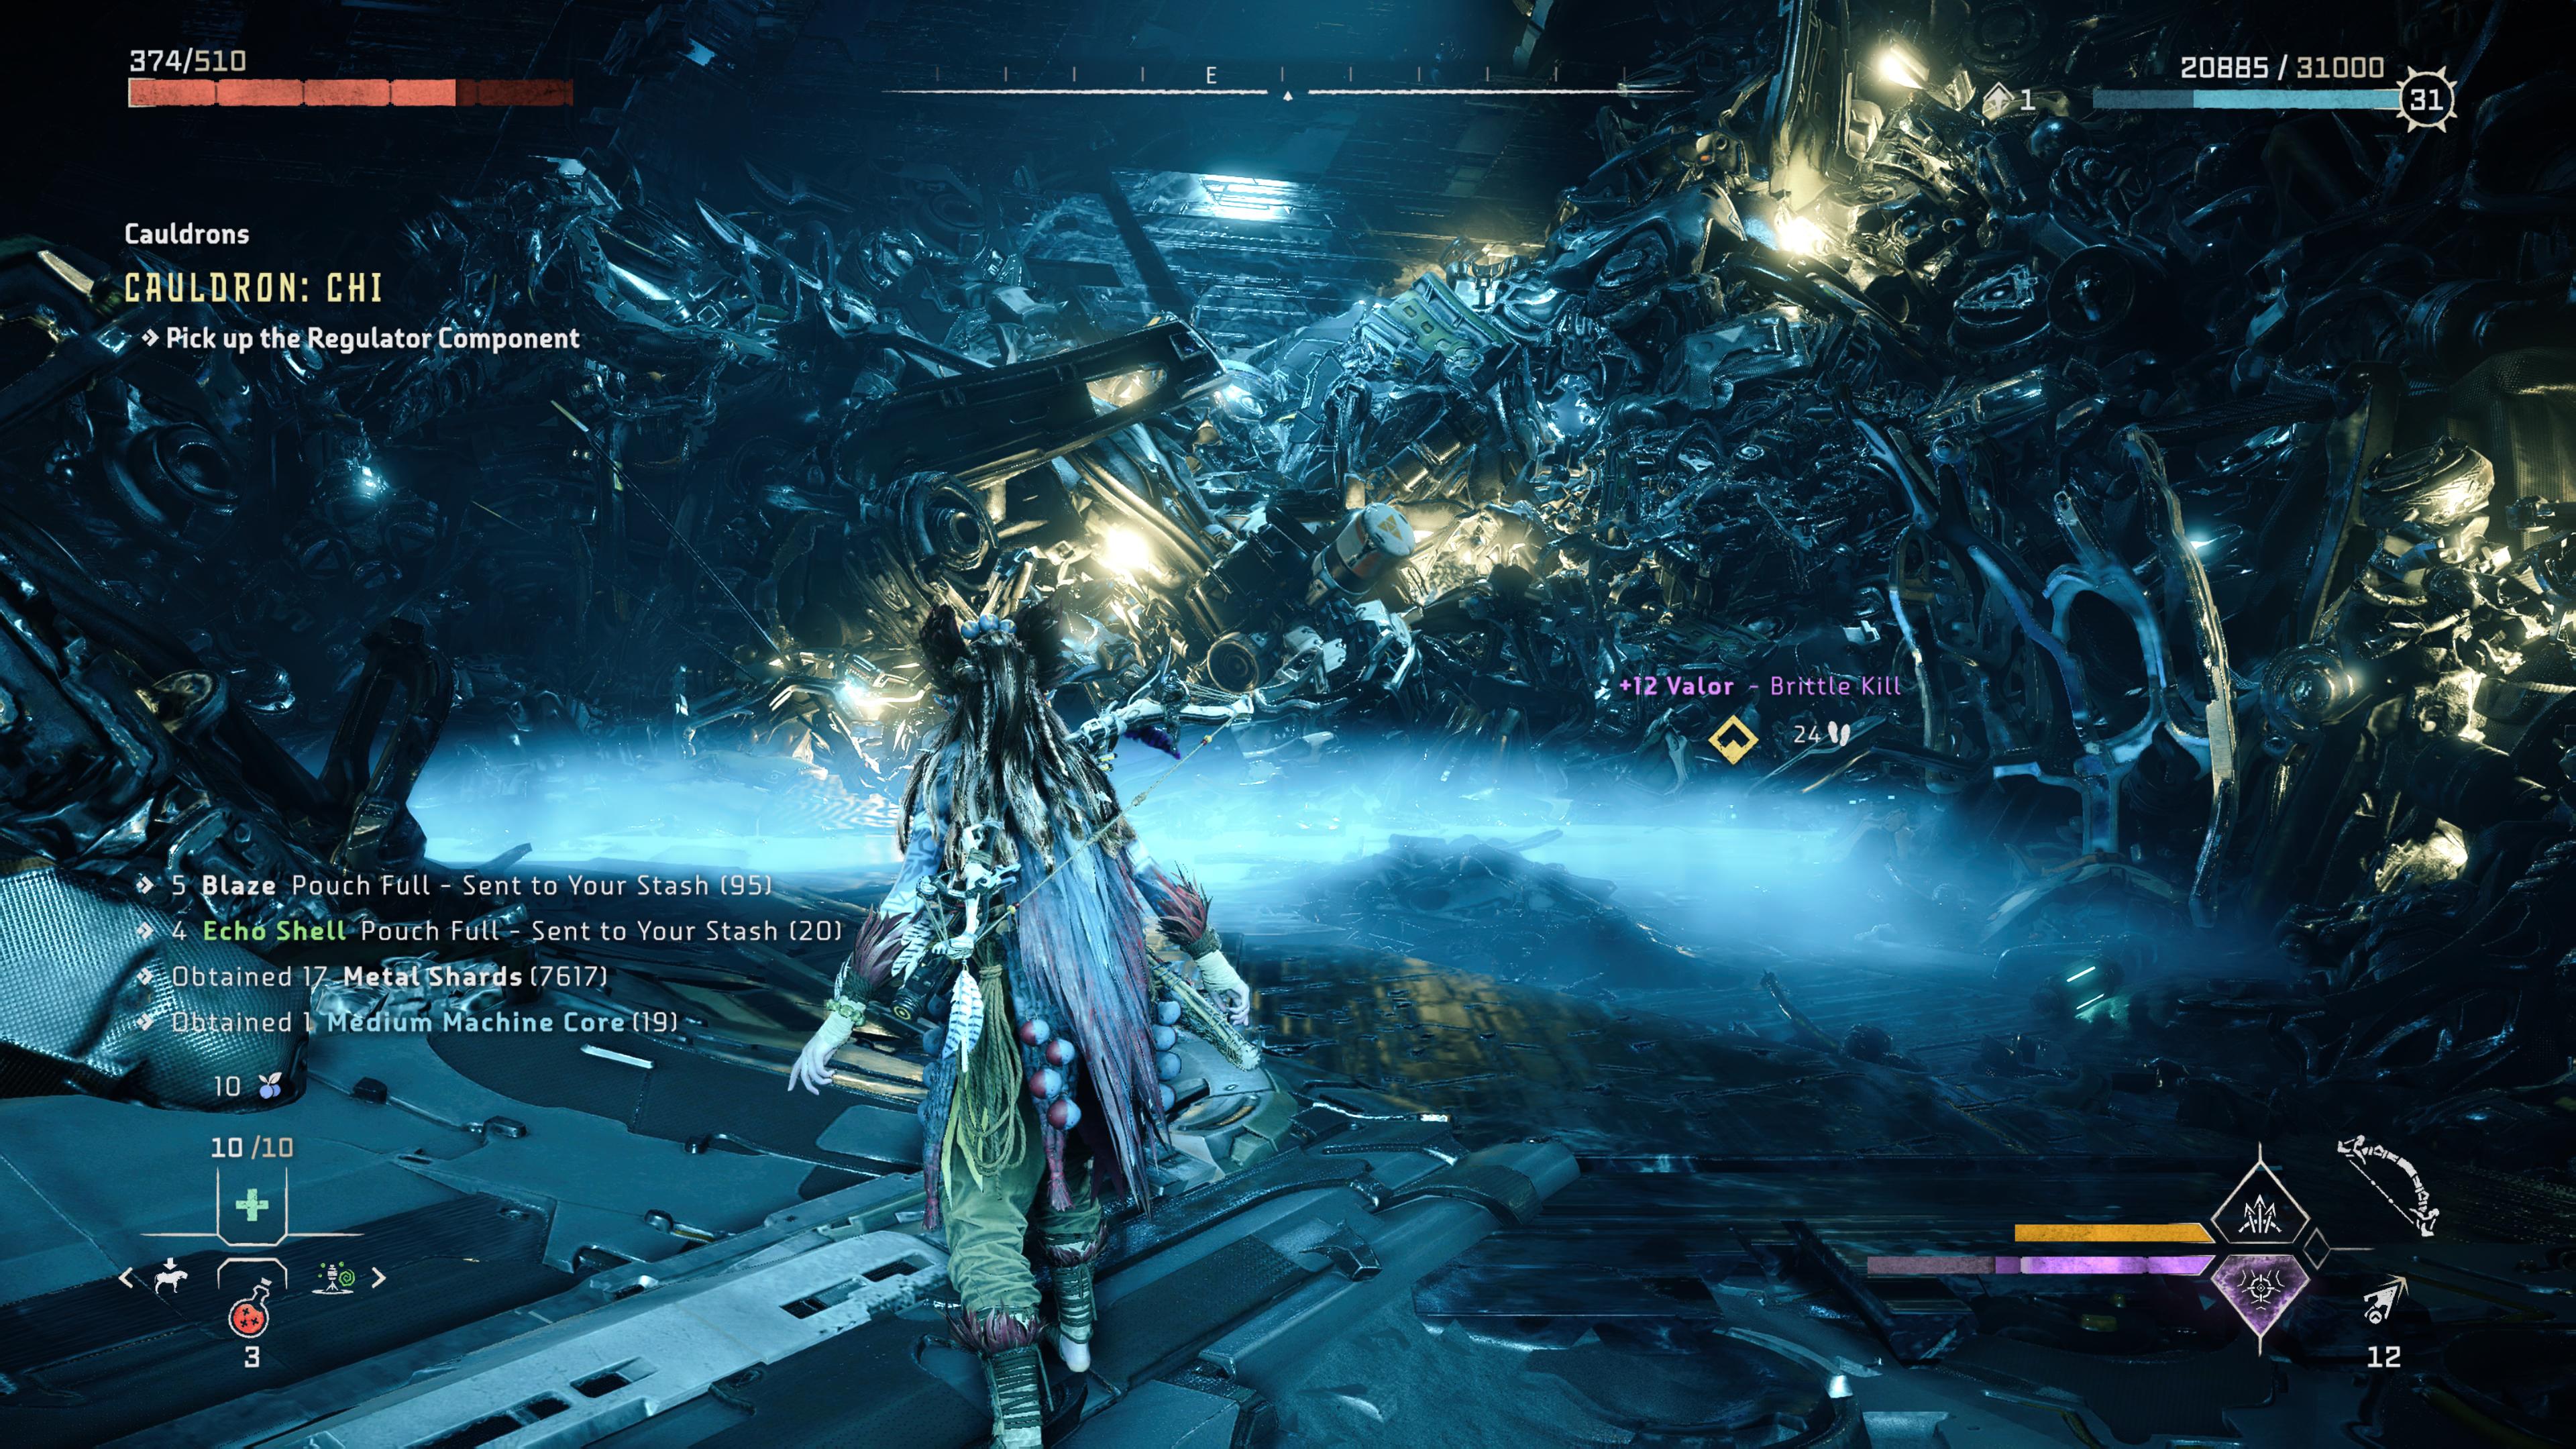
Cauldron CHI has seen better days. This cauldron has largely broken down and is falling apart, bit by bit. You're going to have to navigate this large area, but there's a lot of manual work to be done in here.
You'll notice you can't get into the cauldron as the energy barrier won't let you through the main entrance. In order to find the 'real' entrance, head around the cliff face to your right. There's a small cave opening you can jump into.
The main crux of this cauldron is you need to power it up again. This will require using your Pullcaster a lot to force out nodes to make climbing routes. Eventually, you'll find the core you need, but you're not done. It's missing a battery. You need to leave the area to locate the battery, and even once you find it, you need to escort it back to the core.
It can feel a lot of busywork, but there's some fun puzzle solving around how to get the battery back to where it needs to be.
Oh, and also, there's a pretty tough boss at the end.
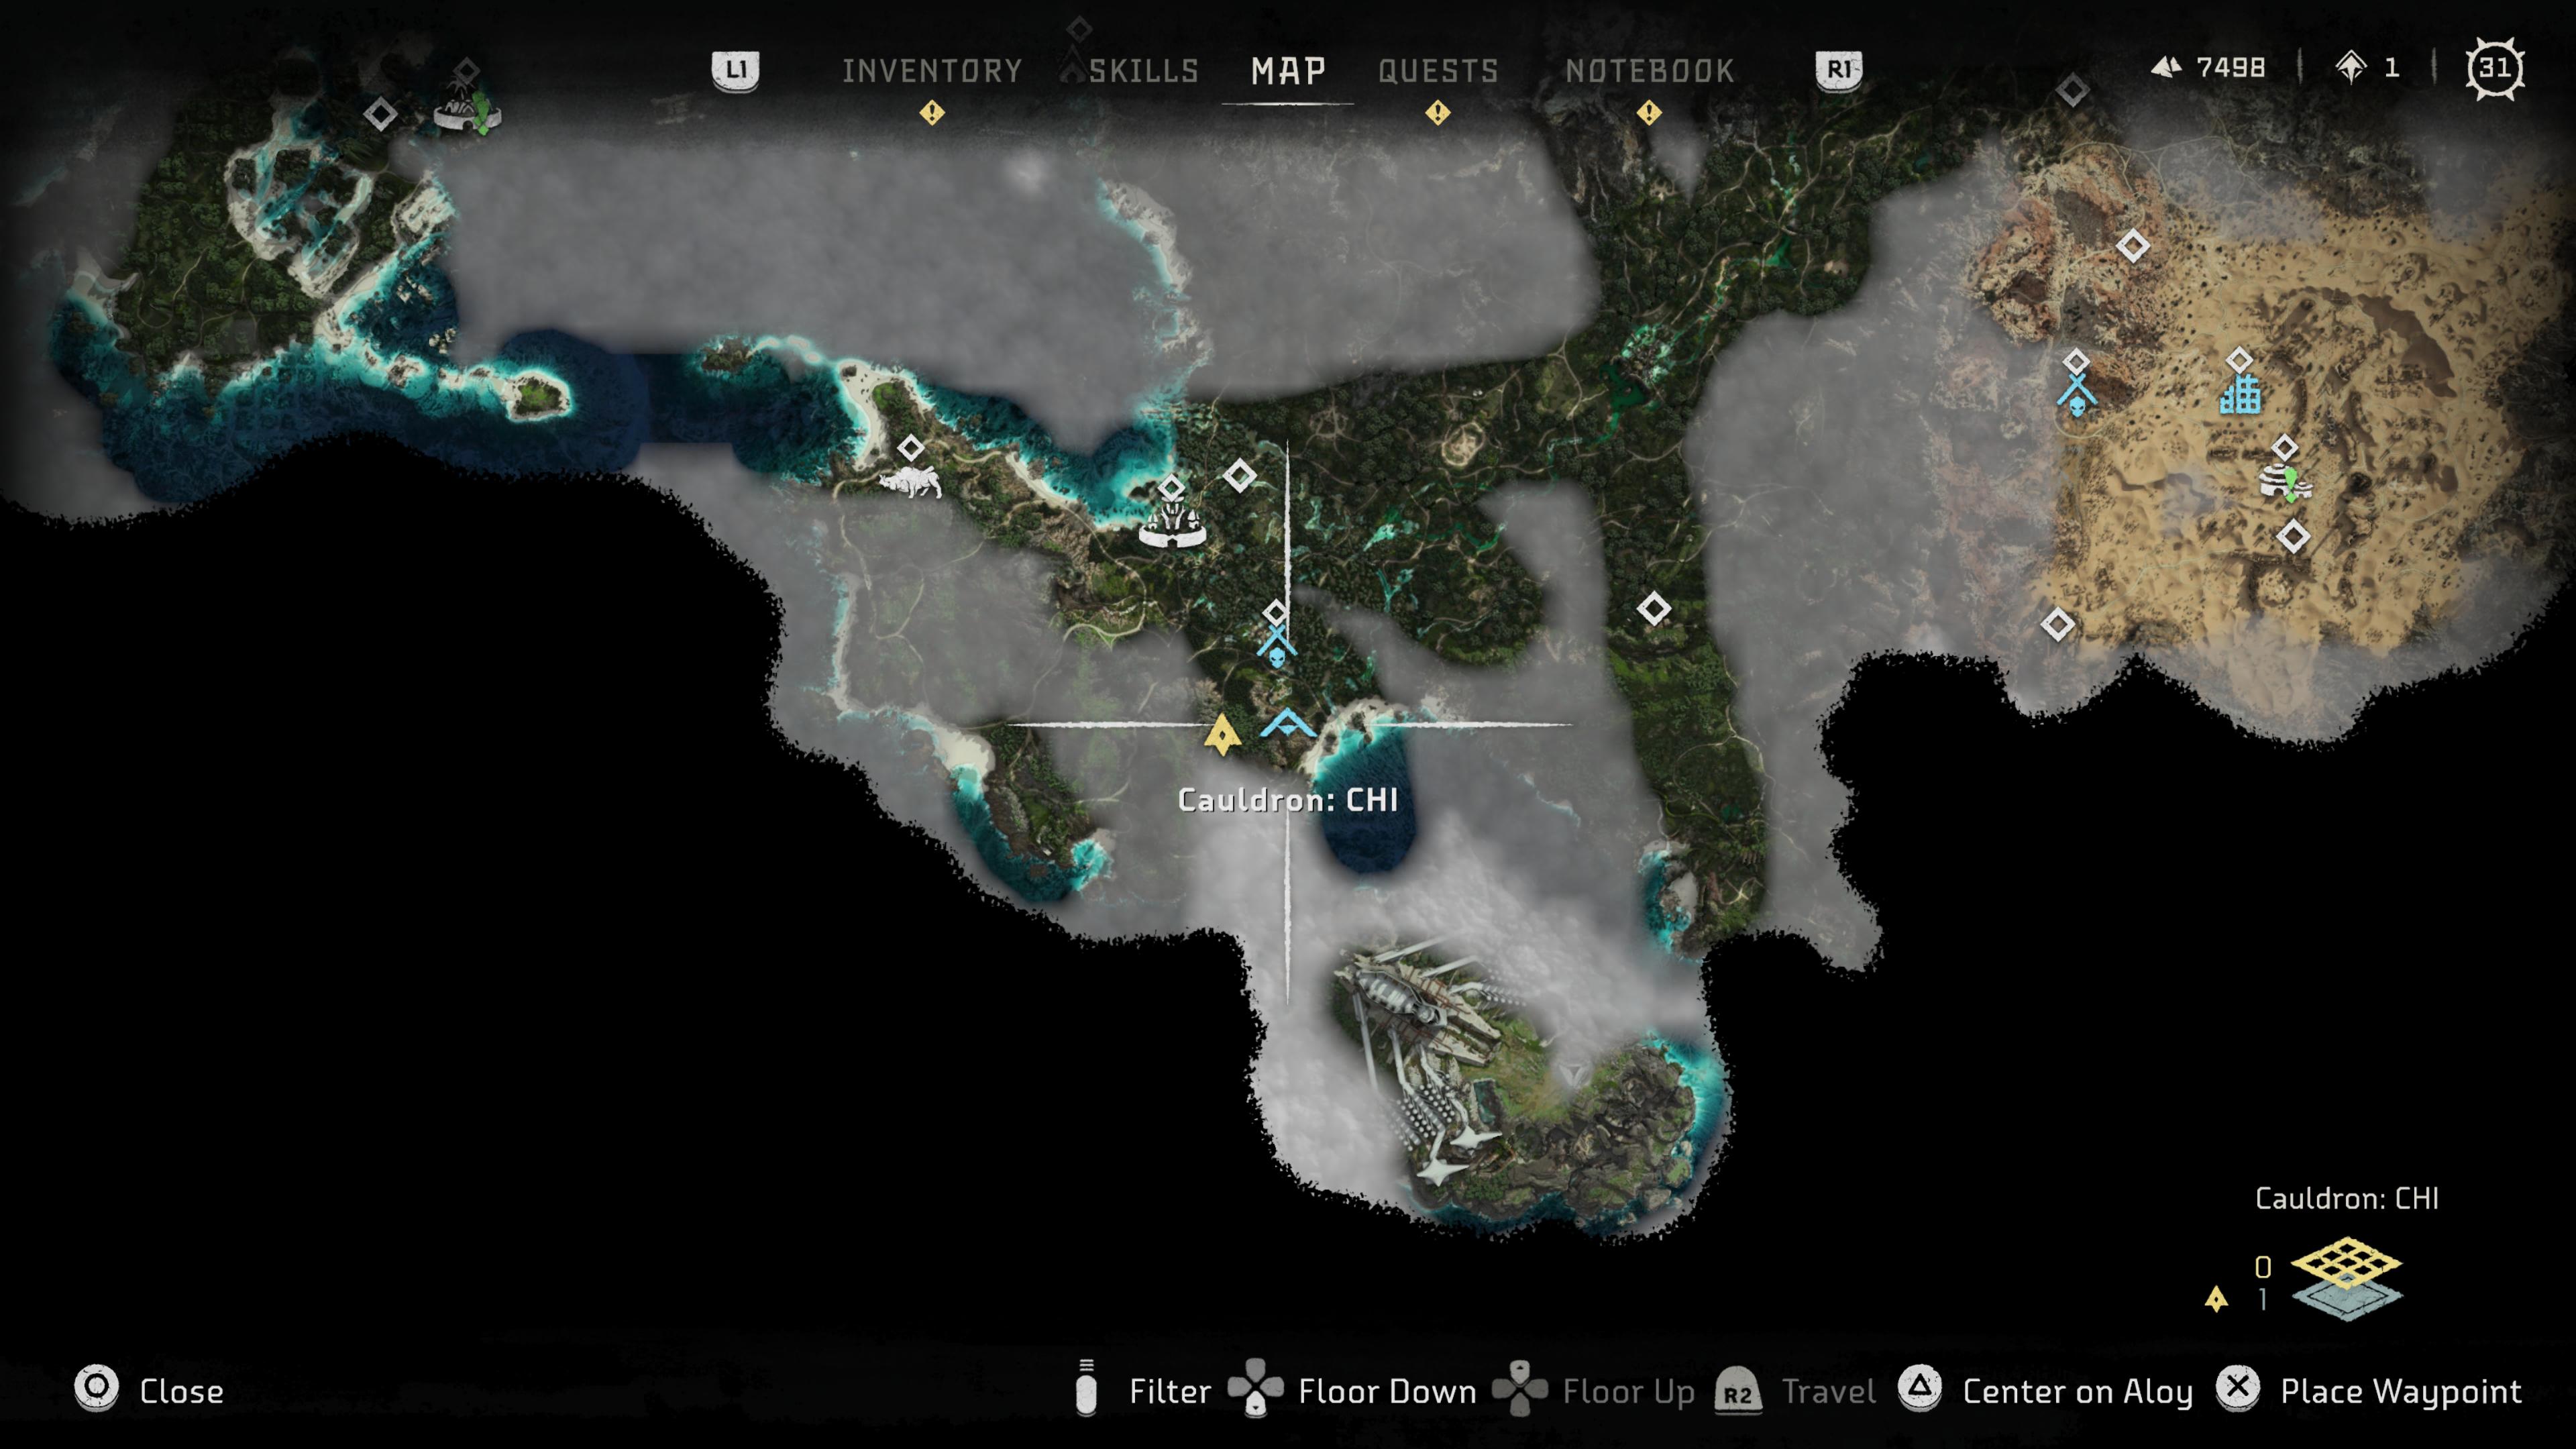
Cauldron CHI is far south on the map, in and among the jungle area. It's about as southwest of the map as possible (excluding San Francisco). If you can locate Thornmarsh just travel southeast. It's on the coast of the main island, just off a beach.
Here are the ascribed cauldron override codes for CHI:
- Spikesnout
- Redeye Watcher
- Shell-Walker
- Stalker
- Clamberjaw
- Behemoth
- Shellsnapper
- Frostclaw
- Scorcher
Horizon Forbidden West Cauldrons: GEMINI - Level 30
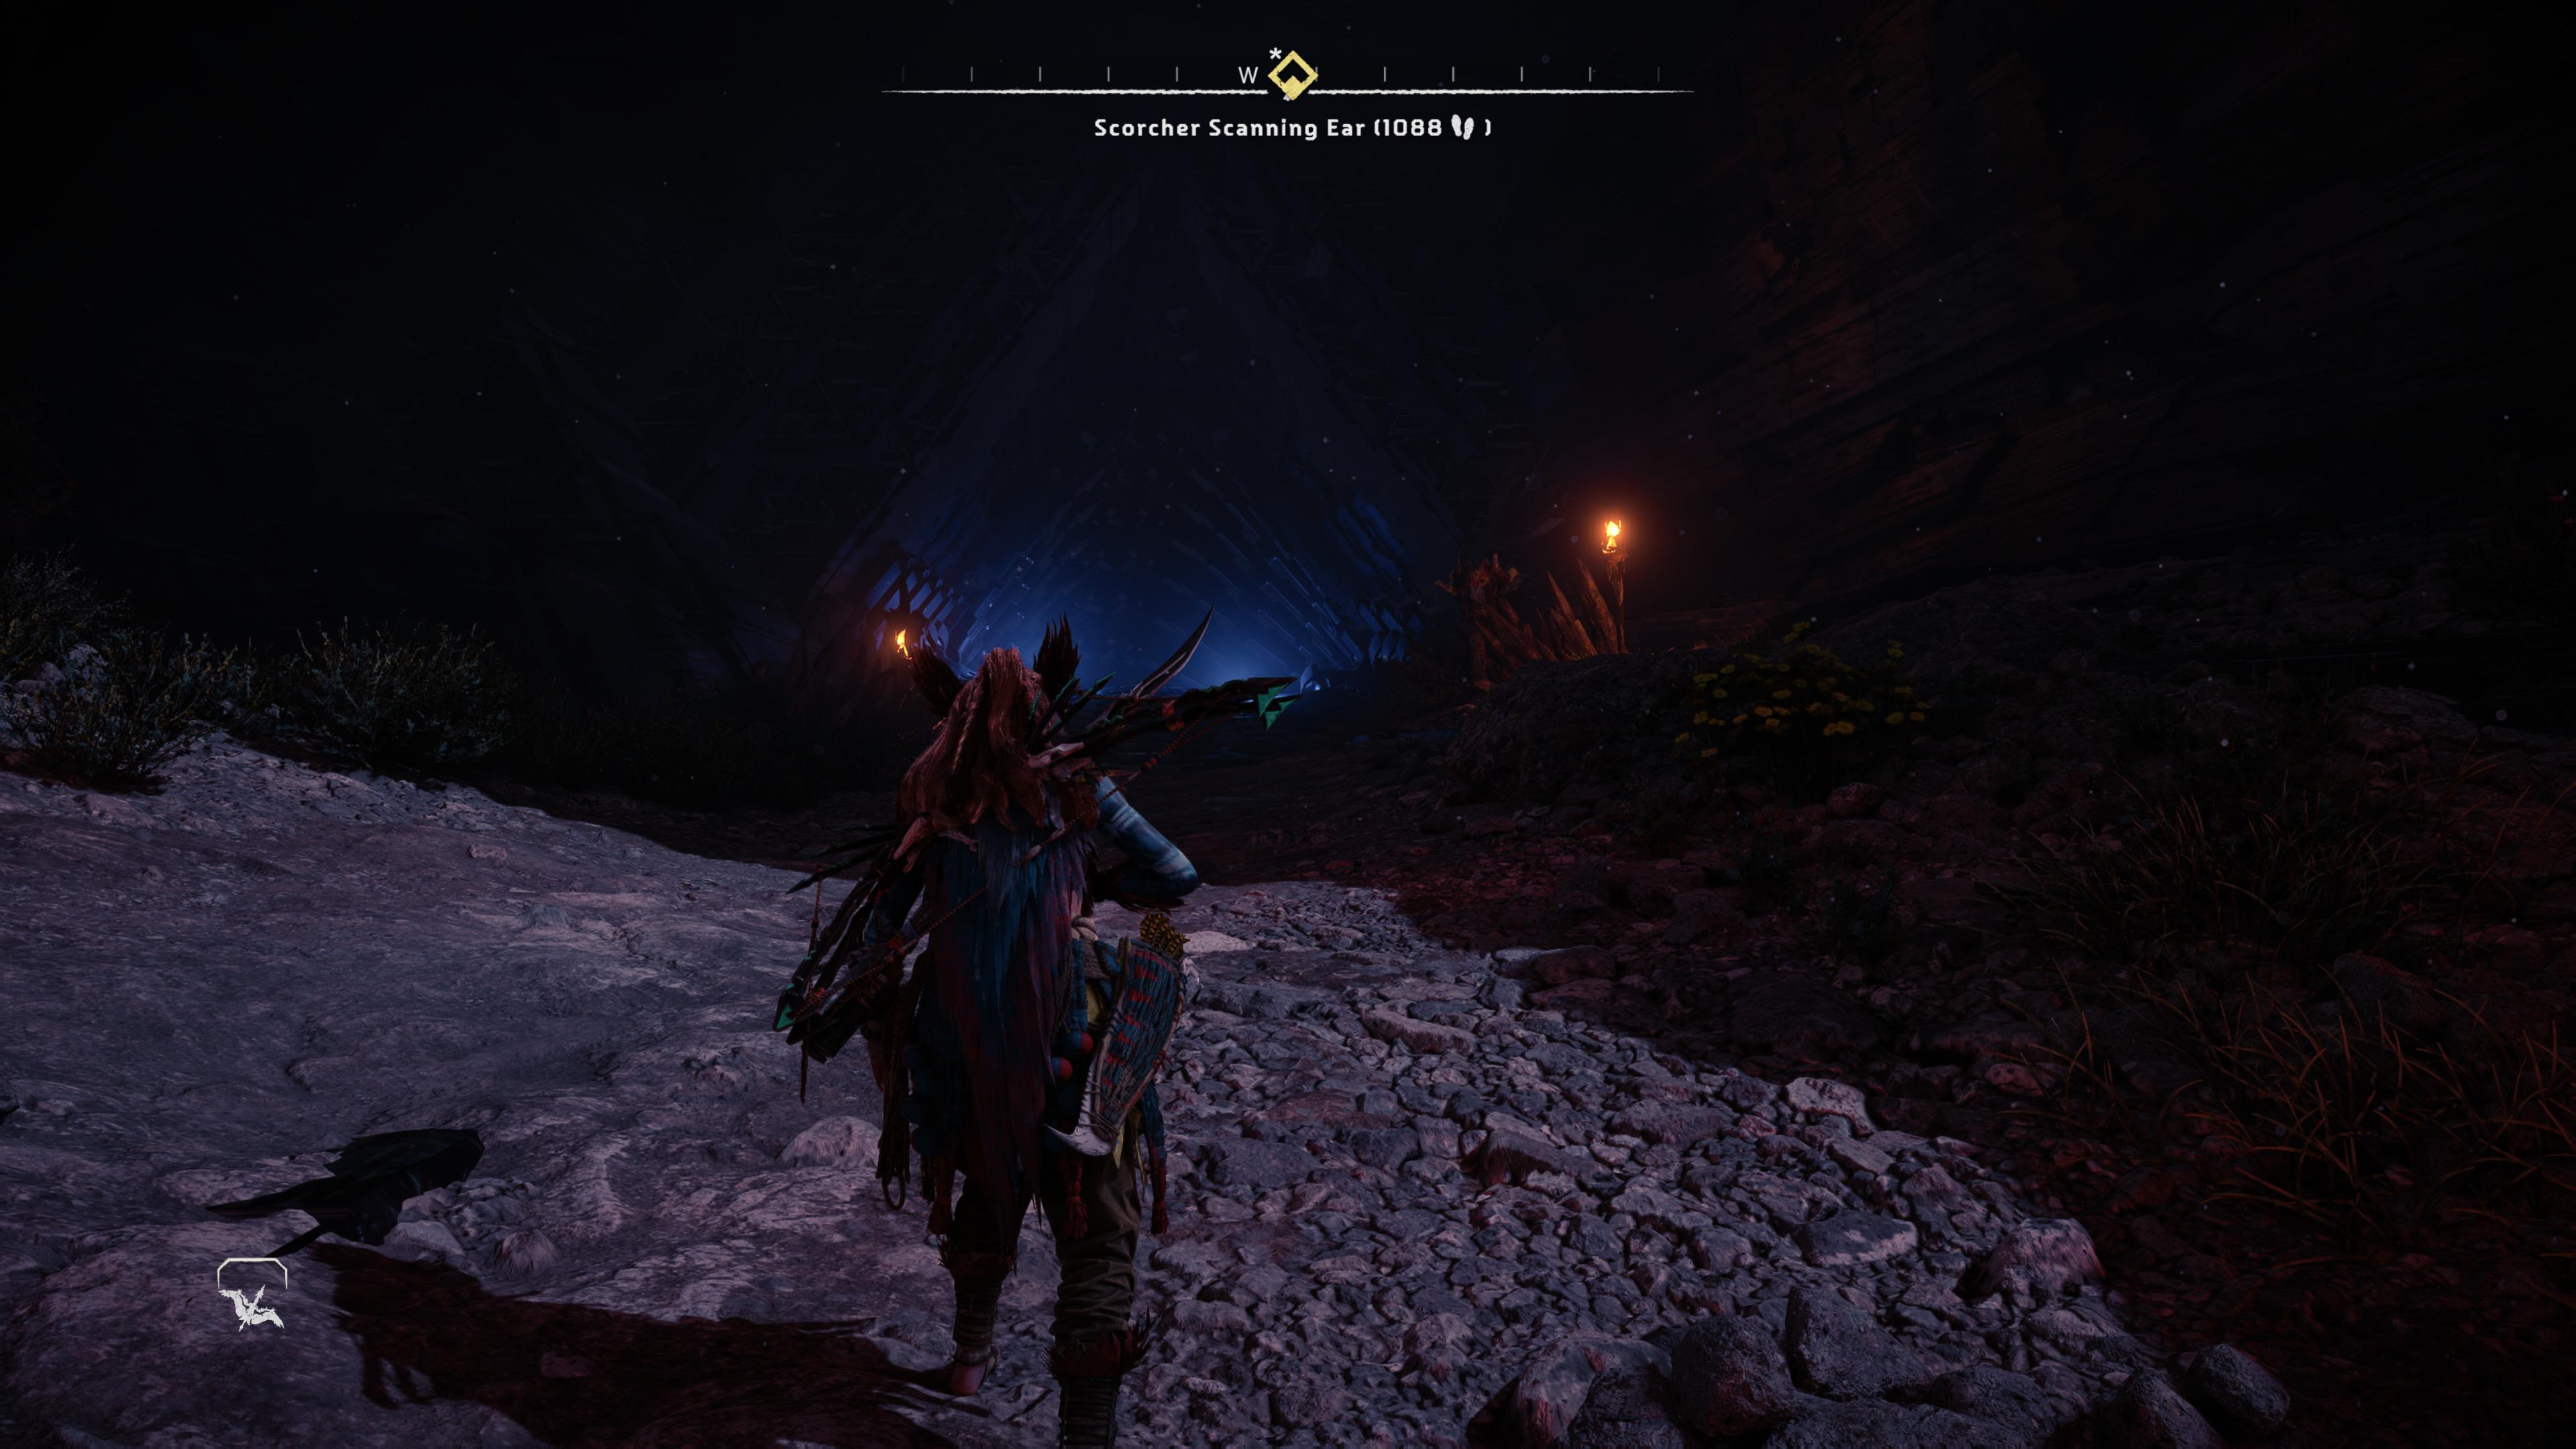
Cauldron GEMINI, like Cauldron TAU, is part of a story mission. Without going into many spoilers, as it comes at a critical moment in the latter half of the game, it involves two cores.
The mission, Gemini, has a recommended level of 30, so it's pretty tough if you've been beelining the main story quests. It largely involves moving around the massive chamber and locking off various areas in order to isolate the core. That said, it has probably the most useful override in the whole game, so you have that to look forward to.
You'll be directed to the cauldron through the main story so you shouldn't need to seek it out. But just for reference: Cauldron GEMINI is right in the middle of the map. It's about as central as anything in the game. It's just west of the Scalding Spear settlement.
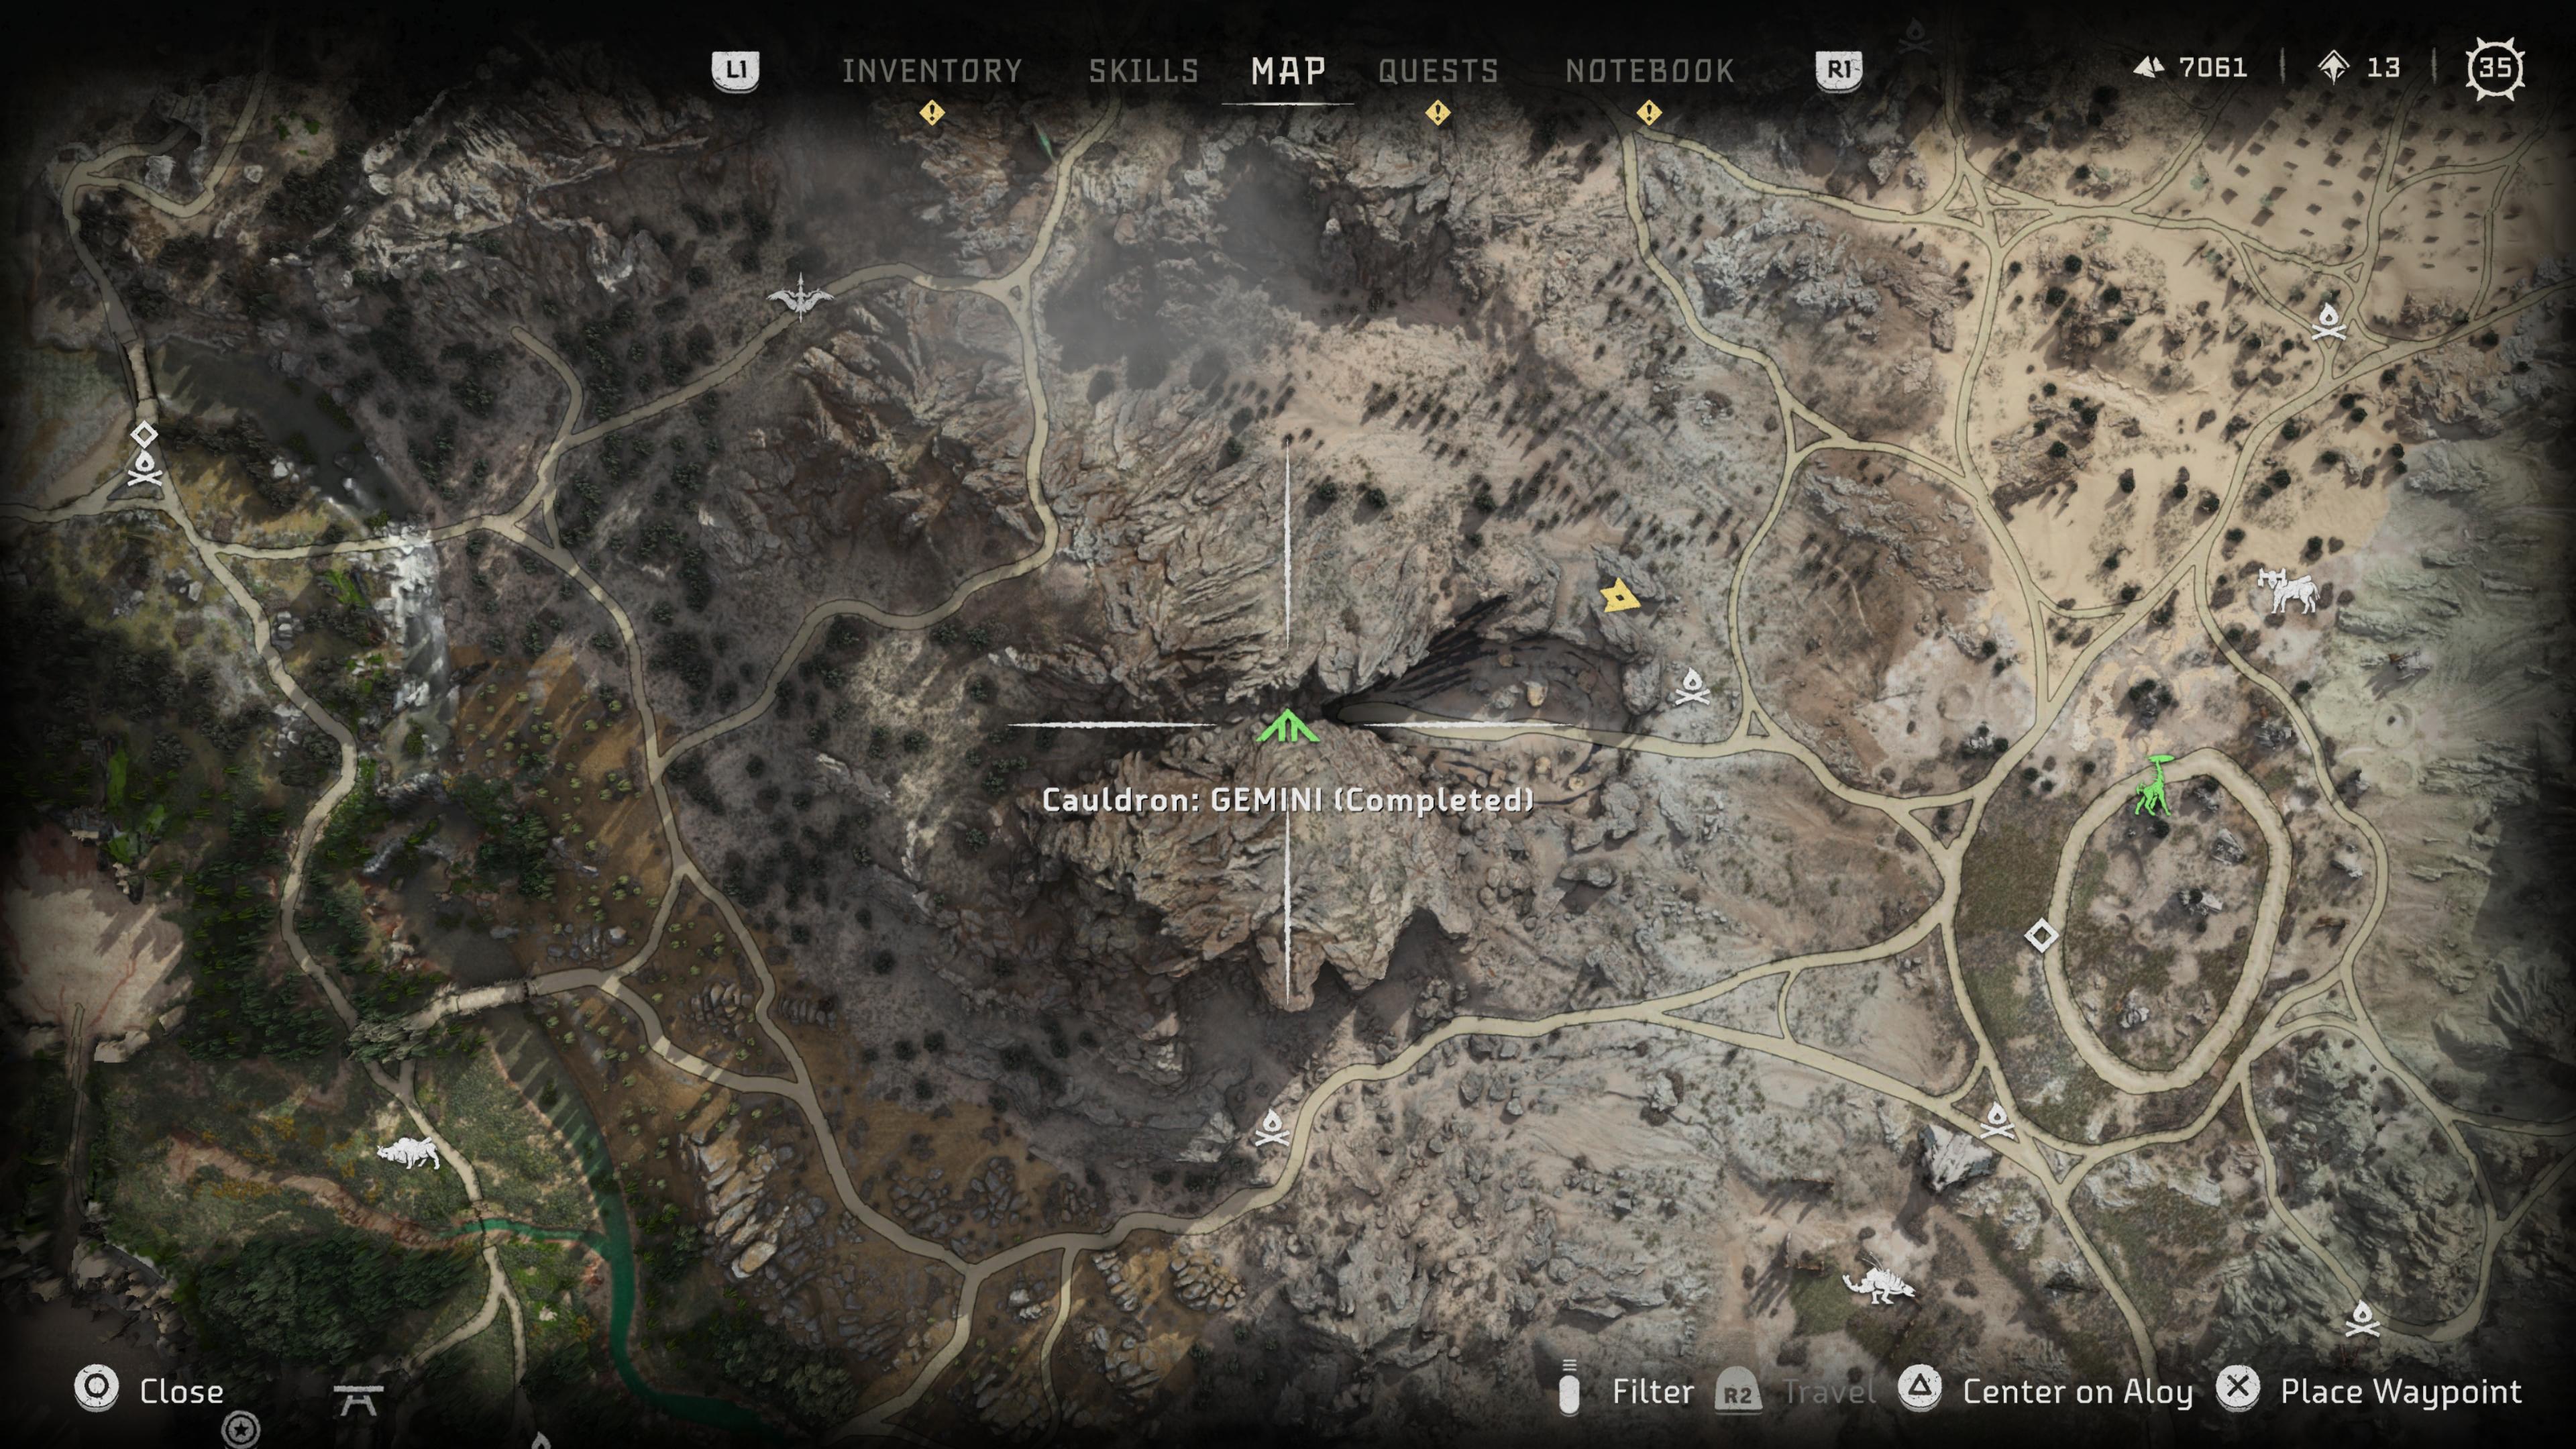
The override code you get from GEMINI is:
- Sunwing
Horizon Forbidden West Cauldrons: KAPPA - Level 40
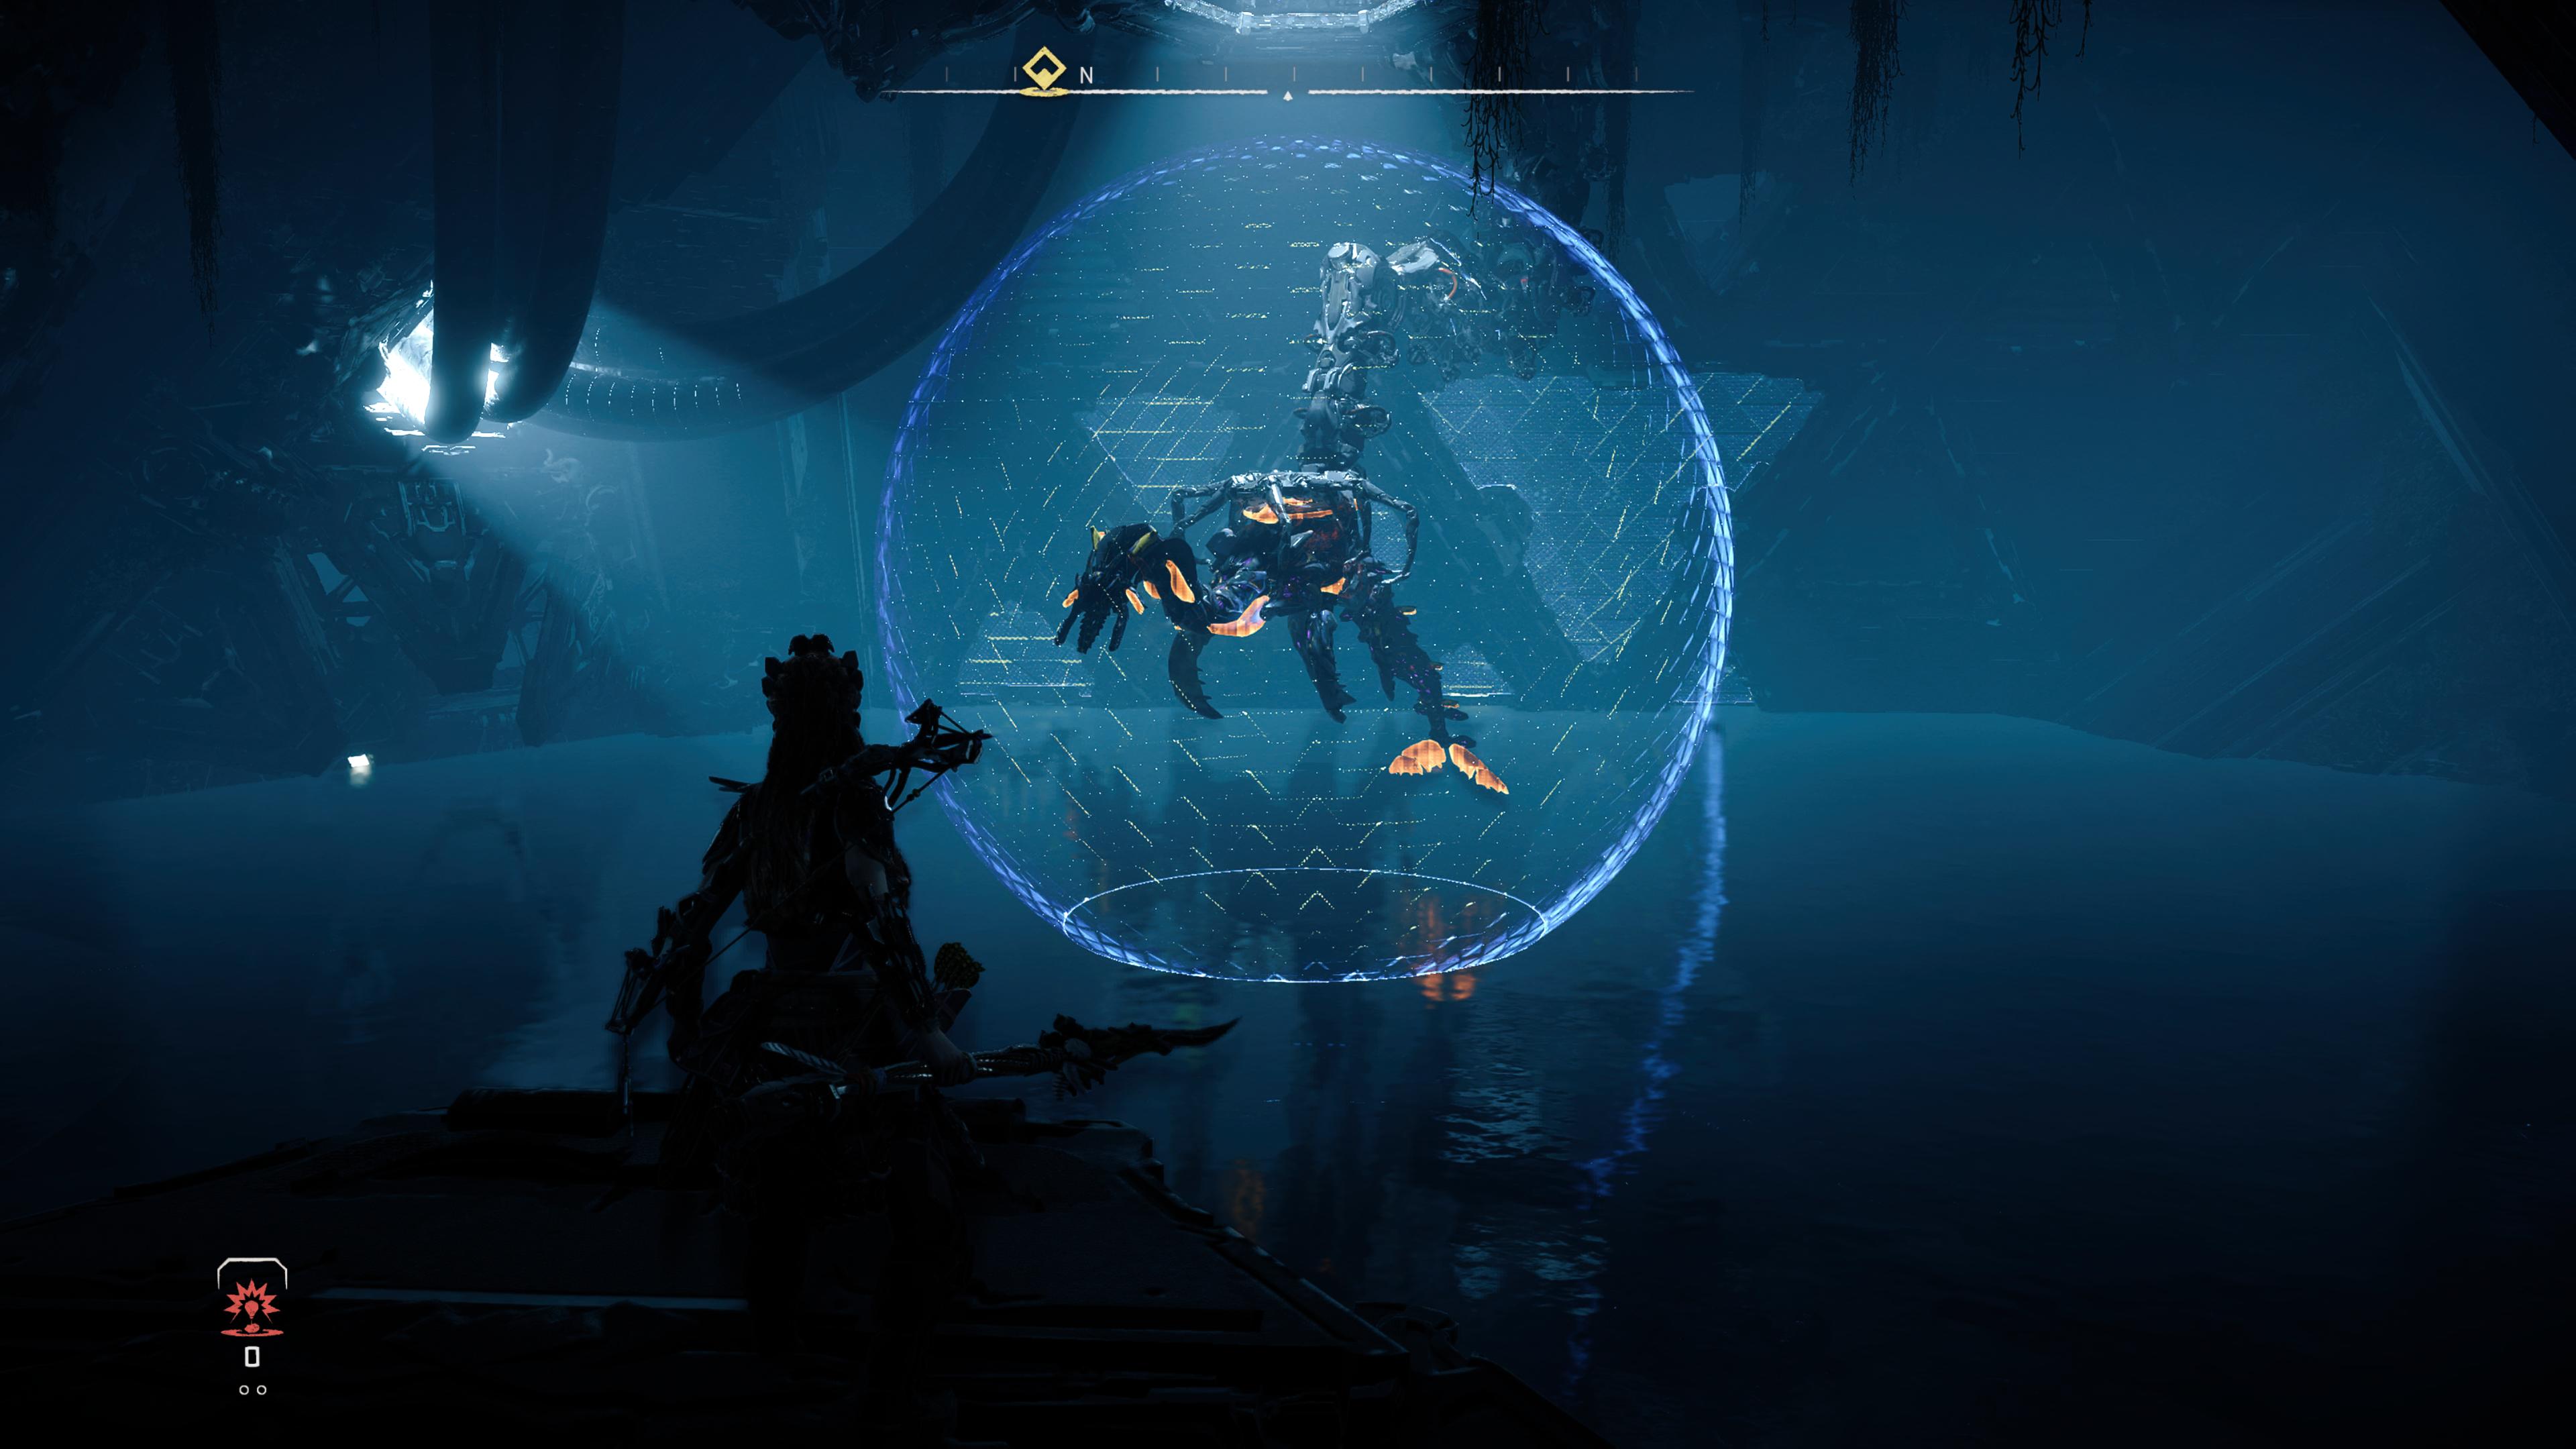
Cauldron KAPPA is the hardest cauldron you'll find. That's largely to do with it being recommended at a whopping level 40. Even after you finish the main campaign you may find yourself under-leveled.
However, the cauldron is also no joke on its own either, featuring some of the hardest puzzle platforming the game has to offer. You have to swim into this Cauldron (you'll need the Diving Mask to complete this), which does set the tone.
You'll be swimming a lot to get around and manipulating water is key to getting through this. Raising and lowering surface levels is part of trying to navigate the cauldron and reactiving that core.
Kappa is tucked away in the northwest of the main island. In order to find it on your map, just head west of The Bulwark. It's in a little bay up there as the map moves from a more snowy mountain setting to a more tropical one.
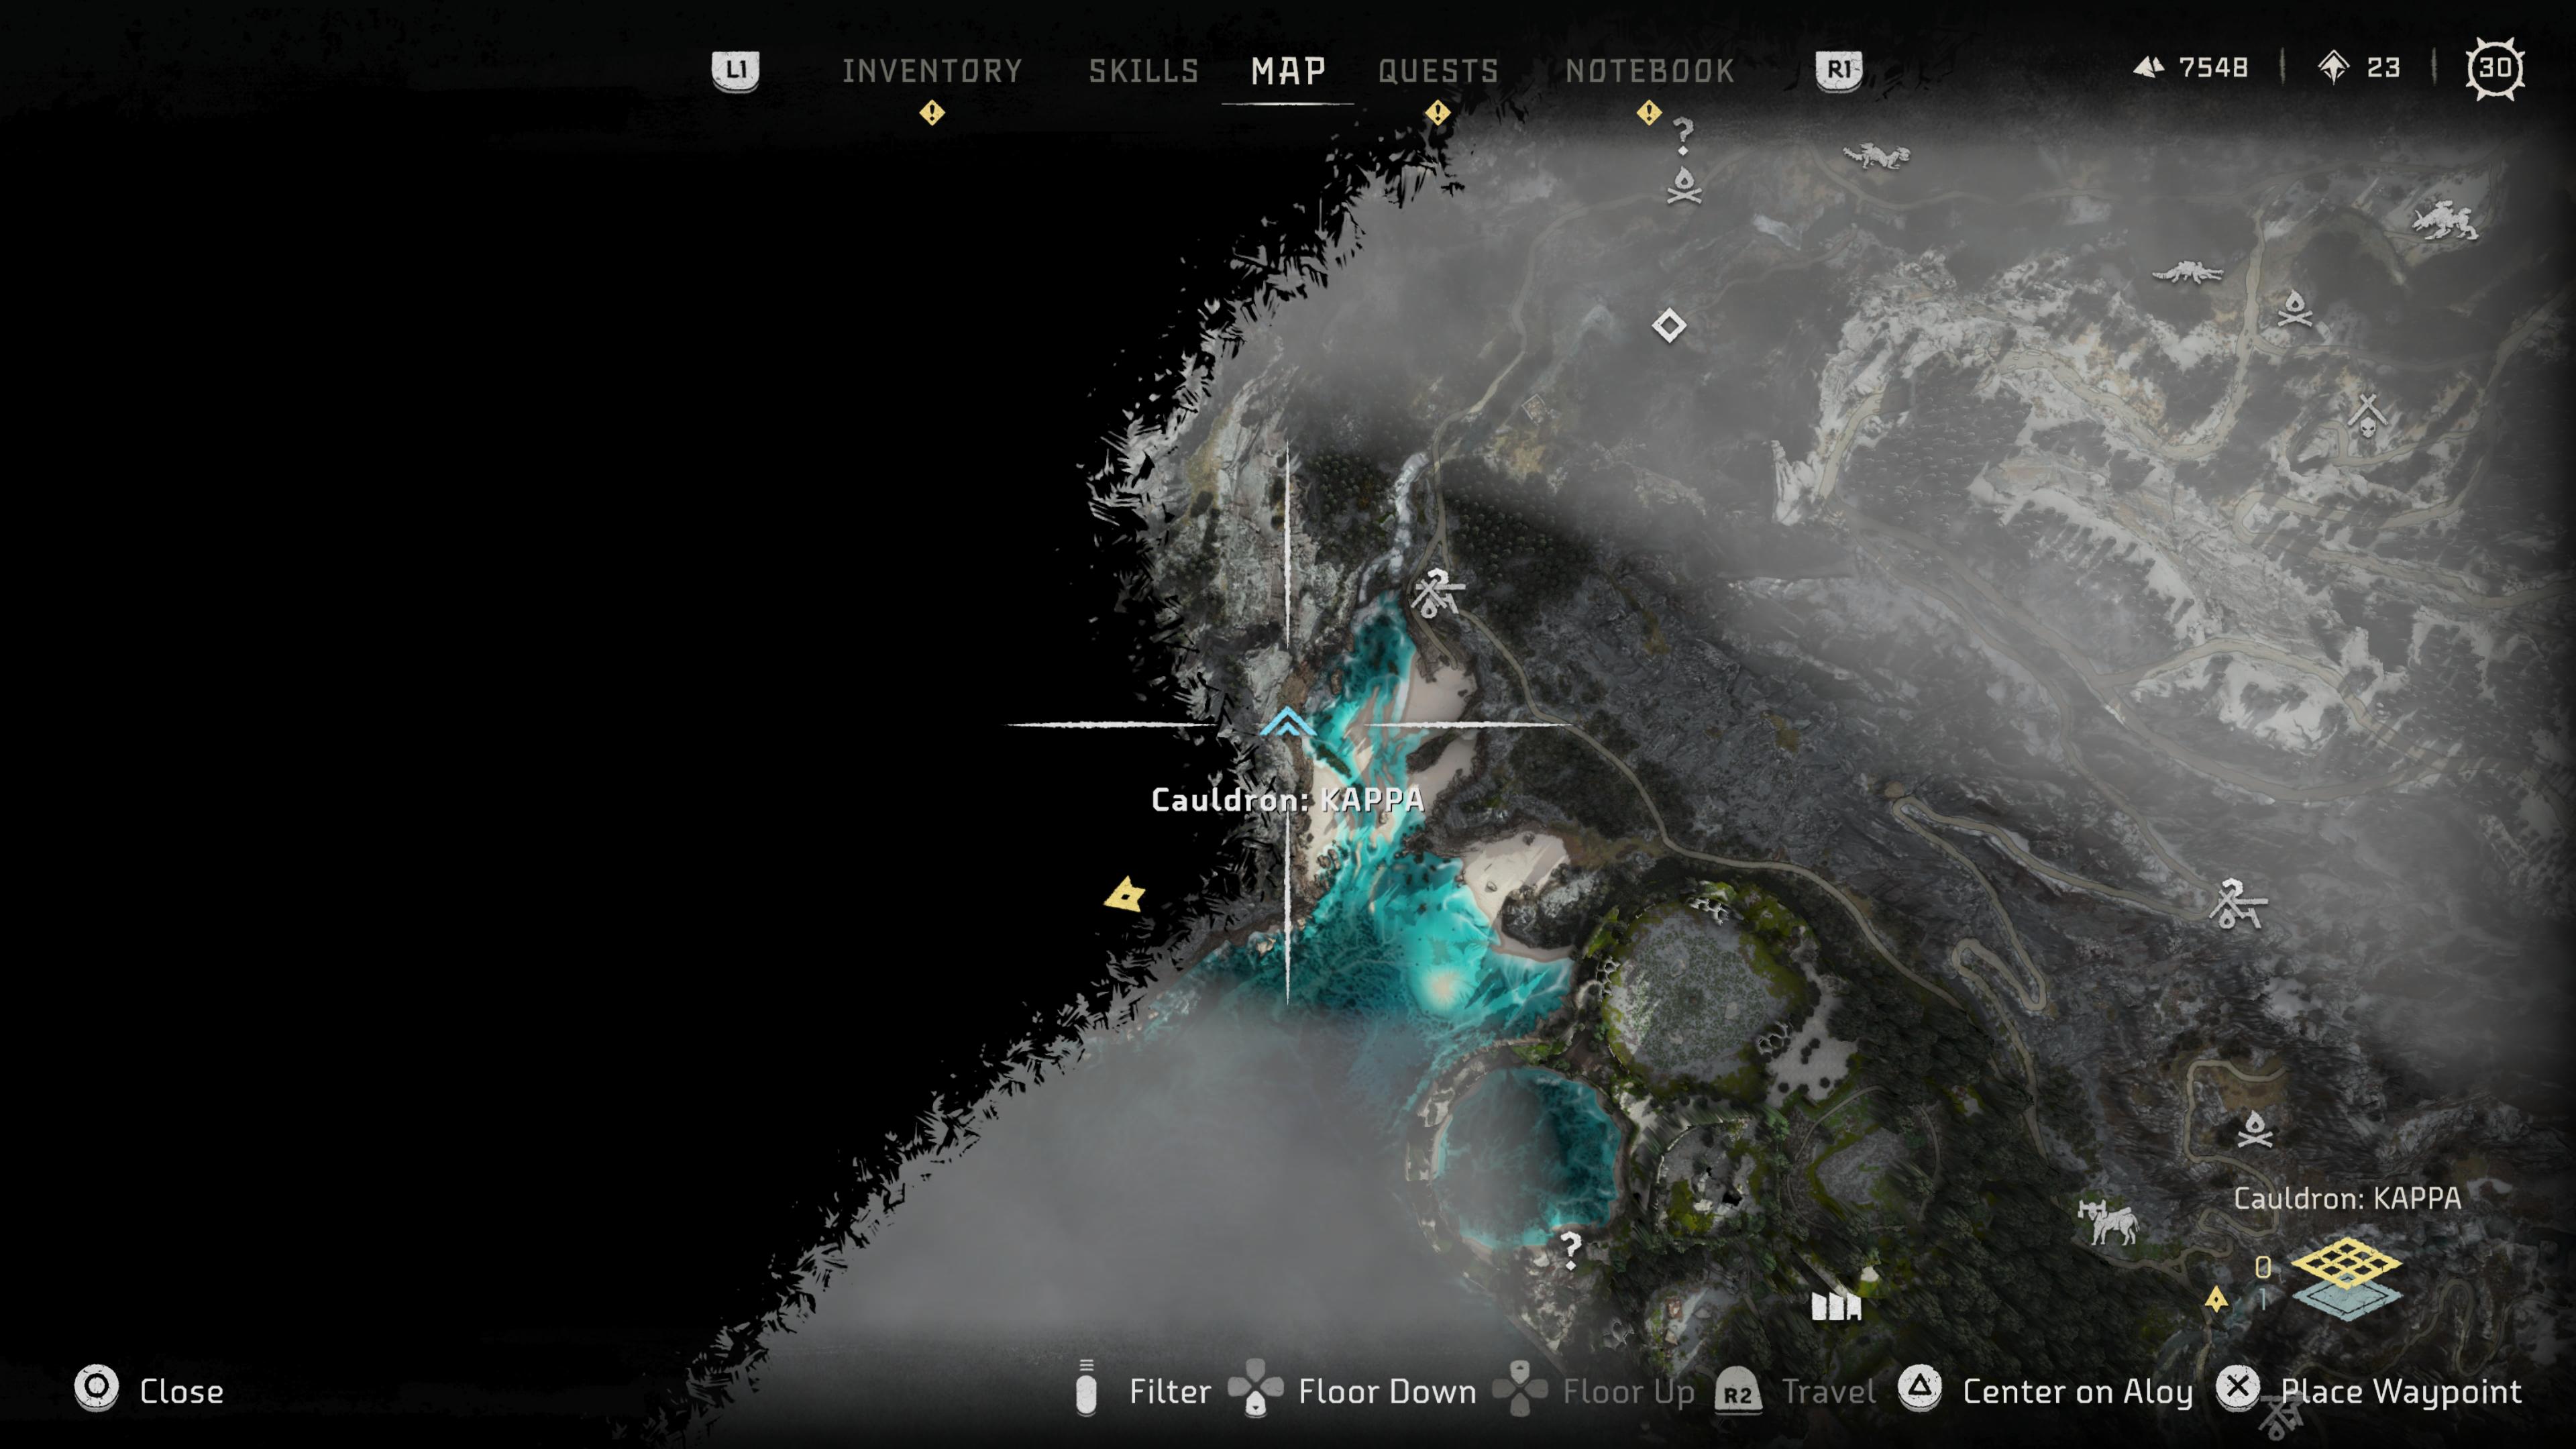
These codes will be unlocked with KAPPA:
- Rockbreaker
- Dreadwing
- Tideripper
- Stormbird
- Thunderjaw
- Slitherfang
- Tremortusk
- Fireclaw
- Slaughterspine

Patrick Dane is TechRadar Gaming's Guides Editor. With nearly a decade in the games press, he's been a consistent voice in the industry. He's written for a plethora of major publications and travelled the world doing it. He also has a deep passion for games as a service and their potential to tell evolving stories. To wit, he has over 2000 hours in Destiny 2, over 1000 in Overwatch and is now deeply into Valorant.

 Become a TechRadar Insider


