The Legend of Zelda: Tears of the Kingdom bosses
How to show the Tears of the Kingdom bosses who’s boss
Sign up for breaking news, reviews, opinion, top tech deals, and more.
You are now subscribed
Your newsletter sign-up was successful
Join the club
Get full access to premium articles, exclusive features and a growing list of member rewards.
If you want to show The Legend of Zelda: Tears of the Kingdom bosses who’s boss, then you need to do the legwork. You can’t just rock up to the Water Temple, wave around a club with a bokoblin horn fused to the tip and expect to walk away in one piece.
While you will need to beat The Legend of Zelda: Tears of the Kingdom bosses for yourself, below you’ll find a breakdown of each boss in the game, including their abilities and how they become more challenging in the second phase of their battle.
While some named enemies don’t make the cut, those are the optional or minor event bosses. But if it guards a temple or threatens the Kingdom of Hyrule, you will find it detailed below.
Tears of the Kingdom bosses
The Wind Temple boss - Colgera

Looking like a flying earwig, Colgera is why people wear ear muffs in cold weather. Can you imagine this gnarly beast working through your ear canal like it’s a Venice side street?
In his first phase, the ear invader launches shards of icy rock at you, revealing its weak spot in the process. You need to wind between the barrage and smash through the creature’s weakened carapace three times to progress to phase two, where you’ll do the same but with added tornadoes.
Bear in mind the icy wind chill. Without sensible clothing, your health will drain away throughout the battle.
The Water Temple boss - Mucktorok
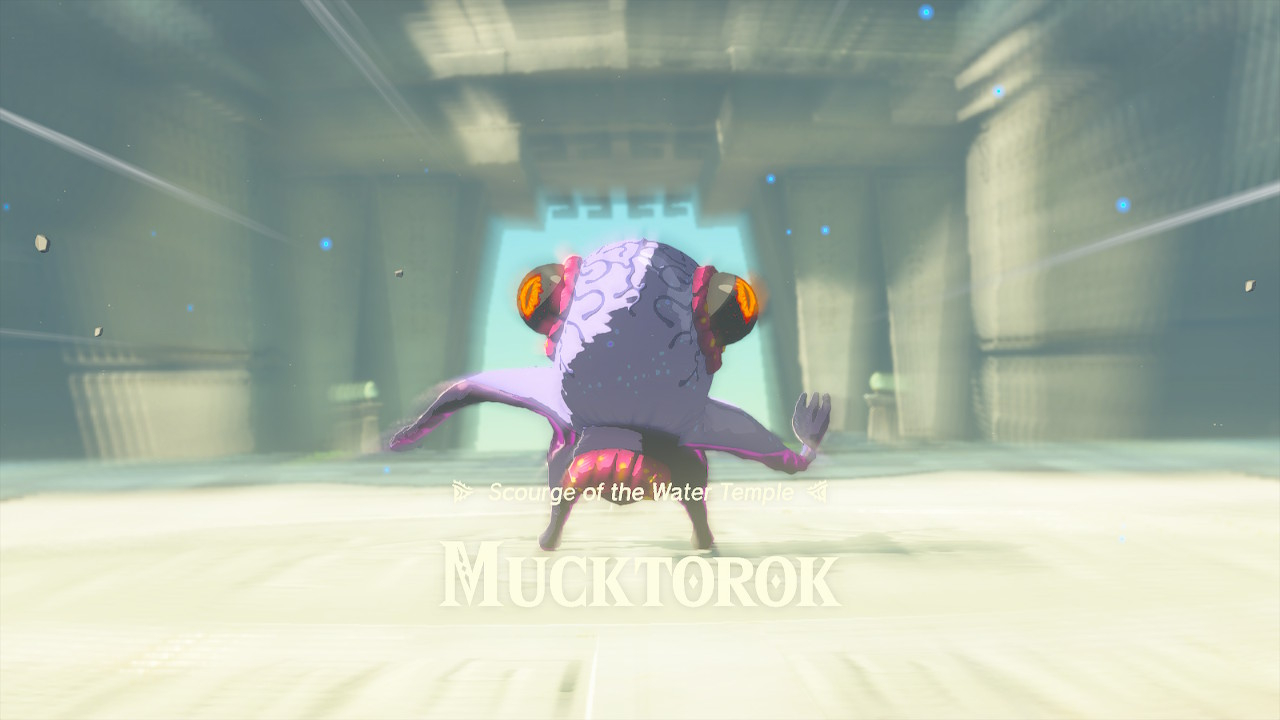
Splatoon’s influence is everywhere in the Tears of the Kingdom’s water boss battle, with you facing a sludge-spitting octorok that can swim about in the grimy puddles.
Sign up for breaking news, reviews, opinion, top tech deals, and more.
In its first phase, Mucktorok transforms into a shark that swims around the arena, attacking you with a laser beam and a ground dive. If you can interrupt its attack with a hit of Prince Sidon’s water blast, then you’ll reveal the boss’s weakened form, which is vulnerable to attacks that strip away its health bar. Its second phase is similar to the first, but the Mucktorok will hose down the arena in sludge which slows you down and gives the octopod a pool to swim in. Use Sidon’s water blast to clear away the muck and trap the Mucktopd for an attack.
The Fire Temple boss - Marbled Gohma
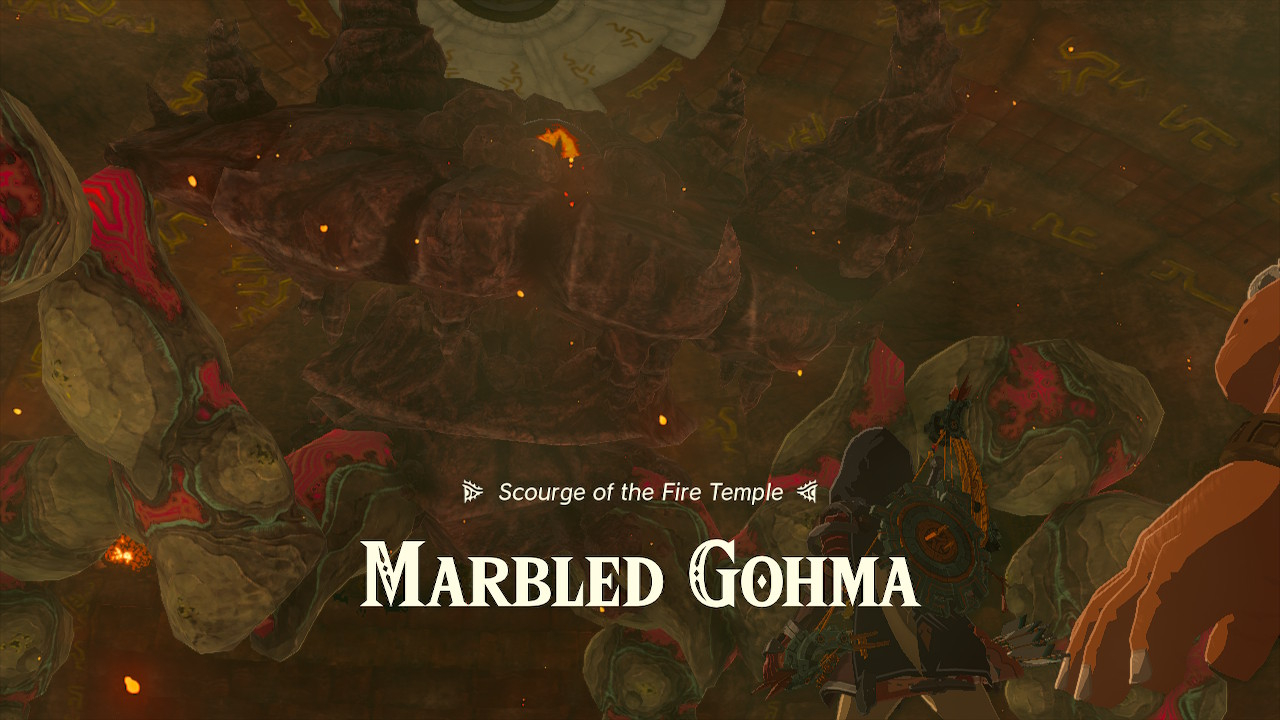
This marbled crab looks intimidating but is more straightforward than many of The Legend of Zelda: Tears of the Kingdom bosses.
Keep an eye out for the Gohma’s legs; it will try and spike you with them at any opportunity. The crab will also spit rocks at you, which you can send back at its head with your time reversal power. Use Yunobo’s boulder attack to remove its legs and bring the volcanic crustacean to the ground, where you can smack its eye to damage its health bar.
In its second phase, Gohma will climb onto the ceiling, making it harder to hit its legs, but the principle is the same. It will also try to trap you in a circle of boulders before pounding the ground to hurt you. You can climb over the boulders to jump to safety or simply lift and move them with your Ultrahand.
The Lightning Temple boss - Queen Gibdo
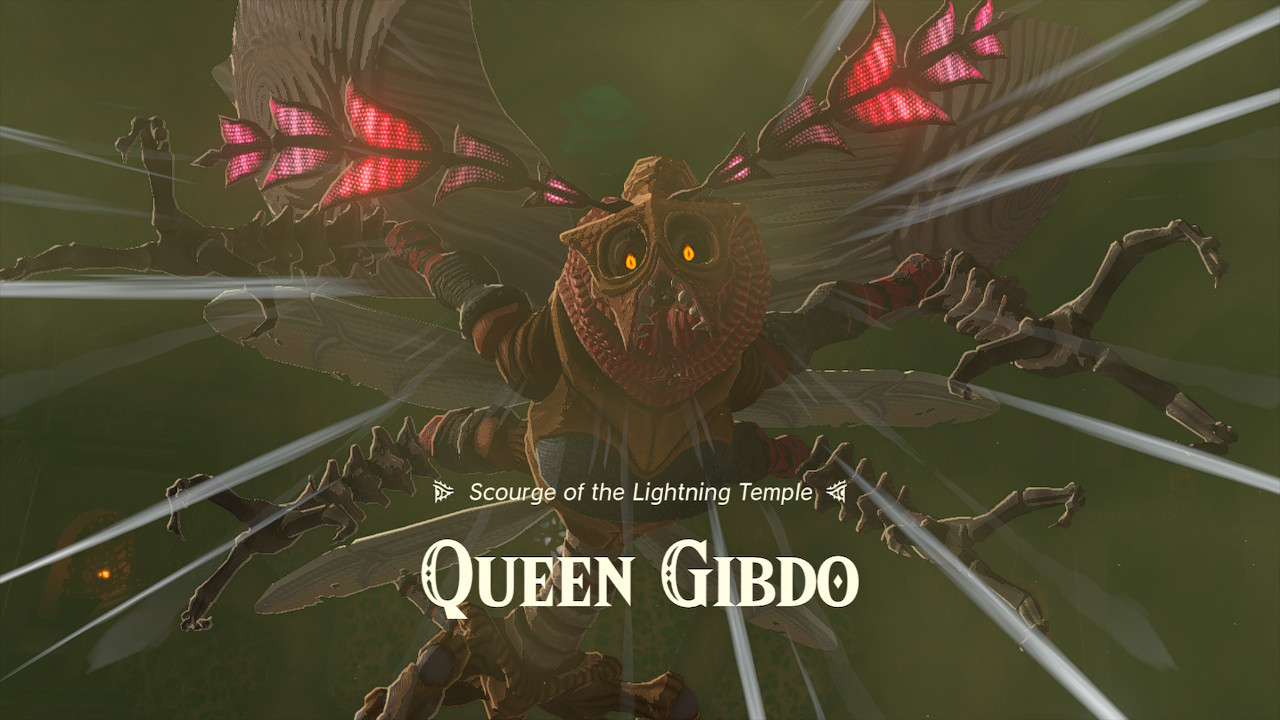
This overgrown mosquito makes things difficult by launching a wall of tornados at you. However, if you sidestep them and hit the pest with Riju’s lightning strike, you’ll weaken it. Hit it with a second lightning strike before its coloration returns to normal, and you’ll leave the queen in a stunned heap on the floor where you can hit it for real damage.
The second phase sees four Gibdo nests form around the arena, and enemies pour out. Focus on destroying the nests before thinning out the weaker enemies and finally returning your attention to the queen. If you can lead the gibdo into the shafts of light left by the destroyed nests, then the zombie-like monsters will freeze in place and weaken.
Floating Hyrule Castle boss - Phantom Ganon
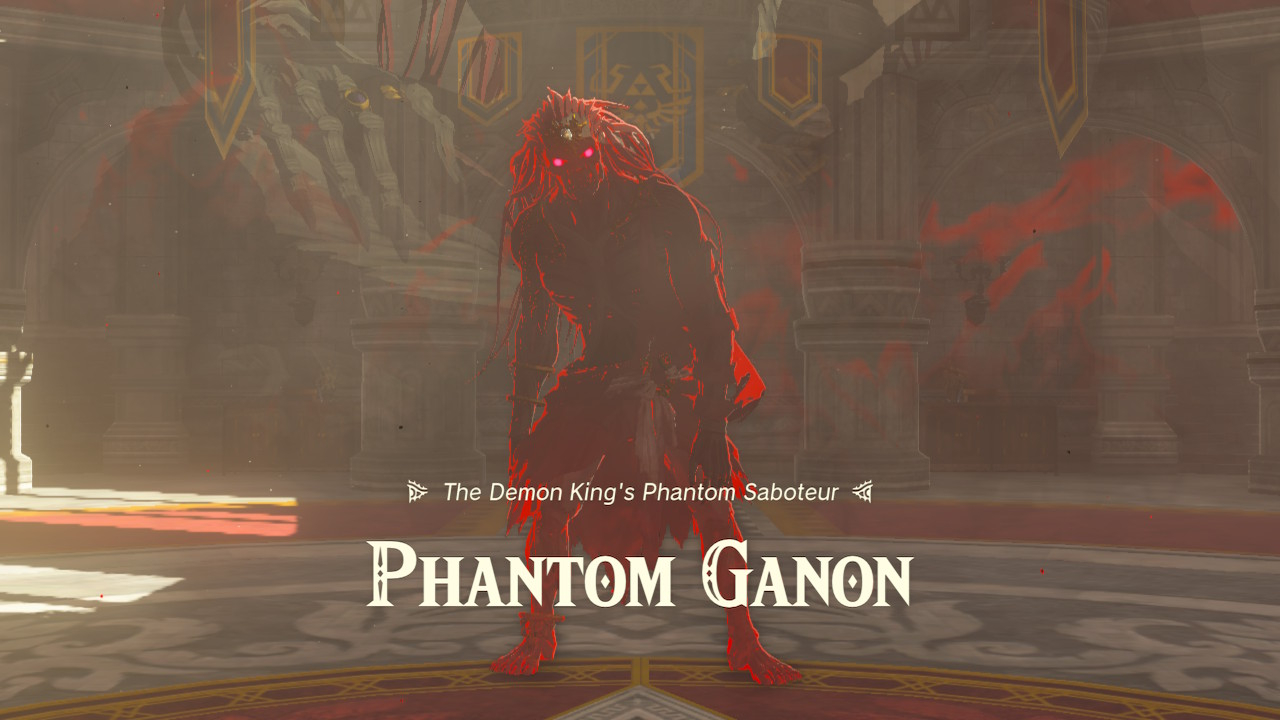
The Phantom Ganon battle is much more challenging than The Legend of Zelda: Tears of Kingdom bosses that came before it. Rather than face a single boss, you tackle five tough cookies in one go. Each of them has a lot of health, powerful weapons, and in the second phase, they will periodically fill the arena with gloom which will sap your health away.
You have four sages backing you up in this fight, and they will be some help, but you can’t leave everything to your allies. You can lean on ranged attacks to thin down the number of enemies, and if you climb to the top of the arena, you’ll find a powerful Royal Guard bow. Remember that you can slow down time for an easier shot if you aim your bow while you’re in the air.
The Spirit Temple boss - Seized Construct
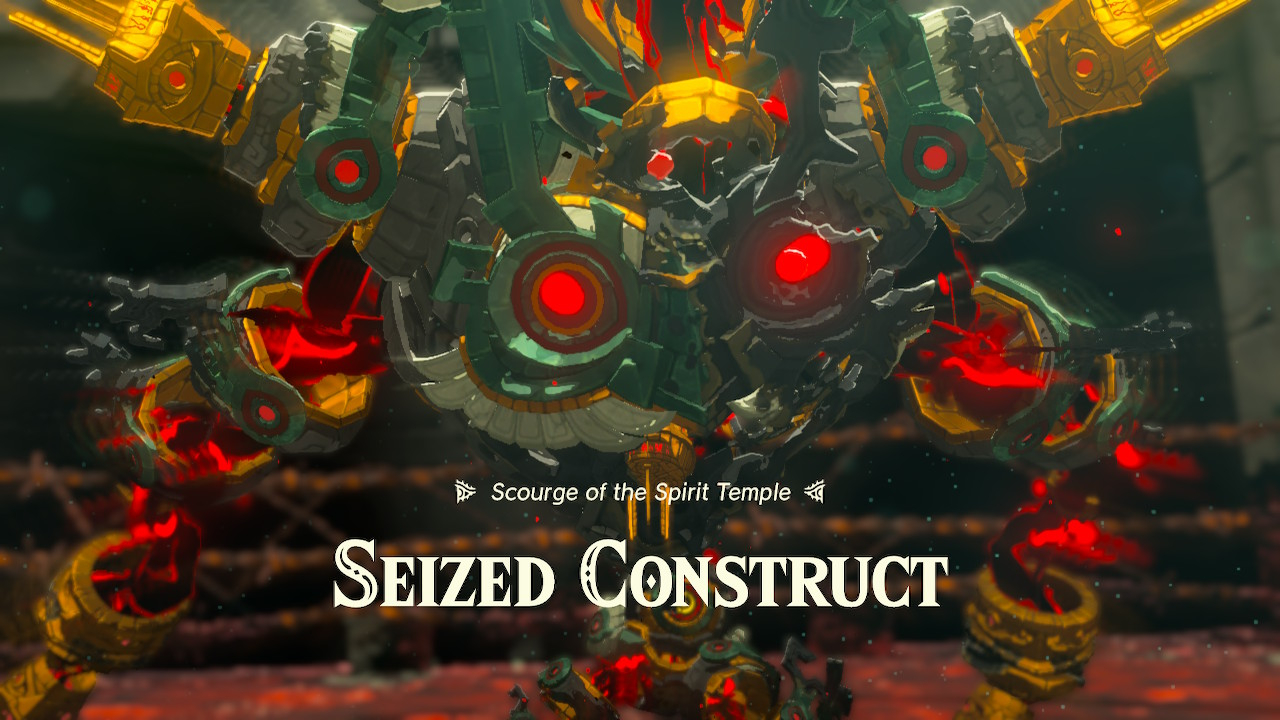
While the Water Temple’s Mucktorok is a nod to Nintendo’s Splatoon games, the Spirit Temple boss fight is a throwback to the Switch’s oft-forgotten early exclusive: Arms. That, too, was a boxing ring with stringy-armed characters going hammer and tongs on each other.
In the first phase of the battle against the seized construct, sidestep the Seized Construct’s cannon fire and get in close to batter it with your fists. Three smacks will send the mech flailing backwards into the electric fence. It’s a straightforward boss fight, but the slowness of your machine can be your undoing.
Demon King Ganondorf
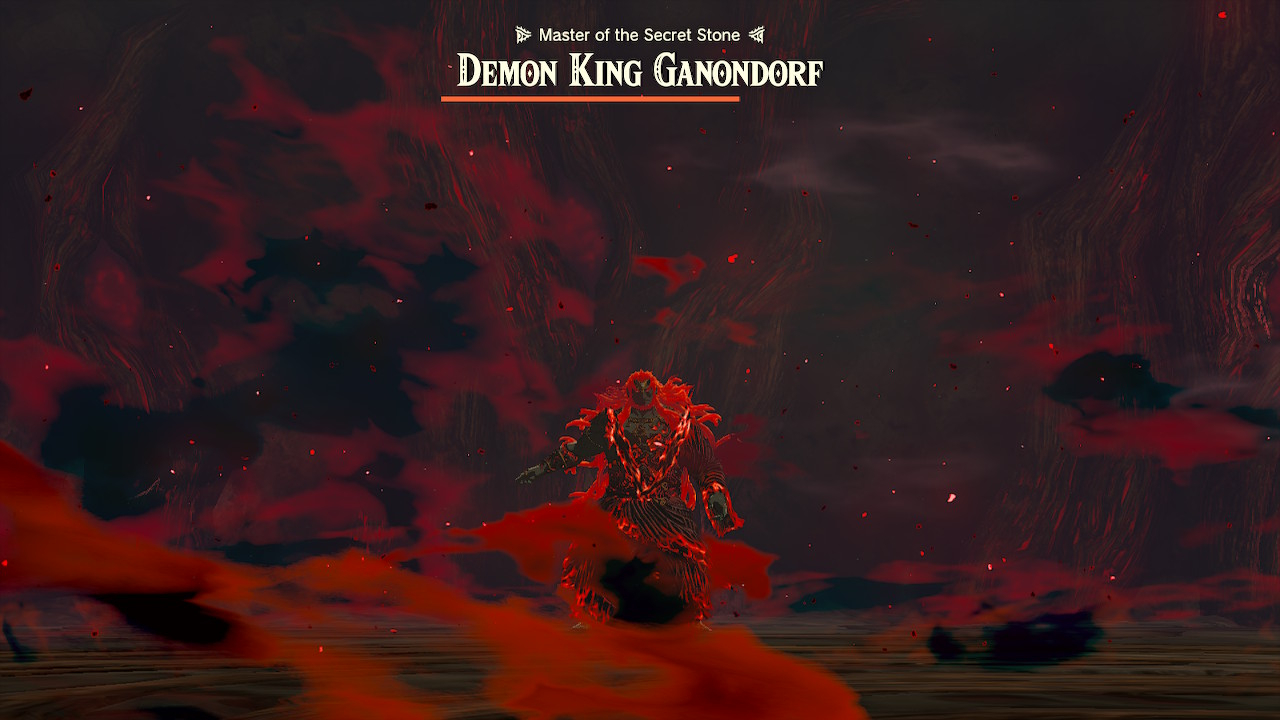
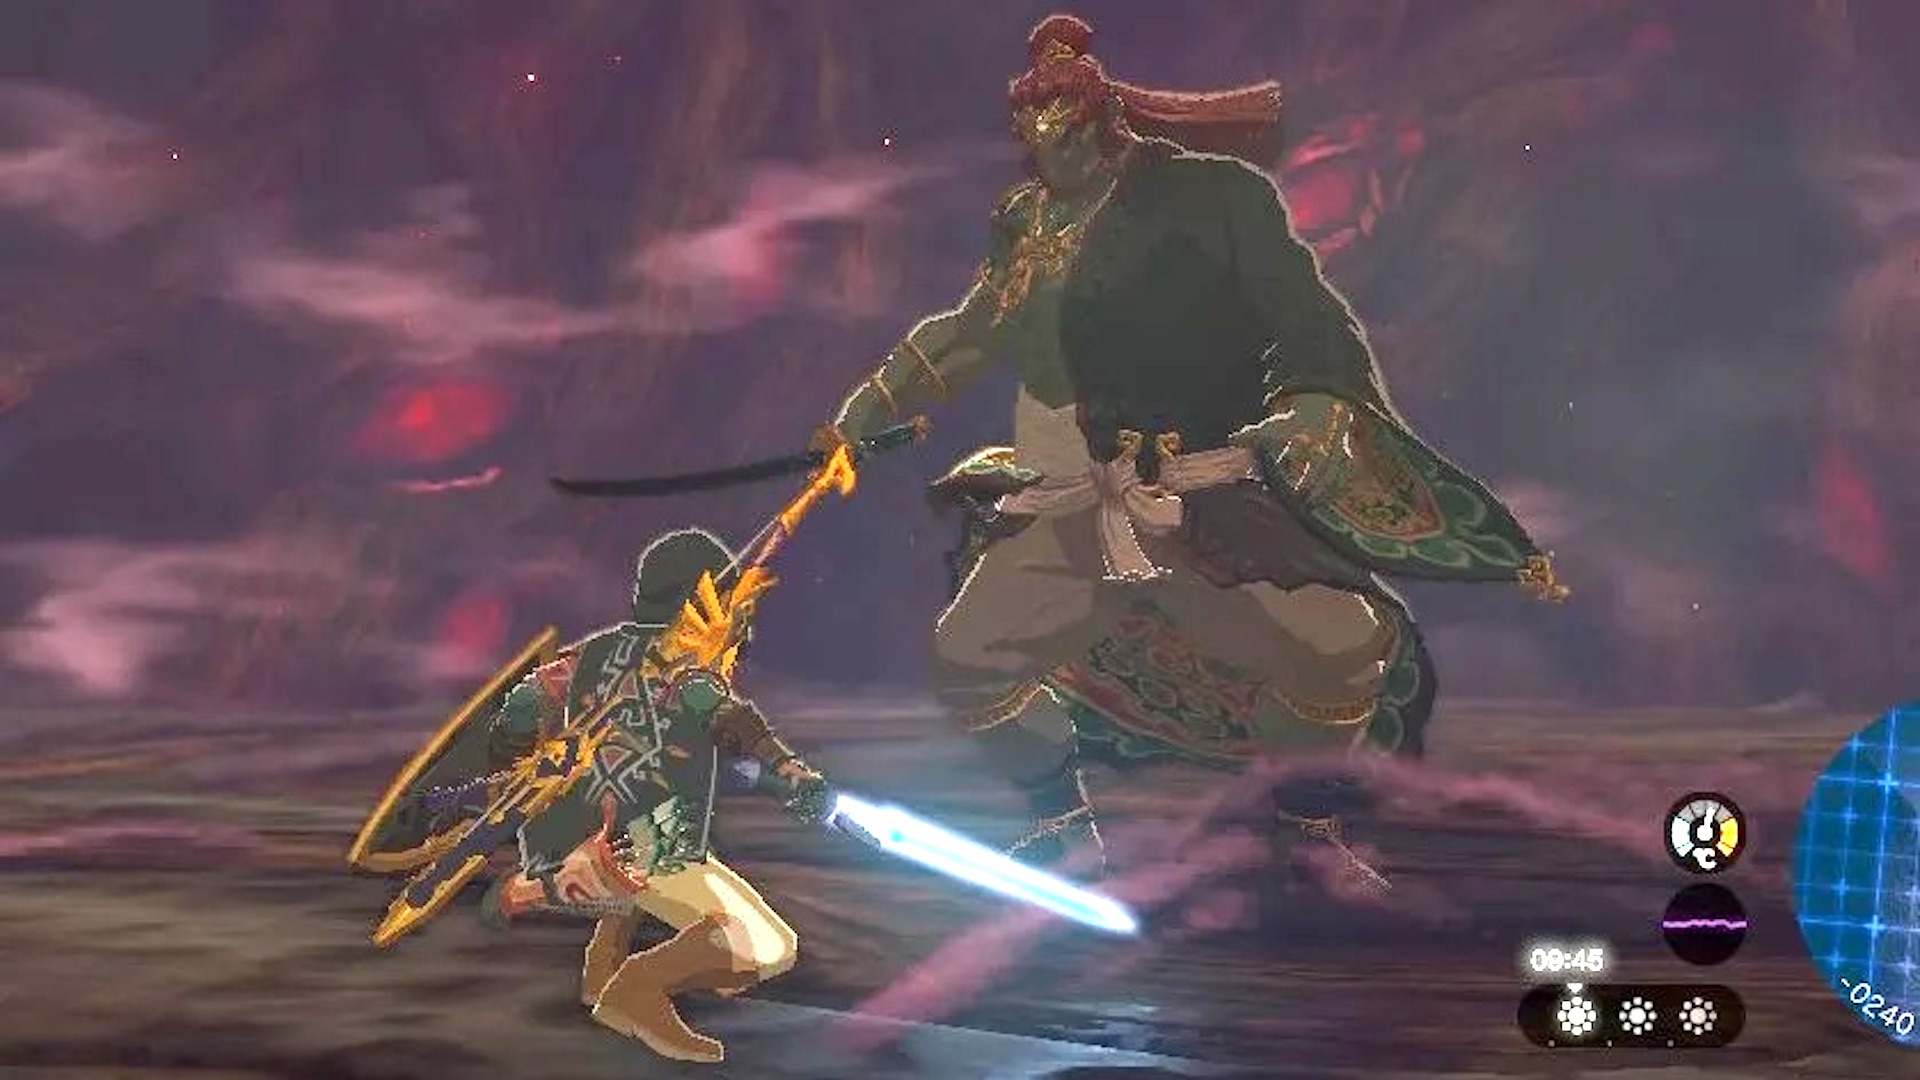
Taking place over three phases, The Demon King Ganondorf is a gruelling duel and by far the most difficult of The Legend of Zelda: Tears of the Kingdom’s bosses. It’s so tough, in fact, I argue that he’s the wrong final boss for this game.
For a chance of beating him, you should prepare well for the fight by stocking up on Sundelion-infused foods. The plant removes Gloom infection from your heart containers. You should also eat and equip anything that will raise your attack strength.
We have an in-depth breakdown of how to beat Ganondorf in The Legend of Zelda: Tears of the Kingdom, but the simple advice is to prepare the items suggested above, perfect your dodges, and make sure to Fuse the Master Sword to a robust material and buff your shields with Hinox toenails.
Demon Dragon
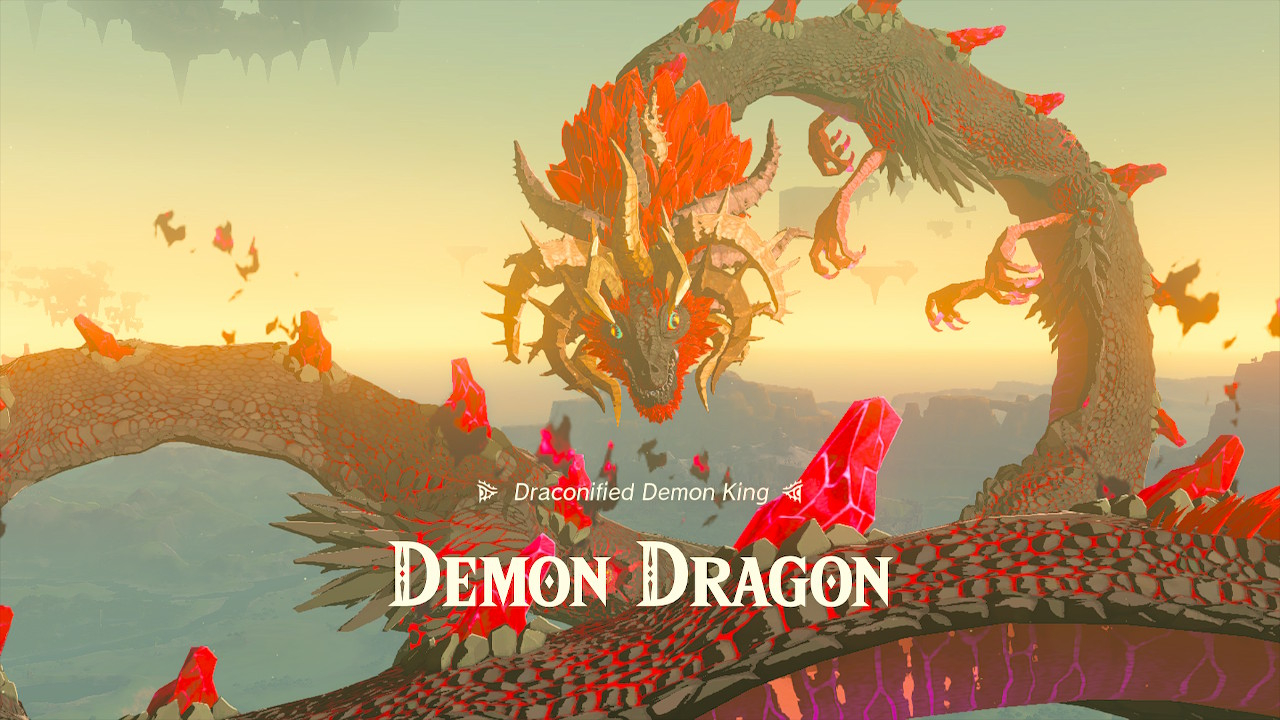
Okay, you beat The Demon King, but it’s not over yet. Yeah, I don’t think you believed it was either. Still, after the last fight, the Demon Dragon is a pushover.
Stay clear of the sky serpent’s mouth, which will spit gloom at you all battle. Also, avoid landing on the dragon’s skin, as that’s poisonous. Instead, you want to land next to the glowing warts on its back and smack those with your sword. Each time you destroy one, the shock will blast you loose and send you falling toward Hyrule. Don’t worry; the white dragon will catch you and bring you back above the boss so you can drop again.
After you destroy all the warts, you must drop on the Demon Dragon’s head to deliver the finishing blow to the serpent’s secret stone.
At last, let the credits roll.

Julian's been writing about video games for more than a decade. In that time, he's always been drawn to the strange intersections between gaming and the real world, like when he interviewed a NASA scientist who had become a Space Pope in EVE Online, or when he traveled to Ukraine to interview game developers involved in the 2014 revolution, or that time he tore his trousers while playing Just Dance with a developer.

 Become a TechRadar Insider


