How to download and perform a clean install of OS X El Capitan
Here's how to get the latest version of OS X
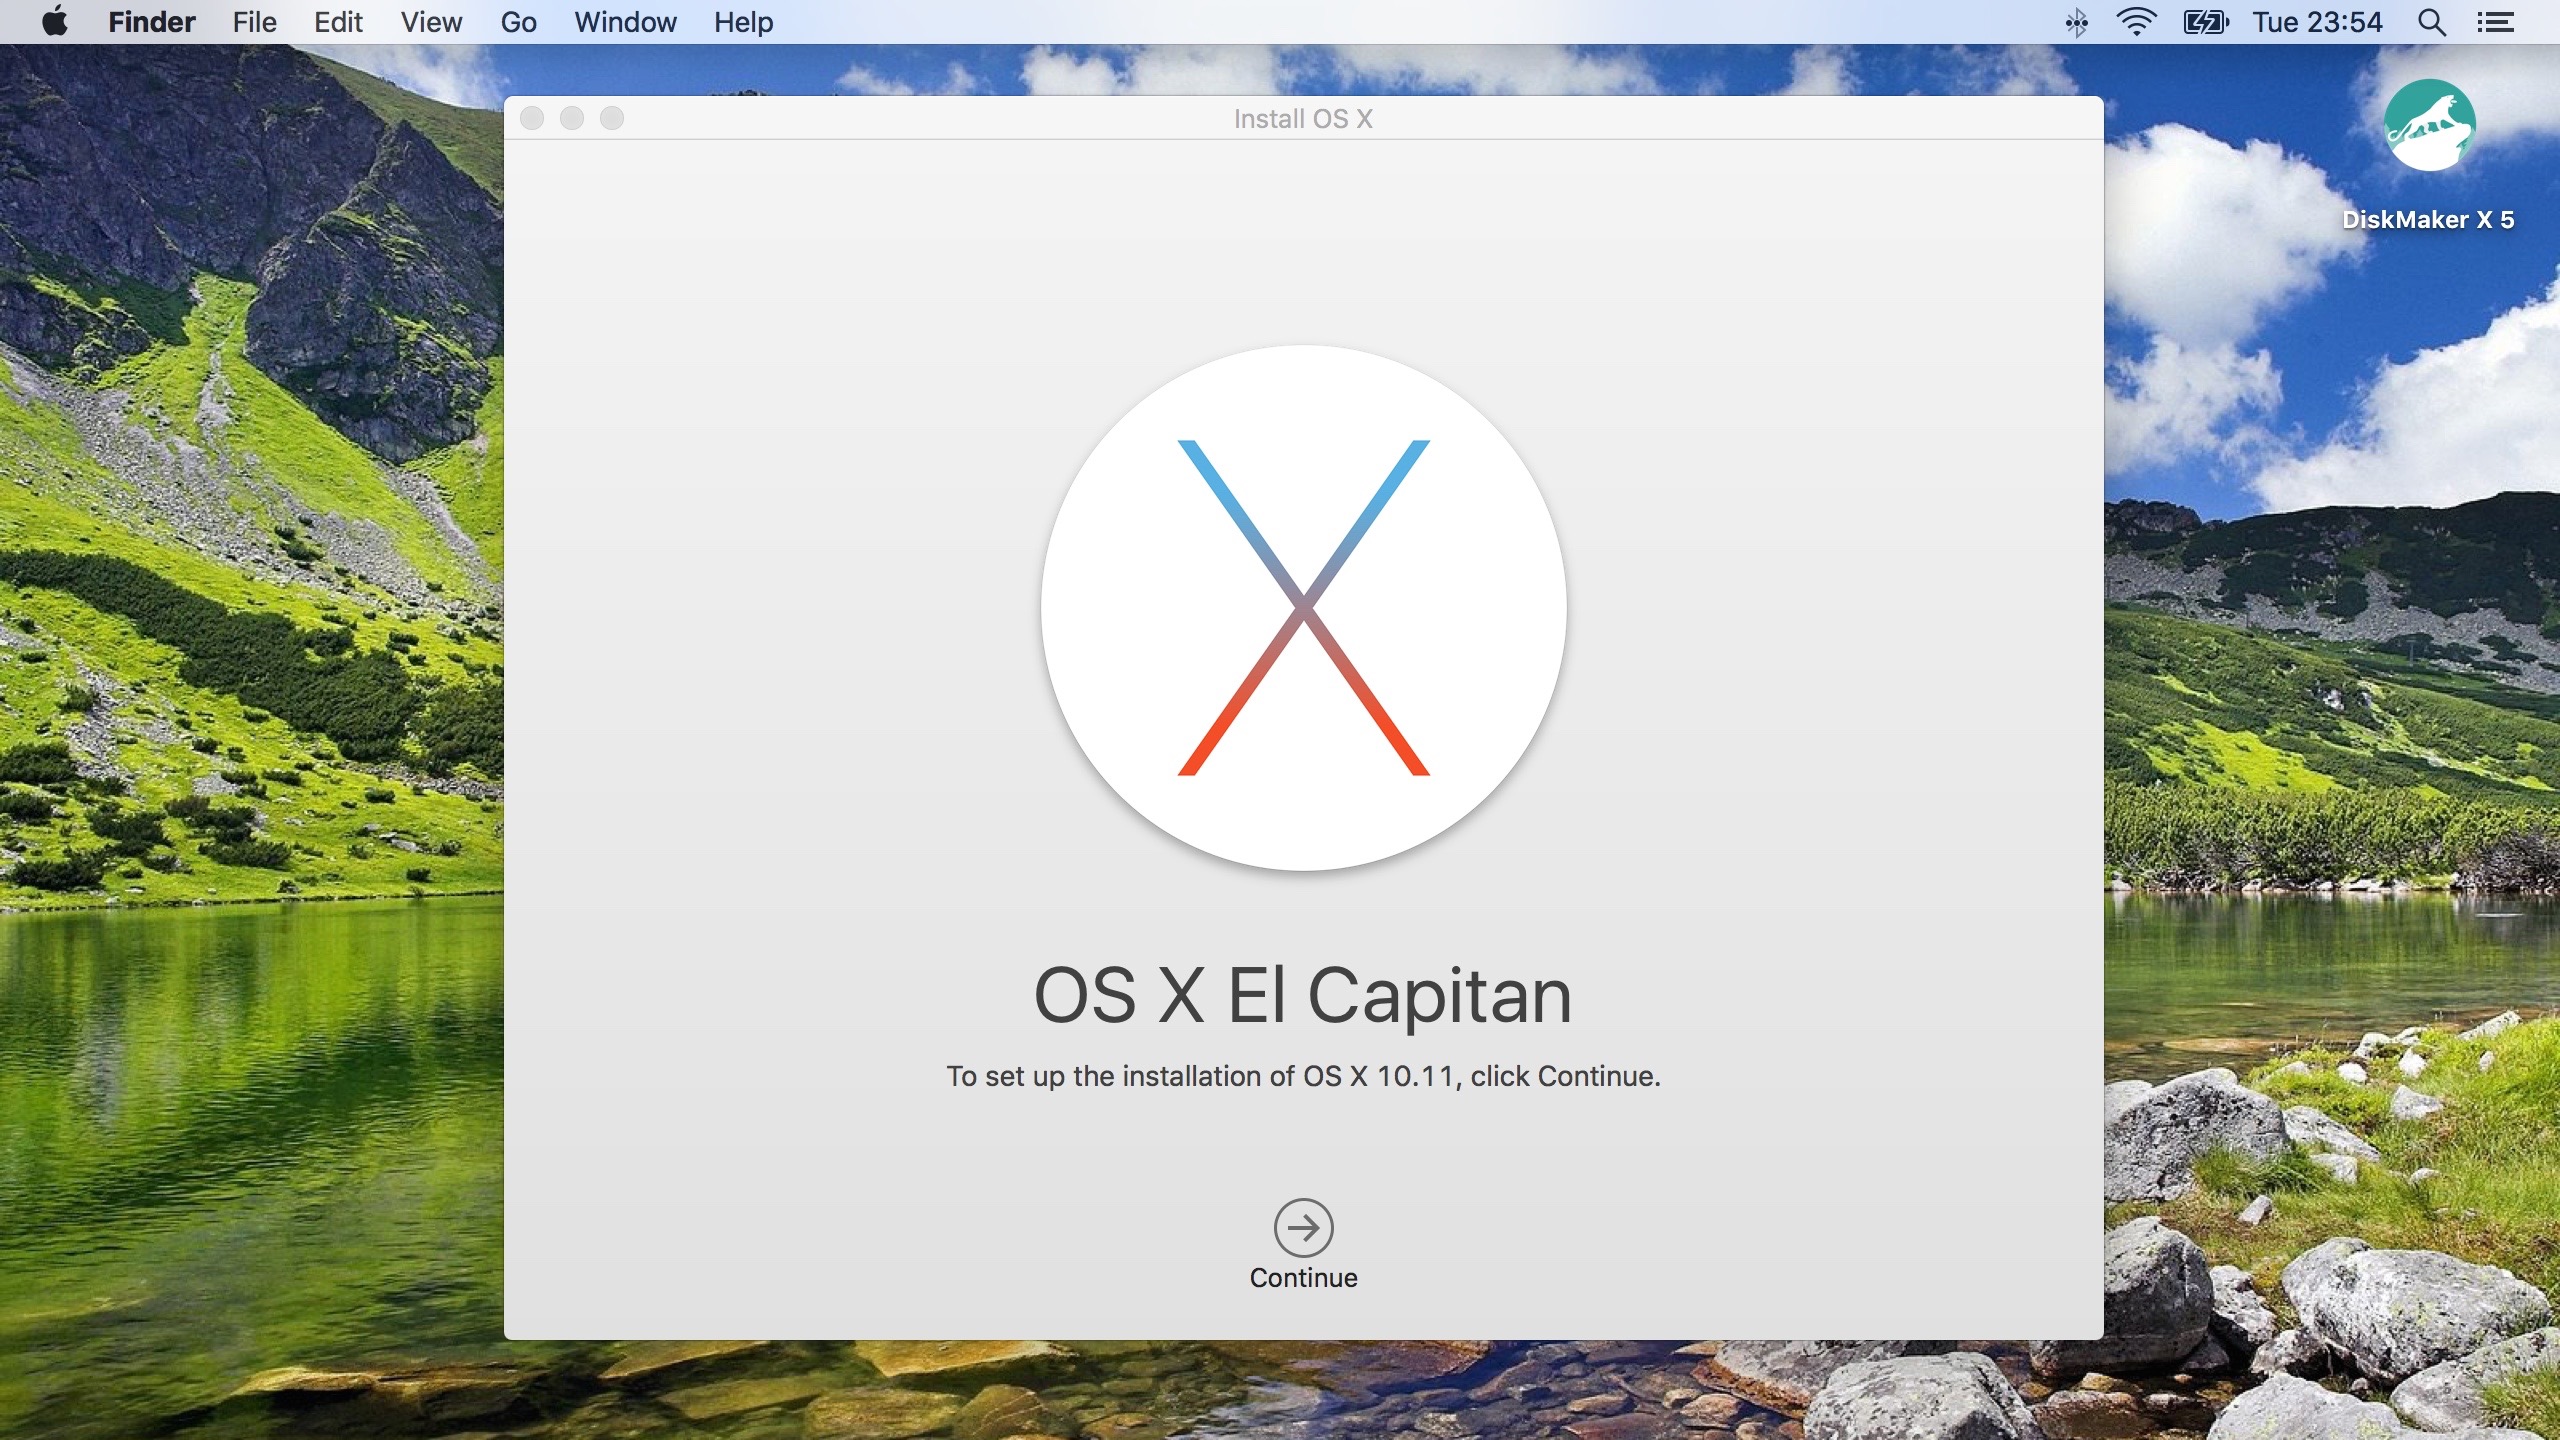
El Capitan explained
Apple has finally released its new operating system for Macs, OS X 10.11 El Capitan, which is a free download to all Mac users.
El Capitan offers many subtle refinements to the Mac experience, such as better window management and enhanced Spotlight search, not to mention significant improvements to system performance and the introduction of a new hardware-accelerated graphics technology called Metal.
In this step-by-step guide we're going to show you how to download the OS X 10.11 installation package and – with the help of a simple tool called DiskMaker X – perform a clean install of El Capitan without opening a single Terminal window.
A clean start
A clean install offers significant benefits over running the automatic upgrade procedure from within OS X. For one, it can rid your Mac of annoying quirks and strange behaviours that have crept into the system over time.
A fresh installation also reclaims lost disk space: it gets rid of the waste that can accumulate from third-party apps, removes junk files, and overall it leaves you with an optimised blank slate and that 'new Mac' feeling again.
All you need is a spare 8GB (or larger) USB thumb drive and a couple of hours spare to complete the process. So click Next and let's get your Mac running a super-optimised El Capitan installation.
Check compatibility
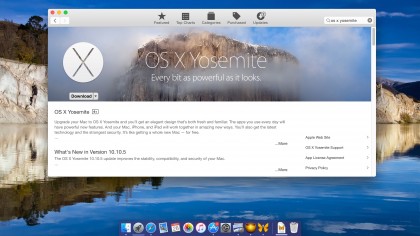
First up, make sure your Mac is compatible with Apple's new OS. If you're currently running OS X Yosemite then you're good to go. Otherwise, El Capitan supports the following:
Sign up to the TechRadar Pro newsletter to get all the top news, opinion, features and guidance your business needs to succeed!
- iMac (Mid 2007 or newer)
- MacBook Air (Late 2008 or newer)
- MacBook (Late 2008 Aluminum, or Early 2009 or newer)
- Mac mini (Early 2009 or newer)
- MacBook Pro (Mid/Late 2007 or newer)
- Mac Pro (Early 2008 or newer)
- Xserve (Early 2009)
You also need to make sure you have at least 6GB free space (preferably more) on your system disk, so be sure to check before continuing to the next step.
Back up your Mac
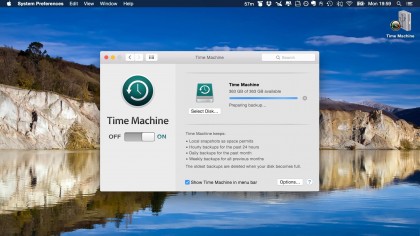
Before you do anything else perform a full backup of your system, and running Time Machine is the simplest way to do this.
In the unlikely event that something goes catastrophically wrong, you'll need this backup to restore your system to its original state, using the 'Restore from Time Machine' option when you reinstall OS X from the Recovery partition (accessed by holding Option at startup).
Alternatively, use SuperDuper! or Carbon Copy Cloner to save a mirror image of your system state to an external drive from which you can boot if required.
Take stock of your setup
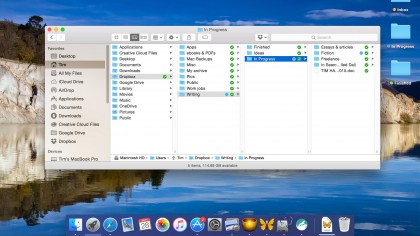
If you're happy not to use Migration Assistant (this is a clean install guide after all), then you should manually copy any important media, documents and files on your system to an external drive (remember to check your Downloads folder as well).
Meanwhile, allow any cloud services to fully sync your files, and it's also worth making a record of how you like your desktop set up.
One way of doing this is to take a screenshot (Command-Shift+3, saved to your desktop) showing your dock arrangement and menu bar items. Screen-grab, save out or otherwise note down on paper any custom system preferences, settings, Wi-Fi passwords and app-specific profiles you use, too.
Make a note of your apps
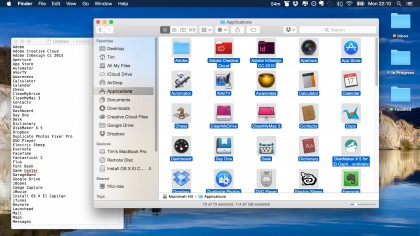
Make a record of your installed apps so you can re-install them later. Open the Applications folder, press Command+A to select all apps, then press Command+C.
Now open up a text editor and press Command+V to paste a list of application names, and save this list externally. Make sure you know where to download any non-Mac App Store apps from, and have any serial numbers safely stowed.
Lastly, remember to de-authorise any services on your Mac, such as your iTunes account (iTunes menu > Store > Deauthorise this Computer), as these are usually limited to a set number of systems.
Download OS X 10.11 and DiskMaker X 5
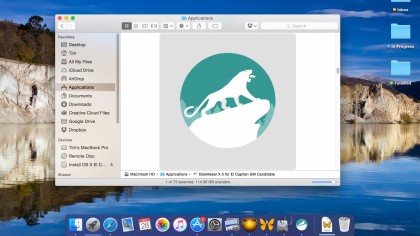
You're now ready to download the El Capitan final public release installation package (not the GM candidate that we're using, shown above). Open the Mac App Store and search for the OS if you don't see it in the Featured section.
Click the El Capitan icon and press the download button. The download could take some time depending on the speed of your internet connection, so while you're waiting, open a browser window, and download DiskMaker X 5 from its website.
Once it's downloaded (it's a really small file) drag the icon into your Applications folder. When El Capitan is fully downloaded from the Mac App Store, launch DiskMaker X 5.
Create the El Capitan USB drive
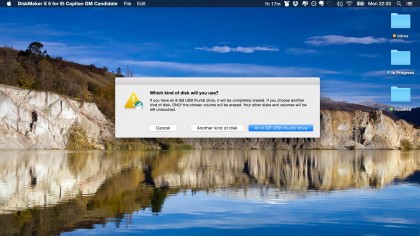
DiskMaker X will open a boot disk options dialog window; select El Capitan. The tool should then inform you that it has located your copy of El Capitan in the Applications folder.
Select 'Use this copy'. You'll now be asked which kind of disk you want to use. Plug in your spare USB thumb drive, select the 8GB thumb drive option and choose the drive when it appears in the next dialog – but make sure that no other apps are trying to access the USB drive, otherwise the process will fail.
A final warning that the thumb drive will be erased should appear – click 'Erase then create the disk'. The USB drive will be unmounted; input your administrator password when asked, sit back, ignore the flurry of window action on your screen and let DiskMaker X do its work.
Install El Capitan
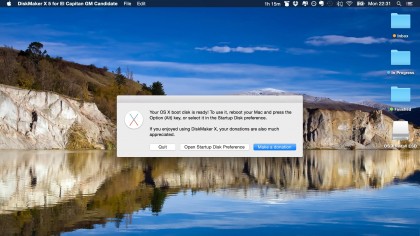
A big cat's roar from DiskMaker X signals that your OS X boot disk is ready – you should see it on your desktop named 'OS X Install ESD'.
If you're ready to install El Capitan, DiskMaker X offers one of two options: reboot your Mac and hold down the Option key, or select the USB drive in the Startup Disk preference pane for it to launch automatically on restart.
Don't forget that you can make a donation to the creator of DiskMaker X for their efforts by pressing the appropriate button in the tool's final dialog window.
Wipe your system disk
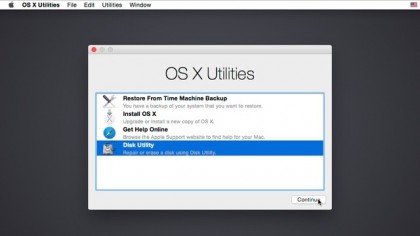
Once you've restarted and booted into your USB drive the first thing the El Capitan installation setup will present you with is the OS X Utilities menu.
Now, select the Disk Utility option to launch the app. Then in Disk Utility, select your Macintosh HD system drive in the disks column and click the Erase button located in the menu running along the top of the Disk Utility window.
Confirm that you want to wipe your system drive using the default drive format (Mac OS, journaled), wait for the process to complete and then close Disk Utility to return to the OS X utilities menu.
Initiate installation
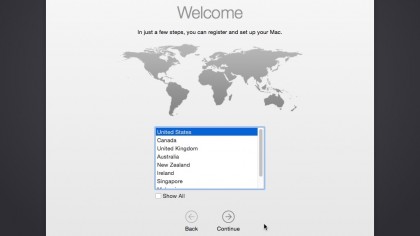
Select OS X from the OS X Utilities menu to start the El Capitan installation process. Choose your language and keyboard settings for your region, accept the licence terms and select your Mac's system drive on which to install the new OS.
When the new OS files have been copied off the USB to your system drive (which may take up to an hour), follow the instructions for setting up a new Mac, select your WiFi network, but be sure to skip the option to transfer information from another Mac – you can gain more control over what gets copied by doing this manually later.
Copy over your data
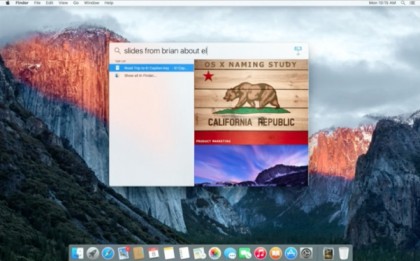
Once setup is complete, your Mac should boot into a shiny new clean install of OS X 10.11 El Capitan. Enjoy it.
All that's left to do is copy over your files and apps. Be ruthless – appraise each item and only copy what you actually use. Allow any cloud-based folders to re-sync with your system.
Once you're all done, it's a good idea to make a fresh Time Machine backup – or better yet, make a clone of your system using one of the utilities mentioned back in step 2, so that you can revert your Mac to this pure state if things get messy in a short while.