 Become a TechRadar Insider


As a pre-packaged, all-in-one media-centre solution for the Raspberry Pi, the XMBC bundle from element14 might seem a bit of an odd notion. Isn't the Raspberry Pi all about doing it yourself?
That's true enough, but there's nothing compelling you to buy this XMBC kit - and if you're looking for a fun extra to bundle for a first time Pi-naut, this could be exactly what you're after.
Article continues belowLet's be clear, all the elements supplied in the pack can be bought or sourced separately. Element 14 sells the controller - we'll look at that shortly - on its own, the cables you may already have, and the dedicated XMBC OS can be sourced for free from a number of places and whacked on any old SD card.
But throwing a bundle of used cables at your loved one and shouting "get on with it" seems somehow less nurturing than handing them a purpose-made pack (perhaps we're just over-sentimental). We'll take a look at the controller, how well XMBC works on the Pi as part of the bundle, and then explain how you can install it yourself and get a little more from it.
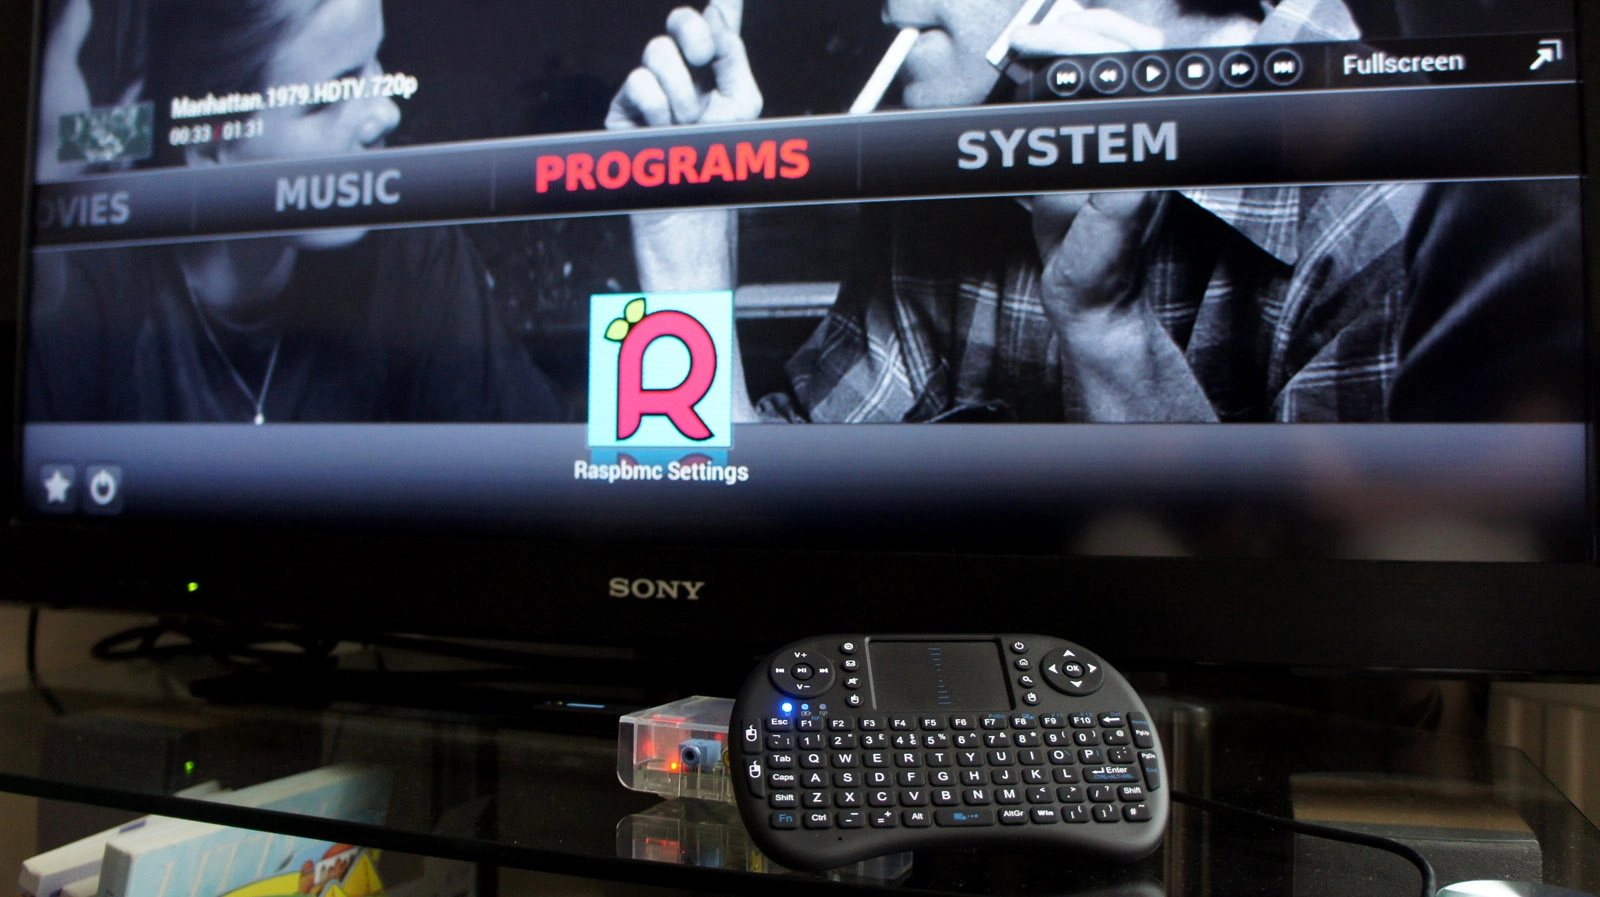
1. In control

The controller is a proprietary 2.4GHz wireless unit – so not Bluetooth – and comes with a standard phone-sized lithium-ion battery, stored in a recess along with a USB dongle.
The battery is charged via a mini-USB port and there's a handy on/off switch. The controller has a decent textured feel to it and the buttons all have a reassuring click to their action.
Mouse movement from the touchpad was entirely smooth and it has two round pads that offer media and gaming controls. The main omission is a backlight - you're going to struggle to use this in the dark - and it's also overpriced for what it is, considering the lack of Bluetooth.
2. Setting up the Pi

The kit comes with relatively comprehensive instructions and certainly fits the bill as a getting-started bundle for any would be Pi-naut. An advantage of the touchpad is that it frees up a vital USB port, rather than having to use two for a mouse and keyboard. So even using a USB wireless adaptor, you could be self-sufficient without the need of a hub. Yay!
3. Easy as XMBC

With the supplied SD card inserted, power up and the Pi will boot. If you've used XMBC on Linux, PC or Mac then you'll know what to expect, but perhaps not how it's presented.
The dedicated OS boots directly into XMBC, so it's ready to go. It's a handy solution - when you're not using it as a media centre, just swap out the SD card and tinker to your heart's content.
The interface is easy enough to navigate by mouse or keypad, but before going any further you'll want to add media, ideally via a network connection or USB drive.
4. Connect me
If you use the wired Ethernet port any network should automatically configure; if you want to use a wireless dongle - as we did - you'll need to jump to the next step to find out where to configure this. If an internet connection is discovered, a rather ugly update automatically process kicks in.
So ugly, in fact, that we thought the OS had crashed - but rather a badly chosen screen mode wasn't helping. The update is rather lengthy but essential, because it updates all the plug-ins and system so they're optimised for the Raspberry Pi.