 Become a TechRadar Insider


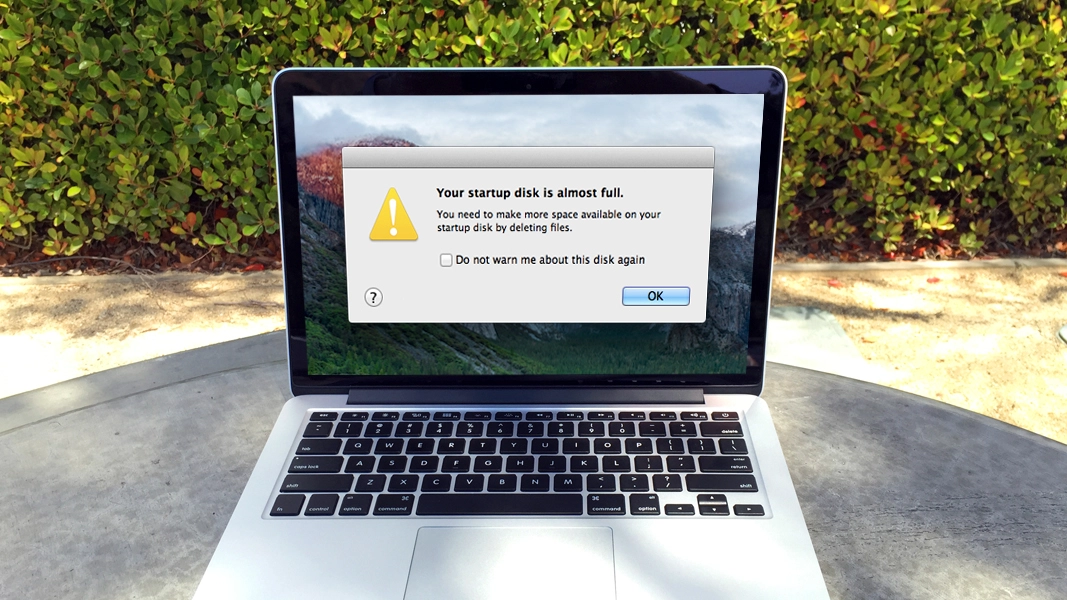
We've all been there: you're merrily working on your Mac when you try to save a file and a window pops up to proclaim, "Your startup disk is almost full - you need to make more space available on your startup disk by deleting files." This essentially means that the drive containing your Mac OS X installation is nearing capacity and is running out of space to save necessary files and logs.
In this article, we'll walk you through a few places you can immediately go to remove unwanted files from your Mac.
Emptying the Trash
If you have a lot of files in the Trash, then it may be a good time to permanently delete them. To do this, open the Trash window by clicking its icon in the Dock, then click Finder > Empty Trash.
Article continues belowRemoving Downloads
If you download a lot of files from the Internet, your Downloads folder and/or Desktop may be filled with temporary files you no longer utilize. Begin by checking the Desktop for any files you don't need, and move them to the Trash.
Next, open a Finder window and press Option + Command + L on the Keyboard (or navigate to Go > Downloads) to immediately open the Downloads folder on your Mac. Go through any unwanted files and folders stored in this directory, then delete them from your Mac by dragging them to the Trash and then emptying the Trash.
Removing other files
It can be a pain to locate all the unwanted files on your Mac, which is why we recommend an easy-to-use utility called DaisyDisk. This app helps you easily find and remove unneeded files you may have forgotten about.

Simply launch the app and it'll start scanning your hard drive, looking for large files and apps. Clicking on the large blocks of space lets you drill down until you find files and folders that are gathering digital dust, and gives you the ability to delete them right from within the DaisyDisk app. (You might also consider similar apps such as DiskDoctor and DiskMap.)
And there you have it! By following these simple steps, you'll be able to get back to work without any more pesky alerts popping up.